
In the last weeks, I’ve been requested to understand how to set up a strategy of remoting Backup Data when the source is a Veeam Agent.
The answer is not just the “Use the backup copy job” option because it can be used in one of three scenarios I’m going to cover in the next three articles.
So, let’s move fast forward
My Lab Environment is composed of VBR + 2 Windows 10 Physical Laptops
I do not cover the first part regarding how to create a protection group. There is more than one online guide that explains how to add a protection group to VBR.
My two suggestions are:
- Check if the Firewall ports are correctly open (click here)
- Check on Laptop if Admin share (c$) is available.
If the second point failed just follow this simple procedure. Launch a cmd as administrator and write the following command:
REG ADD HKLM\SOFTWARE\Microsoft\Windows\CurrentVersion\Policies\system /v LocalAccountTokenFilterPolicy /t REG_DWORD /d 1 /f
Scenario 1: VBR as central Manager – VAW configurated as Server
Let’s see how to configure a primary VAW backup Job
From the wizard select Windows Computer as shown in picture 1
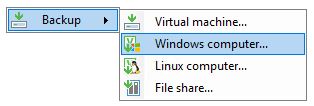 Picture 1
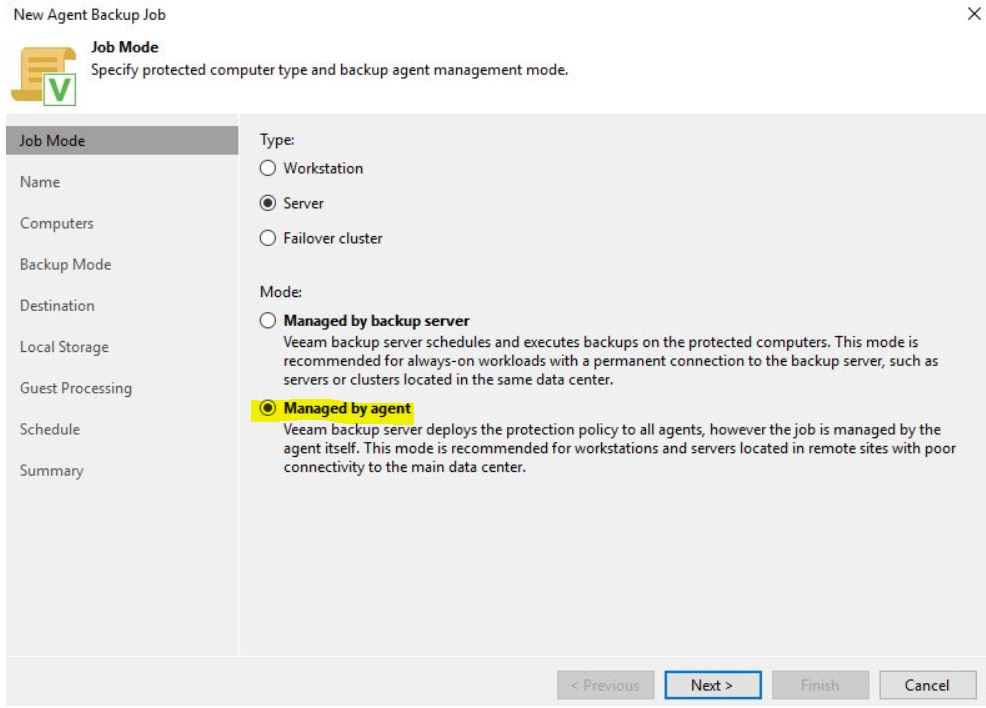
from the Job Mode Select Server (Picture 2)
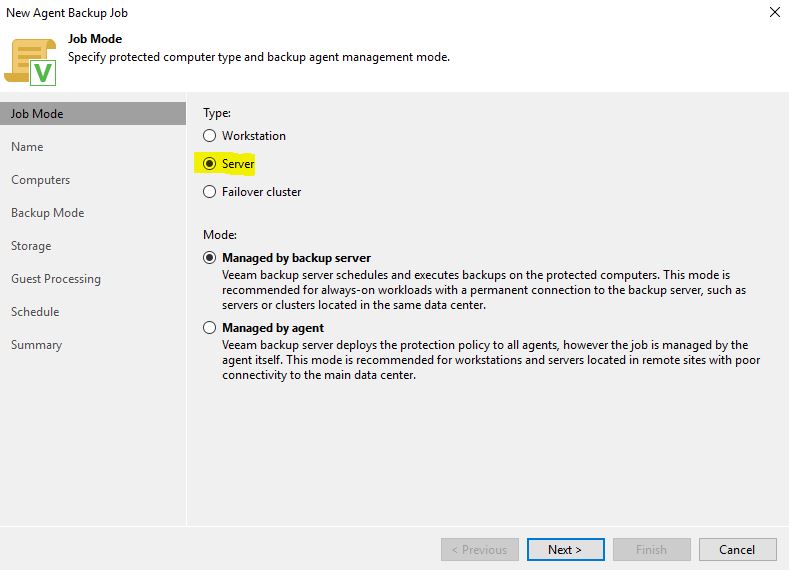 Picture 2
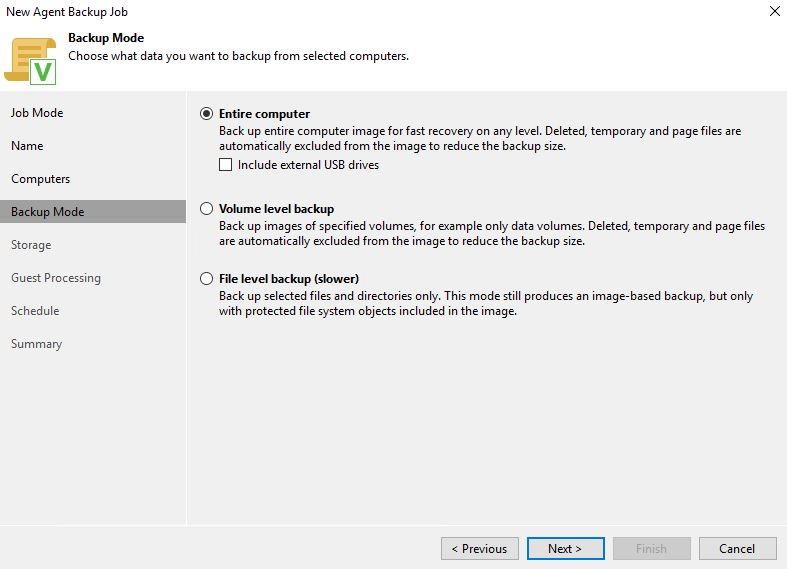
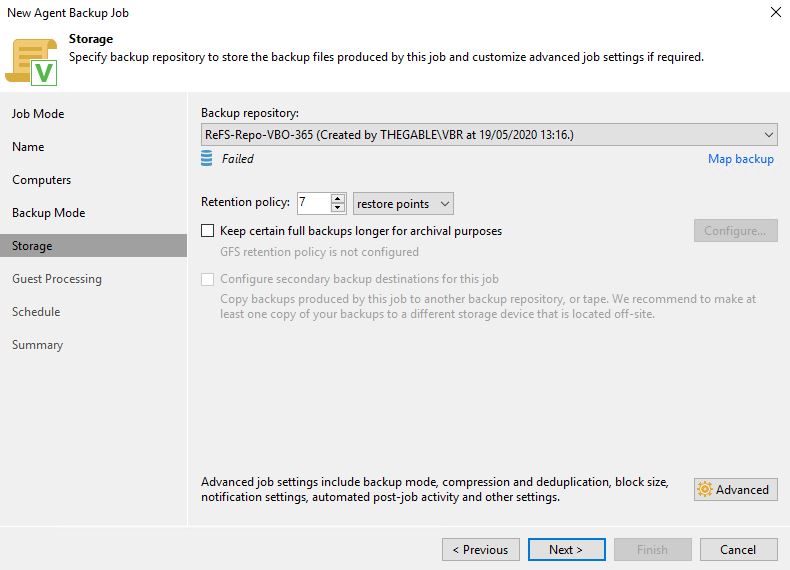
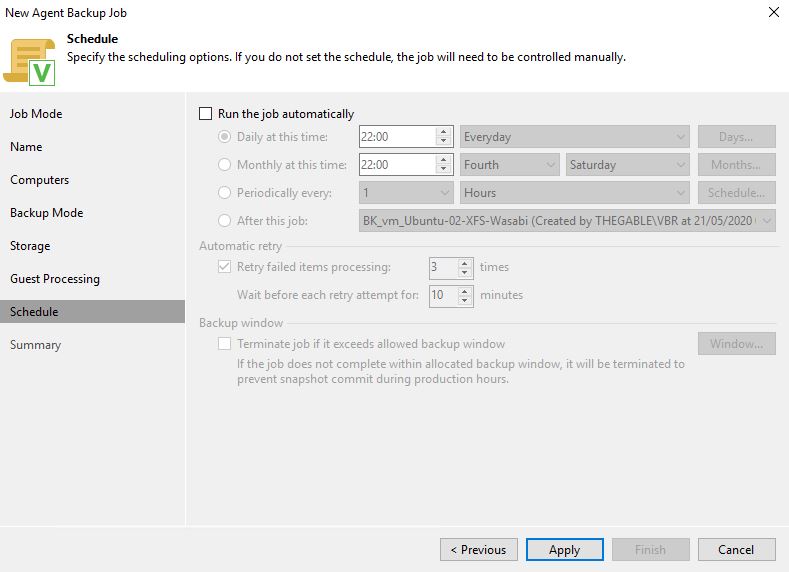
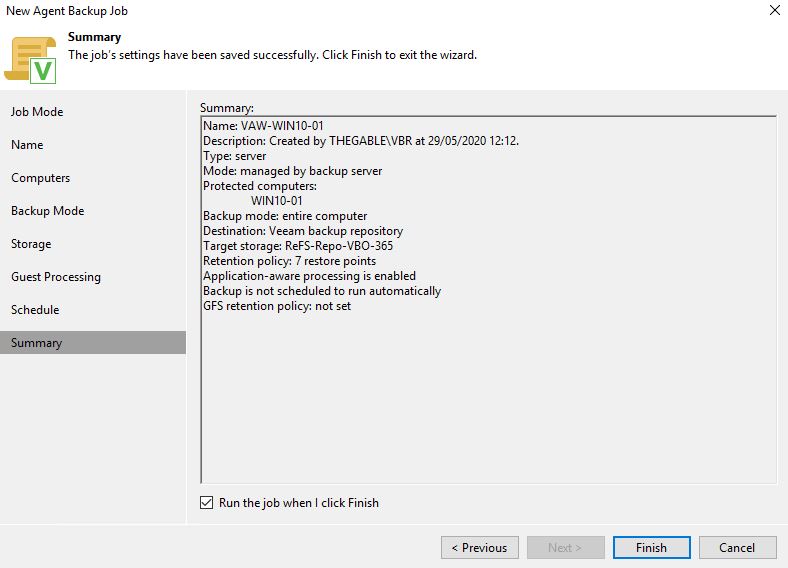
Now add the Backup Job name and follow the simple wizard (Pictures 3 to 9)
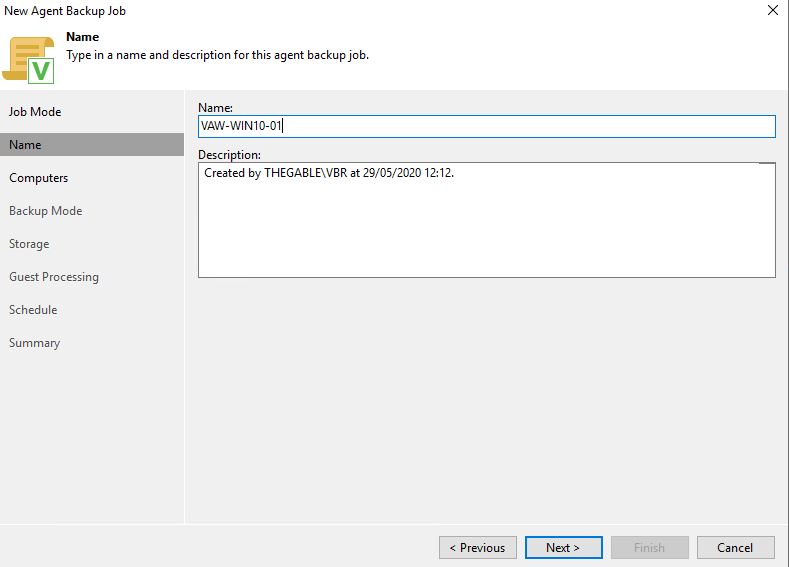
Picture 3

Picture 4
 Picture 5
 Picture 6
 Picture 7
 Picture 8
 Picture 9
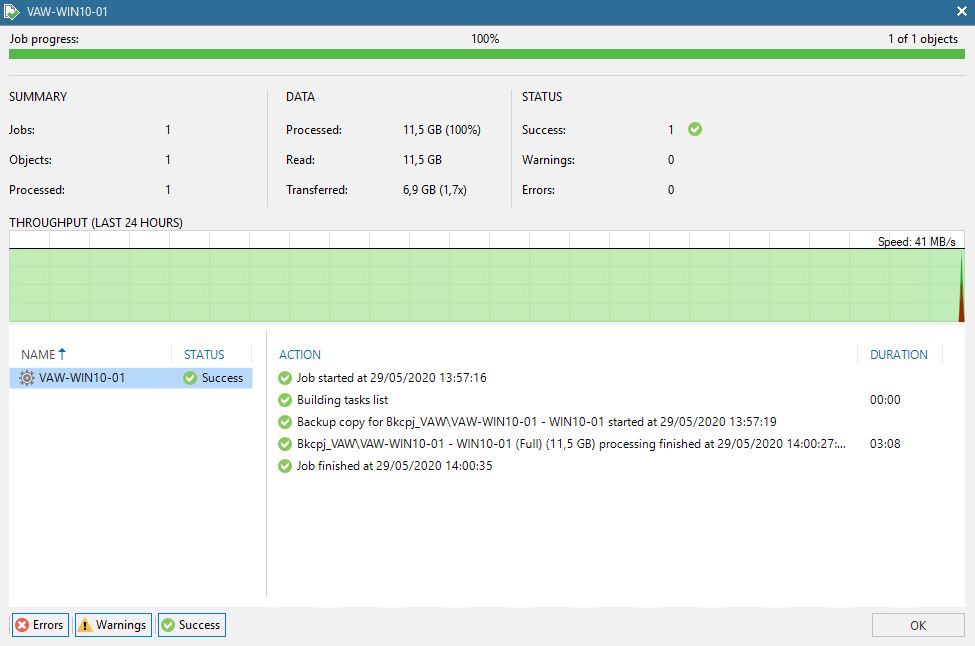
Now you can check if the backup up has been completed correctly (Picture 10)

Picture 10
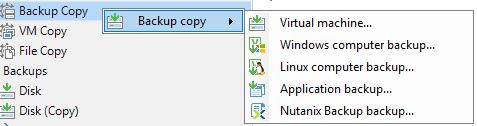
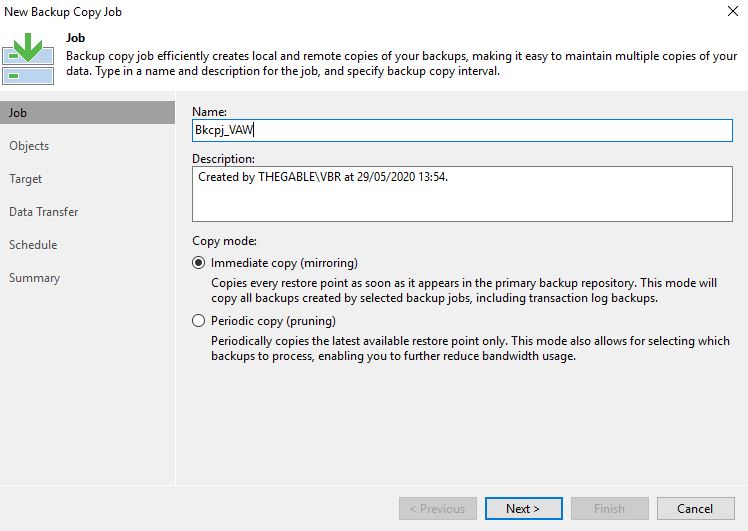
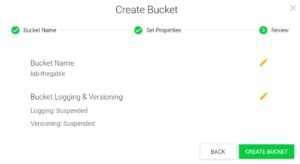
Now it’s time to configure a Backup Copy job and run it (Pictures 11 to 16)
 Picture 11
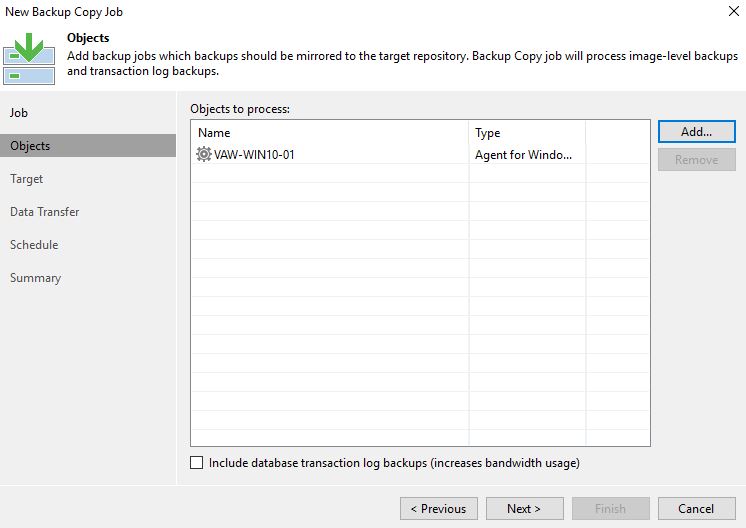
 Picture 12
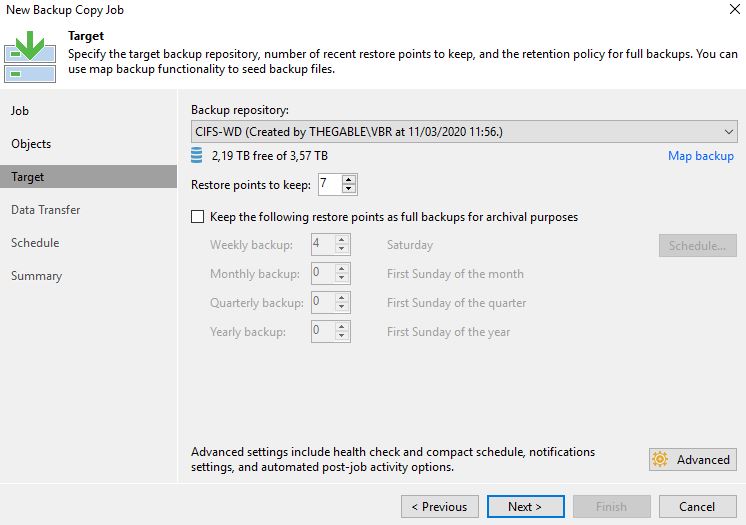
 Picture 13
Picture 14
 Picture 15
 Picture 16
Now you can see different restore points on disks (Pictures 17 to 19)
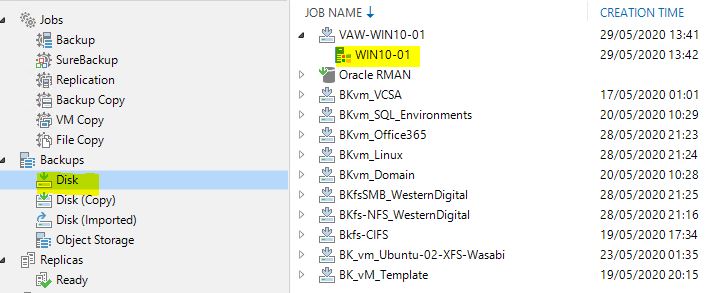 Picture 17
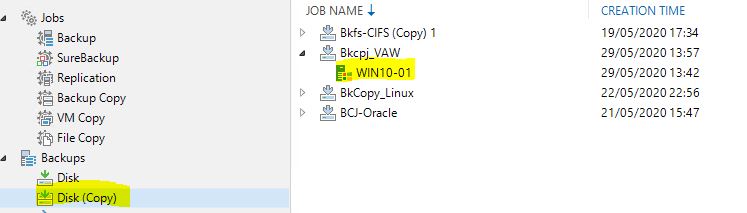 Picture 18
The last step is watching how many licenses have been used
 Picture 19
In the next article, we are going to see what will change if we work on the “select mode” option.
 Picture 1
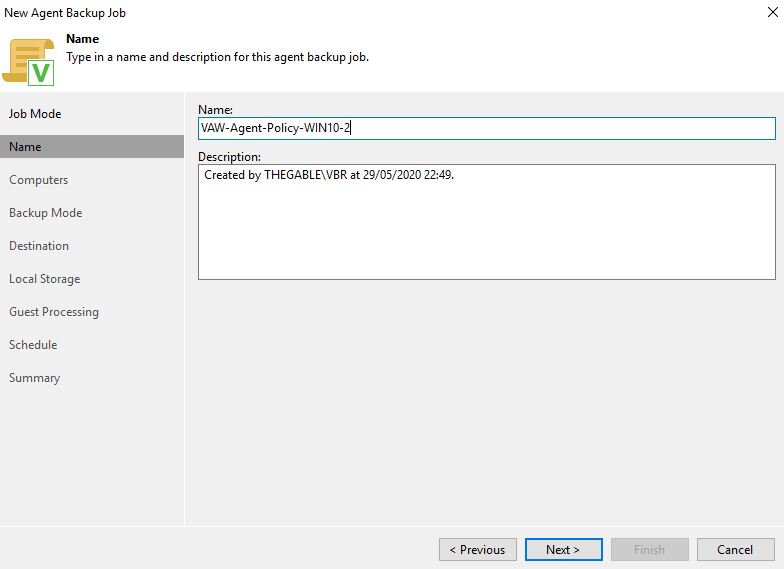 Picture 2
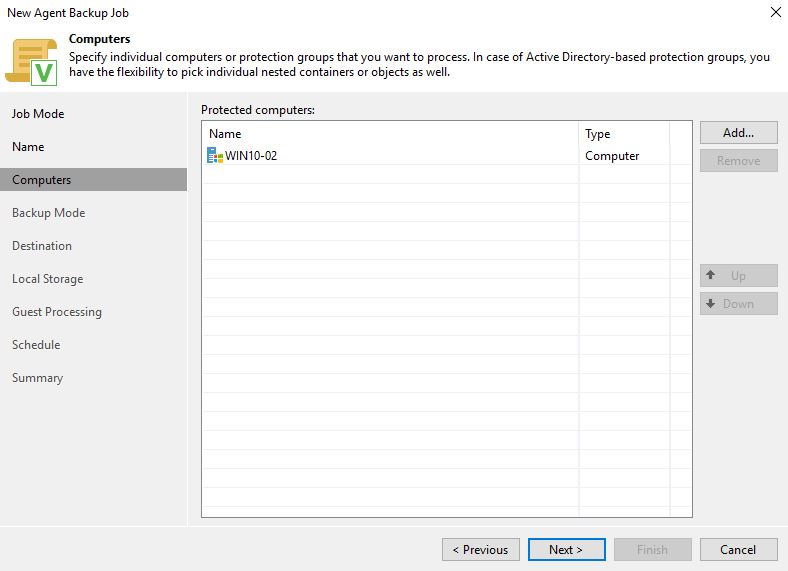 Picture 3
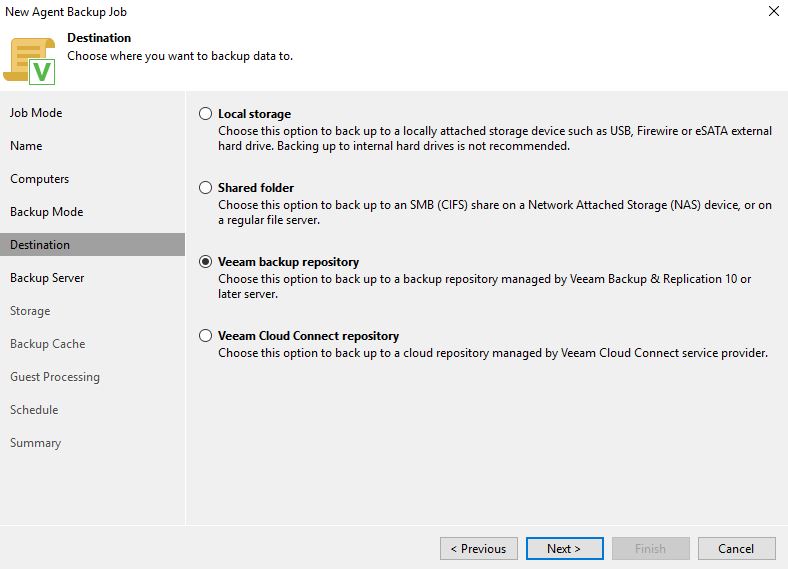 Picture 4
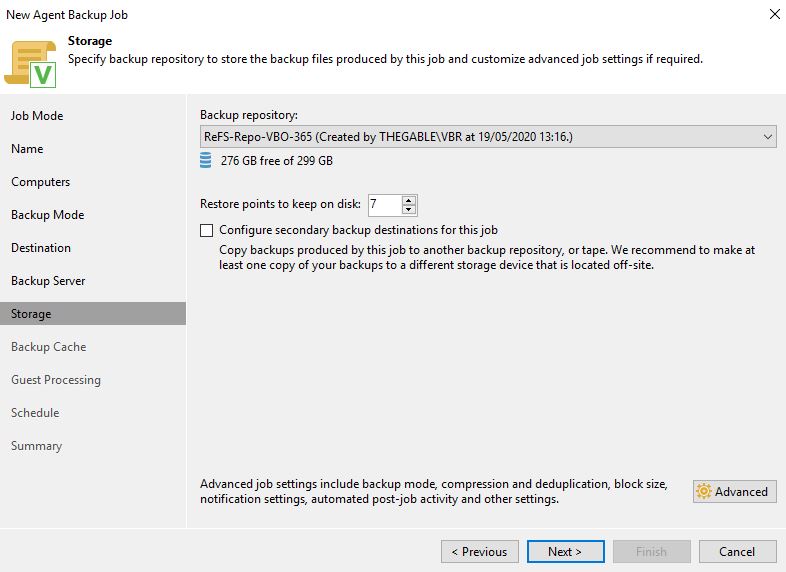 Picture 5
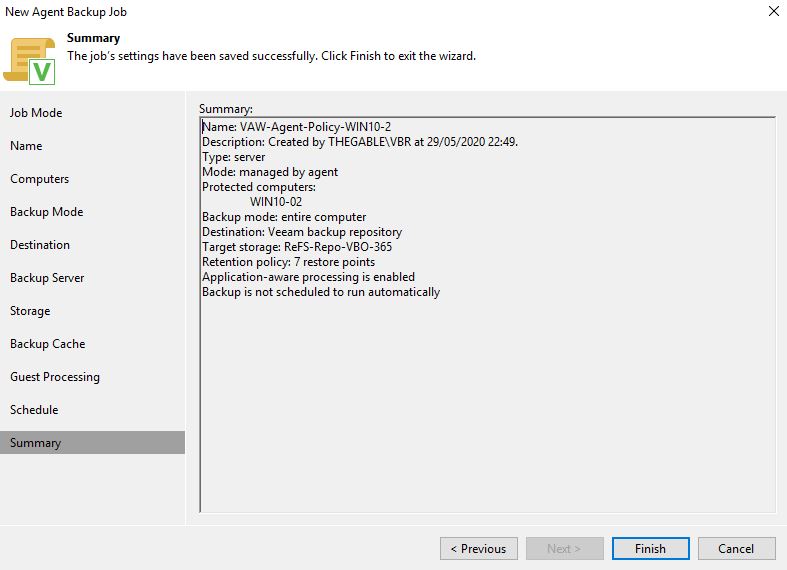 Picture 6
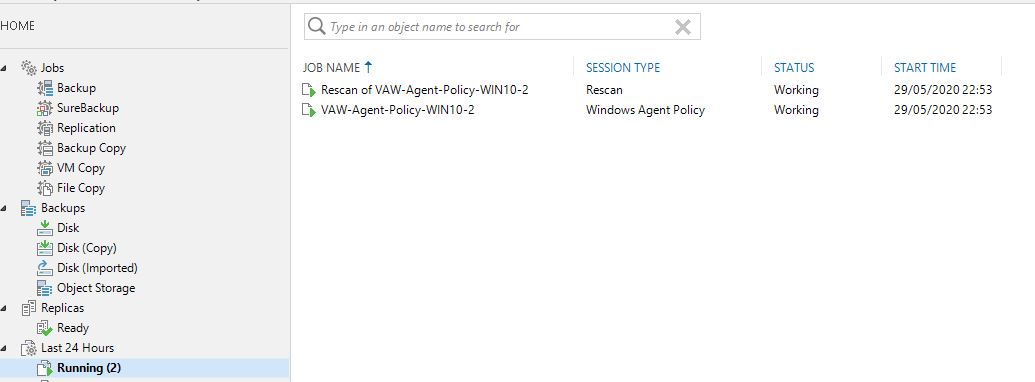 Picture 6
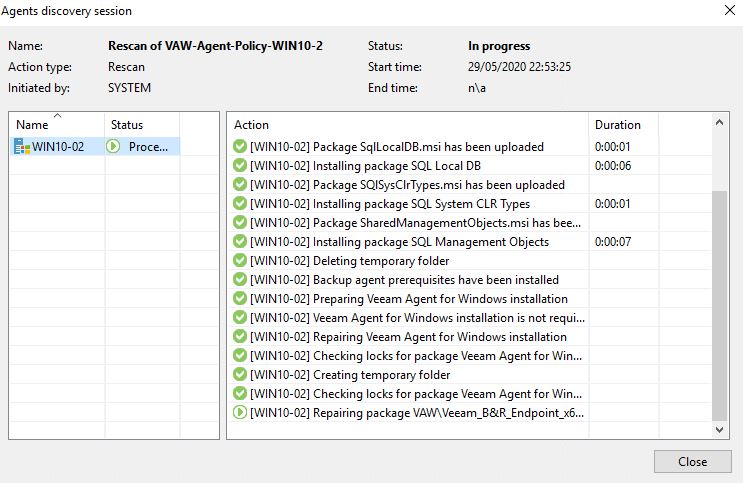 Picture 7
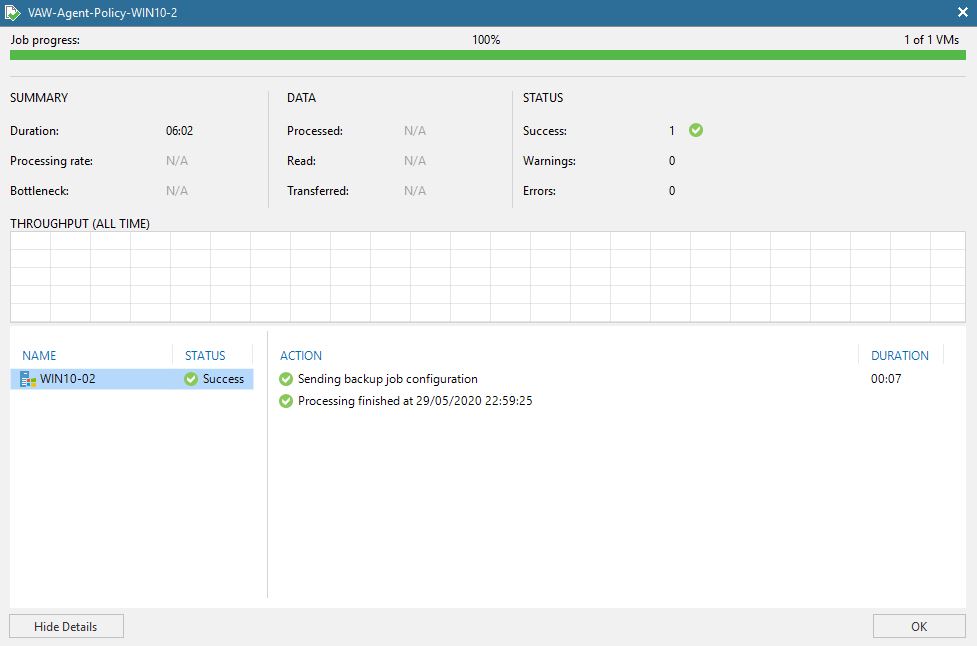 Picture 8
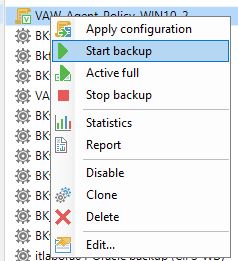 Picture 9
 Picture 10
 Picture 11
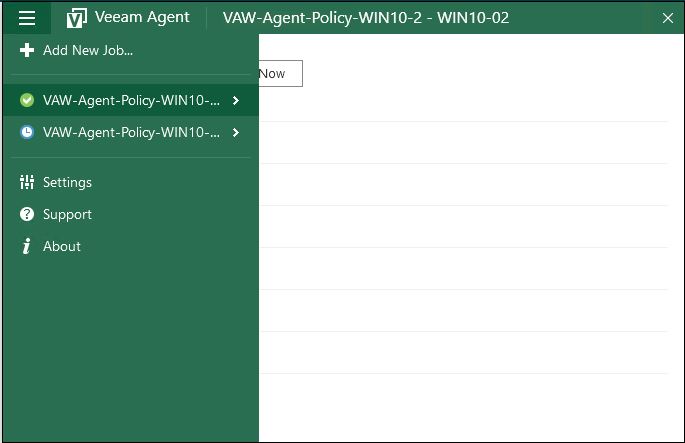 Picture 12
 Picture 13
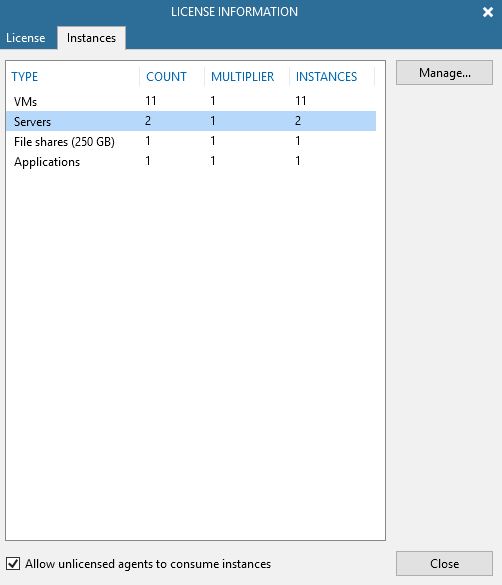 Picture 14
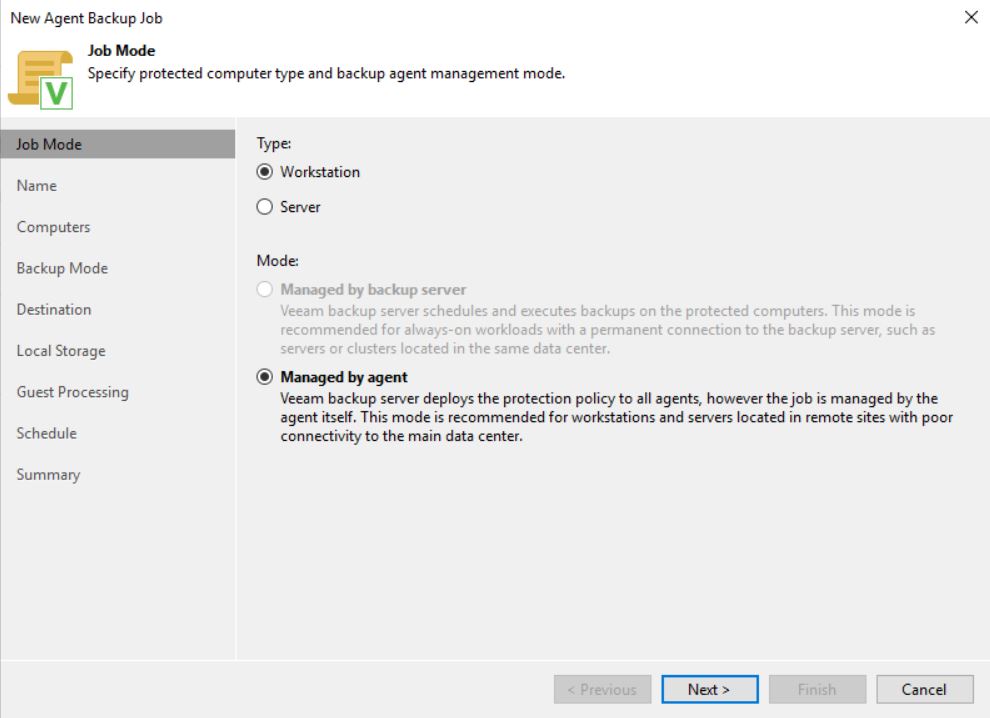 Image 1
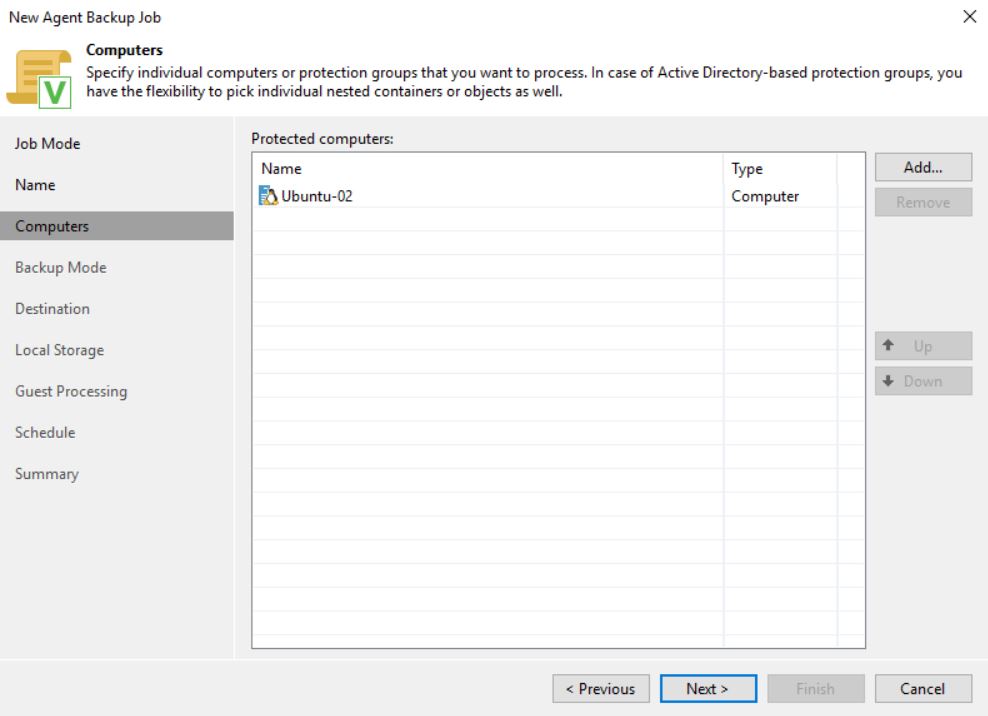 Image 2
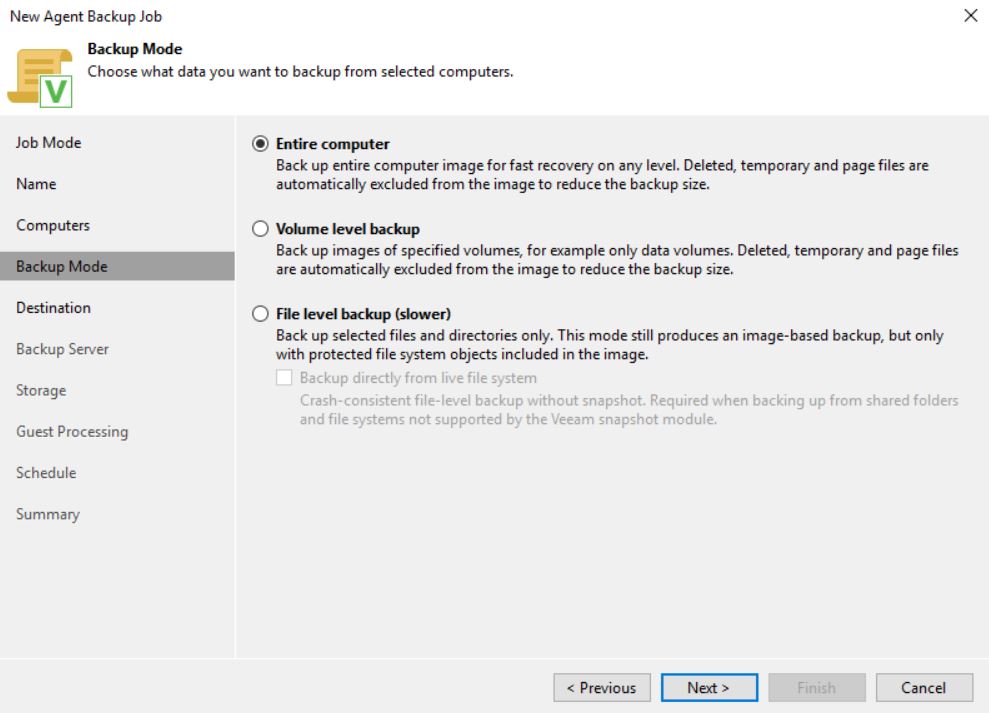 Image 3
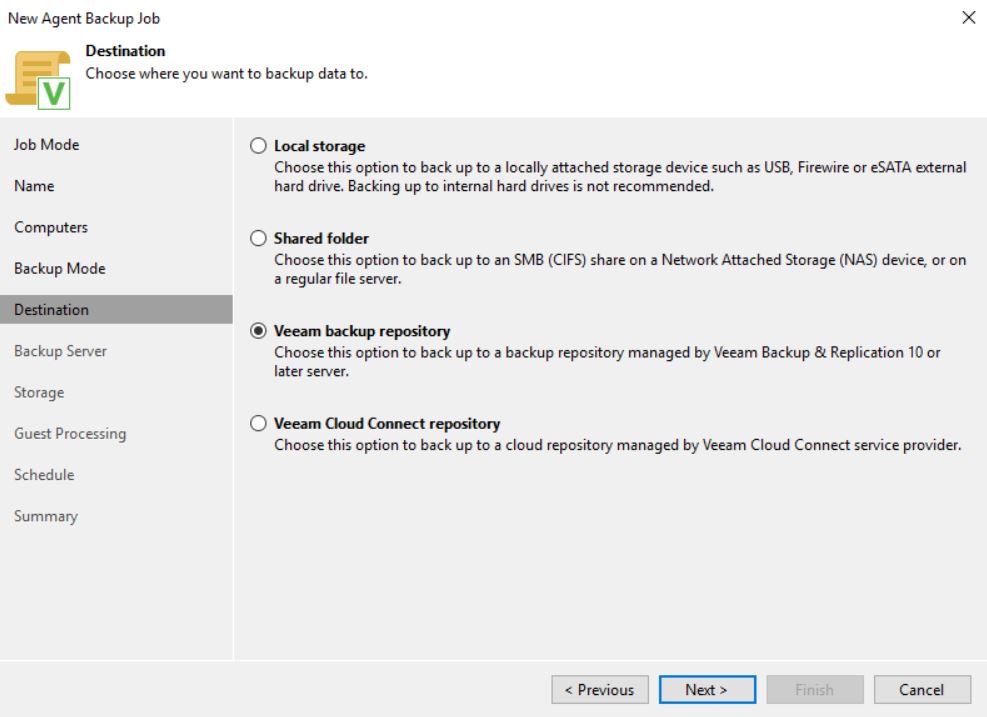 Image 4
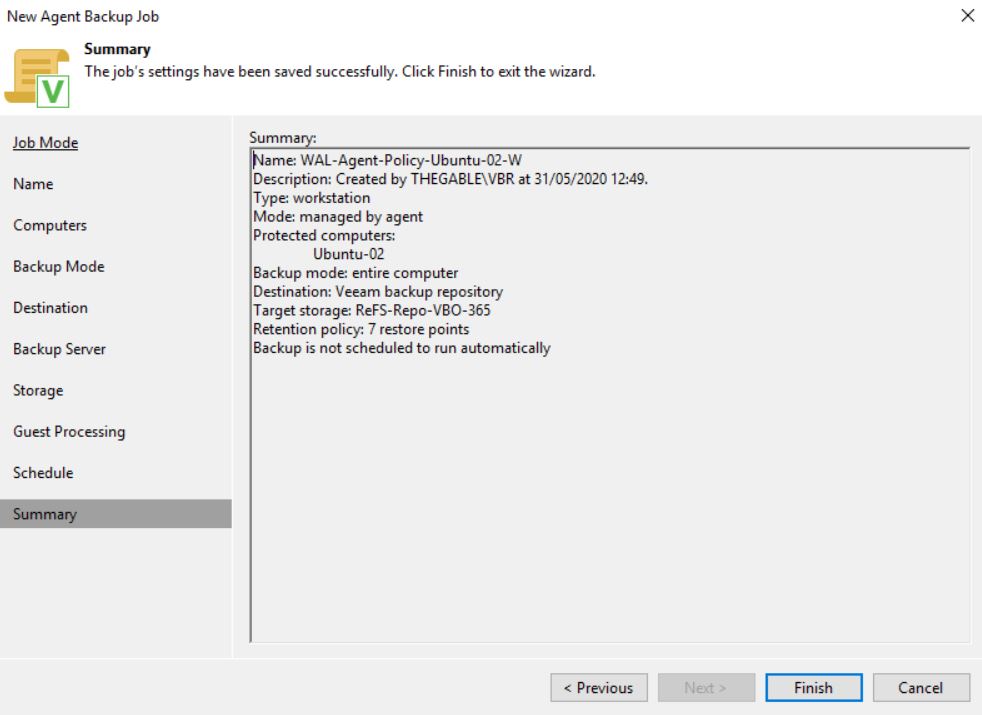 Image 5
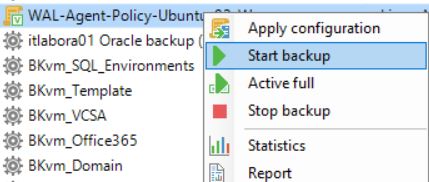 image 6
 Image 8
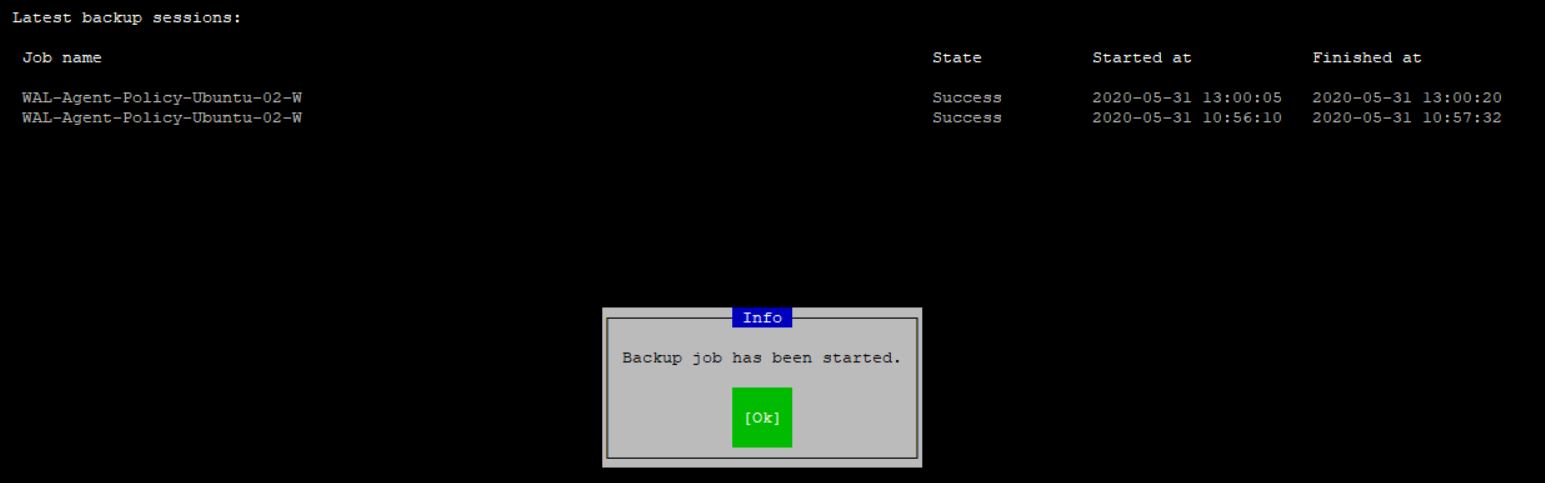 Image 9
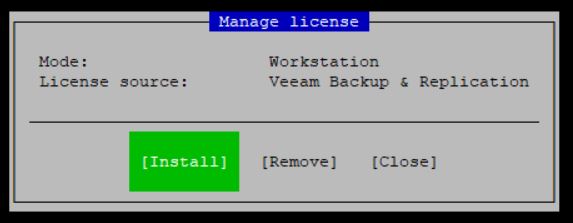 Image 10
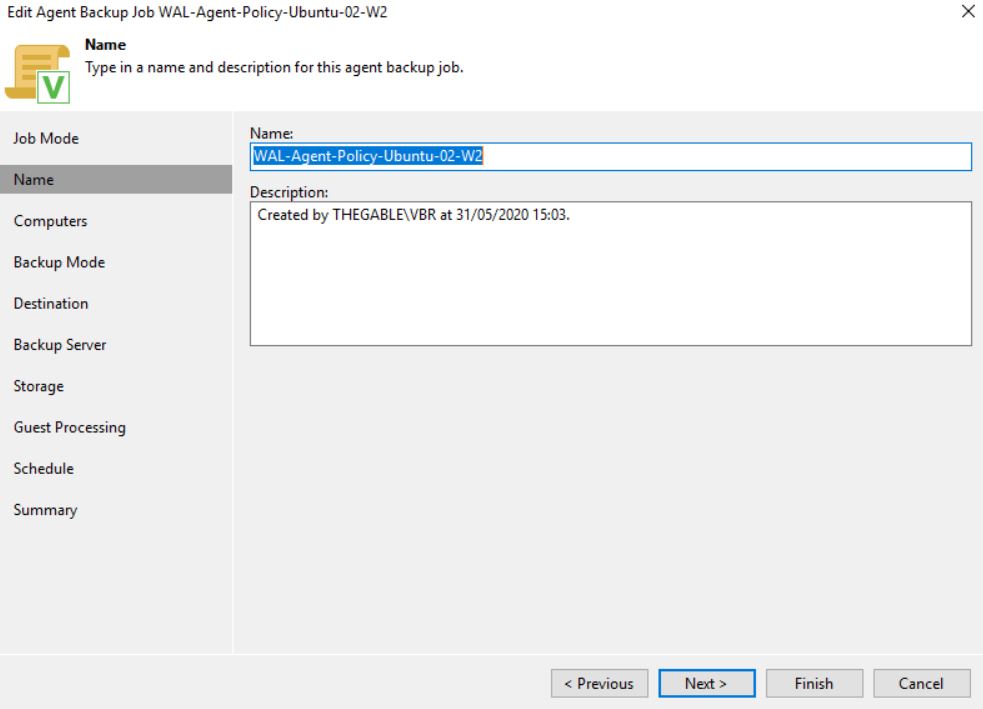 Image 11
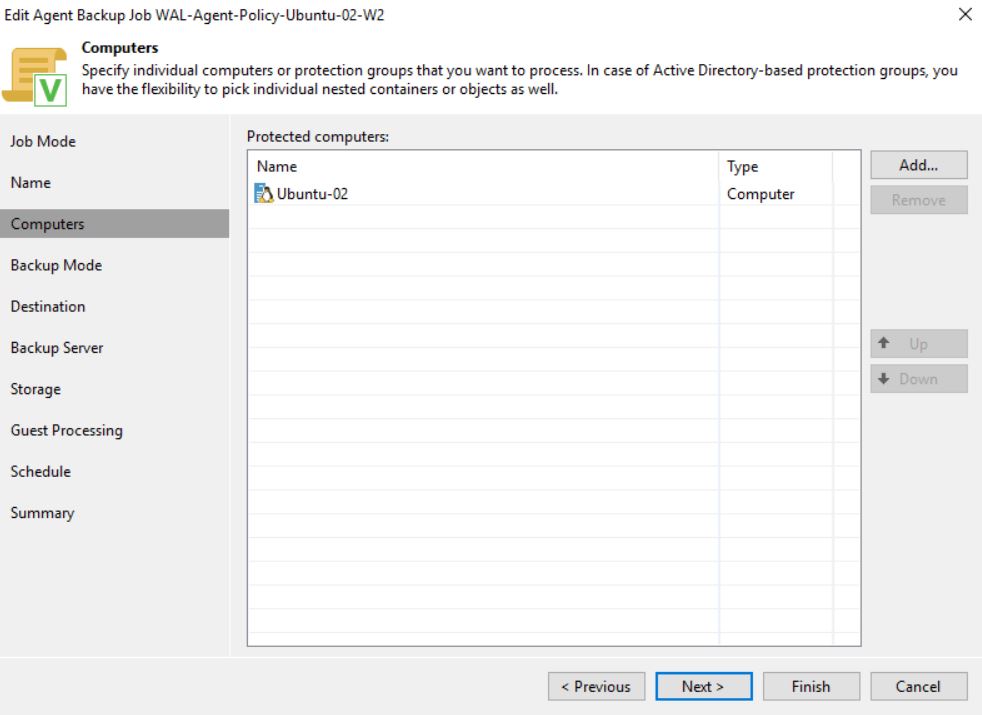 Image 12
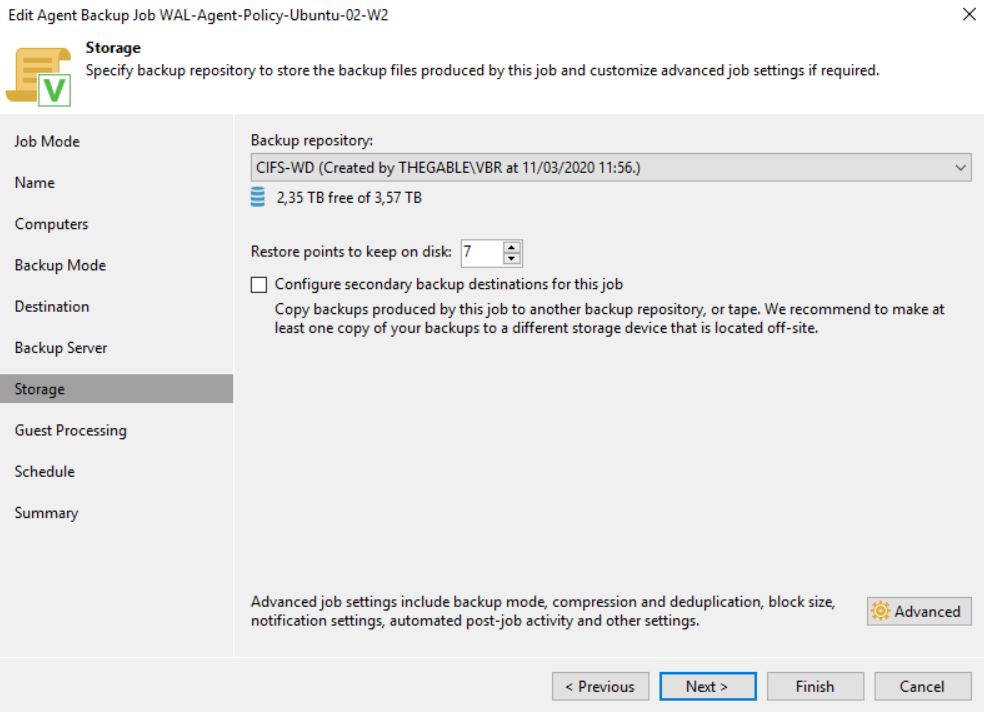 Image 13
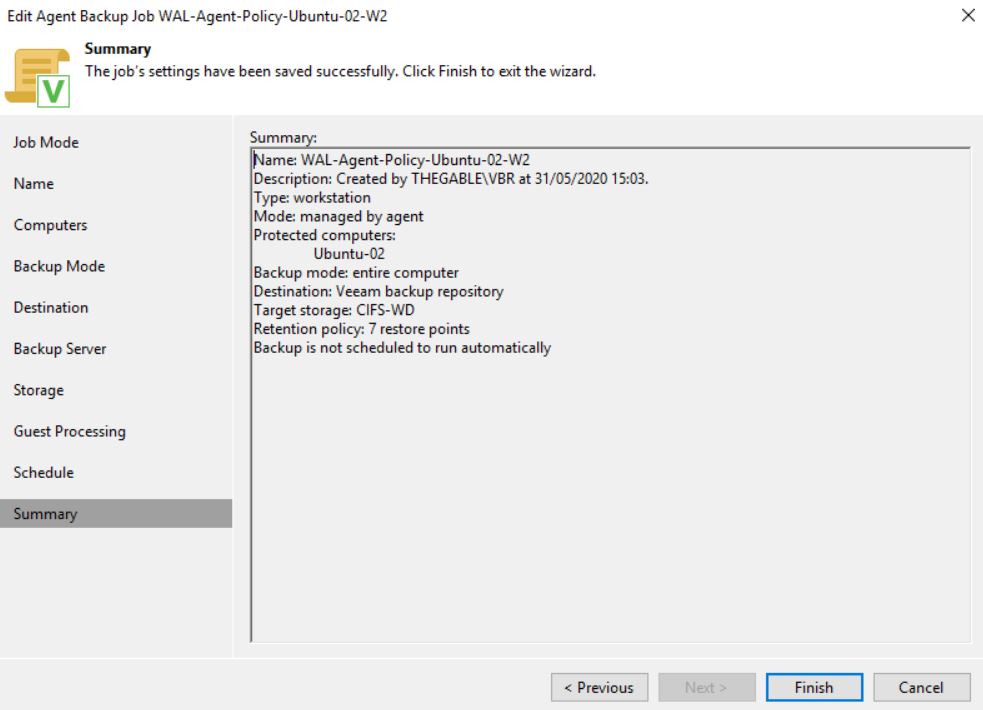 Image 14
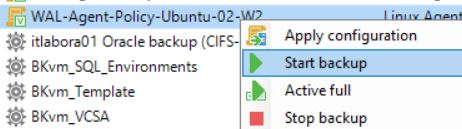
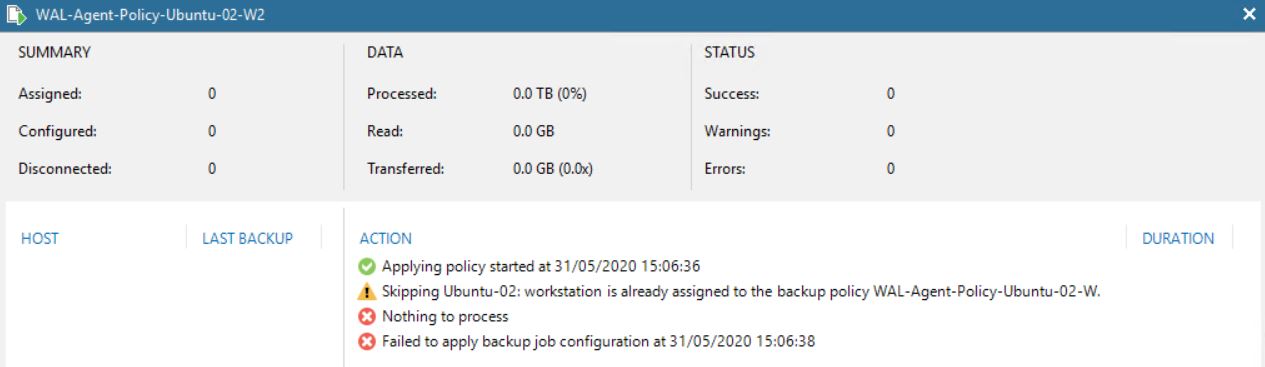 Image 16
 Figure 1
 Figure 2
 Figure 3
 Figure 4
 Figure 5
 Figure 6
 Figure 7
 Figure 8
 Figure 9

 Picture 1
 Picture 2
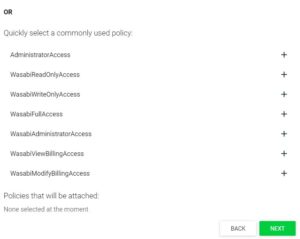 Picture 3
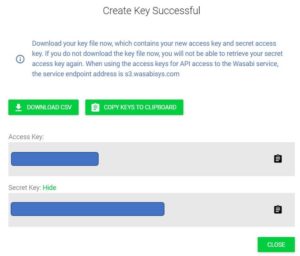 Picture 4
 Picture 5
 Picture 1
 Picture 2
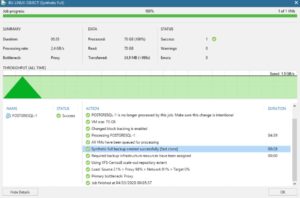 Picture 3