Integrating Proxmox Virtual Environment (PVE) and Veeam Backup & Replication (VBR) is a significant step in optimizing backup and recovery policies. This article outlines the key steps to enable the plug-in of VBR, starting with the system architecture, installing and configuring the plug-in, and adding the Proxmox server to the VBR.
Note that the instructions are based on the Beta version of the plug-in, so there may be differences in the official version.
Rereading the article written a few months ago (available on this site at the following link), I believe that those considering virtualization as a commodity will choose PVE to quickly escape the uncertainty caused by Broadcom’s business choices.
Note 1: PVE is a Debian-based Linux distribution with Ubuntu kernel that allows virtual machines and containers to be deployed and managed.
Note 2: Proxmox is a European company based in Austria.
In this first article (of three) we will look at the basic steps to enable the plug-in that allows VBR to implement backup and recovery policies.
Ask your referring Veeam SE to test the Beta version.
Architecture:
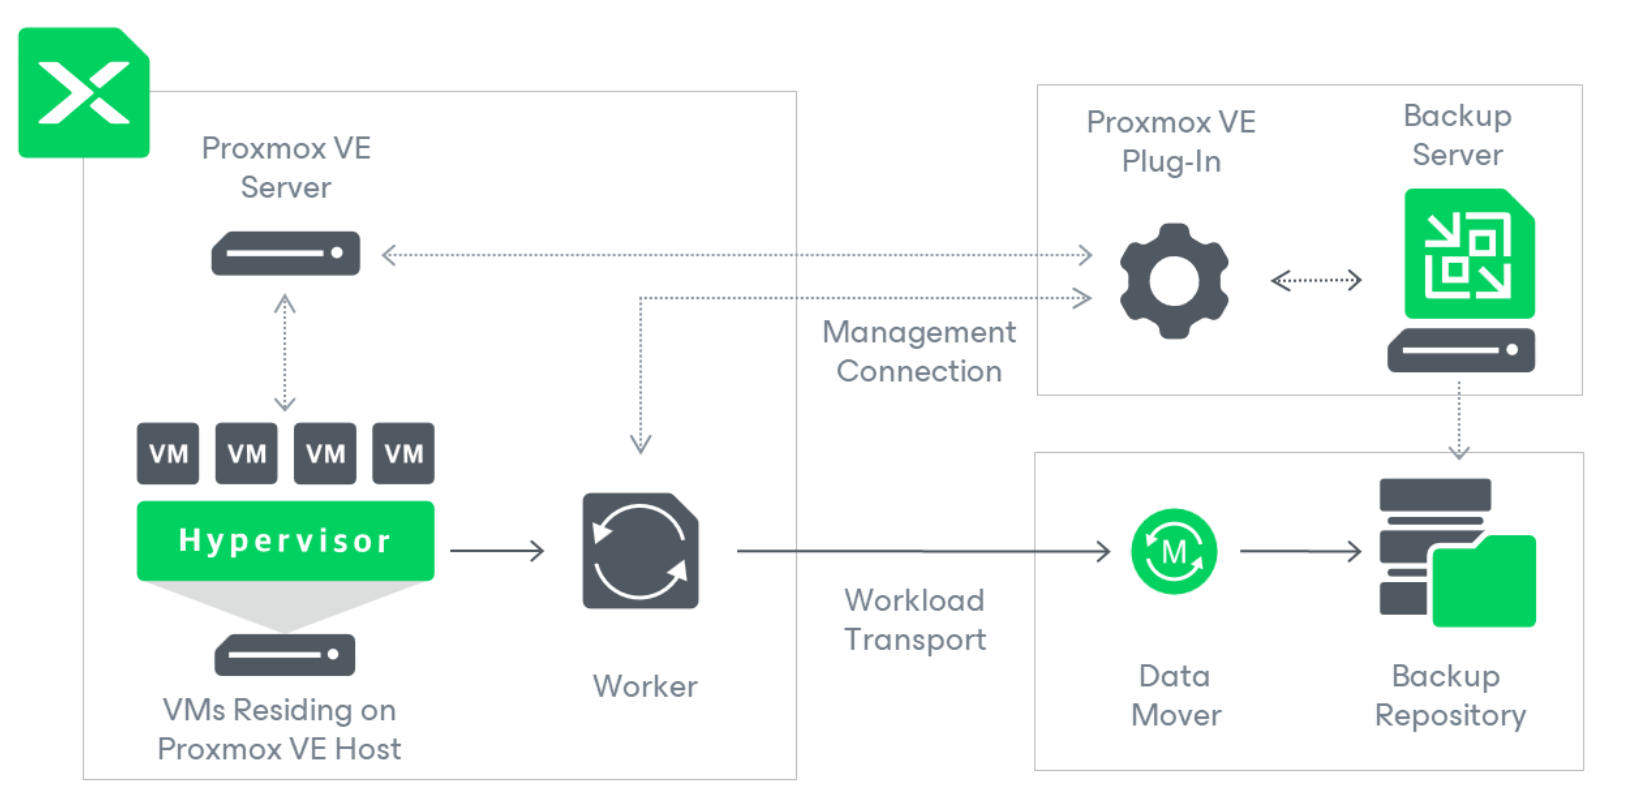
Image 1 shows the operation diagram of the integration. The Plug-in is the component that enables communication between the Veeam Backup Server (VBR) and the Proxmox architecture.
Note 3: The Proxy role (referred to here as Worker) is responsible for collecting the data from the VMs to be protected and copying it to the Backup Repository.
The Backup process involves the triggering of snapshots, and the connection between the Proxmox server and VBR is via REST API.
 Picture 1
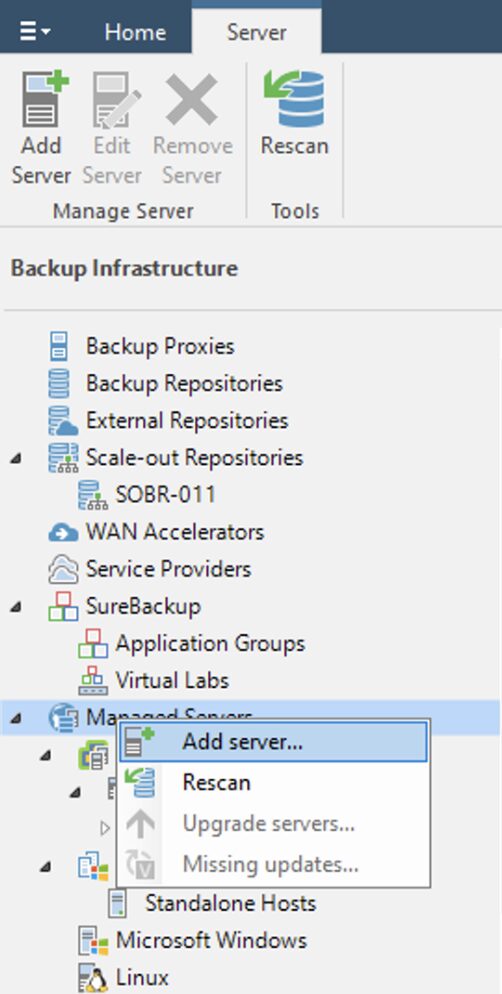
Once the plug-in is installed on the VBR server, it is necessary:
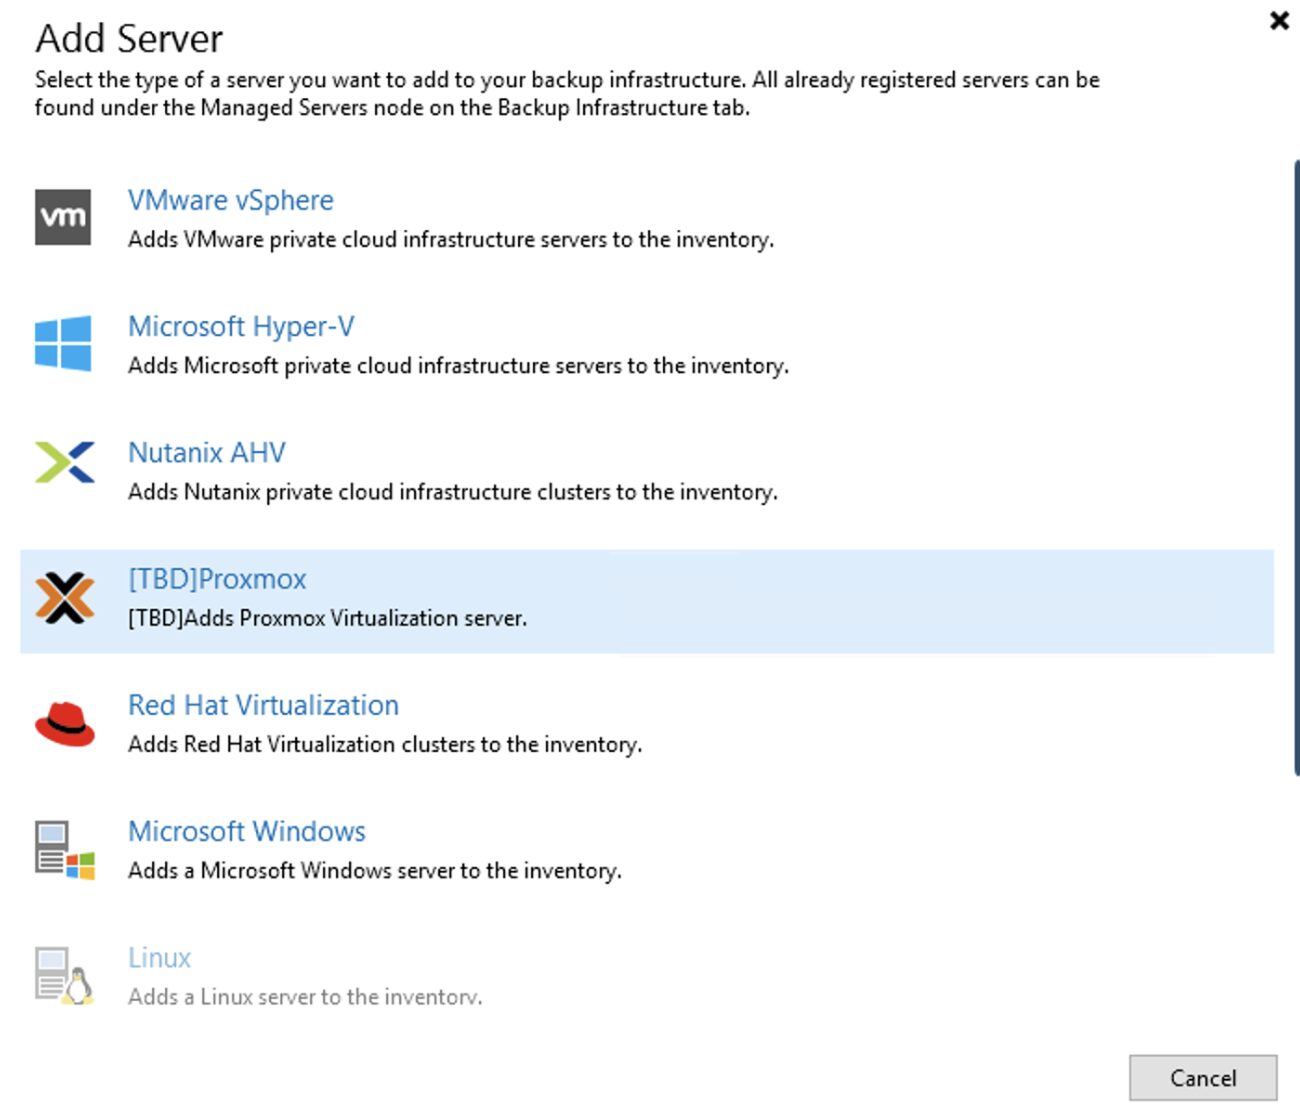
- From the console of VBR under Backup Infrastructure add the Proxmox server (images 2 and 3).
 picture 2
 Picture 3
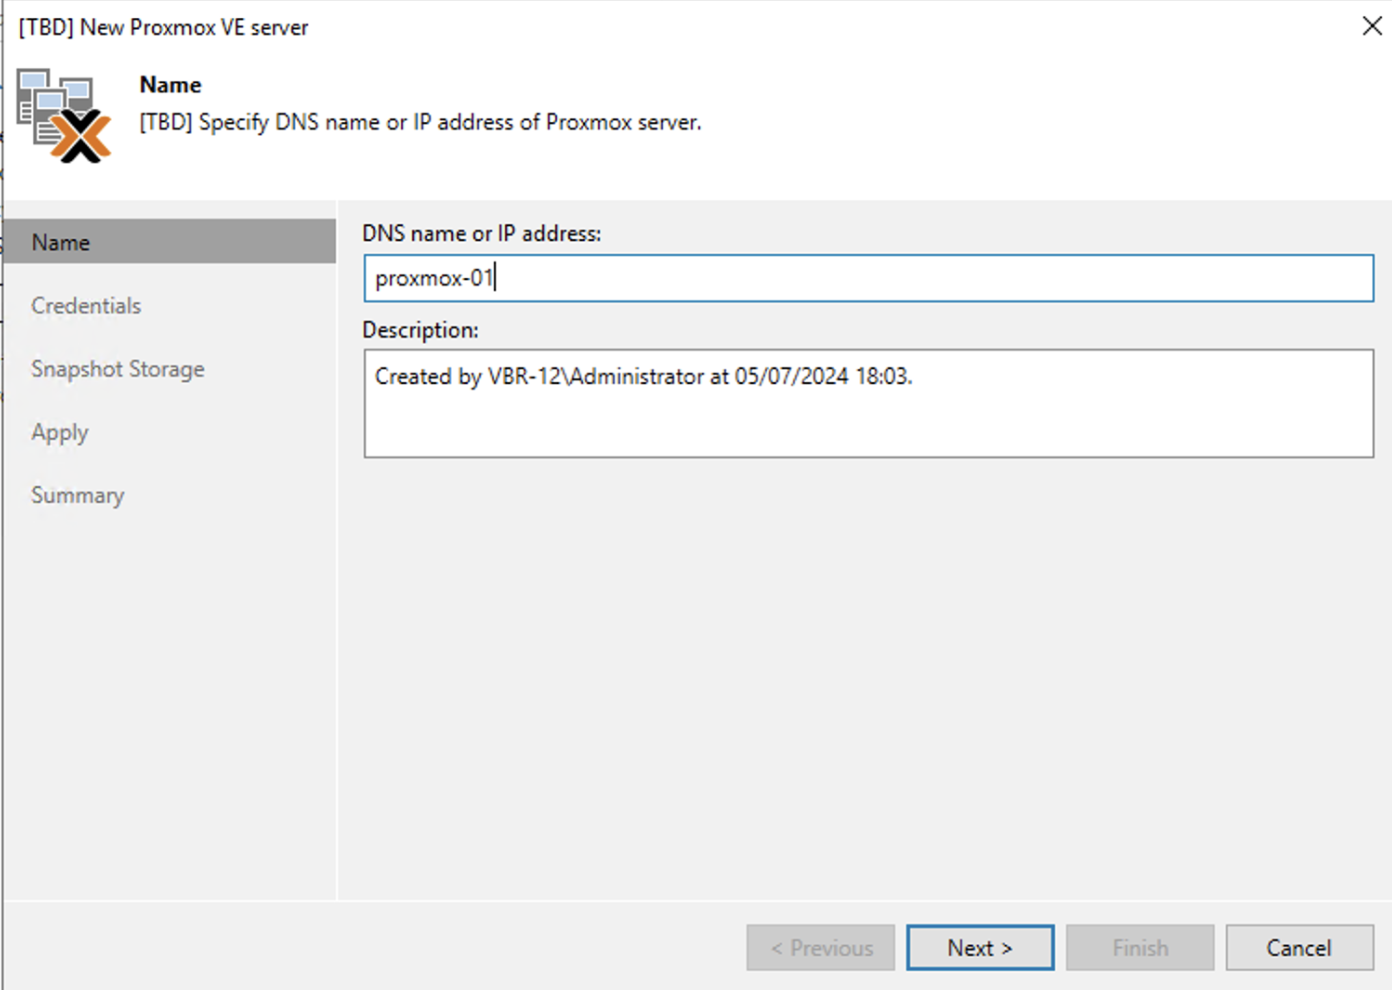
2. The next images (4 through 9) show the simple steps to add the architecture PVE in the console of VBR.
 Picture 4
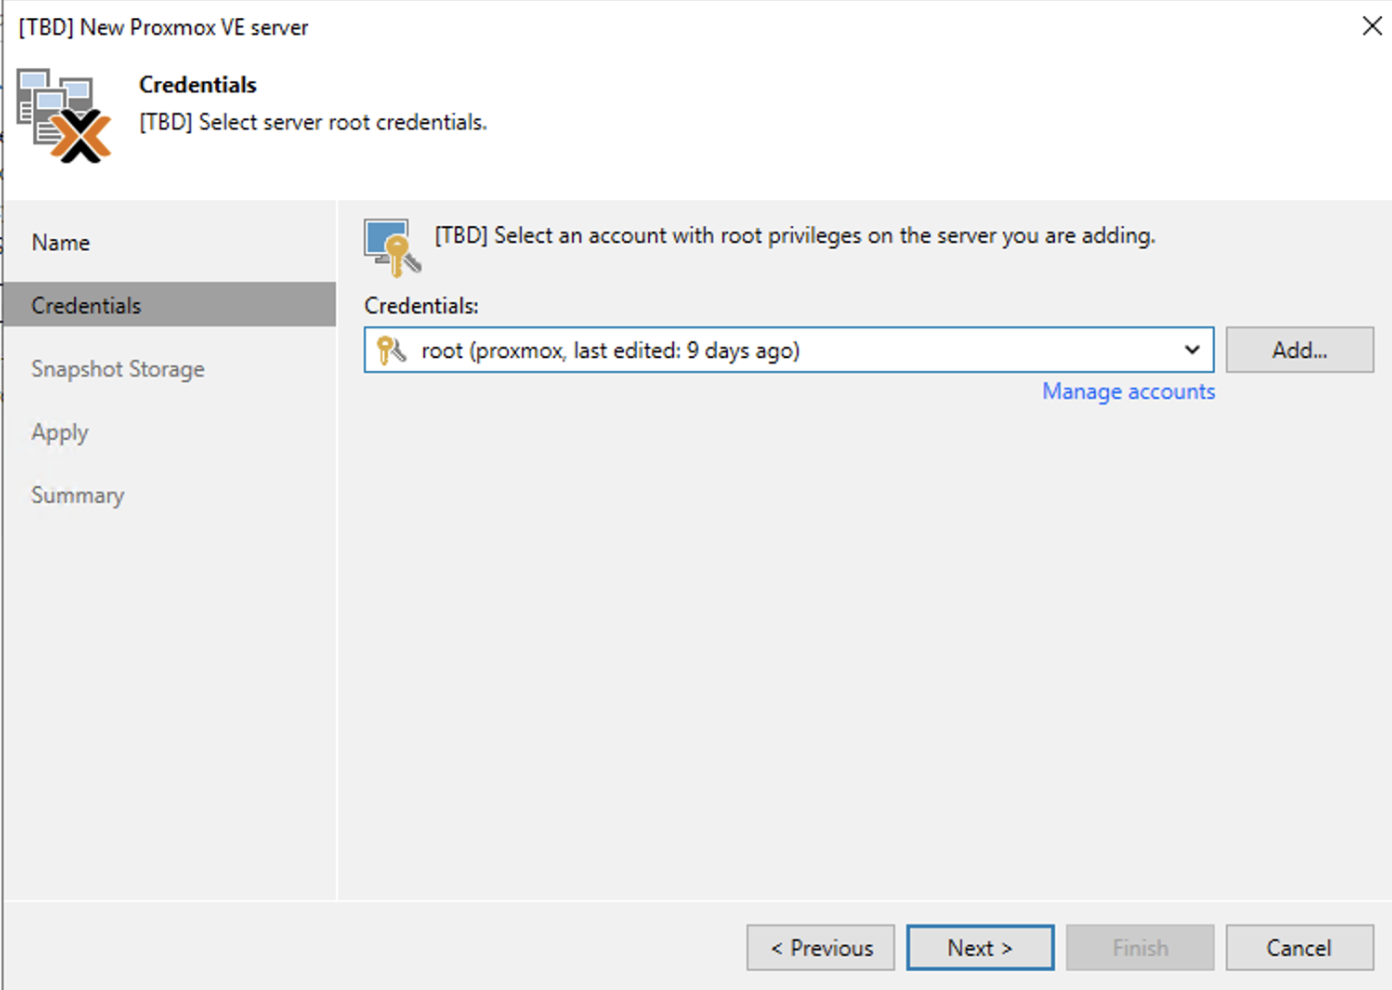 Picture 5
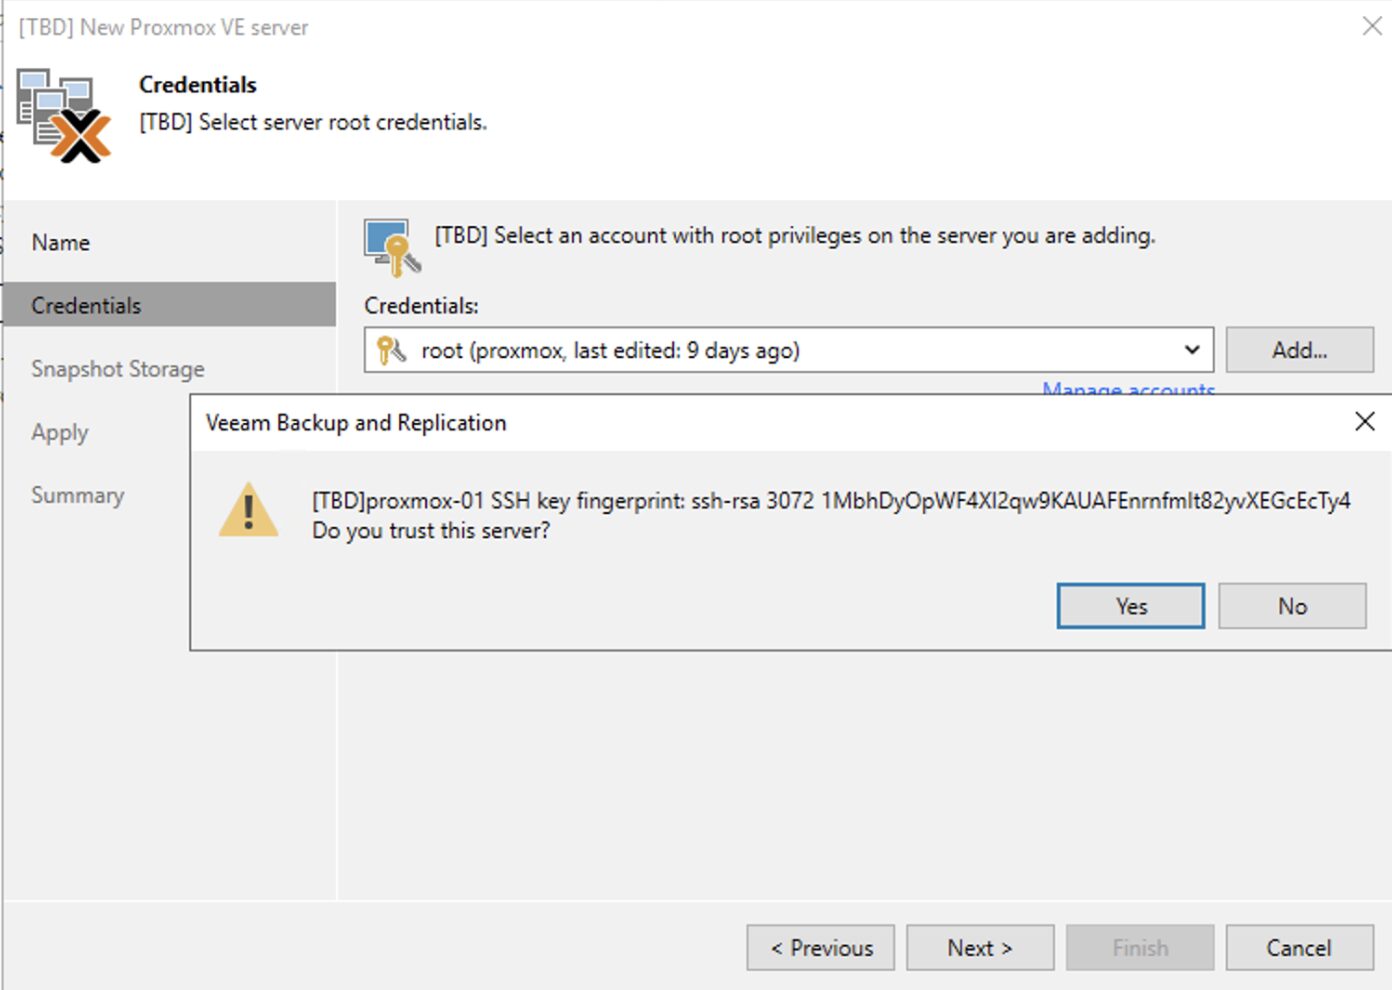 Picture 6
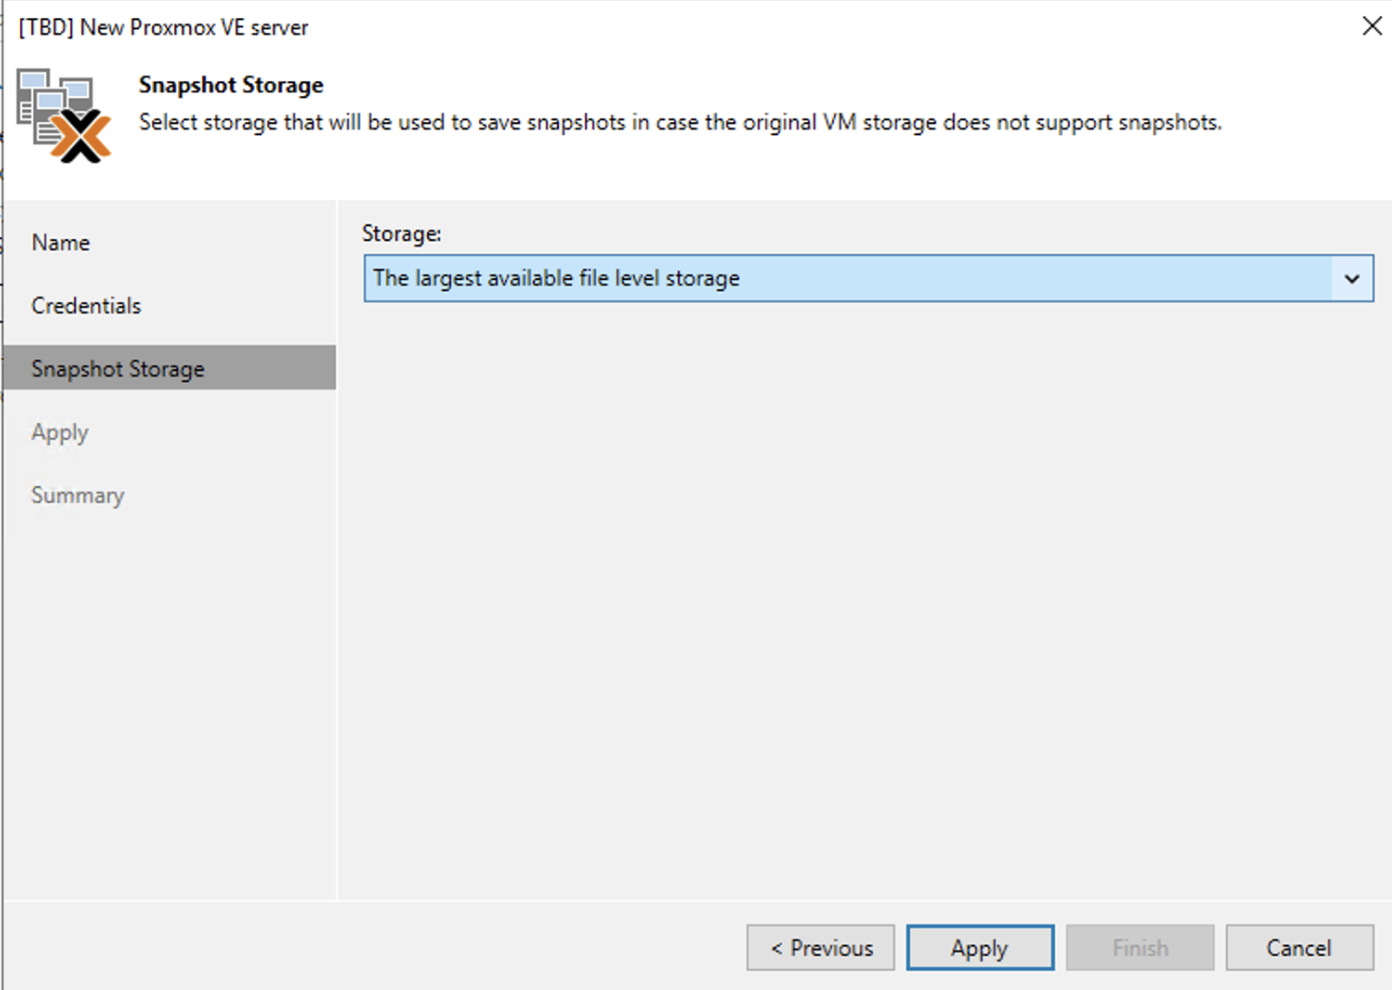 Picture 7
Note 4: It is possible to select the storage where the snapshots will be saved.
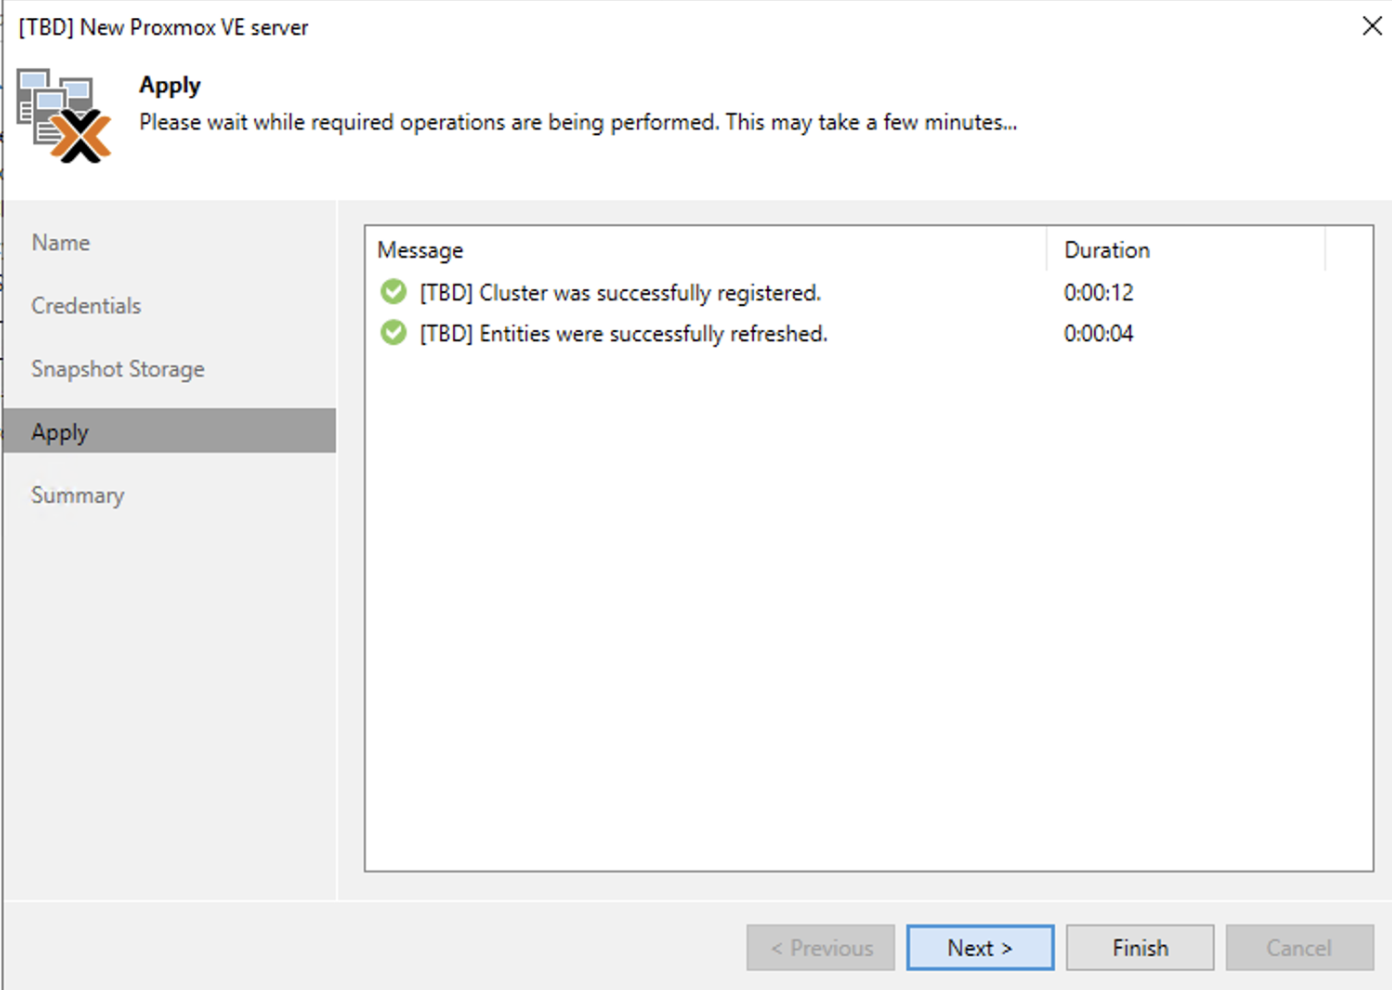 Image 8
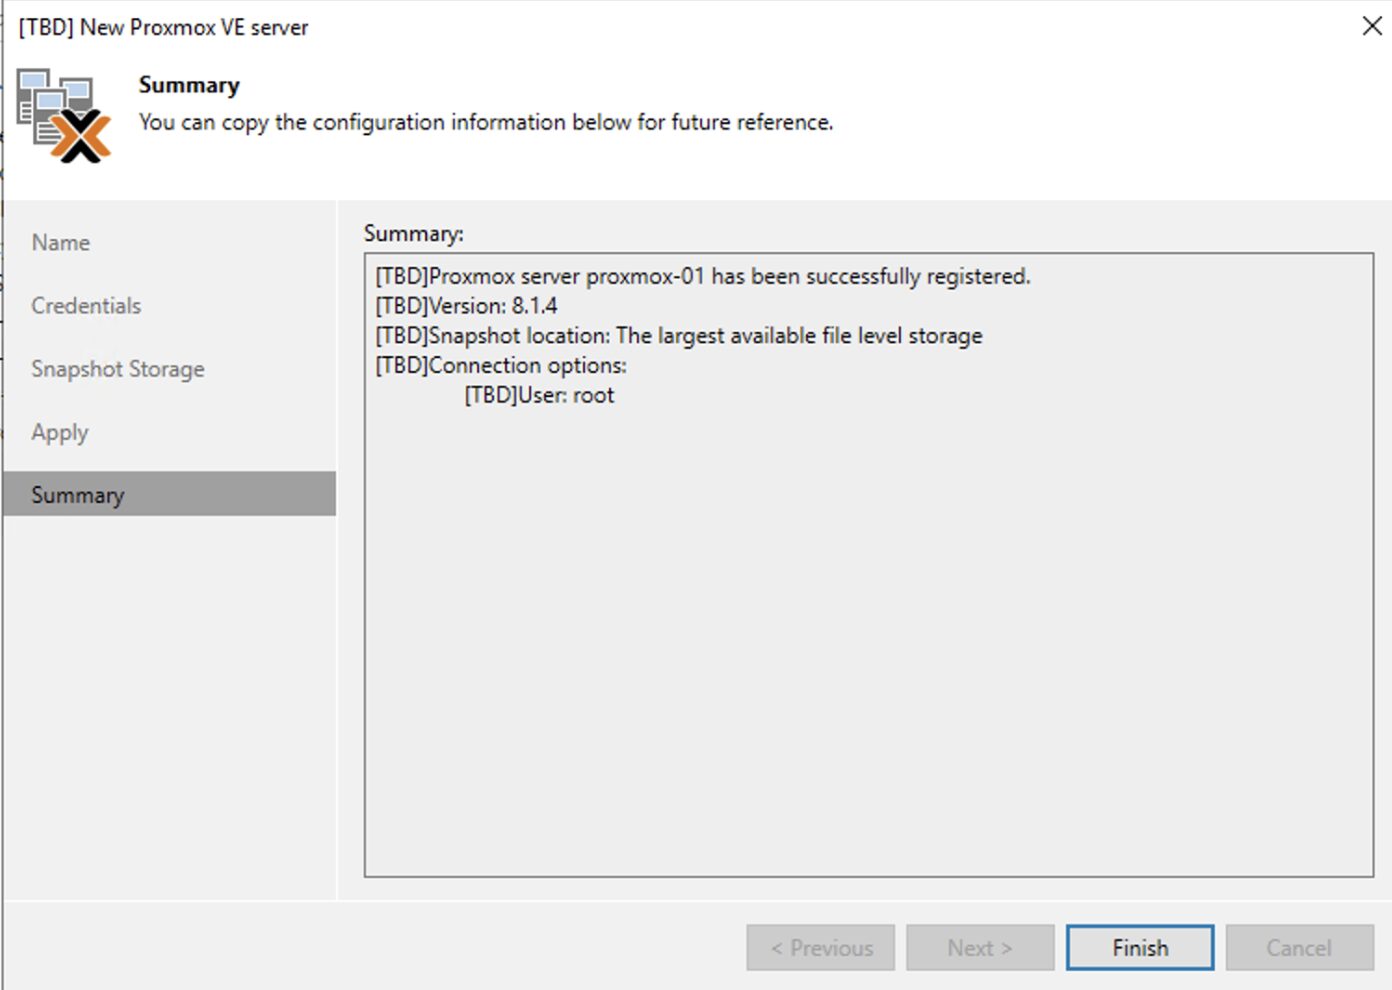 Image 9
When finished, you can immediately deploy the worker (proxy). The advantage is to speed up the backup process (image 10).
 Image 10
Note 5: For those coming from the world VMware is exactly how to enable the virtual appliance transport method.
In this last step, it is possible to configure which host to deploy the worker, which storage to use (image 11), which resources to assign (image 12), and which networks to operate on (images 13, 14, and 15 ).
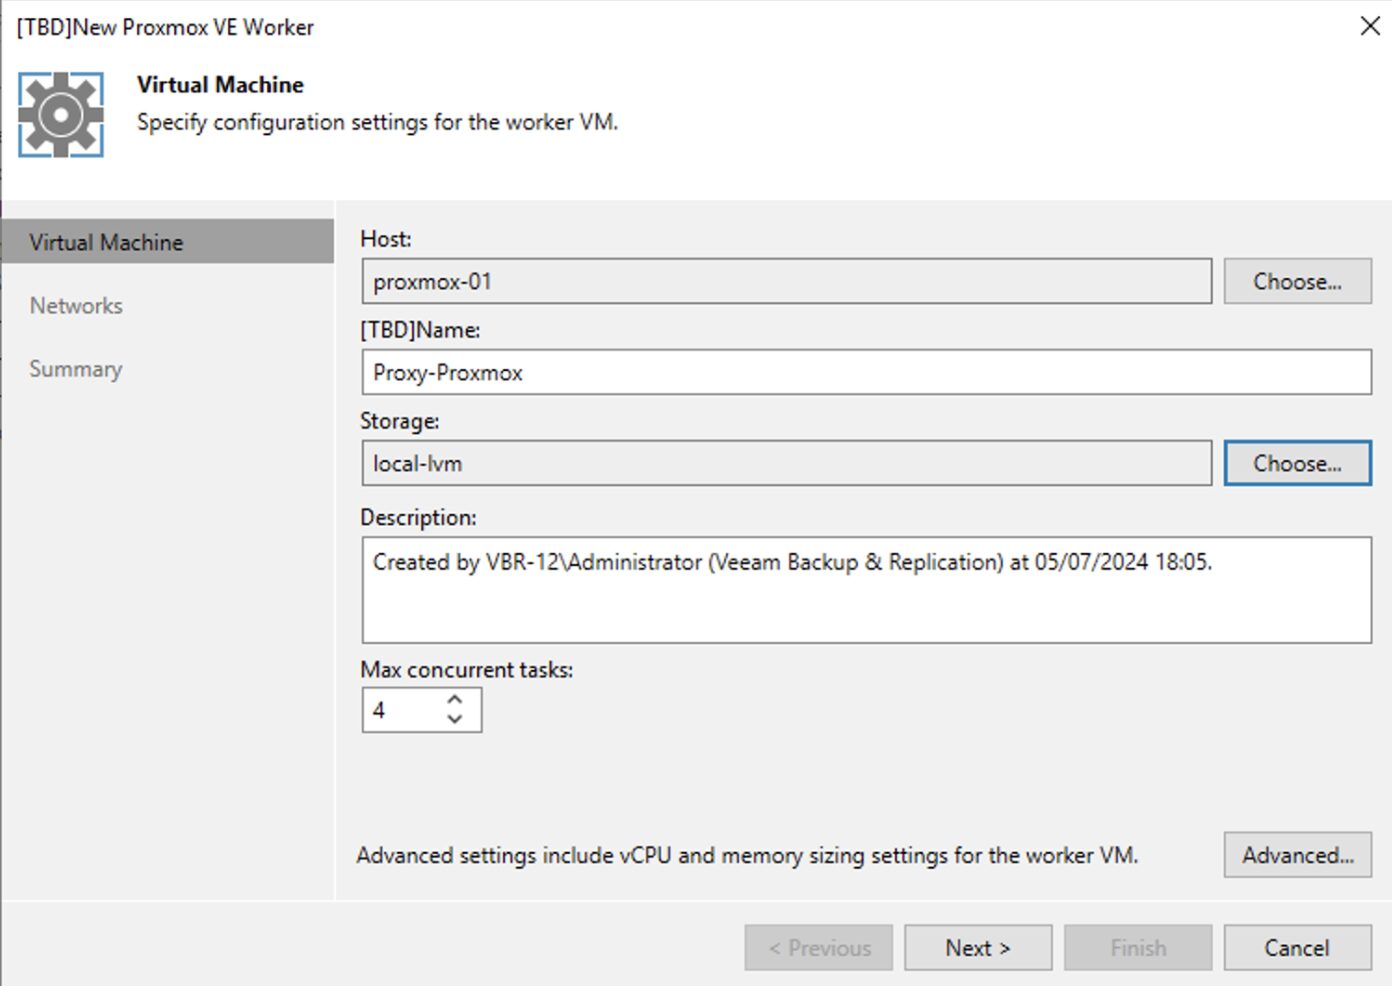 Image 11
 Image 12
 Image 13
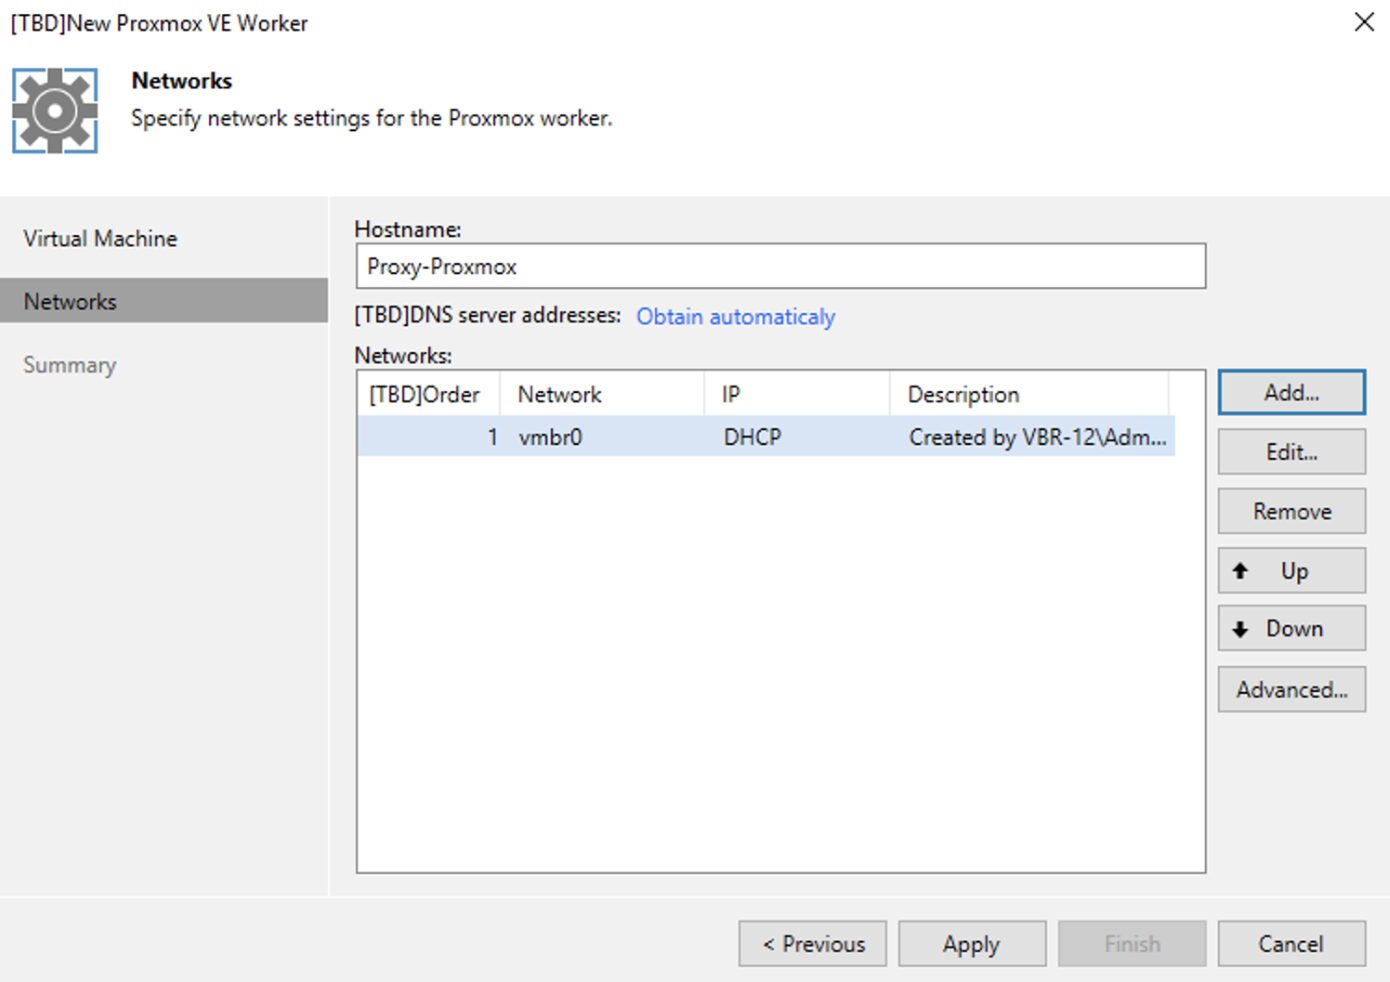 Image 14
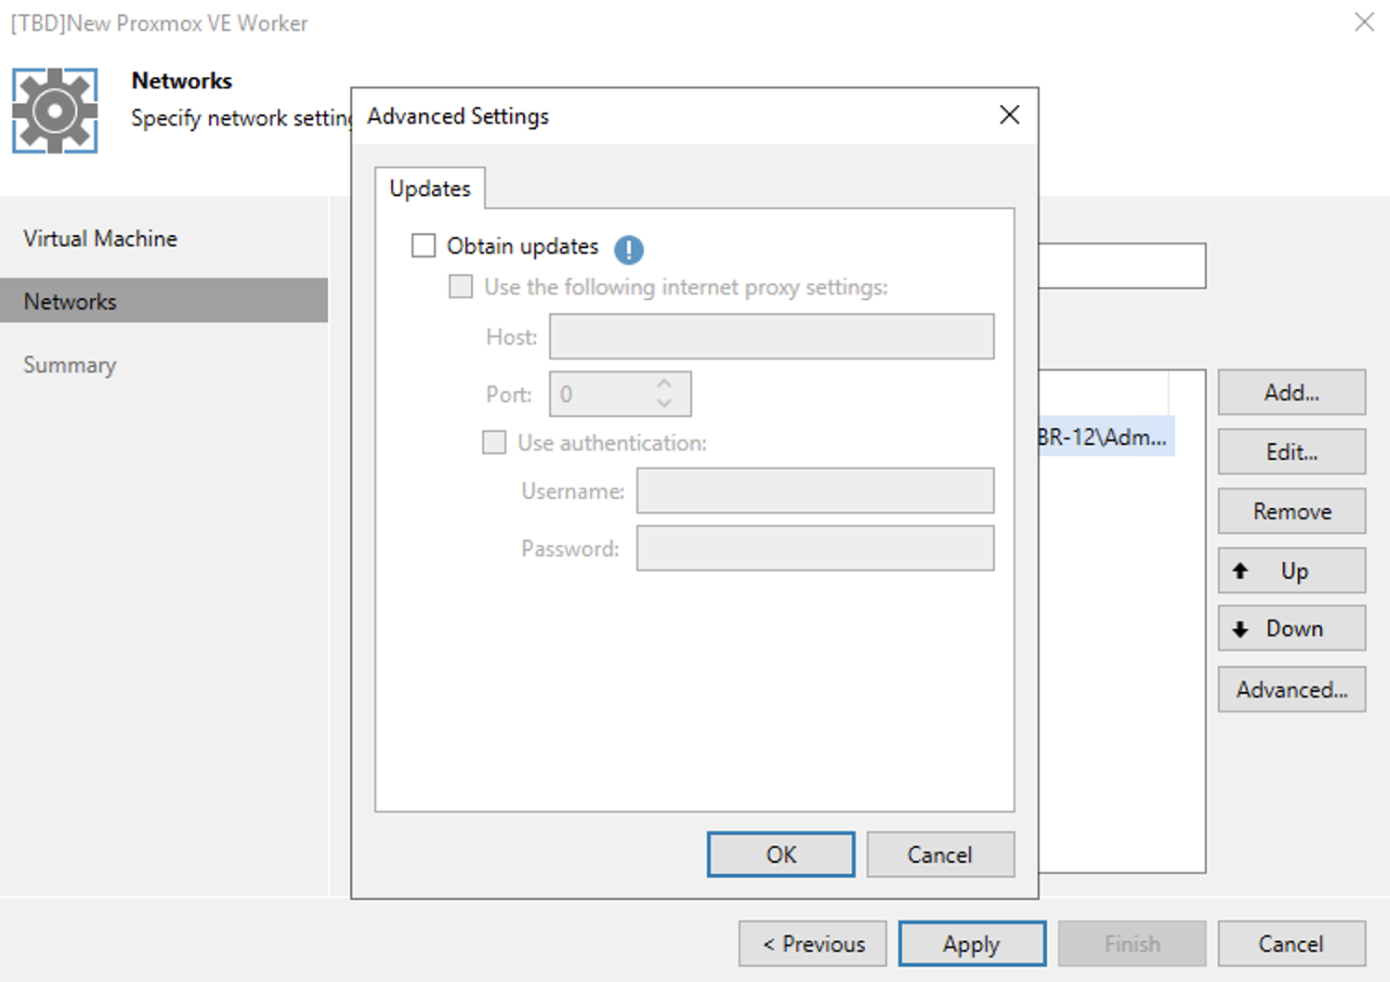 Image 15
After checking that all configurations meet the desired ones (image 16), clicking finish completes the setup.
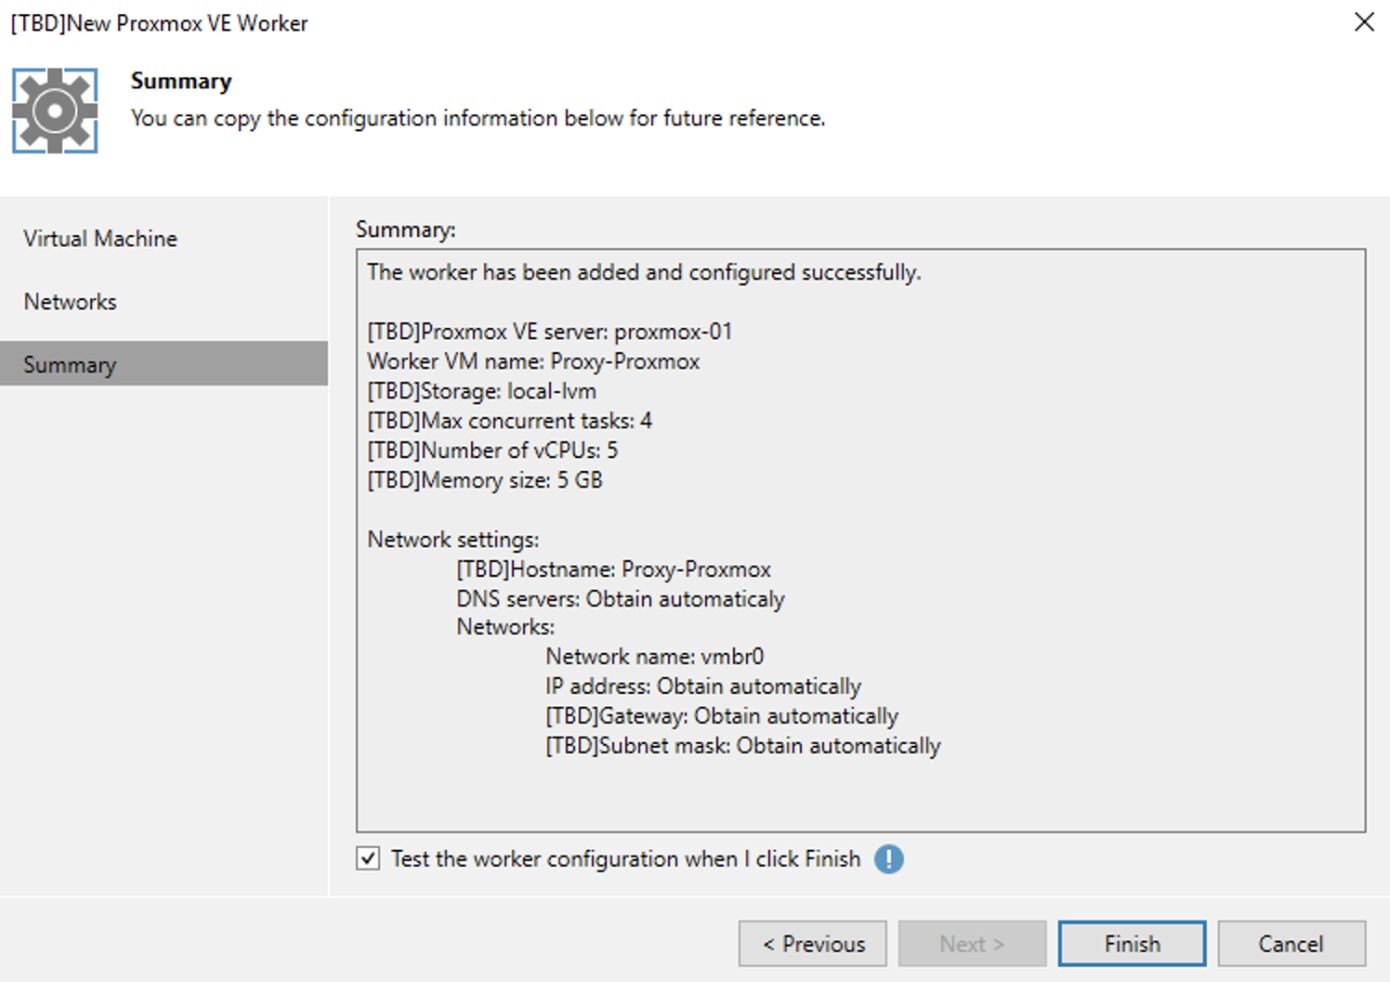 Image 16
In the next article, we will see how to configure Backup jobs.

 Picture 1
 picture 2
 Picture 3
 Picture 4
 Picture 5
 Picture 6
 Picture 7
 Image 8
 Image 9
 Picture 1
 picture 2
 image 3
 Picture 4
 picture 2
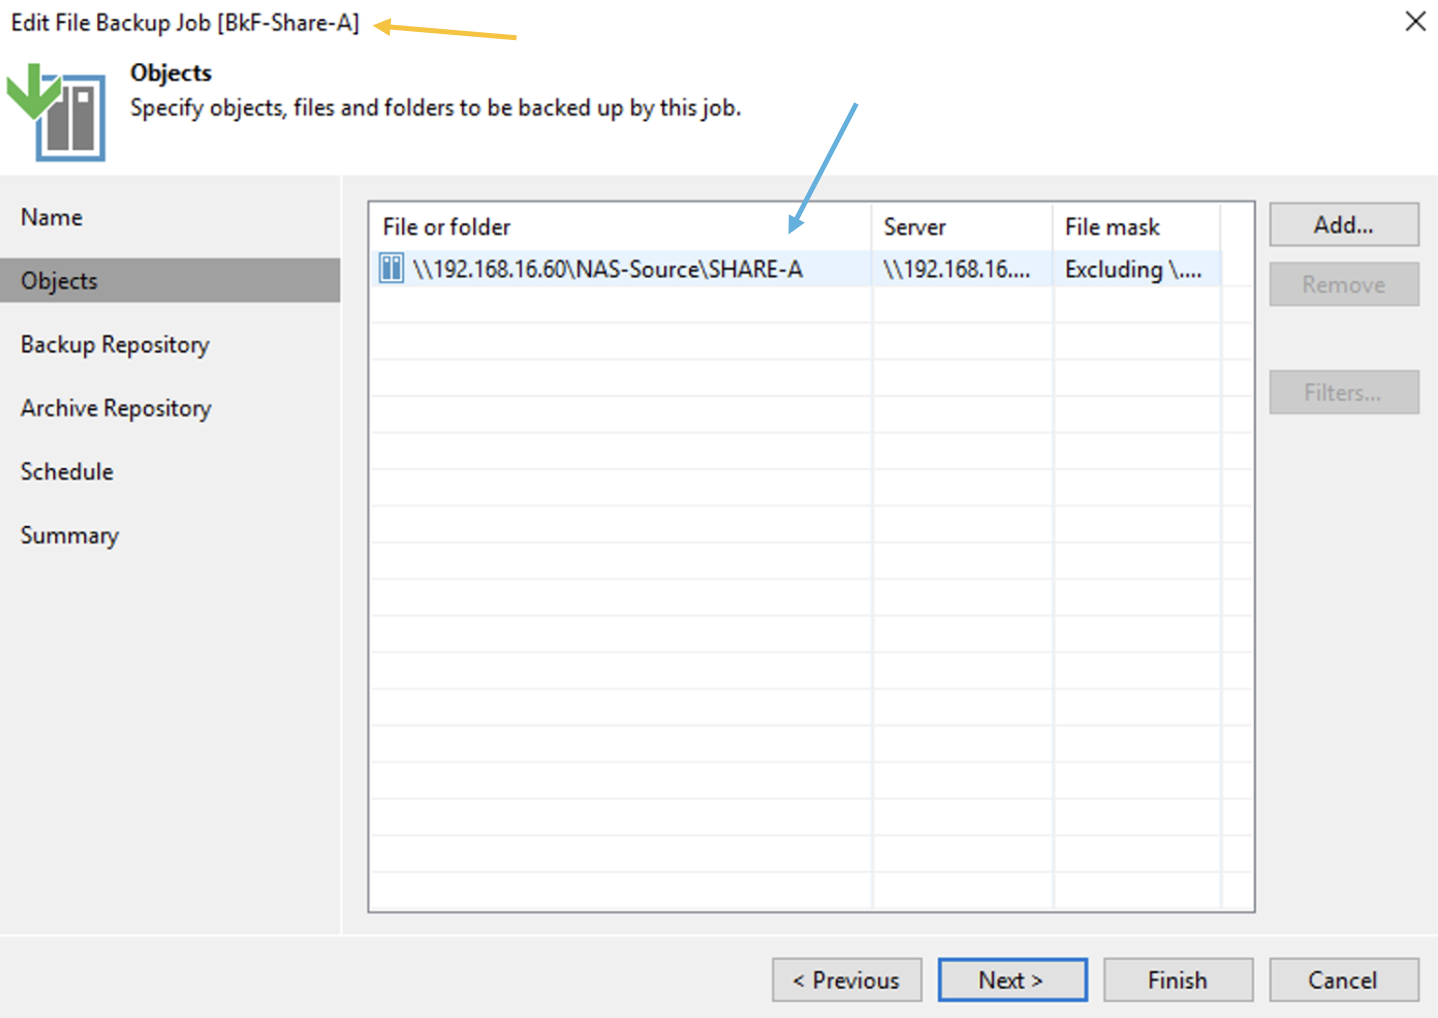 Picture 3
 Picture 4
 Picture 5
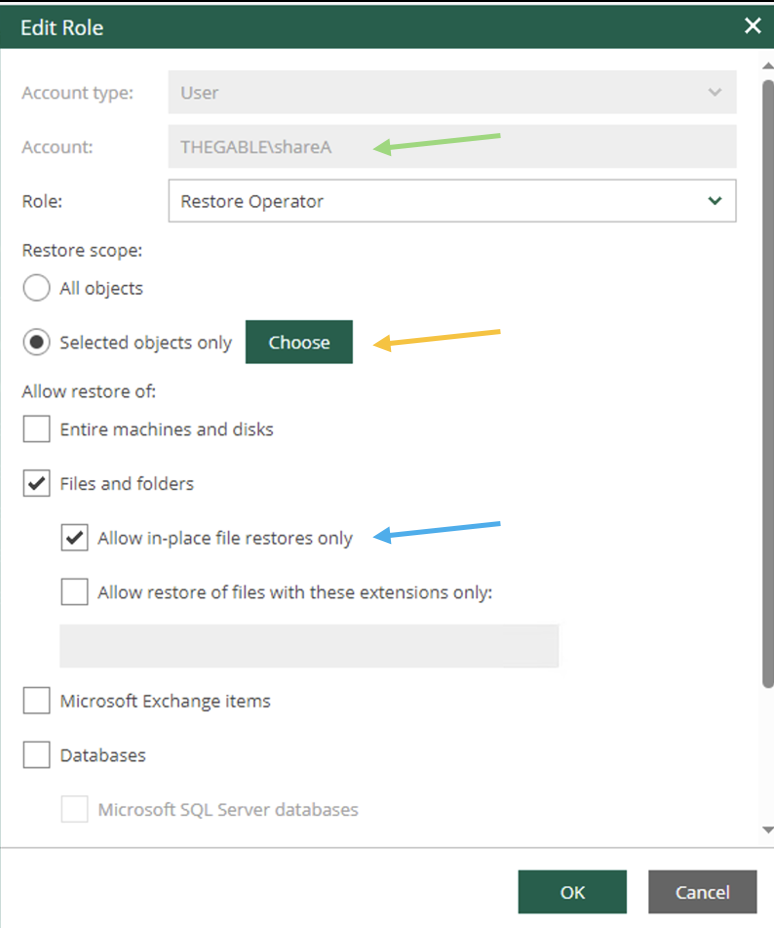 Picture 6
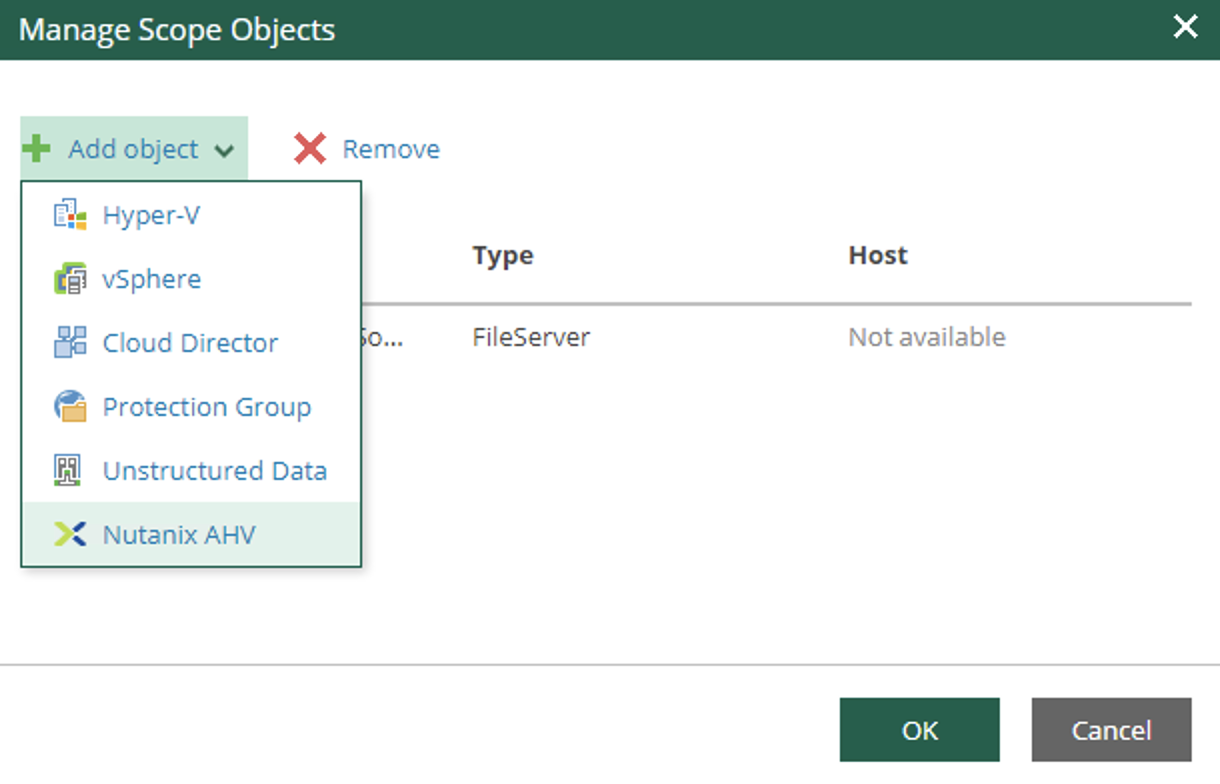 image 7
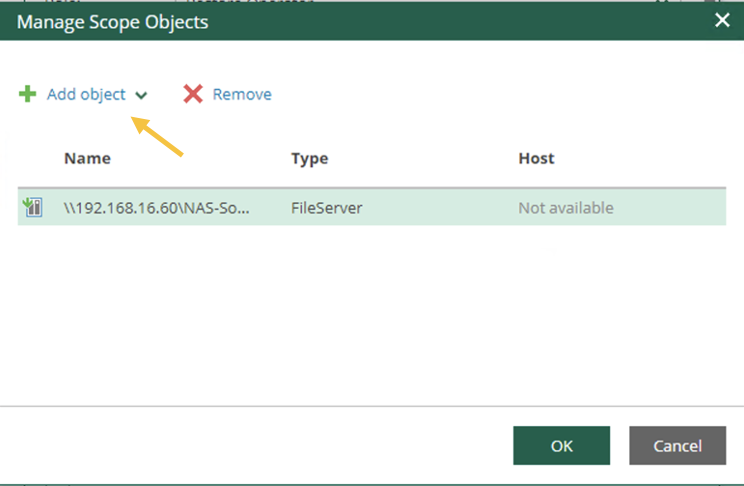 Image 8
 Image 9
 Picture 1
 picture 2
 Picture 3
 Picture 4
 Picture 5
 Picture 6
 Picture 7
 Image 8
 Image 10
 Image 11
 Image 12
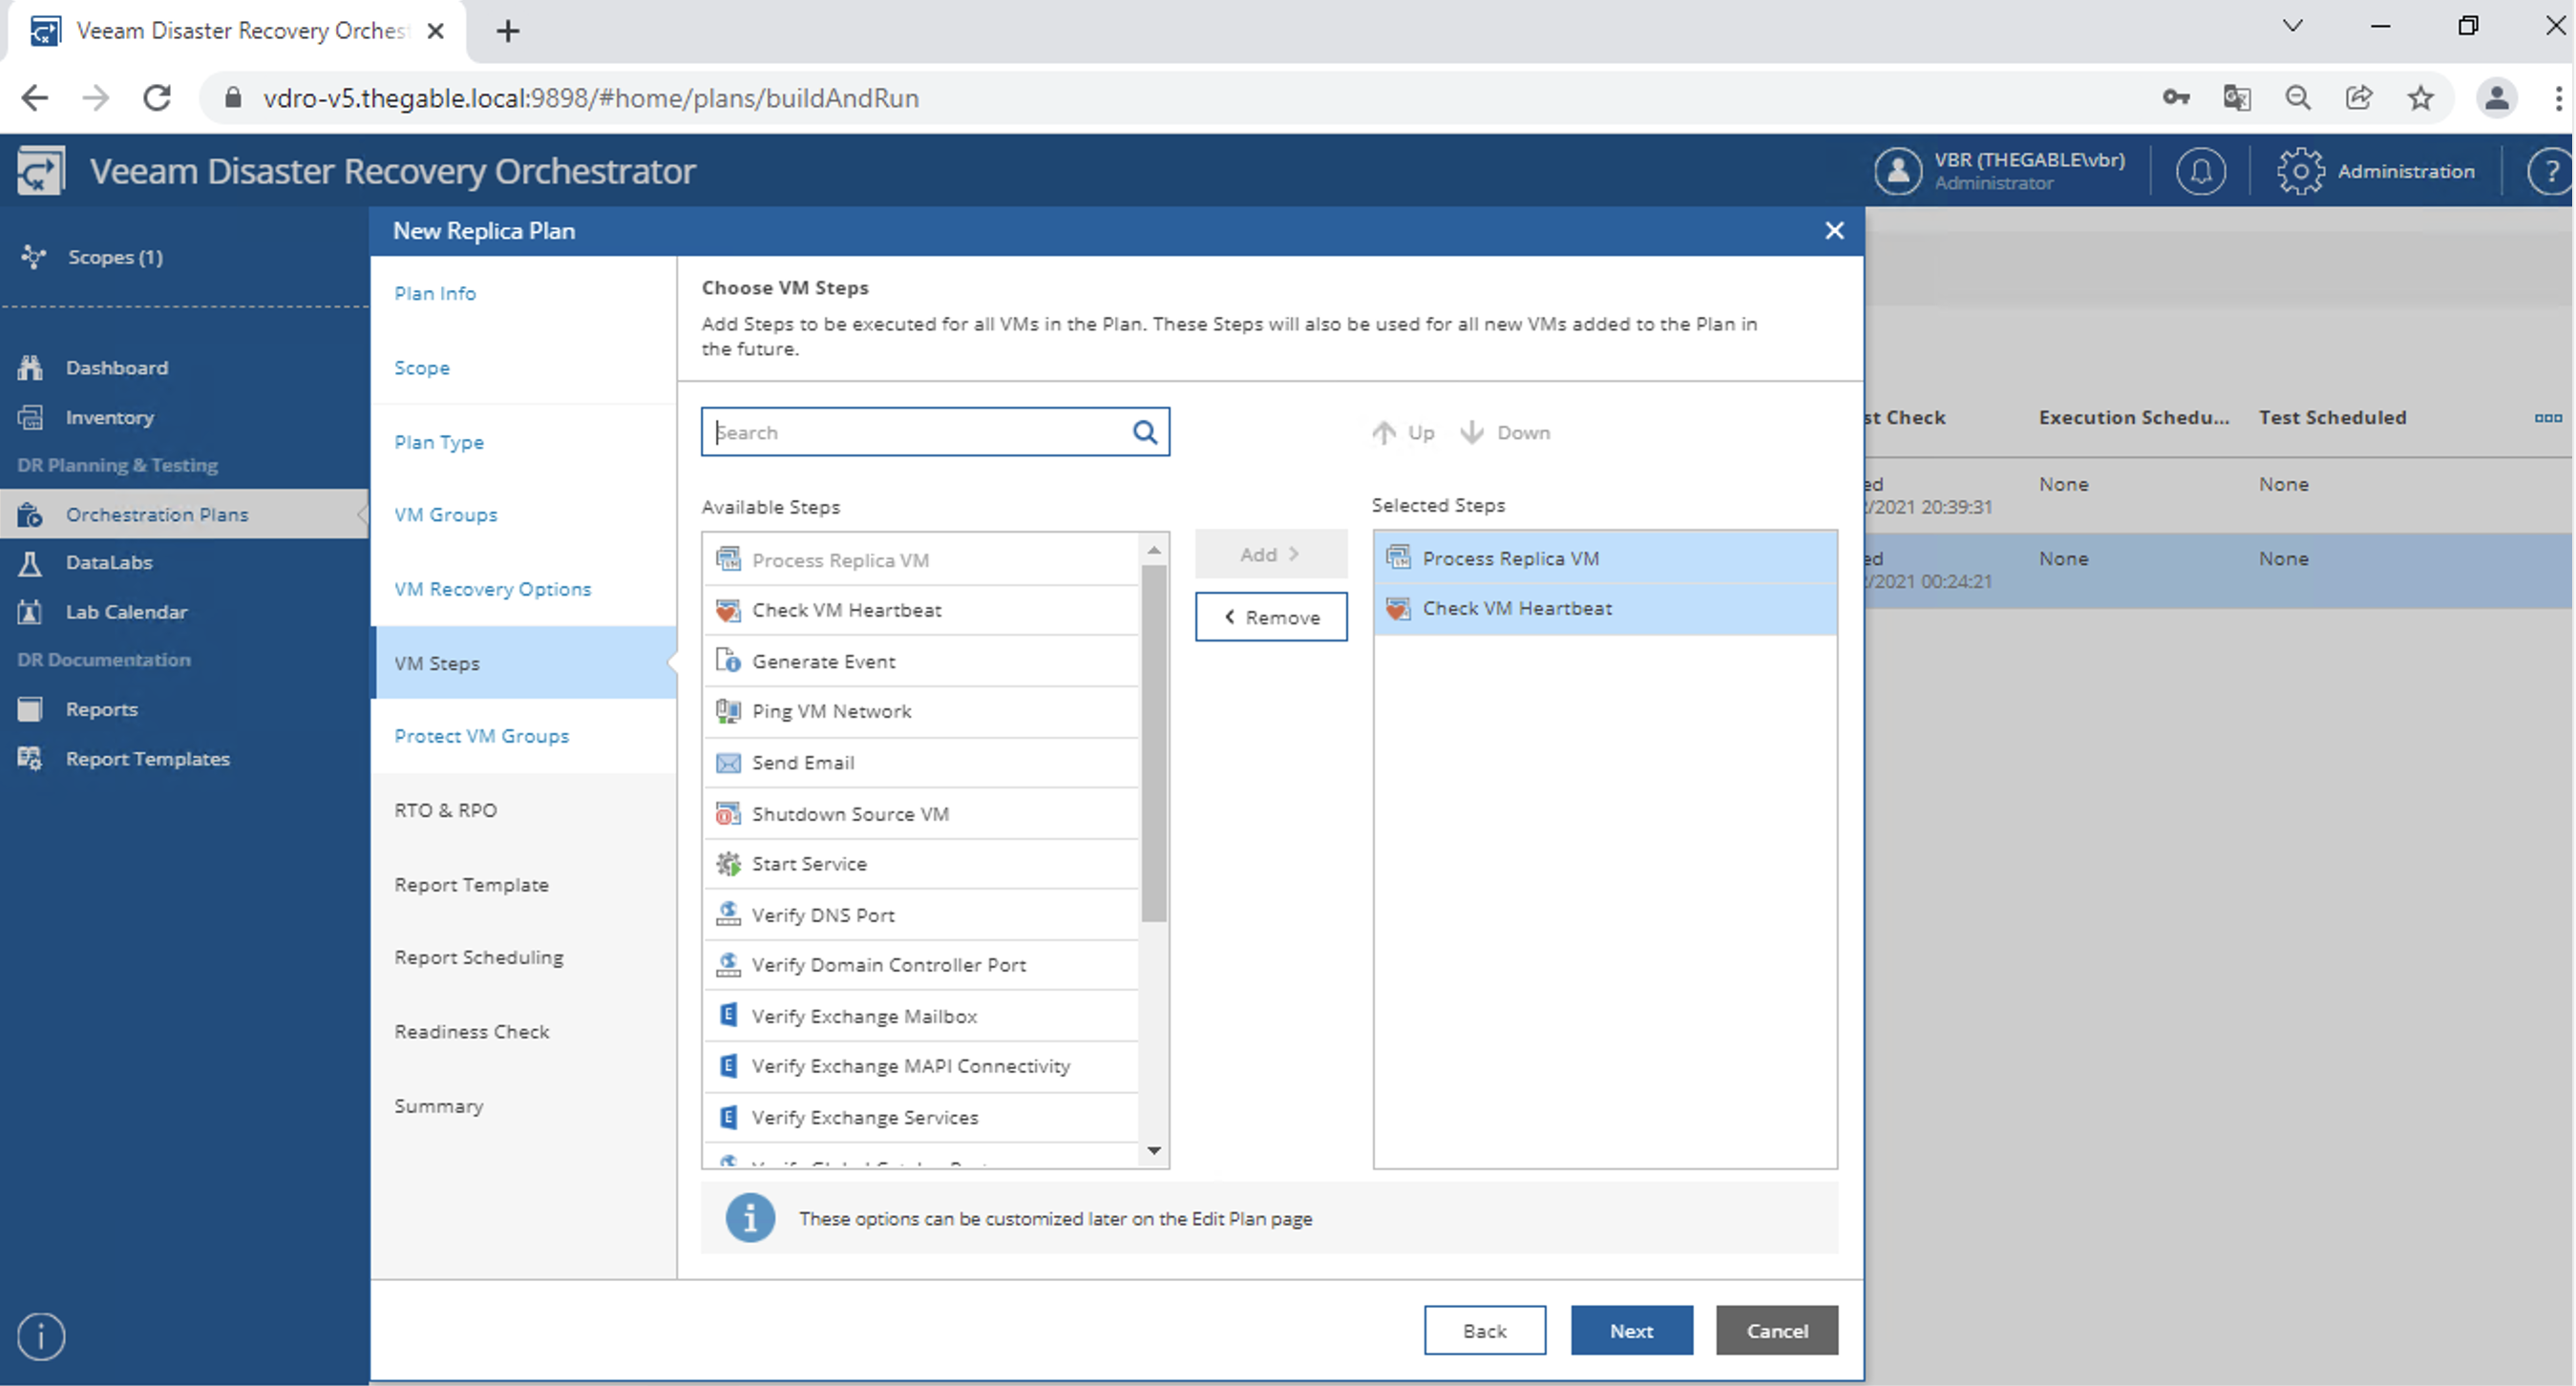 Image 13
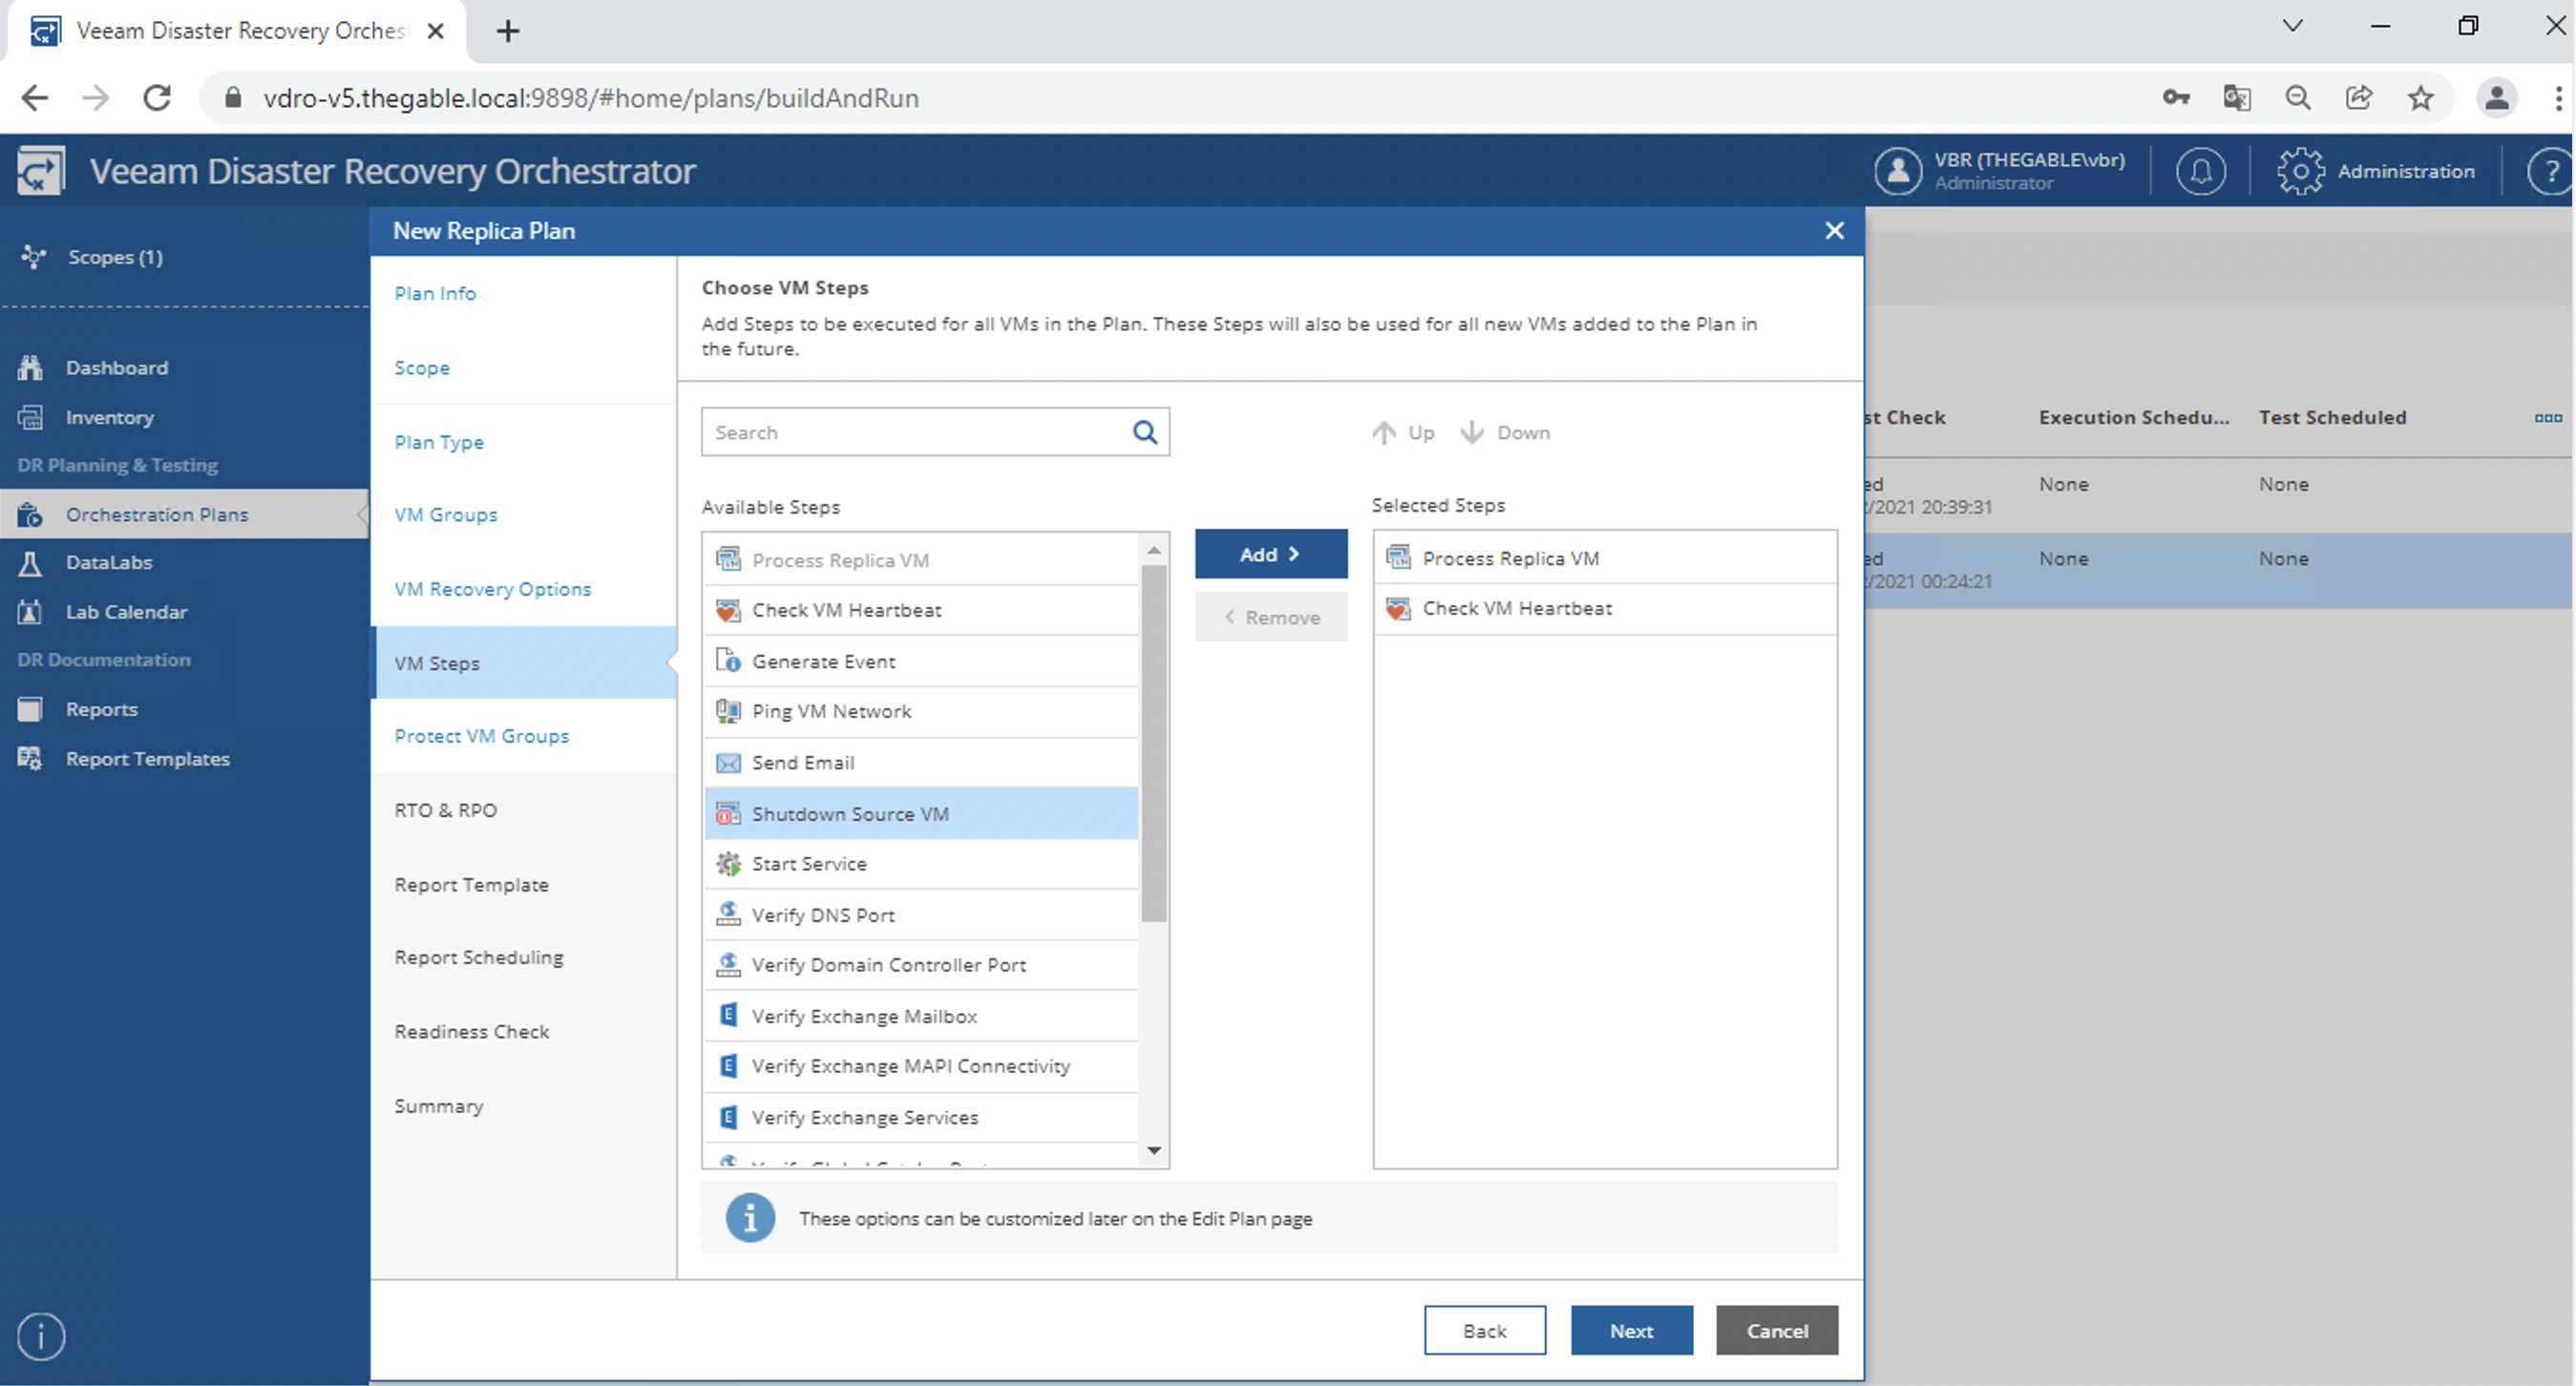 Image 14
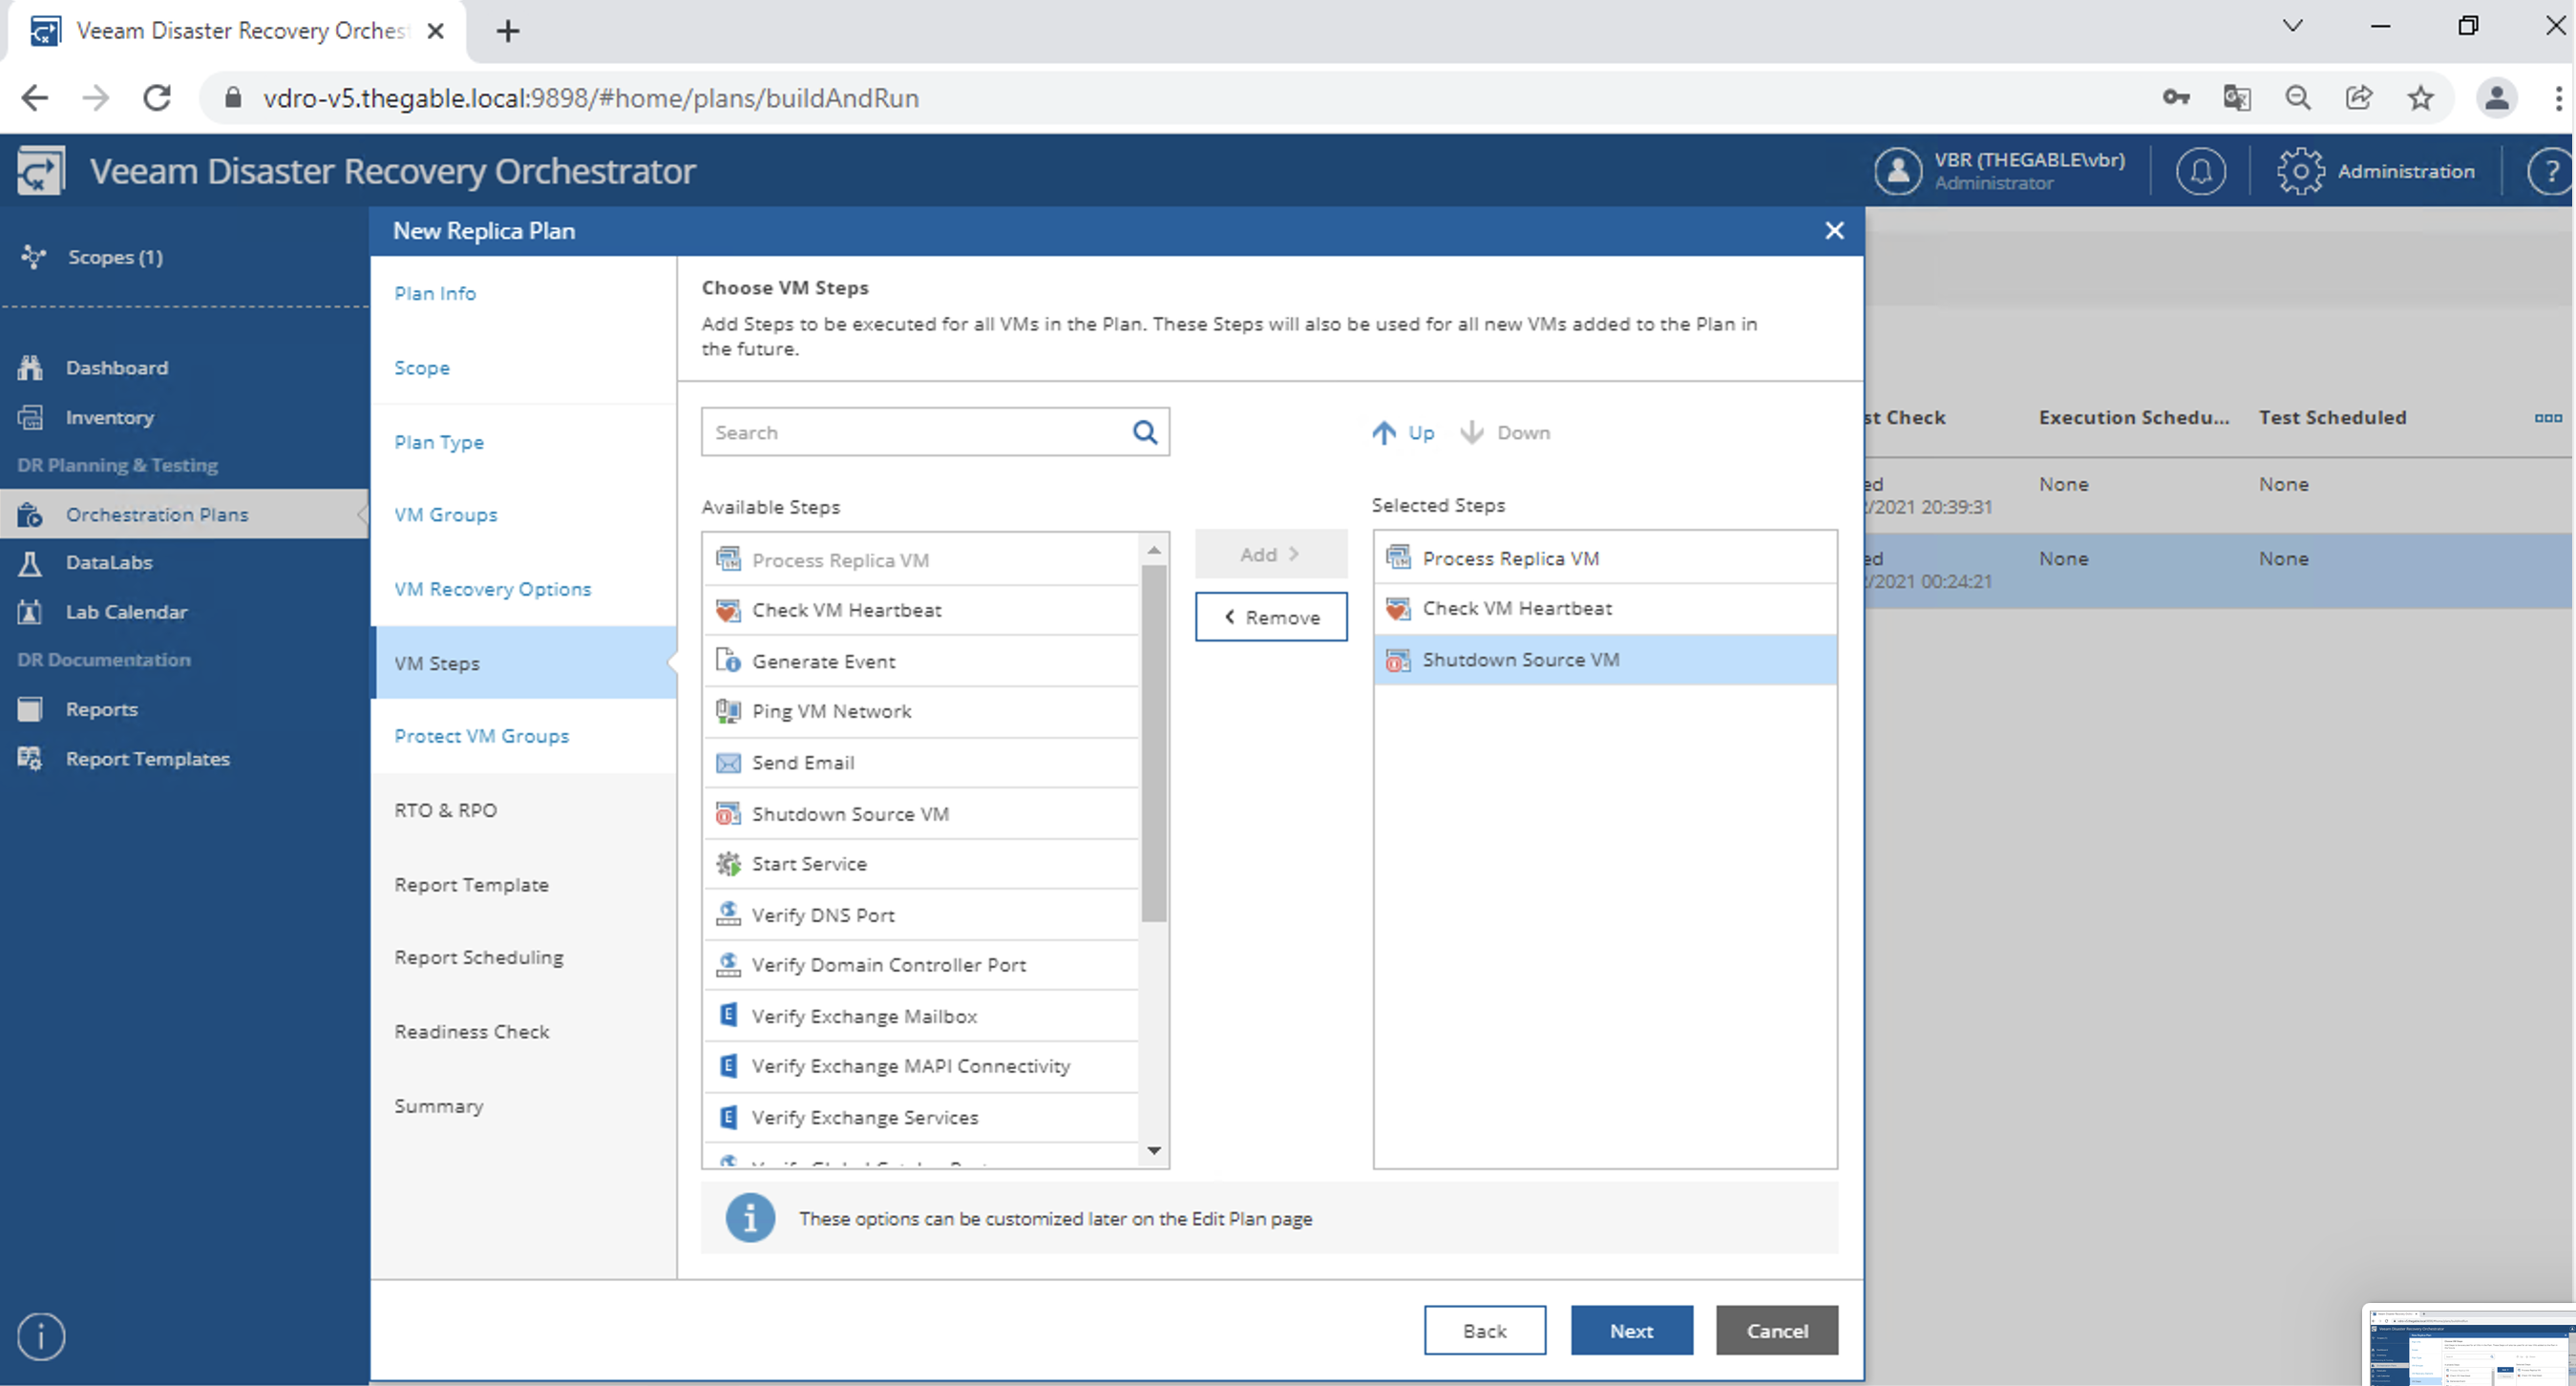 Image 15
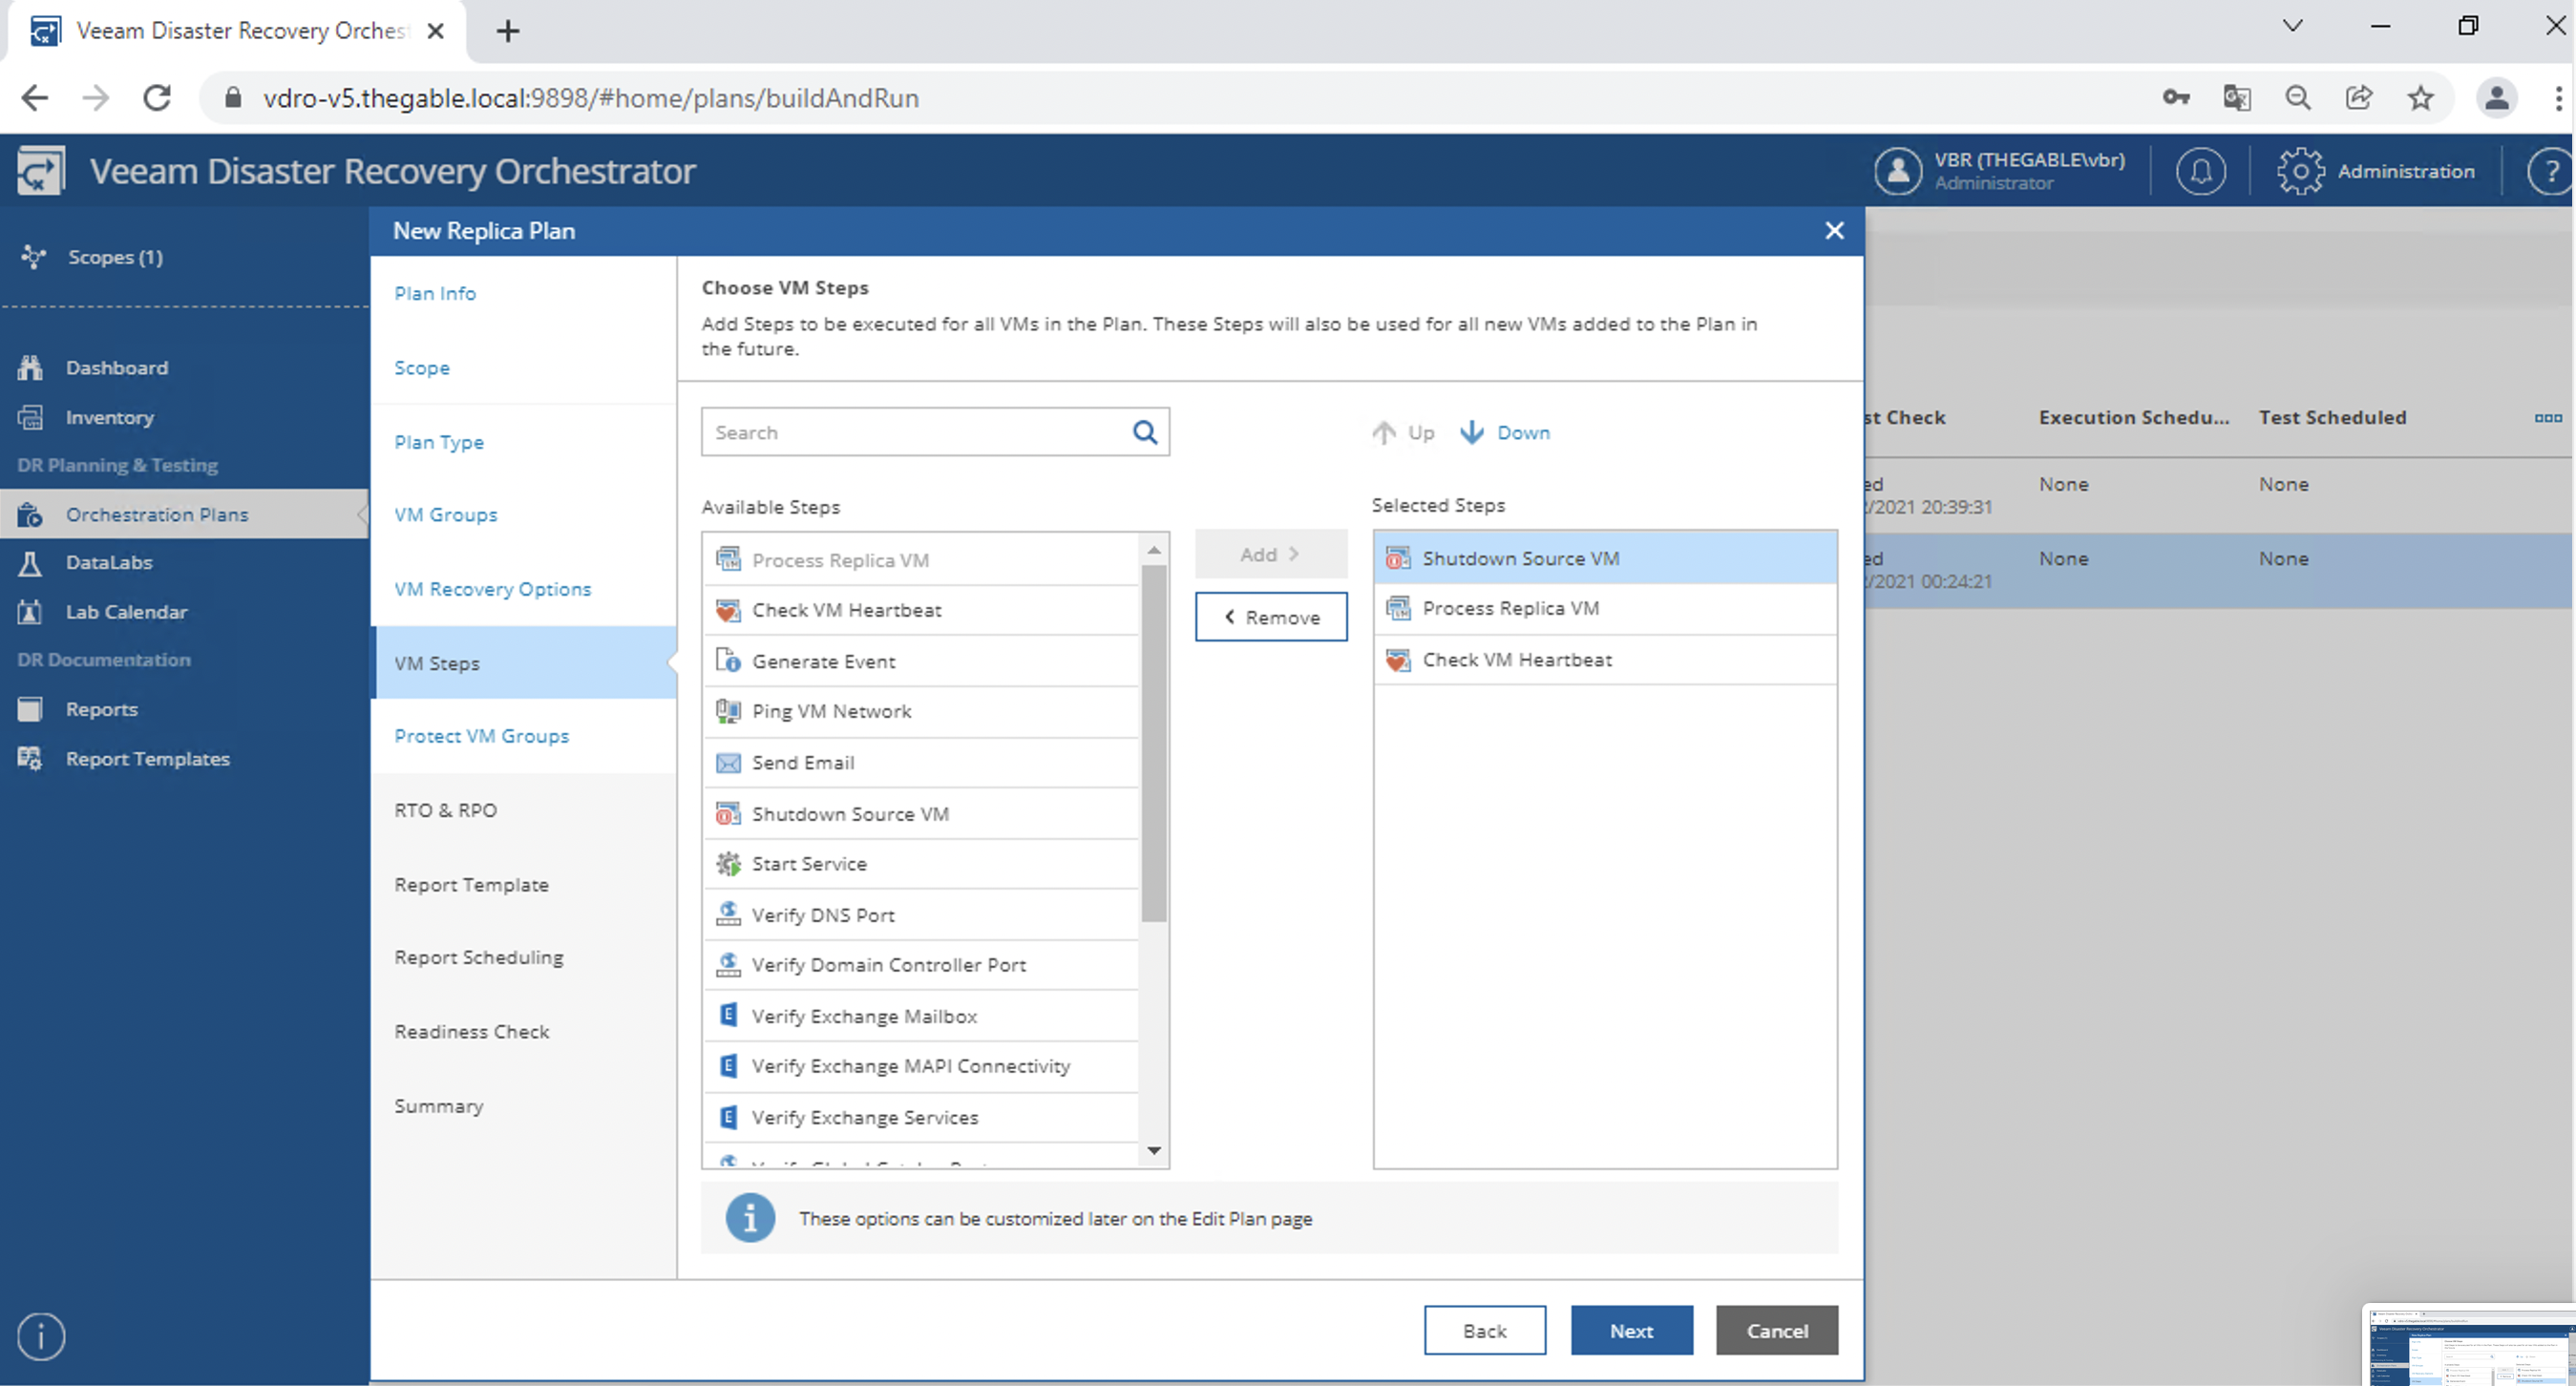 Image 16
 image 17
 image 18
 image 19
 image 20
 image 21