Veeam Backup & Replication (VBR) version 11 has a new feature and Mac users will fall in love with it.
It is now available for the backup and restores of your MACOS files.
It supports the last Operating Systems starting from High-Sierra (Big Sur 11.X.X / Catalina 10.15.X / Mojave 10.14.X / High Sierra 10.13.6).
Note 1: The Veeam Agent for Mac (VAM) version 1 supports the M1 processor via Rosetta.
Note 2: The VAM supports consistent data backup with snapshots for the APFS file system.
In the other file systems, the backup is created via a snapshot-less approach.
Note 3: At the moment it’s possible to perform the backup of user data (with a custom scope too). The image of the entire machine and a Bare Metal Restore are not available yet.
The configuration steps are quite easy as shown in the official guide:
To recap, the procedure consists of:
From the VBR console create a resource group using a flexible scope
Copy the files generated from VBR to the MAC to protect
Install the package to your machine and import the created configuration. (It allows the communication between VBR and the Mac)
From the VBR console creating the backup policy and apply it
The following video shows how it works in a managed VBR architecture.
Today I’m covering how to enable VBR to use VUL licensing to backup Physical Machines (they could be server or workstation both)
If you need more details to understand better the implementation scenarios please refer to the three articles I already wrote
Veeam Agent Part 1 Veeam Agent Part 2 Veeam Agent Part 3
As many of you already know it is possible to work with the free Veeam Agent version and a paid VBR version.
The only thing that this architecture allows is using the VBR repositories as a global backup container.
What customers forget is that you can’t have a mixed infrastructure composed of free and paid agents.
Let’s see an example:
An end-user with already 10 VBR sockets license has a new project to protect 30 workstations and he wants to use Veeam agent Free.
The end-user just has to install and set up on every single workstation the free agent to write backup data to VBR repository.
From VBR version 9.5.u4, Veeam is gifting 1 VUL license for every socket customer bought (up to 6 sockets). In our example it means the end-user can protect up to 6 Physical Server or 18 Workstation (1 Vul x 3 Workstation) for free or a mixed architecture.
What happens if you enable VBR to assign the gifted license from your VBR server?
First thing how to enable it? The next three pictures (Picture 1, 2 and 3) explain how to perform it
Picture 1
Picture 2
Picture 3
From now on VBR will use the agent license up to consuming them.
In our example, the end-user will protect 18 Workstations but the last 12 will be out from the backup procedure.
Which is the solution?
Easy one, just Buying a new license pack.
Why you should have to buy new licenses?
There are at least three good reasons:
a) It is possible to manage your workstation architecture directly from VBR console.
b) There are more restore options.
c) Veeam support.
Gems:
1) One of the good news about the licensing of VBR v.10 is that from now on the license bought will be added to the gifted one. It means that you buy just a VUL packet (10 Vul) and have a total of 16 licenses.
2) If you have two license files (the first for VBR, the second for Veeam Agent) you have to merge them in just one license file.
The License rule and the procedure are available reading the following links https://www.veeam.com/kb3085 (rule) https://www.veeam.com/kb3116 (procedure)
In the last weeks, I’ve been requested to understand how to set up a strategy of remoting Backup Data when the source is a Veeam Agent.
The answer is not just the “Use the backup copy job” option because it can be used in one of three scenarios I’m going to cover in the next three articles.
So, let’s move fast forward
My Lab Environment is composed of VBR + 2 Windows 10 Physical Laptops
I do not cover the first part regarding how to create a protection group. There is more than one online guide that explains how to add a protection group to VBR.
My two suggestions are:
Check if the Firewall ports are correctly open (click here)
Check on Laptop if Admin share (c$) is available.
If the second point failed just follow this simple procedure. Launch a cmd as administrator and write the following command:
“Veeam Backup & Replication uses the backup policy as a saved template and applies settings from the backup policy to Veeam Agents that run on computers specified in the backup policy”.
In other words, the policies are pushed to the VAW; So the laptop is able to protect its data even without a VBR start command.
Ok, following the wizard, input a backup name and select the Laptop to protect (Pictures 2 and 3)
Picture 2
Picture 3
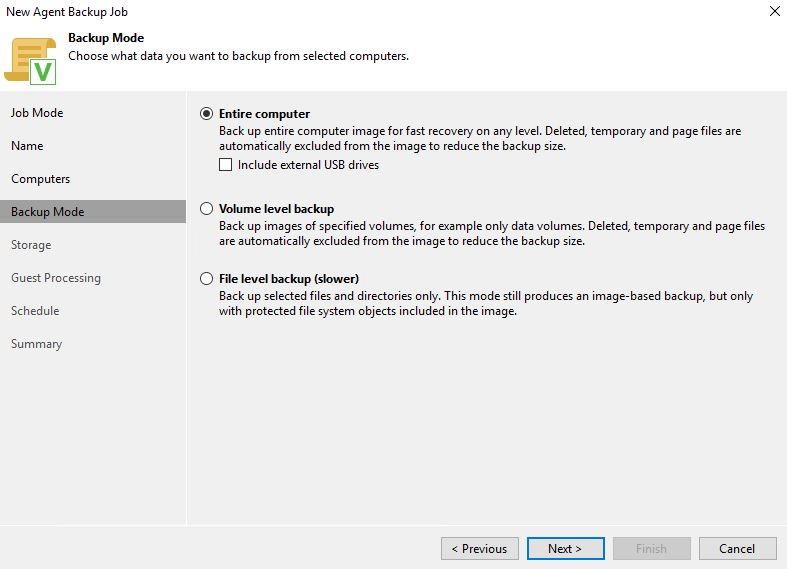
After selecting Target and Repository it’s possible to complete the job creation (Pictures 4,5 and 6).
Picture 4
Picture 5
Picture 6
Now check if the backup policies are correctly applied and then launch the backup job (Pictures 7,8,9,10)
Picture 6
Picture 7
Picture 8
Picture 9
Picture 10
Checkpoint:
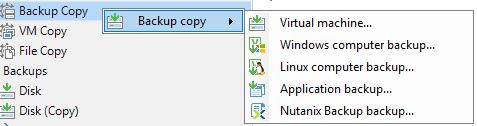
If you now try to create a backup copy job from the VBR console, you will find a problem because it is not available if you are going to select Periodic Copy (Immediate copy is available from version 11 of VBR)
Why?
Because in this scenario the policy commands the backup process. It’s like saying the Agent is the master of the backup.
How to go over?
Just select Immediate copy or
Add a new backup policy !” (Pictures 11 to 14)
Picture 11
To know: if you use a remote desktop and connect to your saved laptop, you can find the Veeam icons. When you click on them you get the classic interface (as standalone installation)
Picture 12
To Remember: from here you can not add a new job. You always have to set it up from the VBR console:
Picture 13
And the last thing? What about licensing? It consumes a single VUL
Picture 14
Wrap-up:
If you need to have more than a copy, just create a new policy backup. My two cents are:
a) Use a forever forward incremental chain.
b) The repository should have a block cloning technology as ReFS/ XFS.
If you plan to use a Backup copy job you have to configure the Agent as managed by the backup server or on the backup copy job select the immediate copy job.
Licensing does not have any impact, it always uses a VUL license.
The next and last article will cover the workstation backup approach. See you soon
Today I’m going to cover what’s happening if you set the protection policy up as a workstation.
In this article, I’m covering the Veeam Agent for Linux (VAL) also, to widen the range of my site and answer friends asking me to talk about their workstation based on Ubuntu.
After creating the protection group (please refer to the previous articles), let’s create a new job and set it up as a workstation job (image 1)
Image 1
Now add the laptop (ubuntu2 in my case) and follow the wizard pointing as repository the VBR server (image 2-5).
Image 2
Image 3
Image 4
Image 5
After completing the task, check that the configuration has been rightly applied to the laptop and then launch the first backup (image 6).
image 6
Now it’s time to connect via SSH to the Linux laptop and lunch the command Veeam as root (image 7)
Image 7
it shows your backup status (image 8)
Image 8
and from here you can lunch the same job another time (image 9)
Image 9
But what happens if you try to add a new backup from this interface? As previously in Windows case, it is not allowed, because it is managed by VBR.
A good step is to check that the license work in workstation-mode (image 10)
Image 10
But if you remember well, my first goal was having a backup outside the primary site.
I already wrote in my last article (VEEAM AGENT FOR WINDOWS/LINUX – REMOTE COPYING DATA – 2 ) how to set up a new backup job from the VBR console (I’m pretty sure you are now ready to do it without any help) (image 11 – 15)
Image 11
Image 12
Image 13
Image 14
After applying the configuration let’s start the Backup job
Image 15
This is what happens, It FAILED !!! (image 16)
Image 16
Why?
The answer is inside the workstation limitation that you can find on the following Veeam web page (Veeam Edition comparison).
It is clearly written that if you use the agent as a workstation, you can perform the second/third backup job just writing backup data to a Cloud repository?
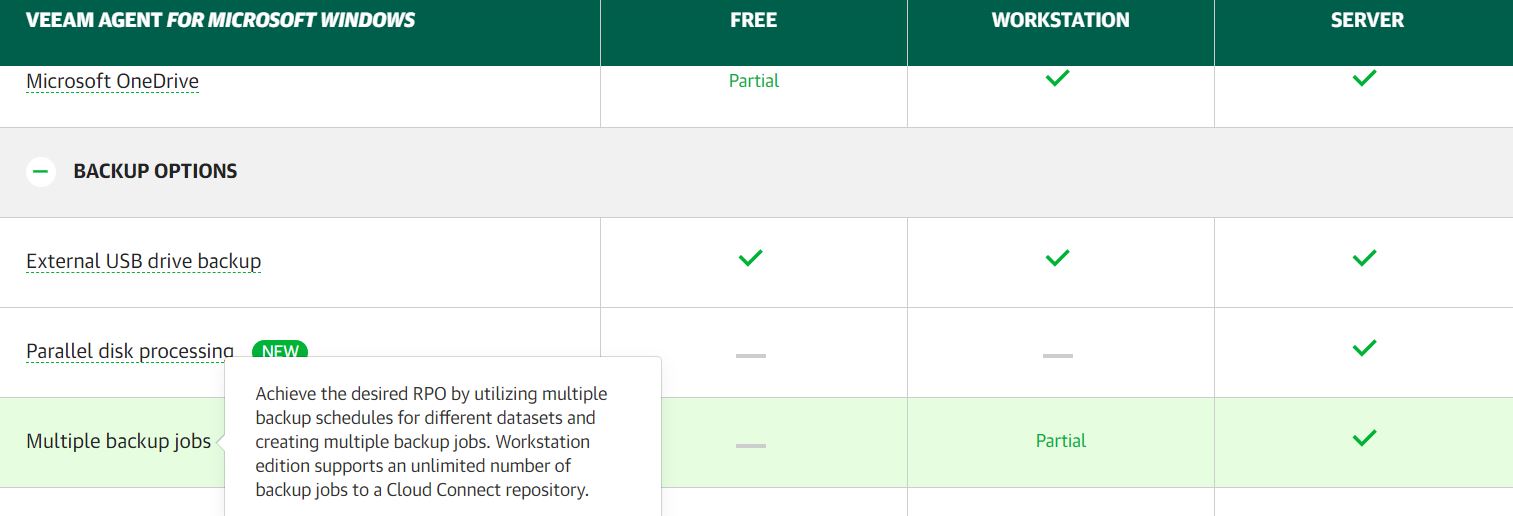
Veeam Agent uses case summary:
Backup Type
Managed by
BCJ
+ Backup Job to + destinations
1+Backup CC
VUL
Server
VBR
Y
Y
Y
1
Server
Agent
N
Y
Y
1
Workstation
Agent
Y (immediate copy)
N
Y
1/3
1+ Backup
1+Backup CC
VUL
Server
Y
Y
1
Workstation
N
Y
1/3
I hope the article series will help to set up correctly your environment.


 Picture 1
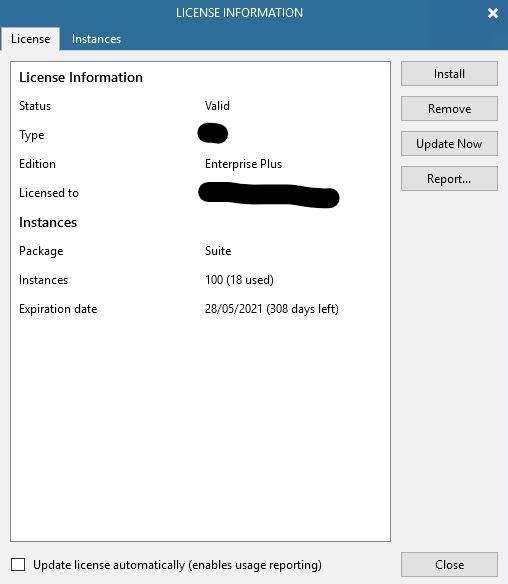 Picture 2
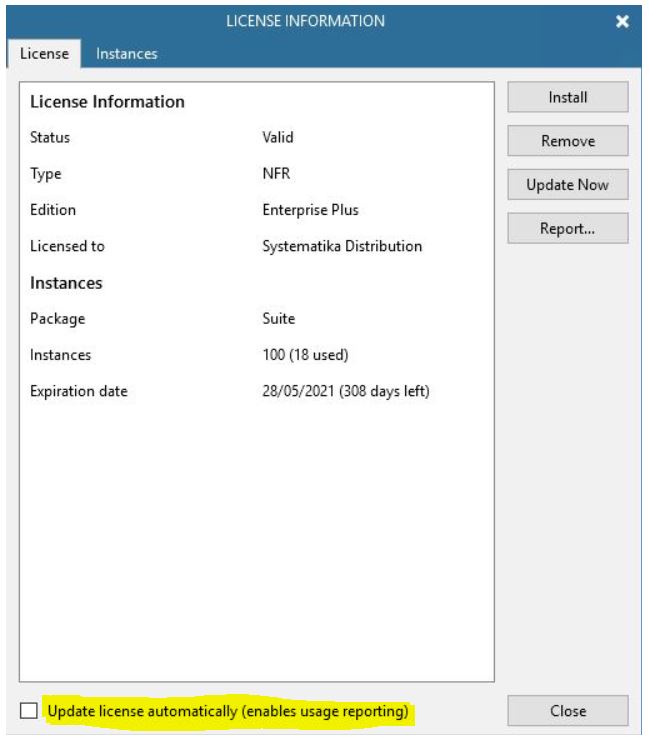 Picture 3
 Picture 1
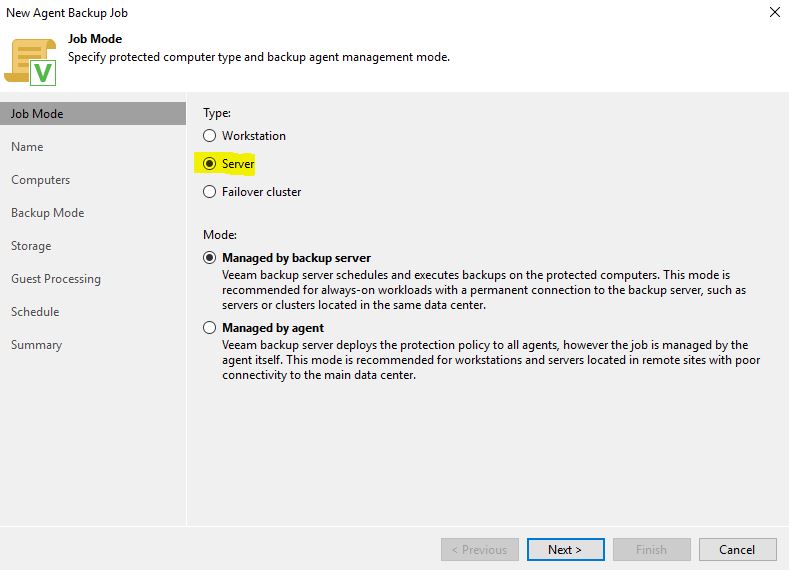 Picture 2
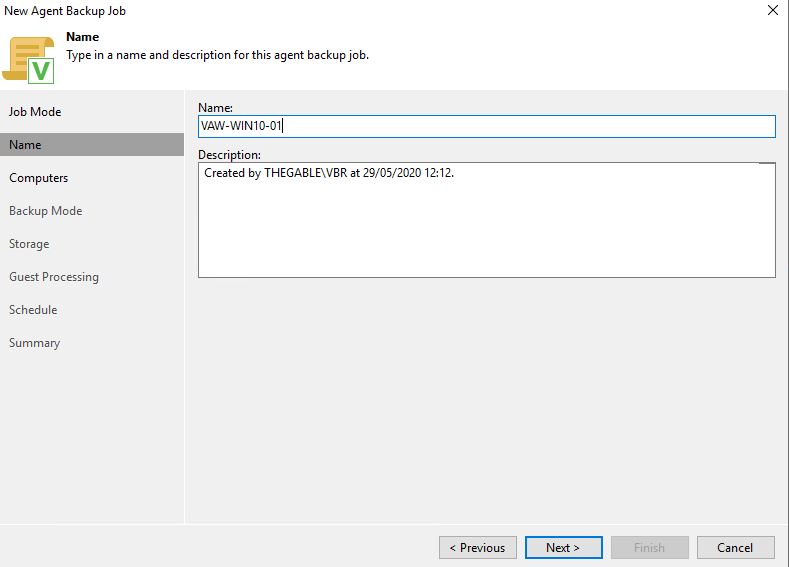

 Picture 5
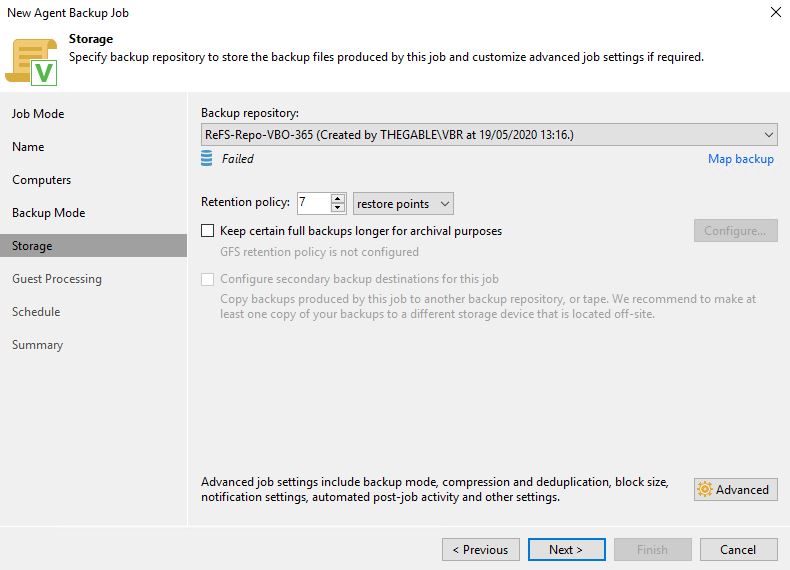 Picture 6
 Picture 7
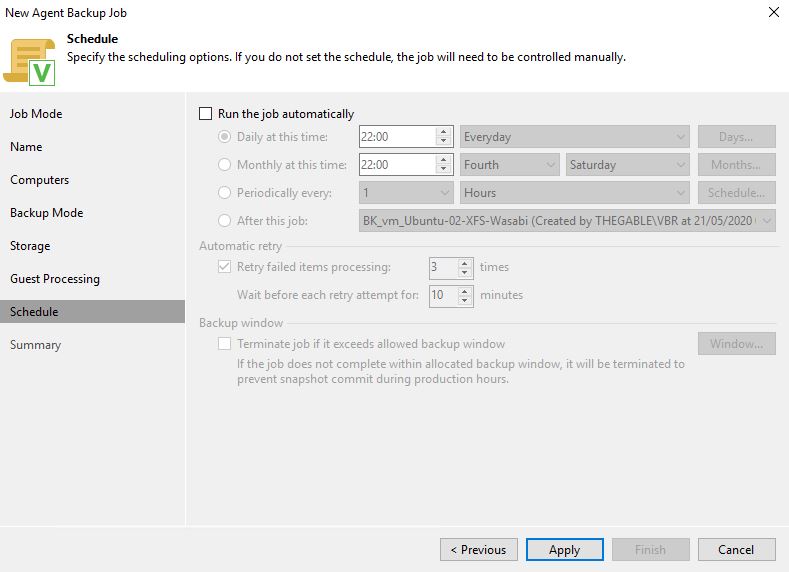 Picture 8
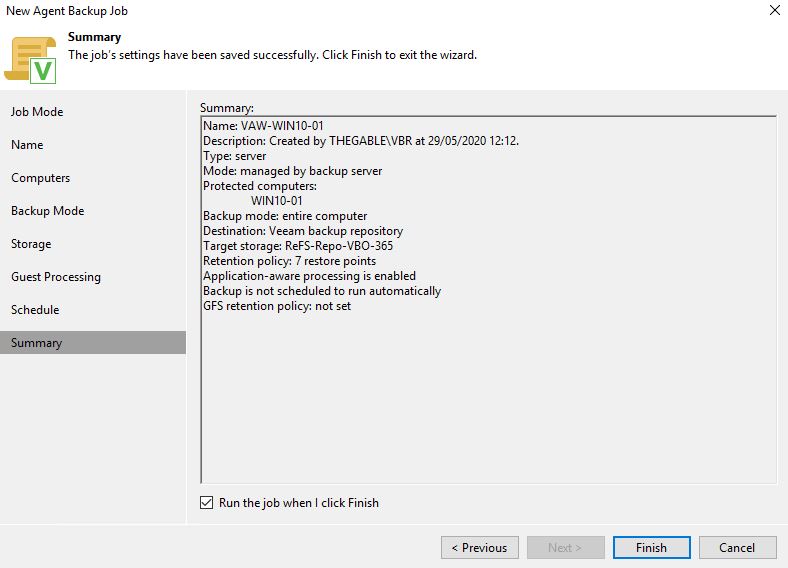 Picture 9
 Picture 11
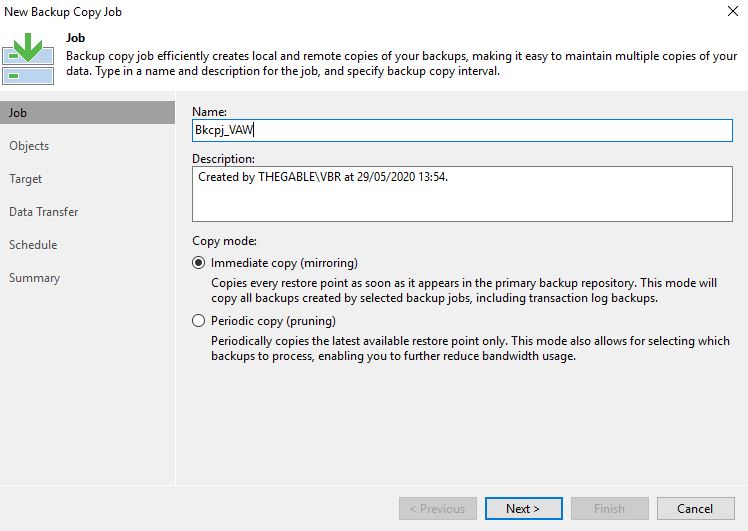 Picture 12
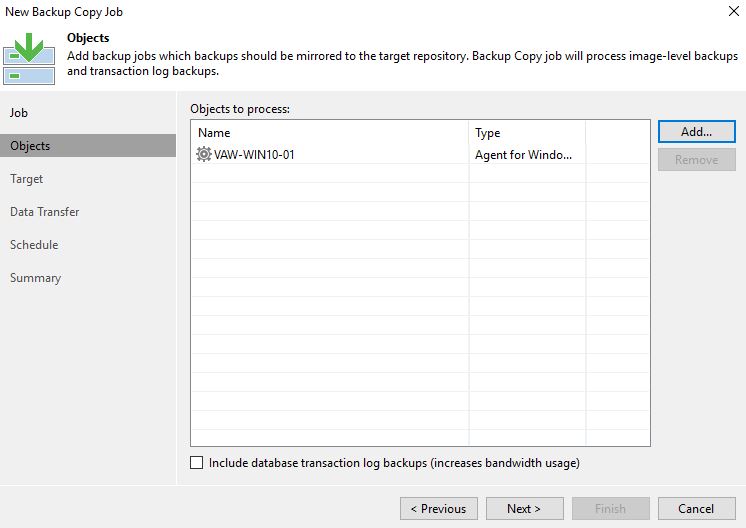 Picture 13
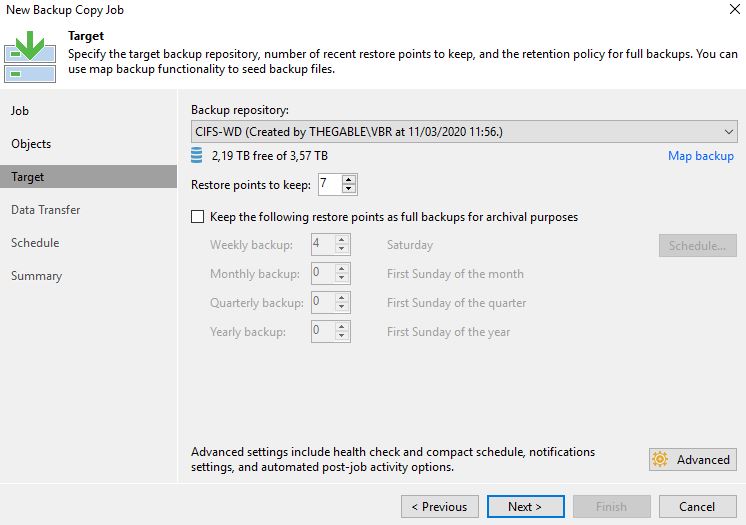
 Picture 15
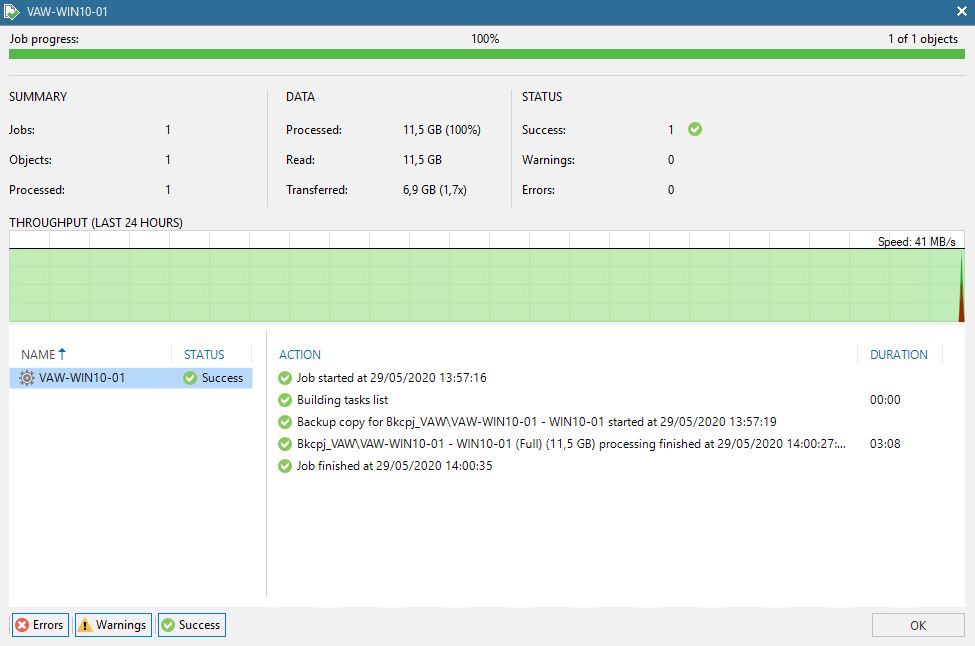 Picture 16
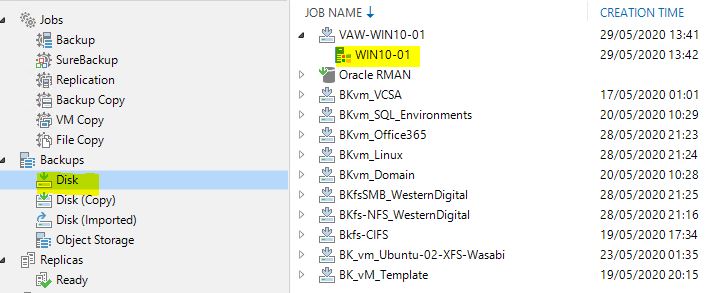 Picture 17
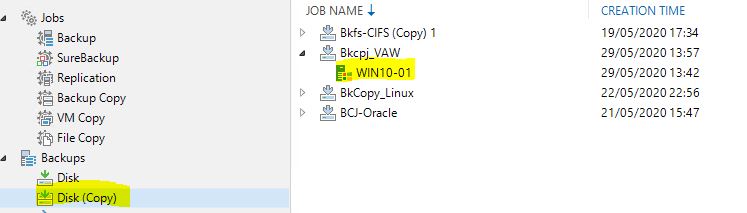 Picture 18
 Picture 19
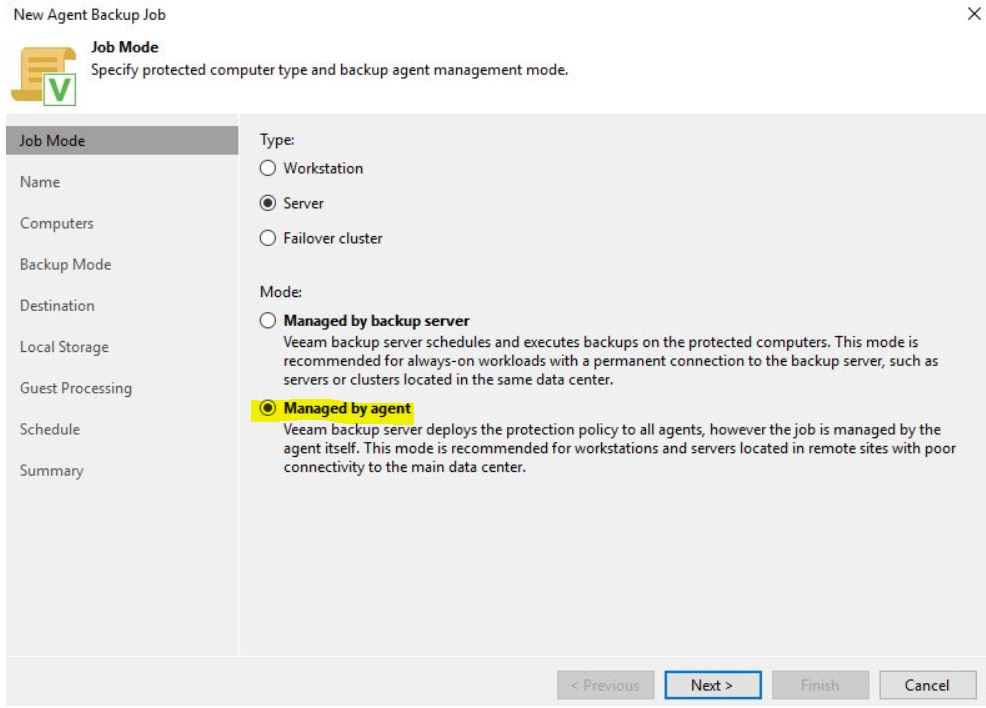 Picture 1
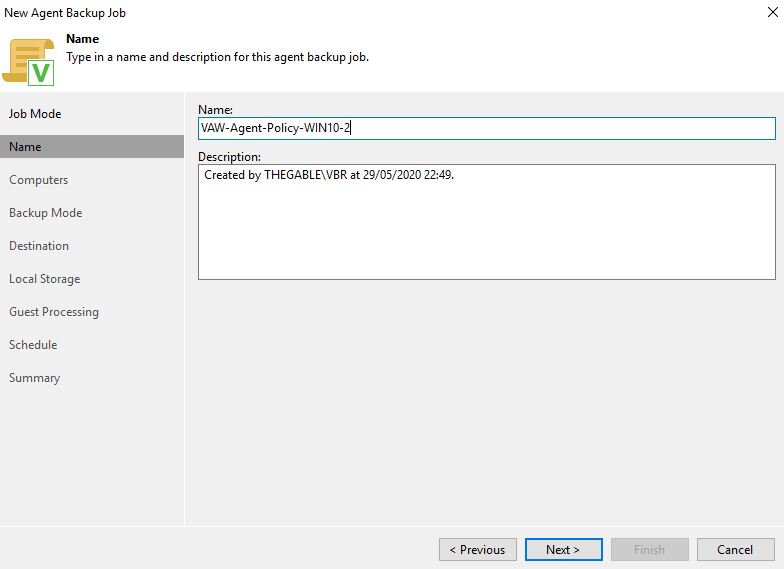 Picture 2
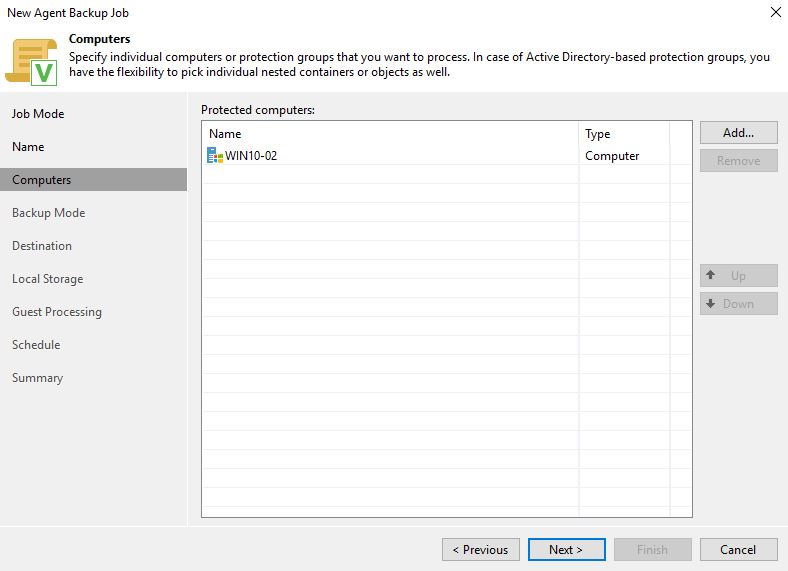 Picture 3
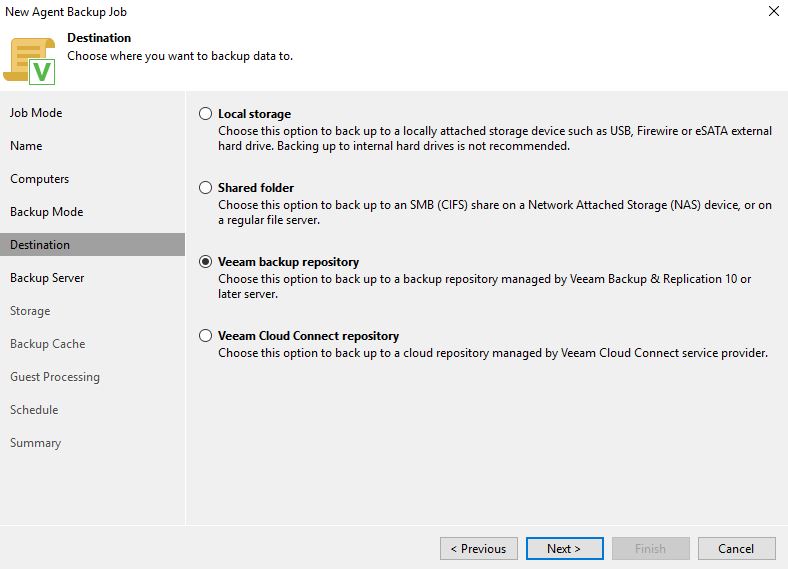 Picture 4
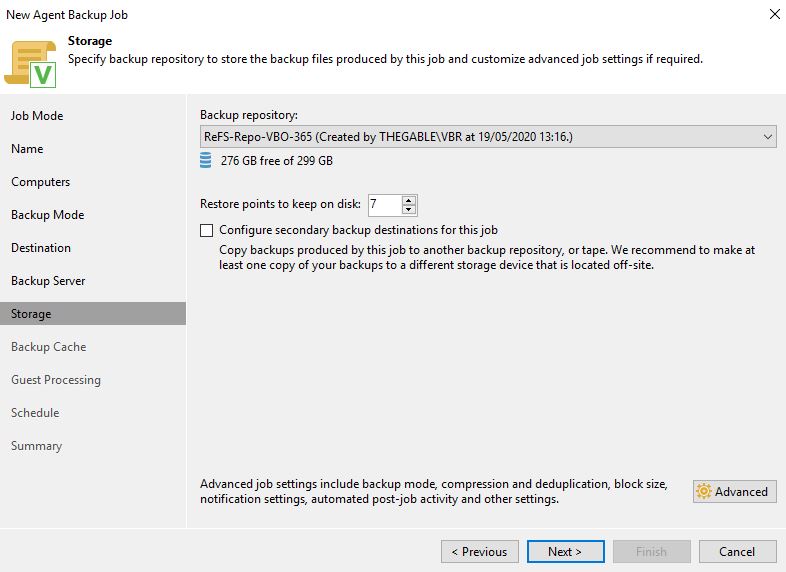 Picture 5
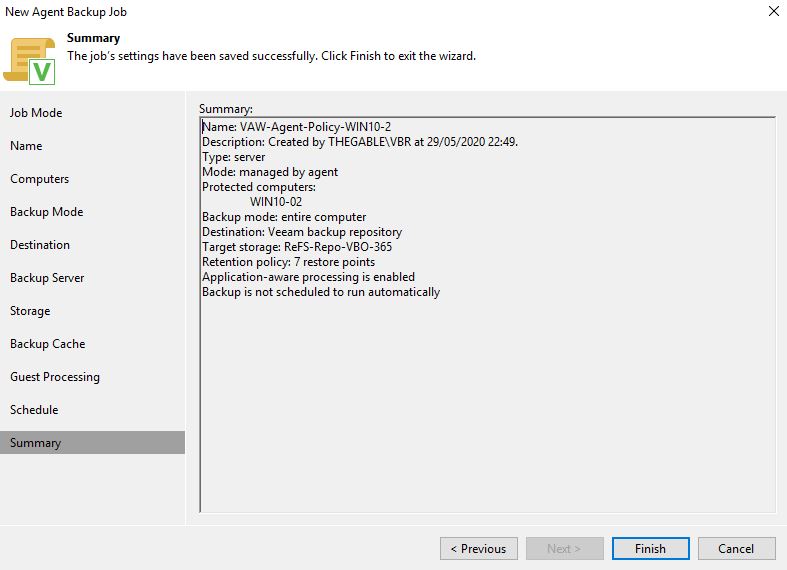 Picture 6
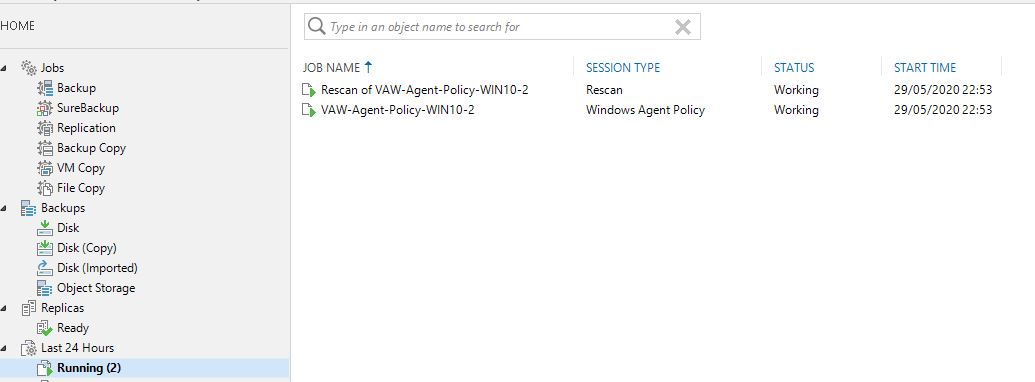 Picture 6
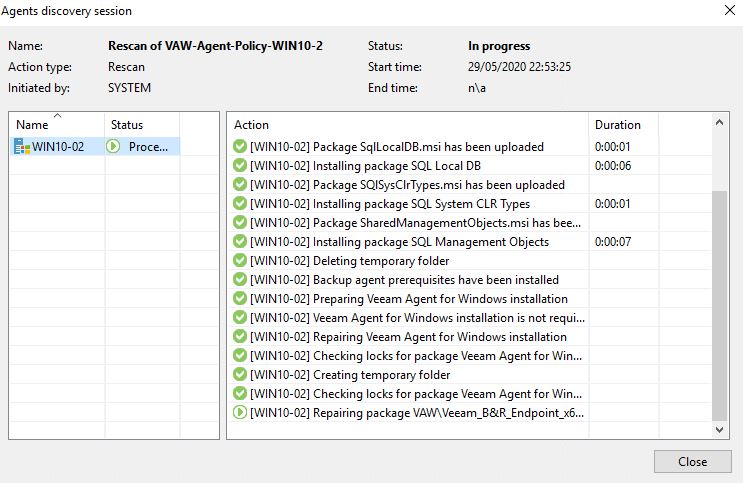 Picture 7
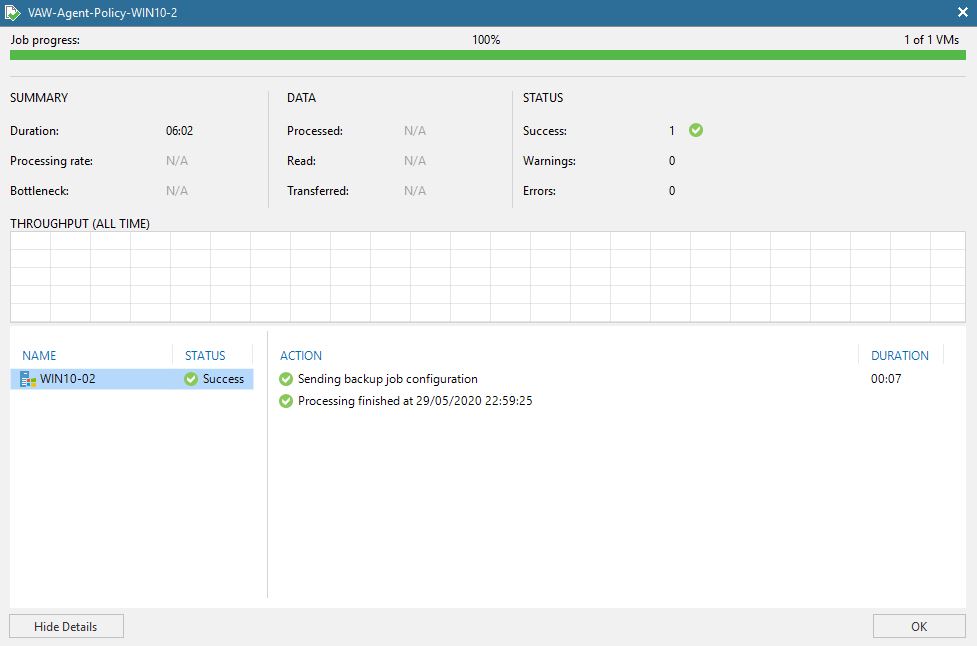 Picture 8
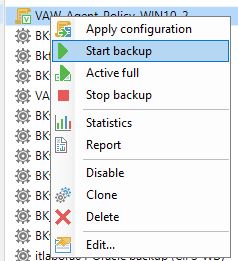 Picture 9
 Picture 10
 Picture 11
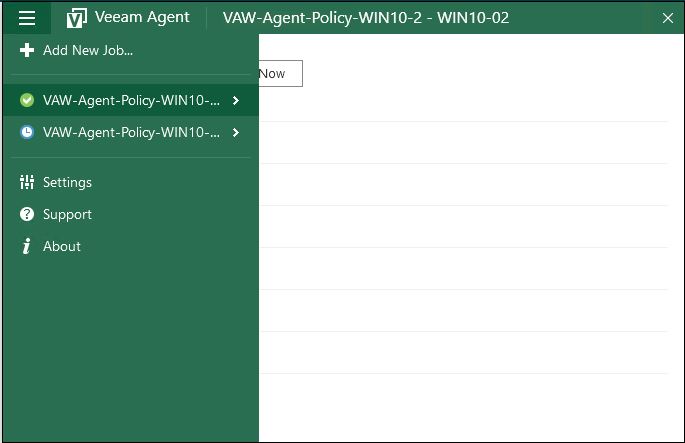 Picture 12
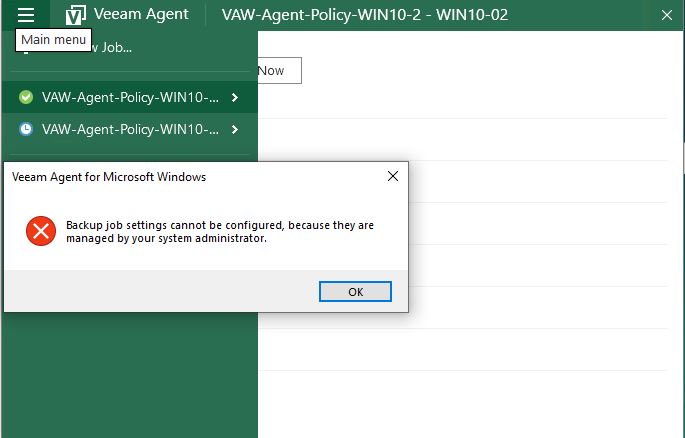 Picture 13
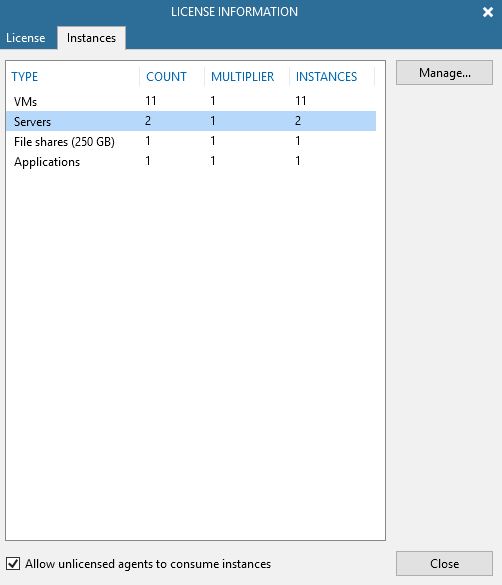 Picture 14
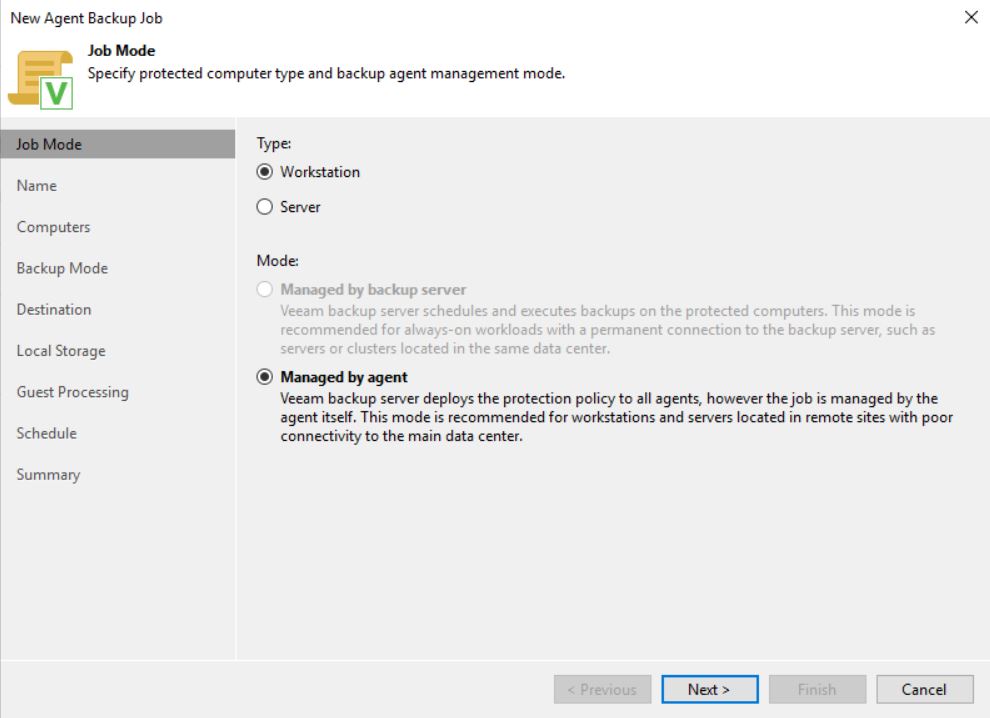 Image 1
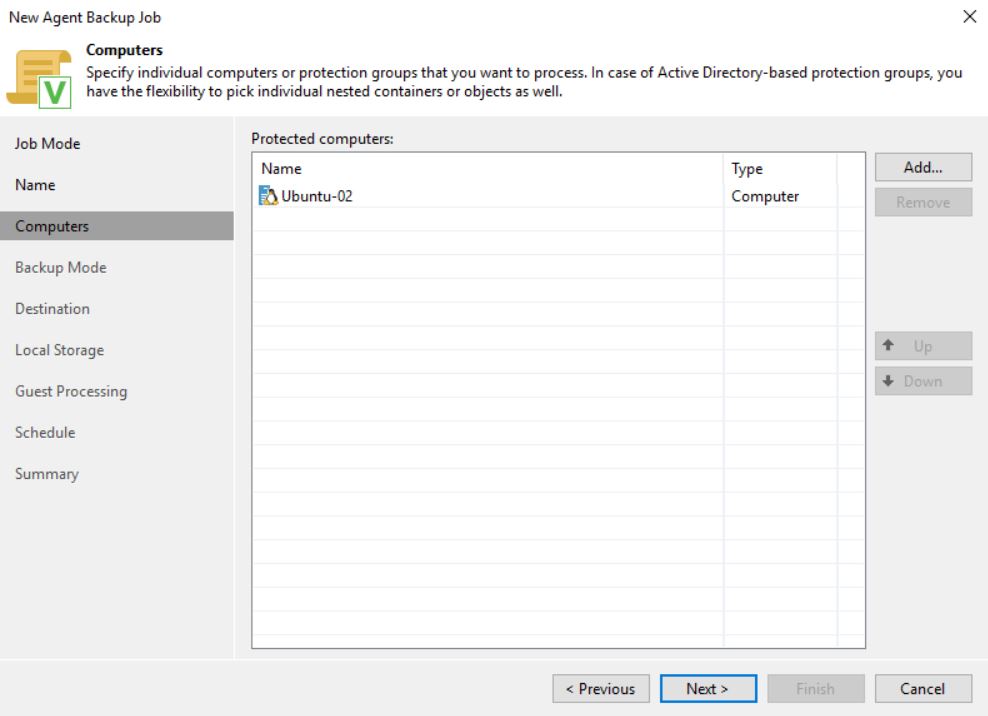 Image 2
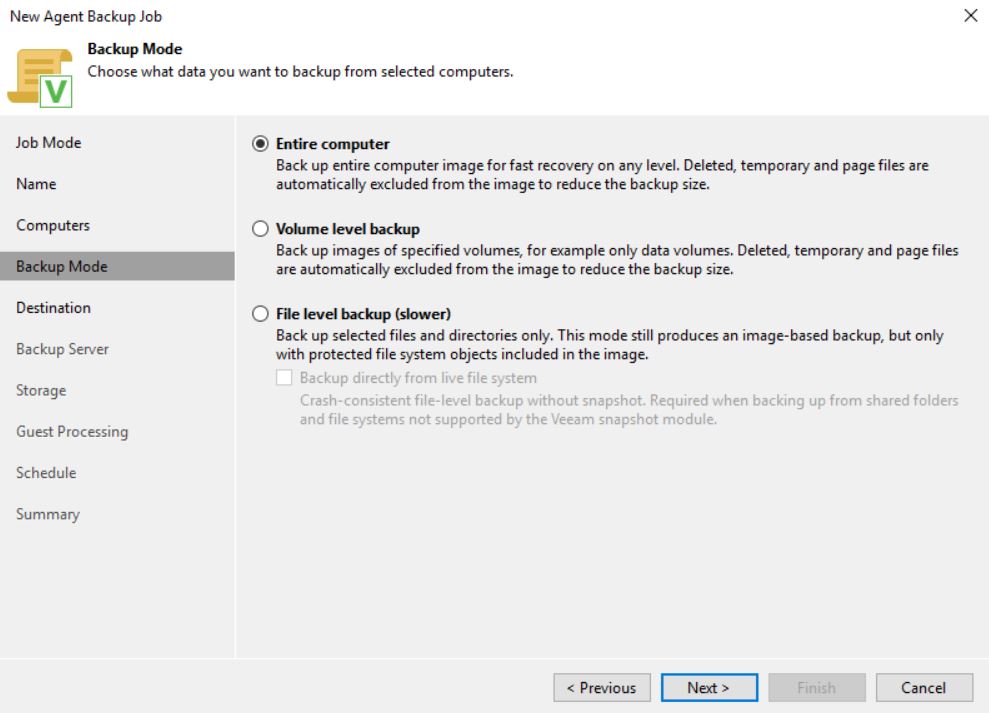 Image 3
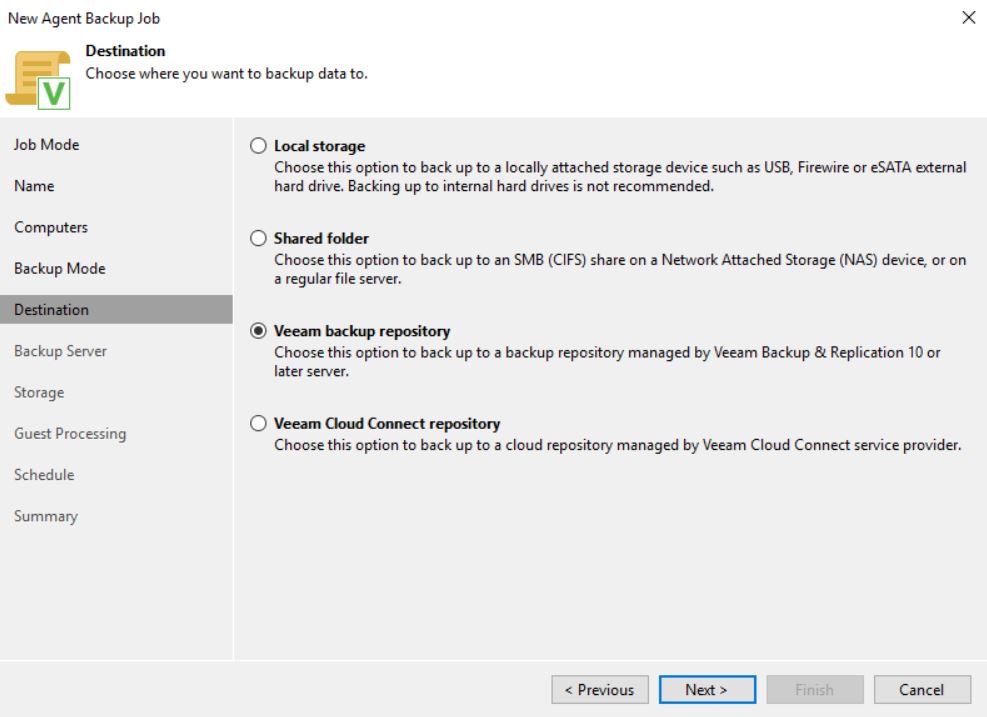 Image 4
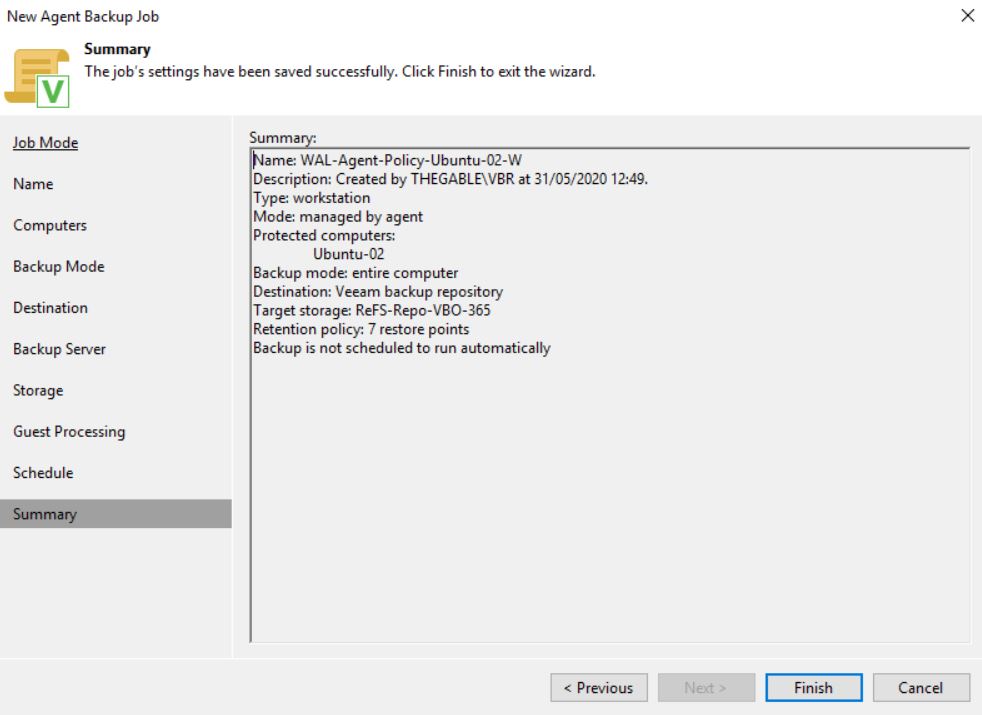 Image 5
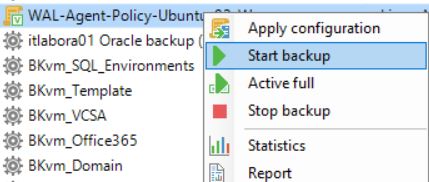 image 6
 Image 8
 Image 9
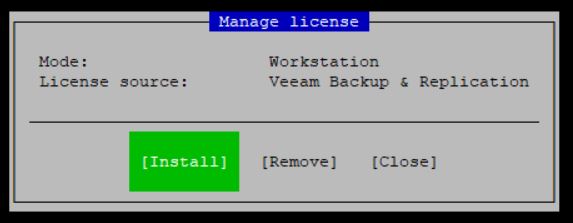 Image 10
 Image 11
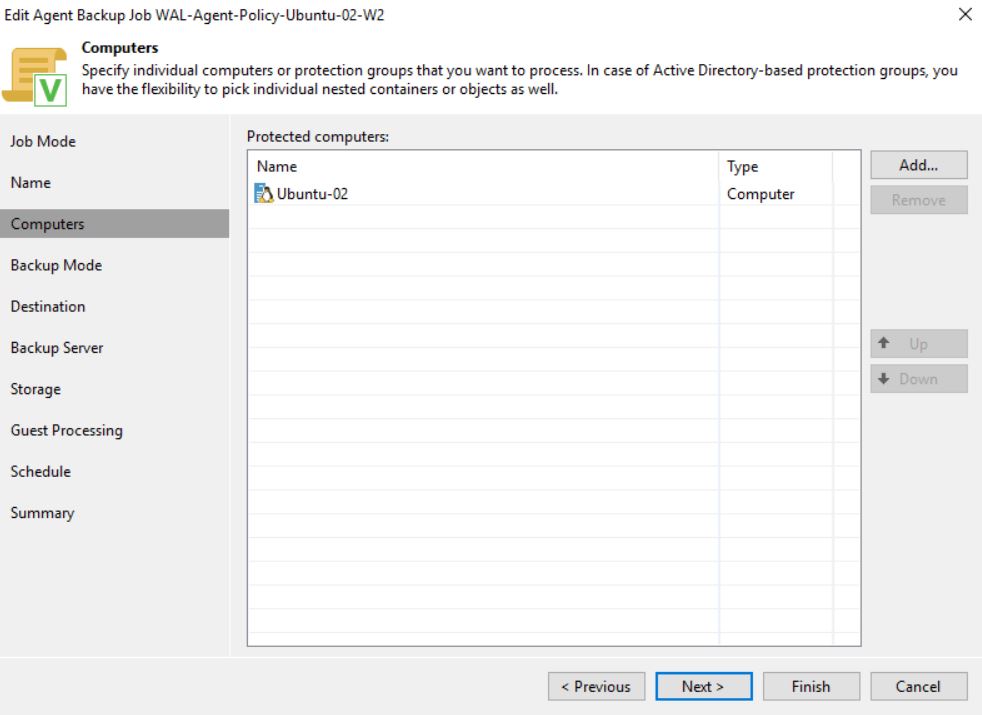 Image 12
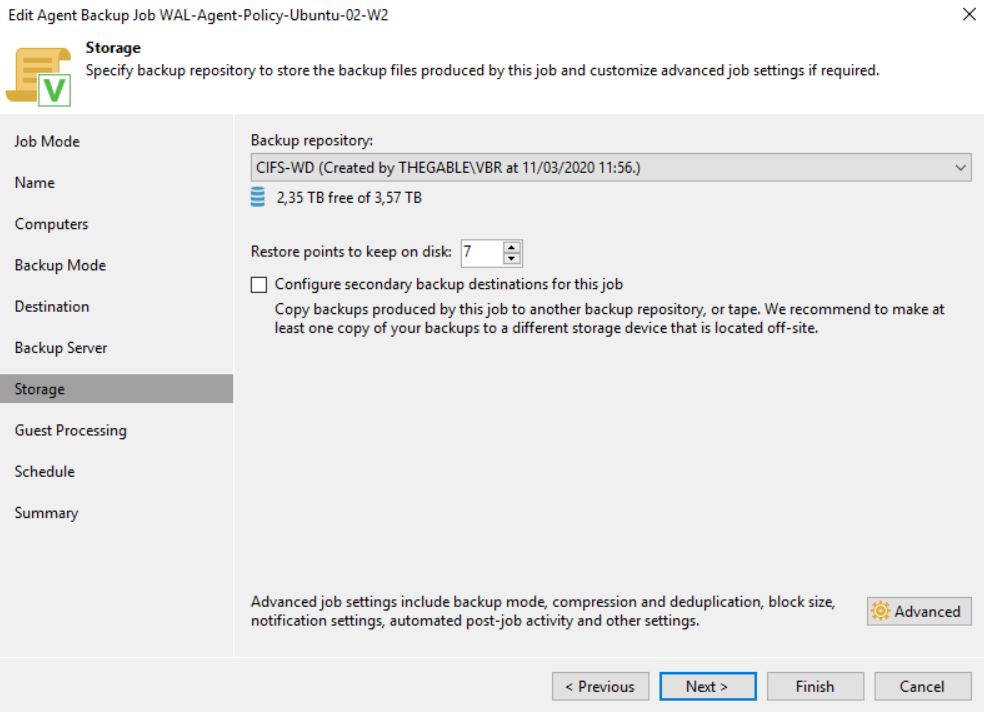 Image 13
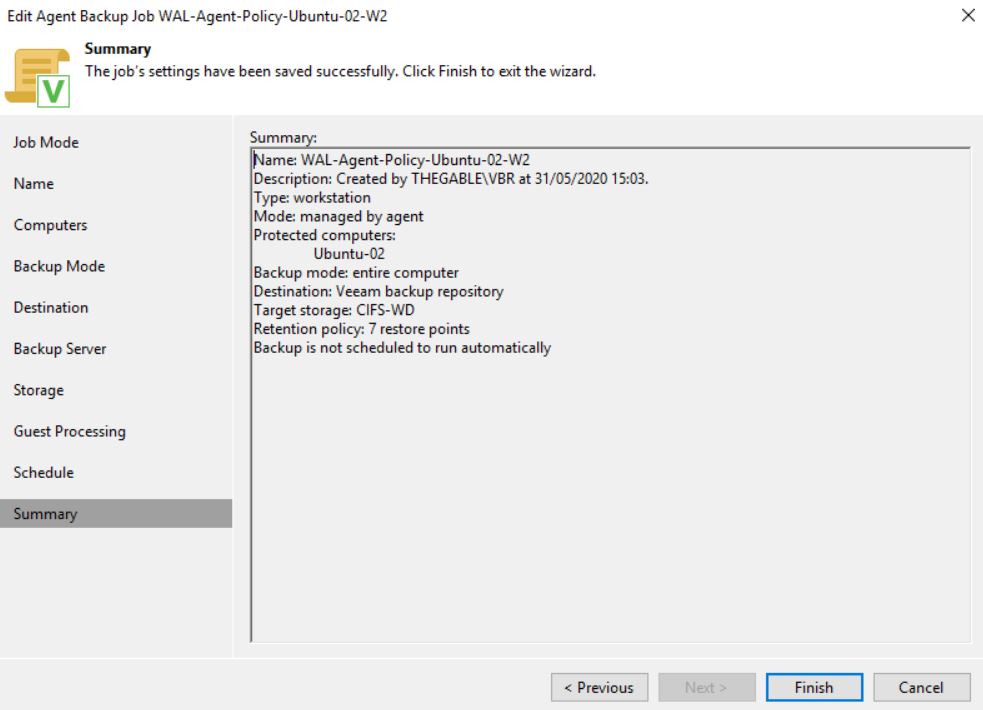 Image 14
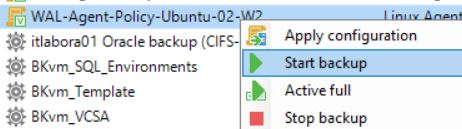
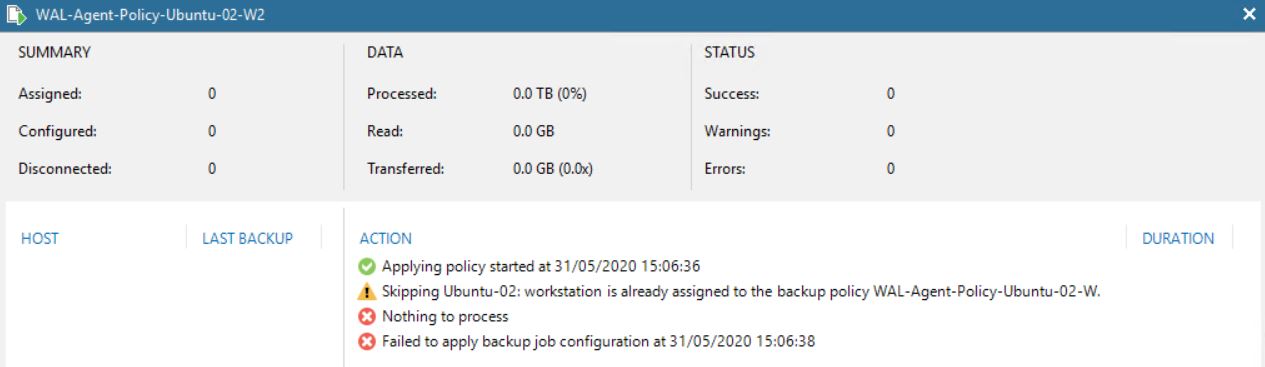 Image 16