Veeam Disaster Recovery Orchestrator – Creating the plan

We have arrived at the latest article on Veeam Disaster Recovery Orchestrator version 5.

In this last part, we will concentrate on the efforts made previously and available on this site, to implement the Disaster Recovery Orchestration plan.

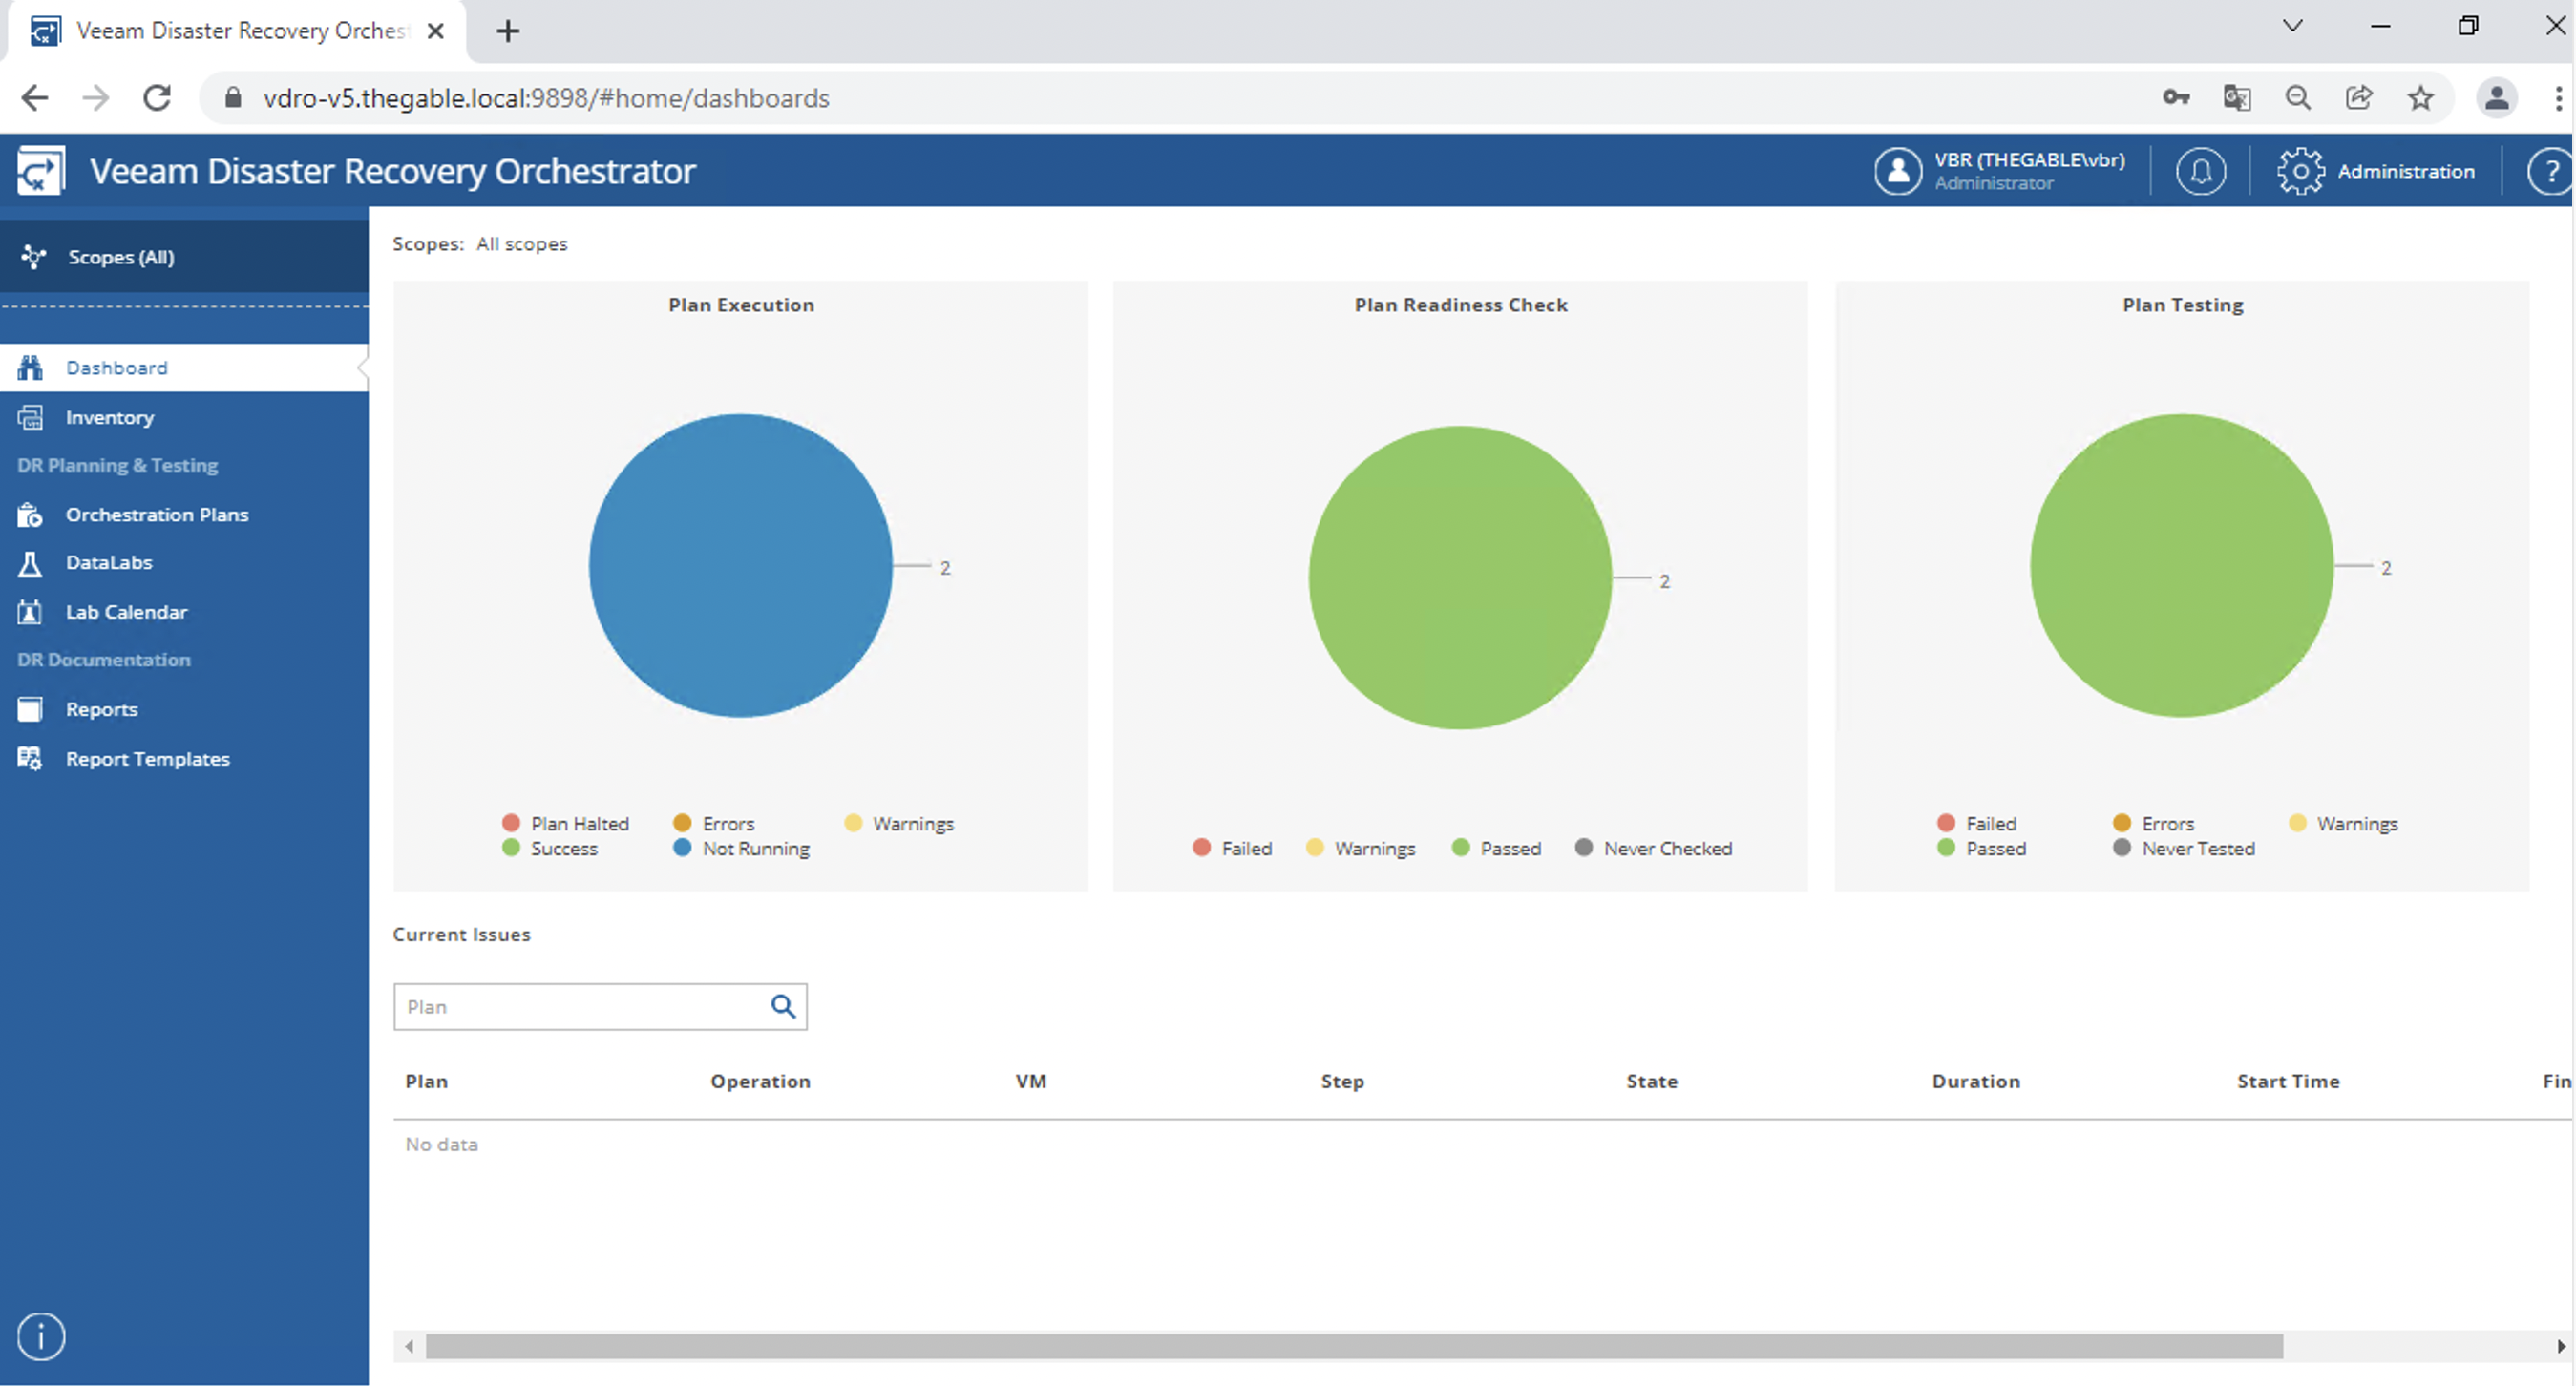
After logging in, the dashboard illustrates the status of the completed plans (image 1).
Picture 1

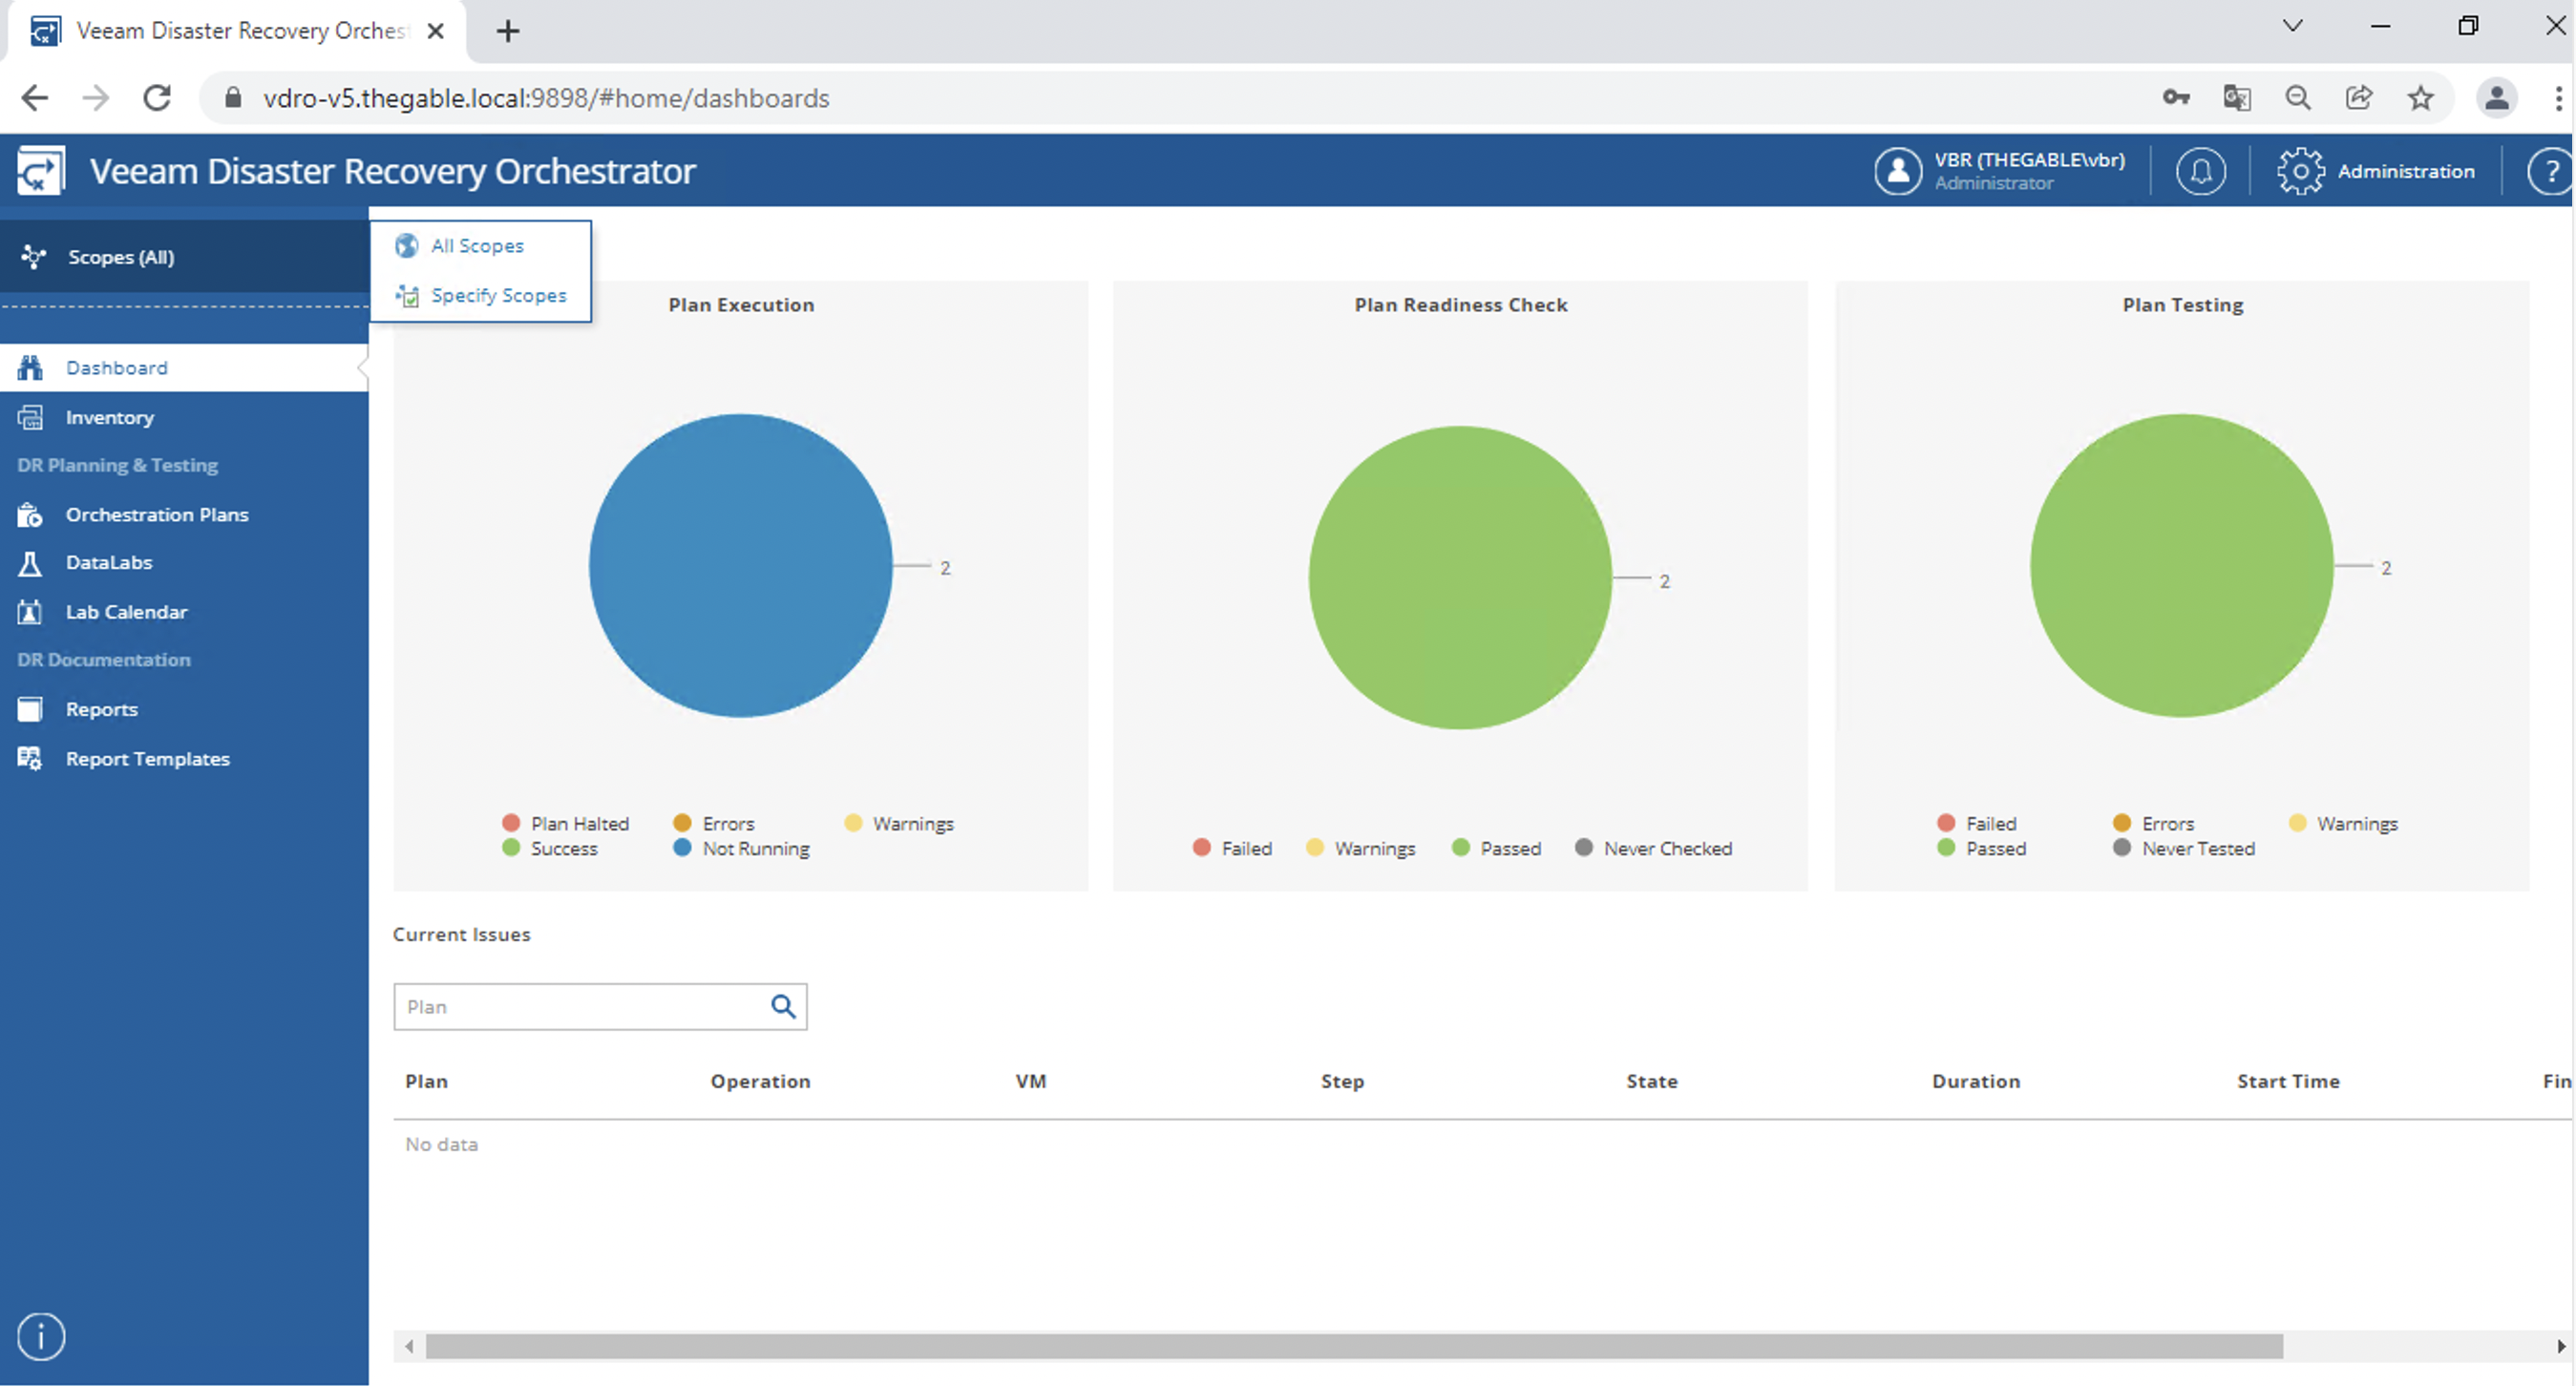
Note that, unlike the previous VDrO version, it is possible to filter planes based on “scopes” (image 2).
picture 2

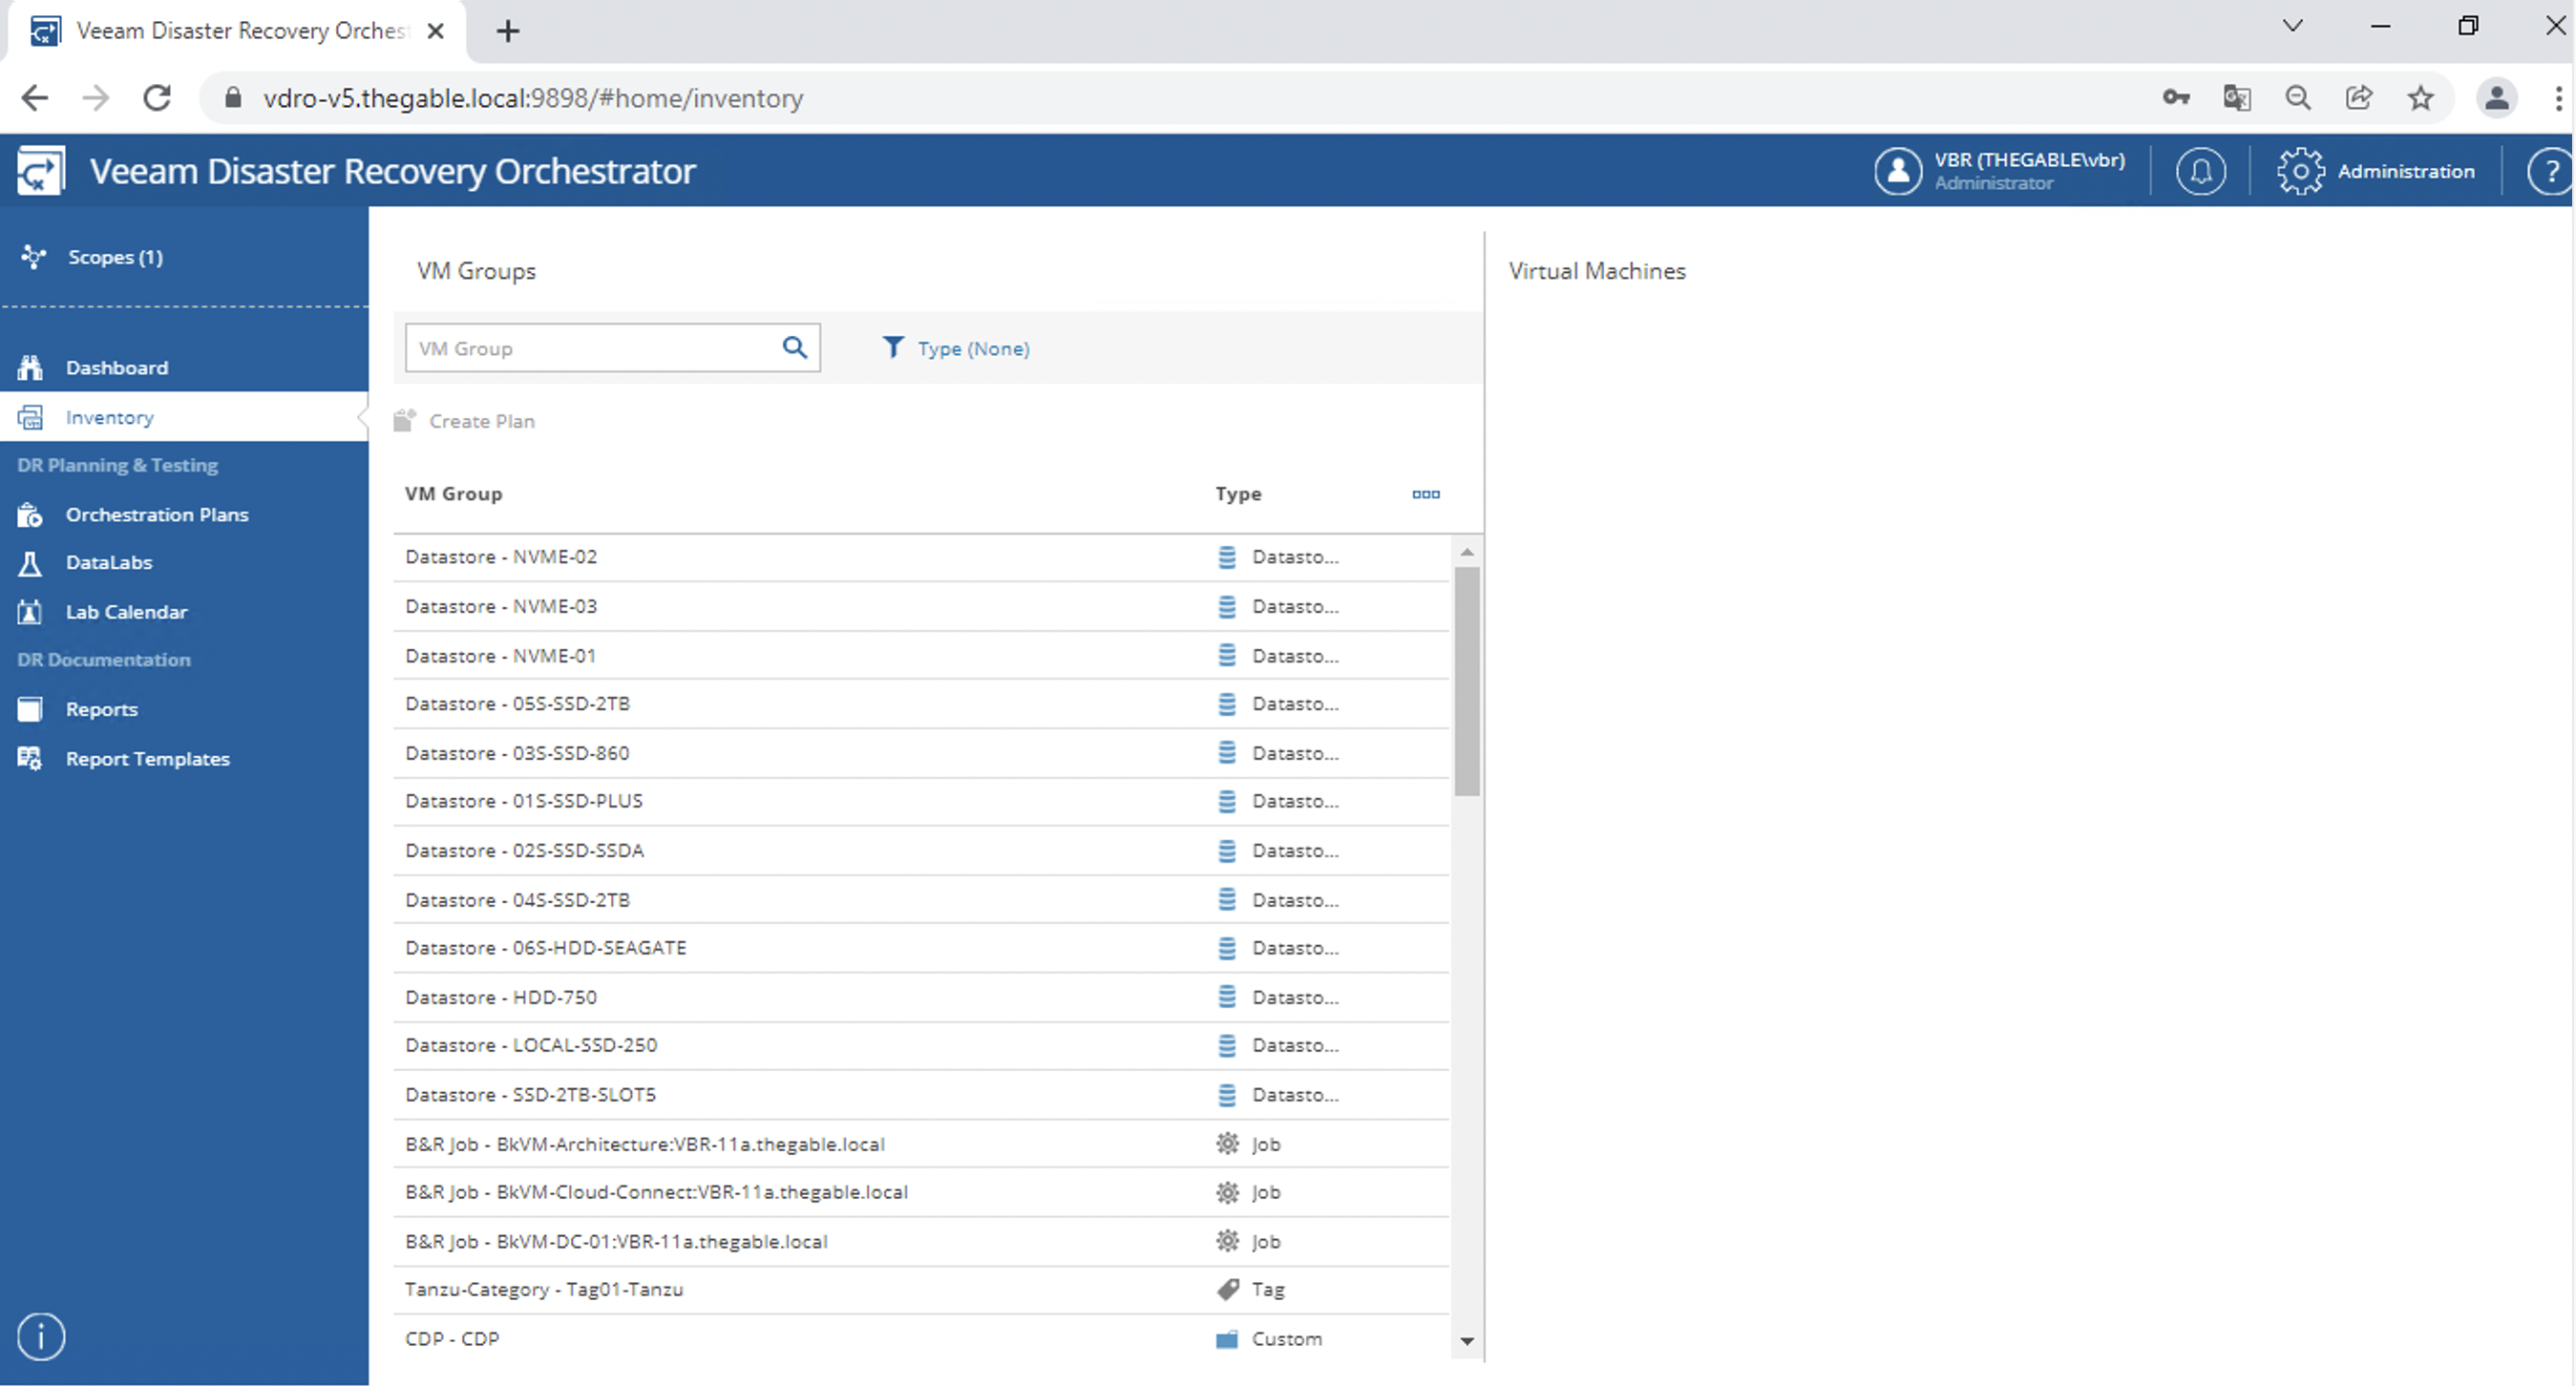
A second and very useful novelty of version 5 is the presence of the inventory items (image 3), where the VM Groups are reported.

This option immediately verifies that in the chosen “scope” there is the group of VMs that will implement the DR plan.
Picture 3

Image 4 shows the details of the Orchestration plans already created.

Picture 4

Let’s see now how to create a plan:

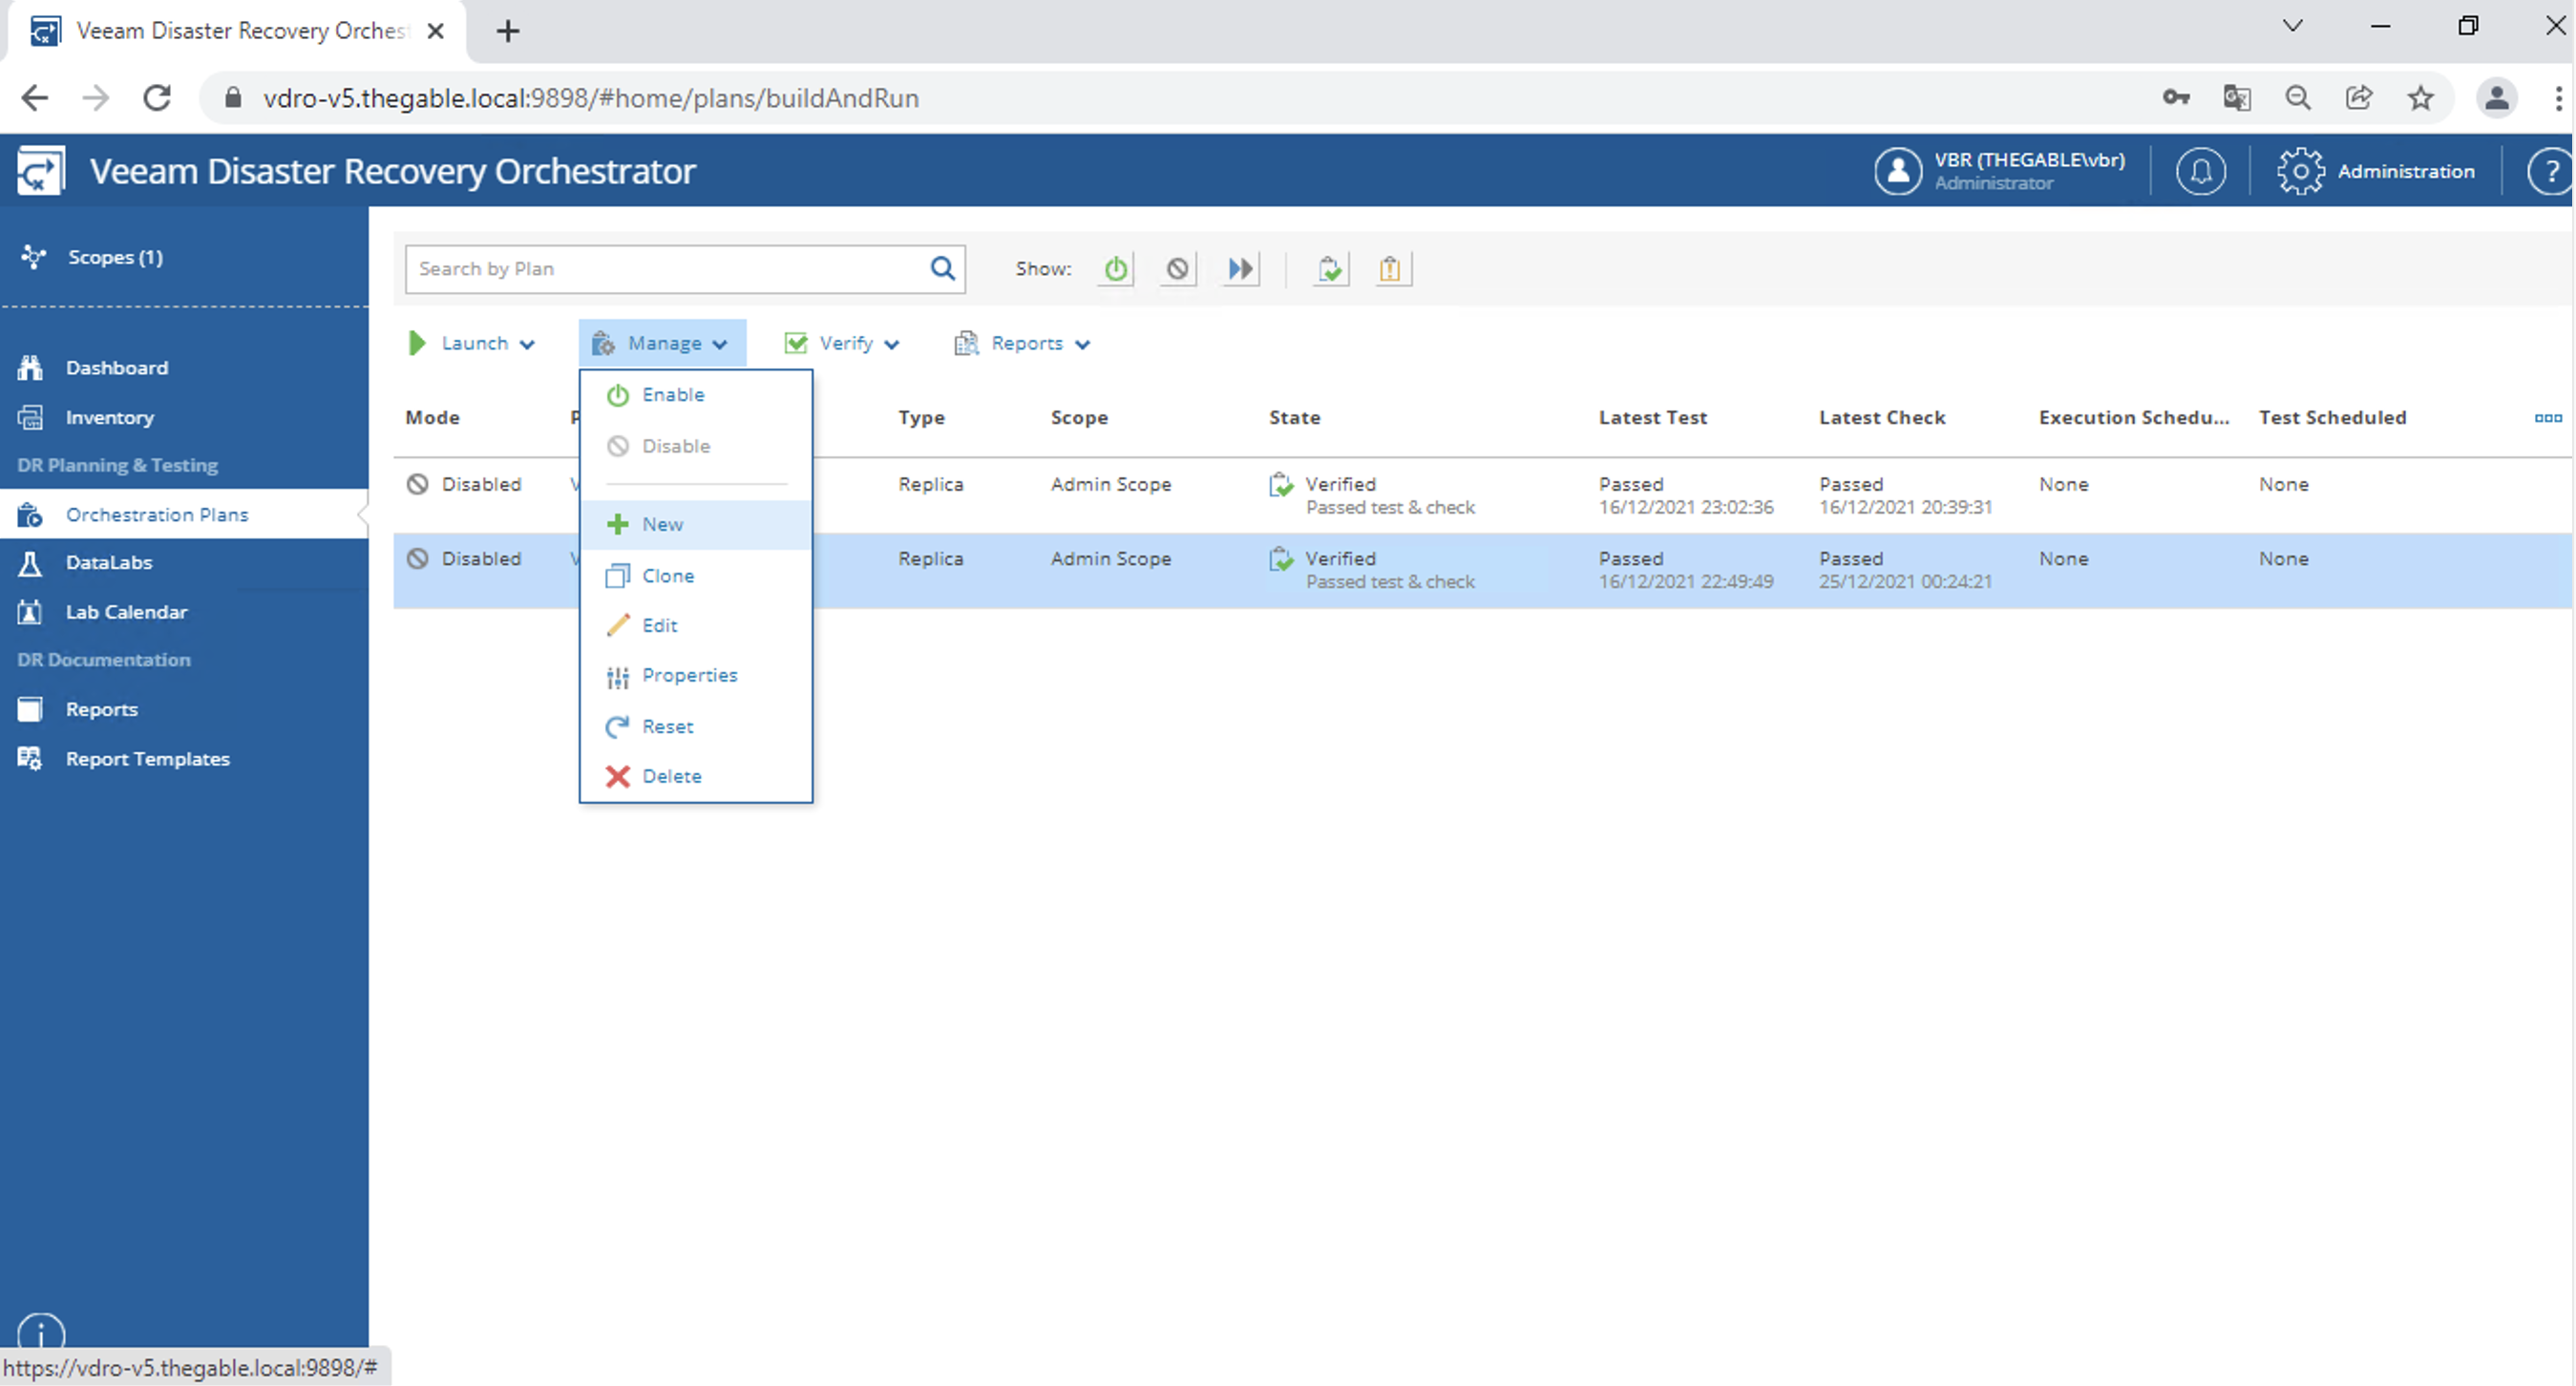
From the manage, menu selects the New item (image 5).
Picture 5

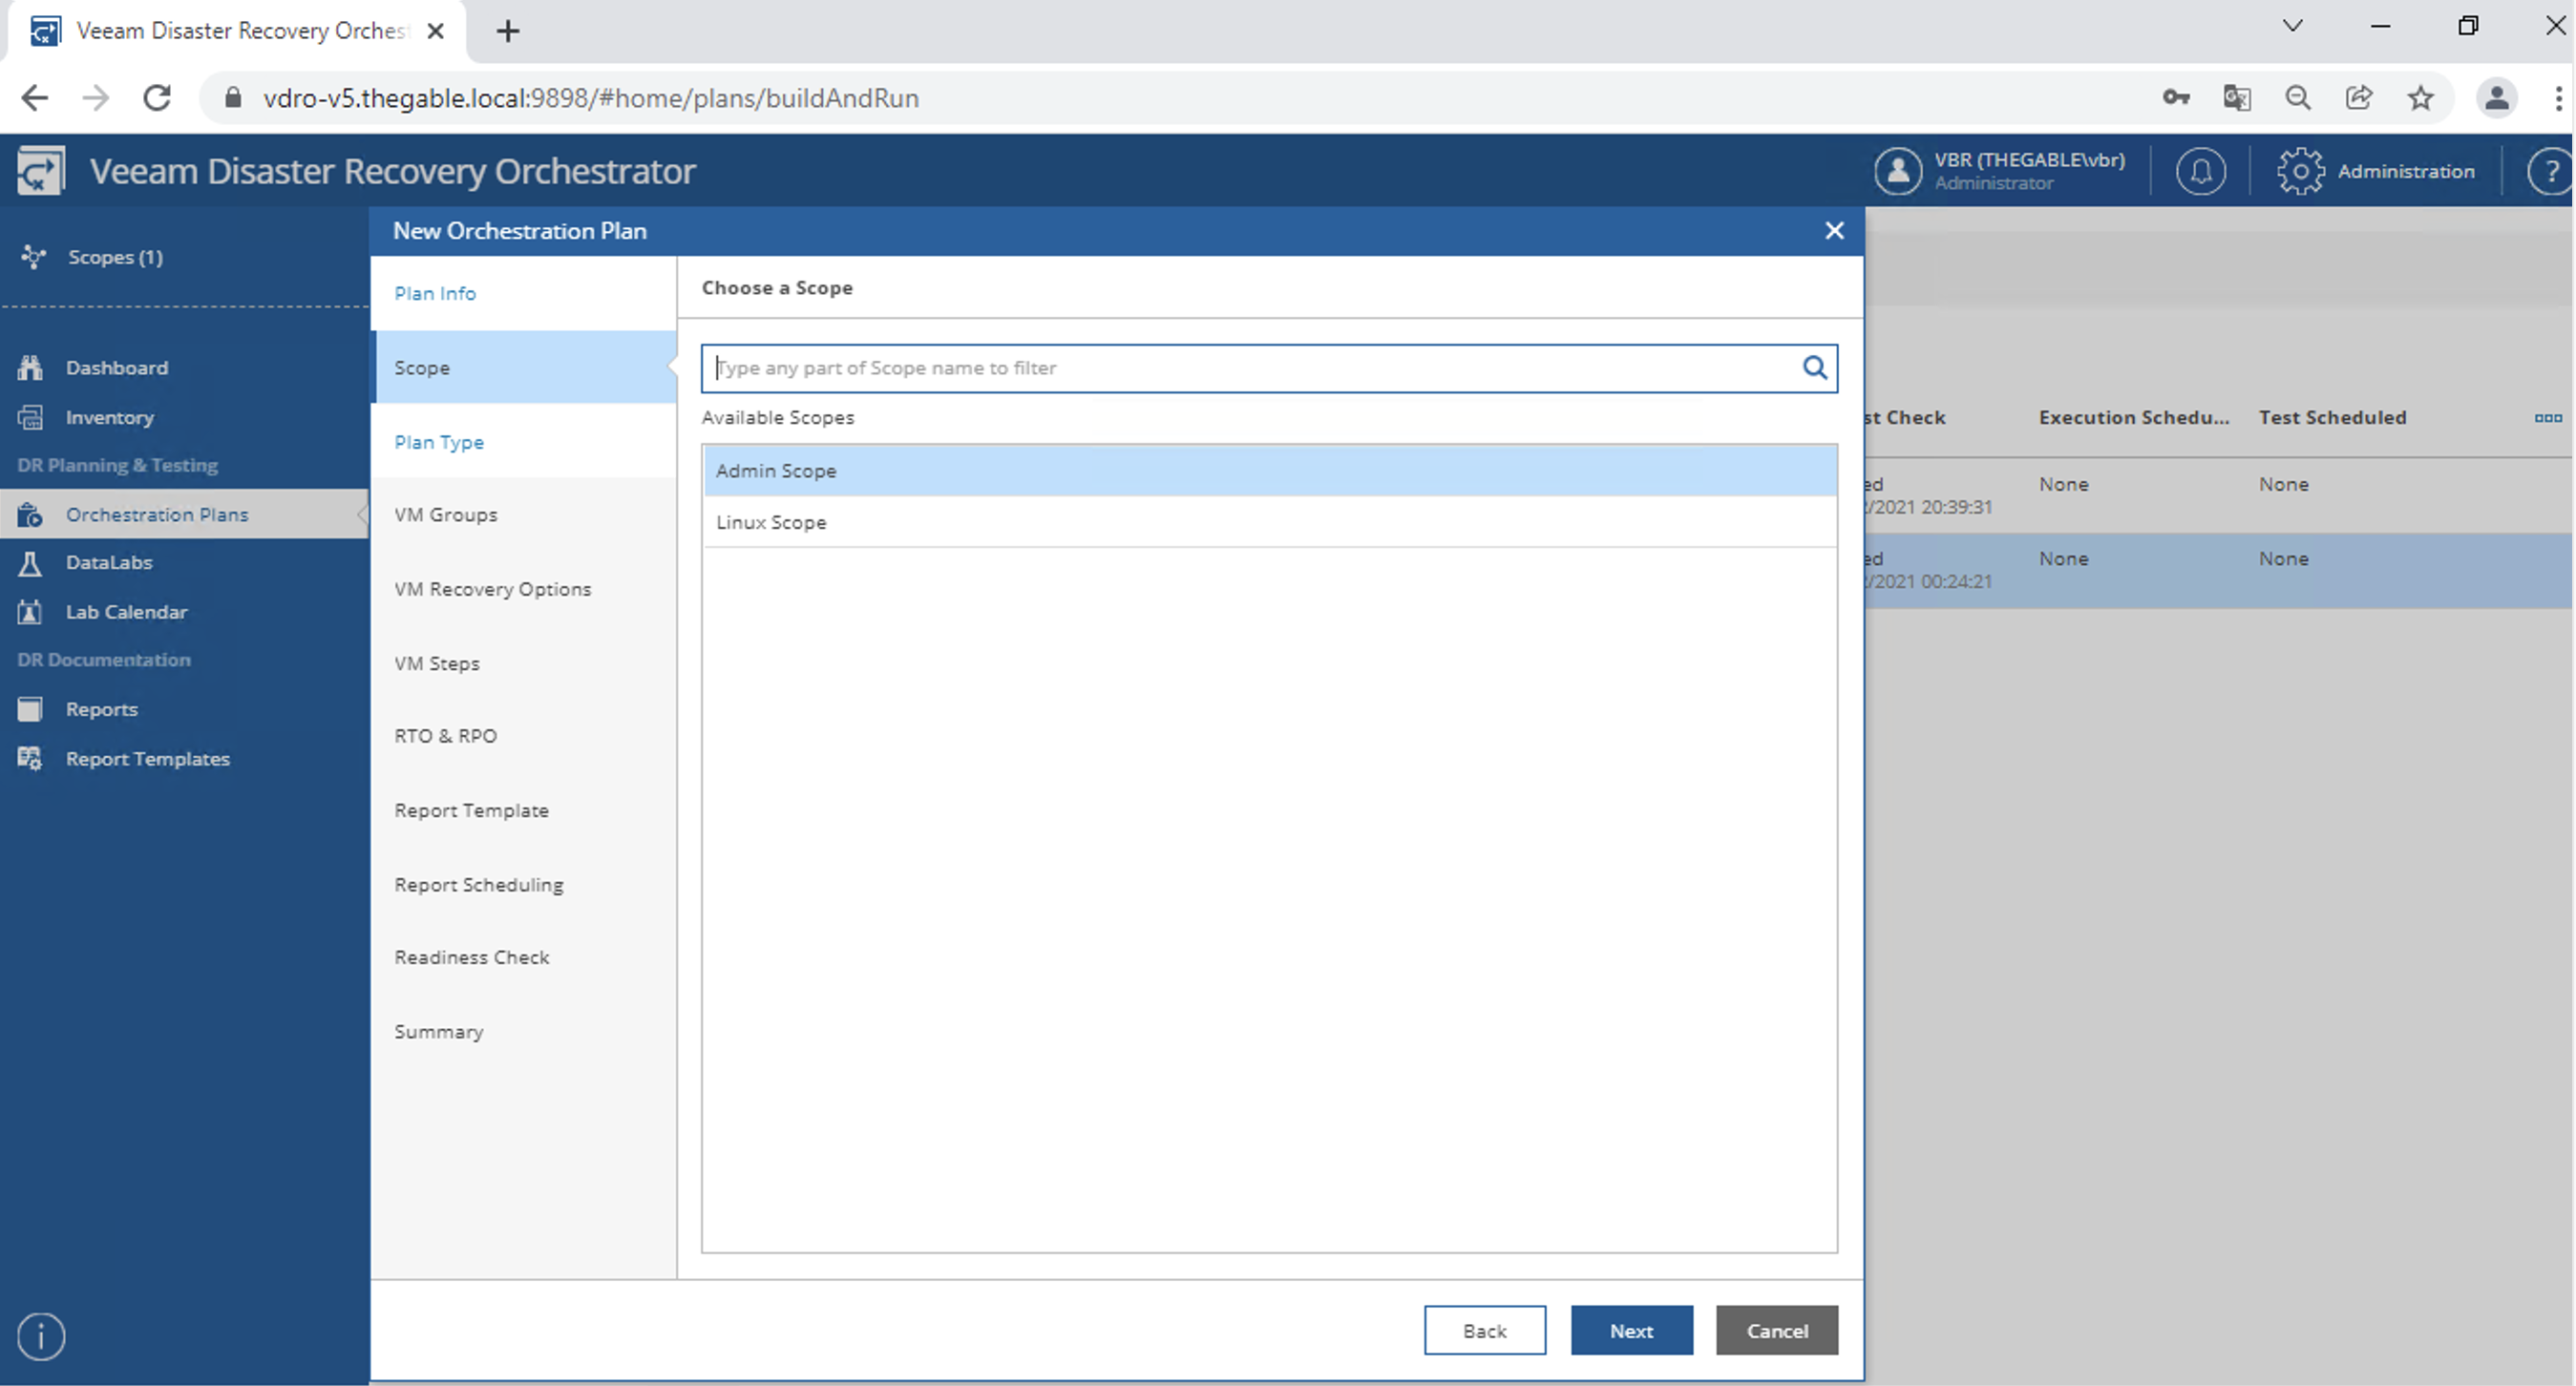
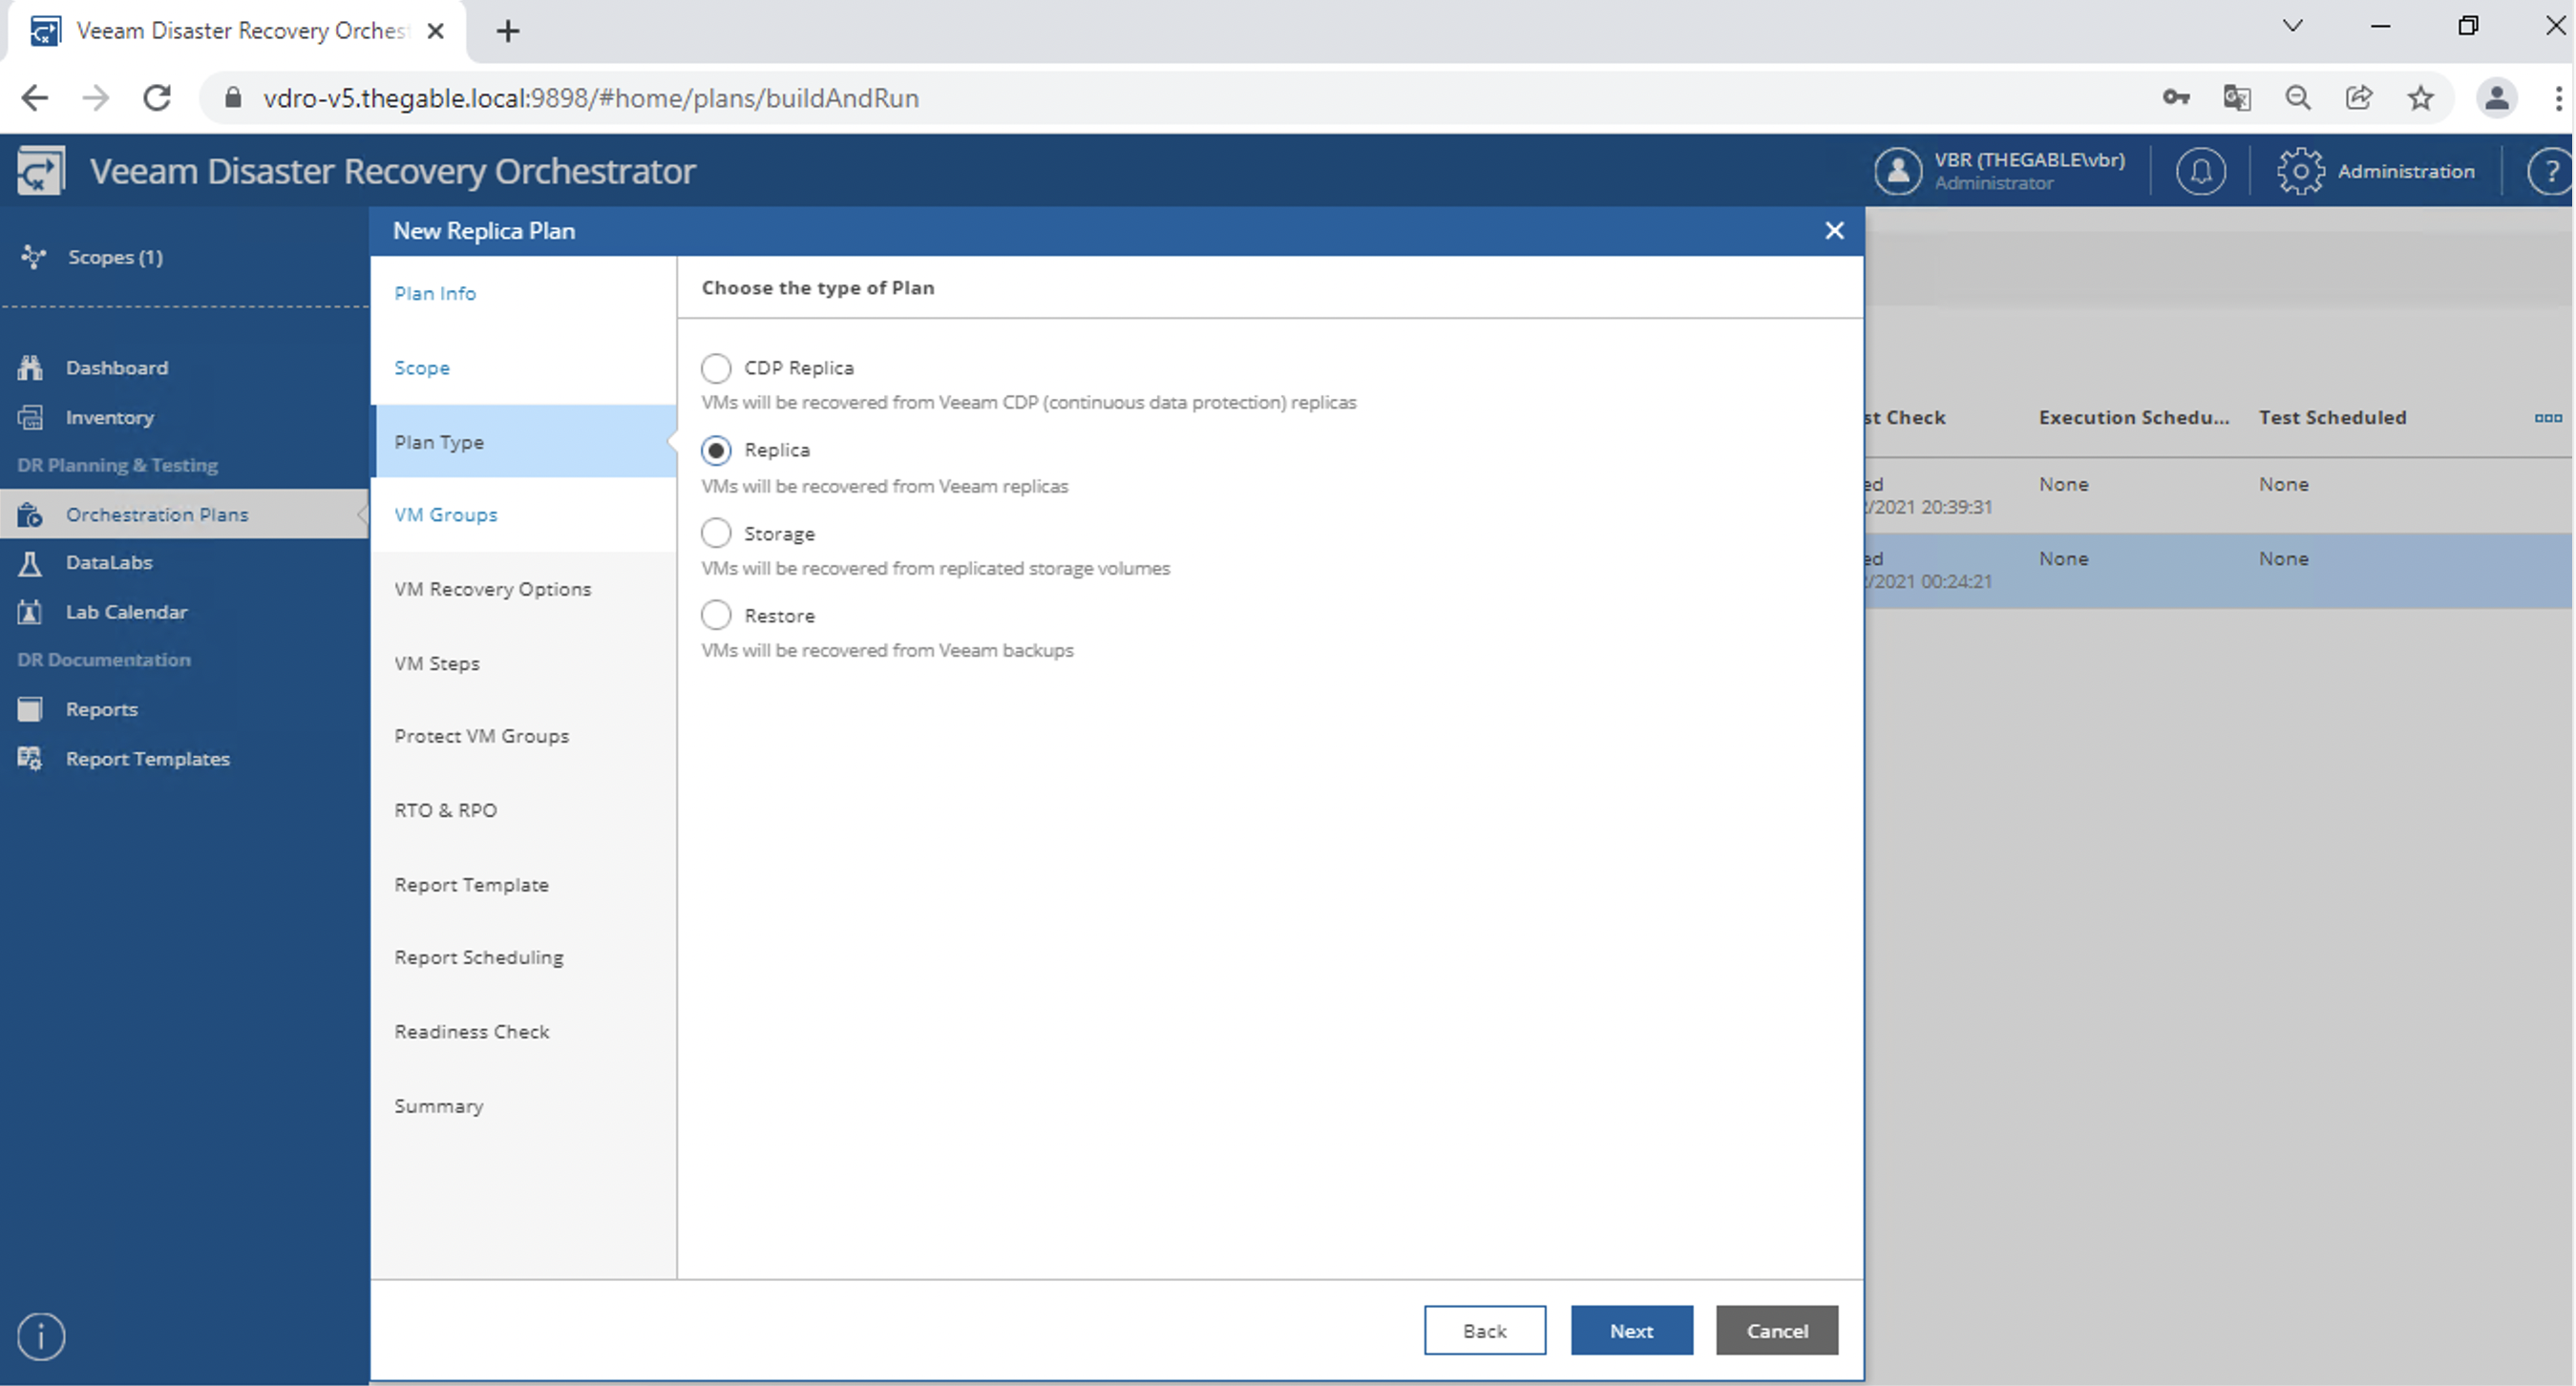
And continuing with the wizard, we enter a name (image 6), the scope (image 7), and the type of floor (image 8).
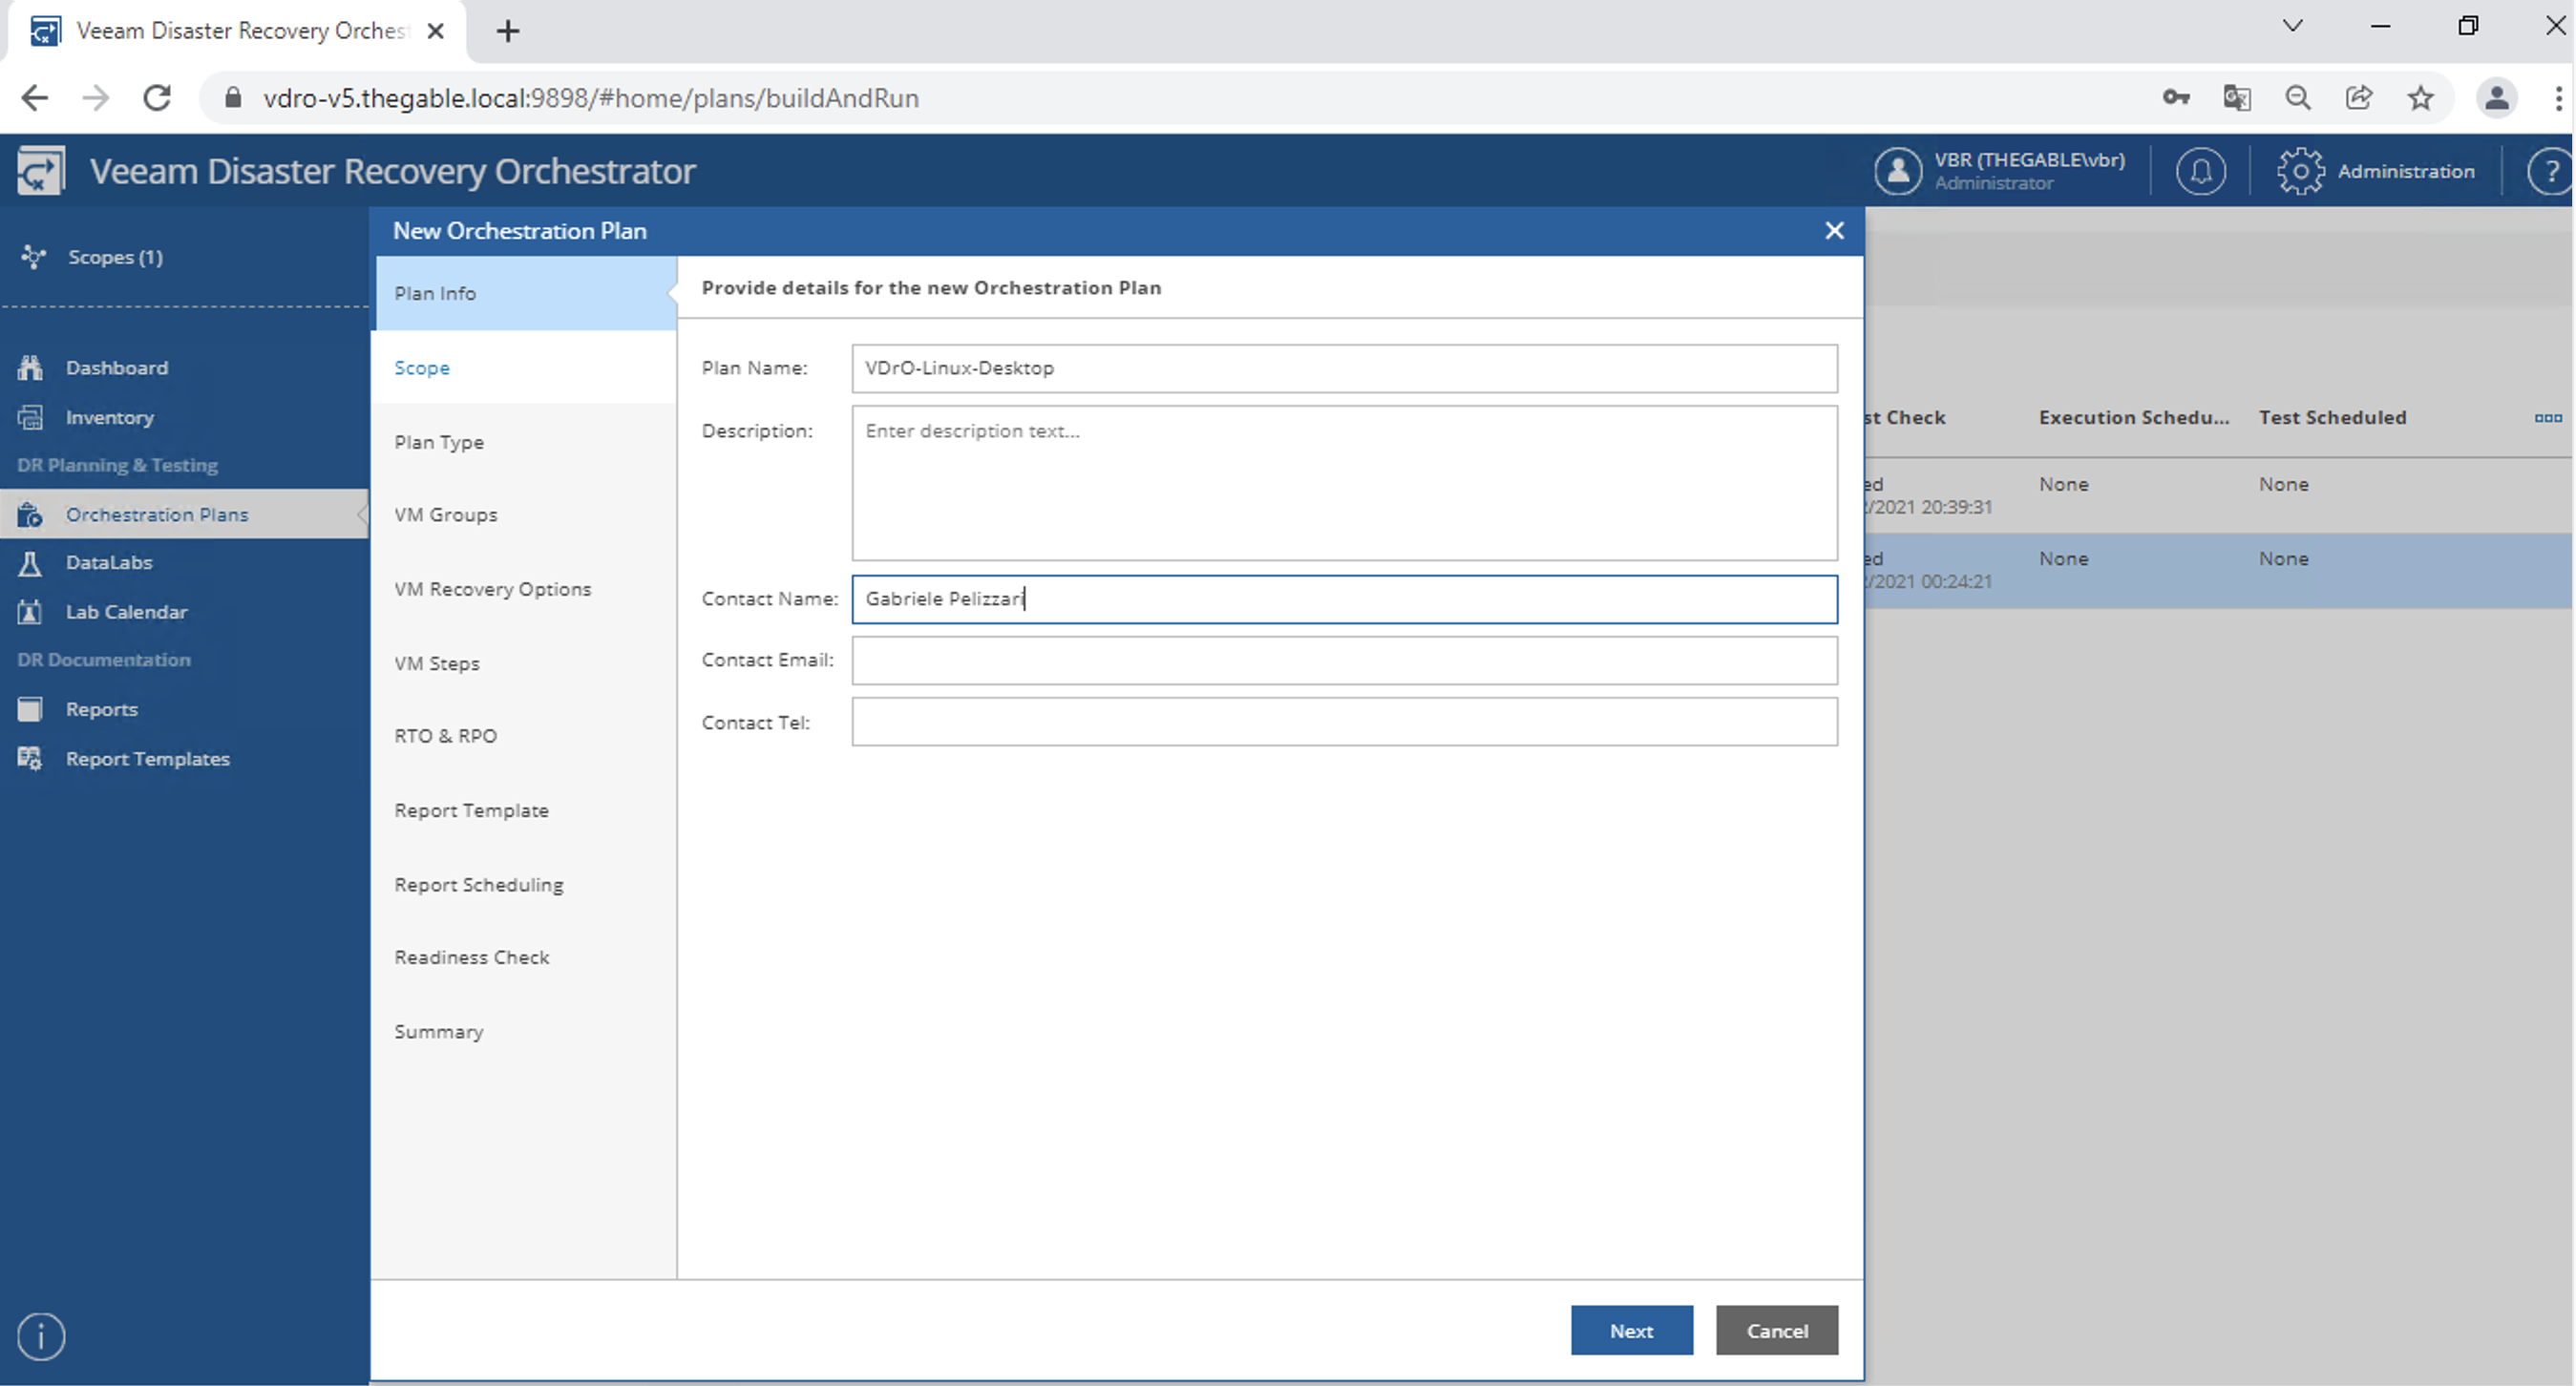
Picture 6

Picture 7

Image 8

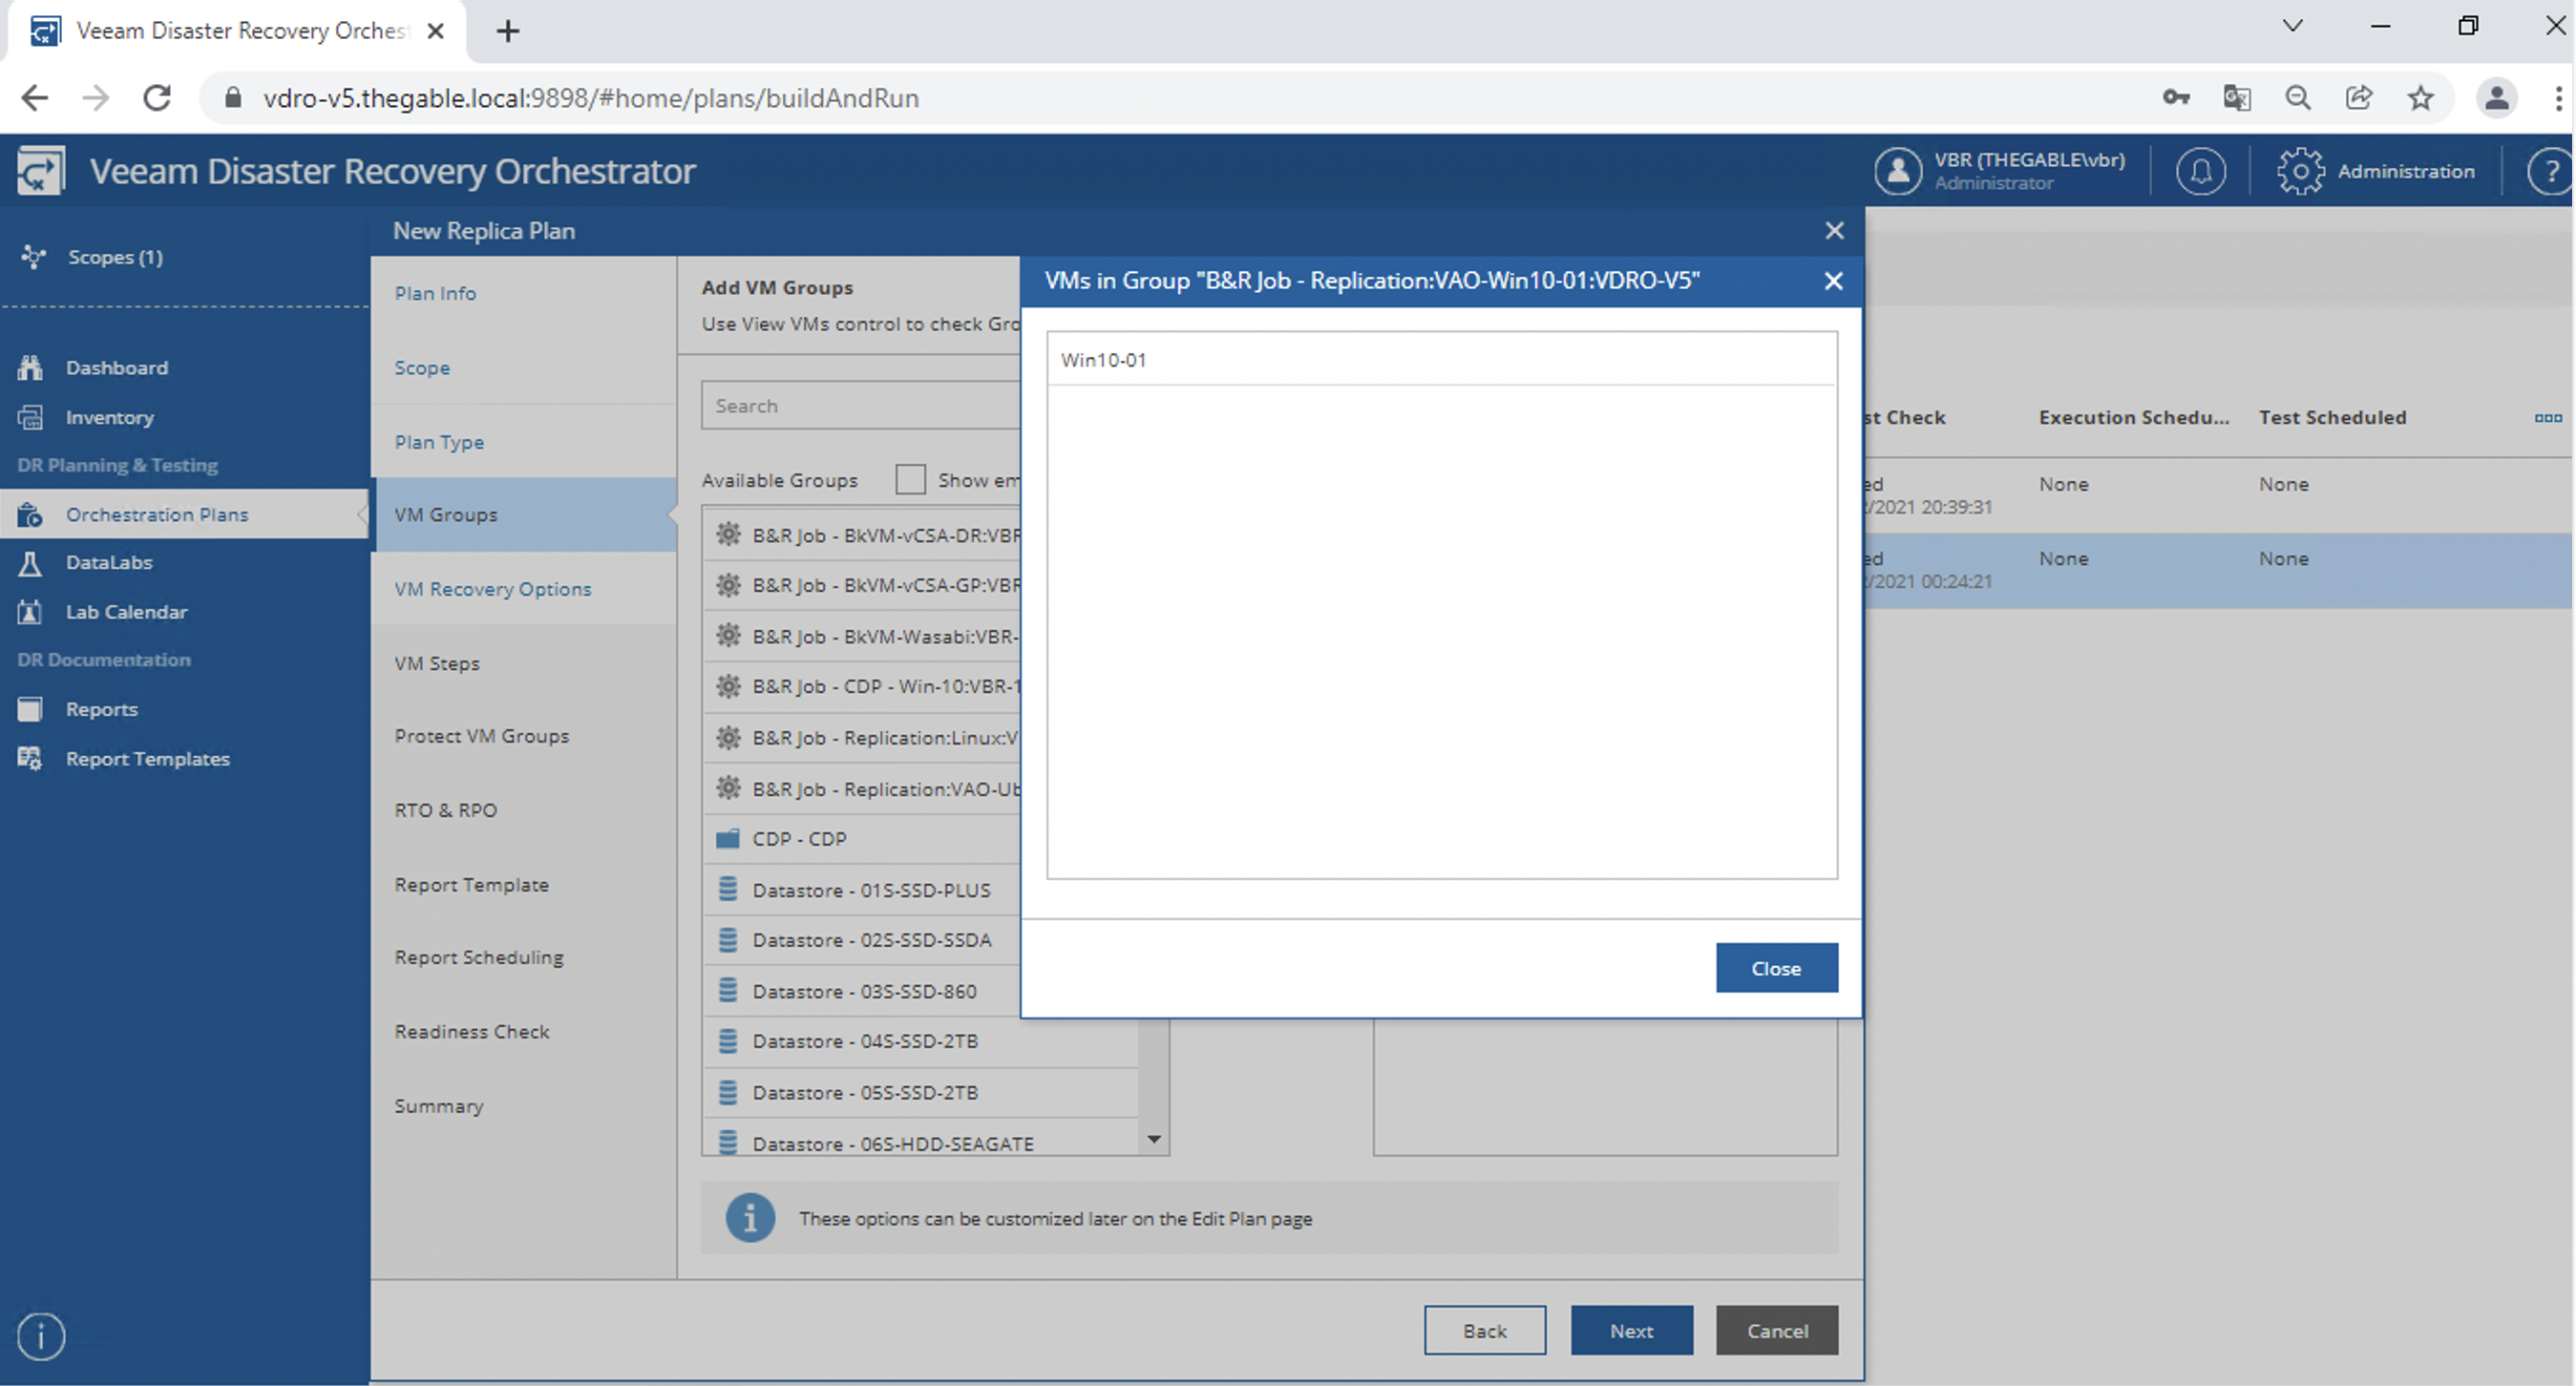
After adding the VM group to be orchestrated (image 9, 10 and 11)
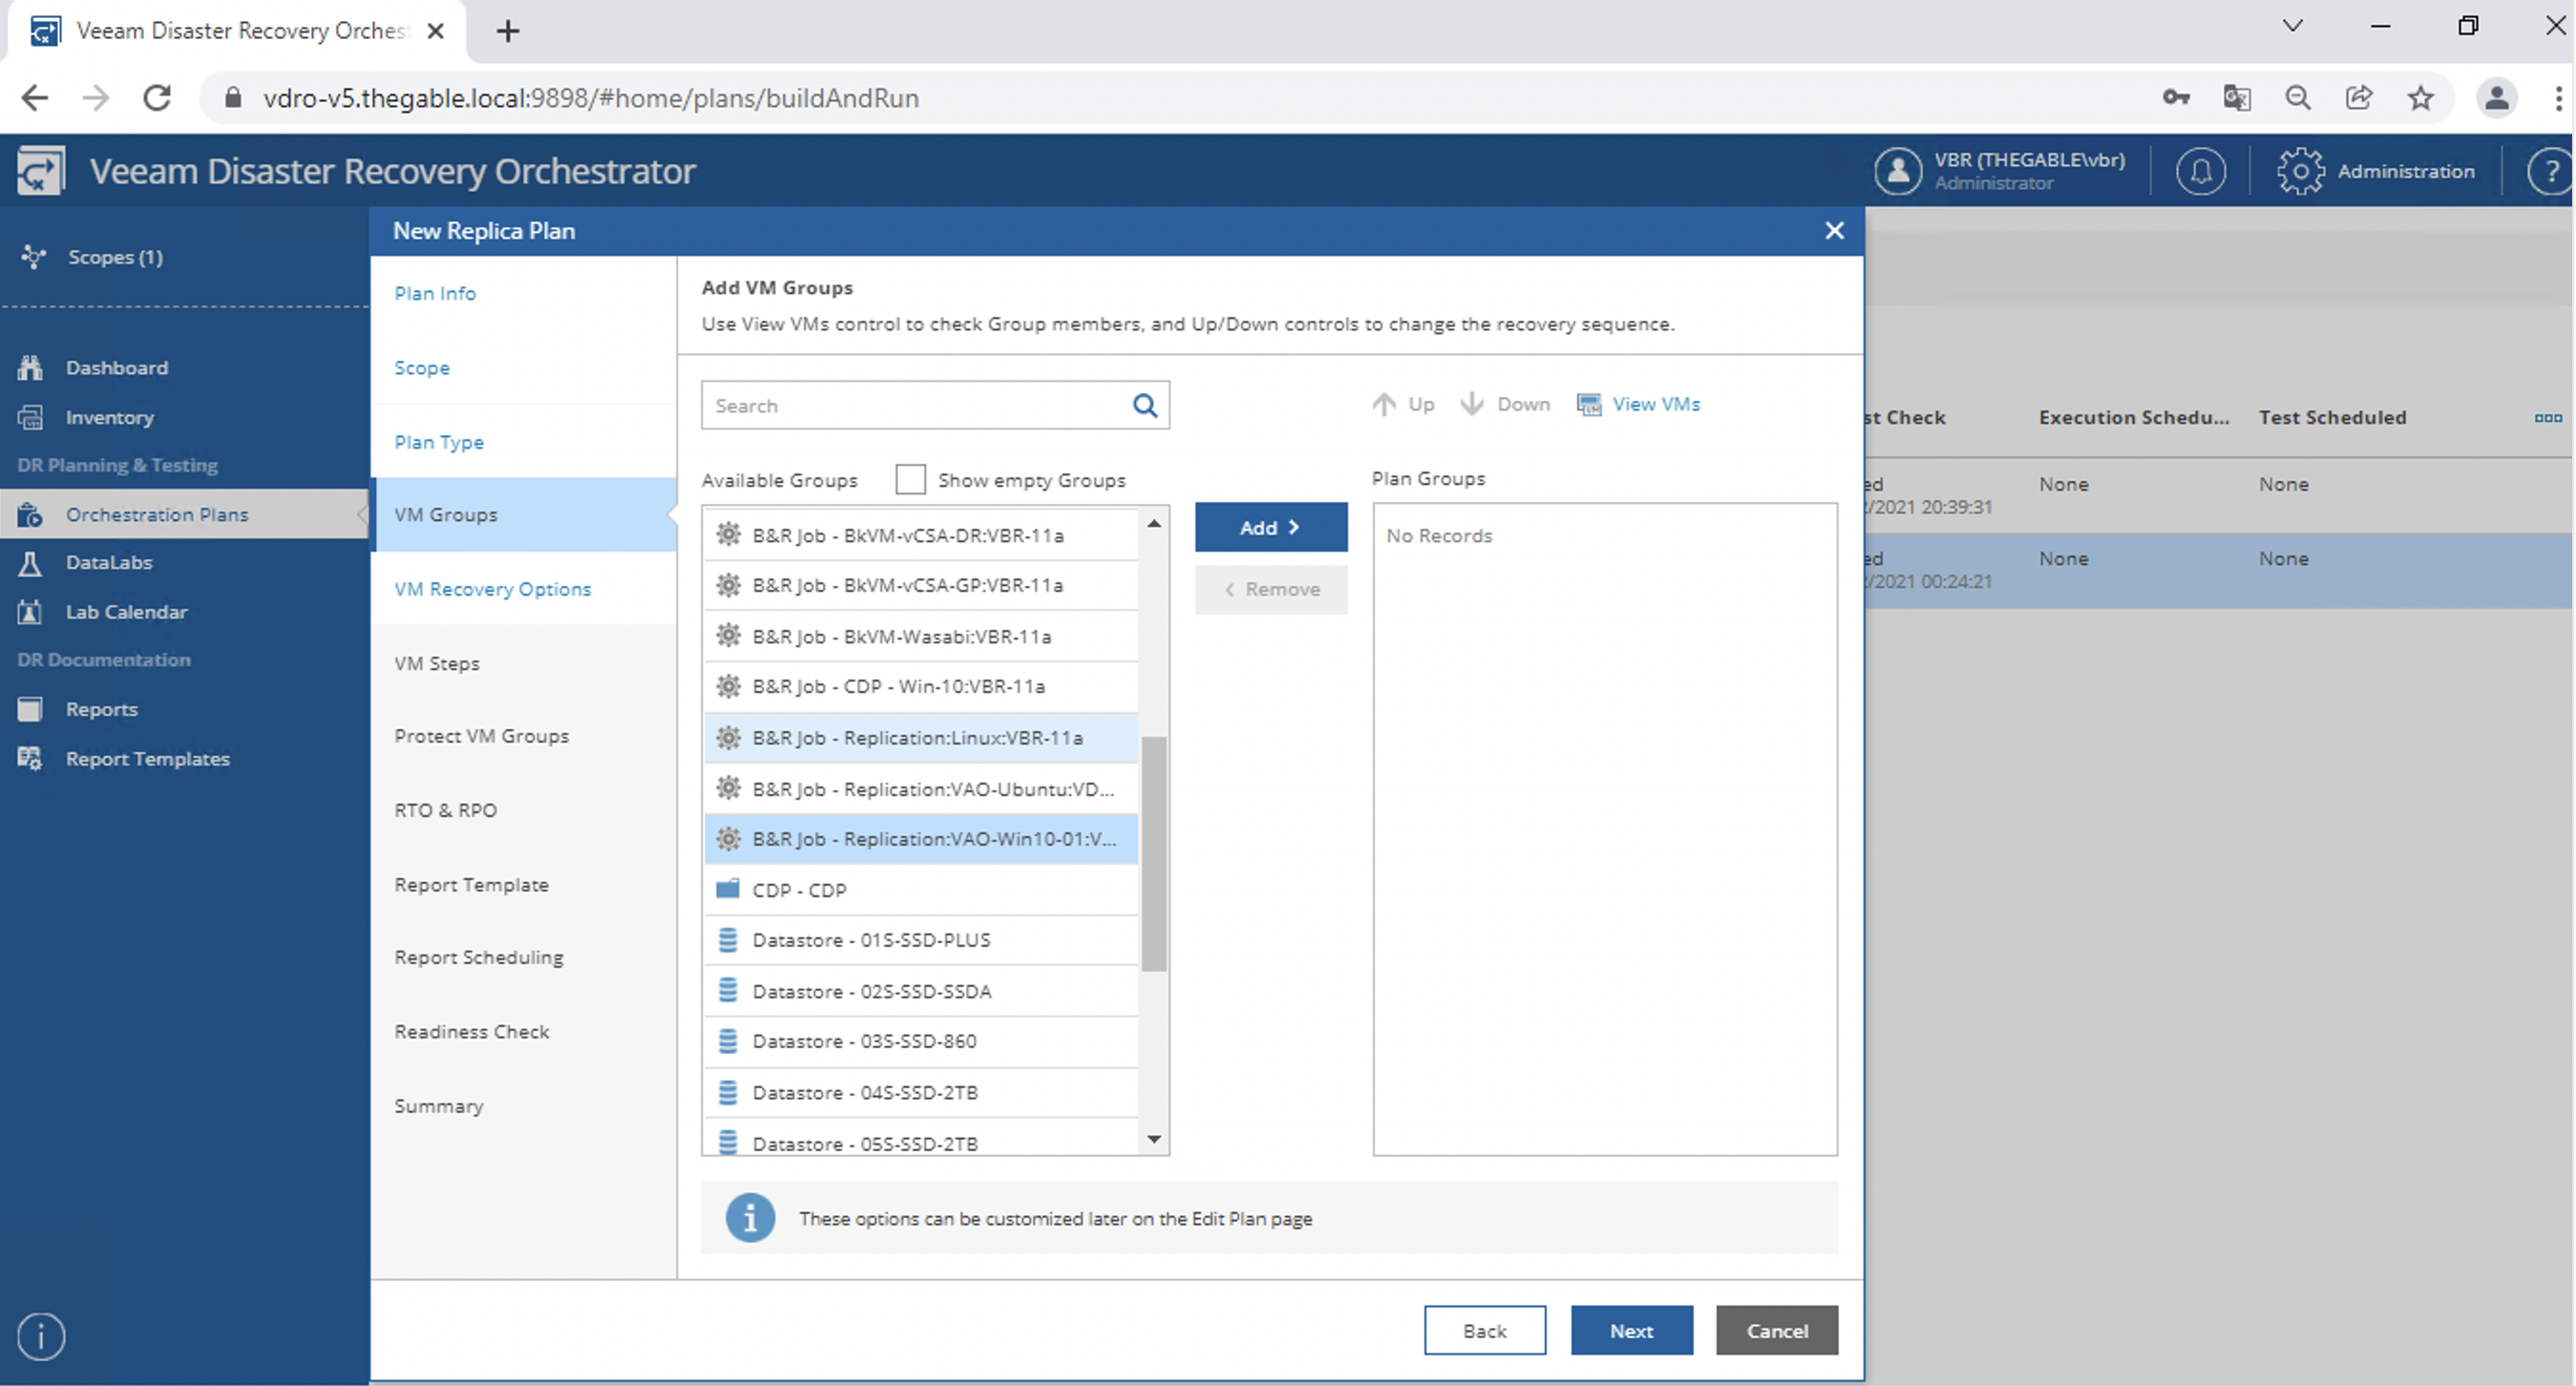
Image 9
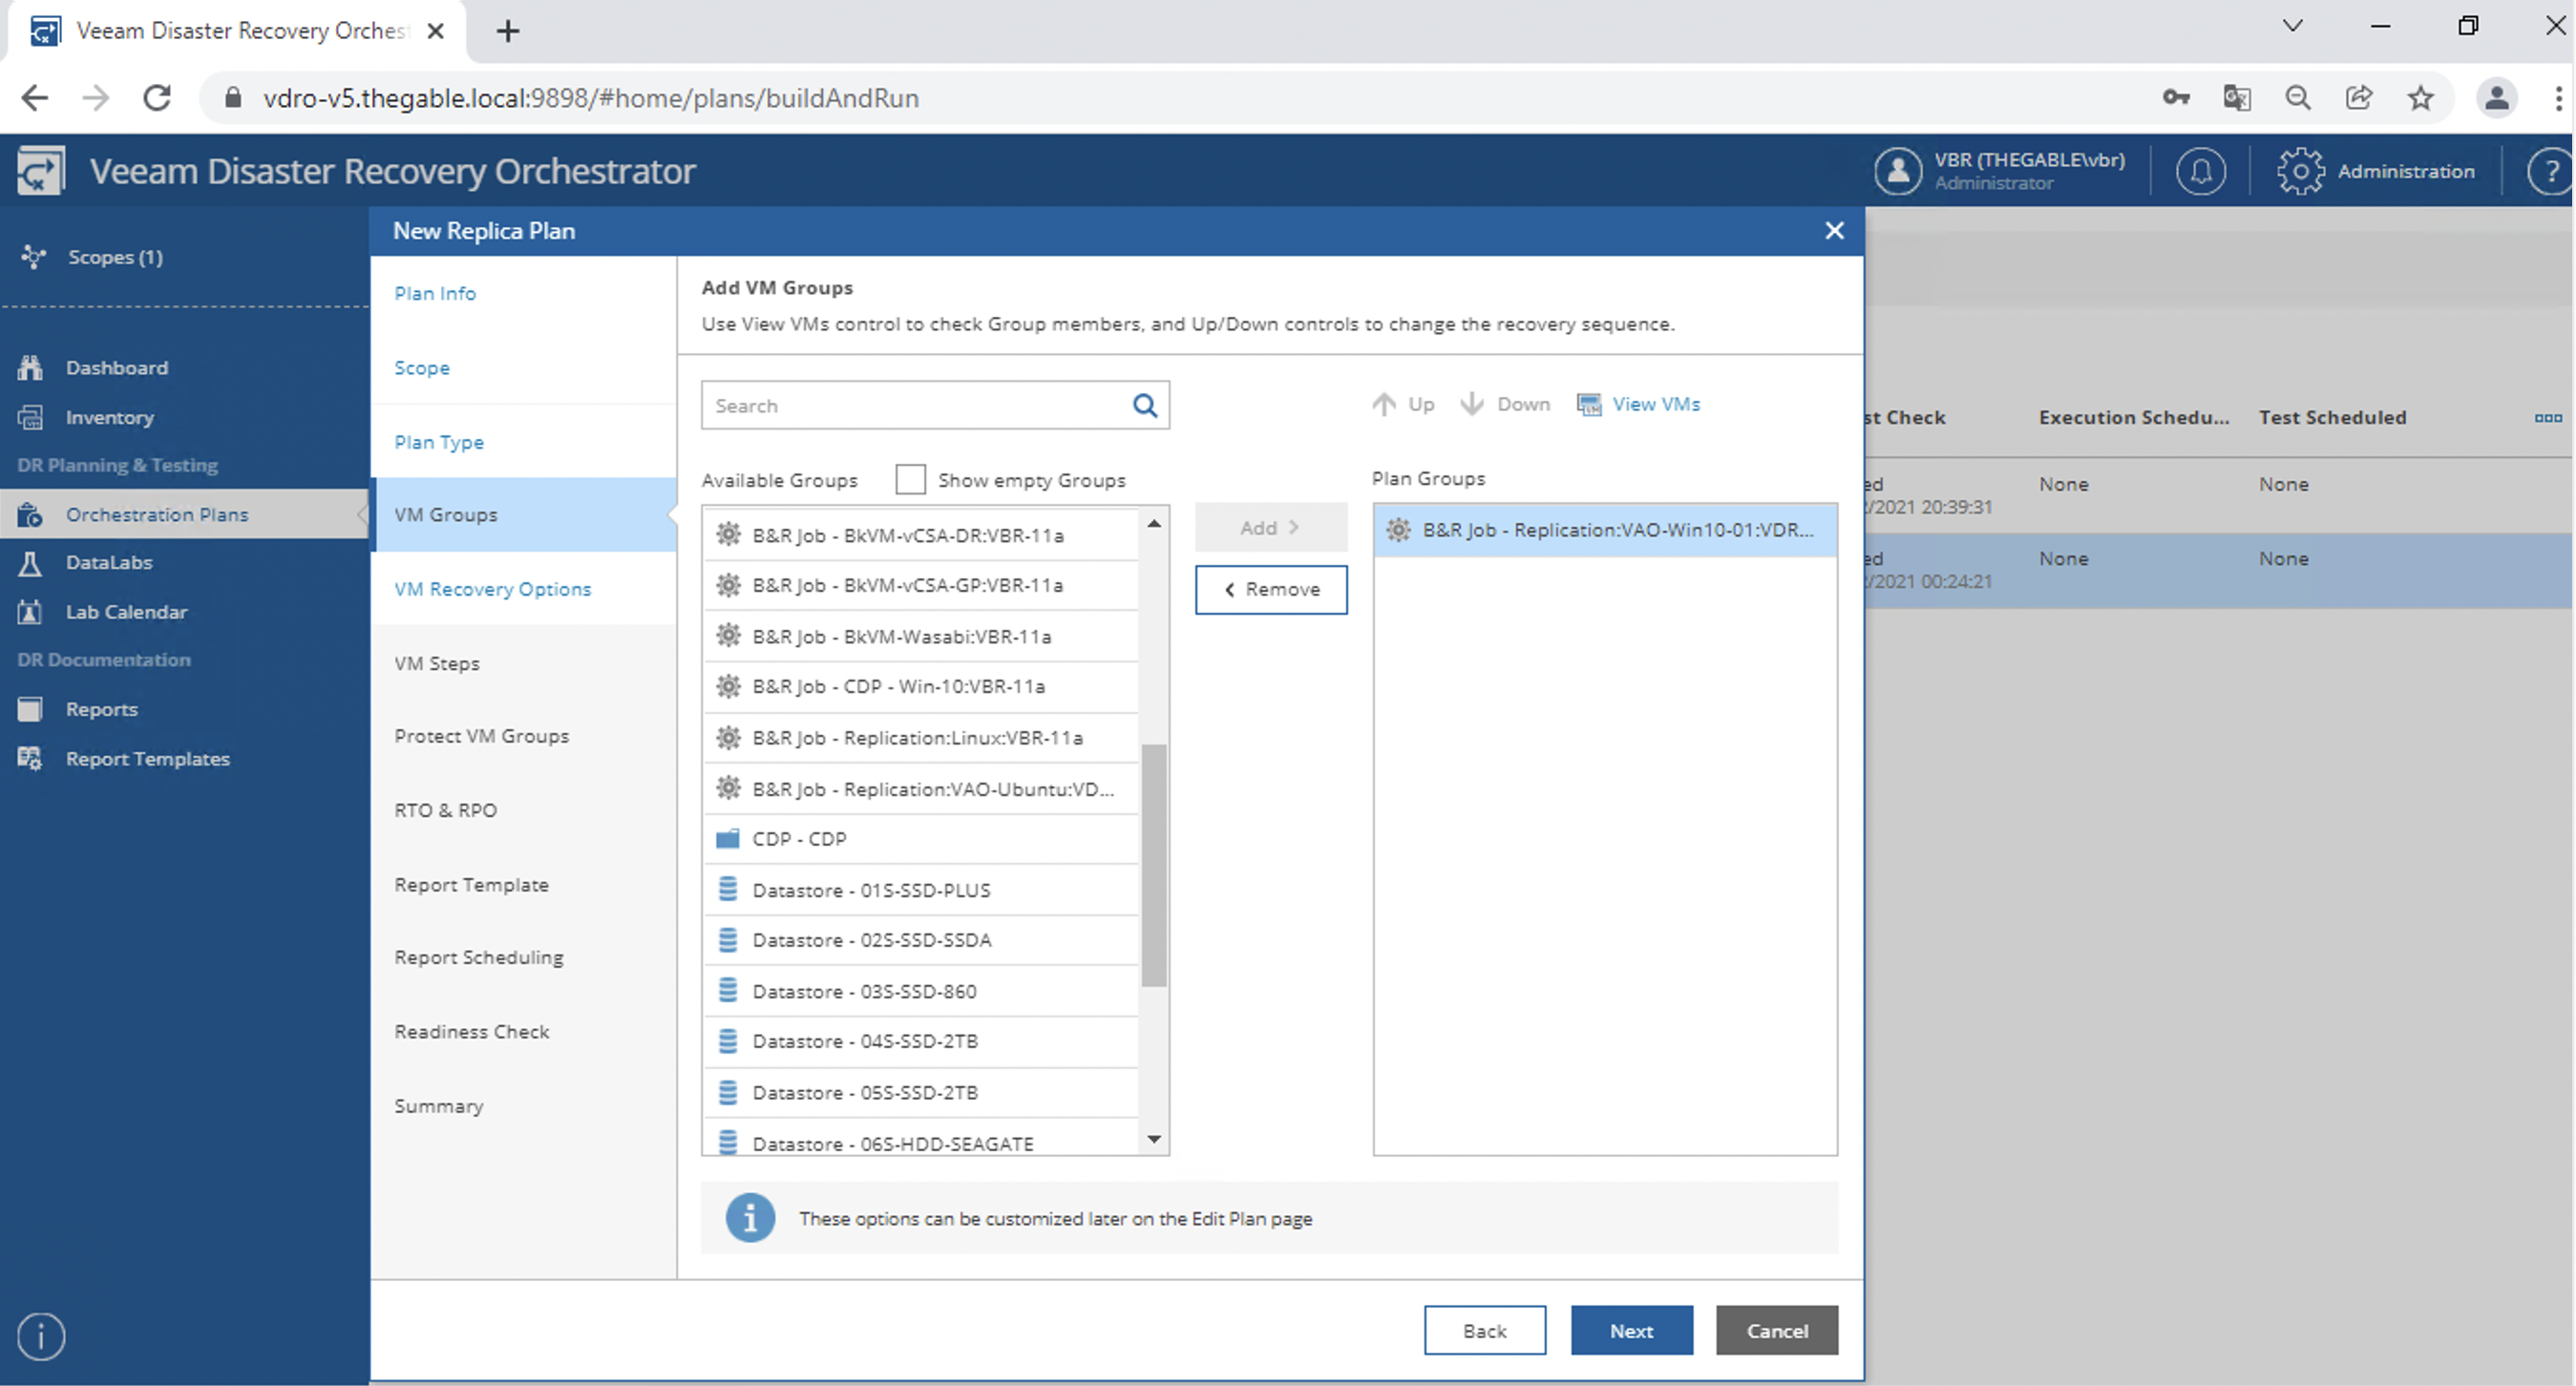
Image 10

Image 11

It is possible to customize the Recovery options, (for example whether to process the VMs in parallel or sequential mode) (image 12).
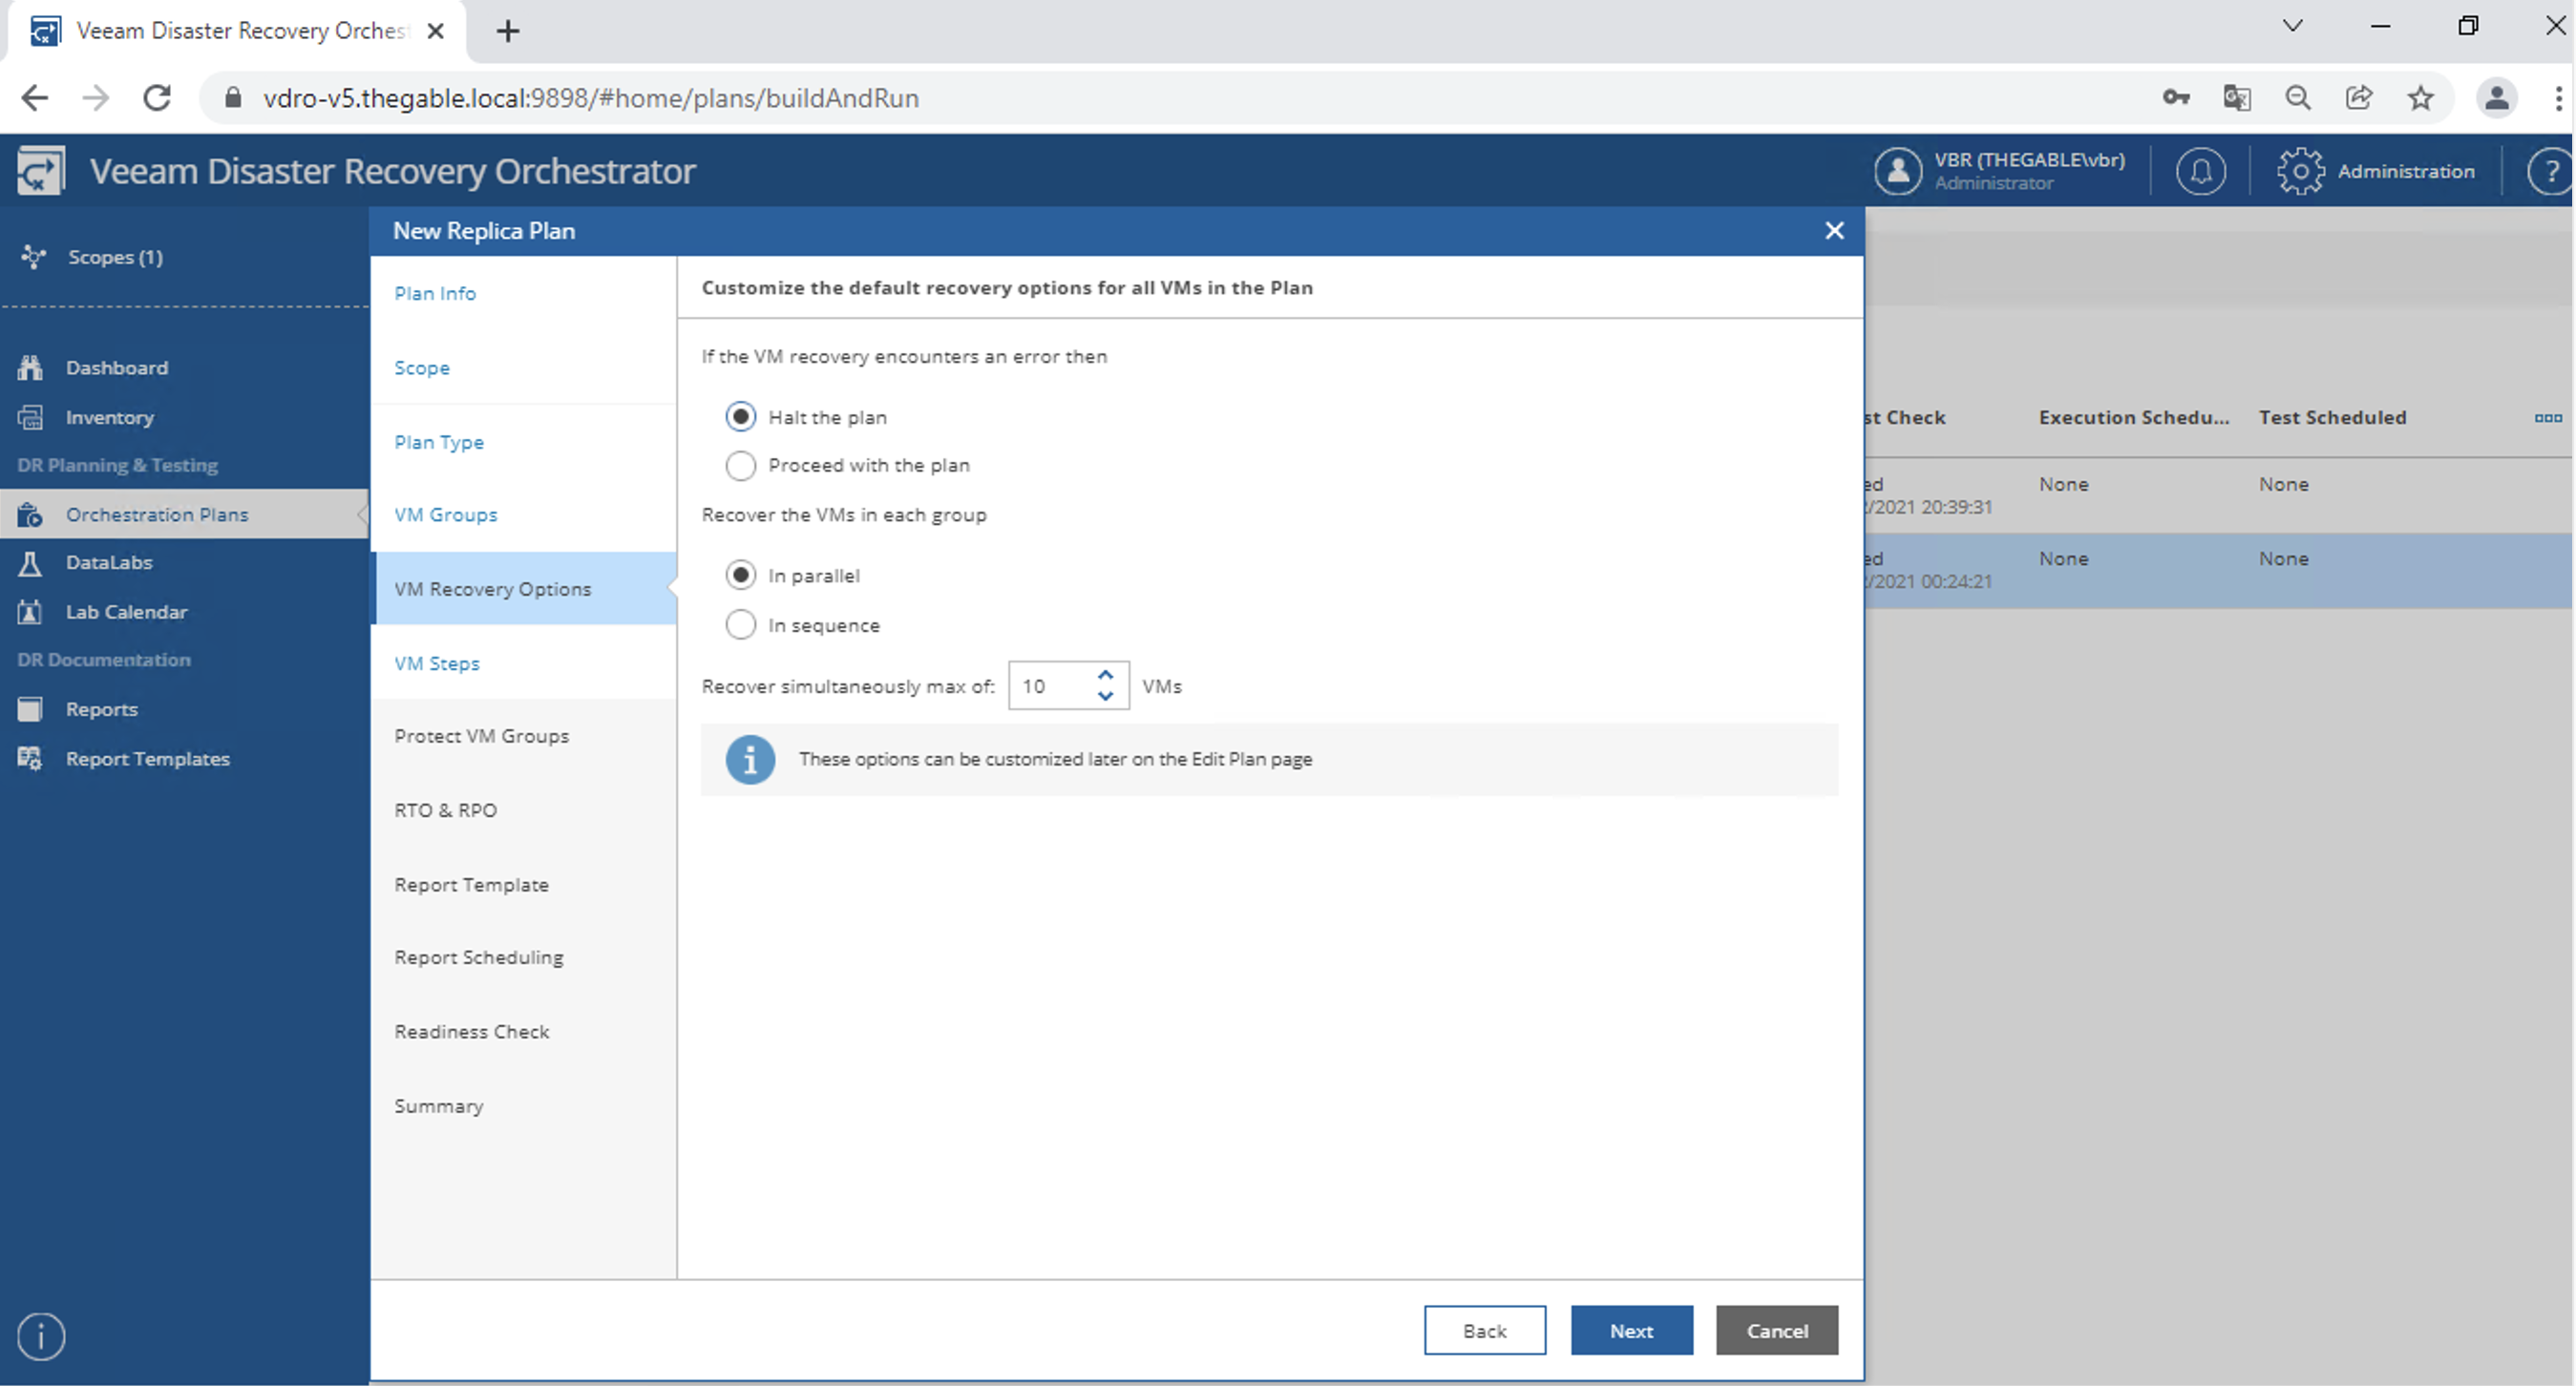
Image 12

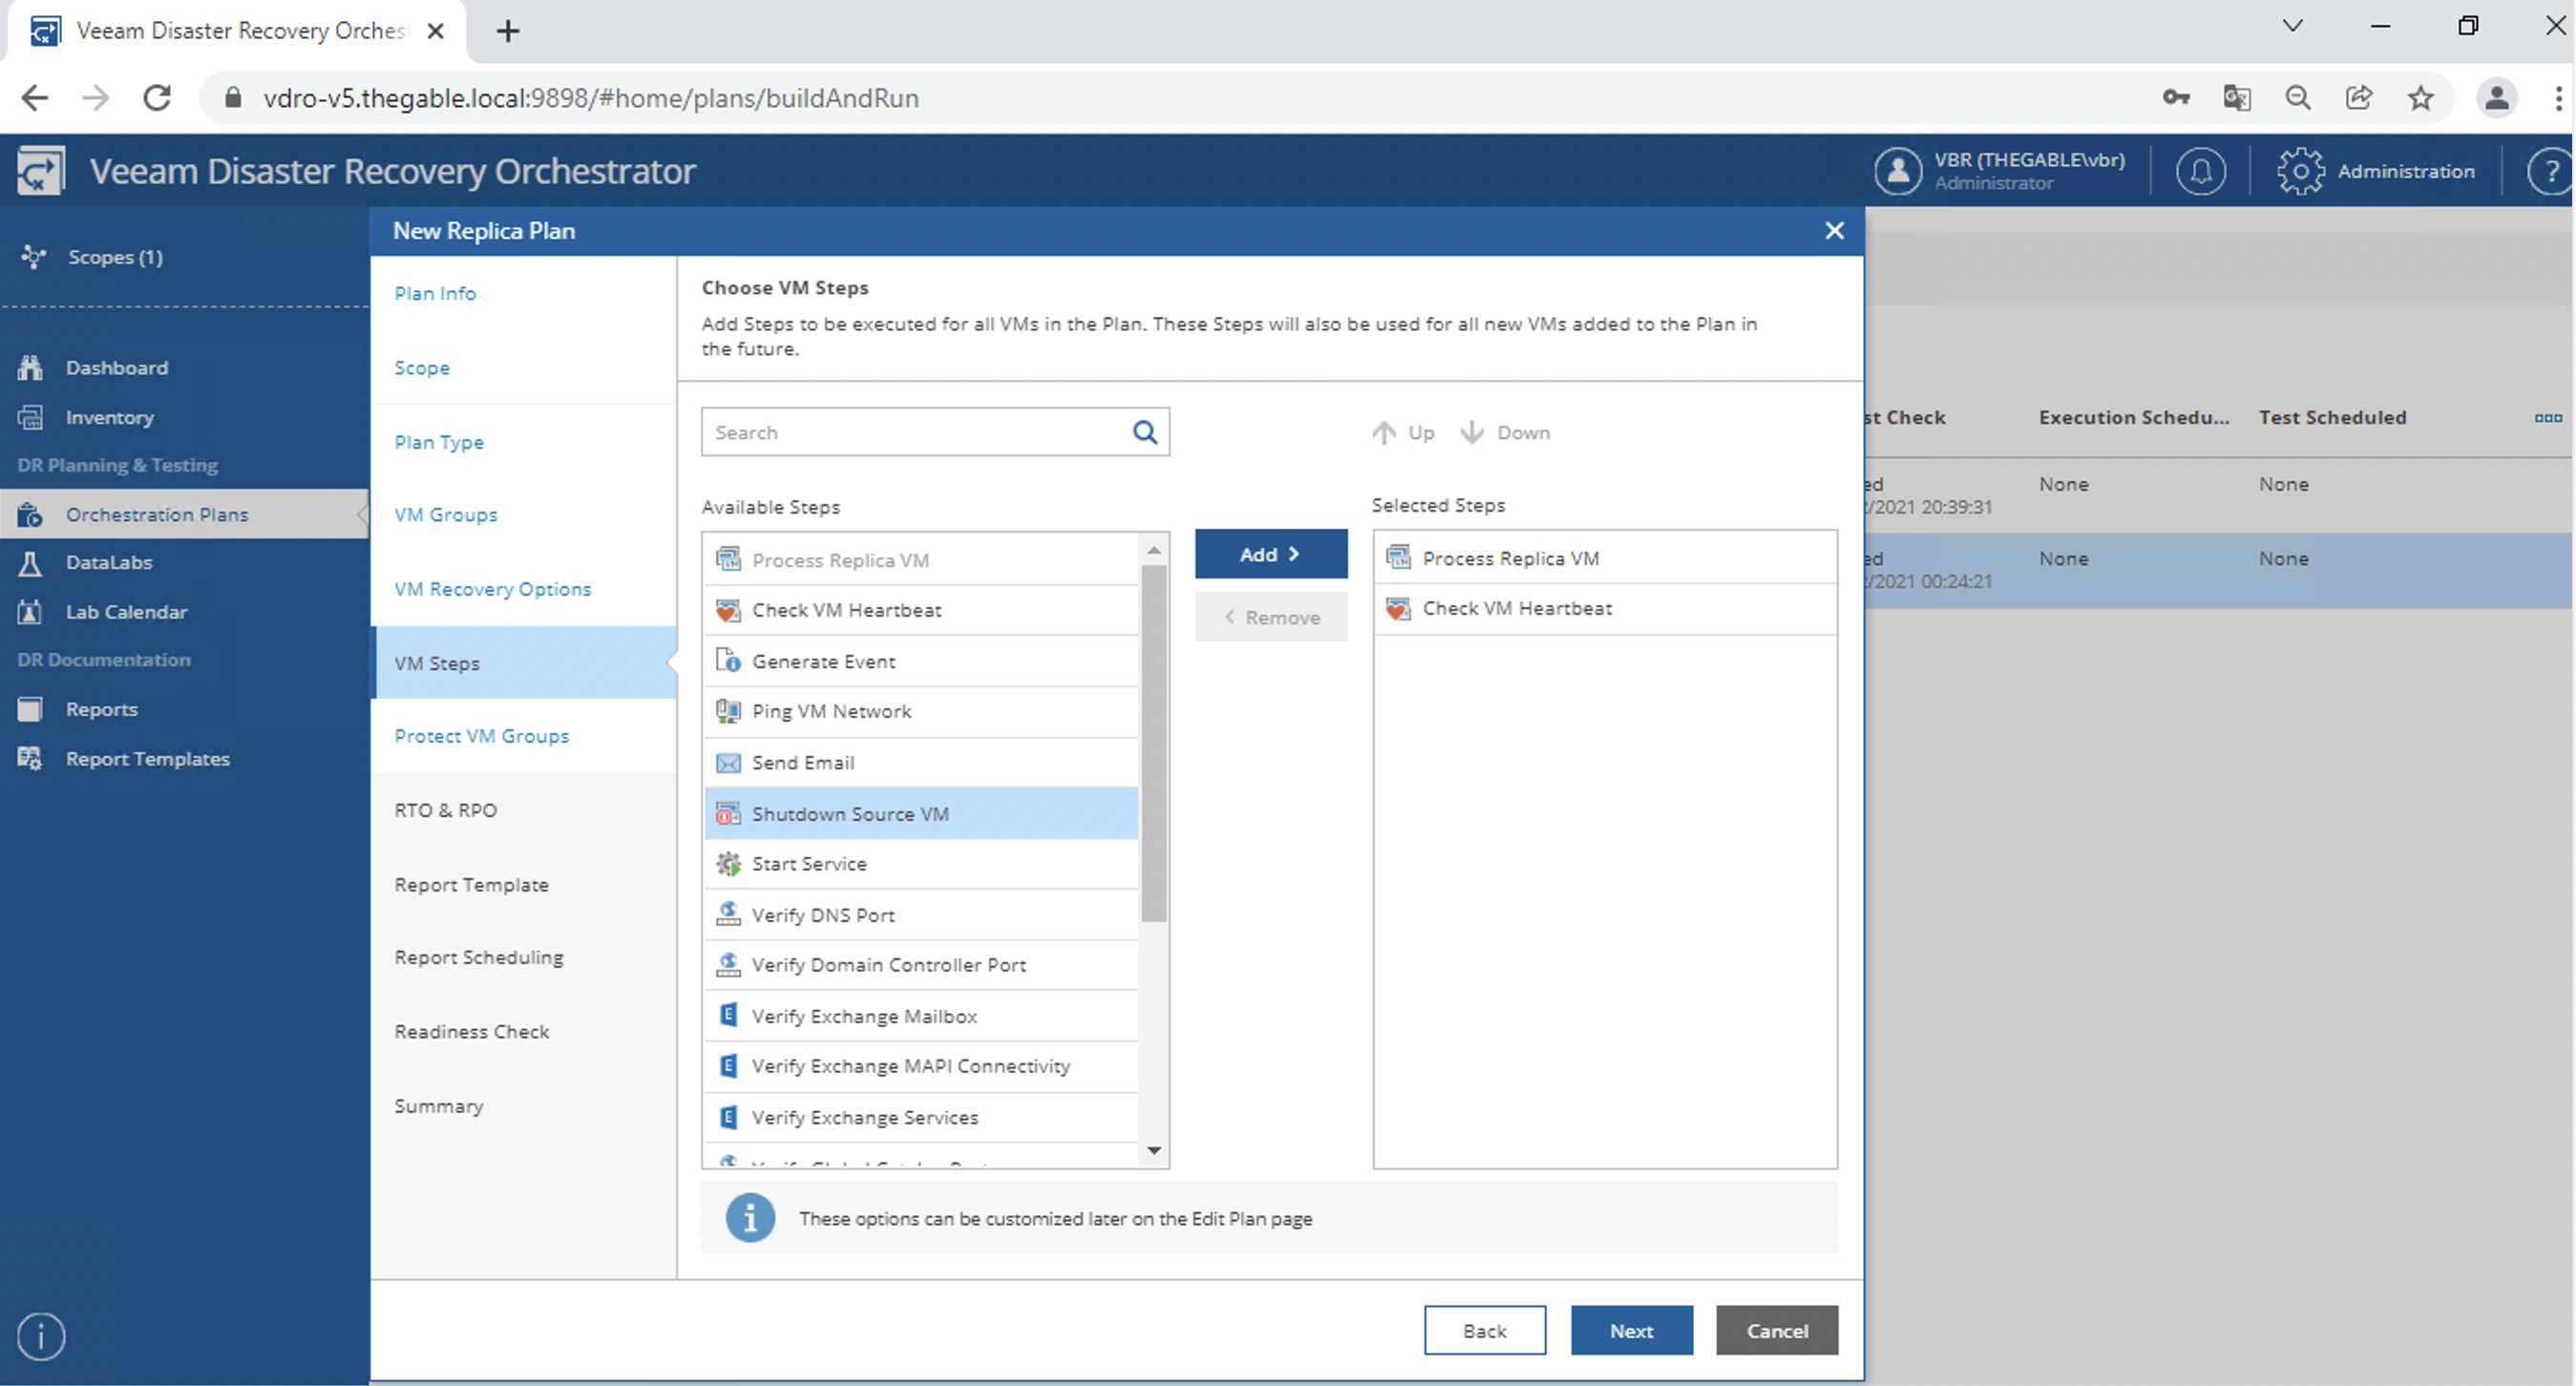
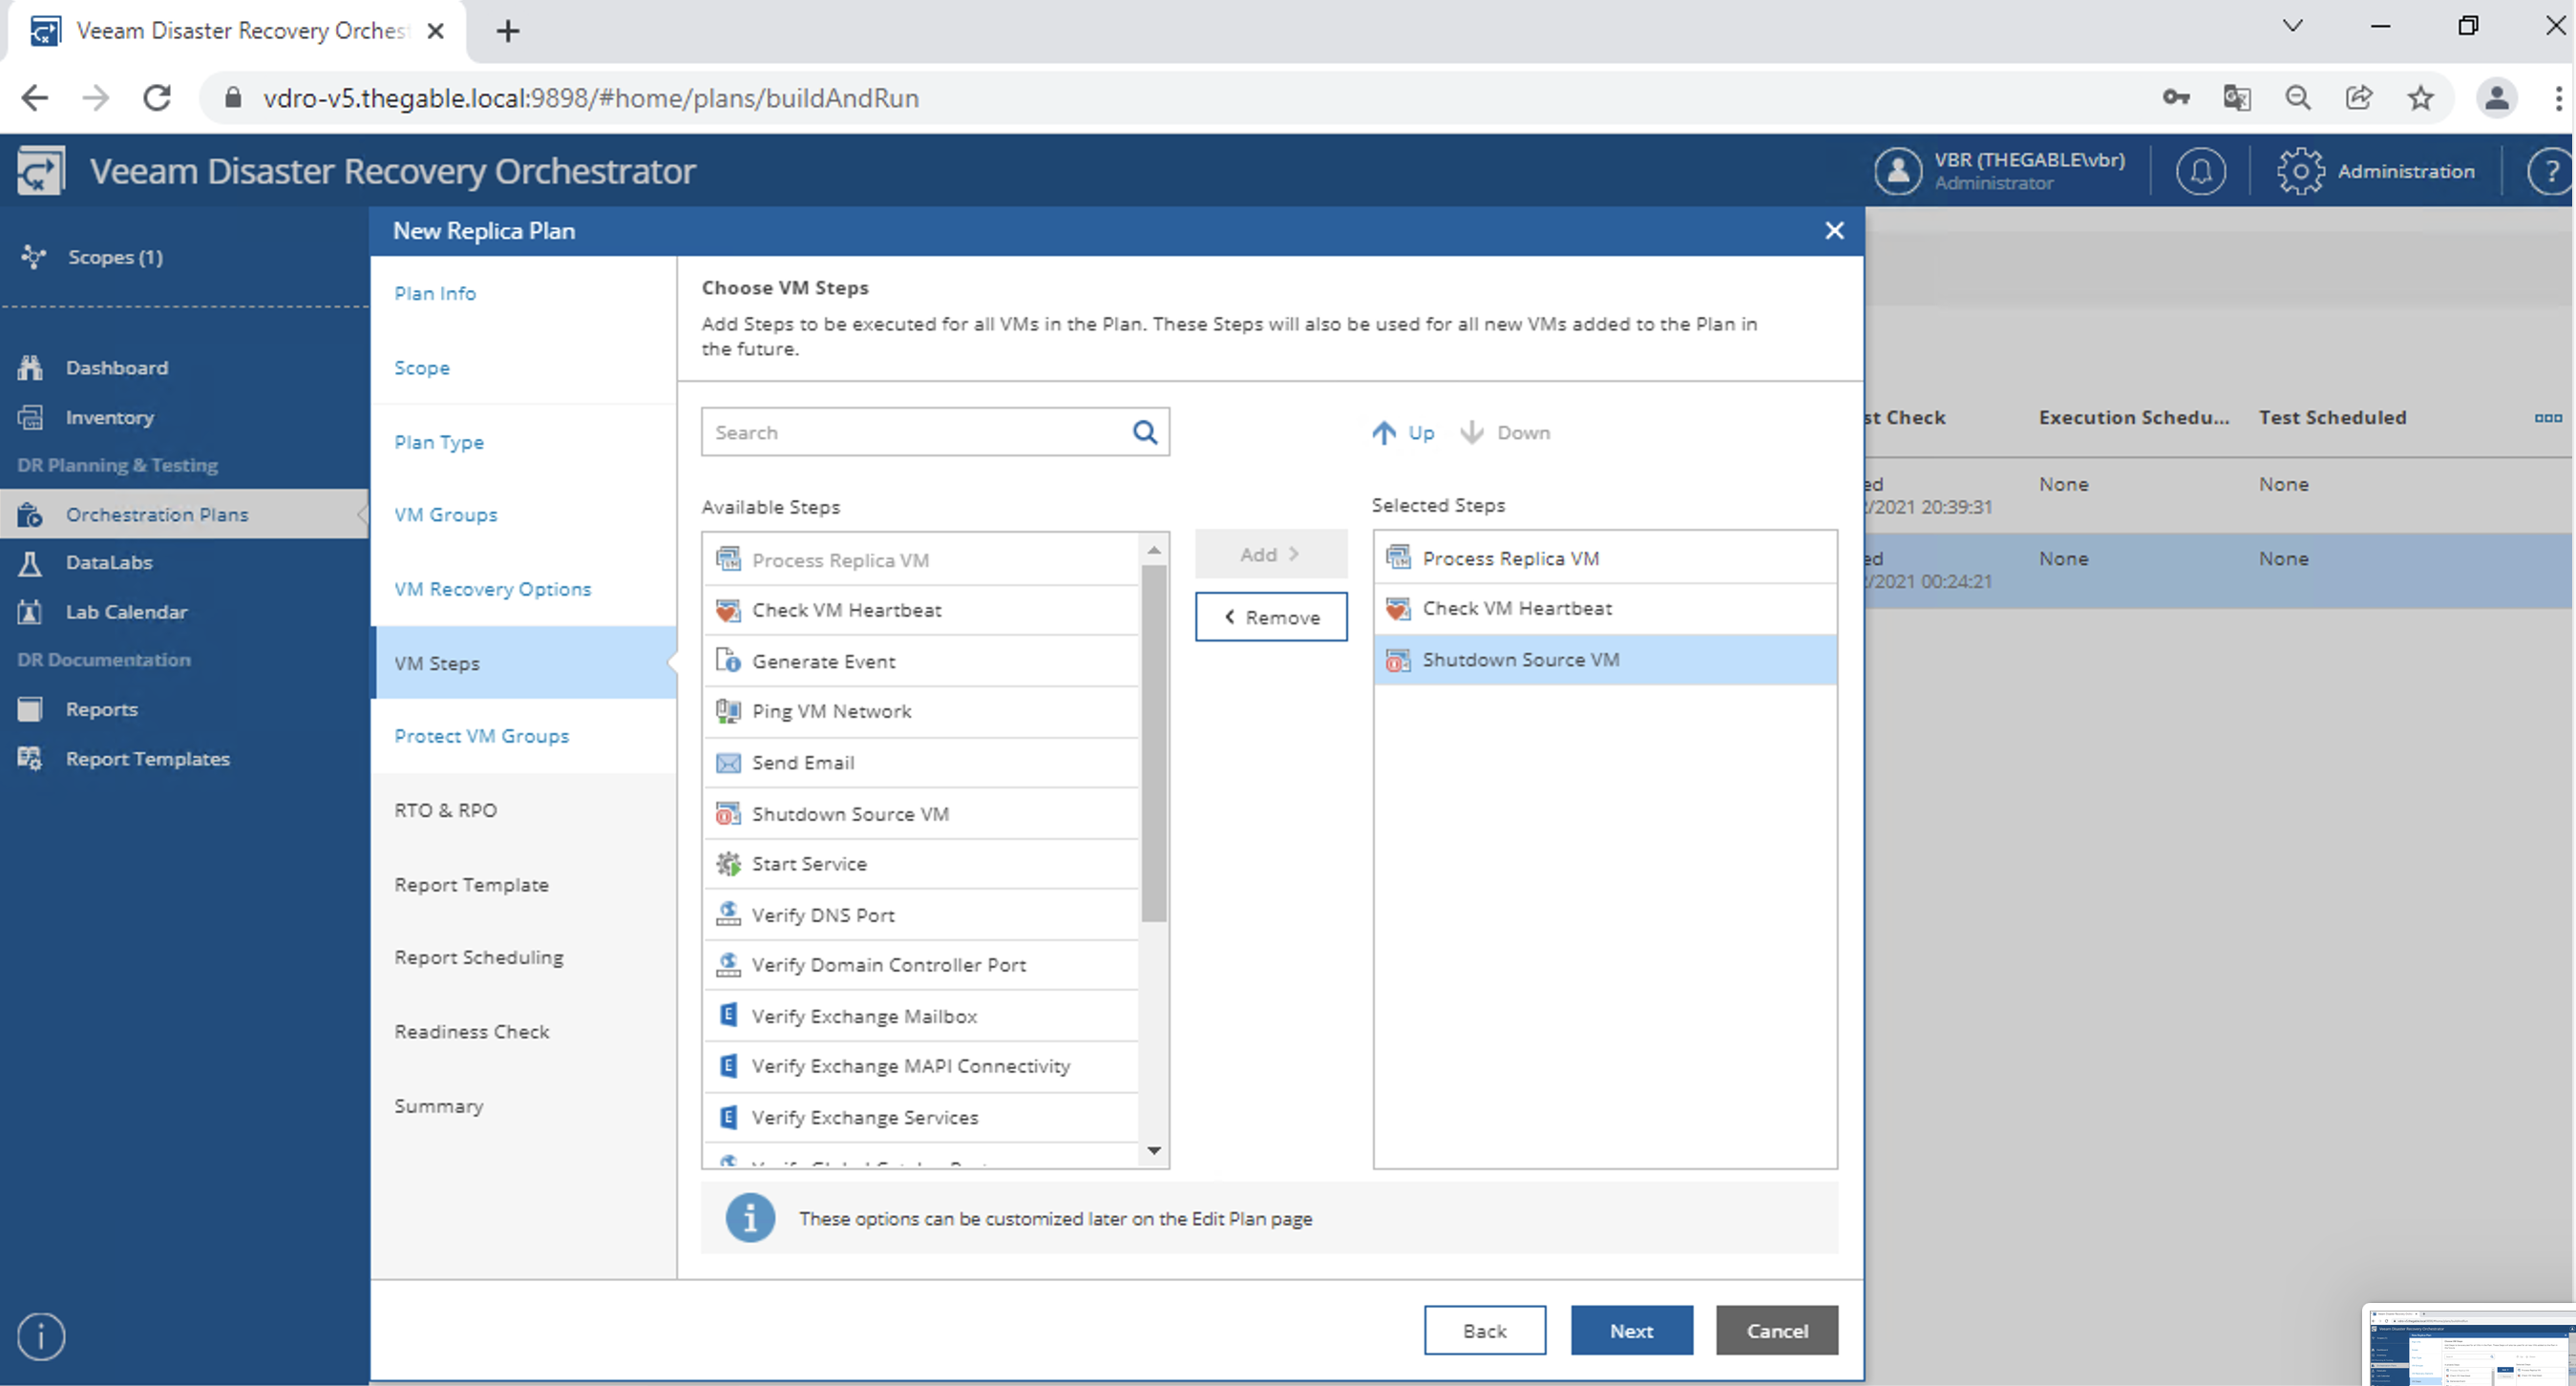
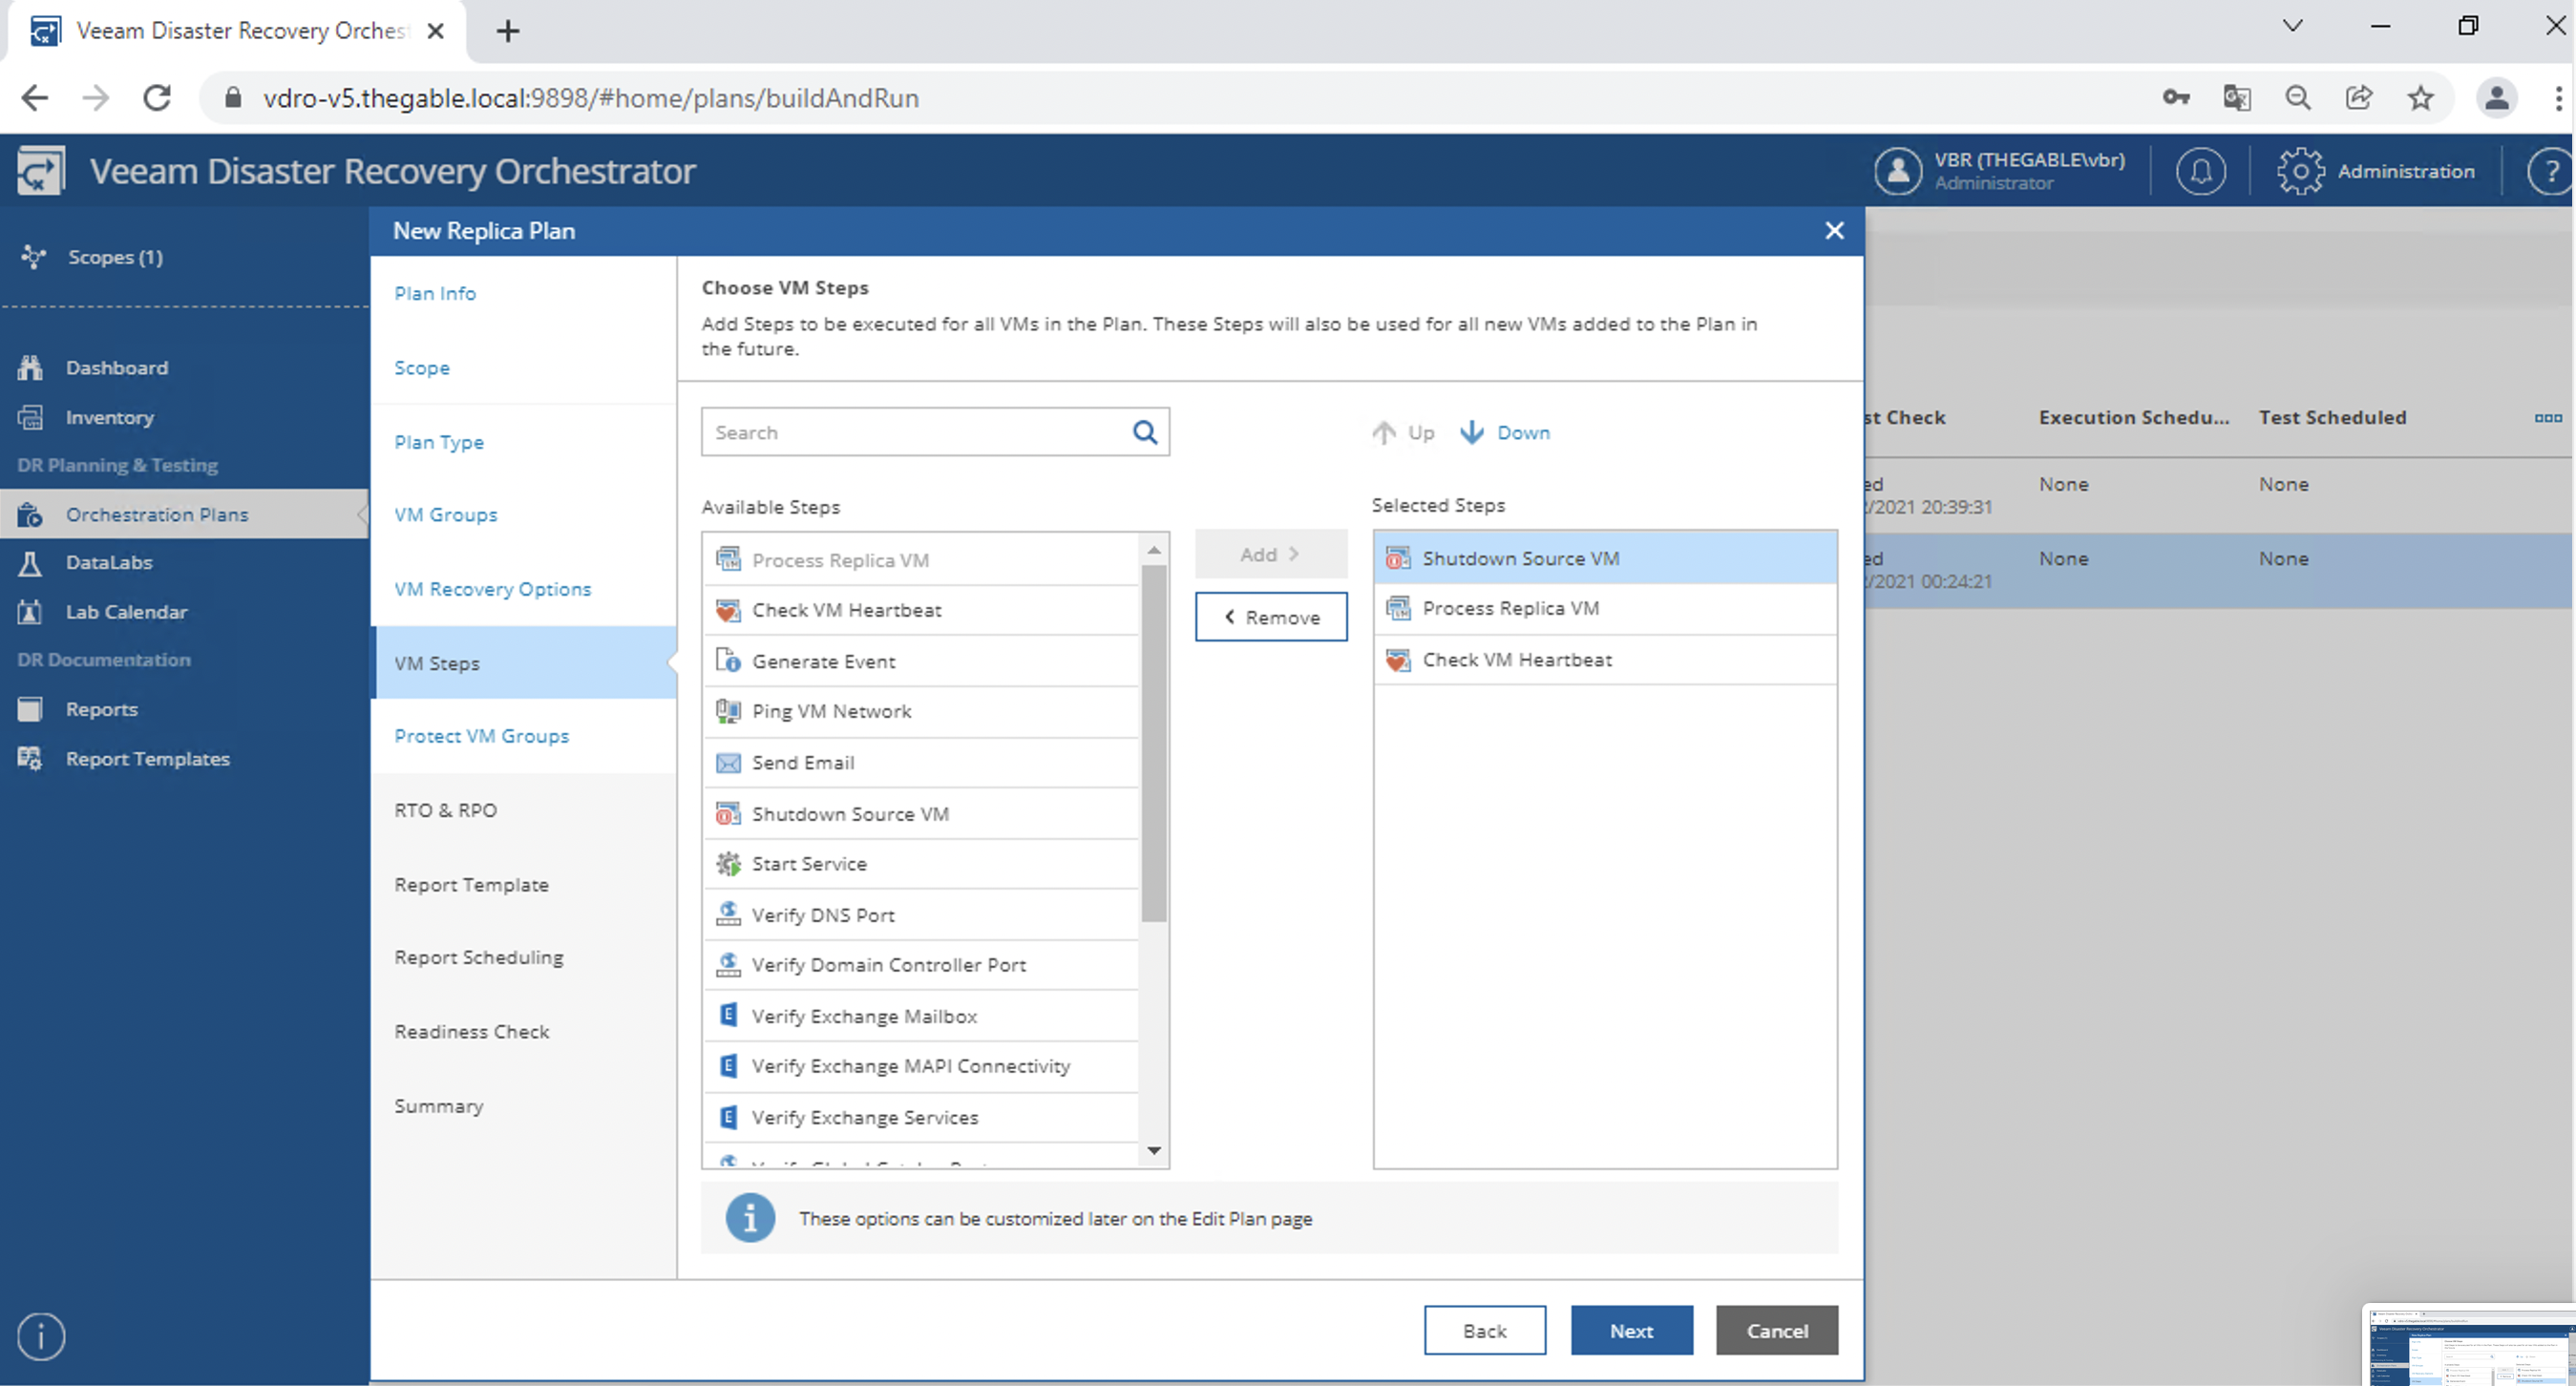
Now I add the steps necessary for the realization of the plan (in the example the shutdown of the production VM was added as the first activity of the plan) (see images 13, 14, 15, and 16).
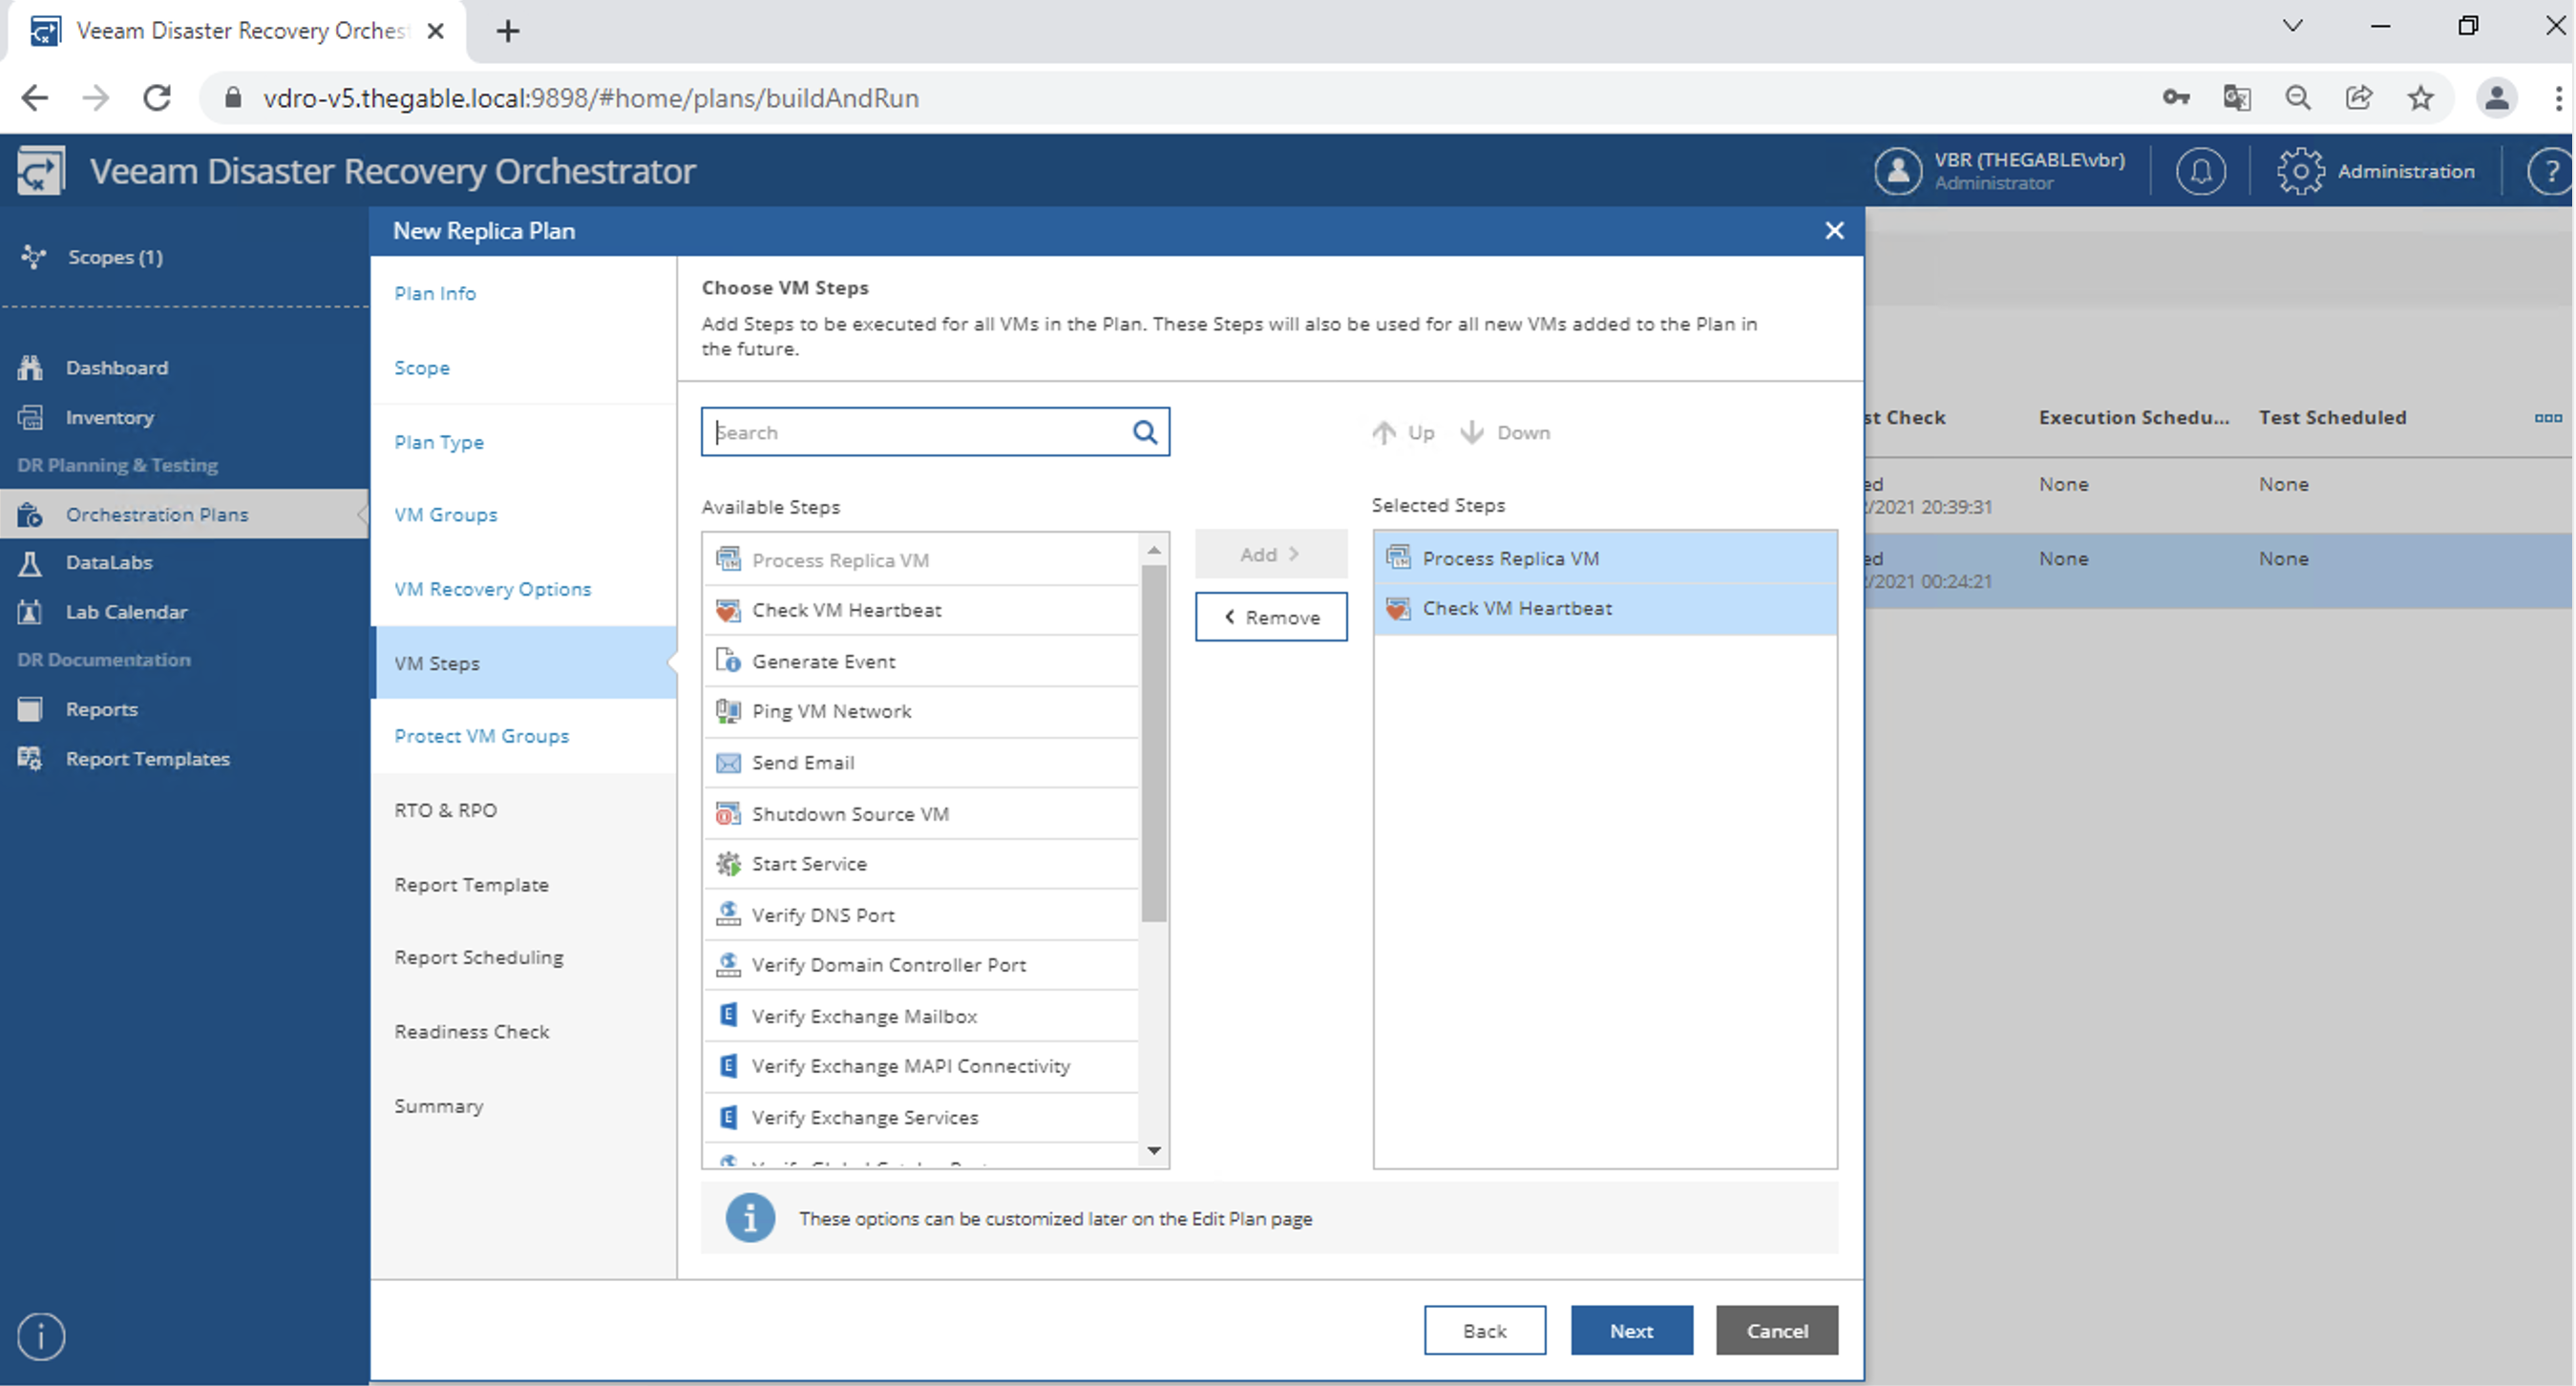
Image 13

Image 14

Image 15

Image 16

The wizard ends with:

  • The option to backup the VMs that were started during the DR plan (image 17)
  • The RTPO values that must be respected for the plan to be executed (image 18)
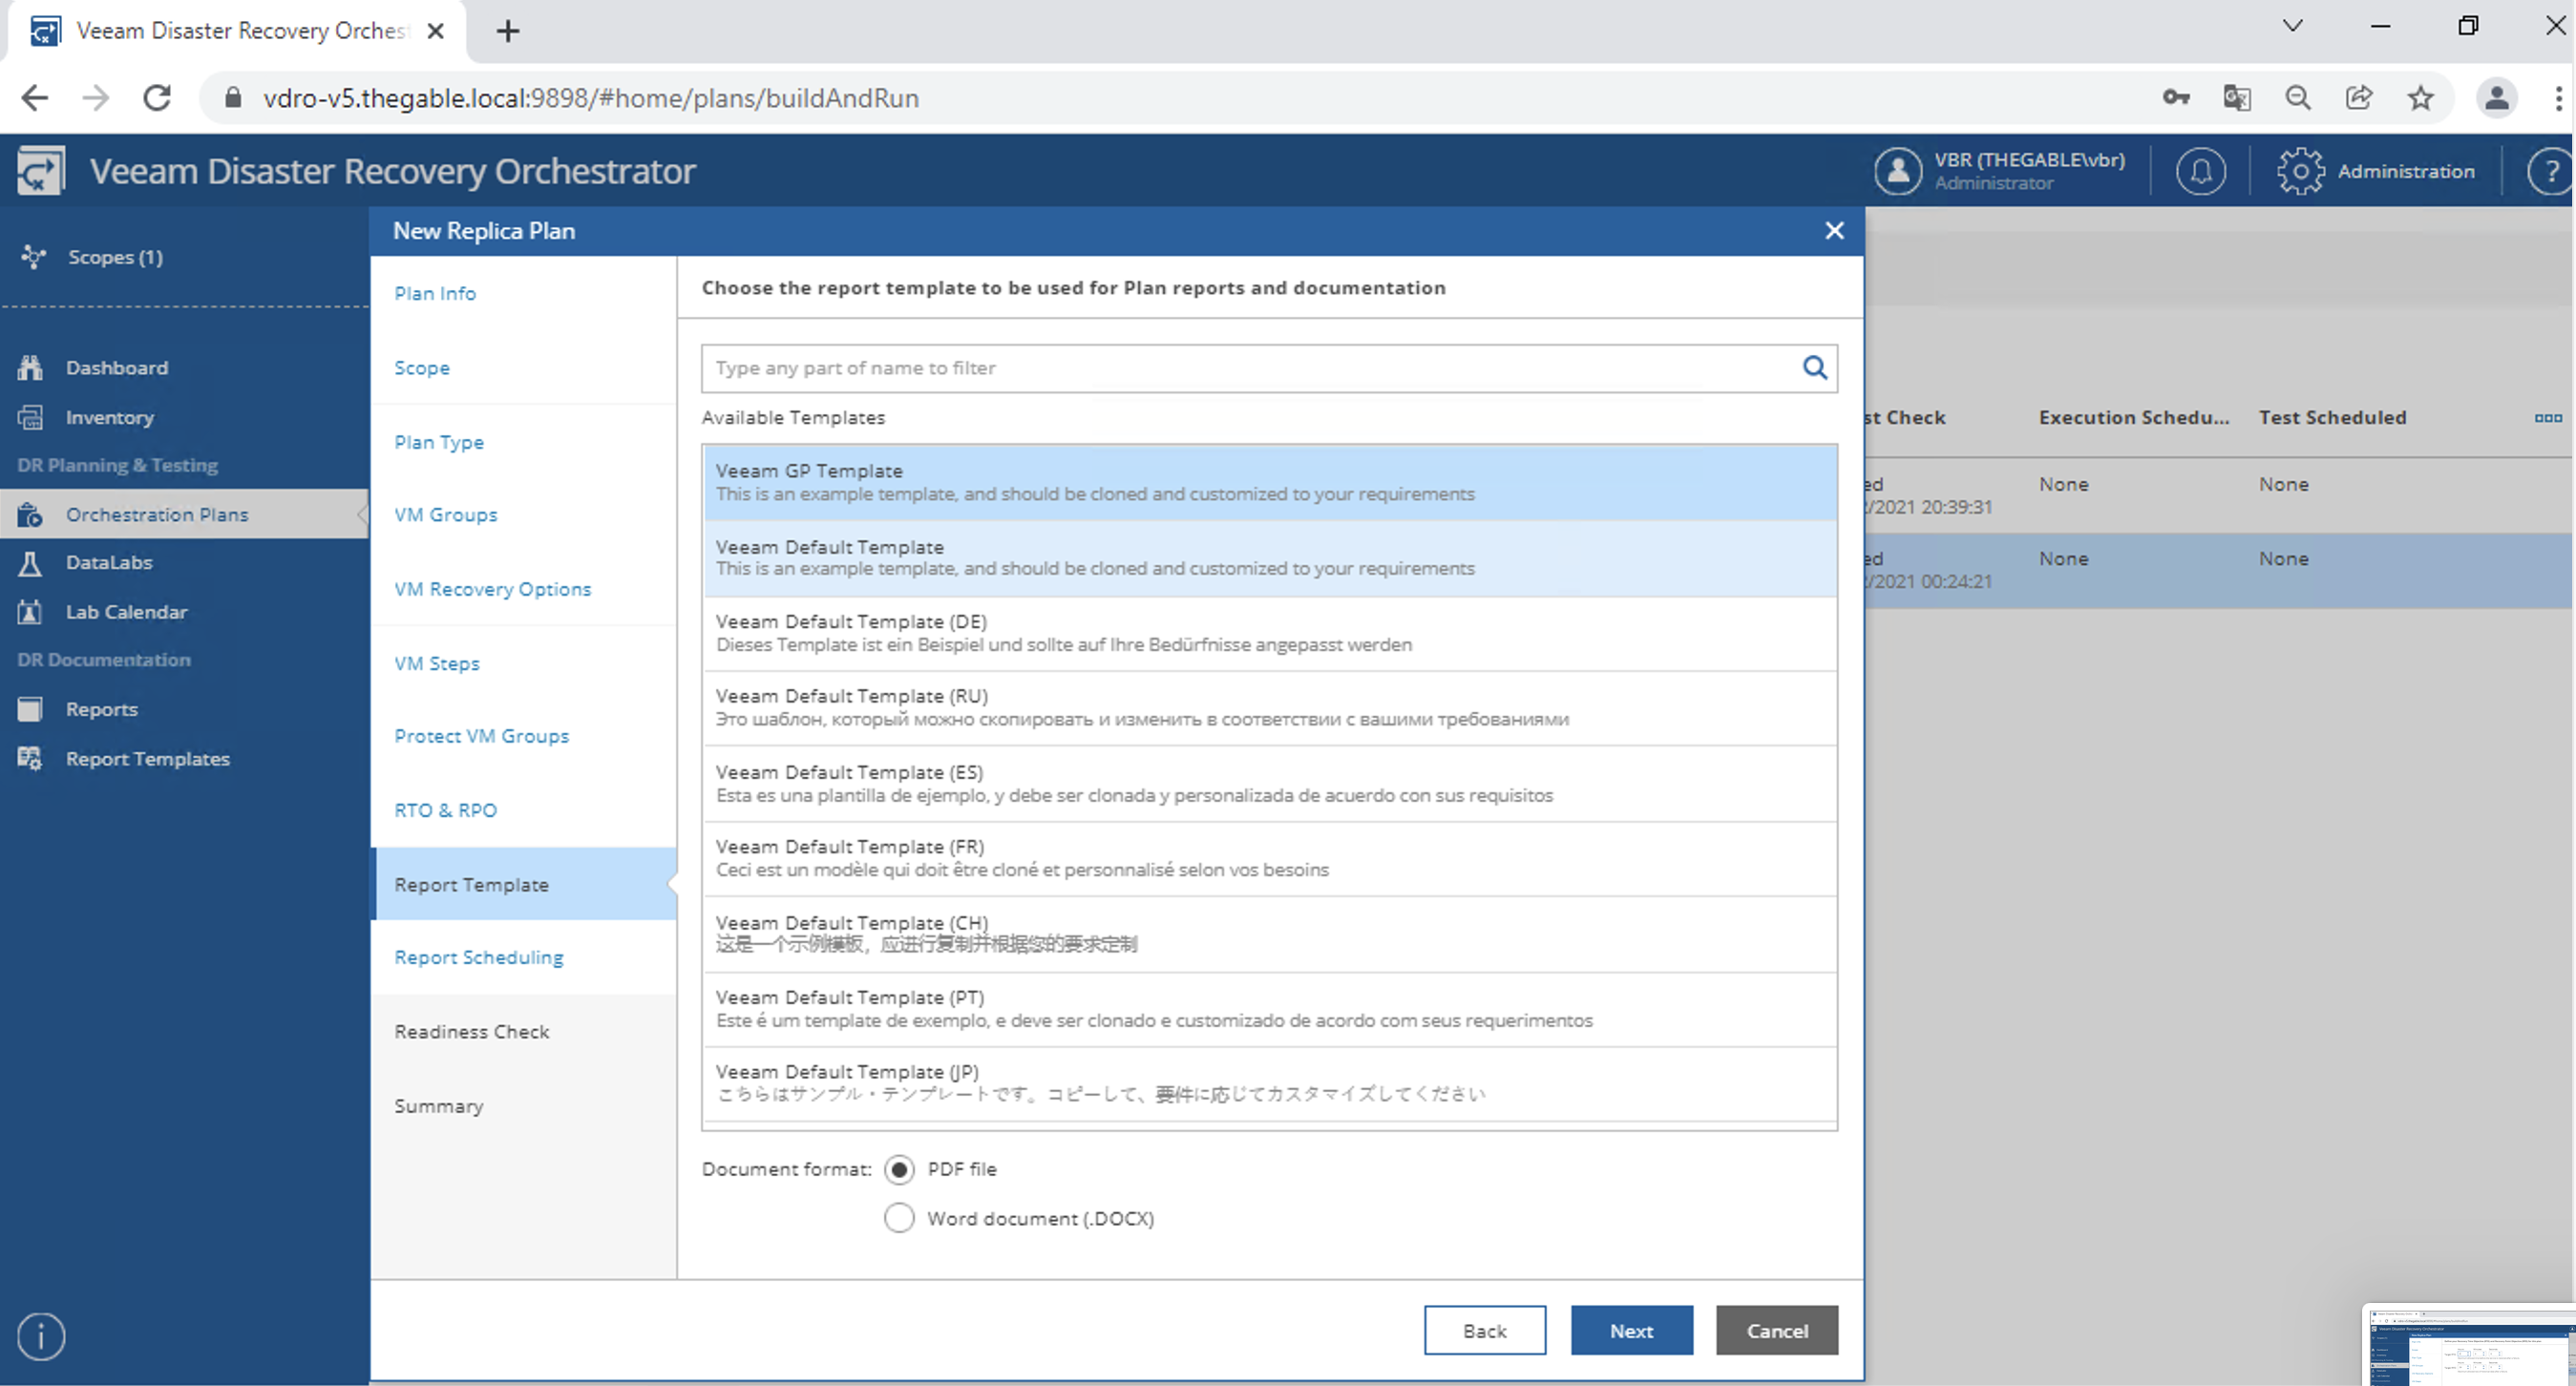
  • The choice of the language of the template to be used (image 19)
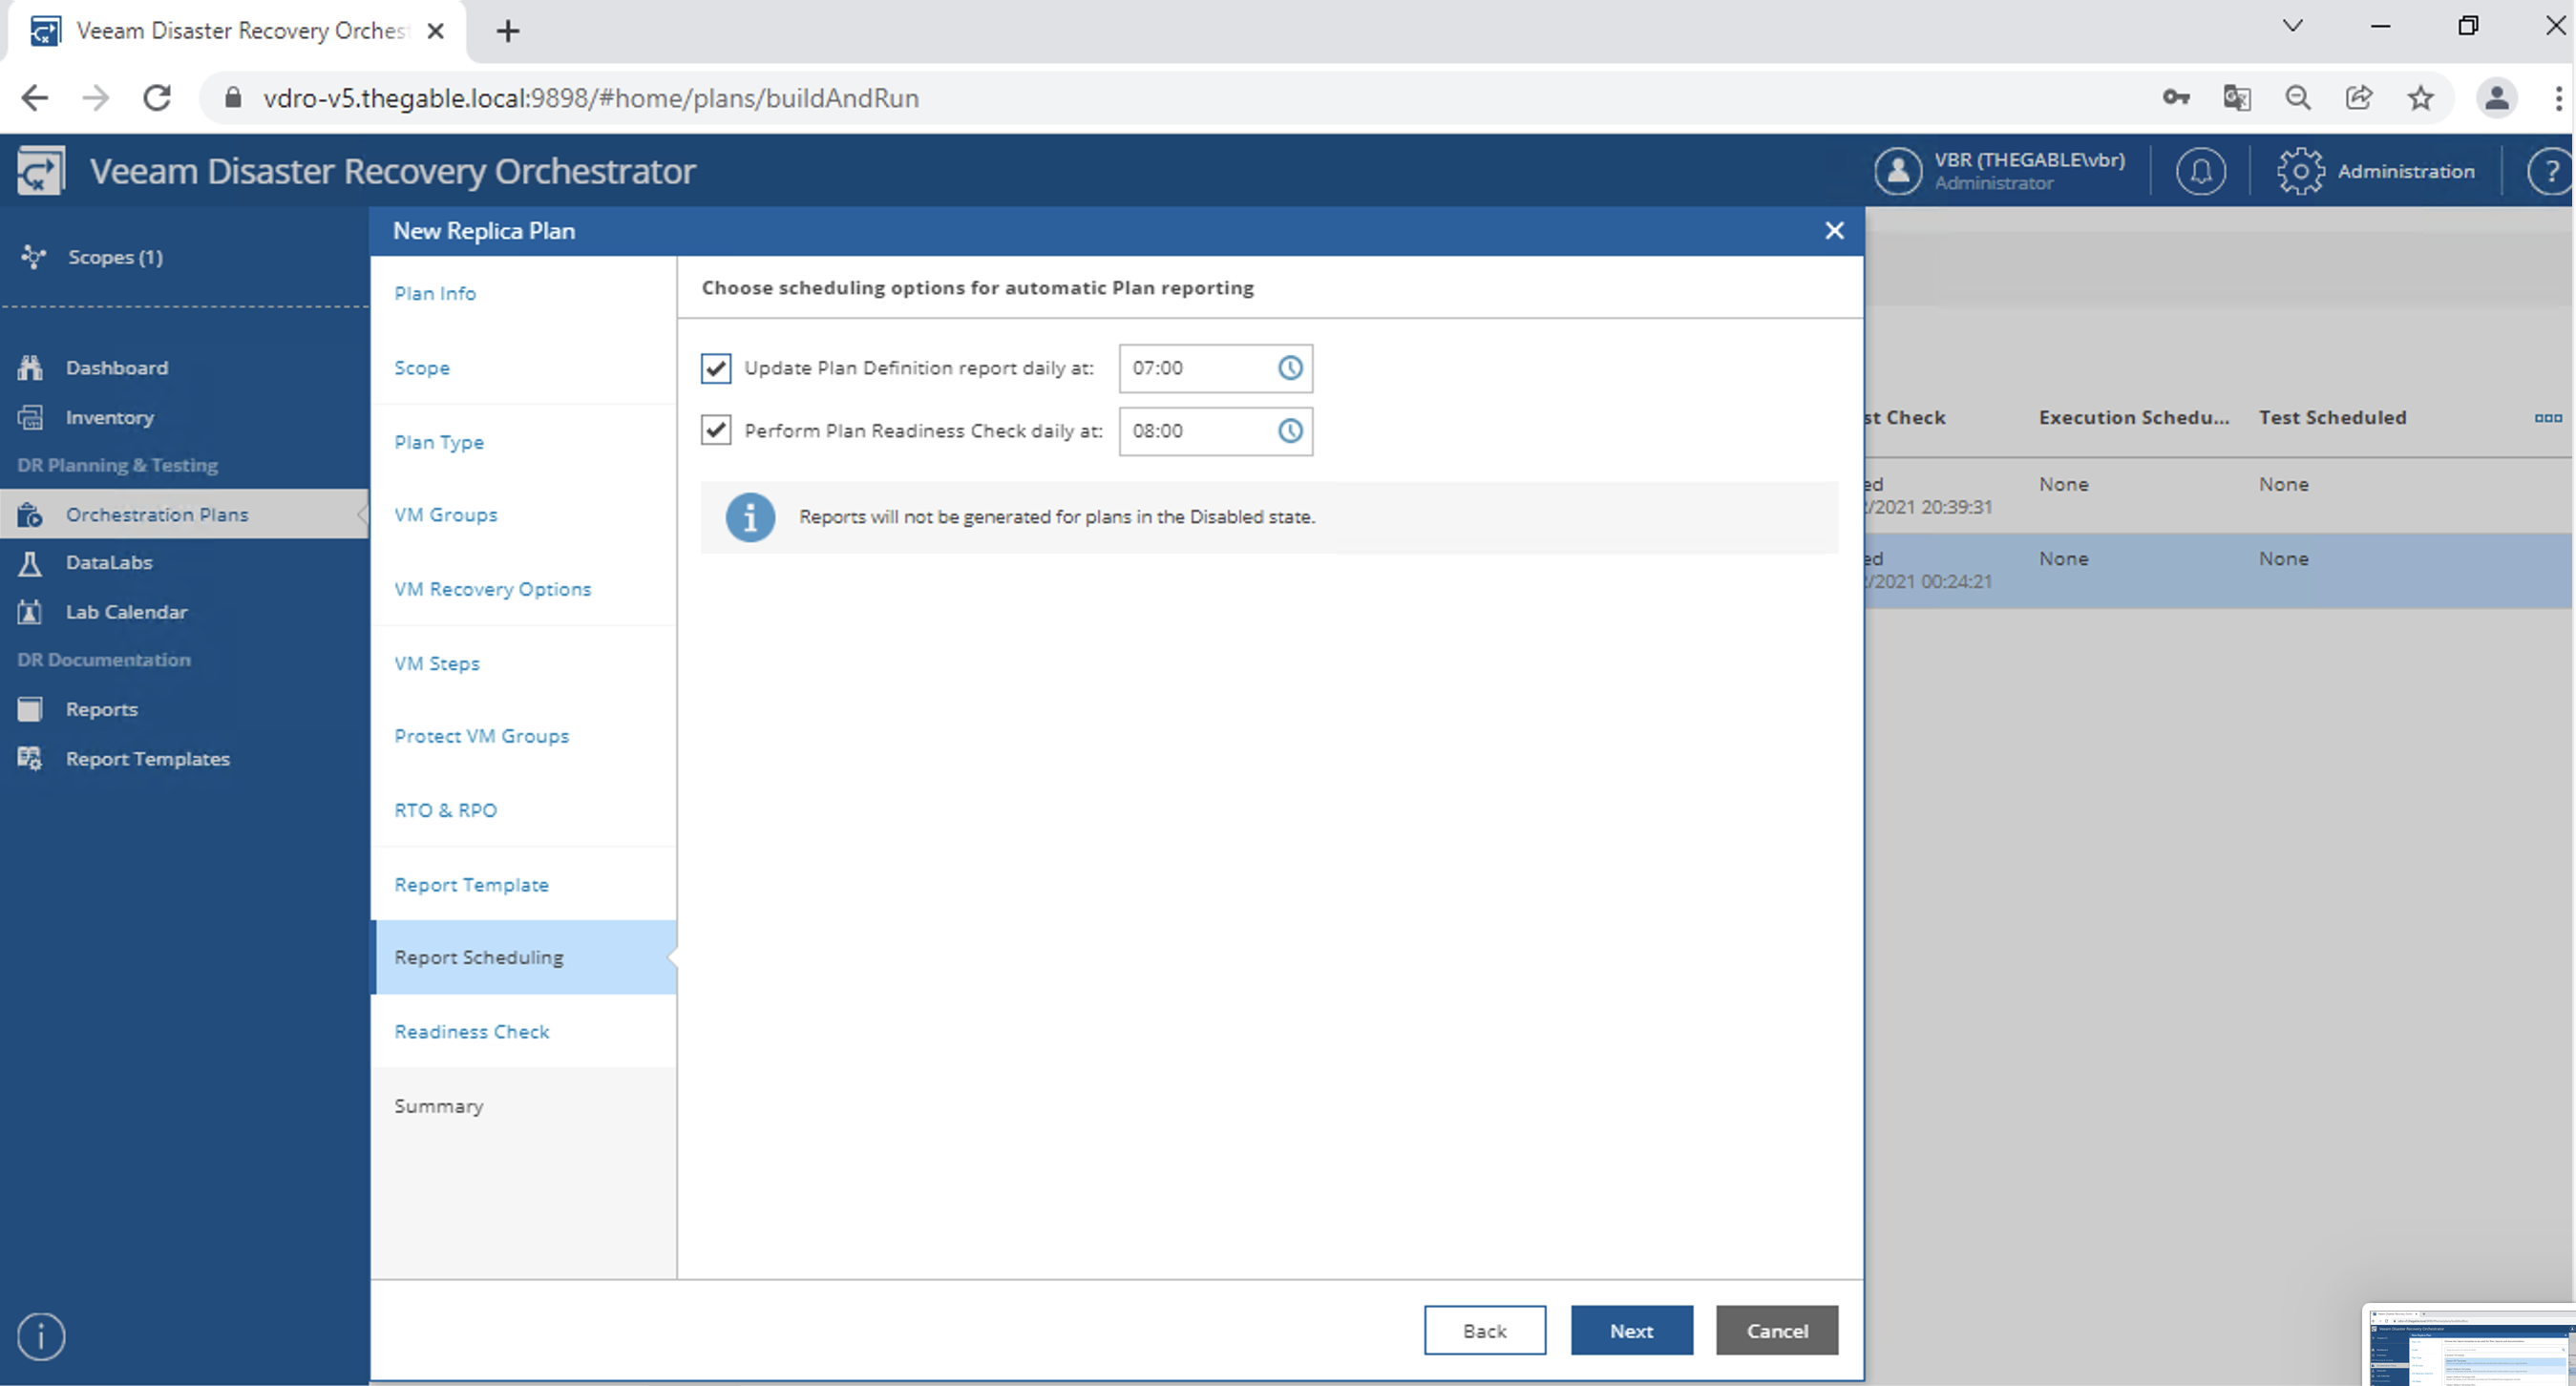
  • The time at which the reports will be automatically generated (image 20)
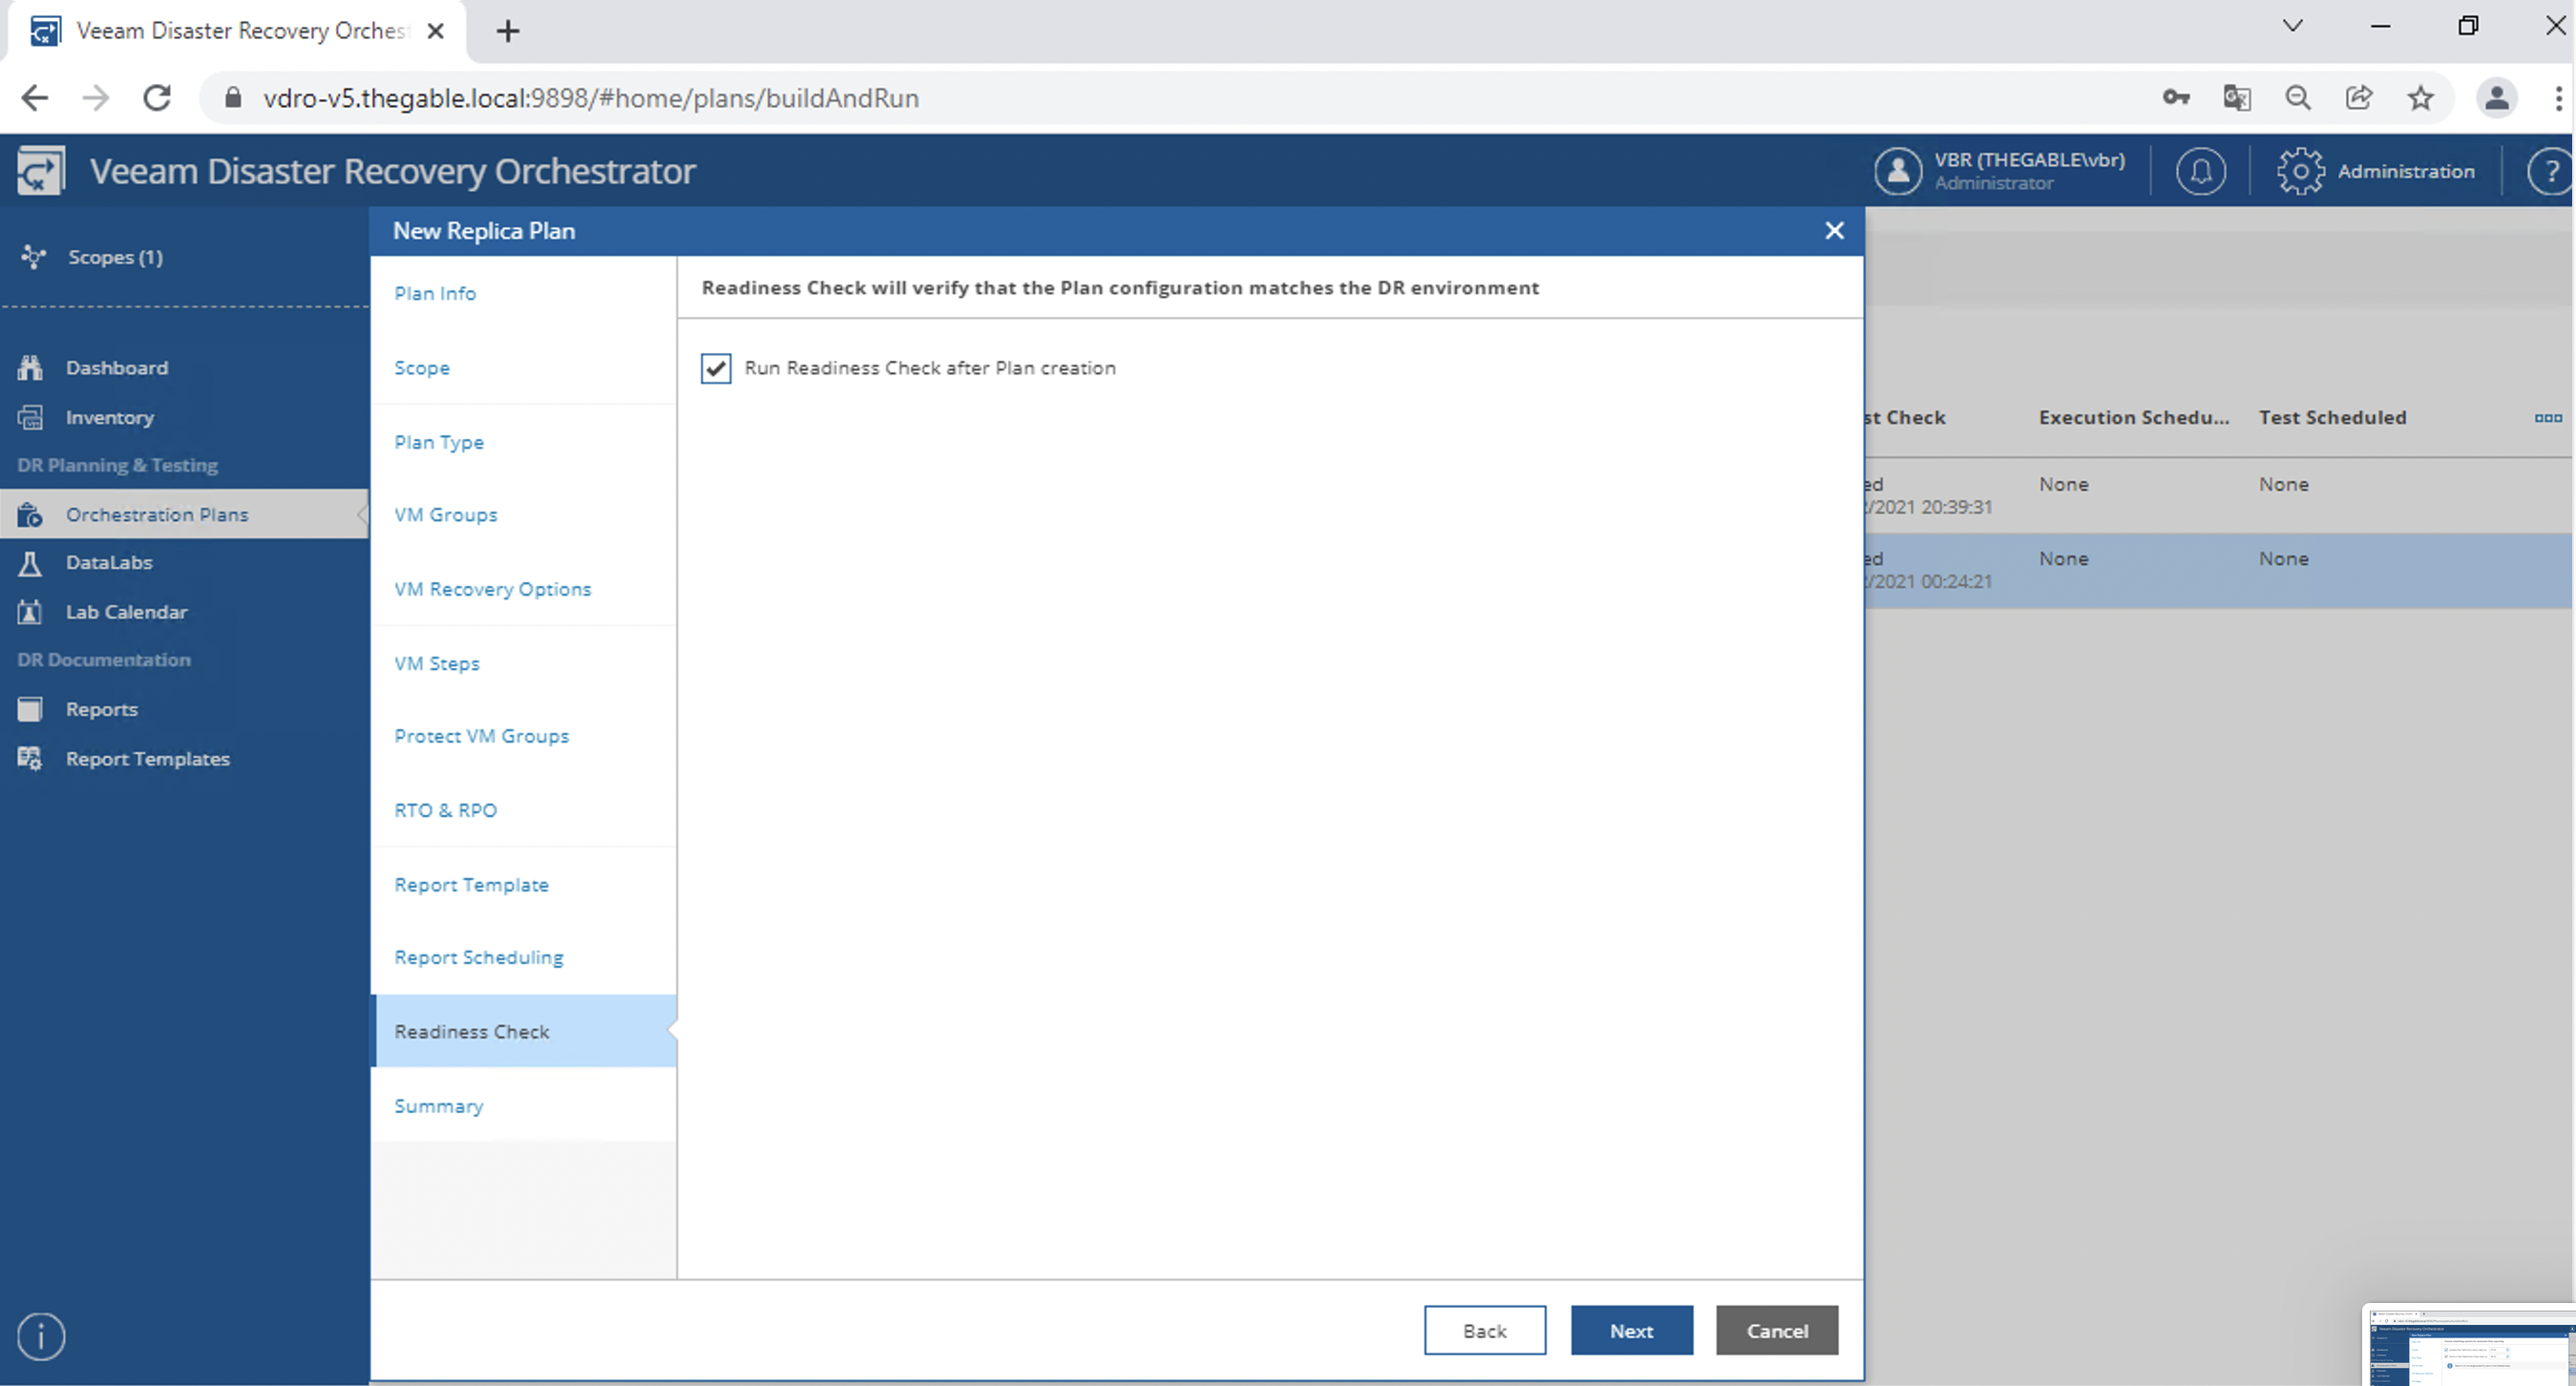
  • Whether to immediately create the readiness report (which verifies all components of the plan) (image 21)
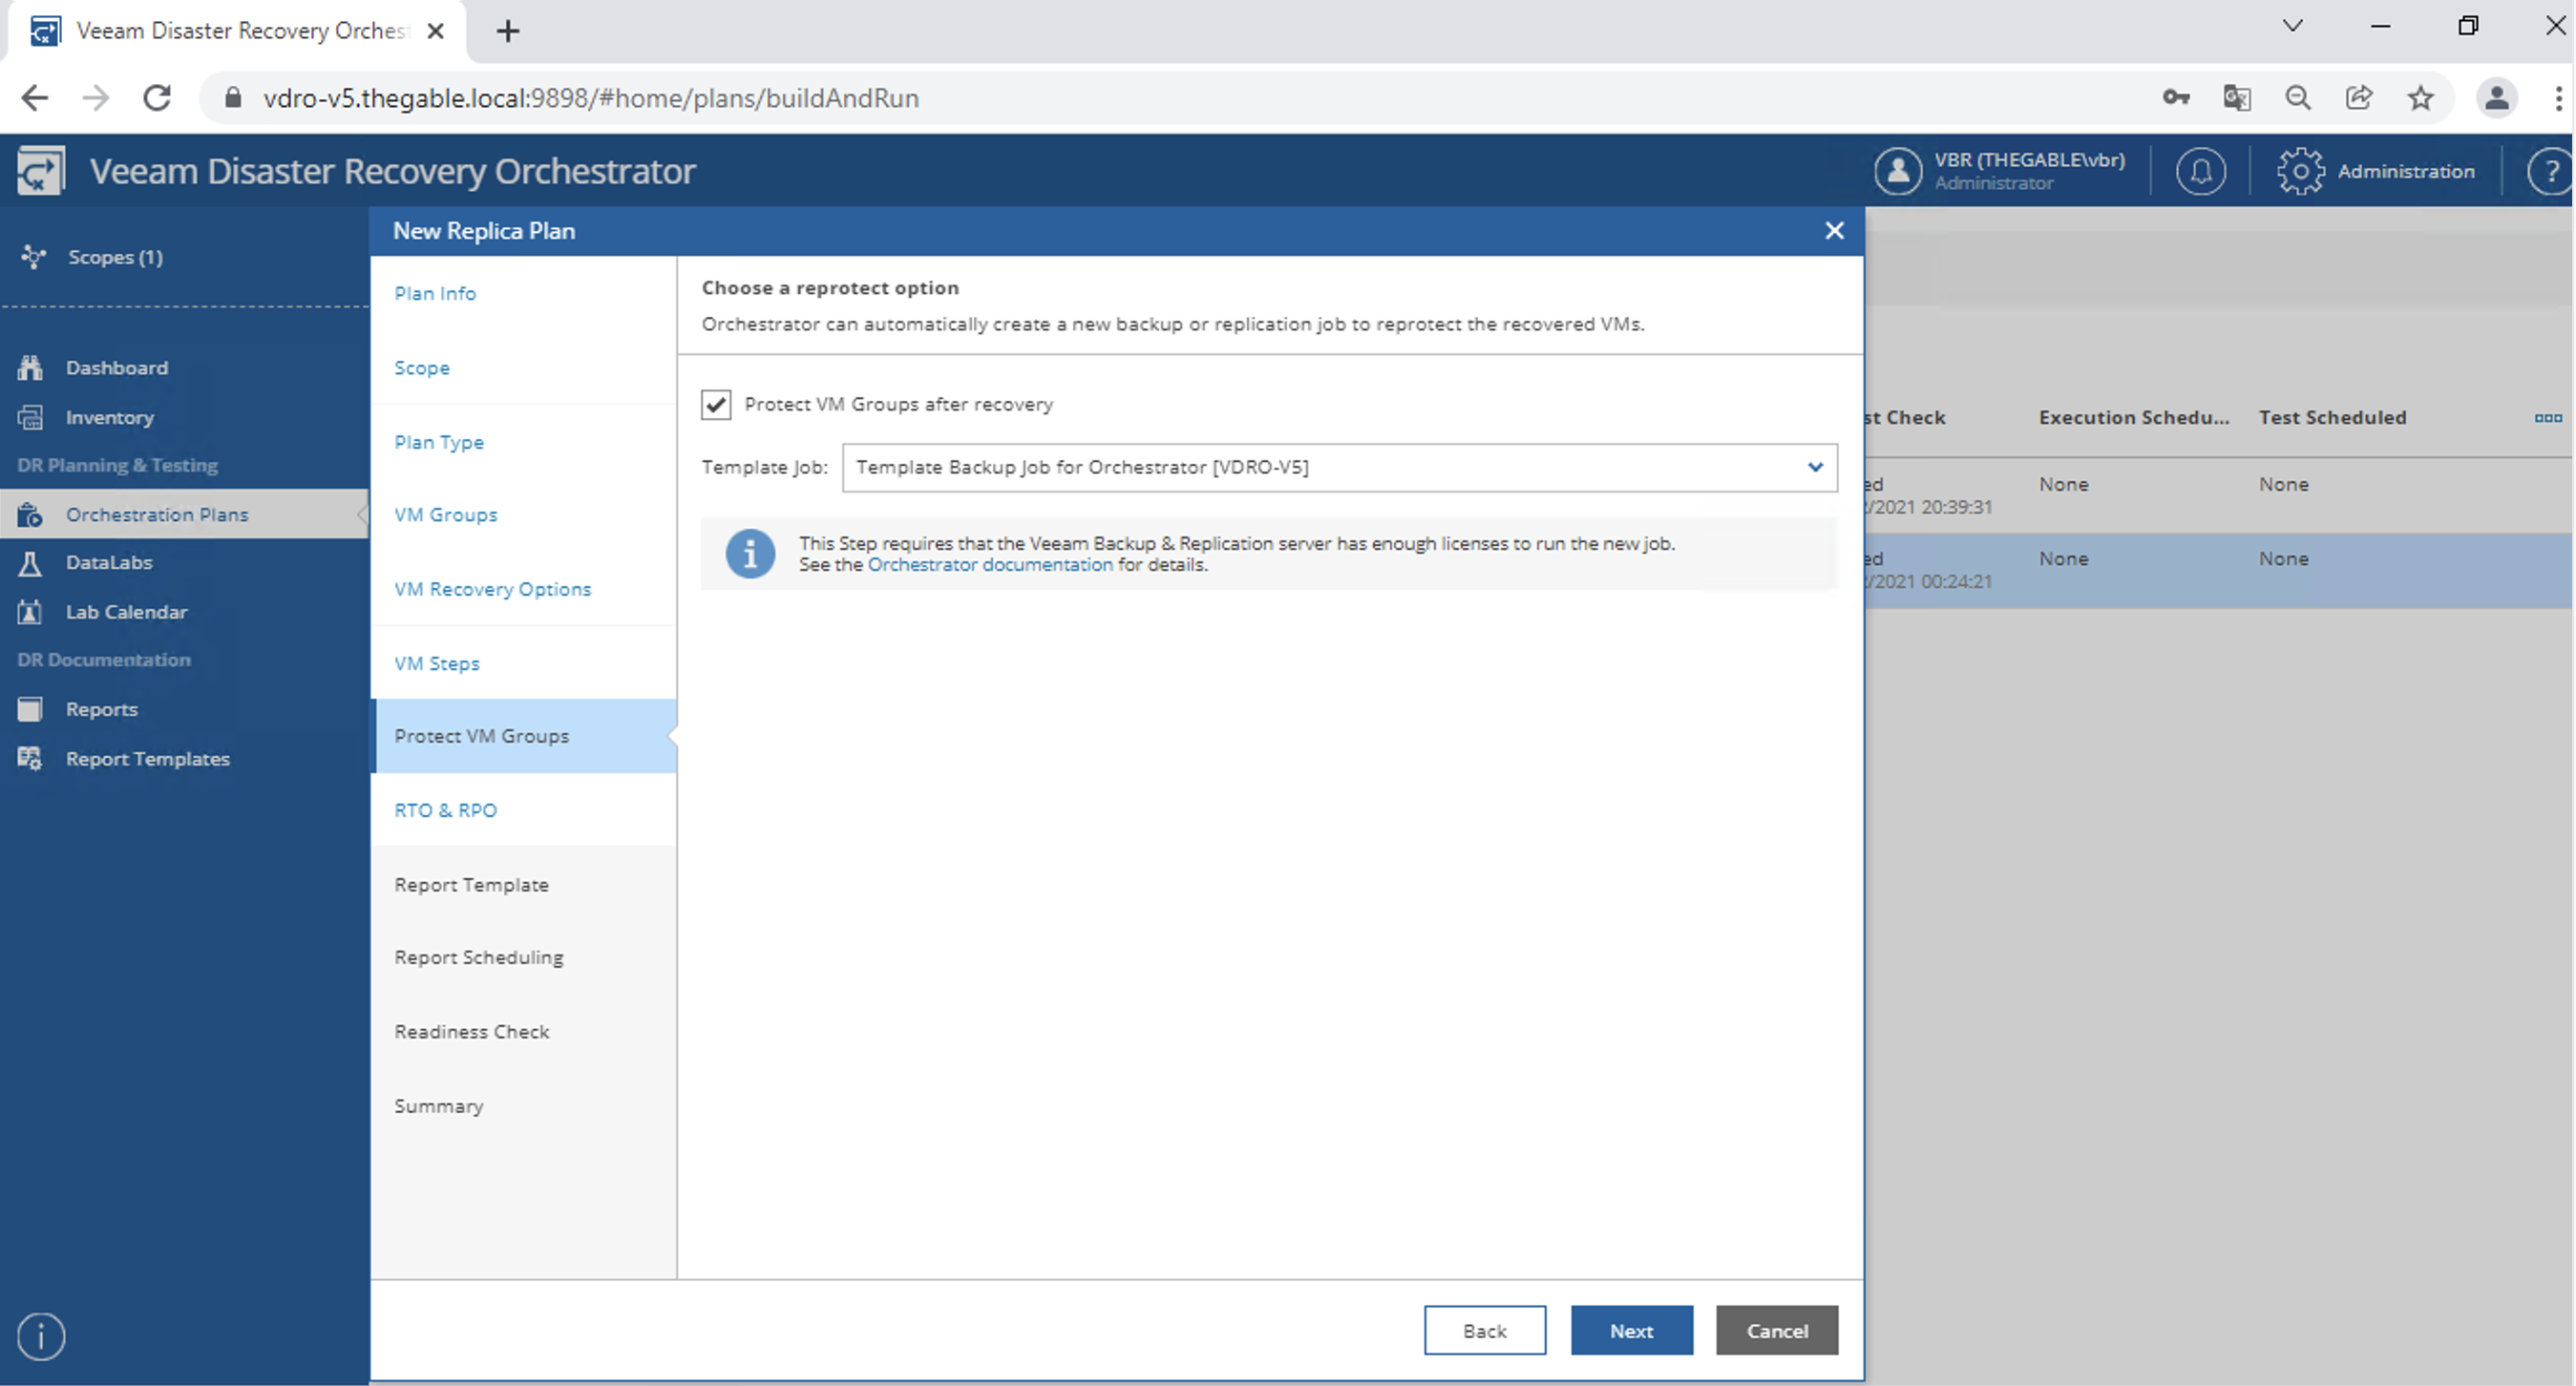
image 17

image 18

image 19

image 20

image 21

Now you can test and start your orchestration plans later

Veeam Disaster Recovery Orchestrator v.5: Components verification

This article explains how to configure the Veeam Disaster Recovery Orchestrator (VDrO) administration menu.

Before proceeding to the administration phase, it is essential to have already labeled the resources that will have to be part of the Disaster Recovery plans.

The classification was illustrated in the previous article, available by clicking on the following link: VDrO – VOne – Tagging .

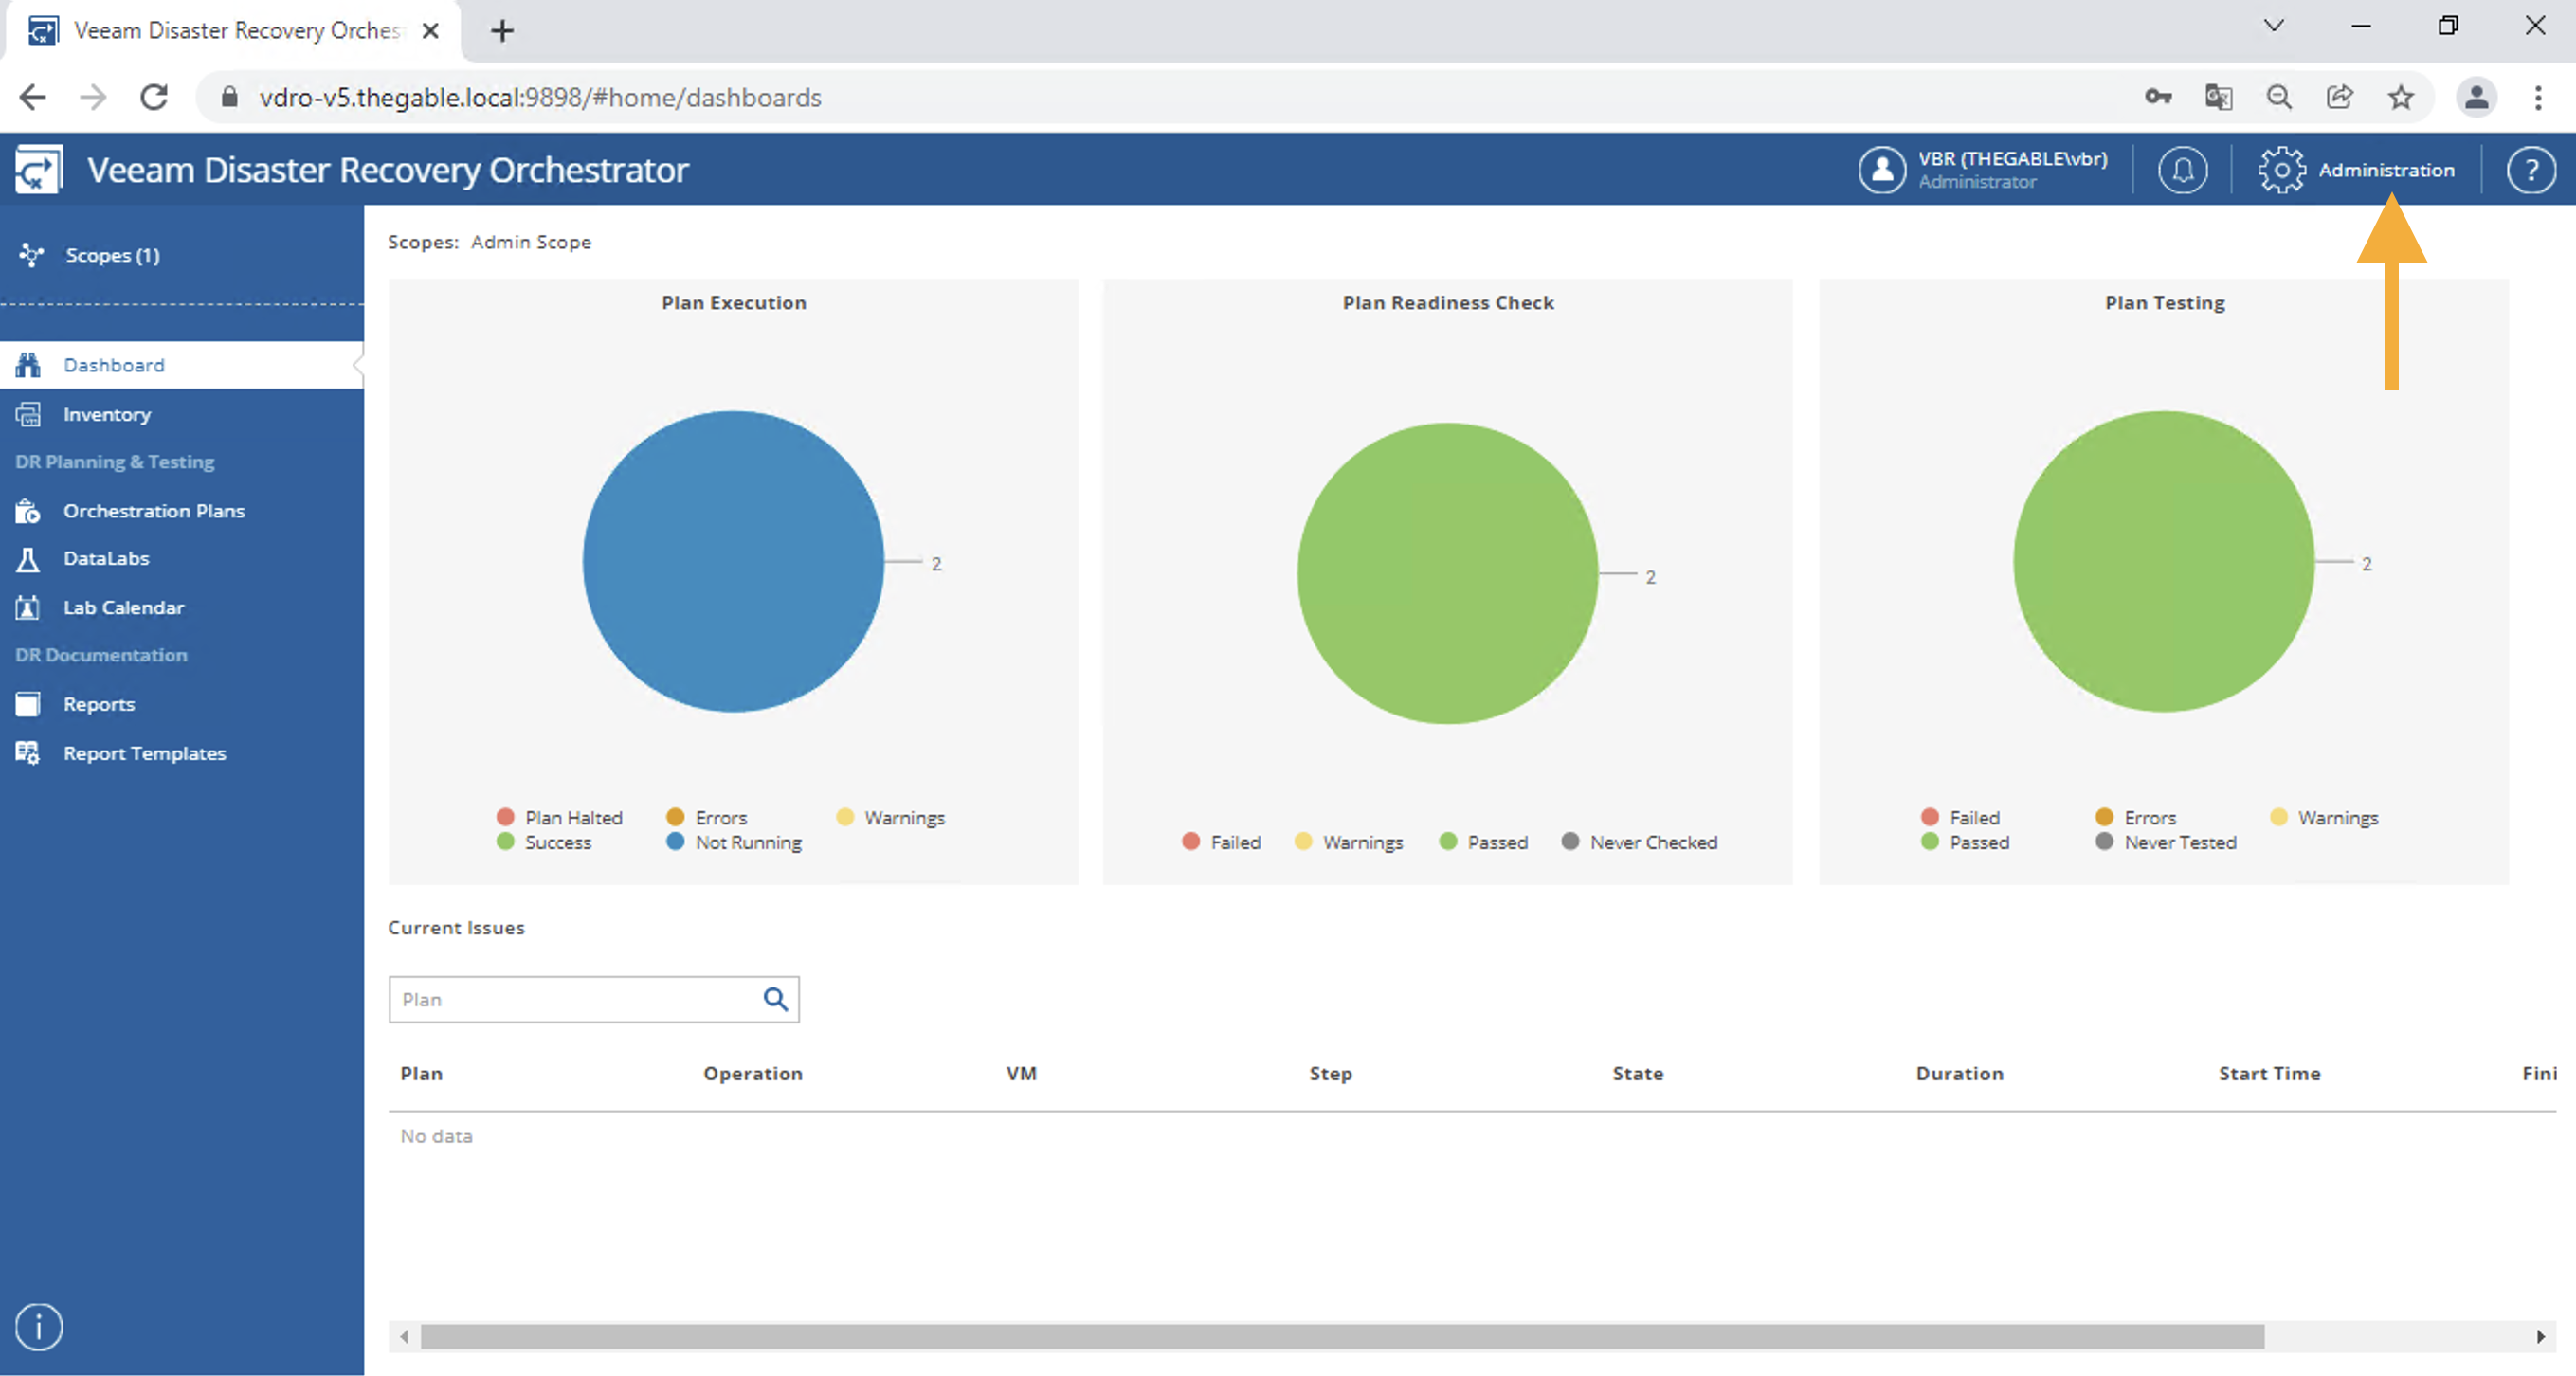
Note 1 : To access the administration menu, select the item called “Administration” (see image 1)

Picture 1

The configuration of the administration menu is divided into three main areas:

In the first, the following are set:

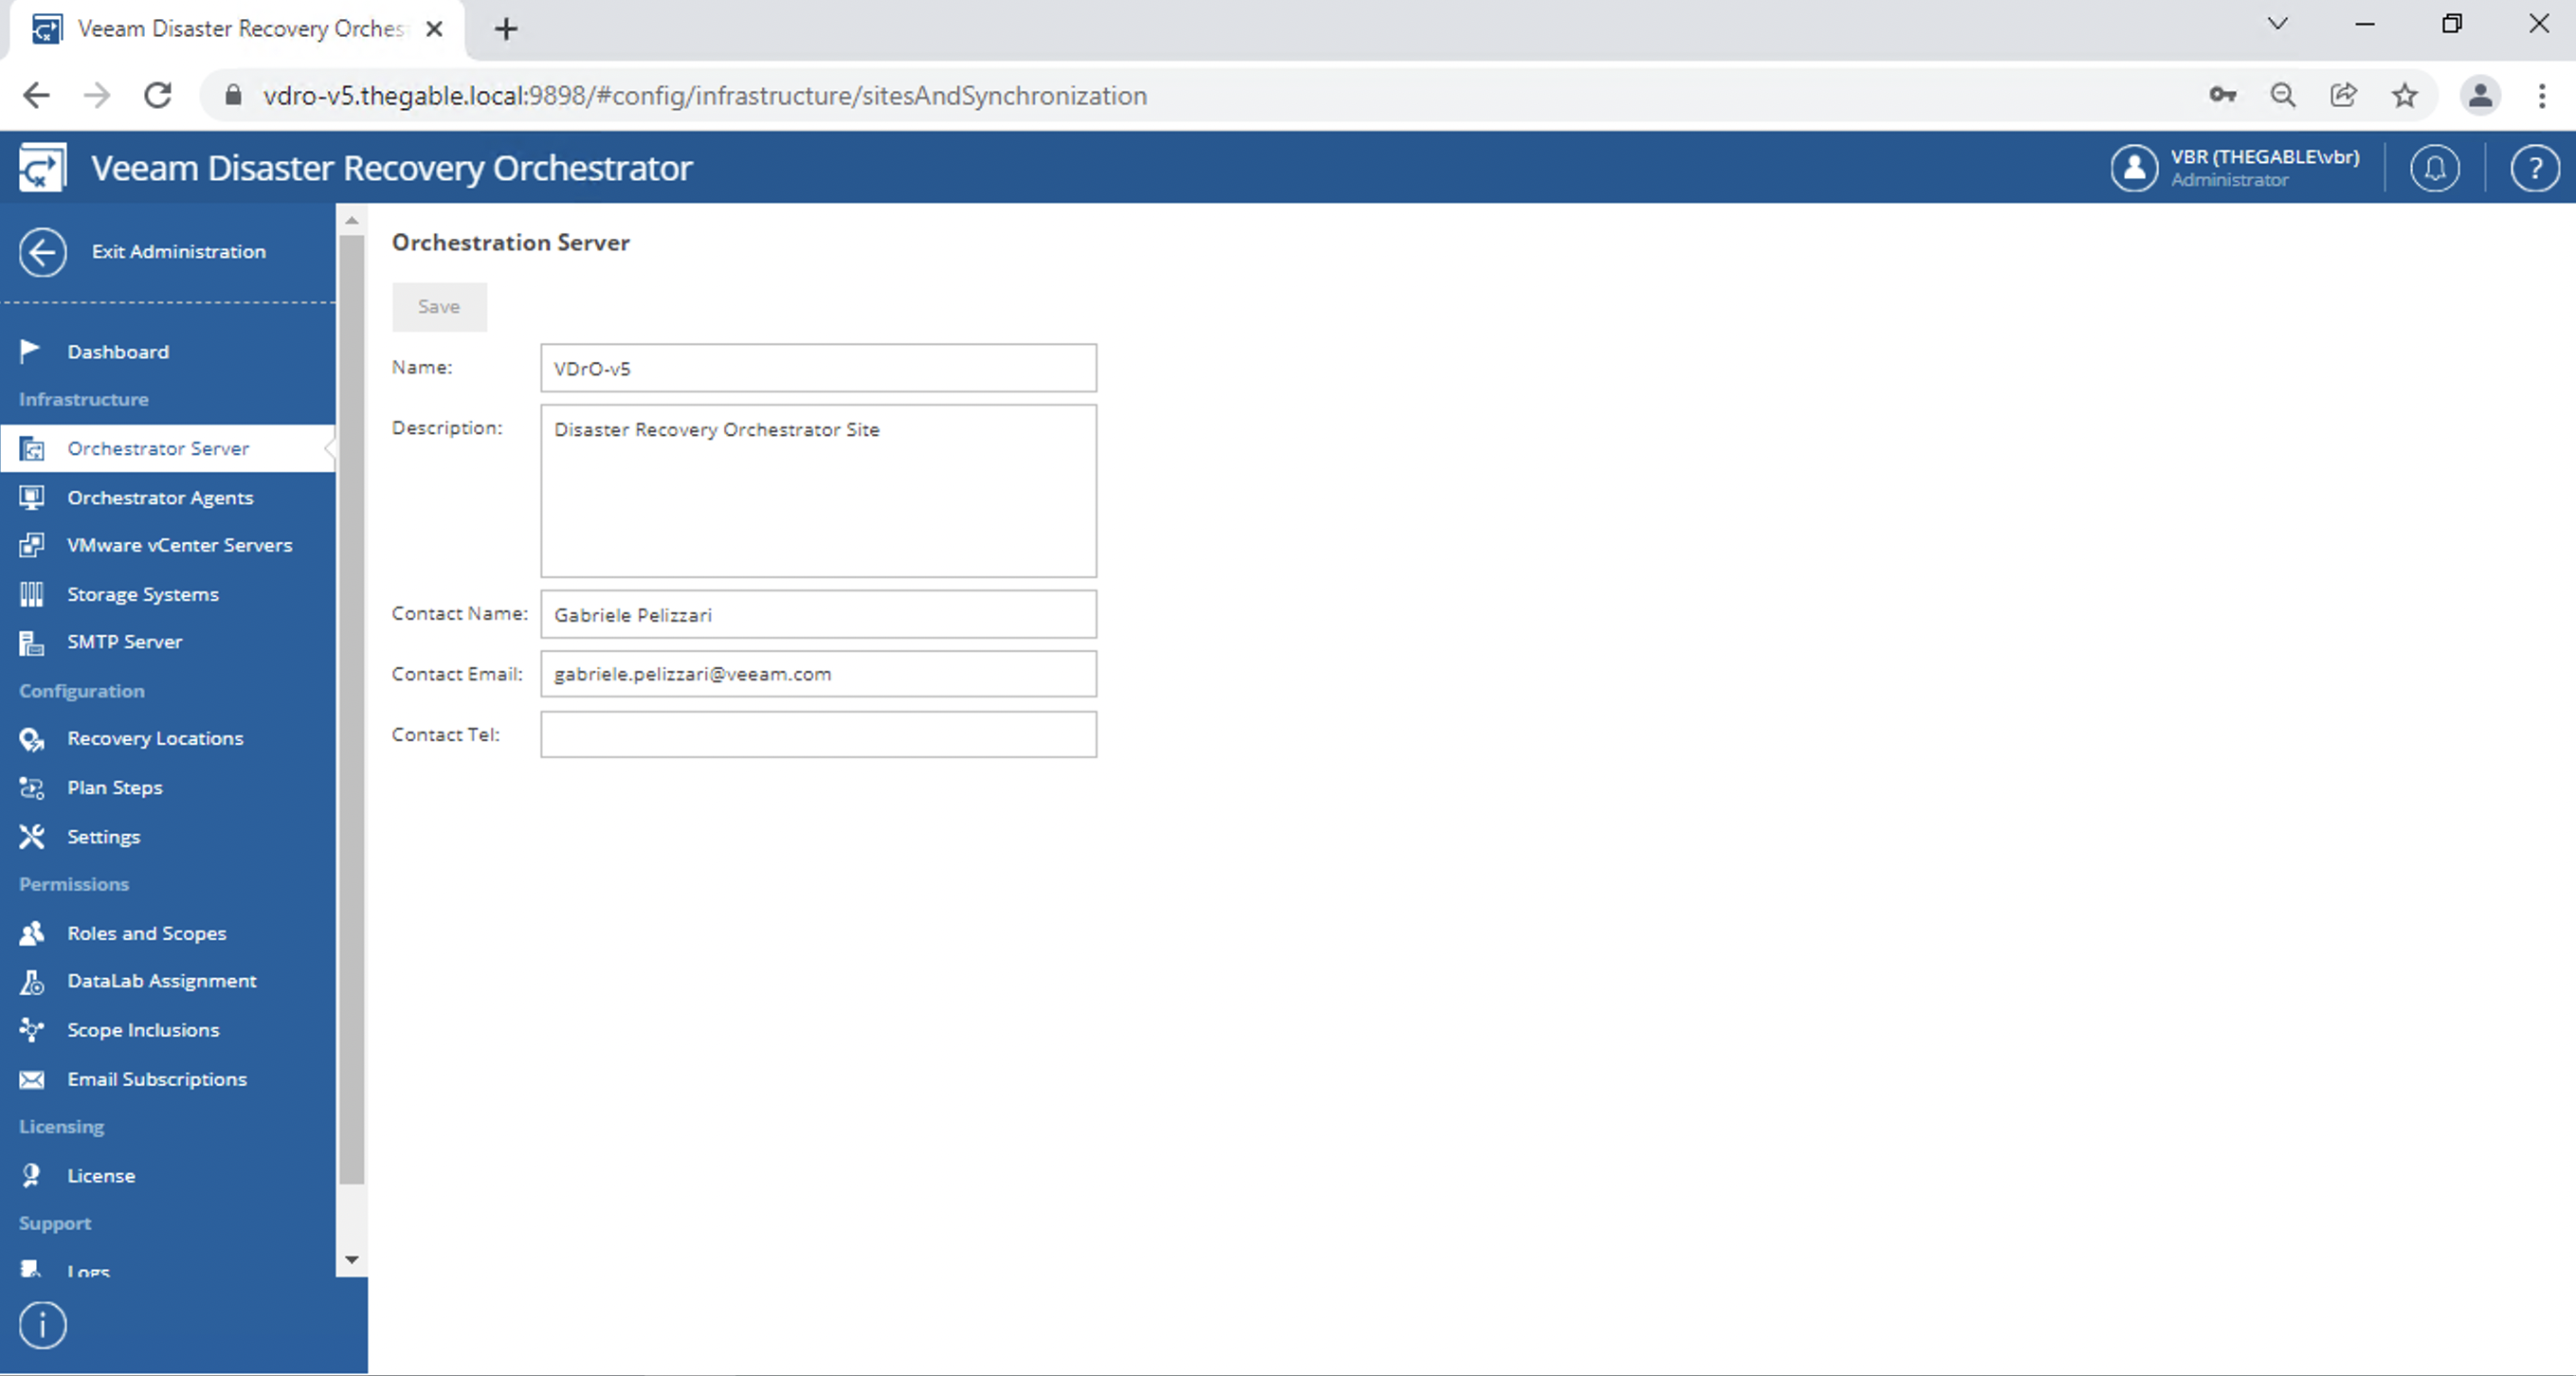
  • The name of the VDrO Server and the contact name (image 2).
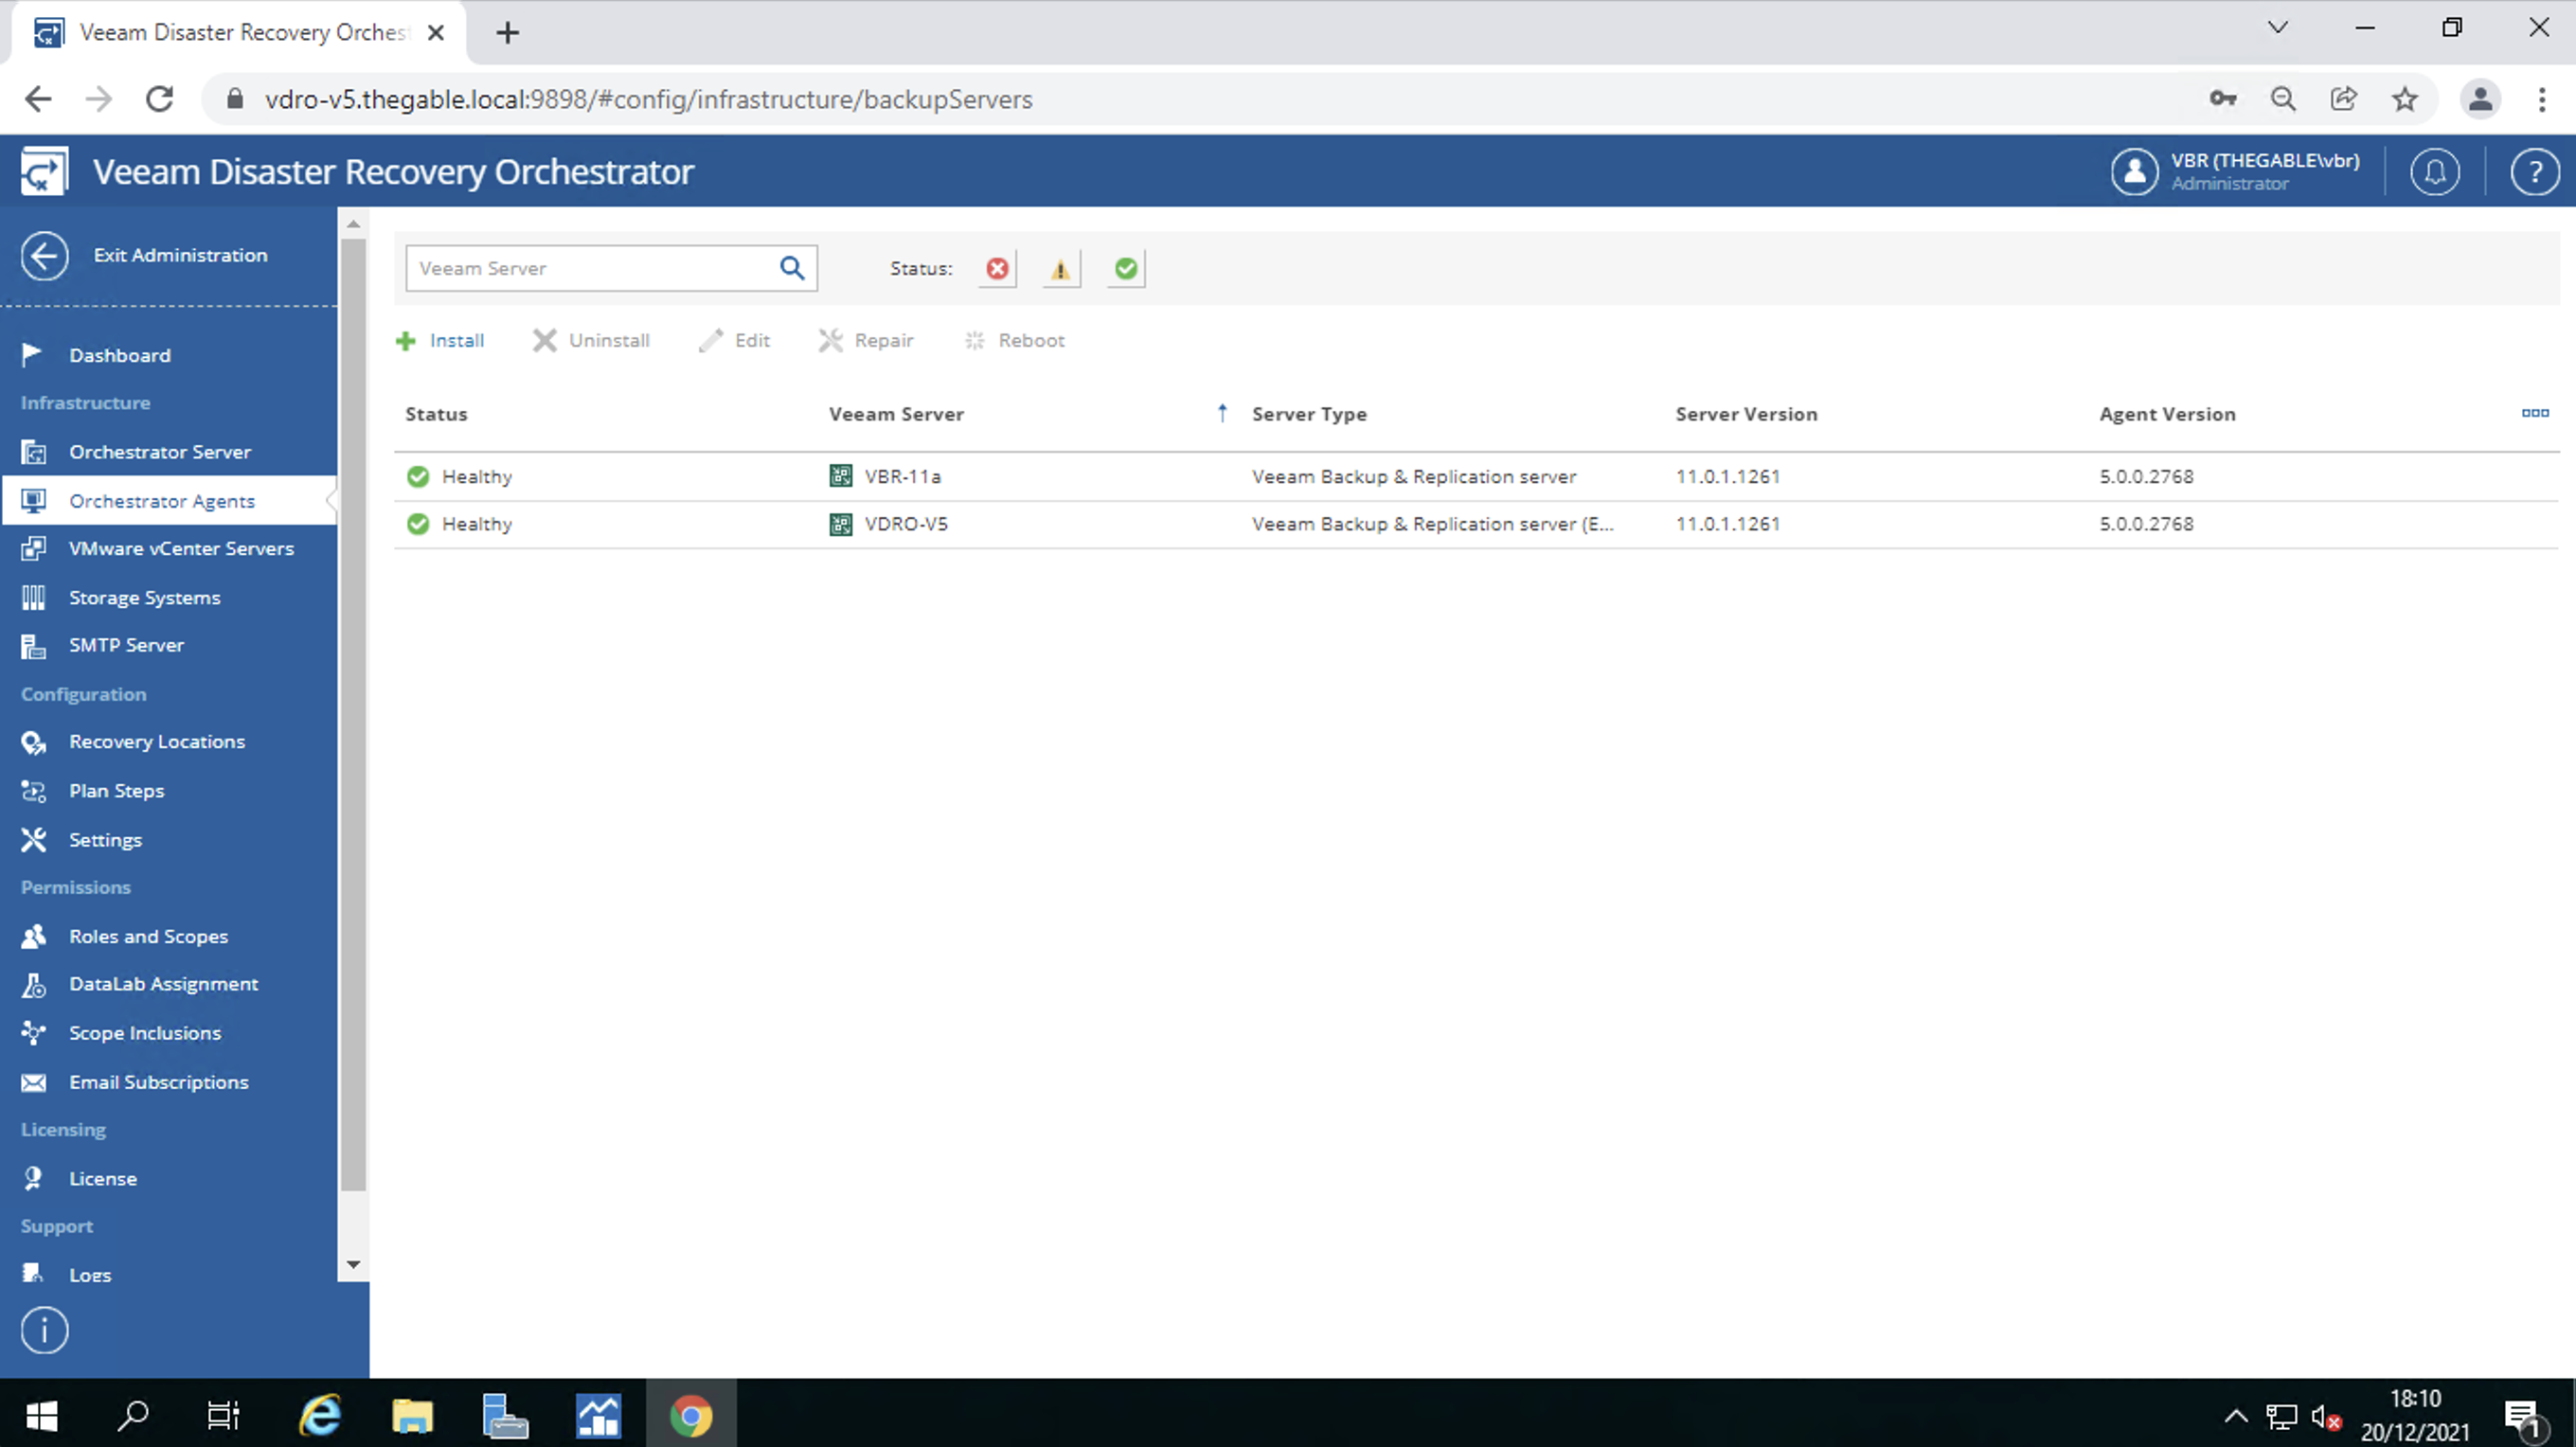
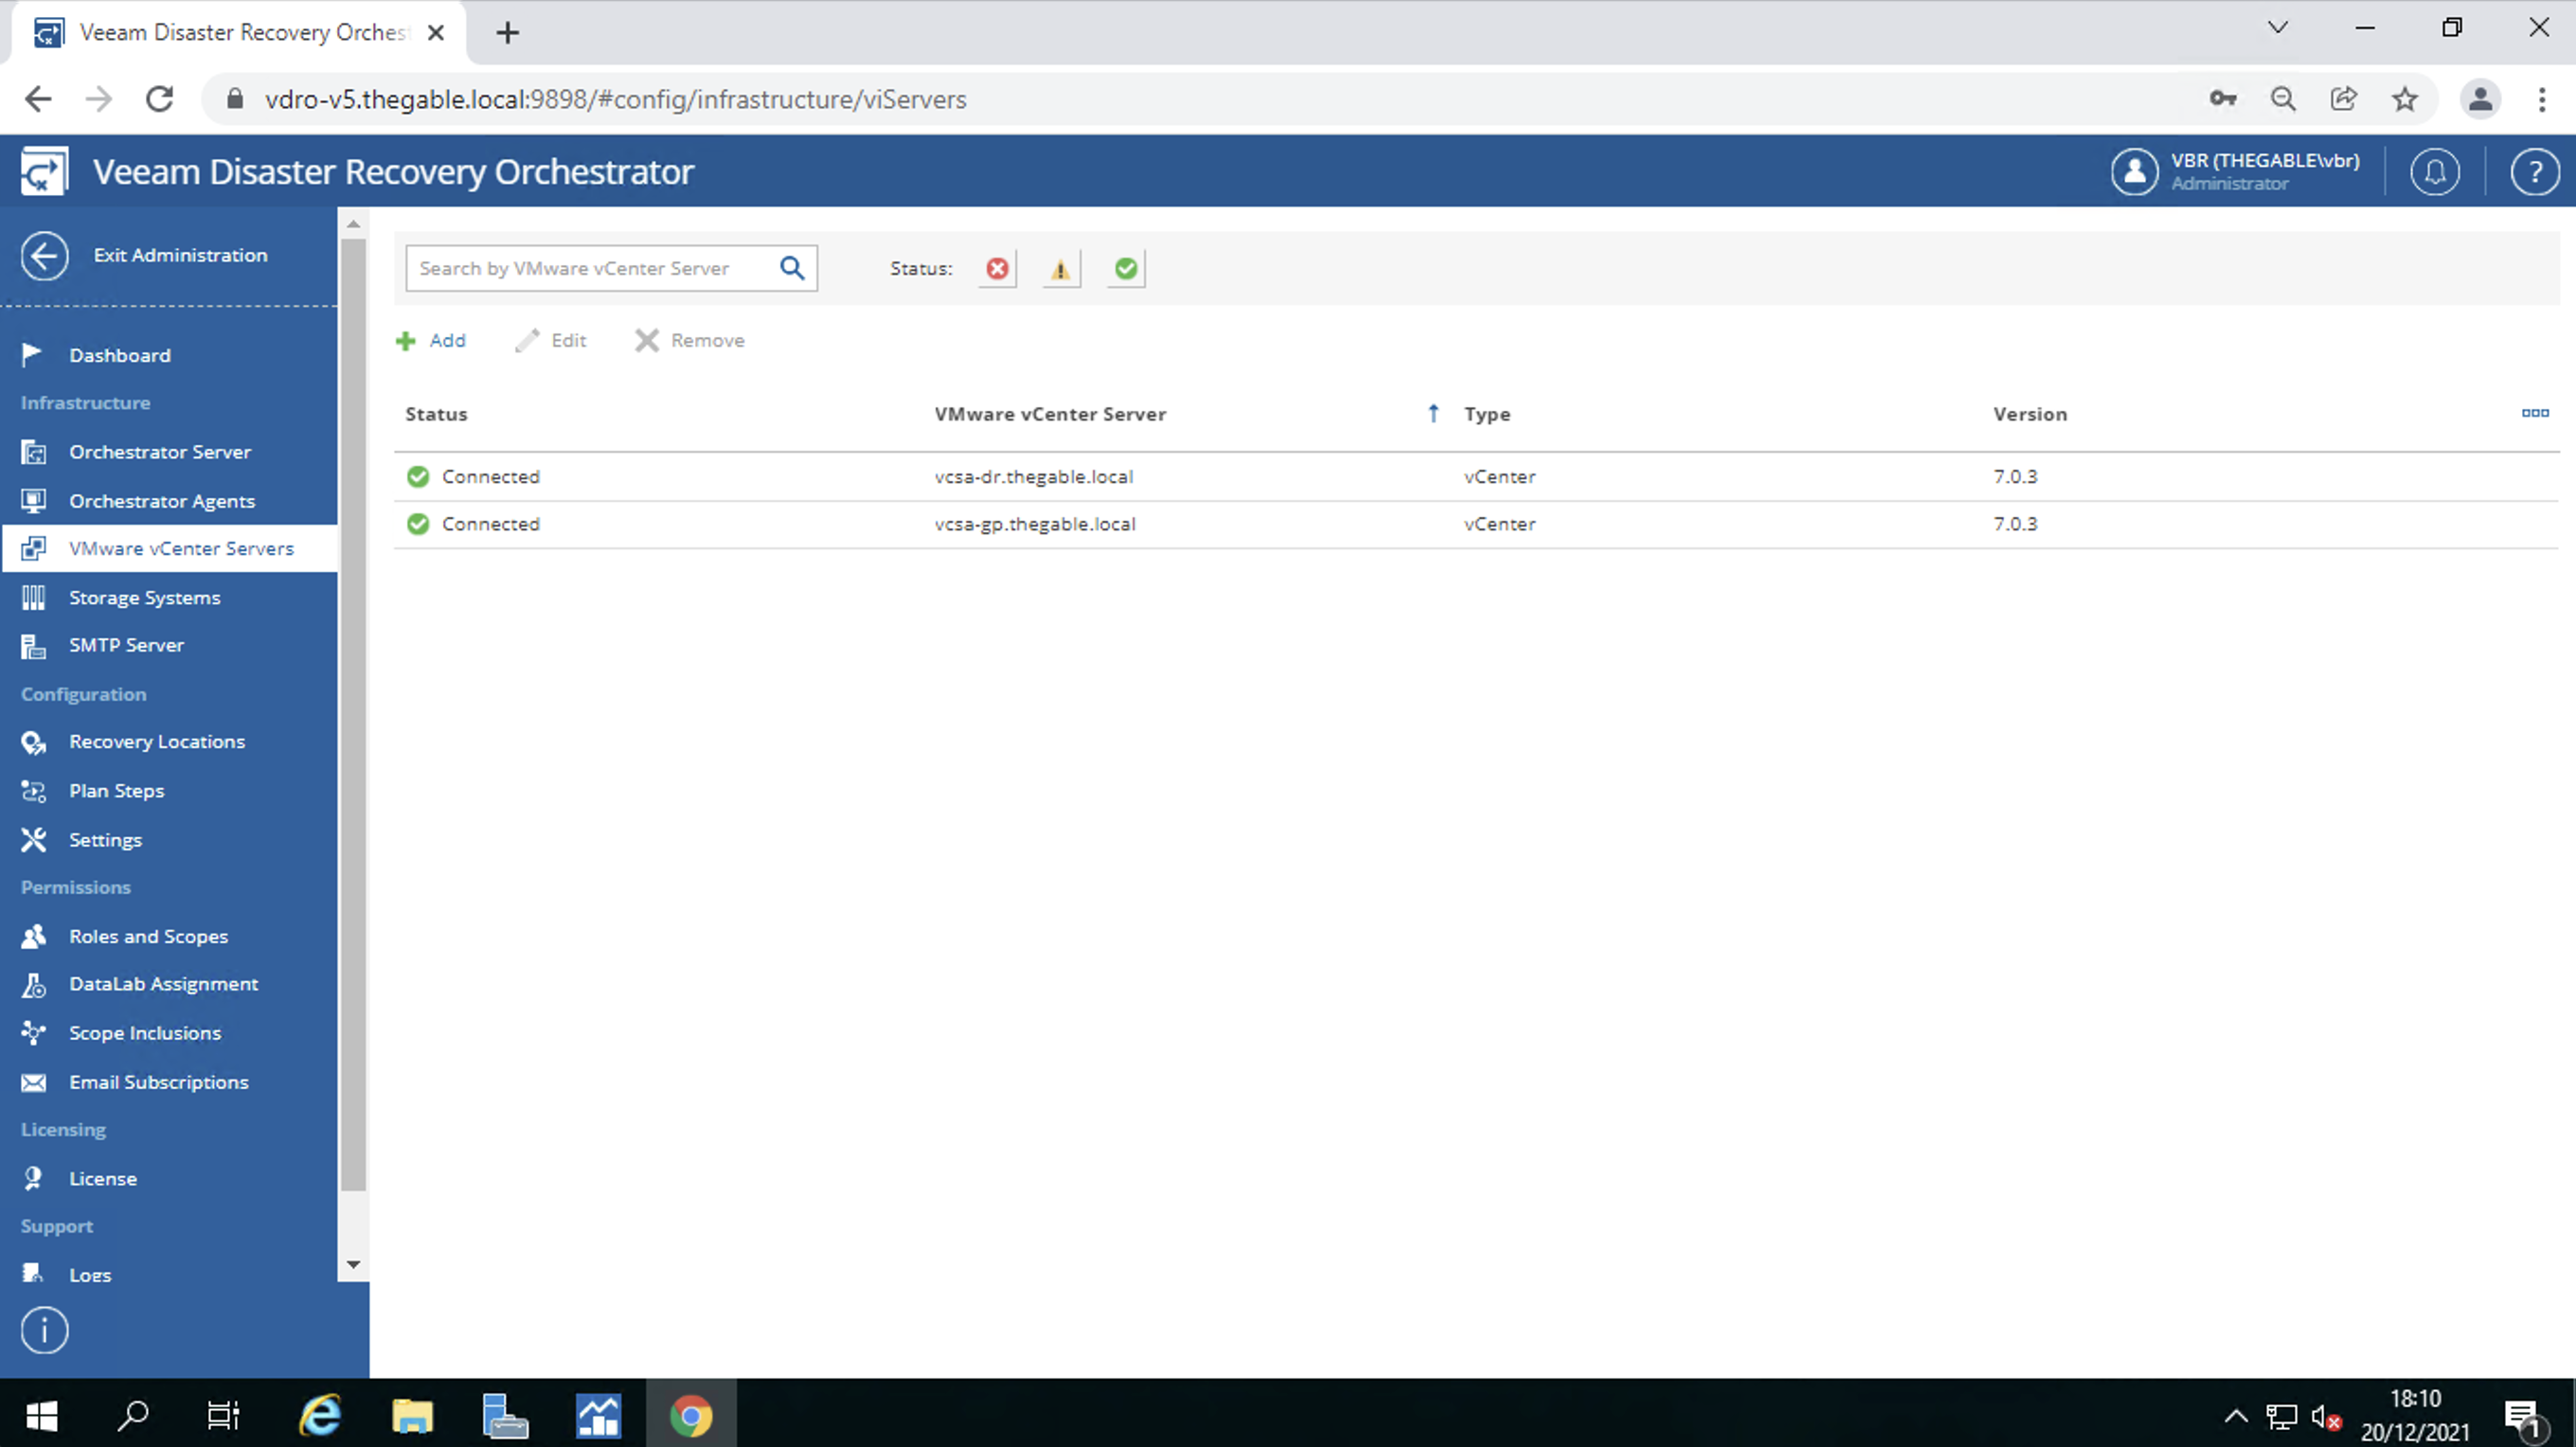
  • connections to Veeam Backup & Replication Servers (VBR) (image 3)
  • connections to vCenters (image 4)
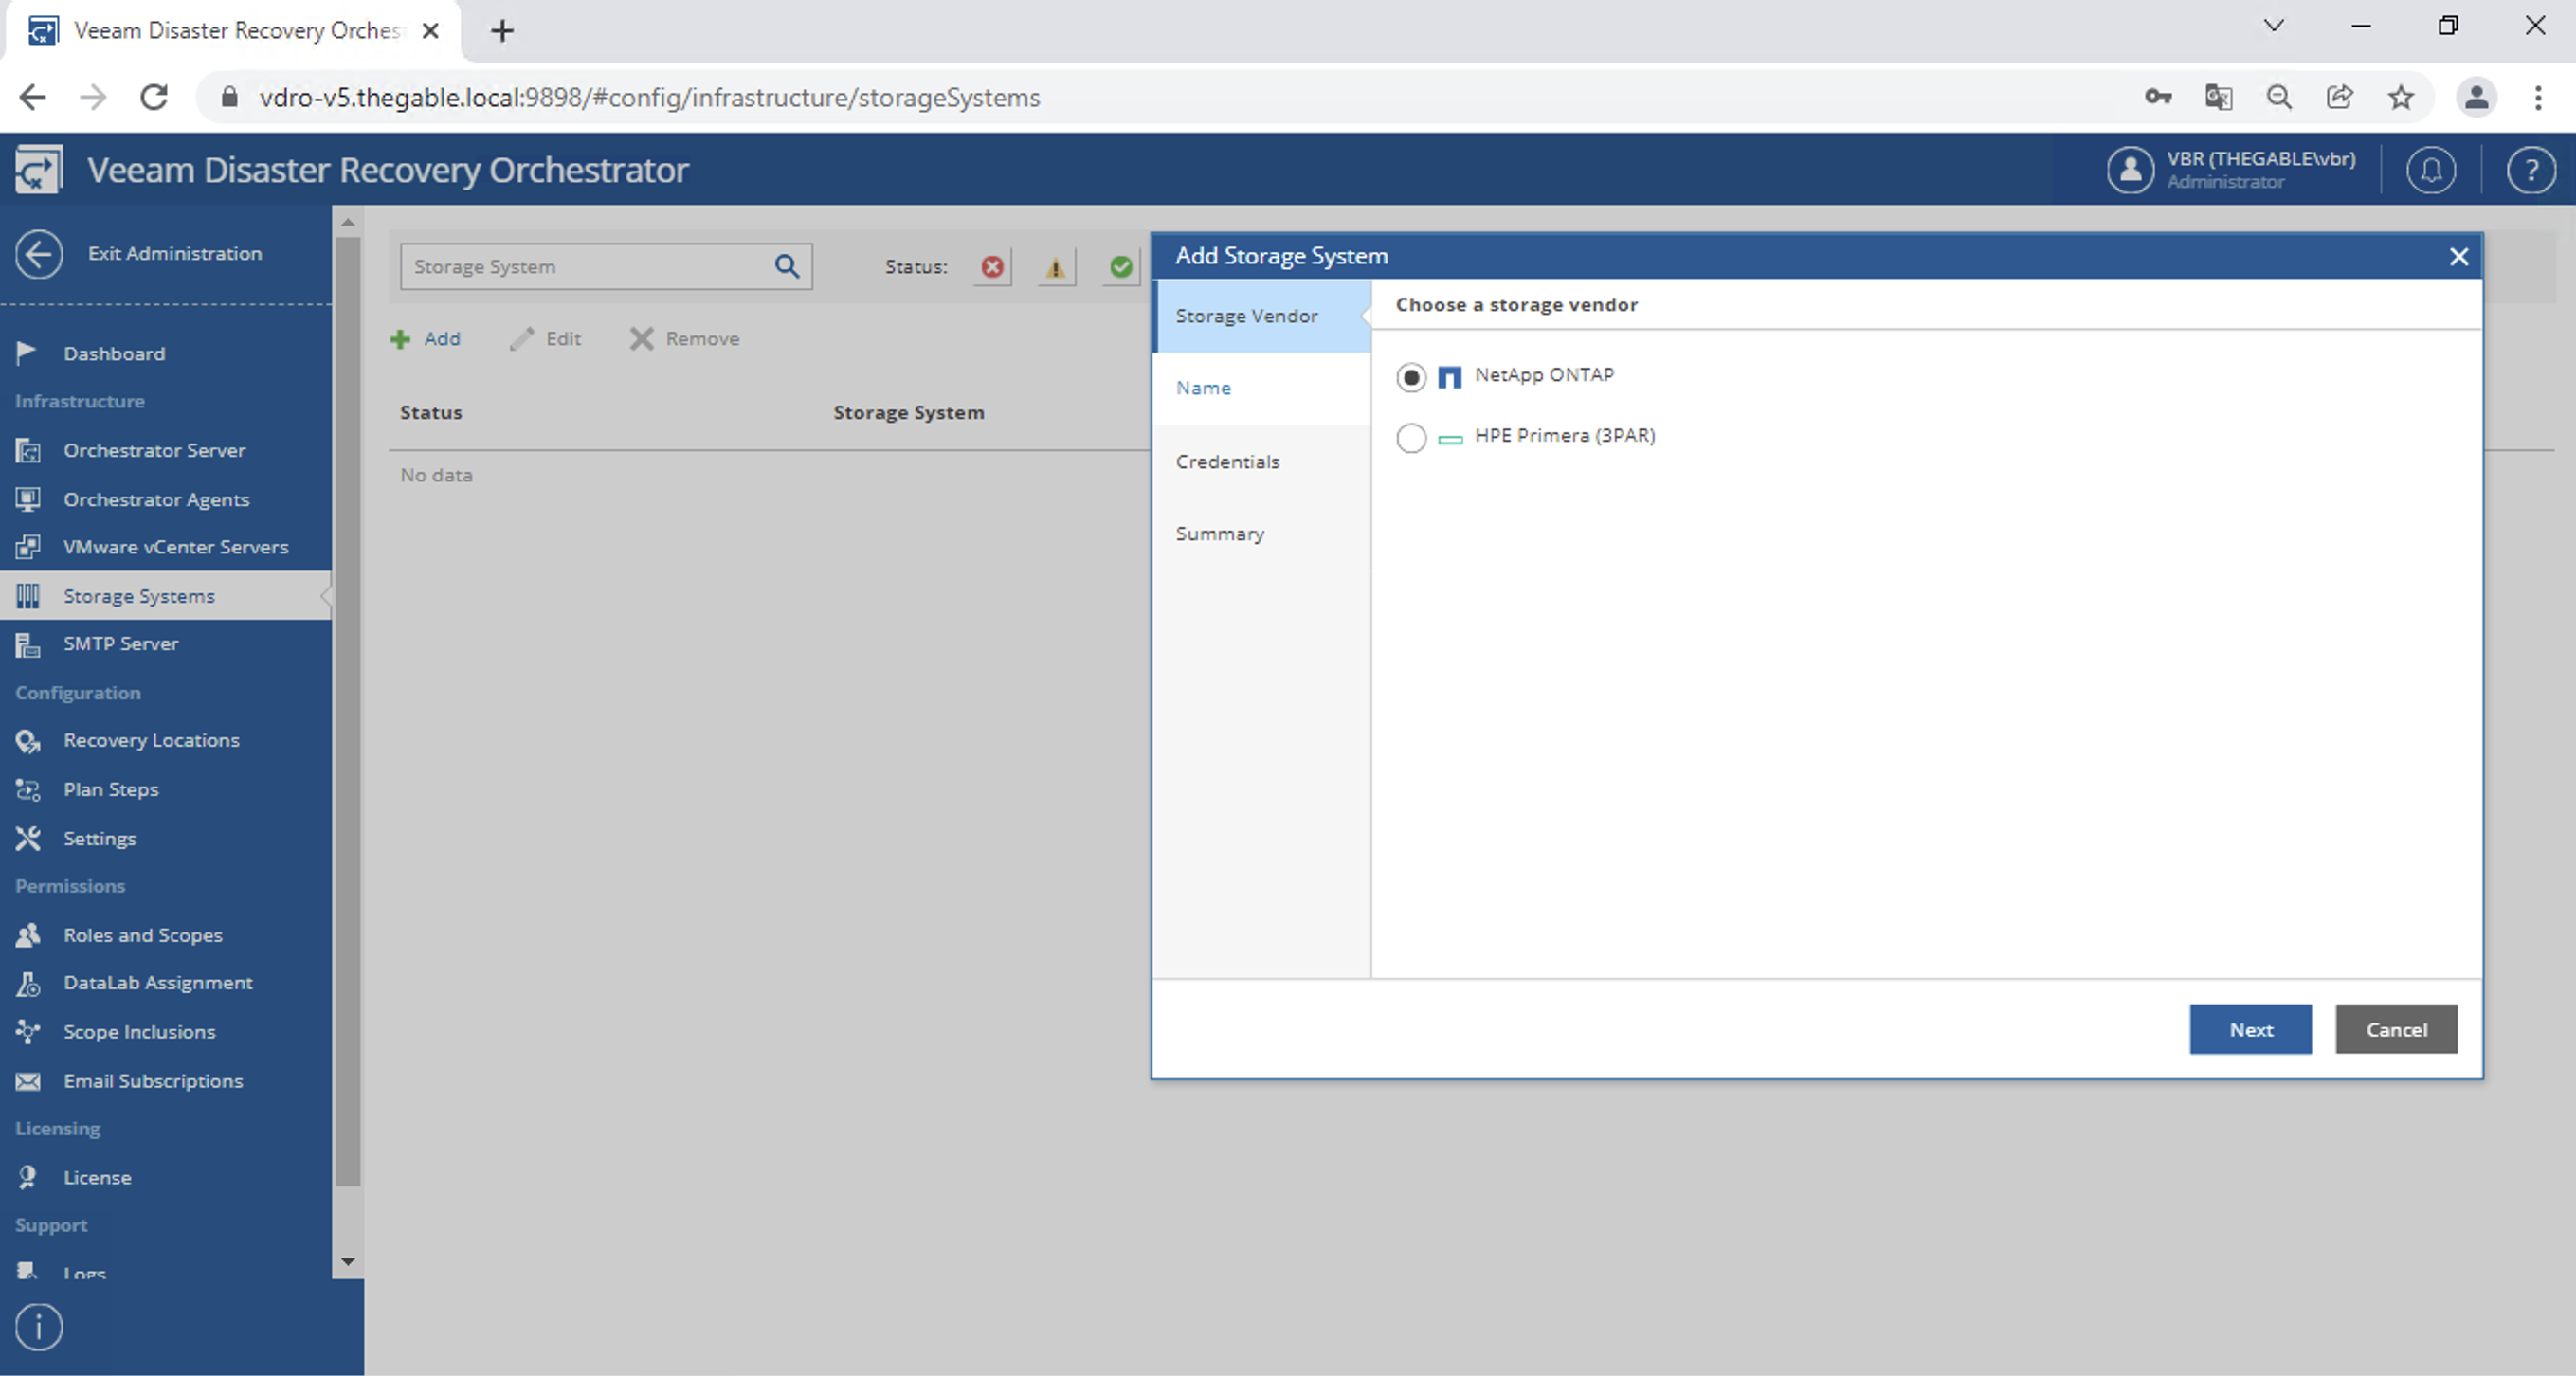
  • the optional connection to the storage (image 5) (refer to this article to find out the details)

picture 2

Picture 3

Picture 4

Picture 5

The second area identifies the resources to be added to the DR plans through tagging:

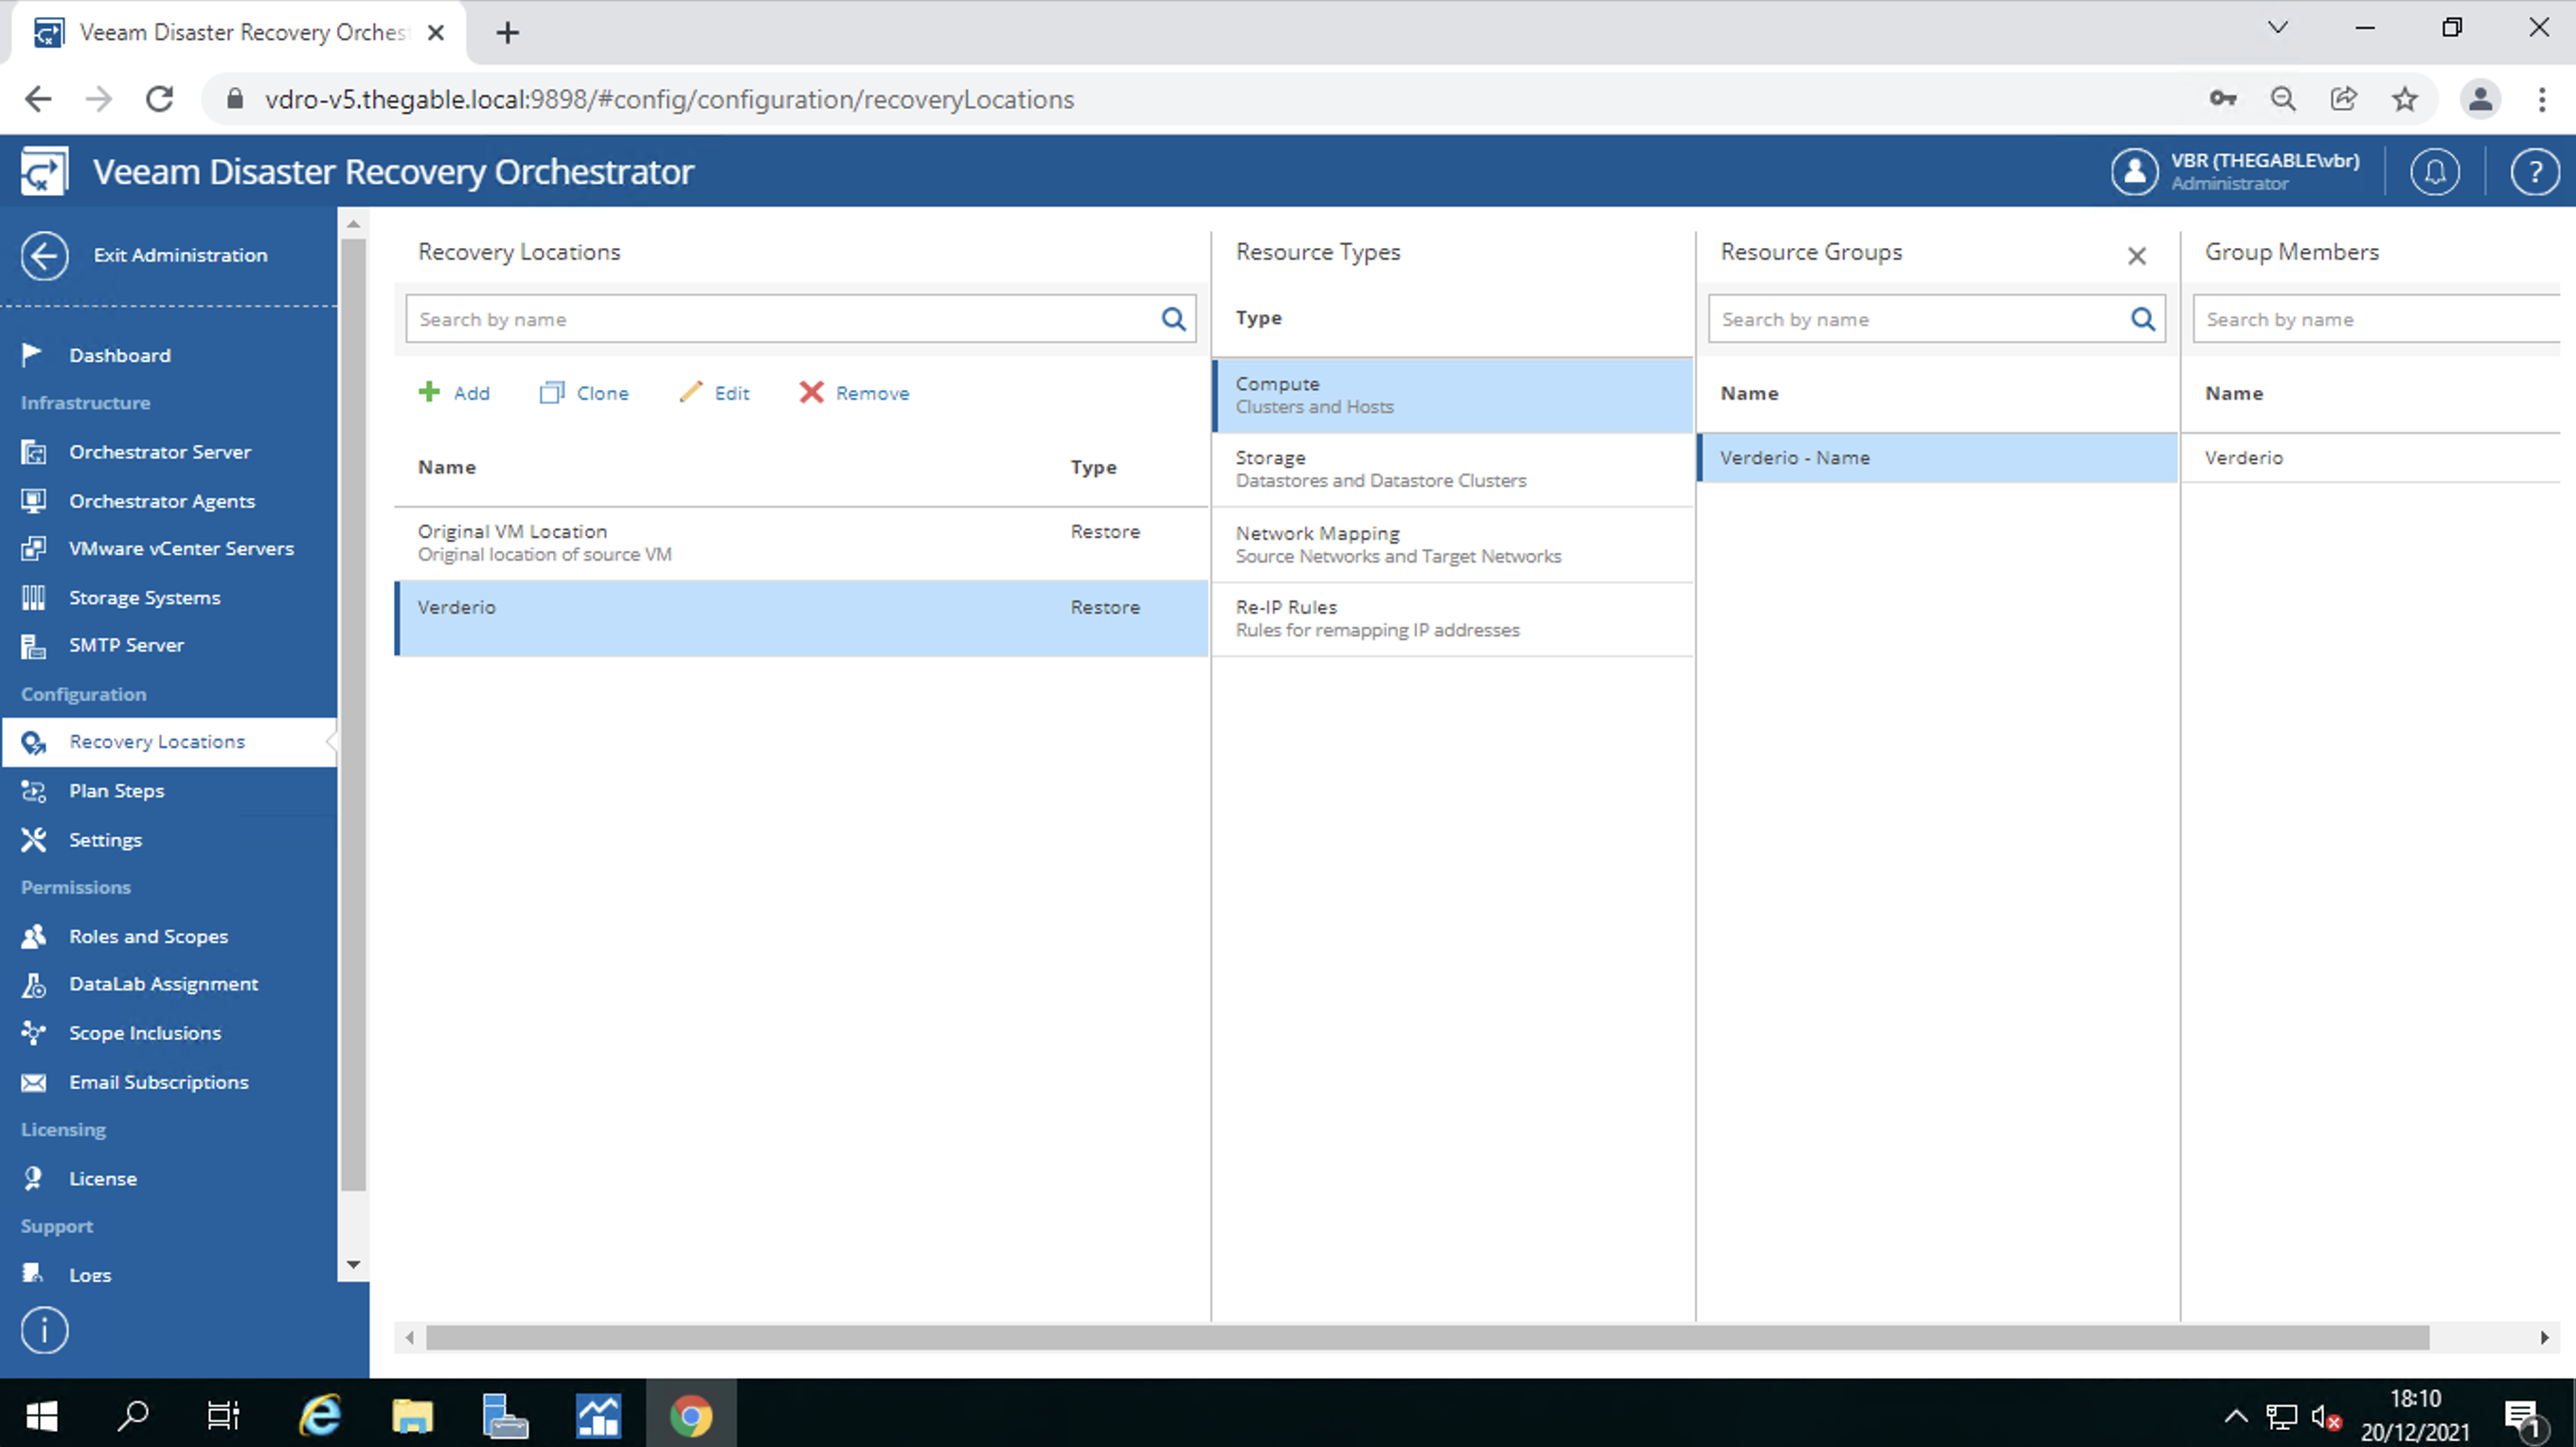
  • The recovery location (image 6)
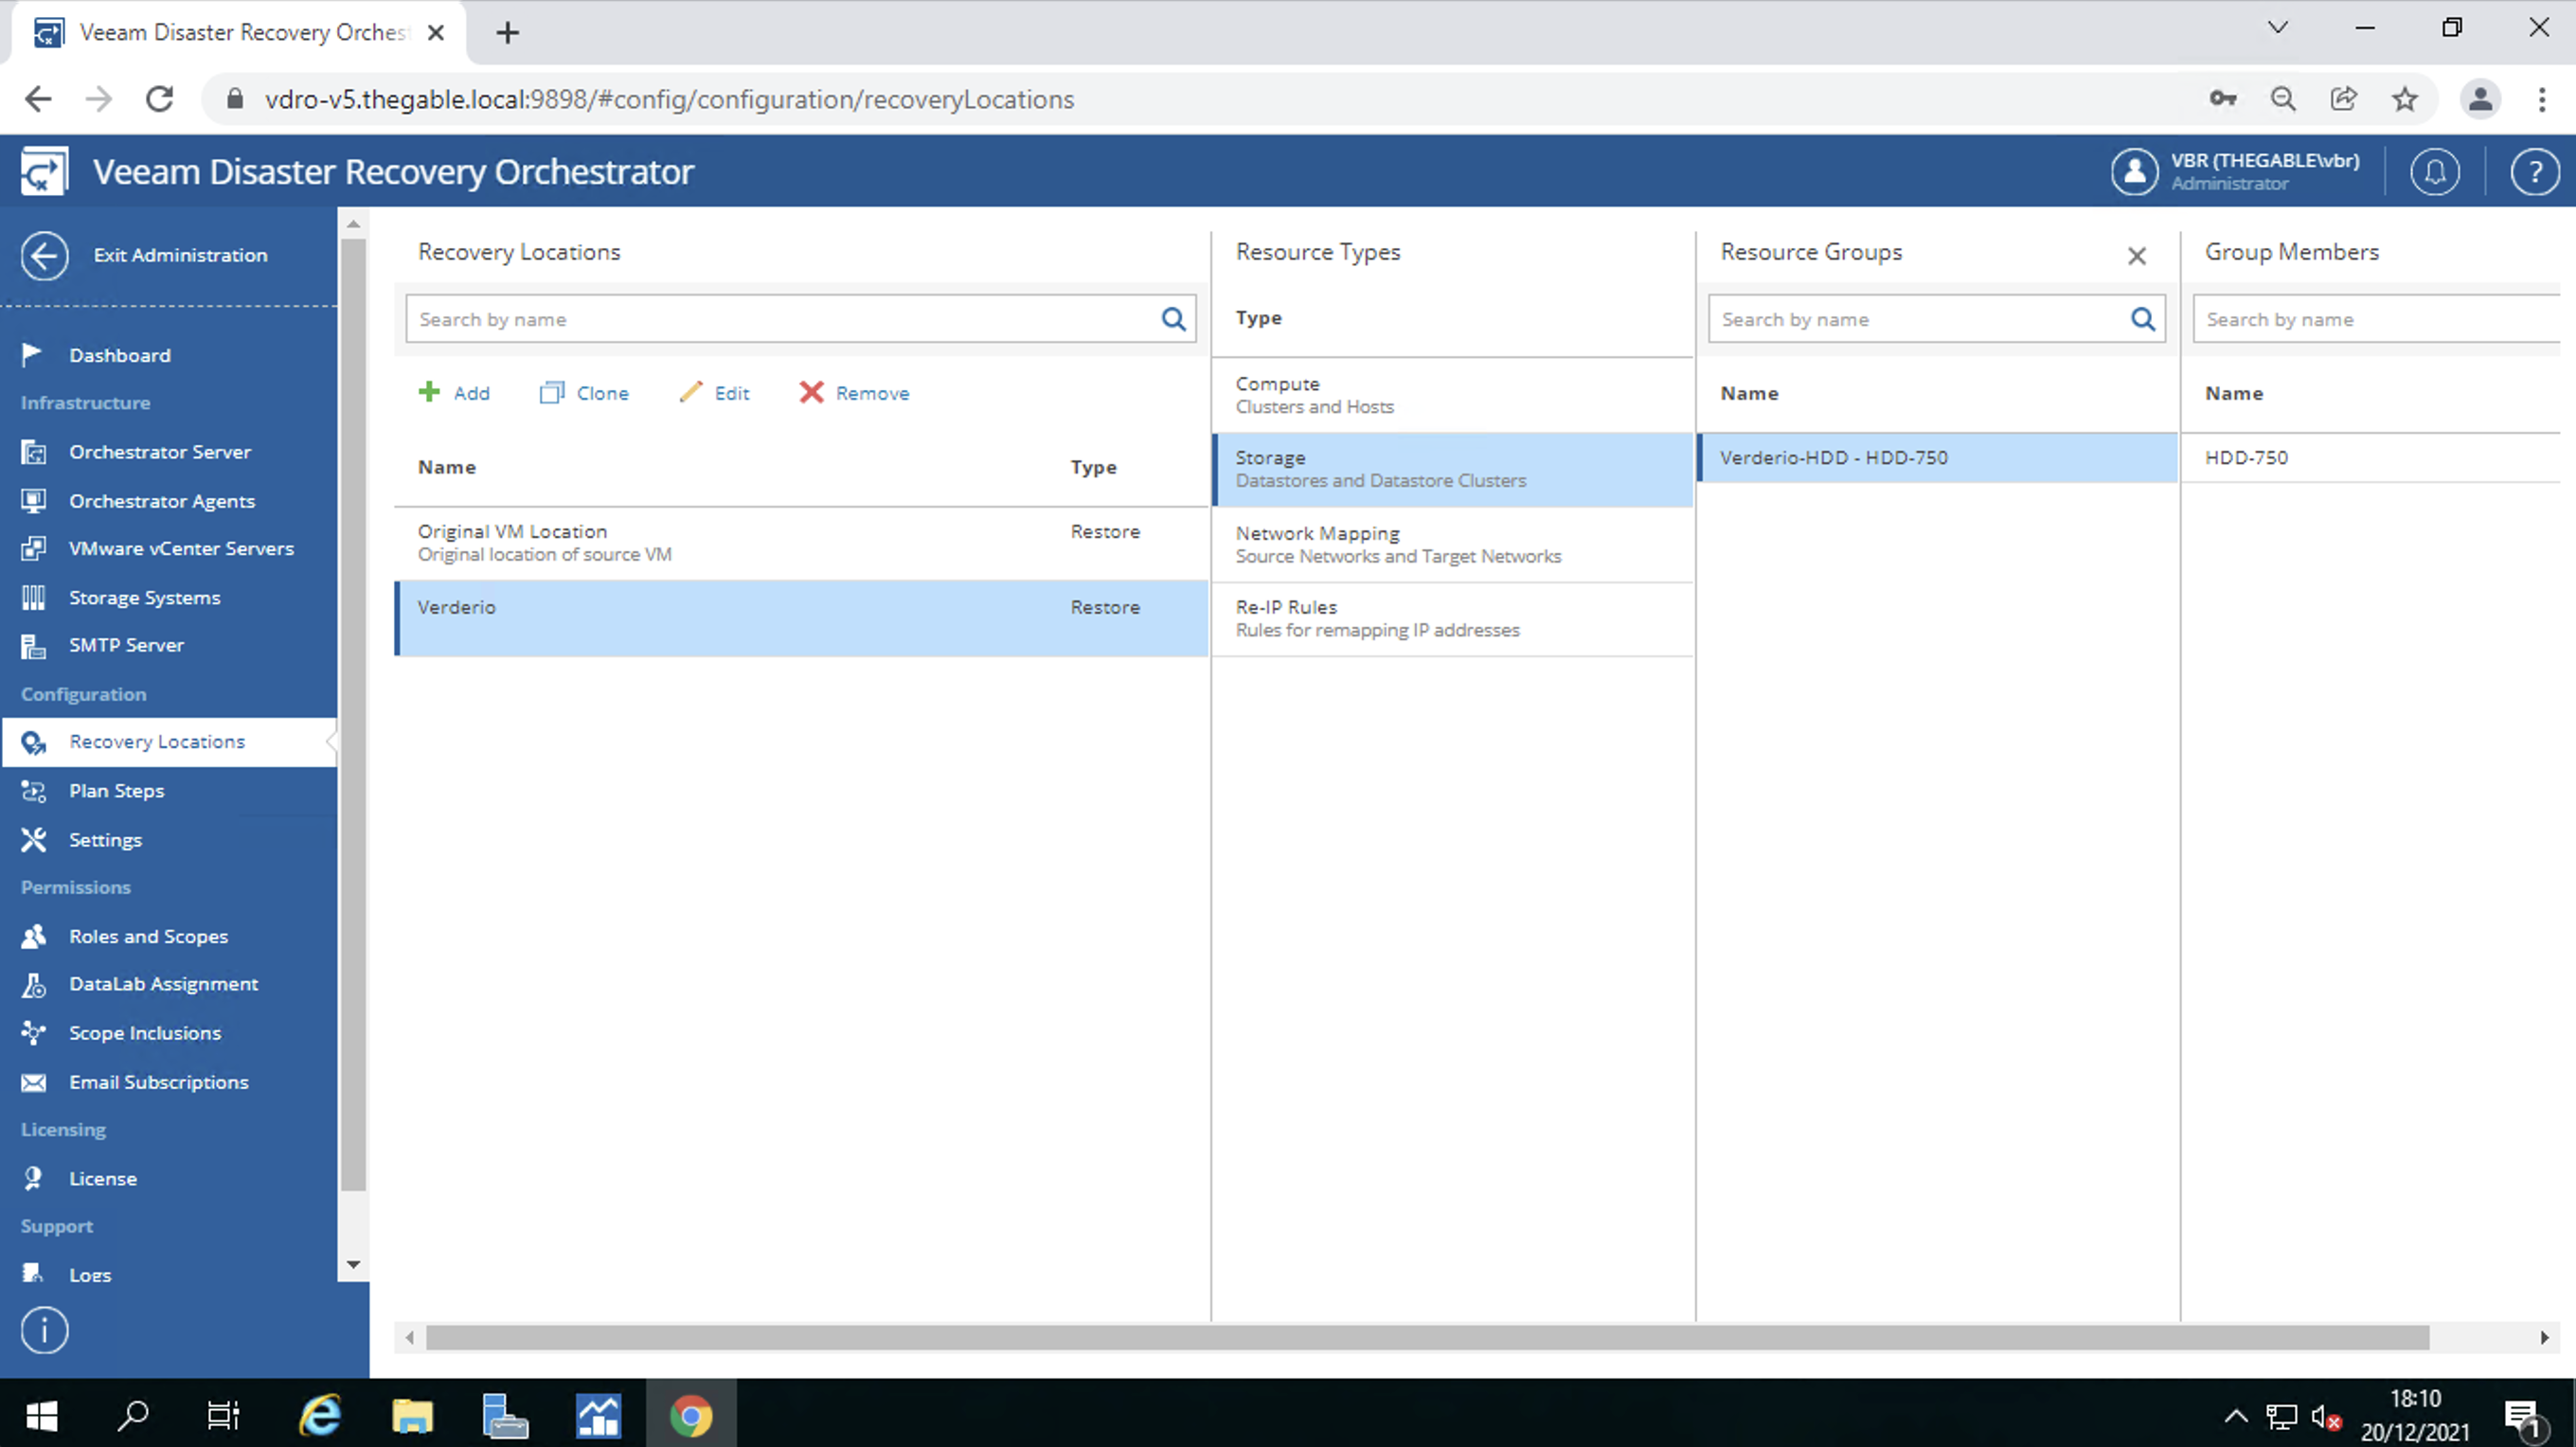
  • In the recovery location the datastores where the VM filesystems will reside (image 7)
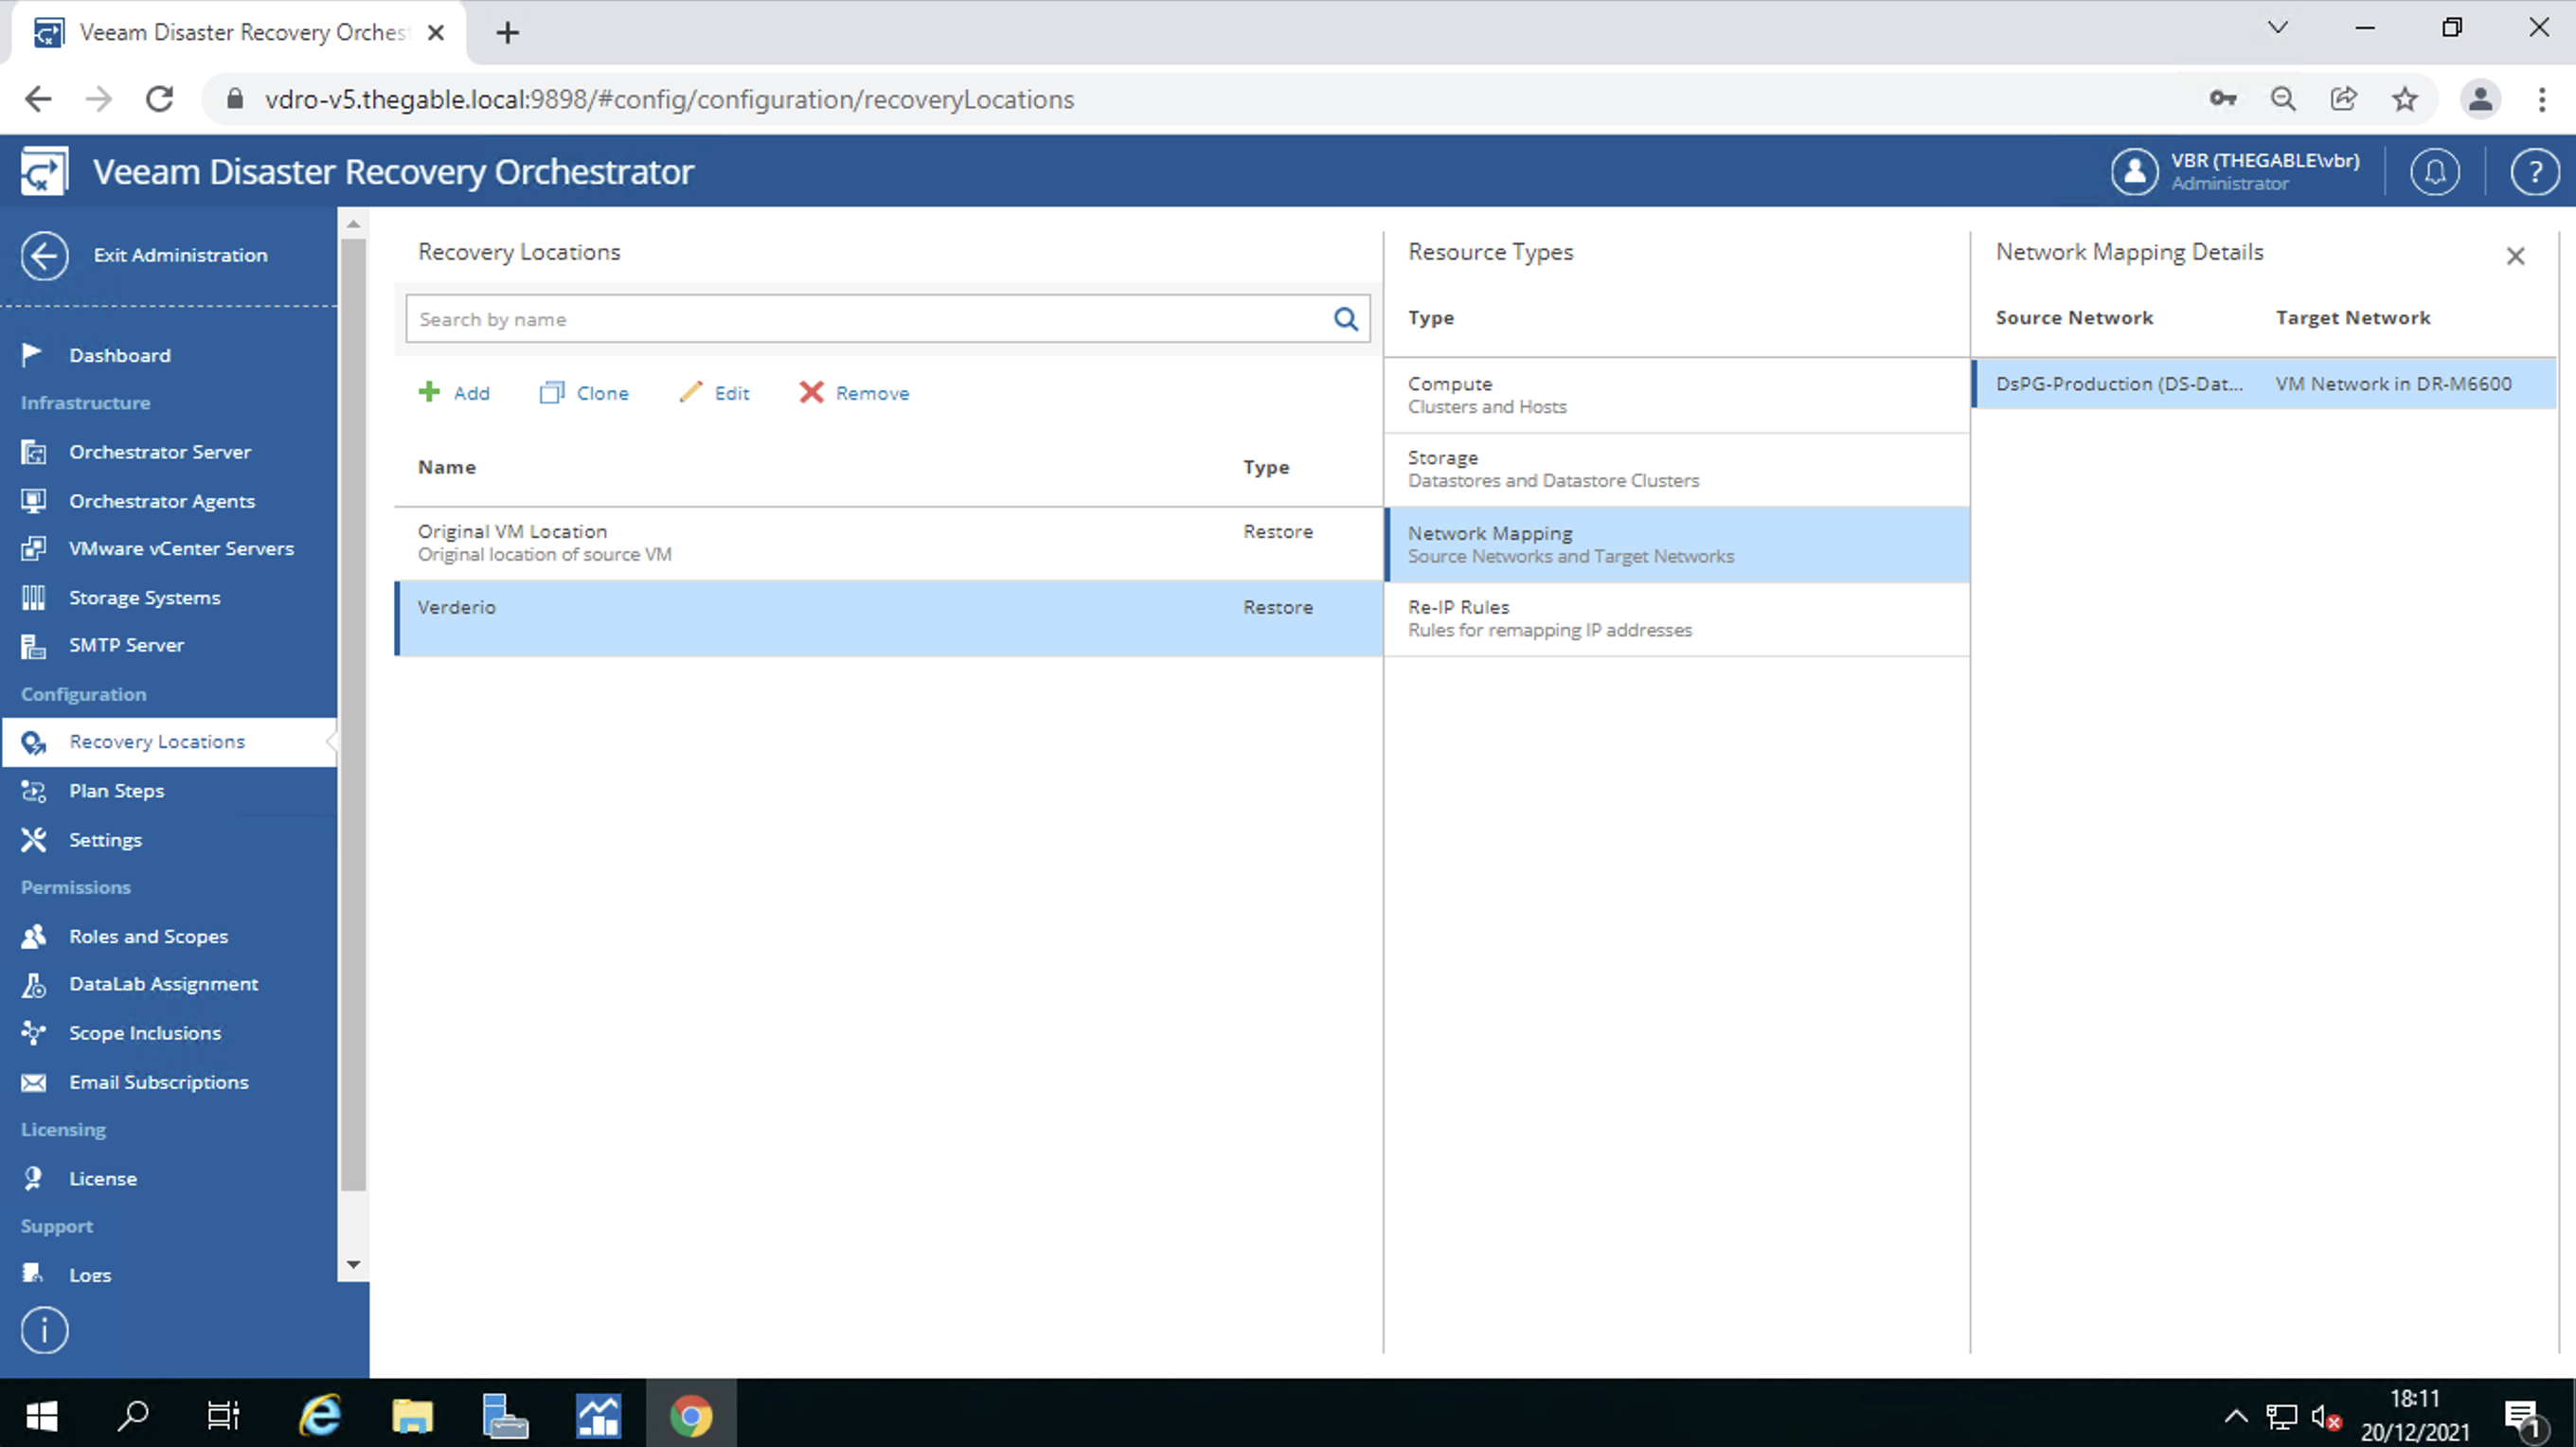
  • Network mapping (image 8)
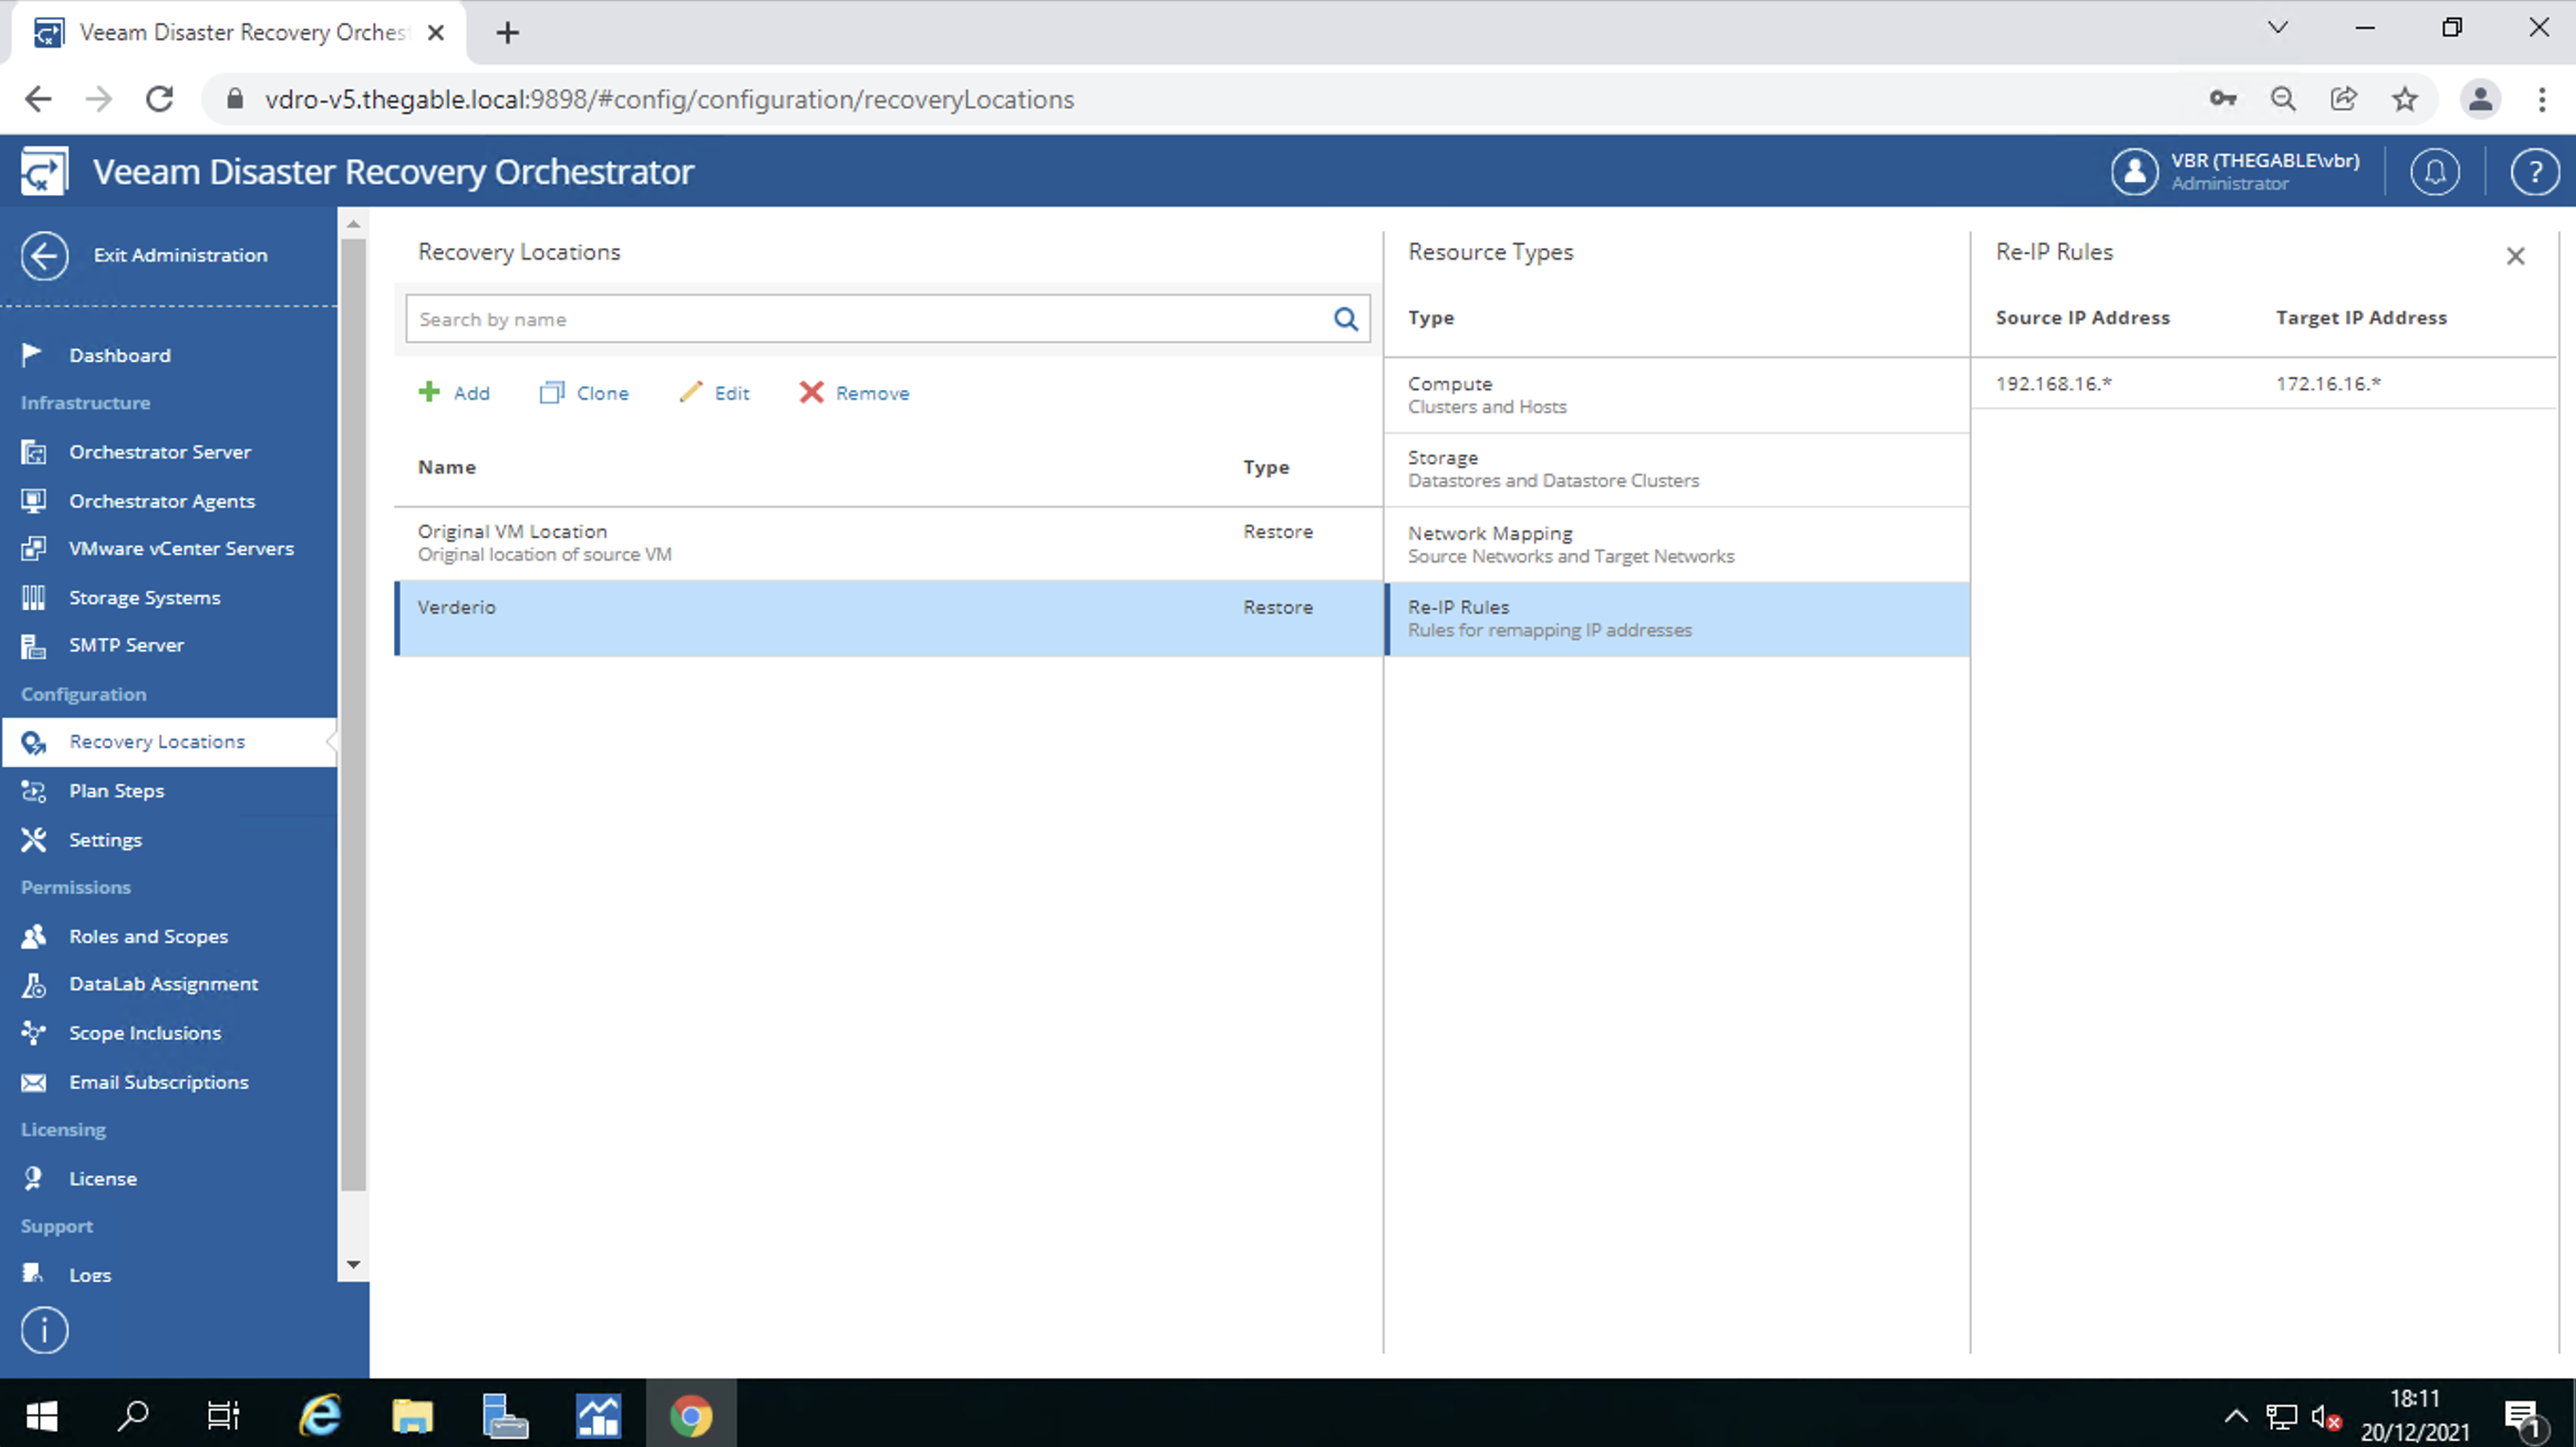
  • IP address remapping (image 9)

Note 2: The operations described above are possible if and only if all necessary resources have been tagged.

Note 3: Automatic remapping of IP addresses when starting a DR plan is only available for Windows VMs.

Picture 6

Picture 7

Image 8

Image 9

In the third area are identified:

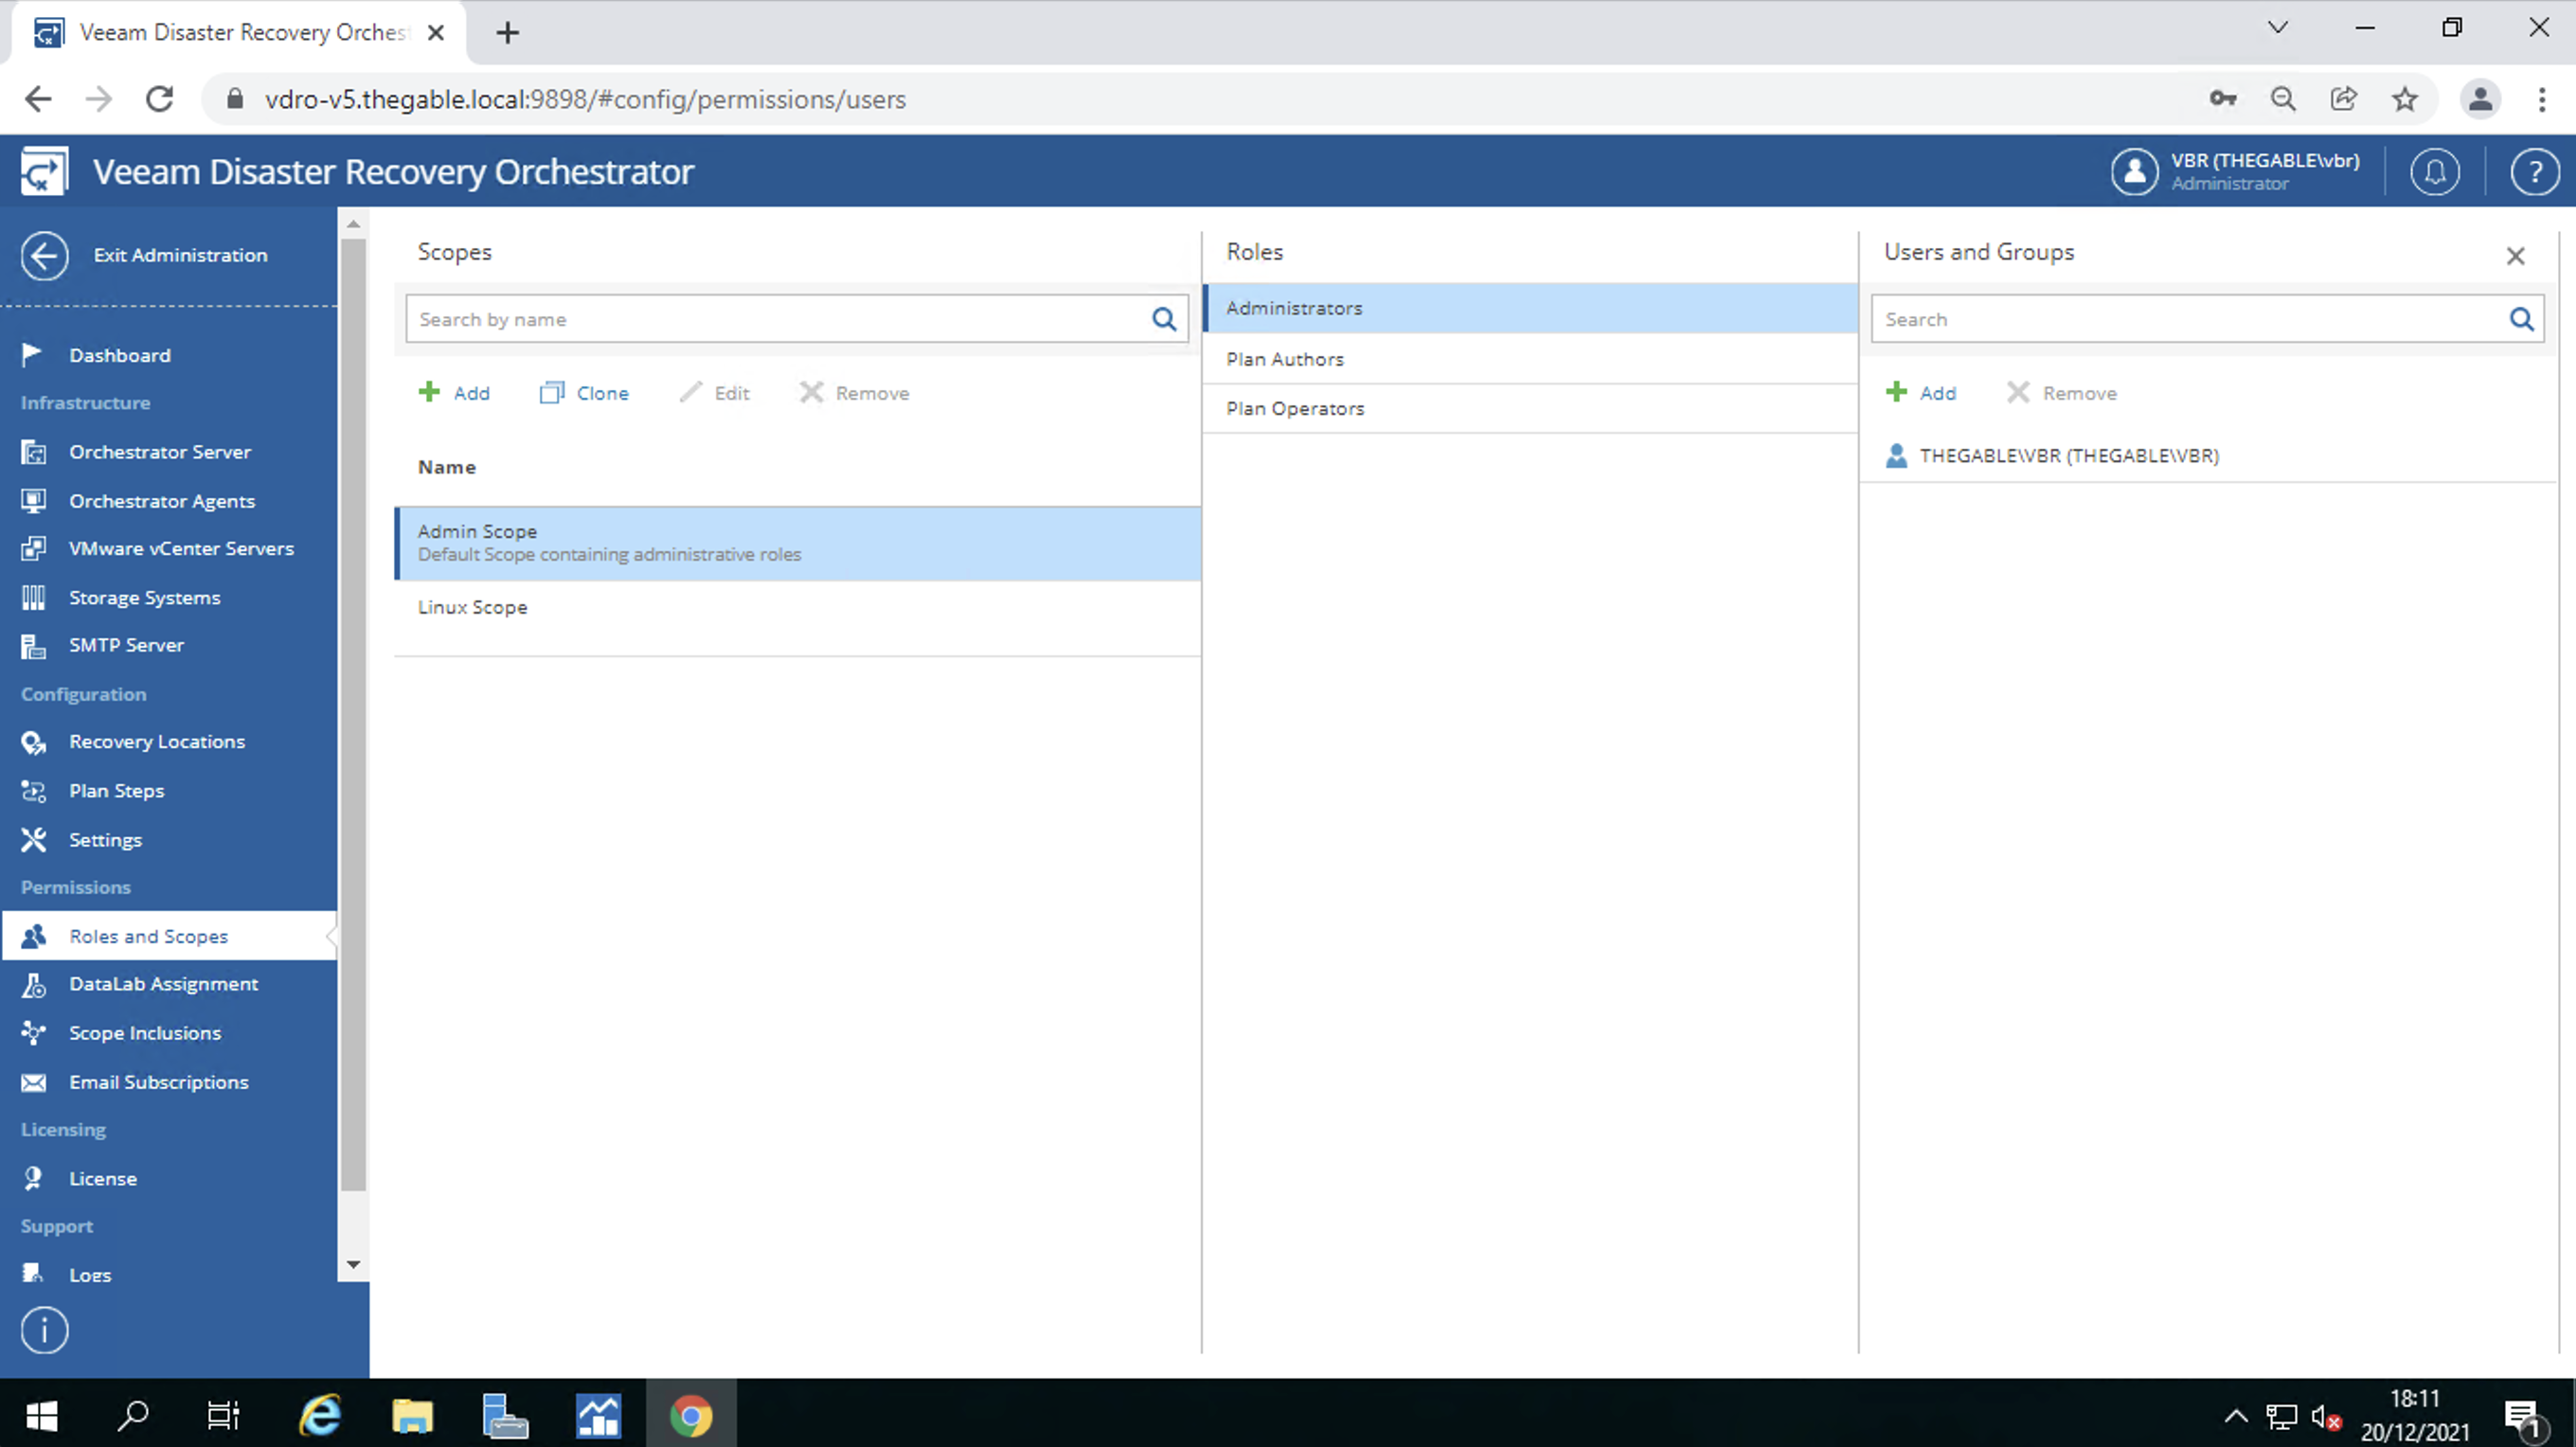
  • User profiling. In simple terms, the VDrO allows you to create users capable of administering only specific workloads which are called “scopes” (image 10).
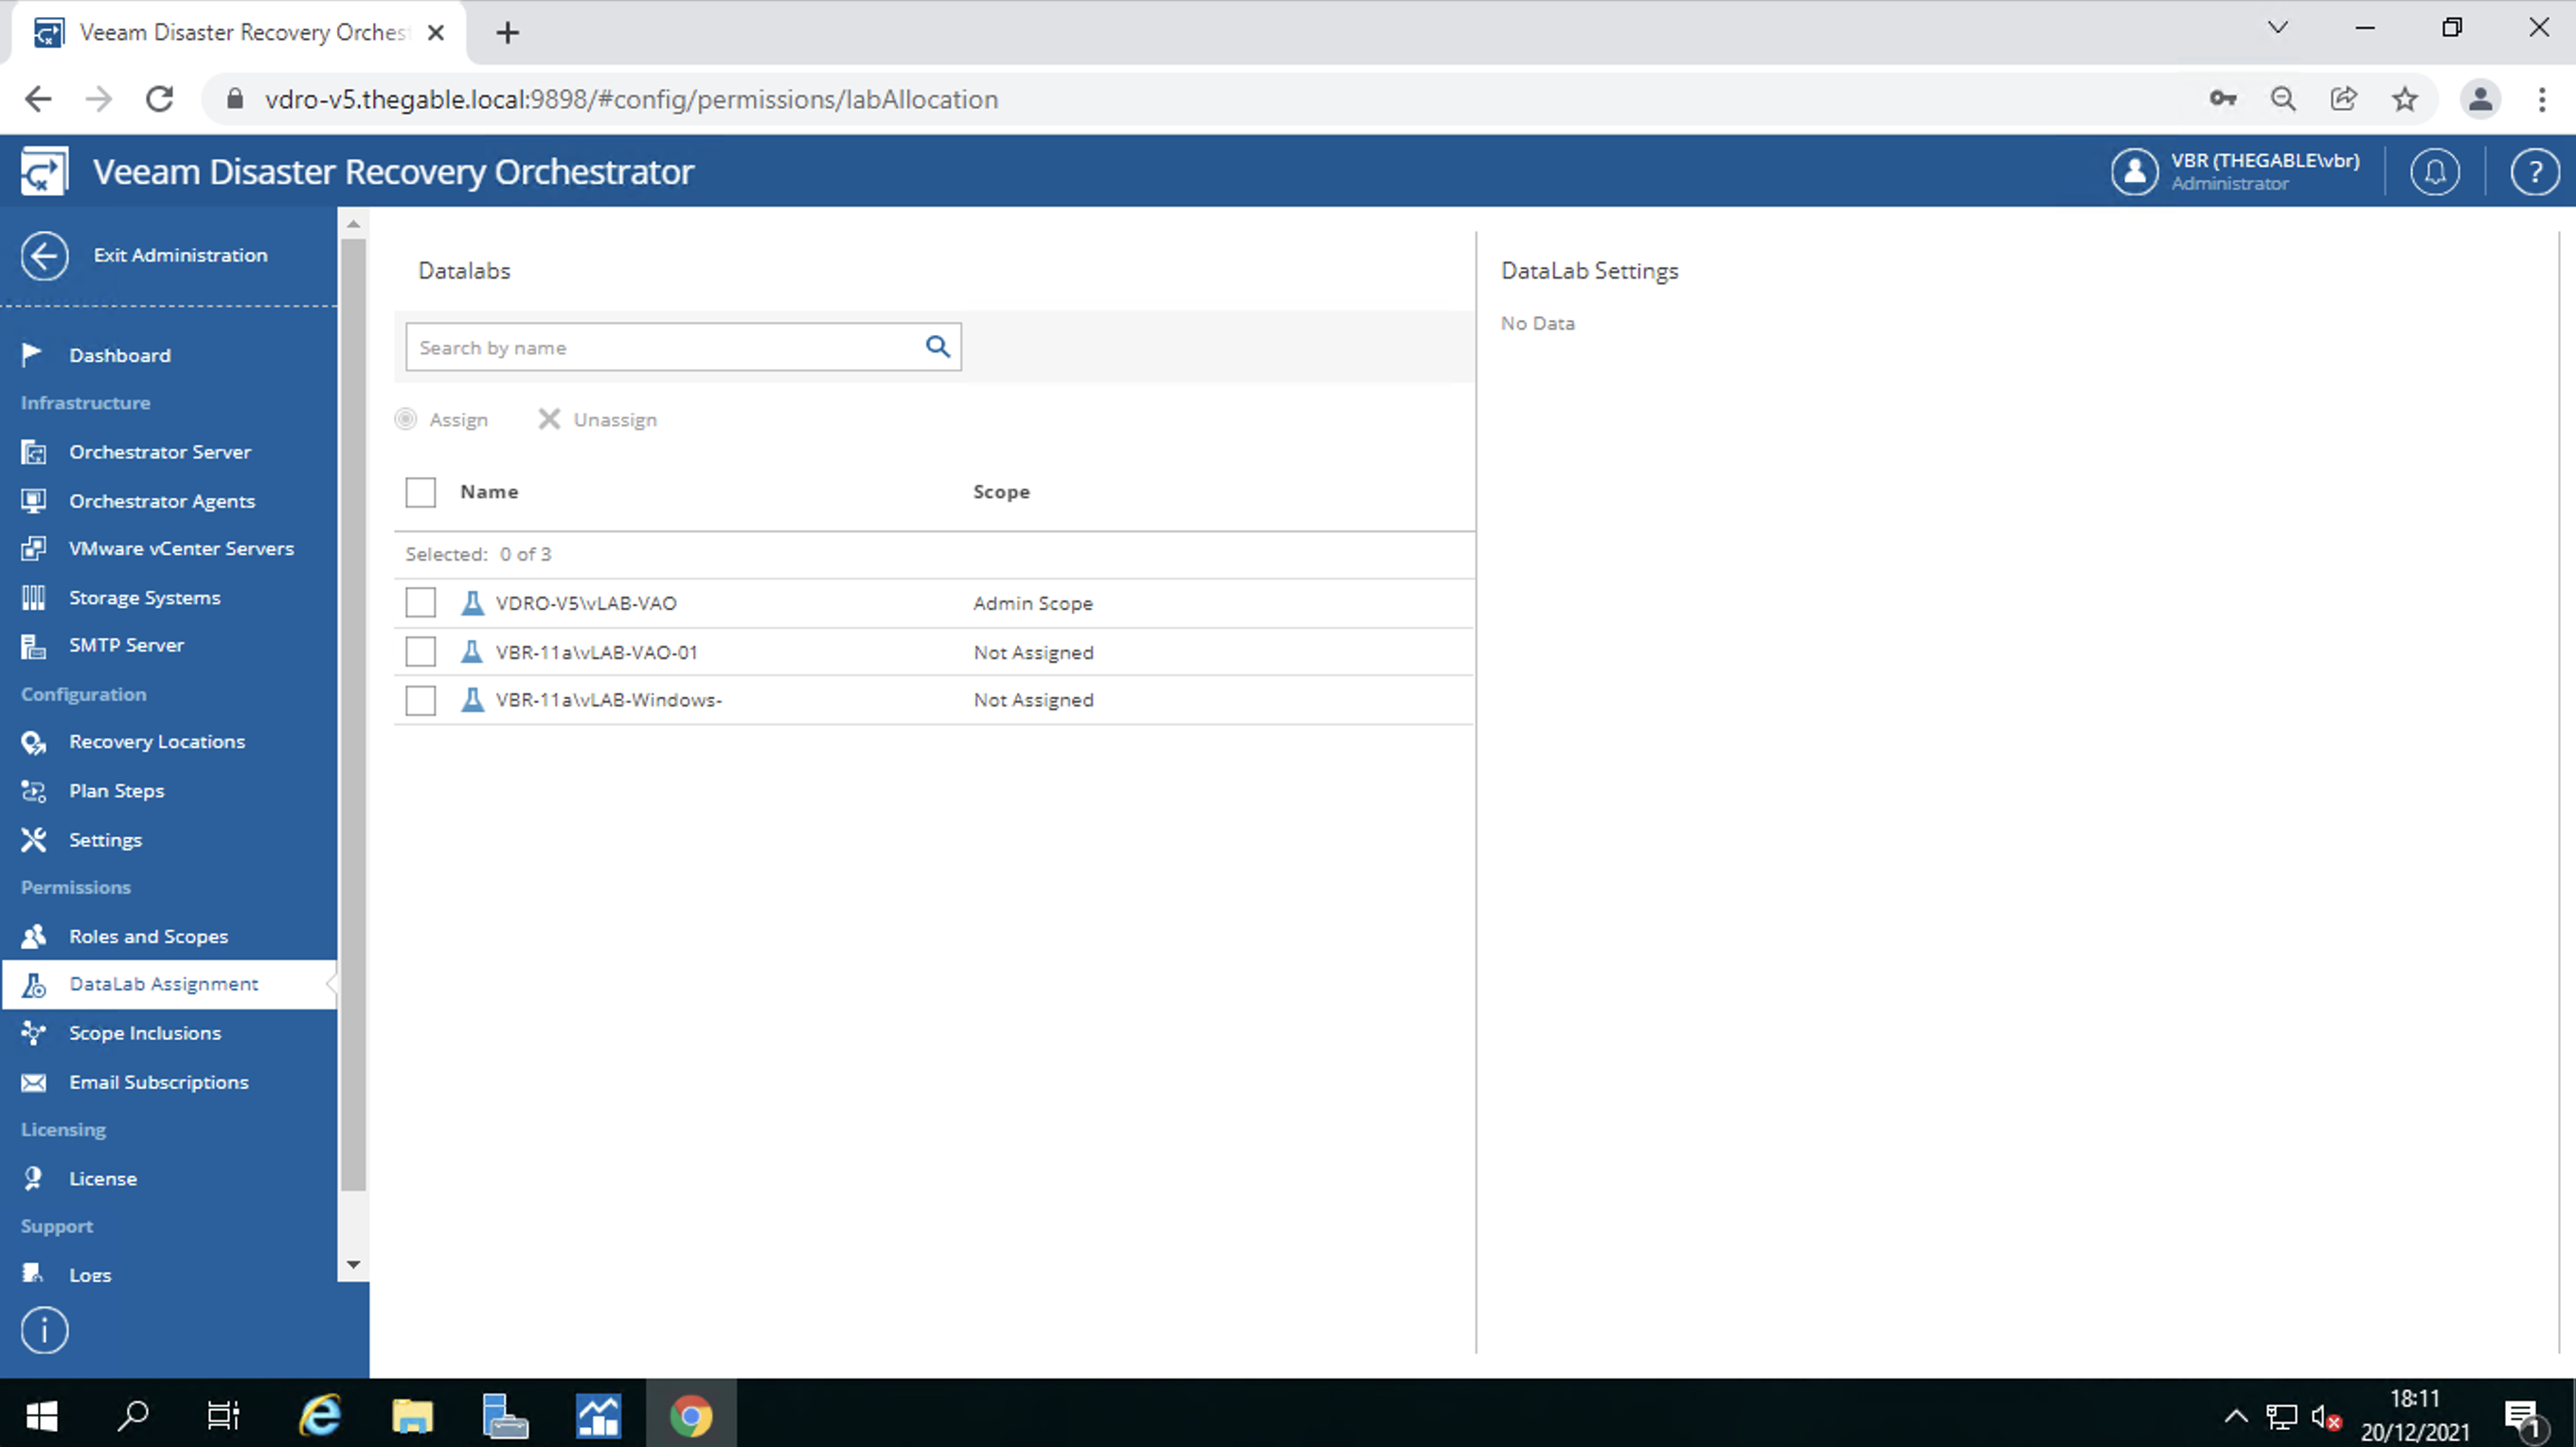
  • The assignment of the DataLabs to the “scopes”. Remember that the DataLabs allow you to verify that the DR plan is usable (image 11).

Image 10

Image 11

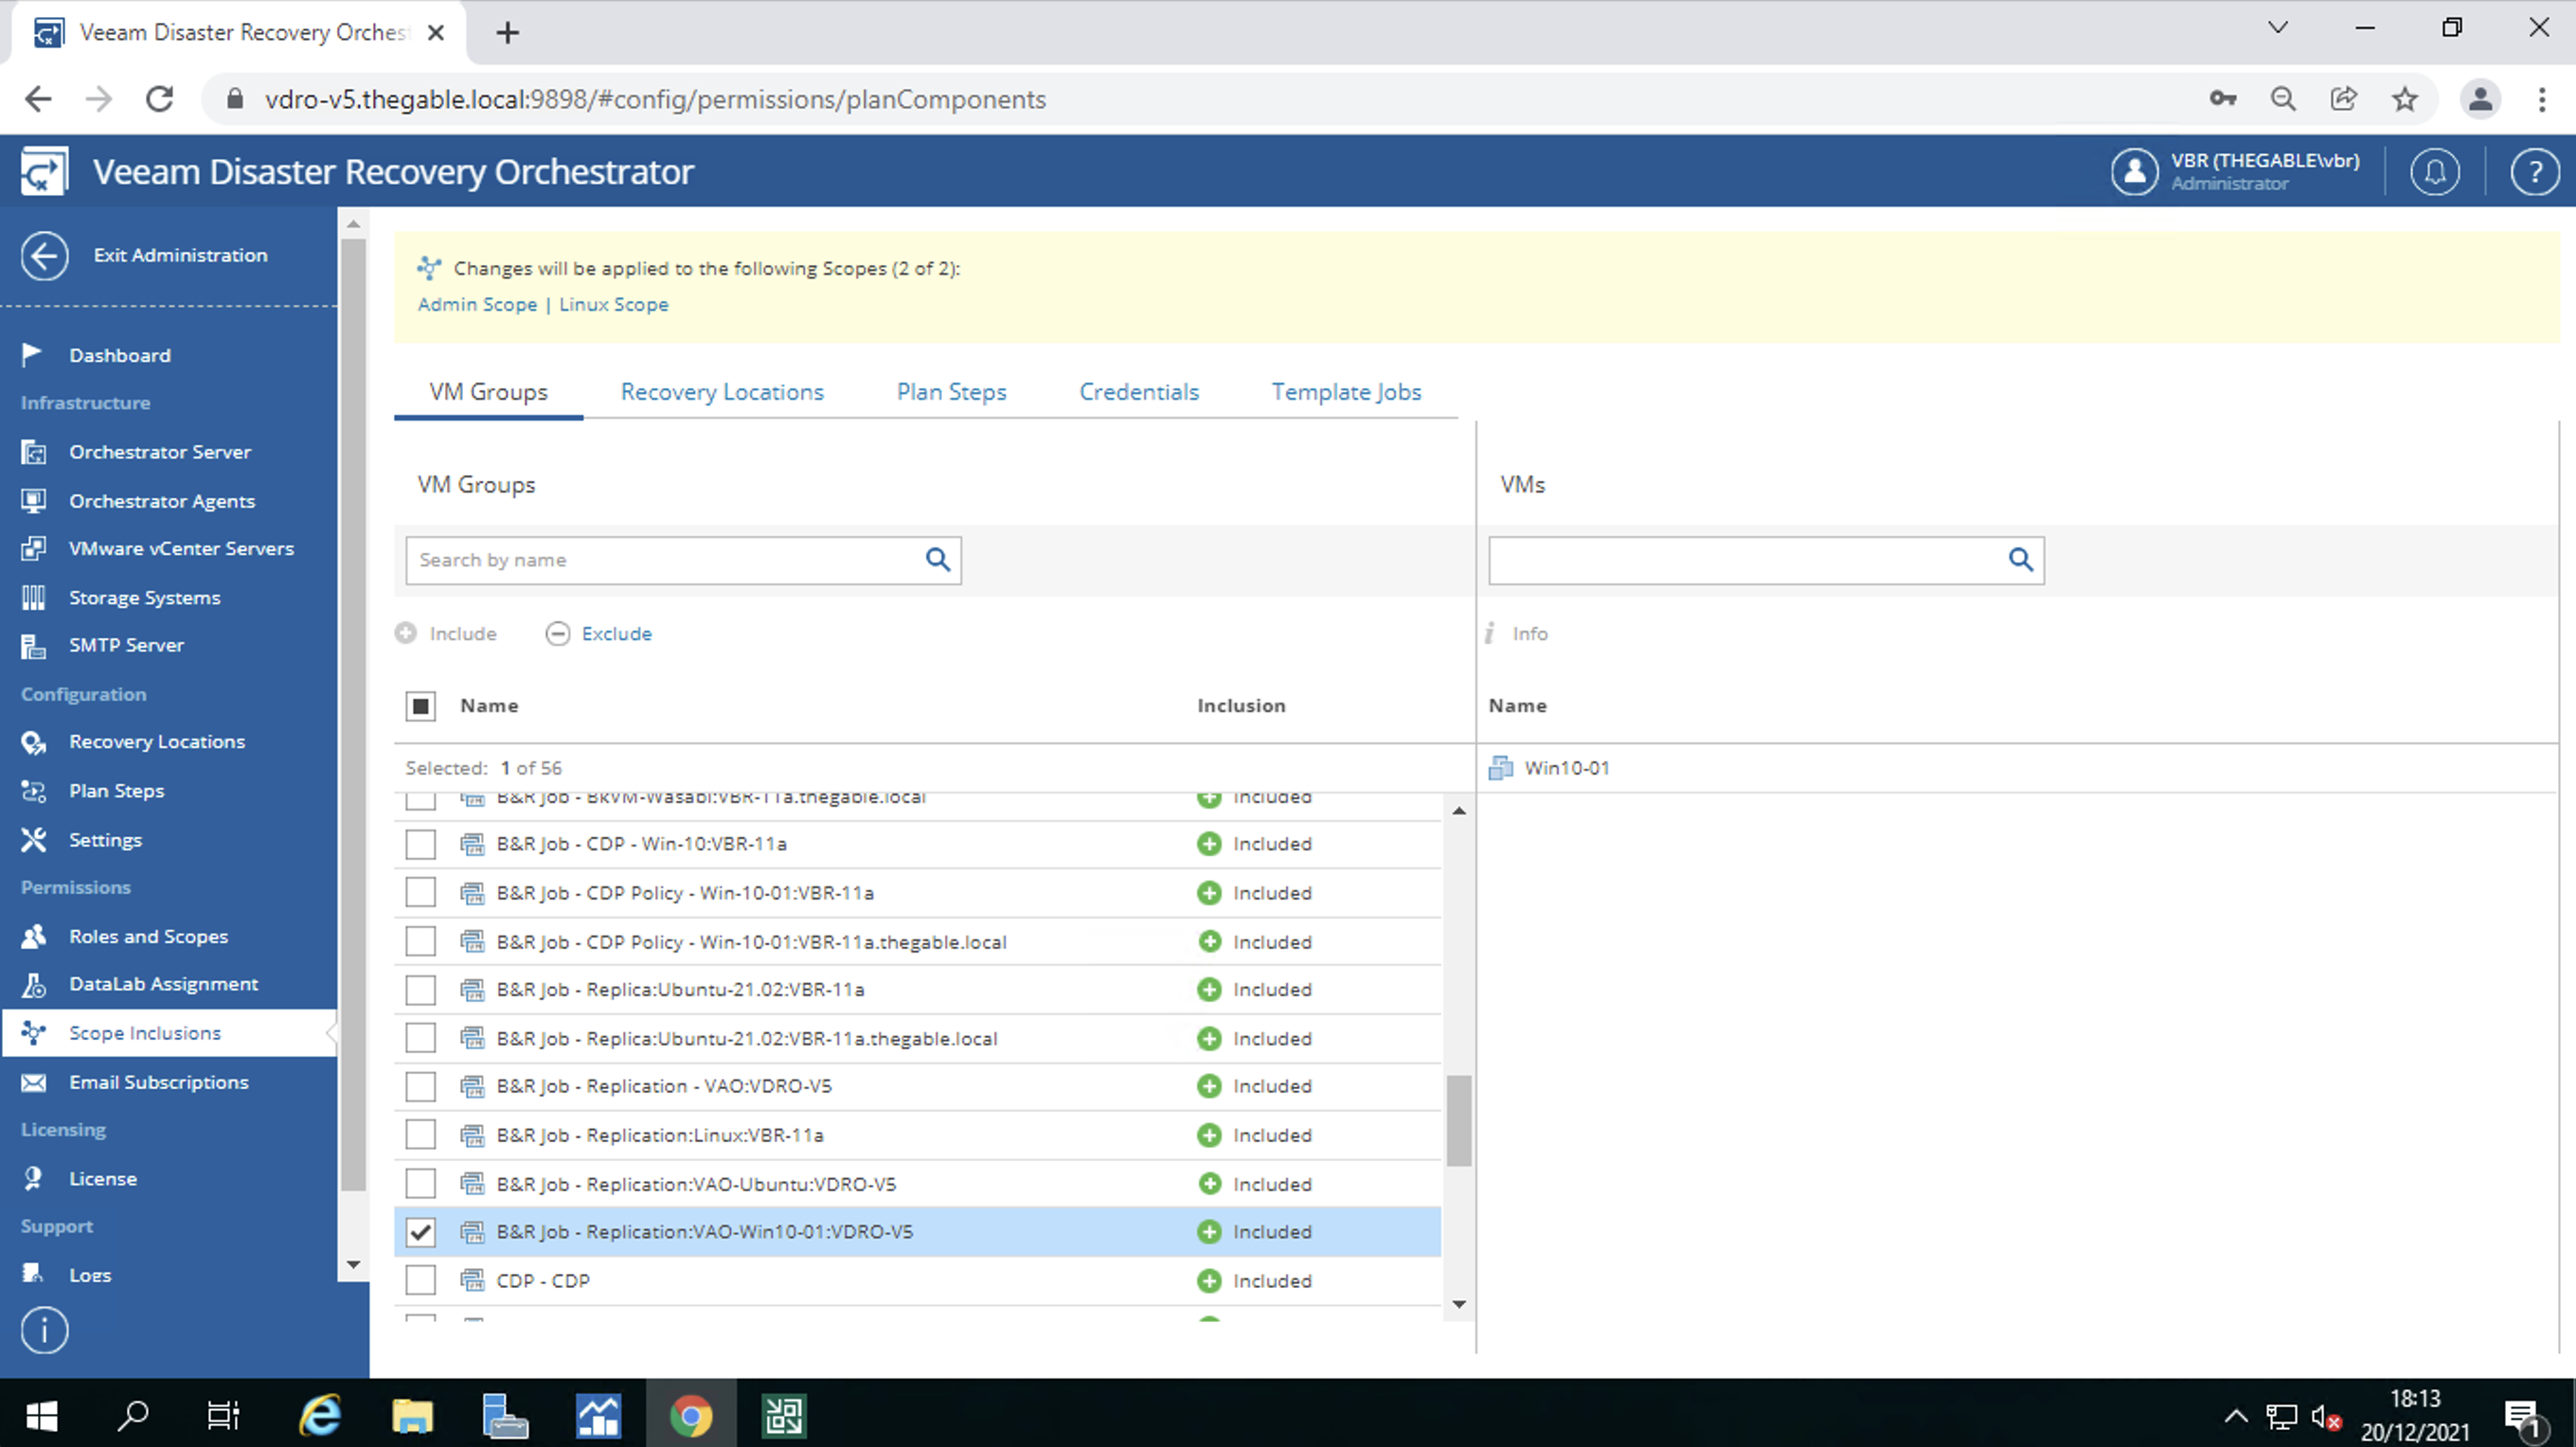
The last configuration allows you to link the group of VMs replicated or saved via backup (called VM Groups) to the users’ scopes.

For example, image 12 shows that the VM Group “B&R Job – Replication VAO Win 10” is assigned (included) to both the Admin and Linux scopes.

Image 10

In the next and last article, we will find out how to create and verify a DR plan.

See you soon

Veeam Dr Orchestrator v.5: VONE – Tagging

Today we will show how to tell Veeam Disaster Recovery Orchestrator which resources to use to start a Disaster Recovery plan.

Before reading this article, we suggest you read the previous article ( by clicking here ) which allows you to check the status of the VDrO Server.

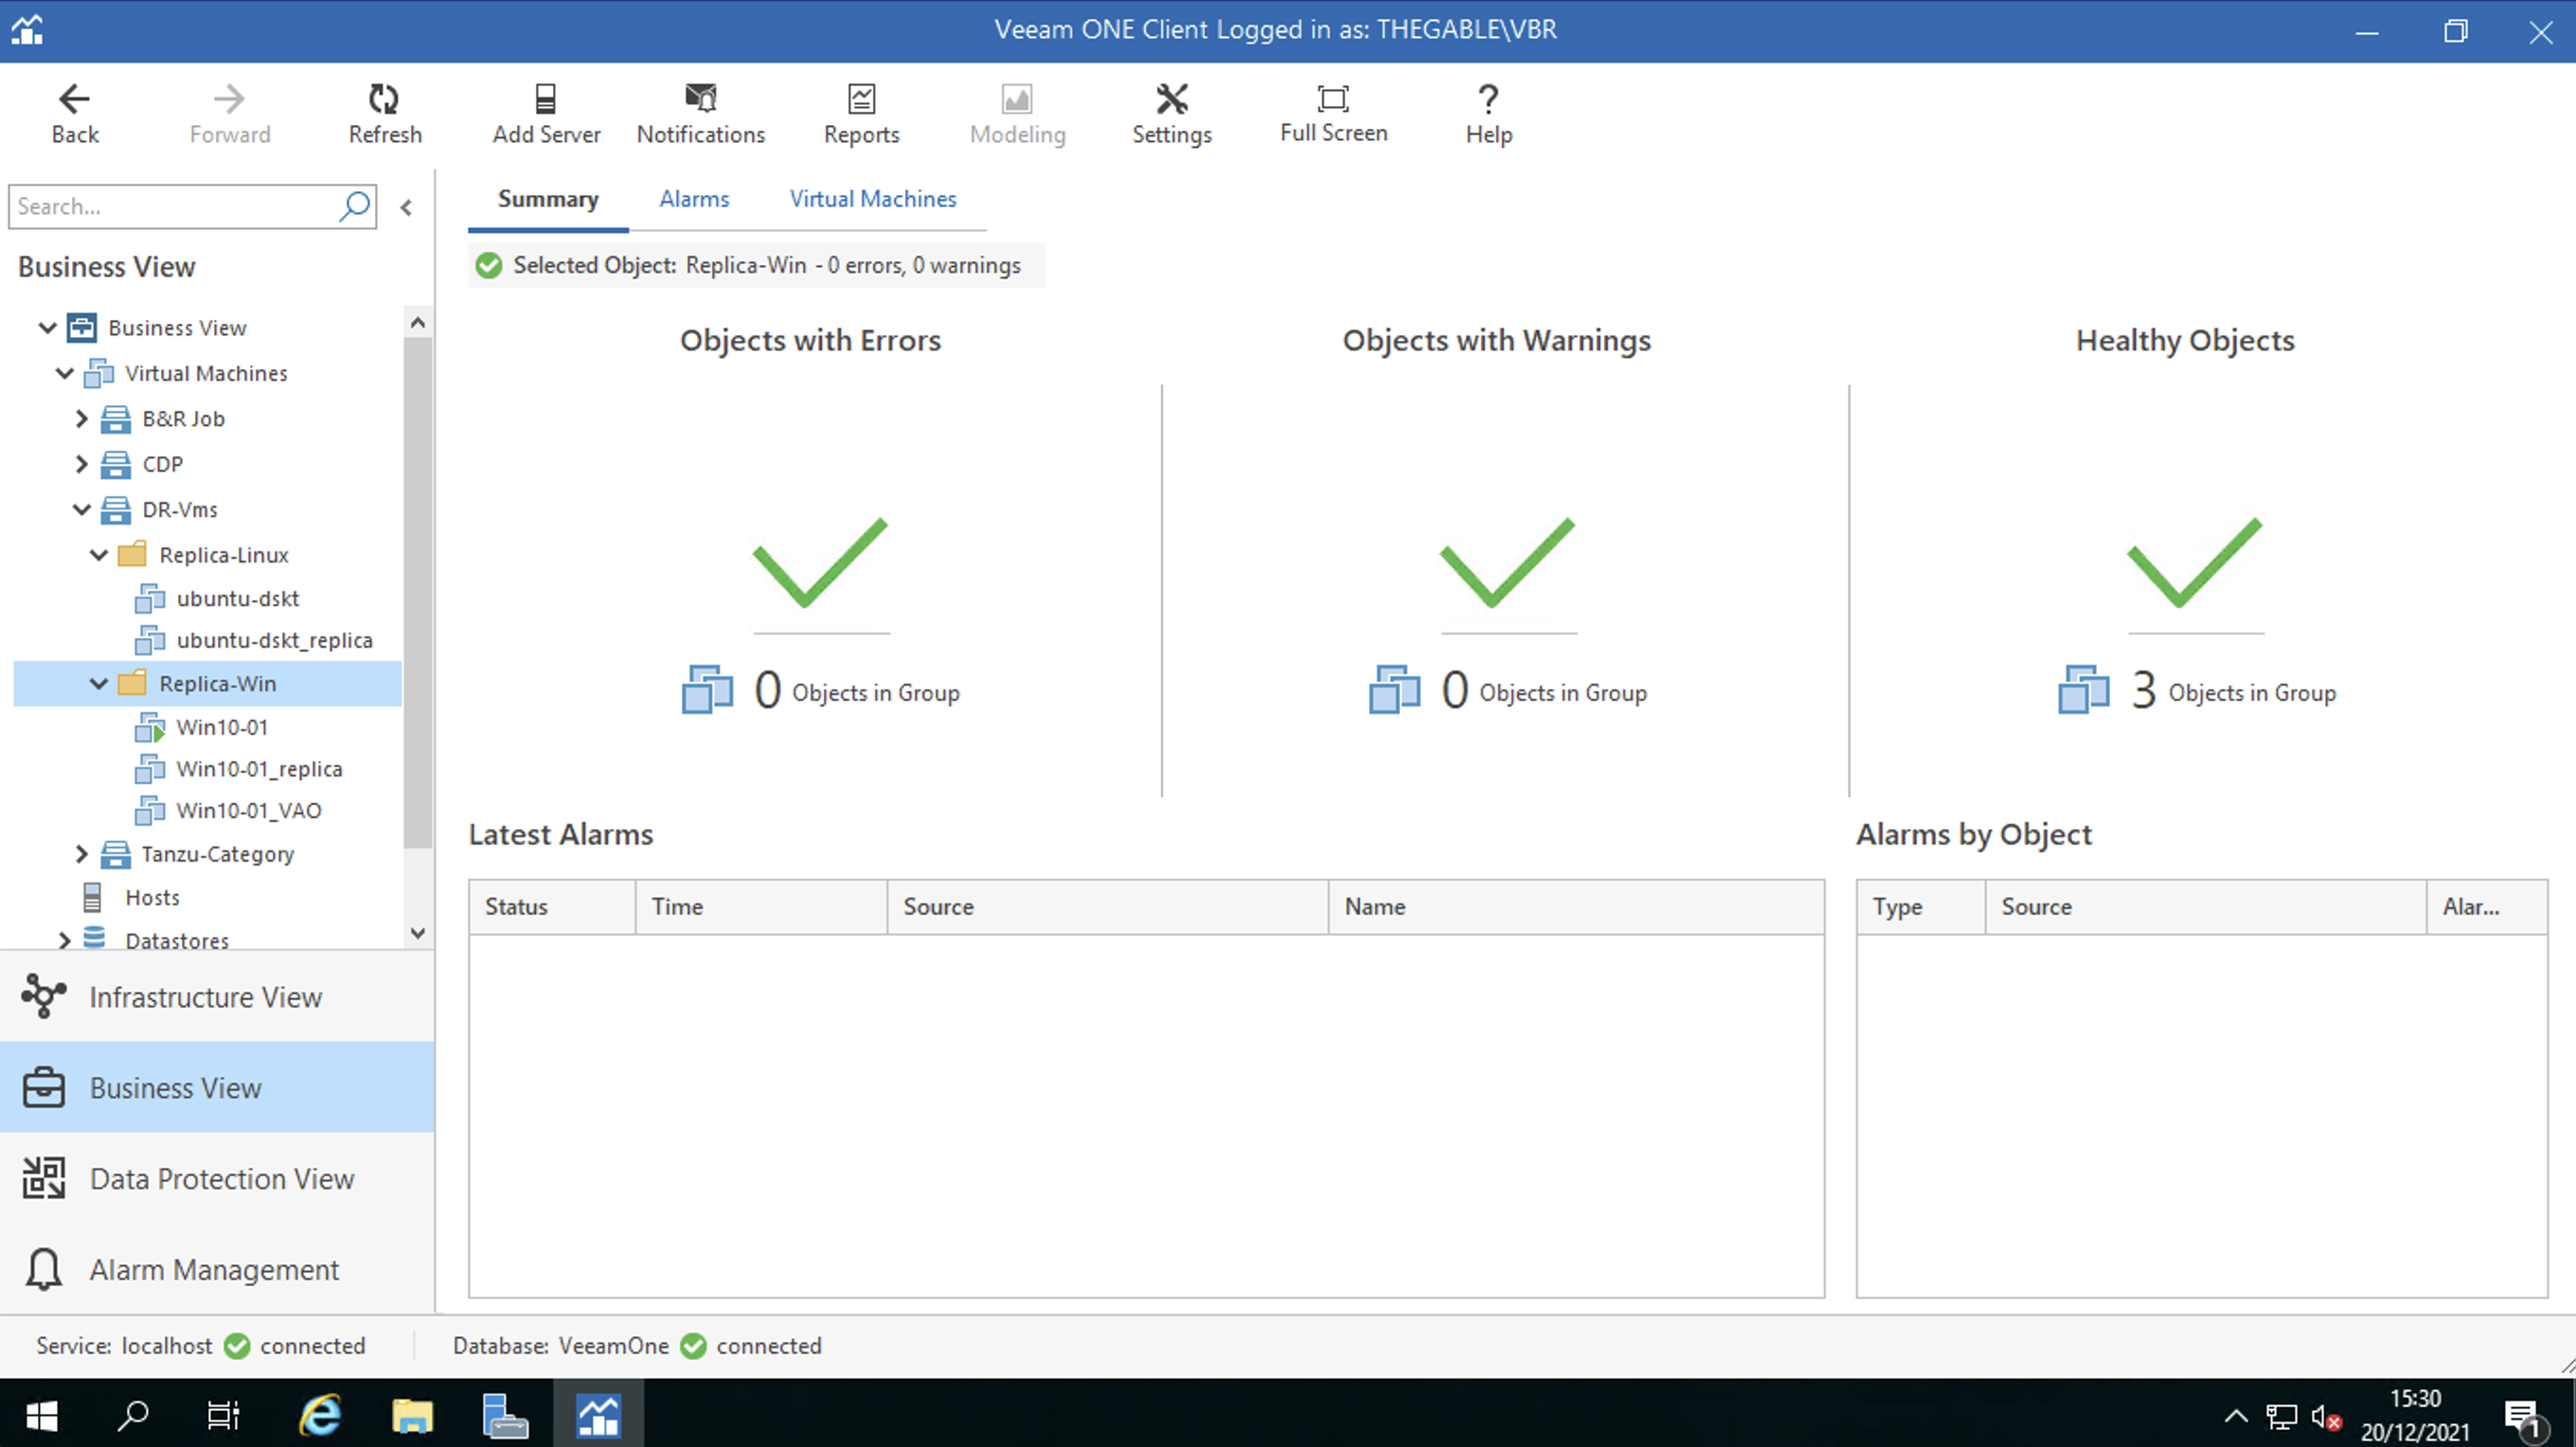
The main tool of asset labeling is Veeam One, which is installed by default with the Veeam Disaster Recovery Orchestrator v.5.

The procedure is very simple:

After connecting via RDP to the VDrO Server select Veeam One Client on the desktop (see Figure 1)

Figure 1

After selecting the Business View item (bottom left), the resources to be labeled are:

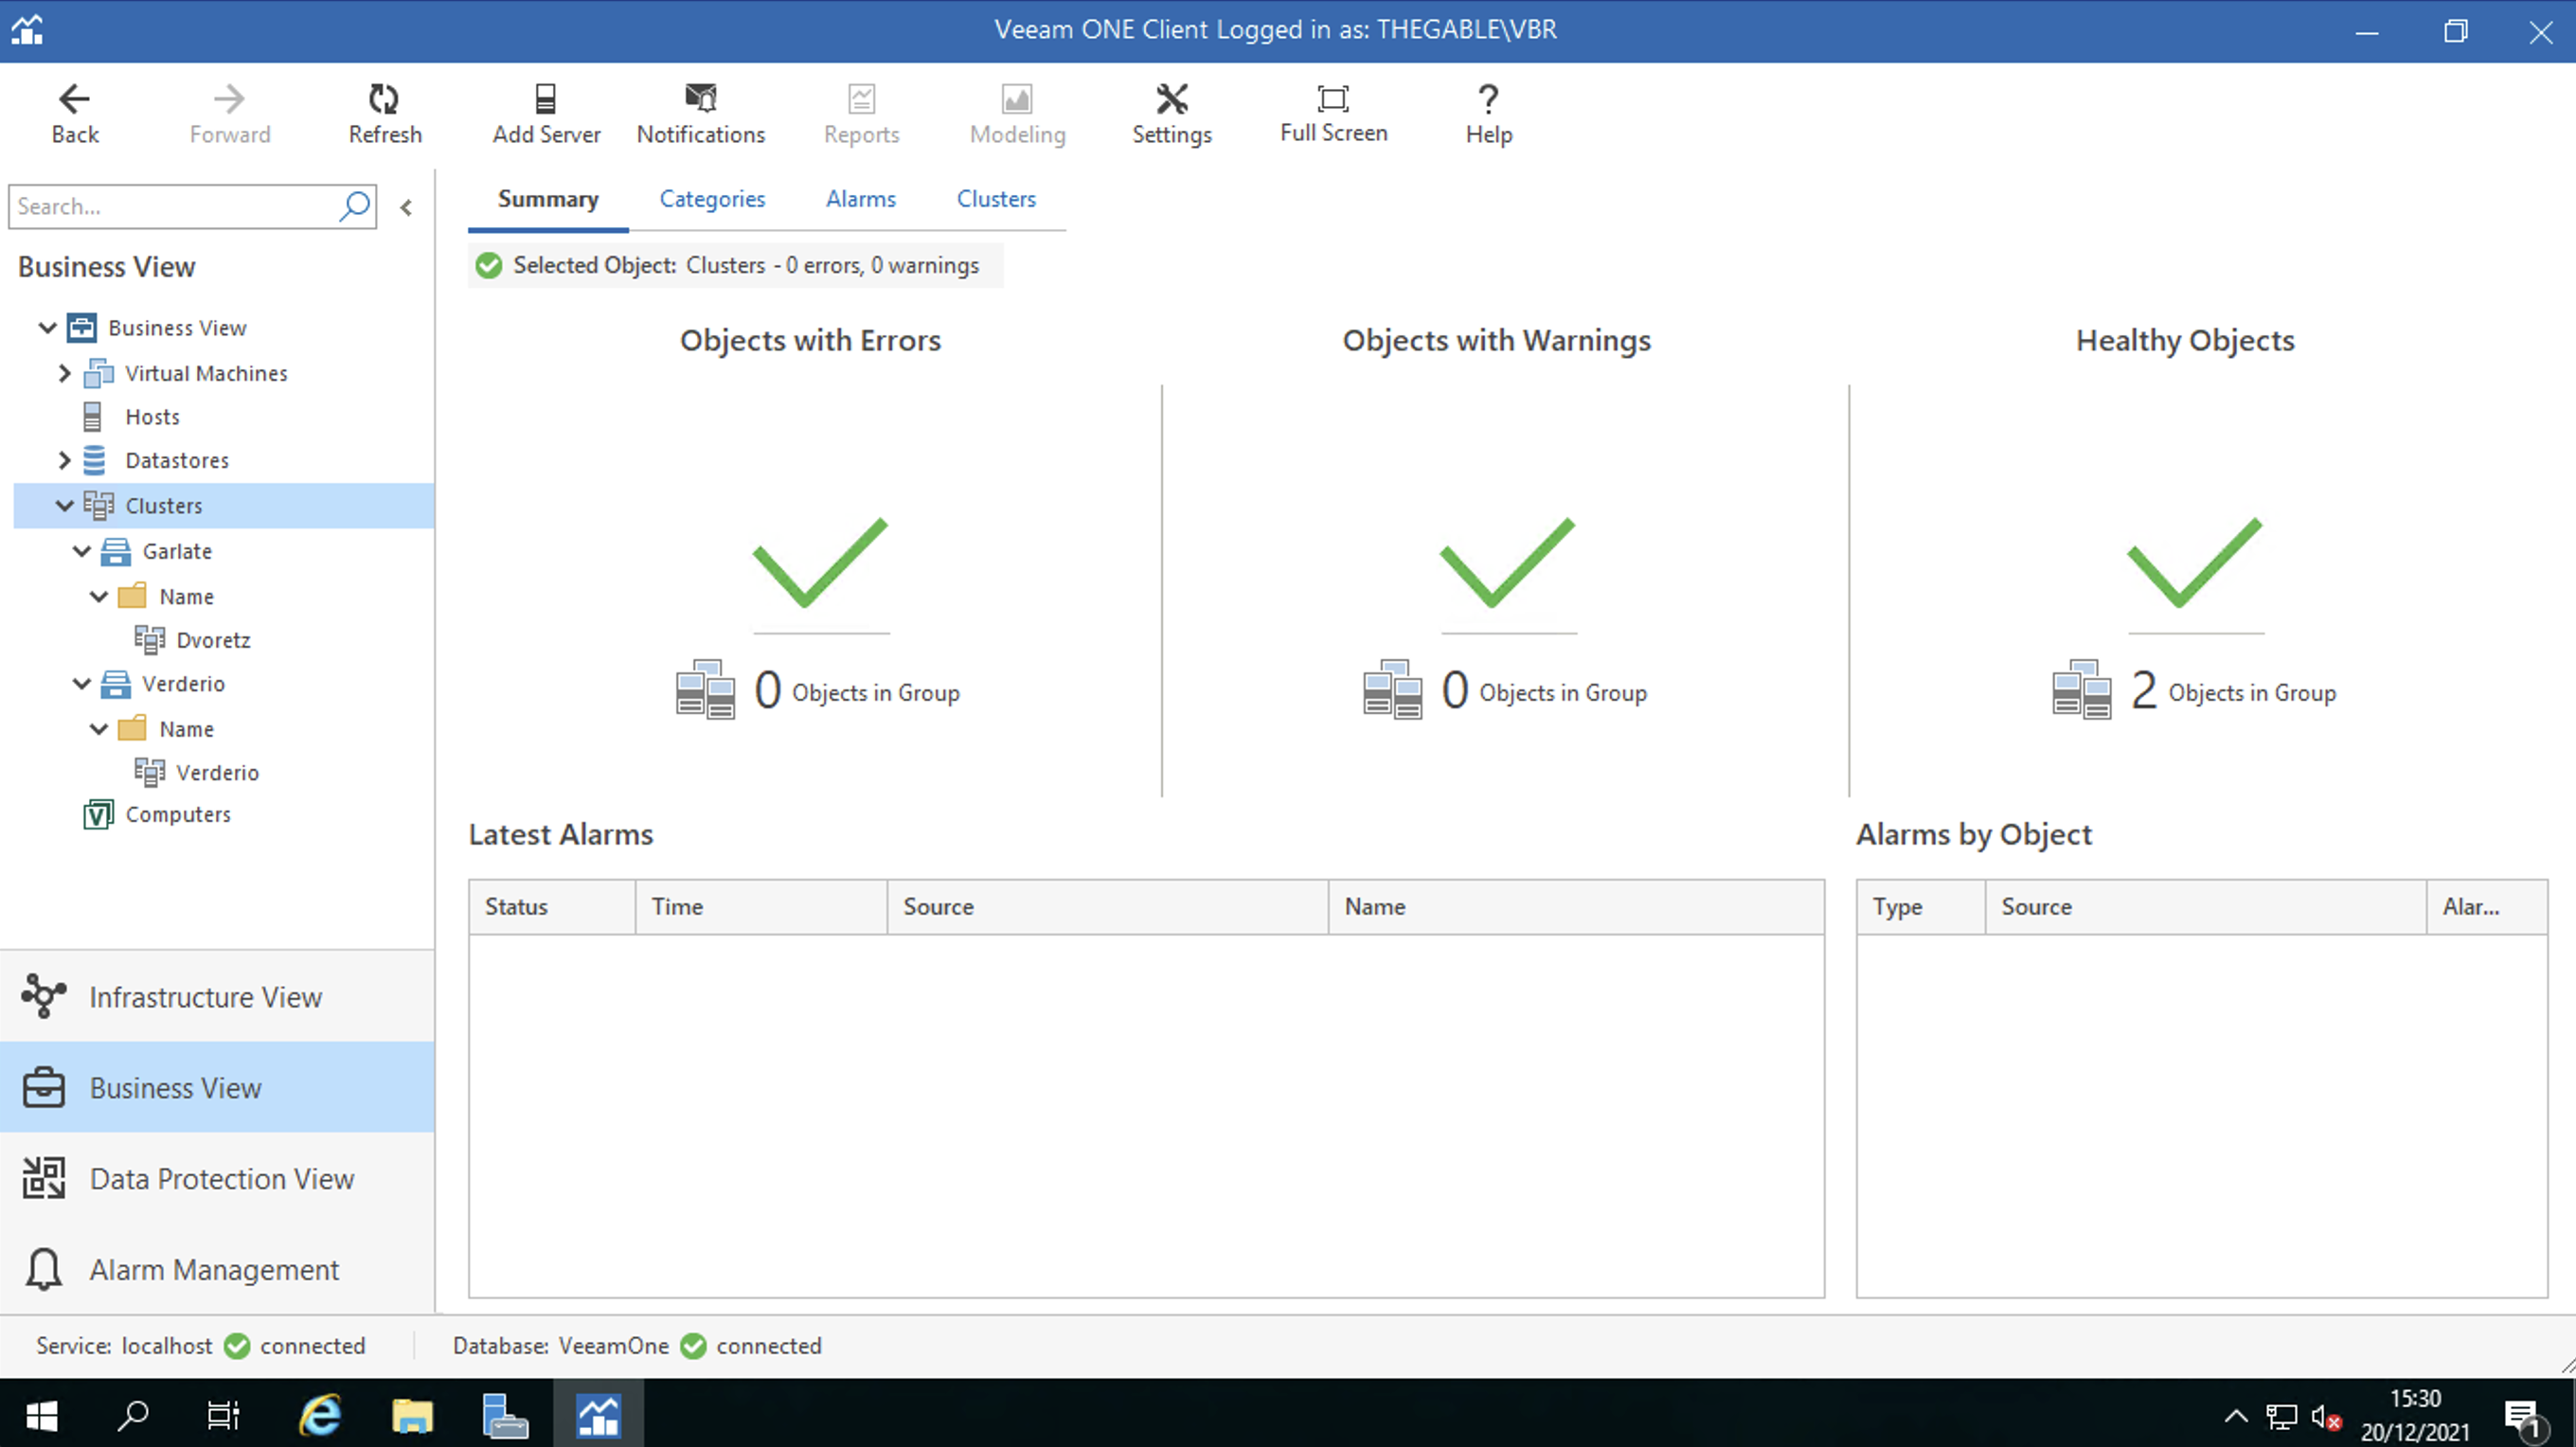
  1. Clusters: this item identifies the Disaster Recovery and production vCenter resources (Figure 2)
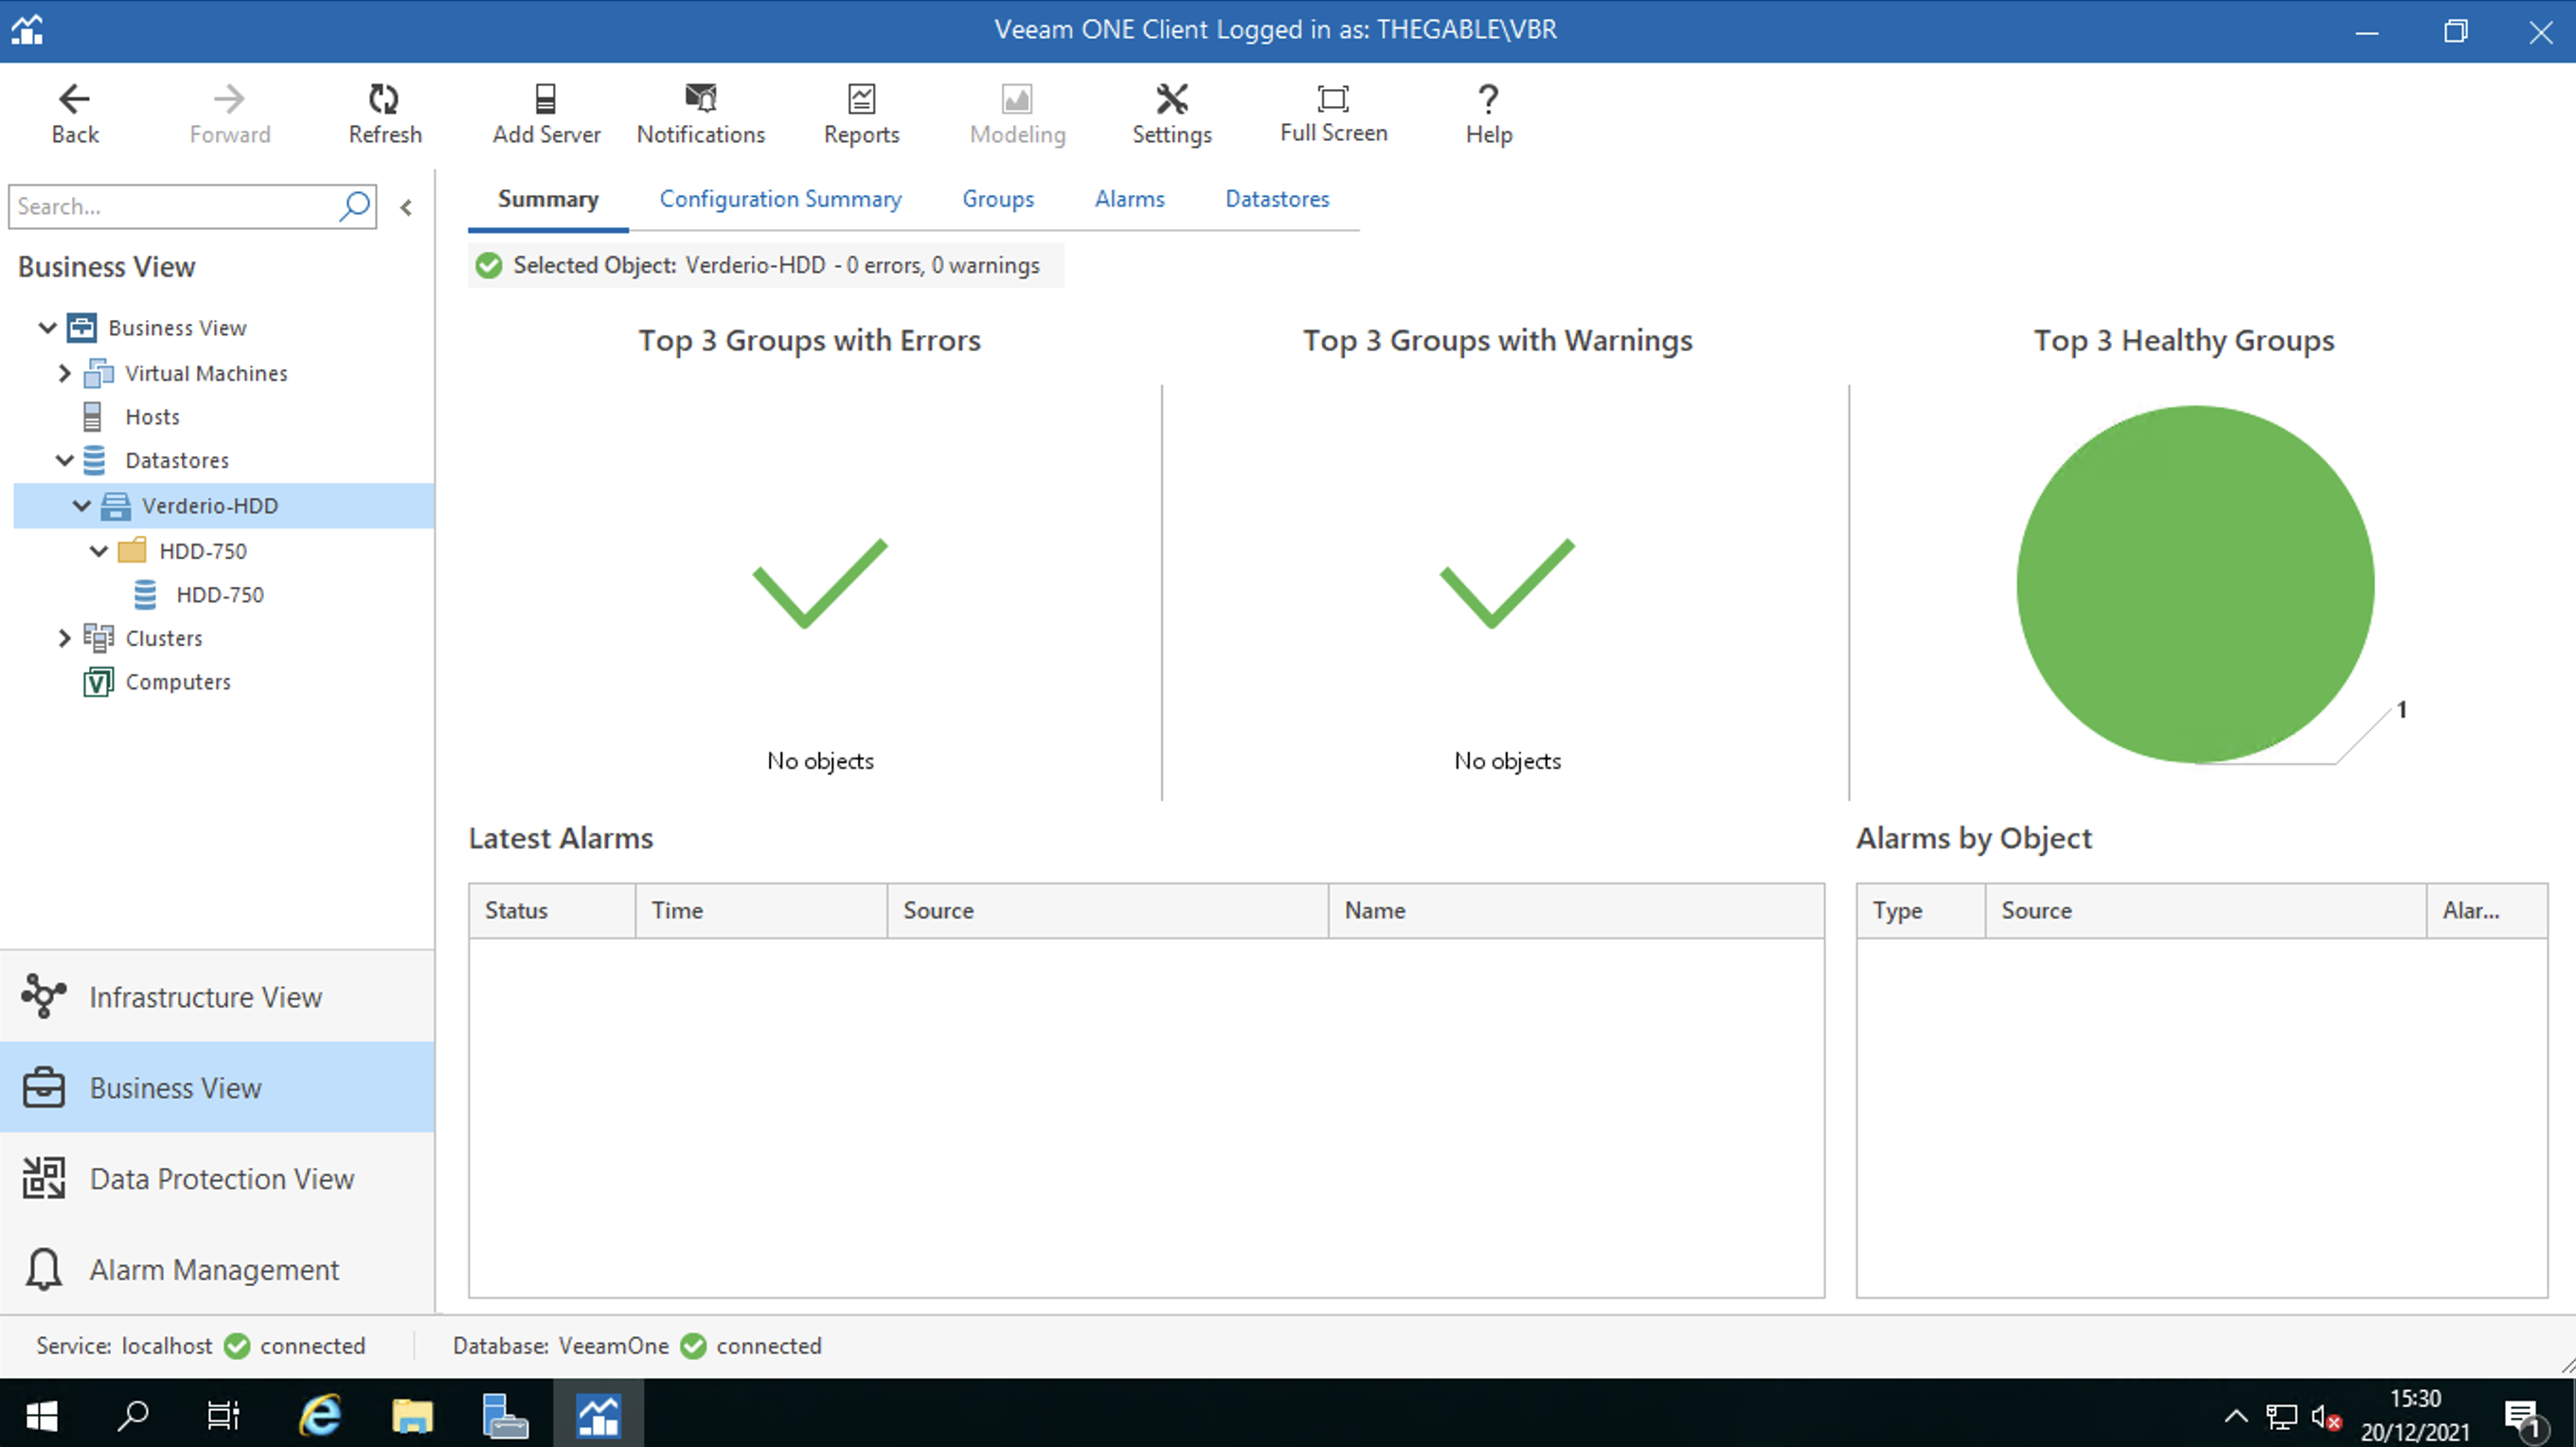
  2. The DataStores: this item identifies the disk areas where the VMs will reside once turned on (Figure 3)
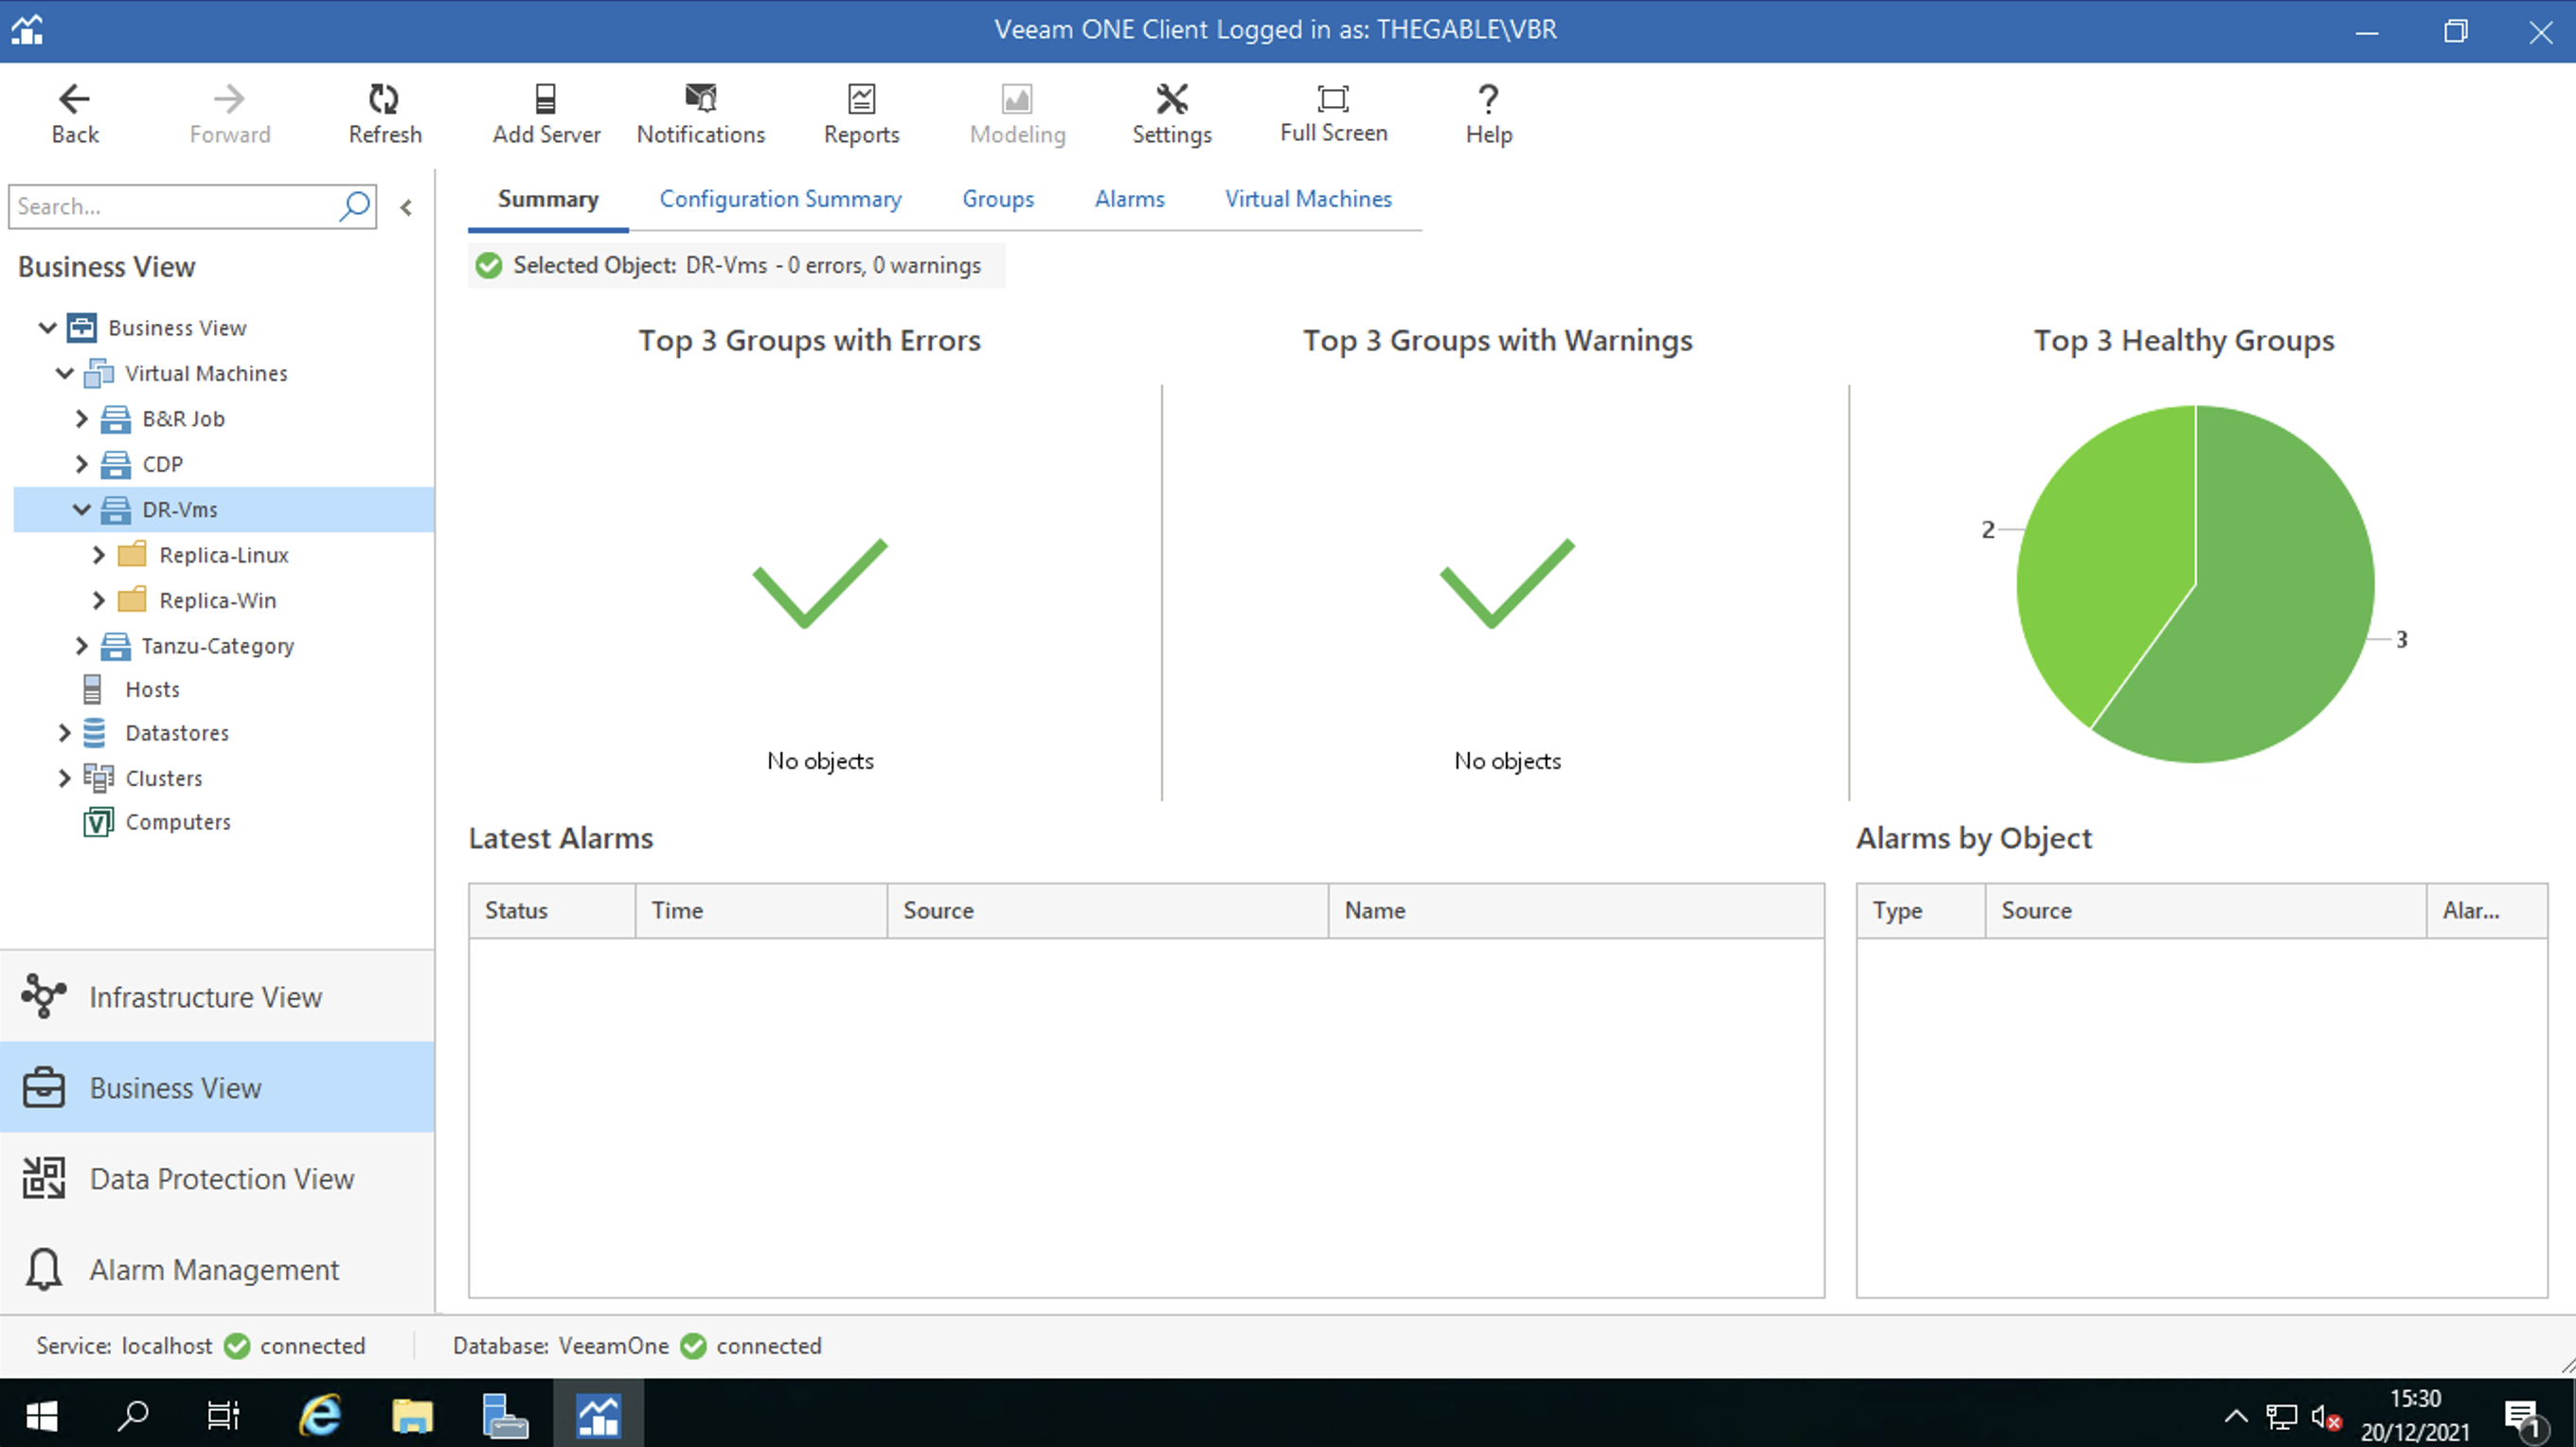
  3. Virtual Machines: this item identifies the VMs that guarantee service continuity in the event of a Disaster (Figures 4 and 5).

Figure 2

Figure 3

Figure 4

Figure 5

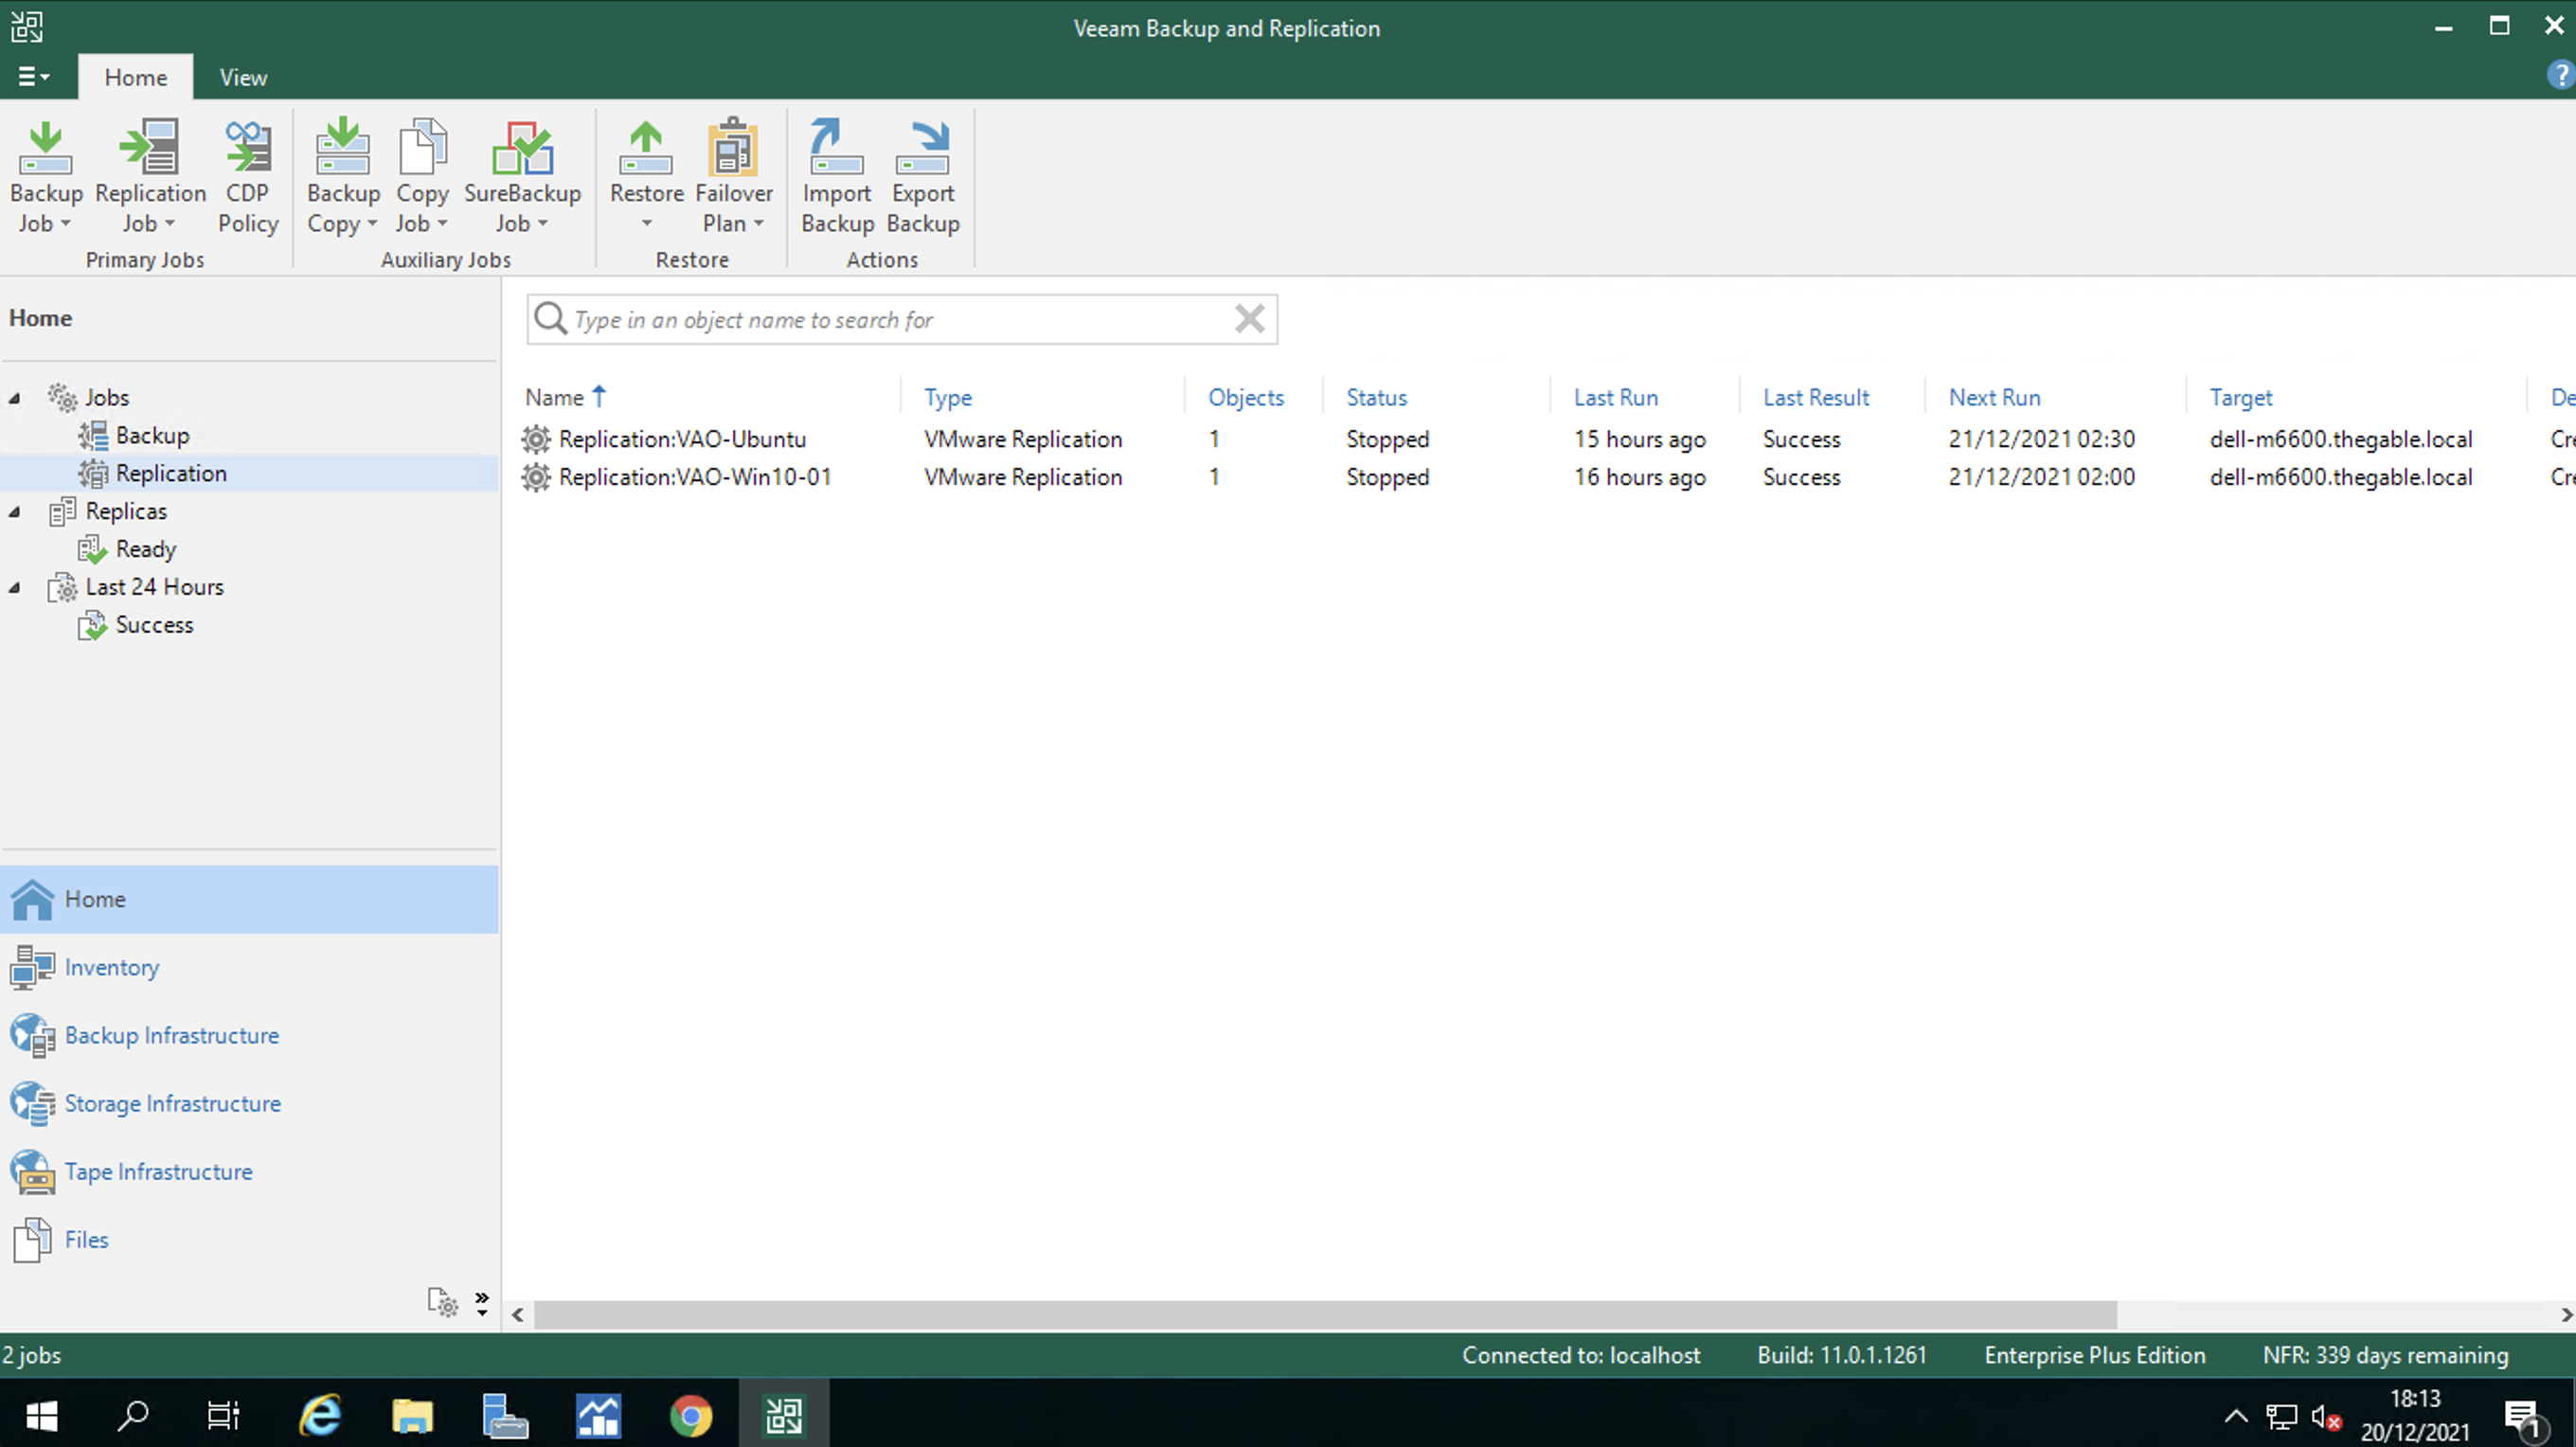
Note 1 : The replication jobs have been configured on the embedded VBR of the VDrO server (see figure 6)

Figure 6

Note 2 : The tagging operation is discussed in a previous post available at the following link:

https://lnx.gable.it/home-page/veeam-availability-orchestrator-v-3-0-dr-from-replicas/

That’s all for today, see you soon!

Veeam Disaster Recovery Orchestrator v.5 – First Check

On November 23, 2021, the new version of the Veeam Disaster Recovery Orchestrator was released.

The list of new features introduced in version 5 is available by clicking here.

Today we will deal with the phase immediately following installation; specifically, the configuration and commissioning phase.

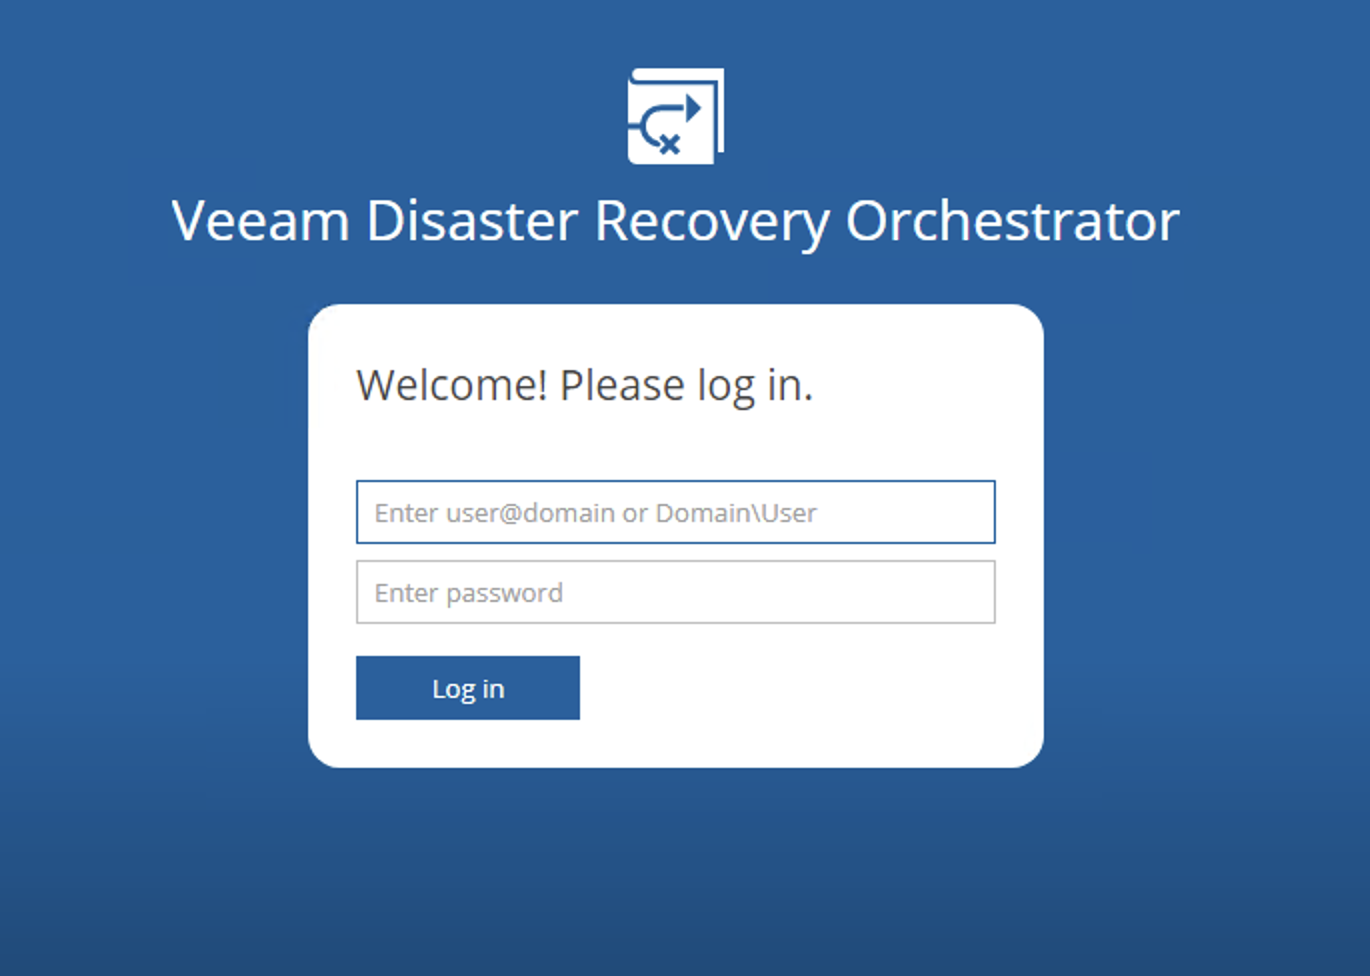
After logging in (it is mandatory that the user has already joined the Domain – Image 1 and 2)

Picture 1

picture 2

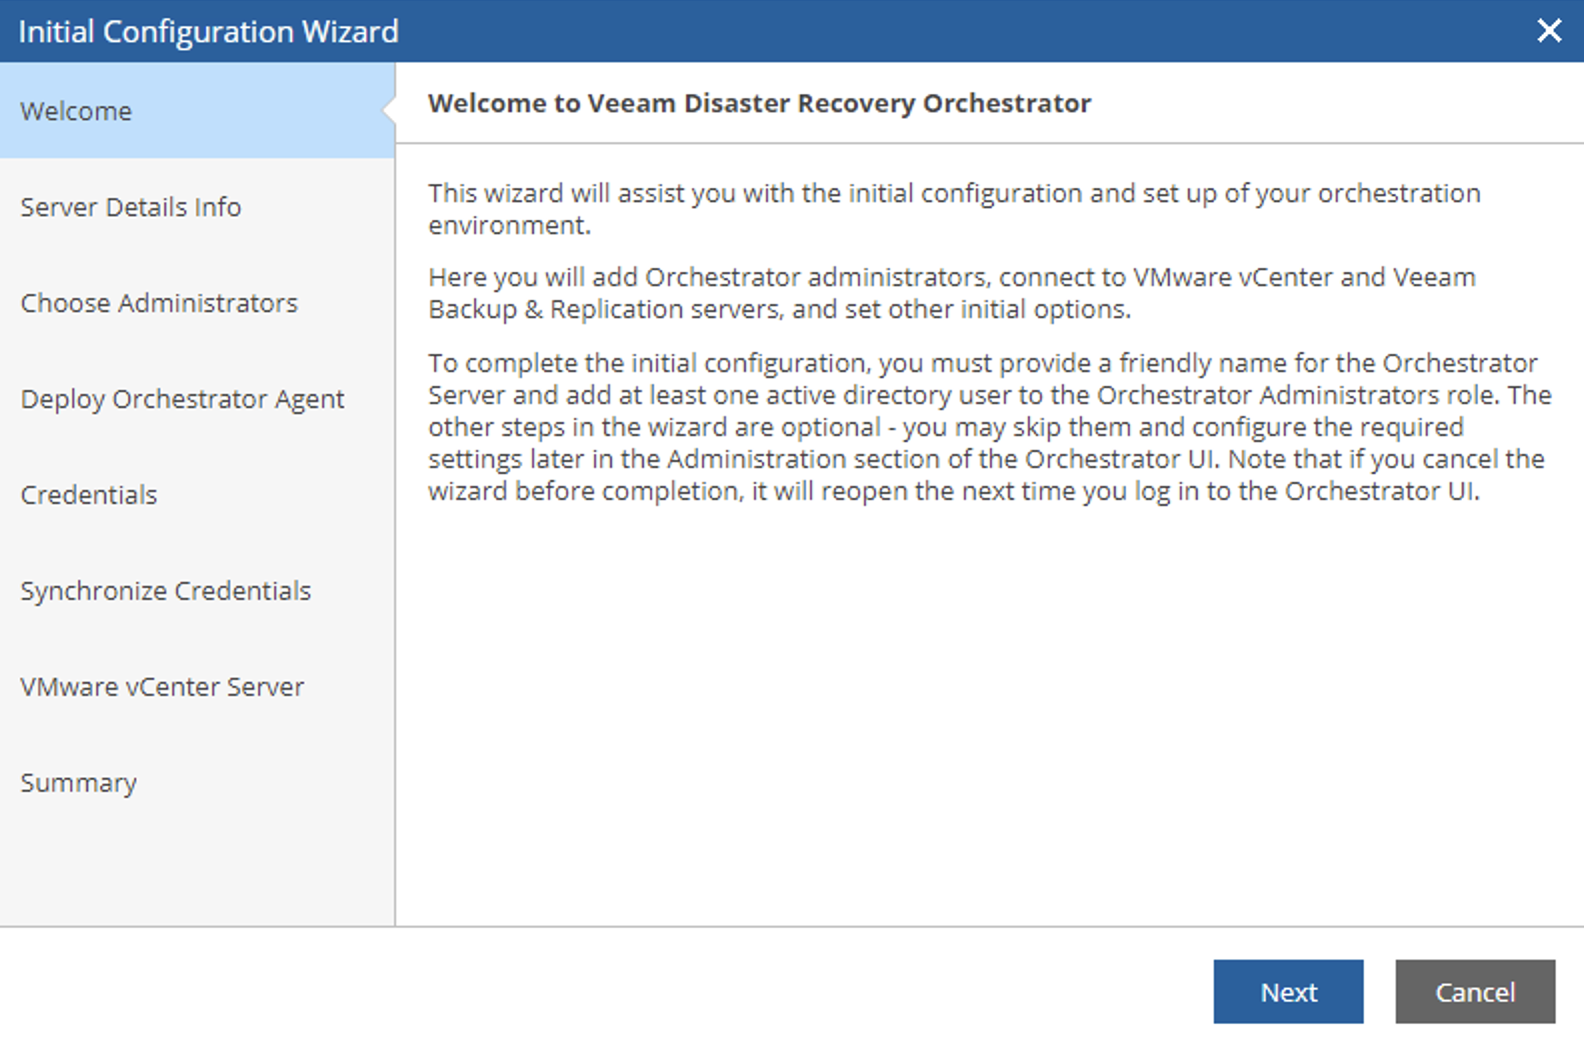
The wizard allows you to add and define:

  1. The Name of the Orchestrator Server (Image 3)
  2. The admin account or group of accounts (image 4, 5 and 6)
  3. The Backup Servers that will communicate with the Orchestrator Server through a specific agent (image 6, 7 and 8)
  4. The vCenters that will be commanded to start the Disaster Recovery plans (Image 10)

Picture 3

Picture 4

Picture 5

Picture 6

Picture 7

Image 8

Image 9

Image 10

In the next article, I’m going to illustrate the steps to create a Disaster Recovery Plan with this new version of the Veeam Disaster Recovery Orchestratrion

See you Soon!

VDrO v.4 – Run a DR plan

This is the last article about how to integrate the Continuous Data Protection (CDP)  technology (available from VBR v.11) and VDrO v.4 (former VAO).

In this part, we are going to see what happens when an orchestration plan is launched.

Yes, I wrote the word “see” because I created a short video showing the tasks that are automatically completed when a Disaster Recovery is occurring.

If you need more details about how to set up the environment, please read the previous articles.

Let me know if videos and youtube platform are a good way to expose technological valuable topics.

Thx for reading and watching and take care

VDrO v.4 – Create a DR plan

C. Create an Orchestration Plan

The DR plan is a sum of more Orchestration plans. This article is going to explain how to create them.

Just a small and important note before continuing: it’s mandatory to have already completed the steps described in the last article.

Let’s start!

From the main menu of the VAO server select the Manage button.

Now click on New as shown in picture 1.

Picture 1

The easy wizard is going to ask to choose a scope.

In our example, we use Linux-CDP as shown in picture 2.

Picture 2

Now fill up the plan info with the Plan Name, the description, the contact name of the plan (picture 3),

Picture 3

Select the type of Plans. In this article choose the CDP replica (picture 4)

Picture 4

In the next step please check if the correct “VM Group” appears.
If it doesn’t, it’s necessary to go back to the setup phase (please read the previous article) and fix the issue.

In our example, it appears correctly (Ubuntu-CDP) as shown in the next two pictures (5 and 6).

Picture 5

Picture 6

The next step shows the VM Recovery options (picture 7).

It gives the operator control of the plan. For example, stopping the plan if something goes wrong.

Picture 7

In “New VM Template” menu the VAO user can add additional steps to the orchestration process; for example, starting the CDP replica job first and shut down the source VM after (Picture 8)

Picture 8

Tips I: I created a customized script to change the IP Address of the VM.

Tips II: it’s possible to set up the access credential directly from this page by clicking the button on the bottom of the page. It is available for Windows VM only.

The next step defines the RTO & RPO.

The most important thing to remember here is that the RPO has to be equal or major than the RPO set in the CDP replica job (picture 9).

https://lnx.gable.it/wp-content/uploads/2021/03/vao-cdp-45.jpgPicture 9

The last steps define when the plan report shall be automatically generated (picture 10) and if the readiness check has to run at the end of every single wizard (recommended option) (picture 11).

Picture 10

Picture 11

The result is shown in picture 12

Picture 12

The next article is going to be a video to see VDrO in action.

Take care and see you soon