
In the previous article, it was shown how to use VBR (Veeam Backup & Replication) as a framework to protect the instances (VMs) present in the Google Cloud Platform ( GCP ).
The integrated component of VBR that automates backup and restore processes is VBGP (Veeam Backup for Google Platform), now in its second version (January 2022).
VBGP allows you to save Google instances at the image level, but to date, it is unable to restore applications in granular mode.
Note 1: The VBGP allows you to create “Application Consistency” backups of the instances through:
- le VSS (Windows Volume Snapshot Copy Services ) for Microsoft-Windows operating systems.
- Customizable scripts for Linux operating systems.
In cases where transaction log backup or granular recovery of application objects is required, the Veeam Agent ( VA ) must be used.
Note 2: At www.gable.it you will find many articles detailing how to implement Veeam Agents.
Note 3: The Backup Server VBR can be installed both in the cloud (for example as an instance in GCP ) and on-premises. Correct connectivity between components must be ensured in all scenarios.
Note 4: VBR version 12 (due out in 2022) will add a number of Cloud enhancements. For example, the ability to manage the deployment and Veeam Agent components, without having to create a VPN between the on-premises VBR and the instances to be protected in advance.
Let’s now see the two main phases to perform the Backup of the instance:
The first phase has the purpose of carrying out discovery and deployment of the Agent on the instance (see image 1) (Inventory menu, Create a Protection Group).
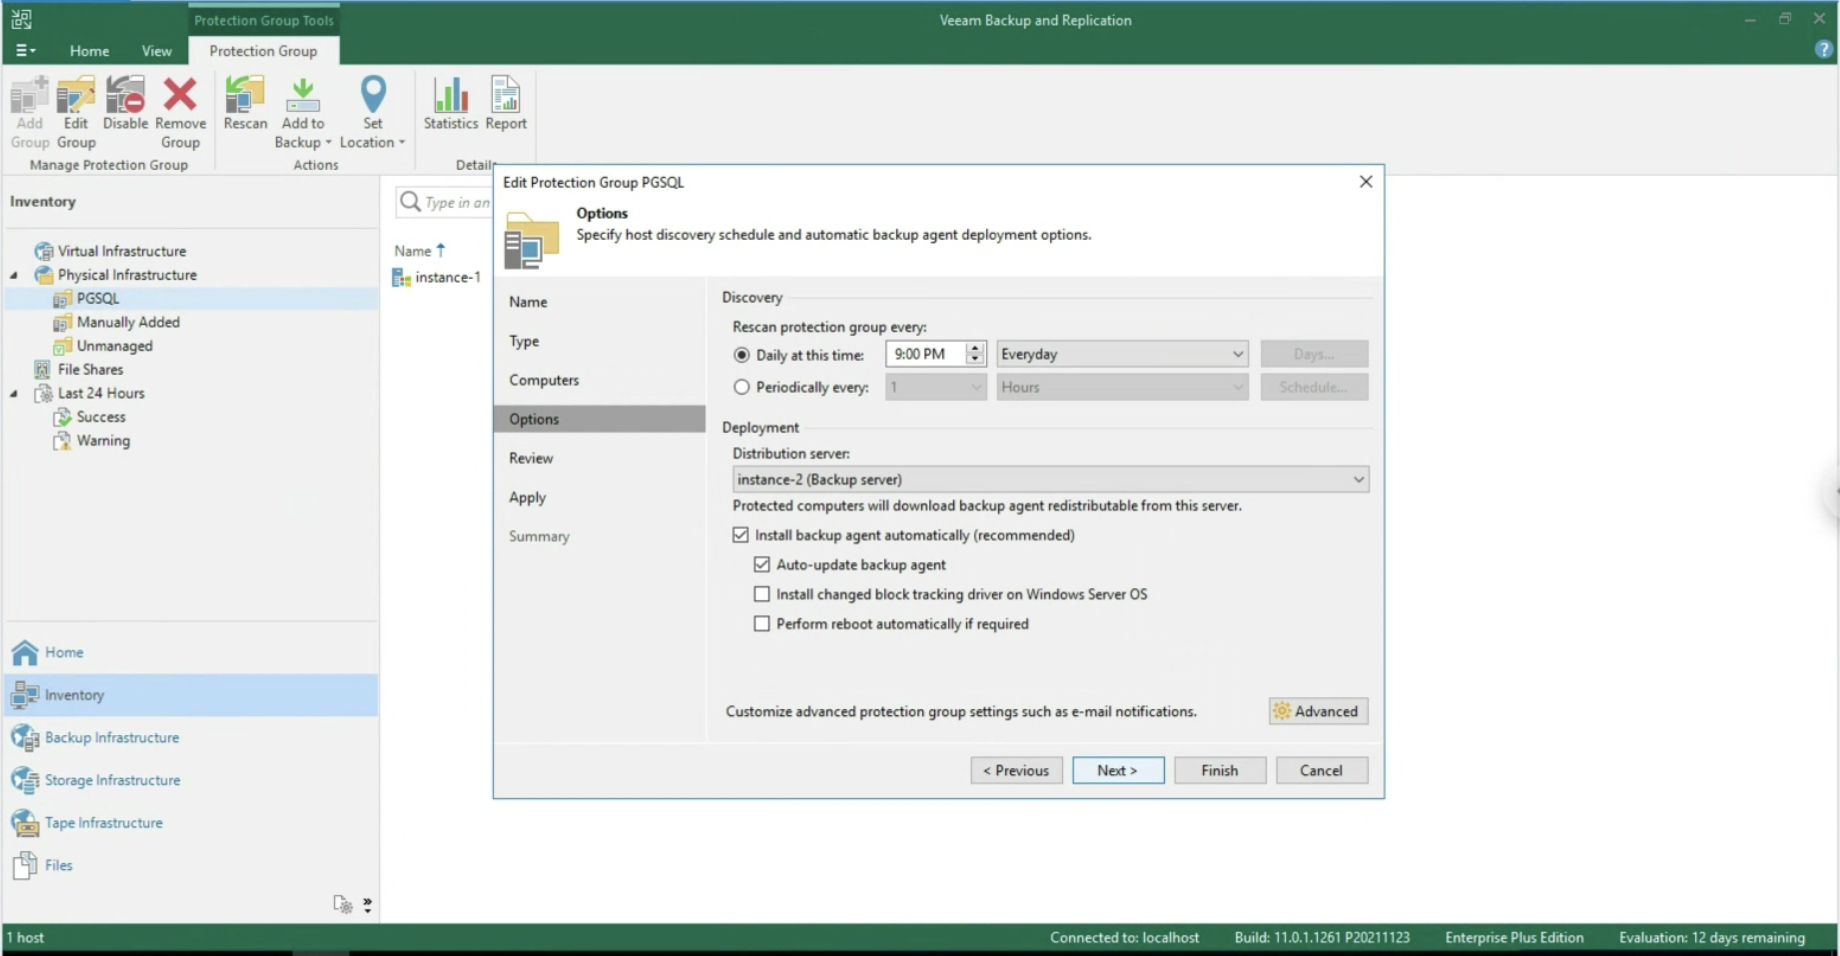 Picture 1
In the second phase, the creation of the Backup job by selecting Veeam Agent for Windows (Image 2)
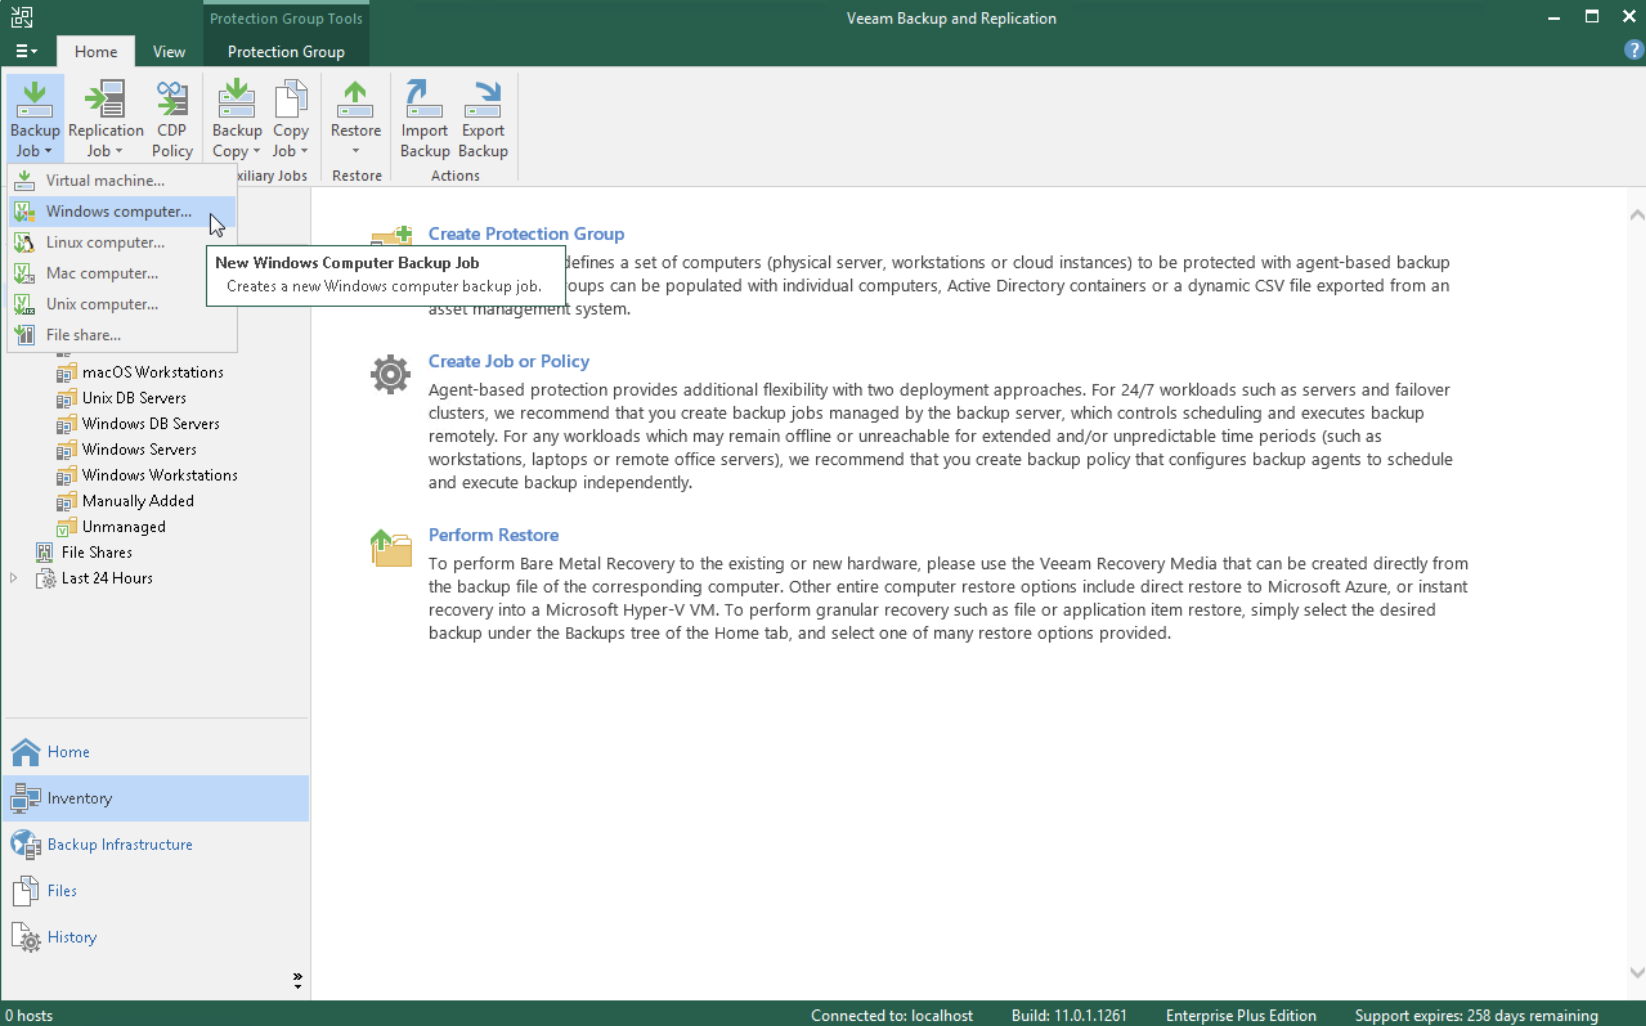 picture 2
During the Wizard, select the Backup Repository (image 4) under Backup Mode, Entire Computer (image 3), and Storage.
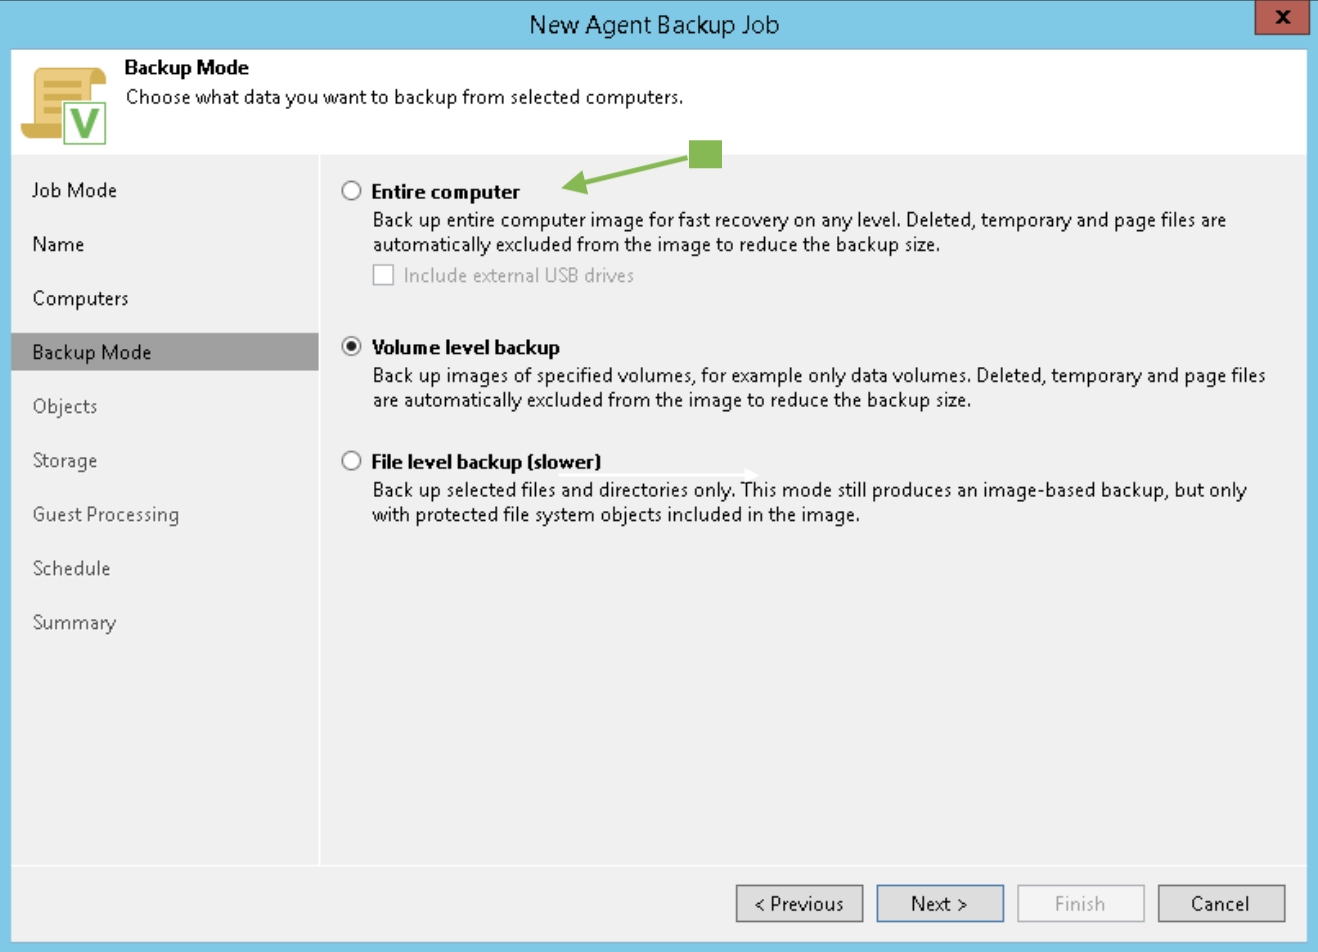 Picture 3
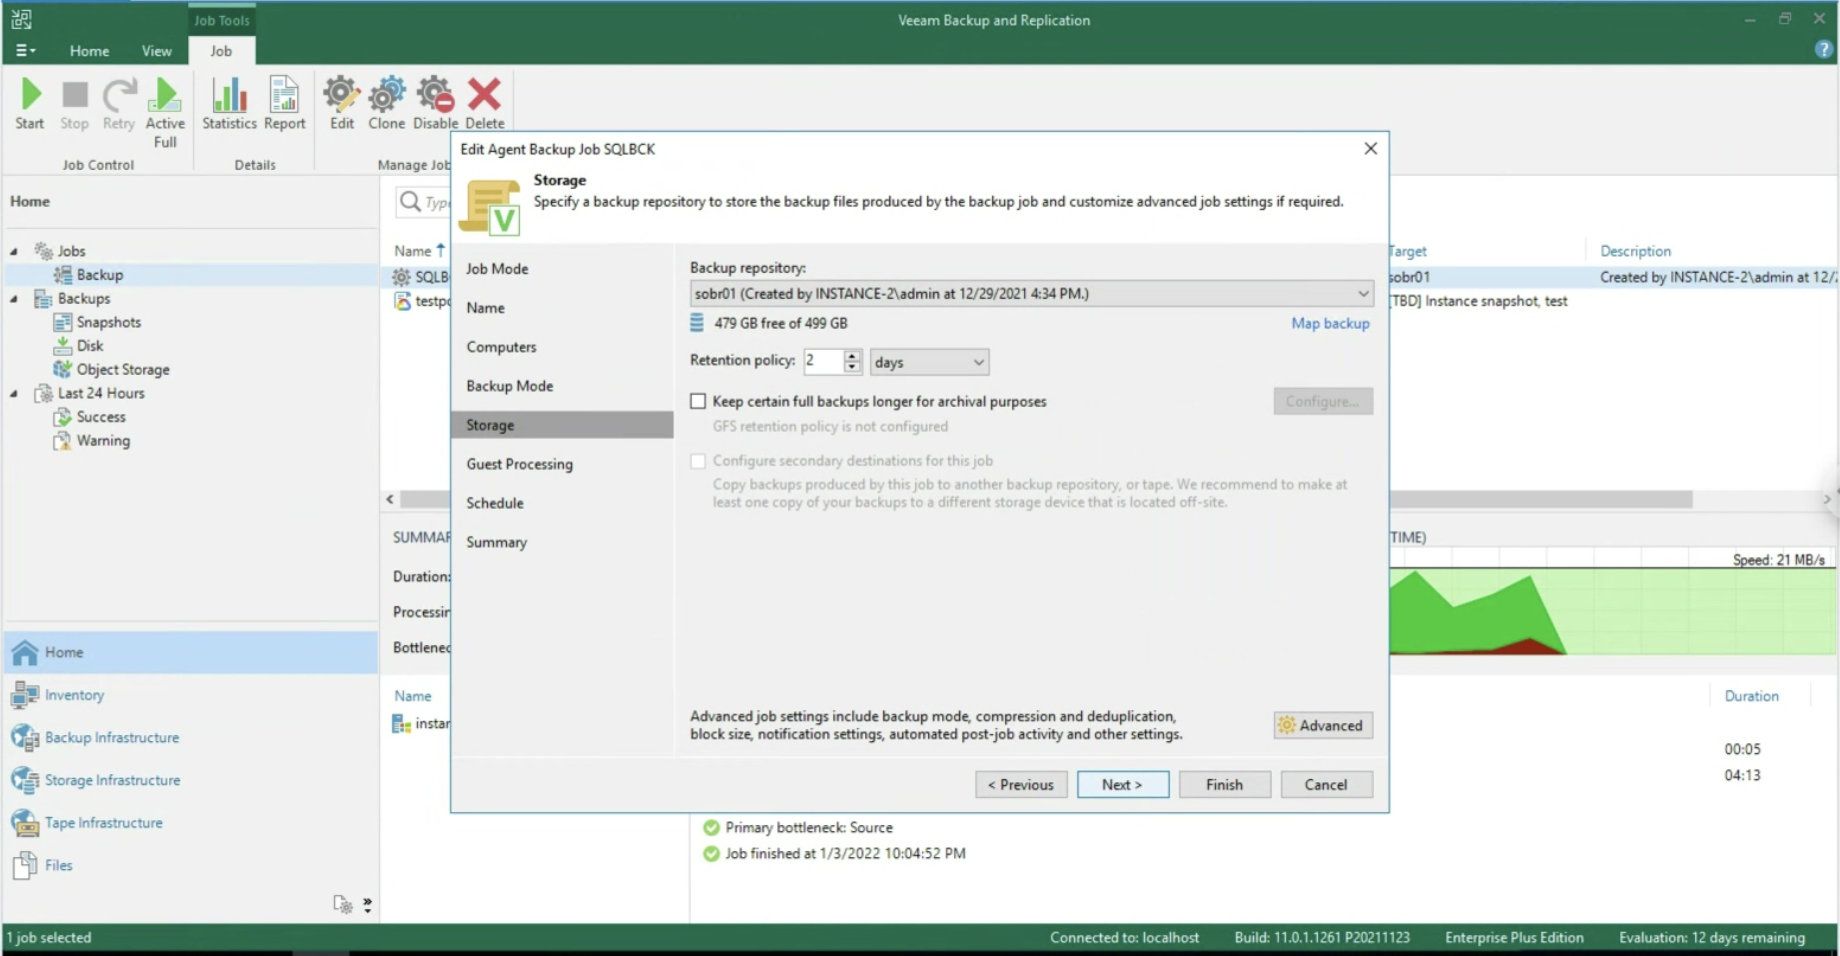 Picture 4
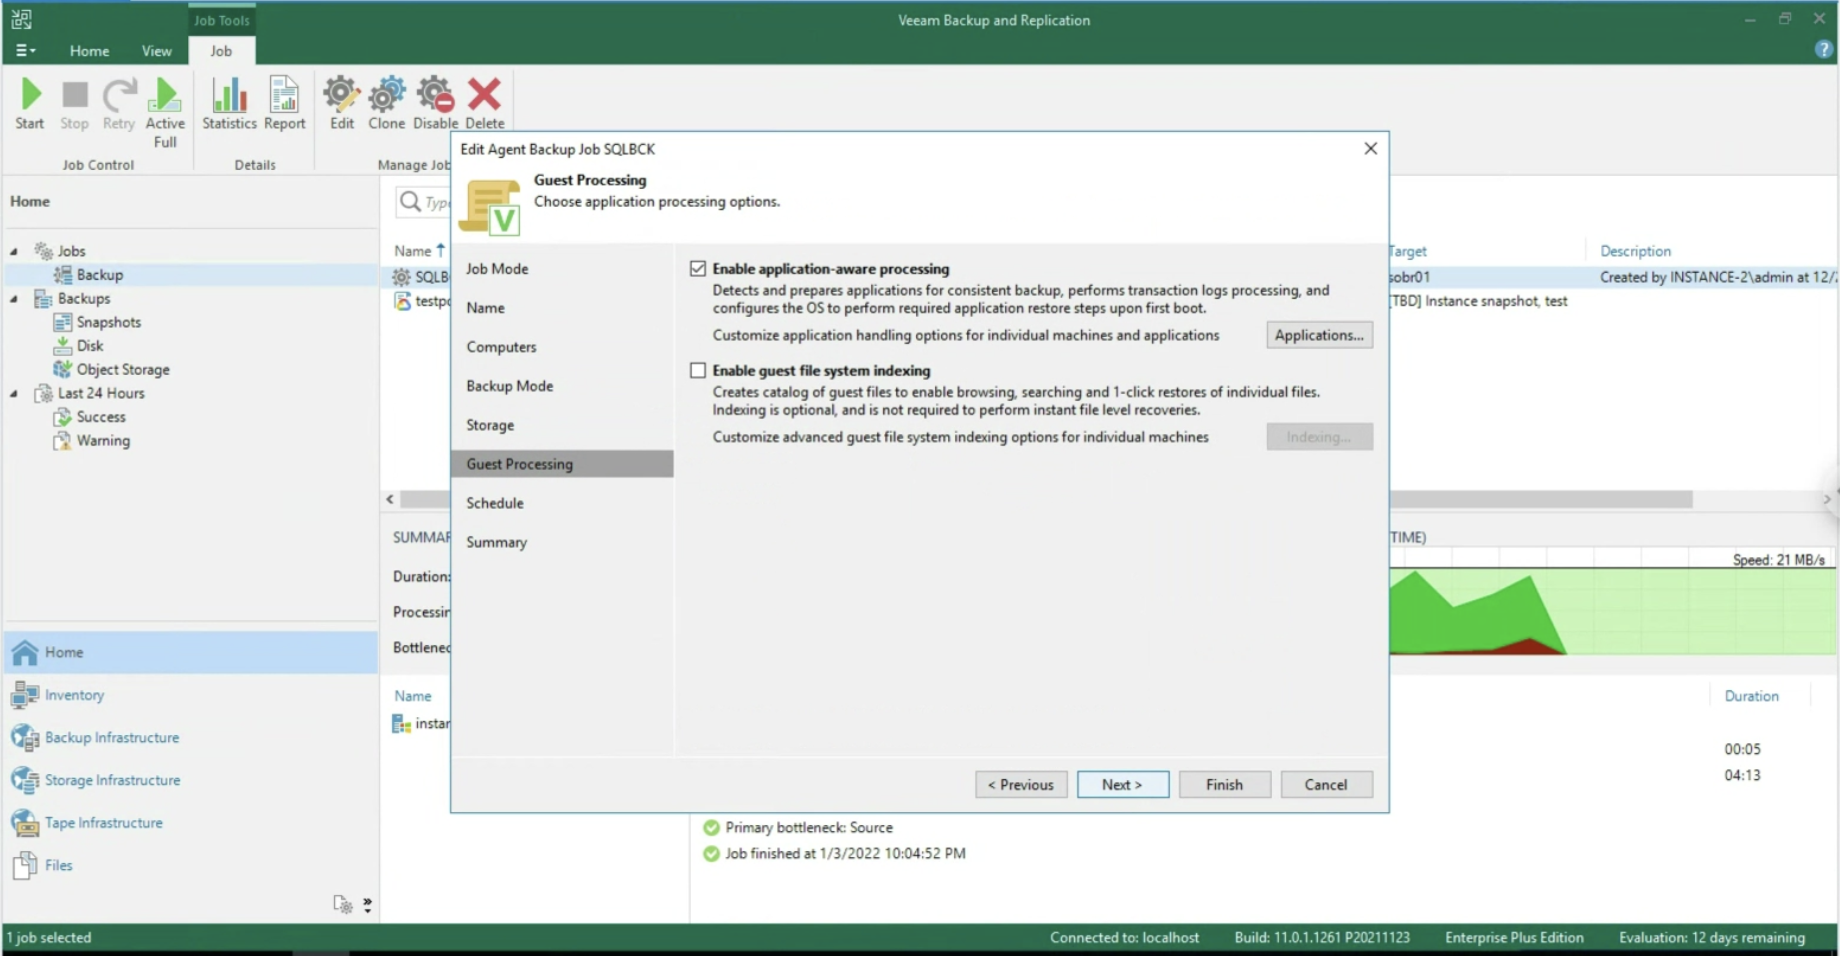
The focus of this article is managing application security (in this MS-SQL scenario).
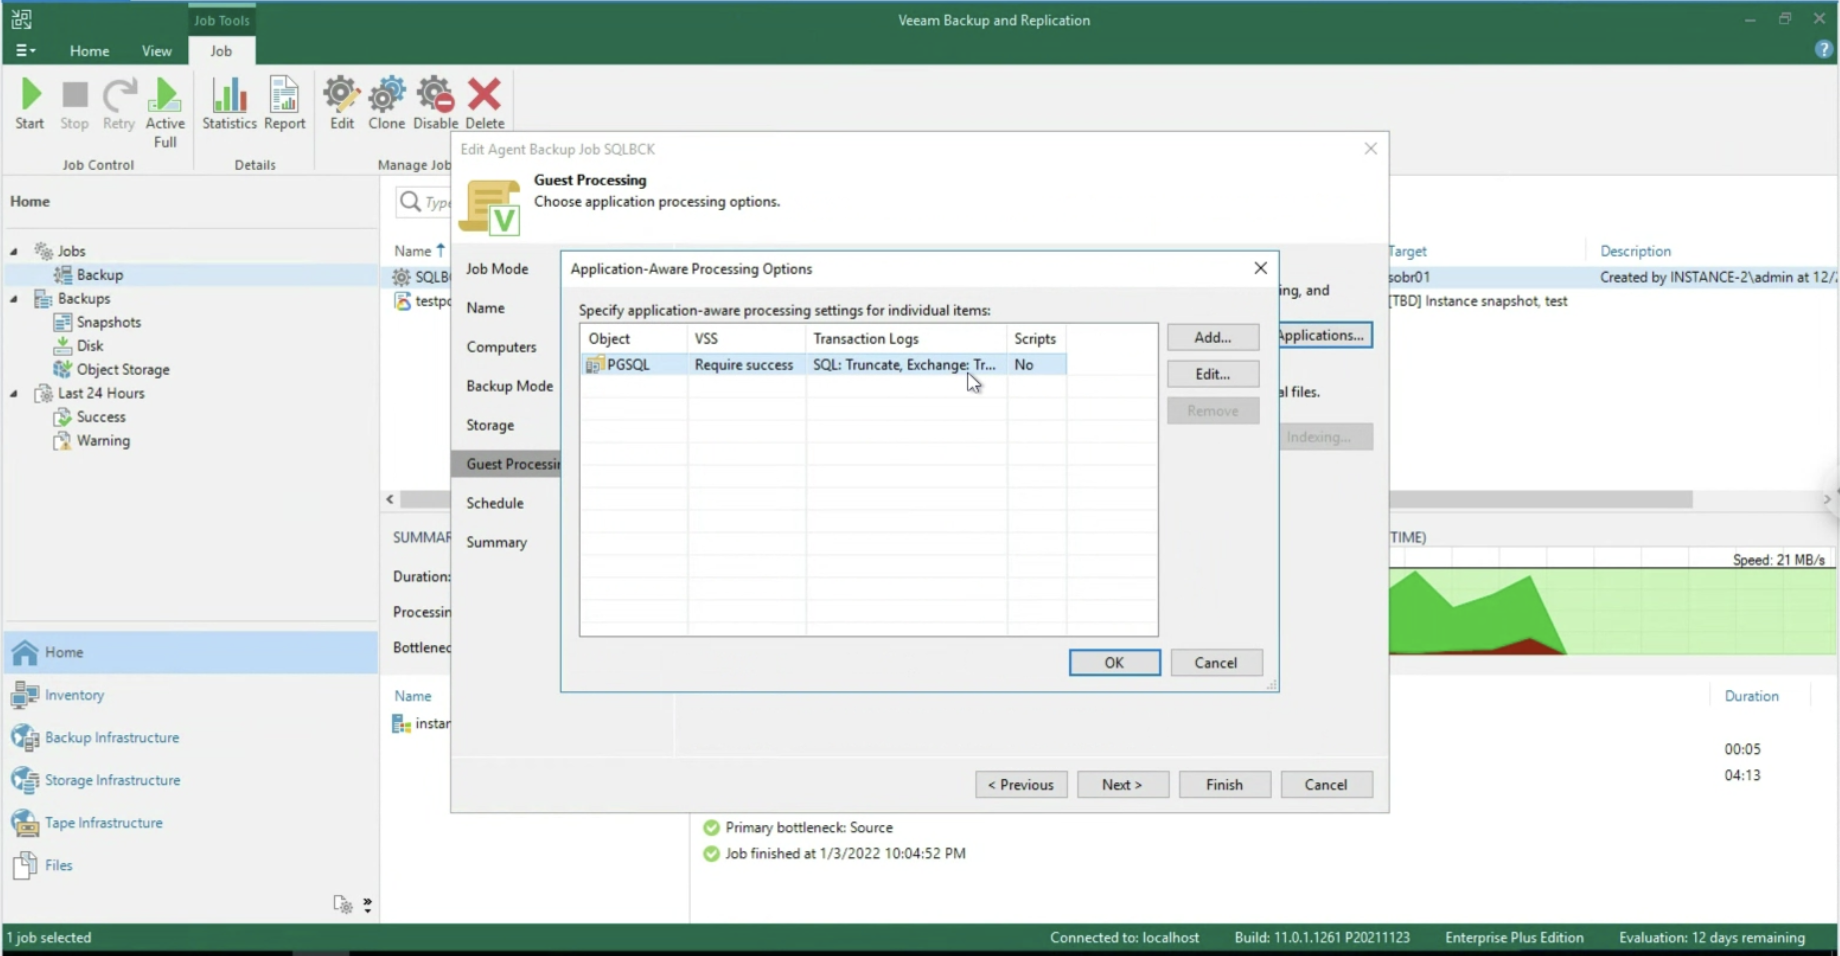
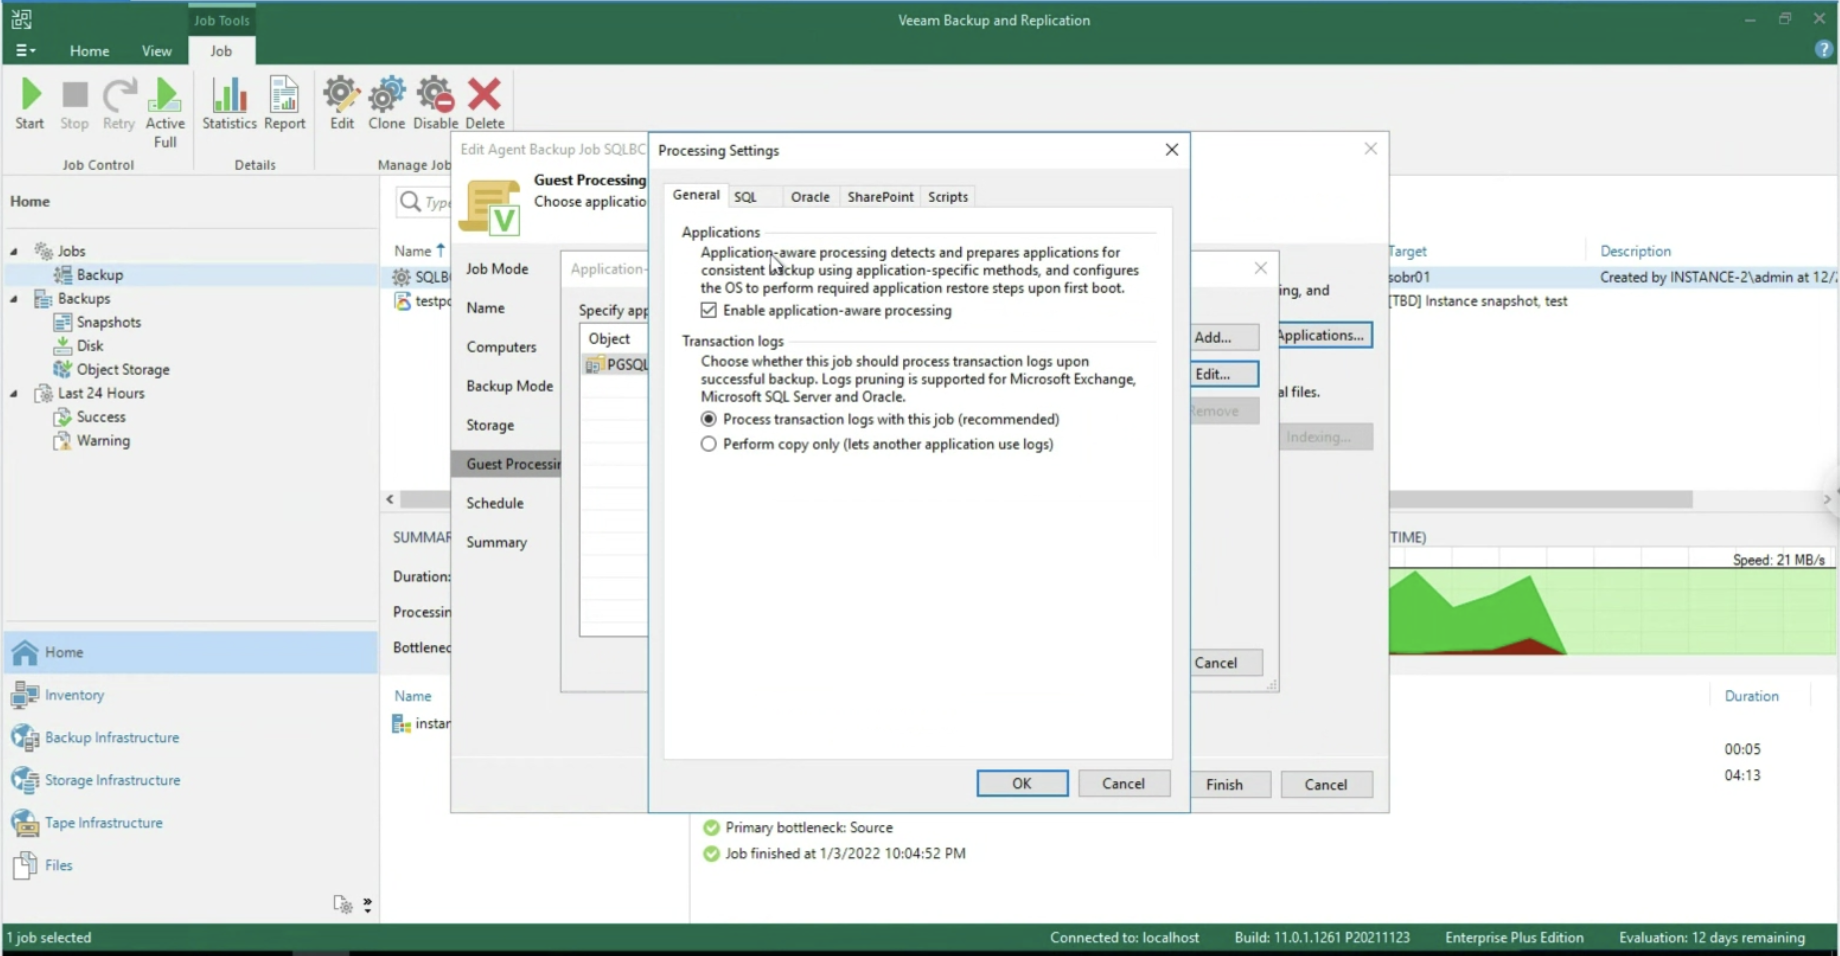
After enabling the application-aware processing (image 5), it is possible to operate at the Transaction Log level, selecting whether to delete them after each Backup operation (Trunking) or whether to backup only the T-Logs. (images 6-8).
 Picture 5
 Picture 6
 Picture 7
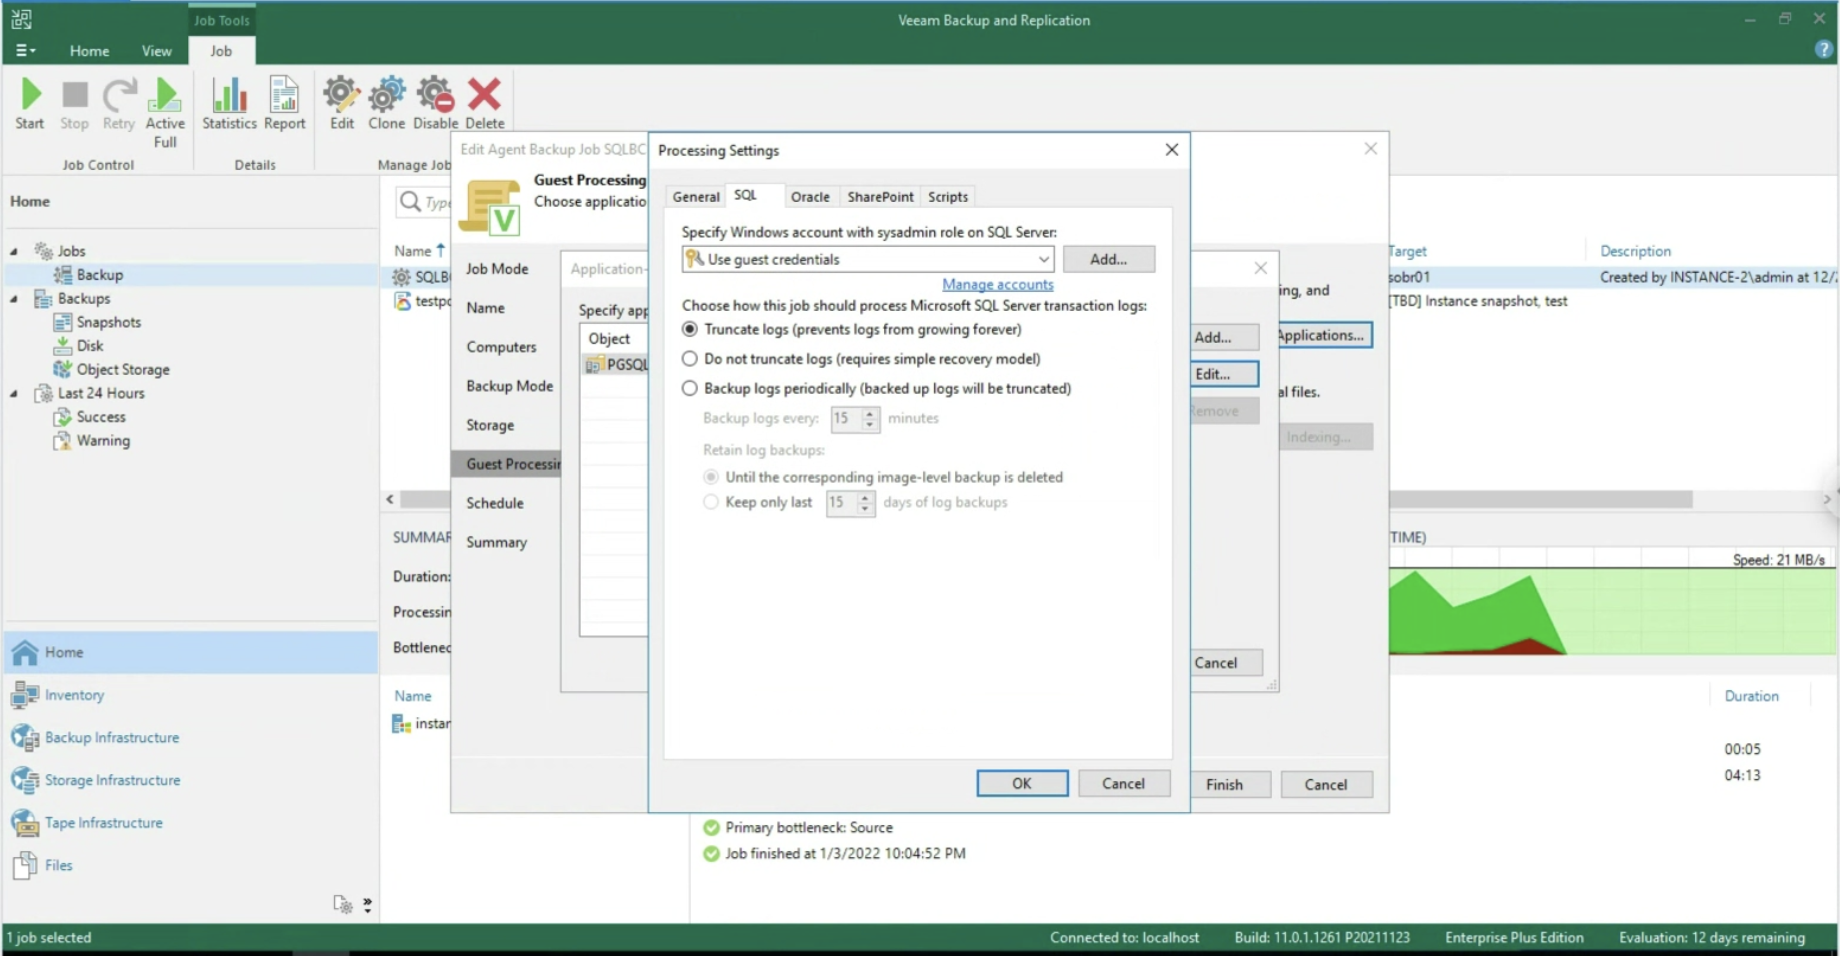 Image 8
After starting the job, we check that at the Disk entry there is at least one restore point (see image 9).
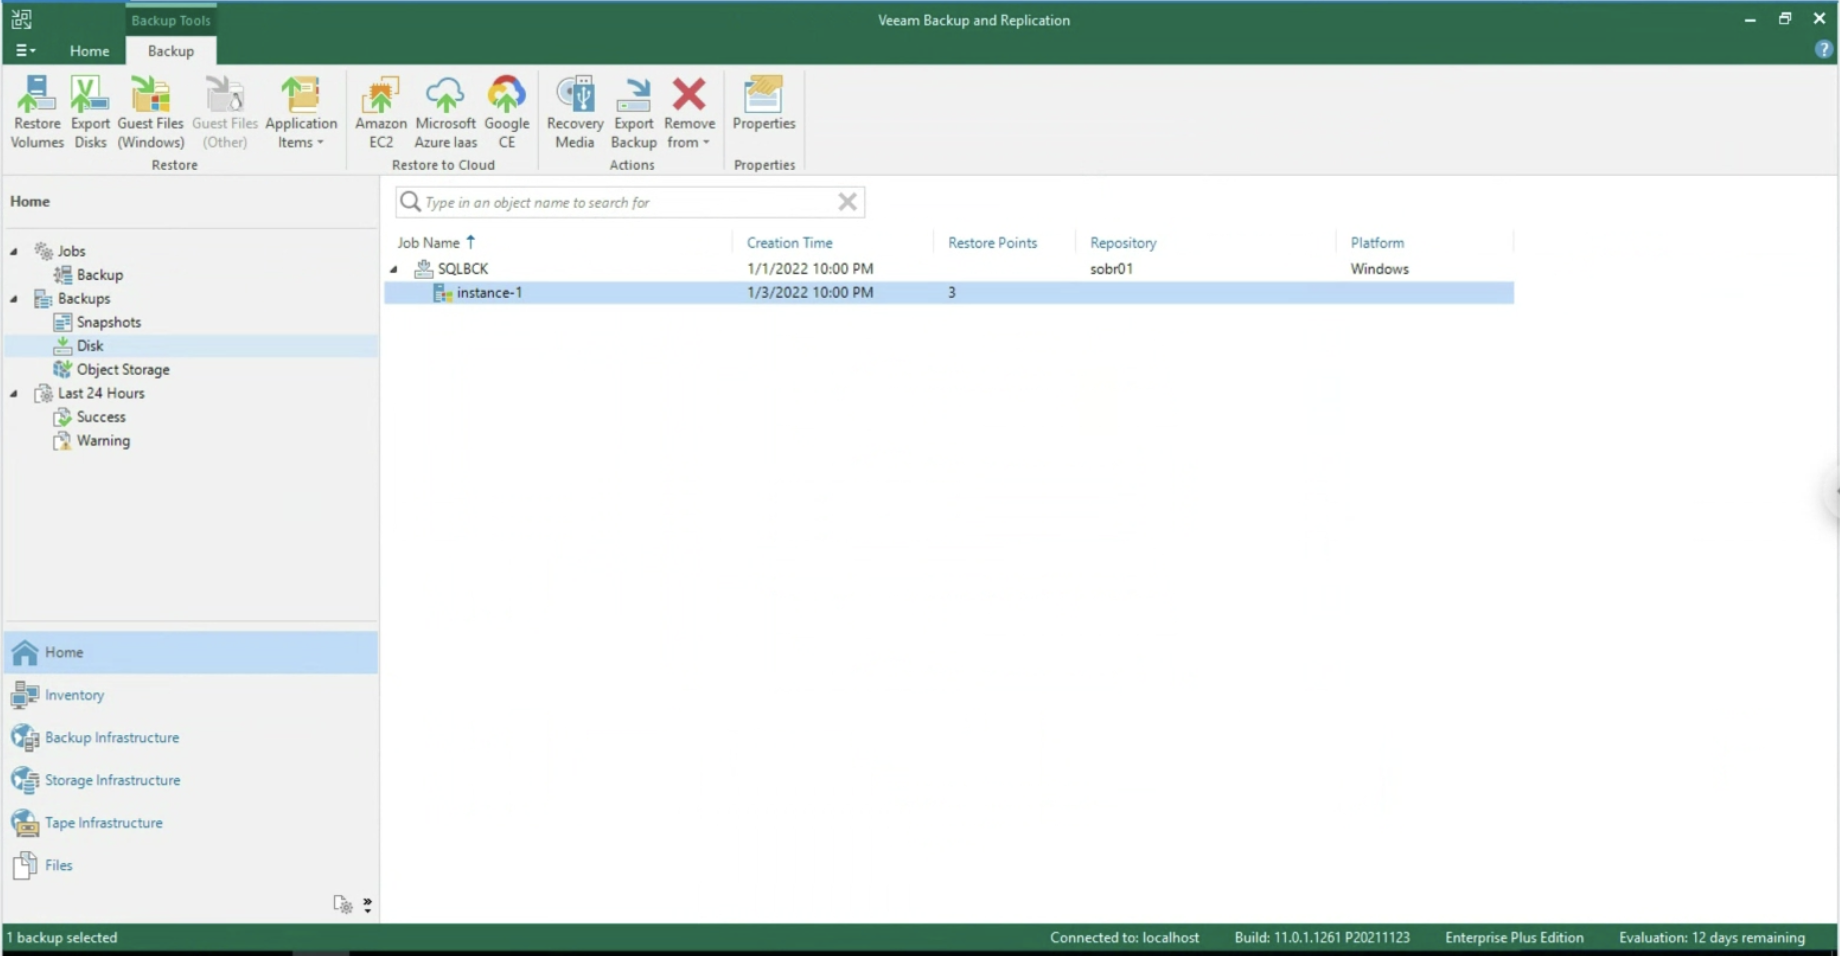 Image 9
We conclude this article by explaining the recovery options of the Veeam Agent for Windows: (image 10)
- Towards VMware & Hyper-V virtual architectures
- Instant Recovery
- Restoring Volumes
- Exporting Disks (VMDK, VHD, VHDX)
- Towards Public Cloud architectures
- AWS
- Azure
- GCP
- The creation of a Recovery Media to perform a Bare Metal Restore
- File and Folder recovery (image 10, also available with VBGP )
- Application object recovery (image 11 & 12, available only via VA )
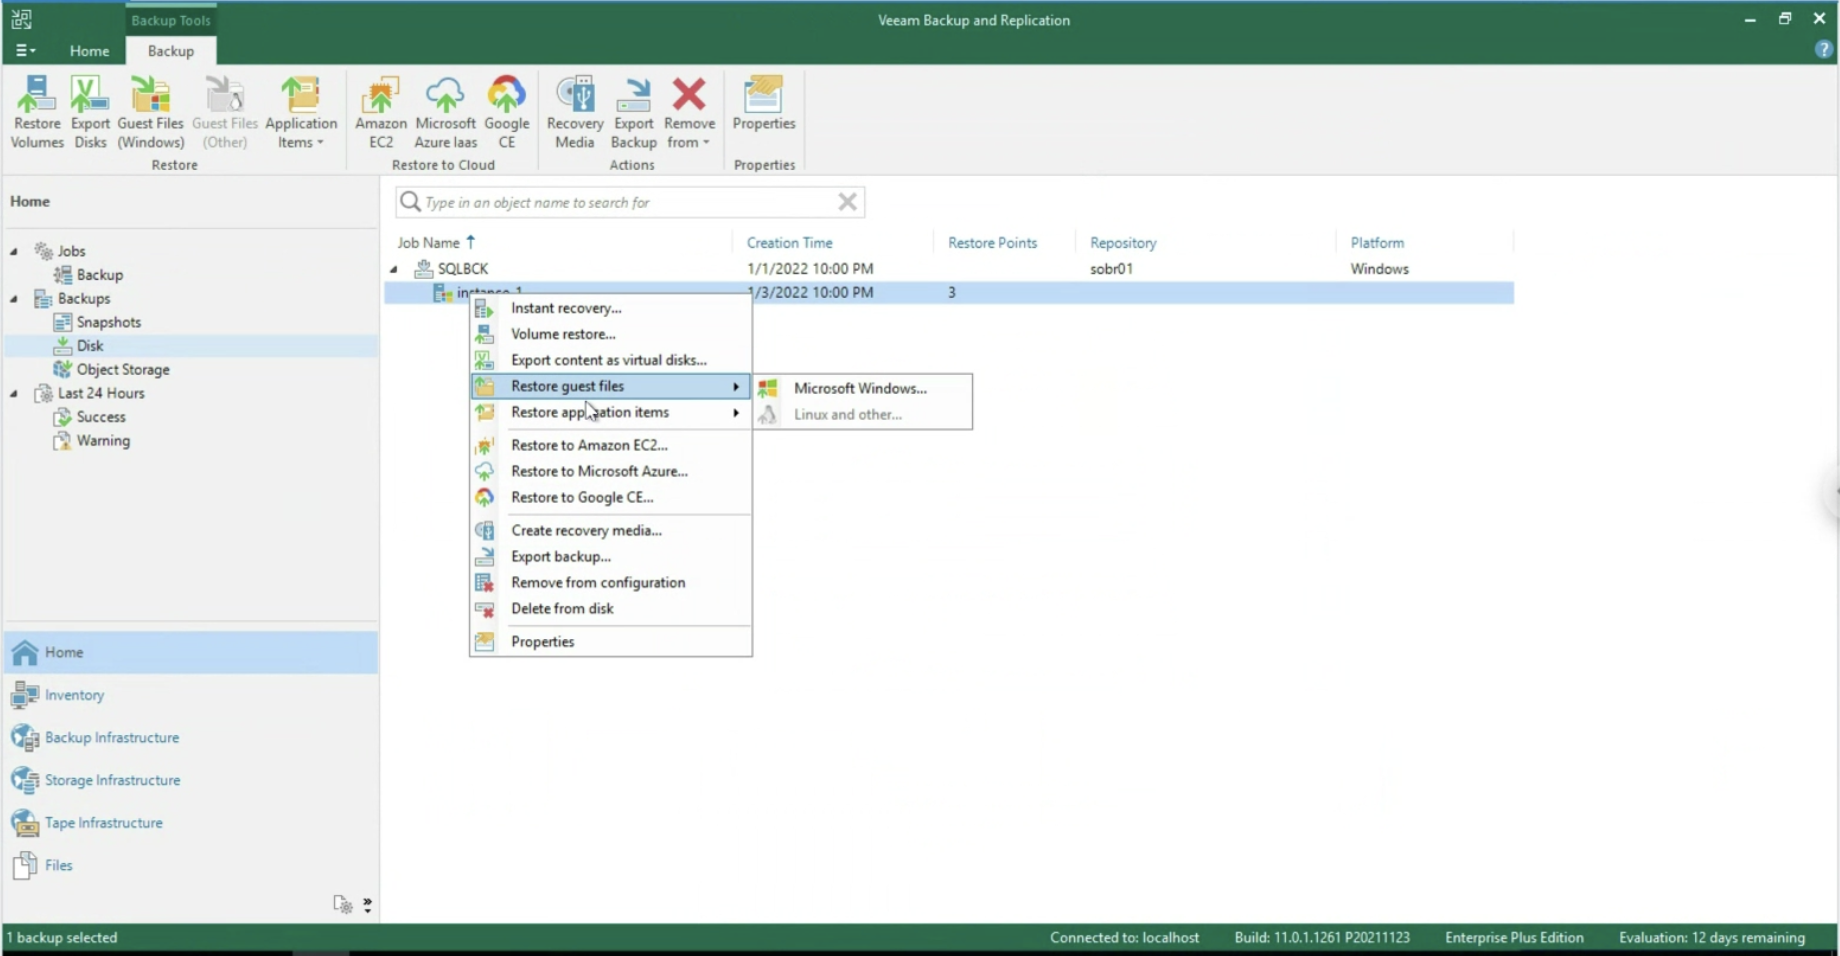 Image 10
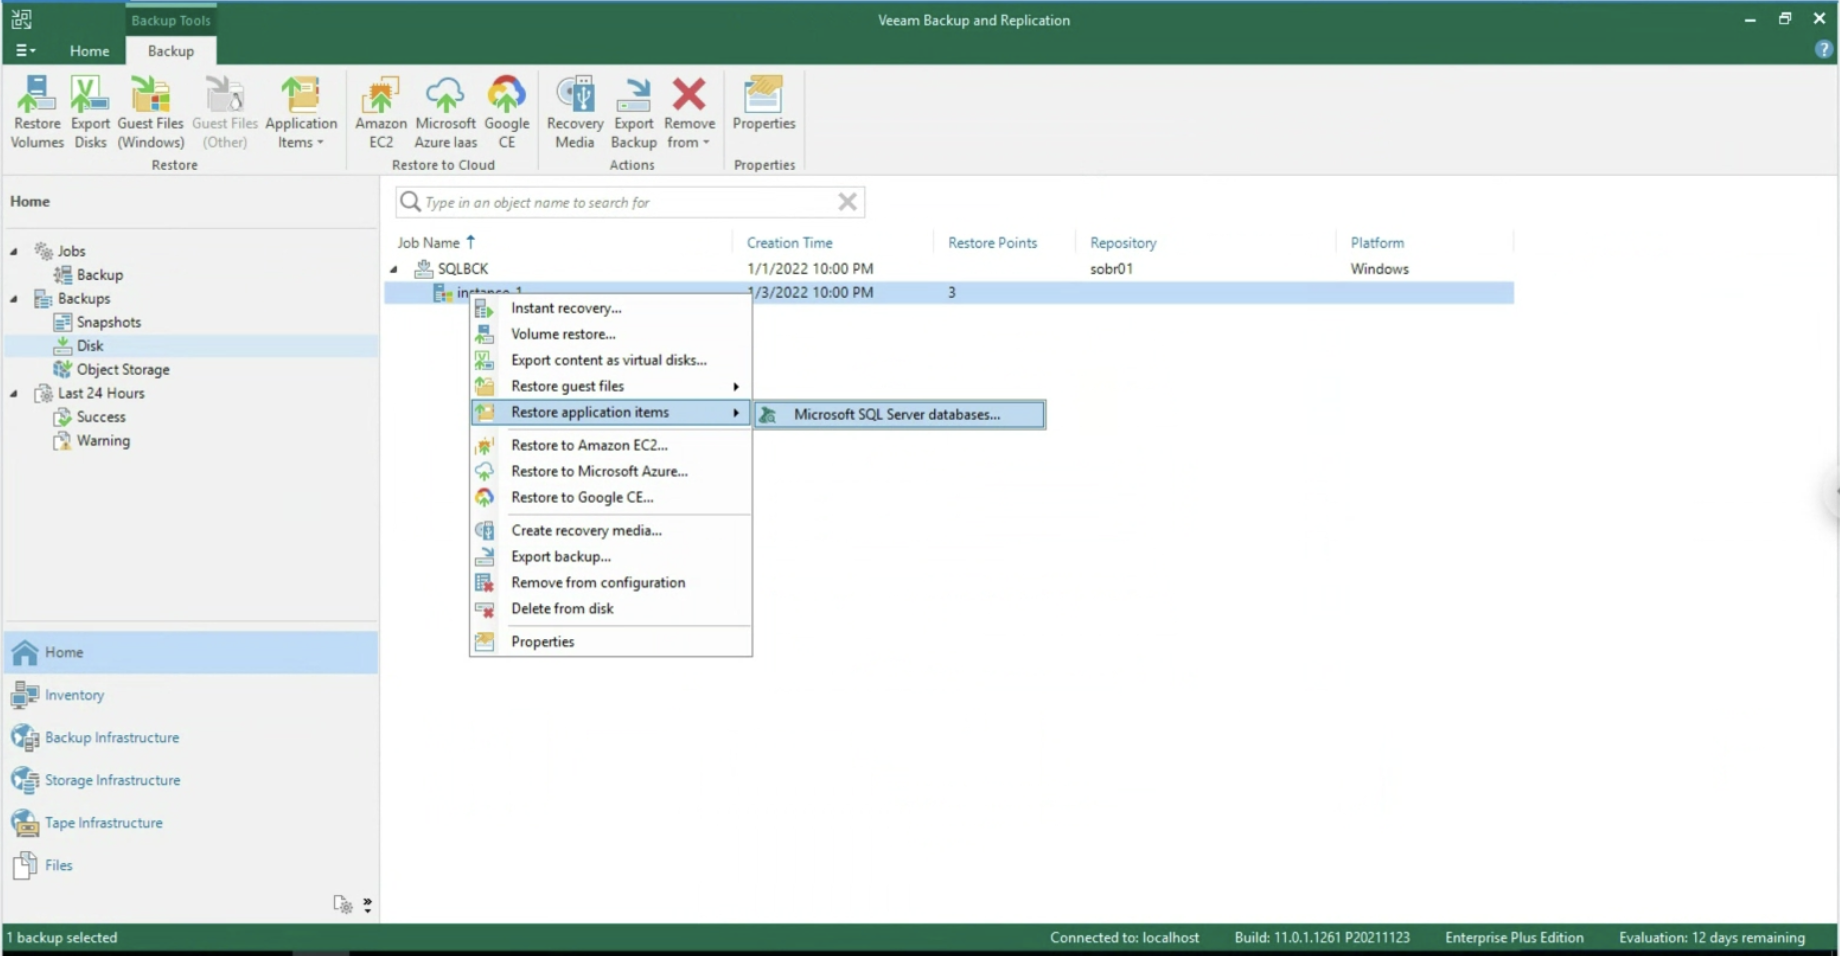
Image 11
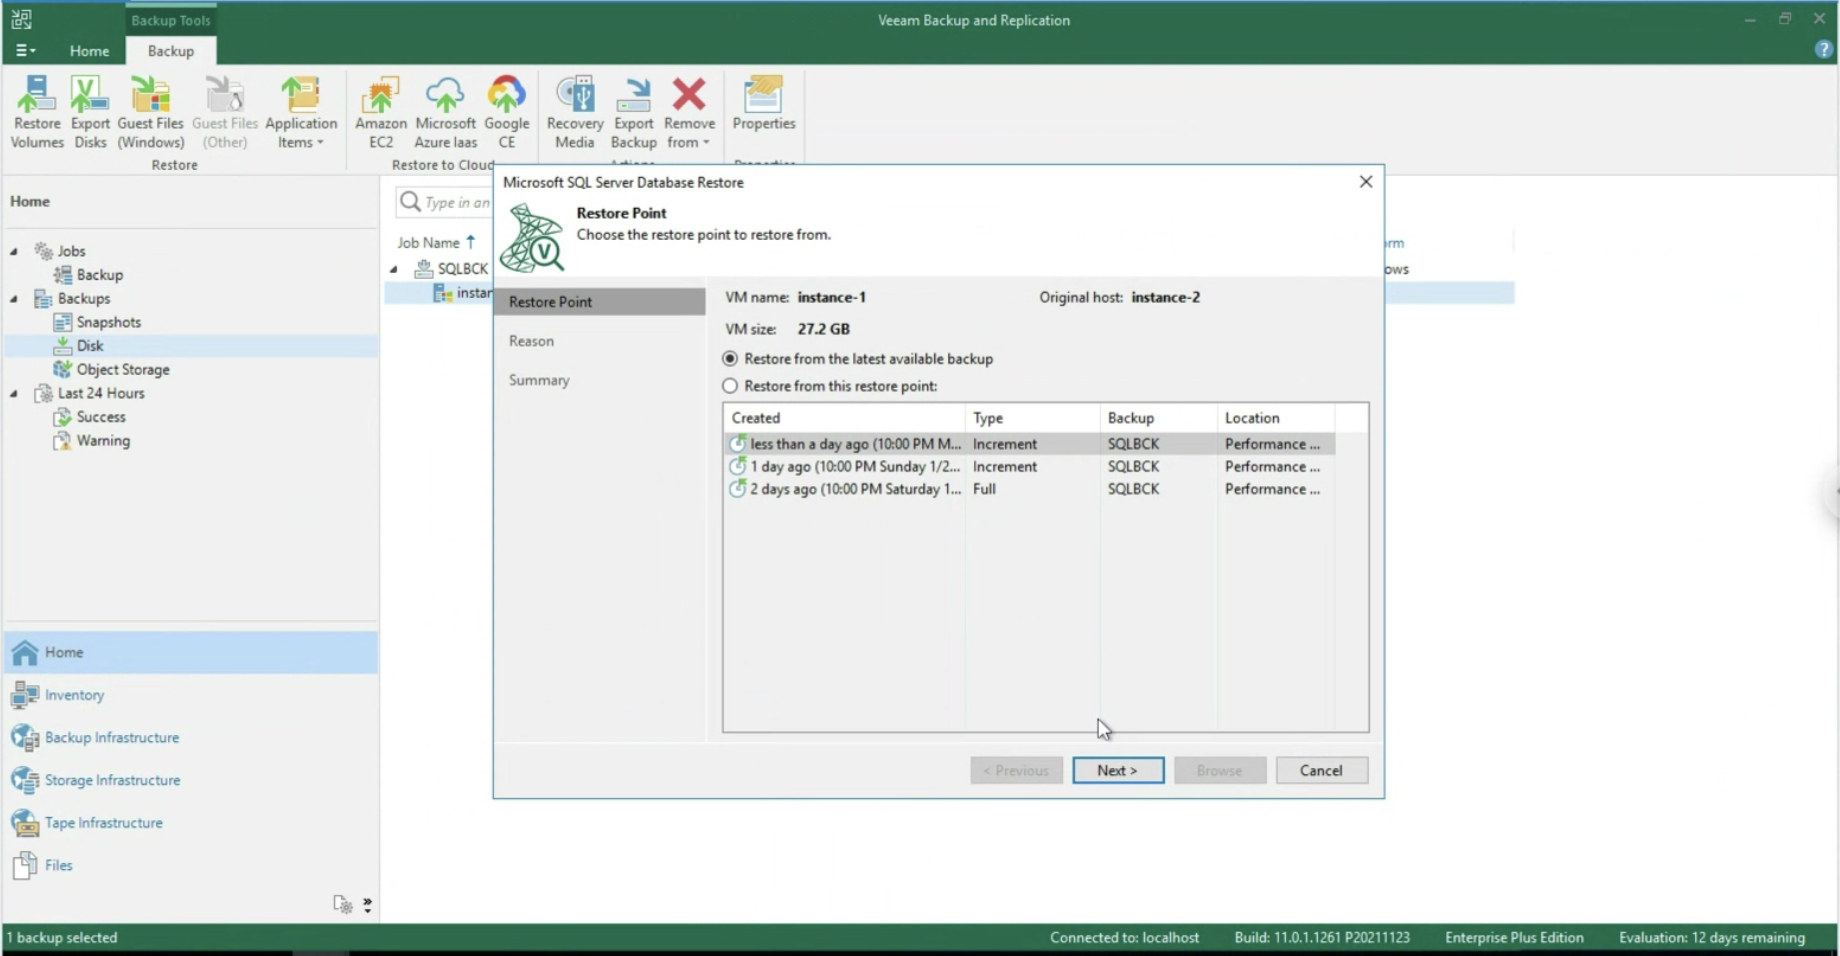 Image 12
All recovery options using Veeam Explorer for SQL are available at the following site .
Note 5 : In the example, a Scale Out Backup Repository has been chosen which has the advantage of copying data to the Google Object Storage (see image 13). Version 12 of VBR will allow direct writing to the Object Storage
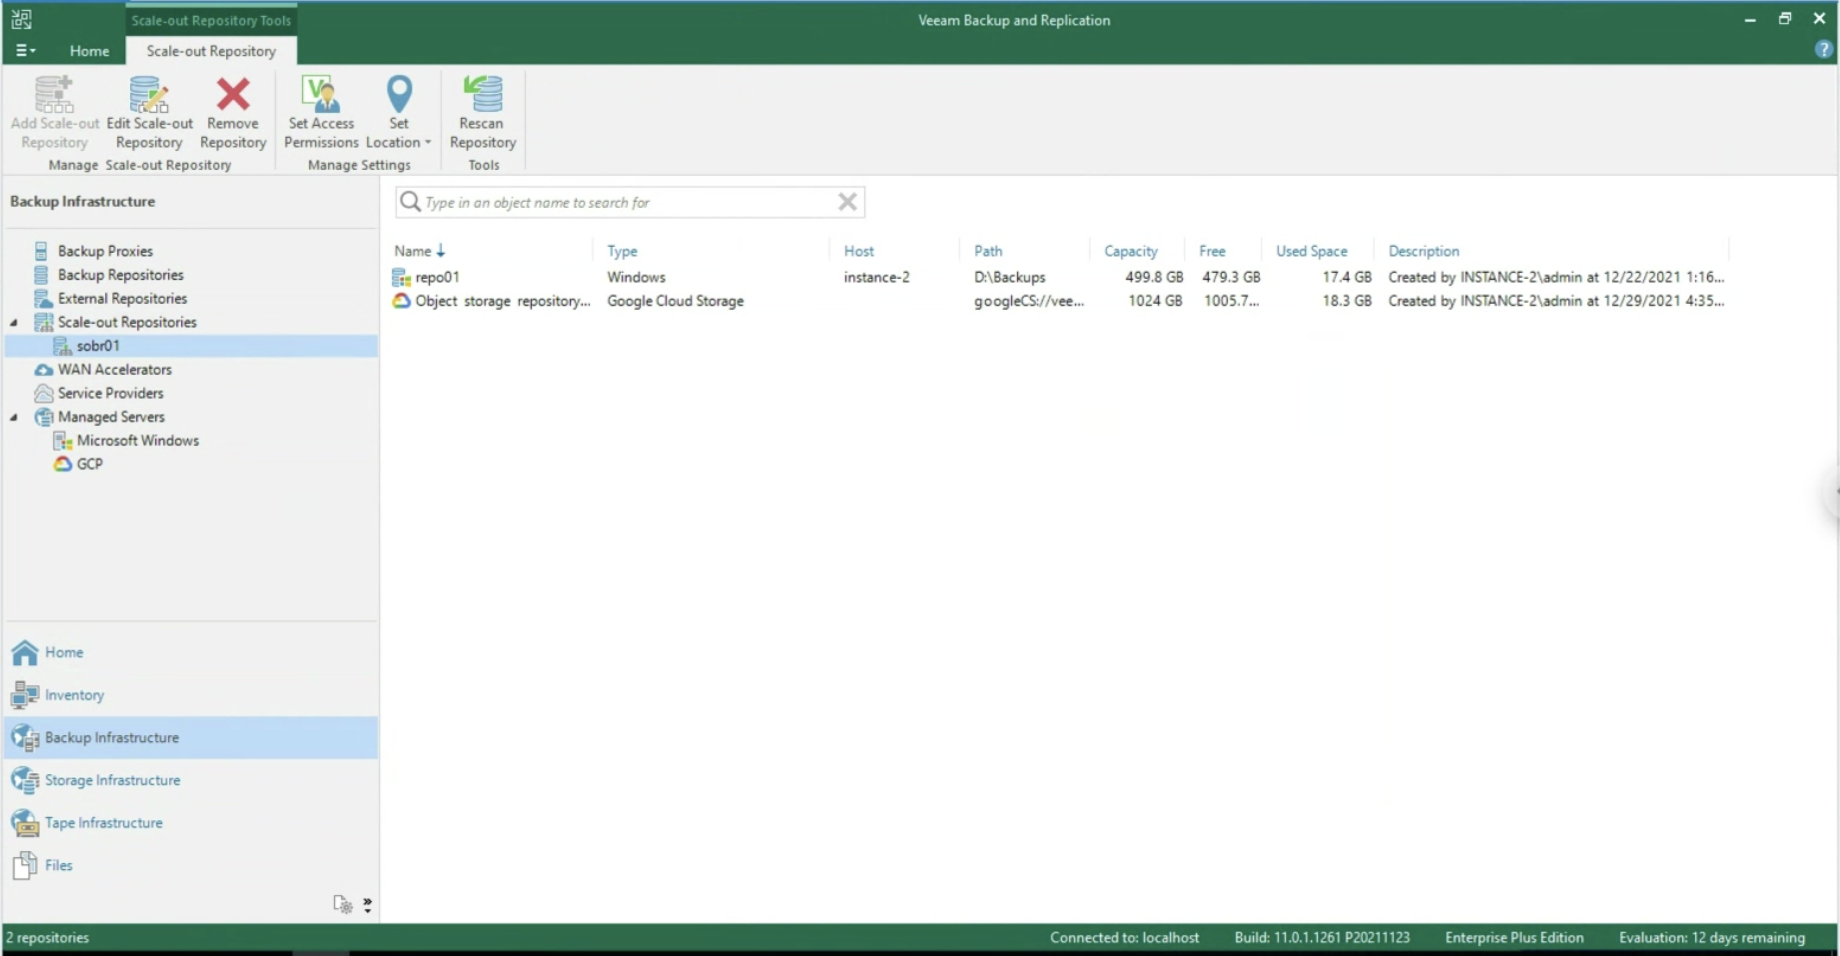 Image 13
See you soon