
Il presente articolo illustra come configurare il menù di amministrazione del Veeam Disaster Recovery Orchestrator (VDrO).
Prima di procedere alla fase di amministrazione, è indispensabile aver già etichettato le risorse che dovranno far parte dei piani di Disaster Recovery.
La classificazione è stata illustrata nel precedente articolo, disponibile cliccando sul seguente link: VDrO – VOne – Tagging.
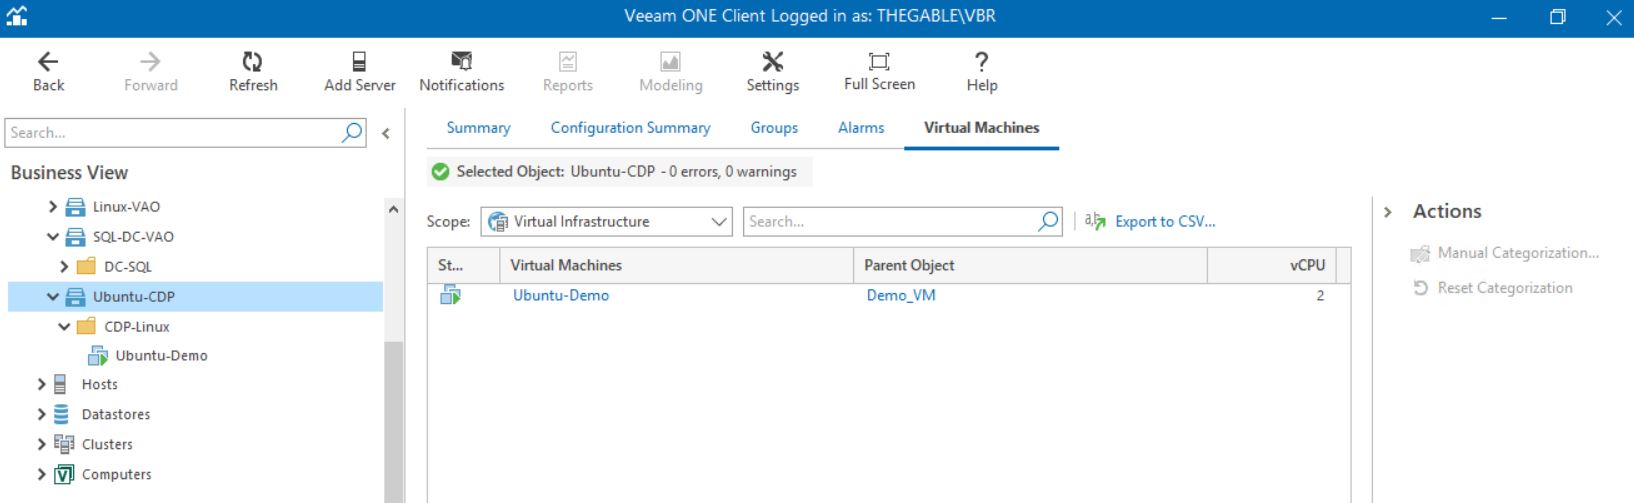
Nota 1: Per accedere al menù di amministrazione, selezionate la voce denominata “Administration” (vedi immagine 1)
 Immagine 1
La configurazione del menù di amministrazione si divide in tre principali aree:
Nella prima sono impostate:
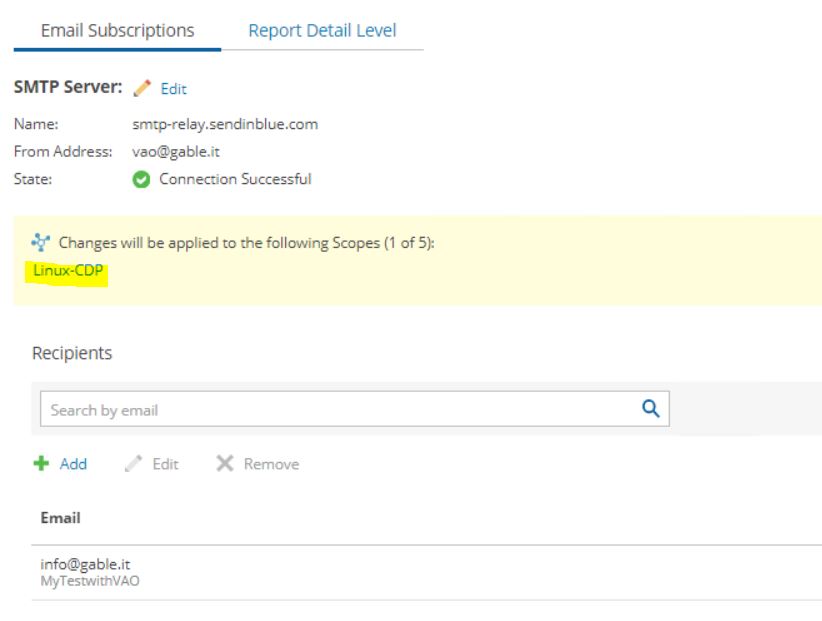
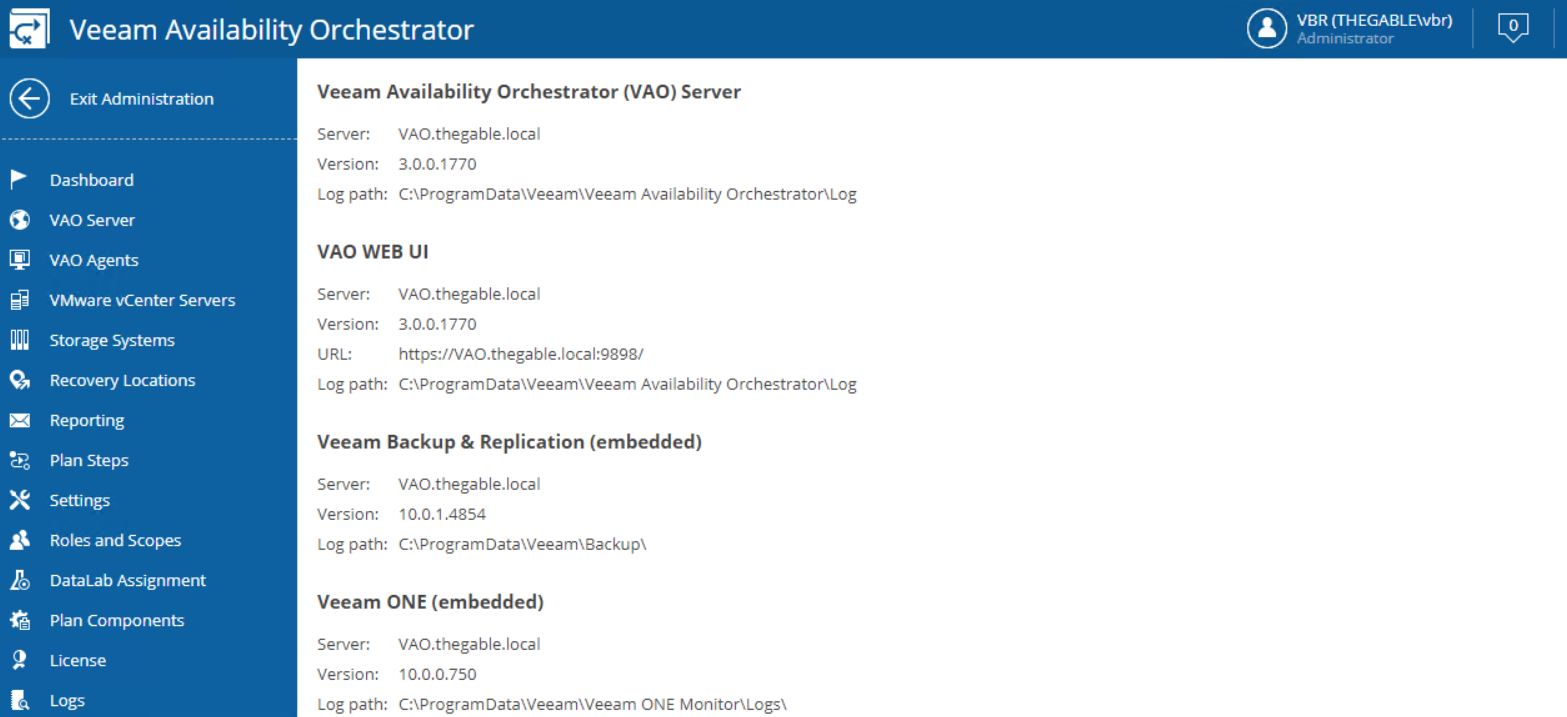
- Il nome del VDrO Server e il contact name (immagine 2).
- le connessioni verso i Veeam Backup & Replication Server (VBR) (immagine 3)
- le connessioni verso i vCenter (immagine 4)
- la connessione opzionale verso gli storage (immagine 5) (fate riferimento al presente articolo per scoprire i dettagli)
 Immagine 2
 Immagine 3
 Immagine 4
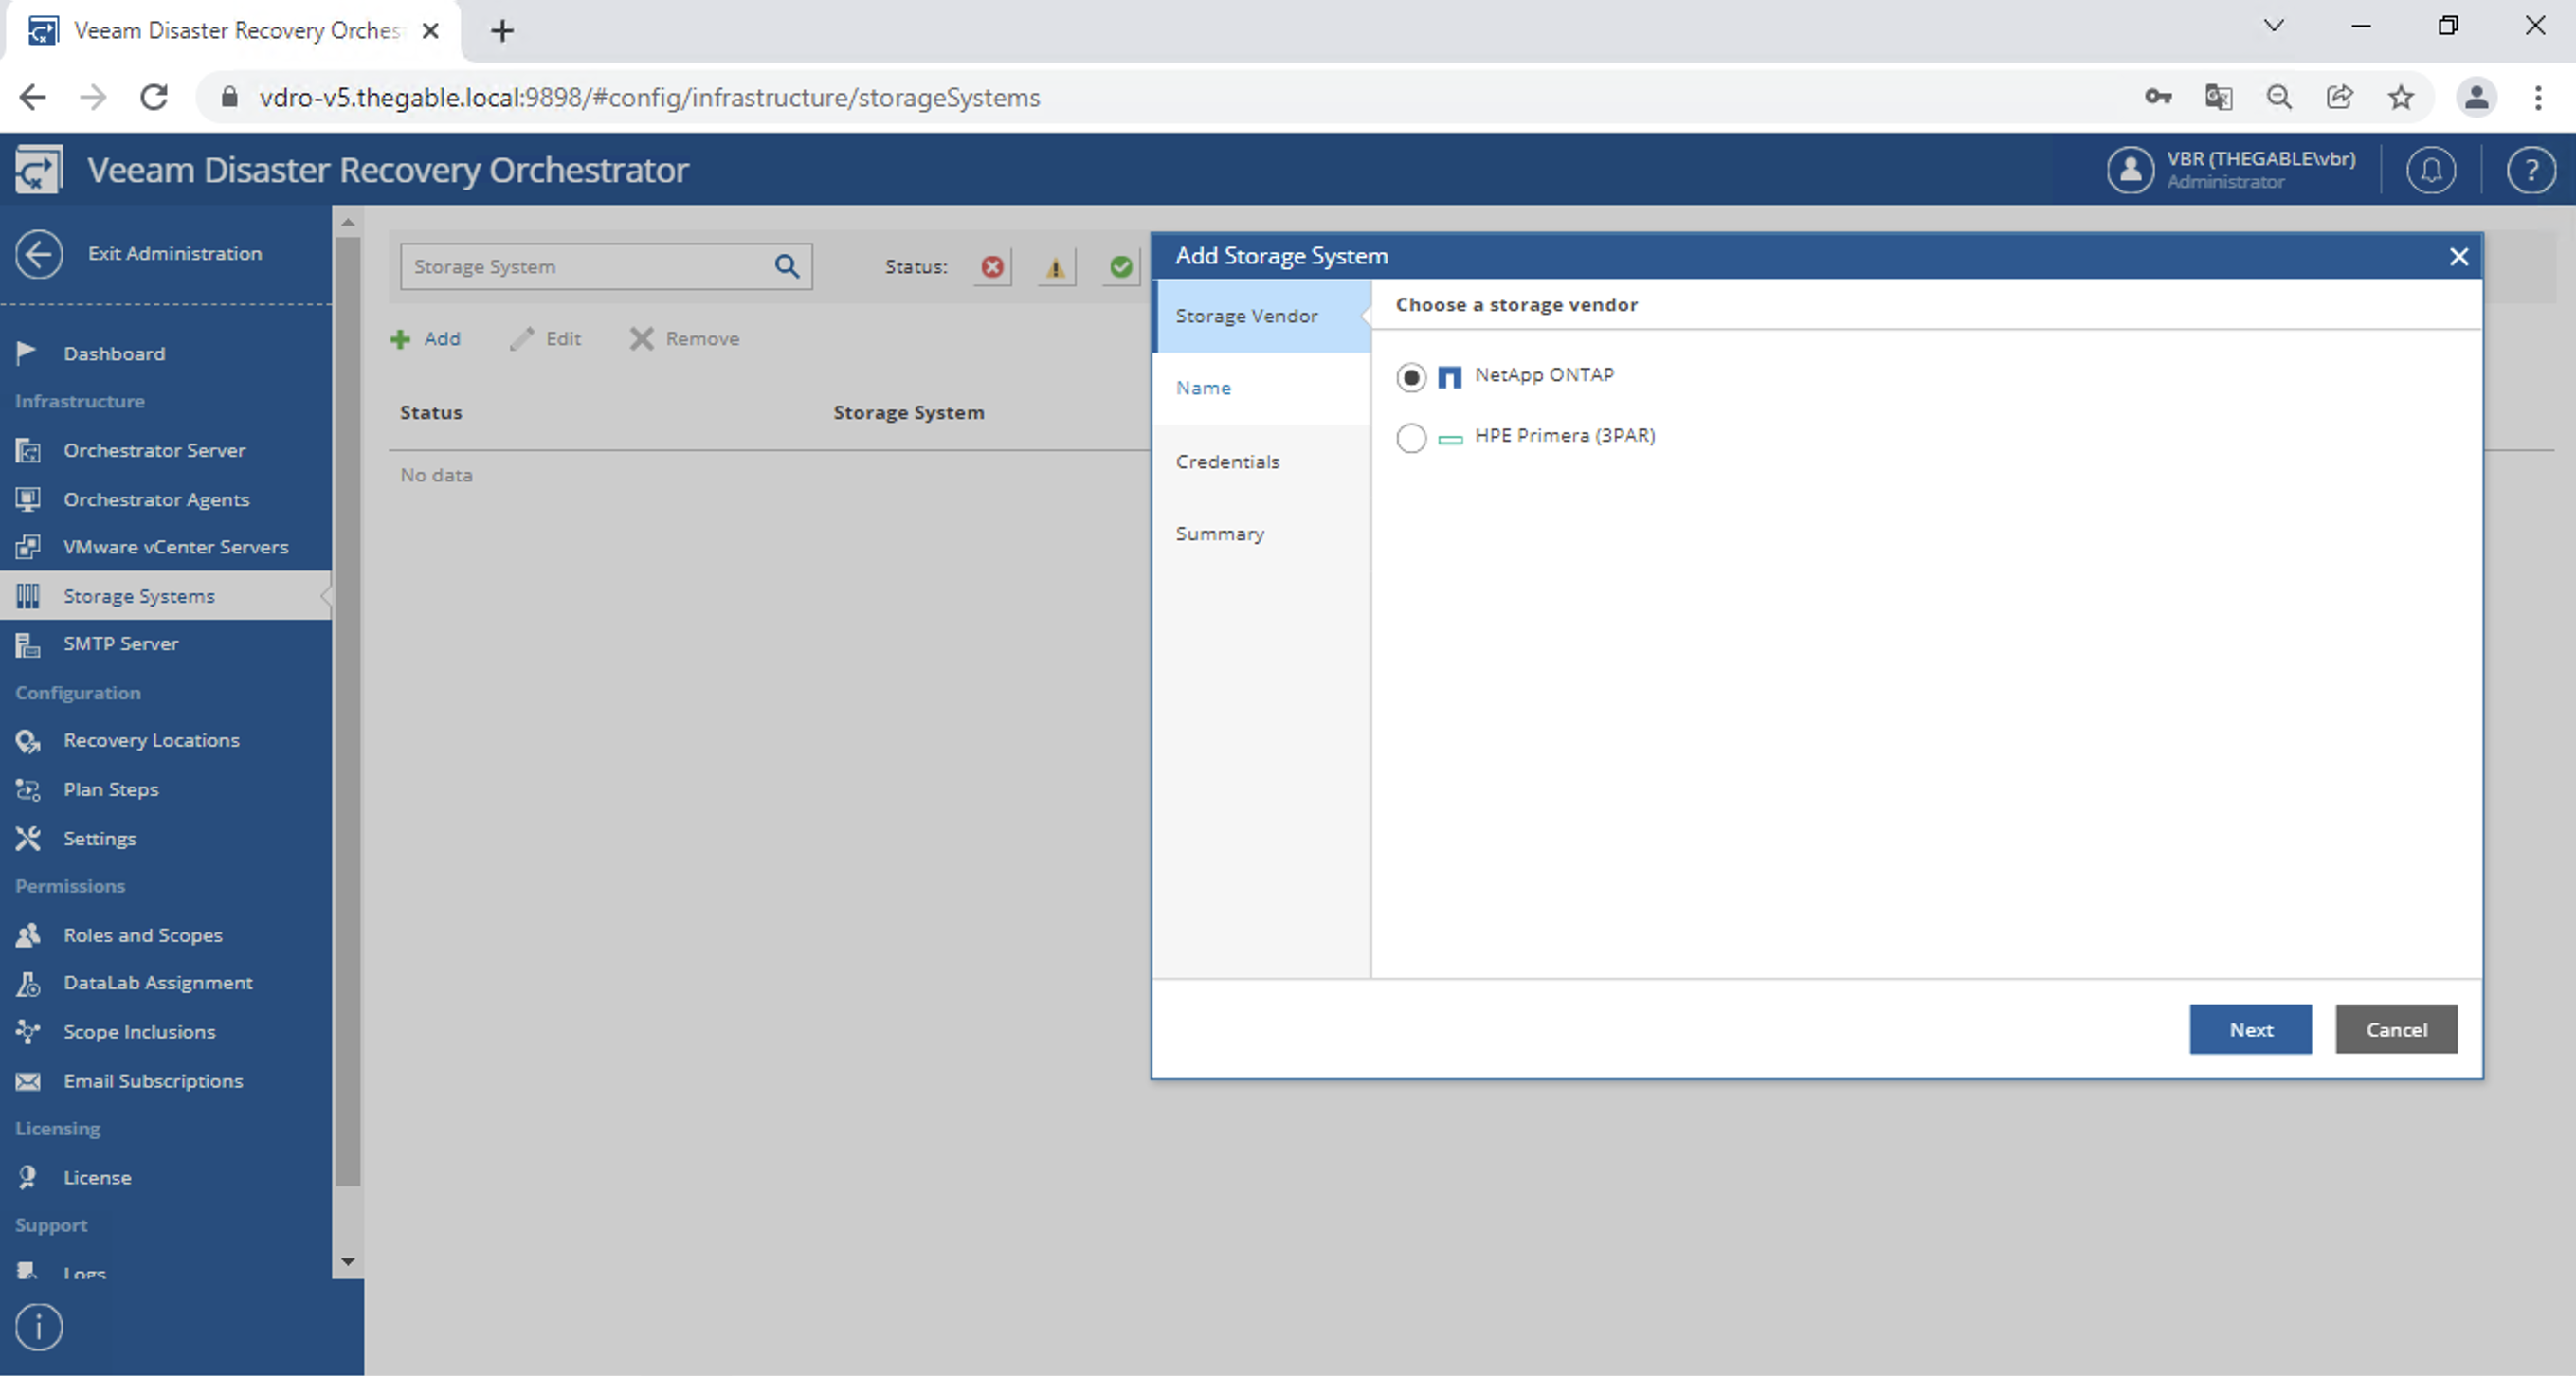 Immagine 5
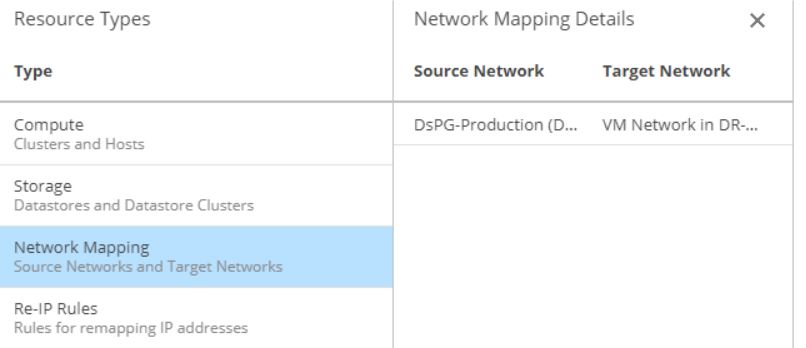
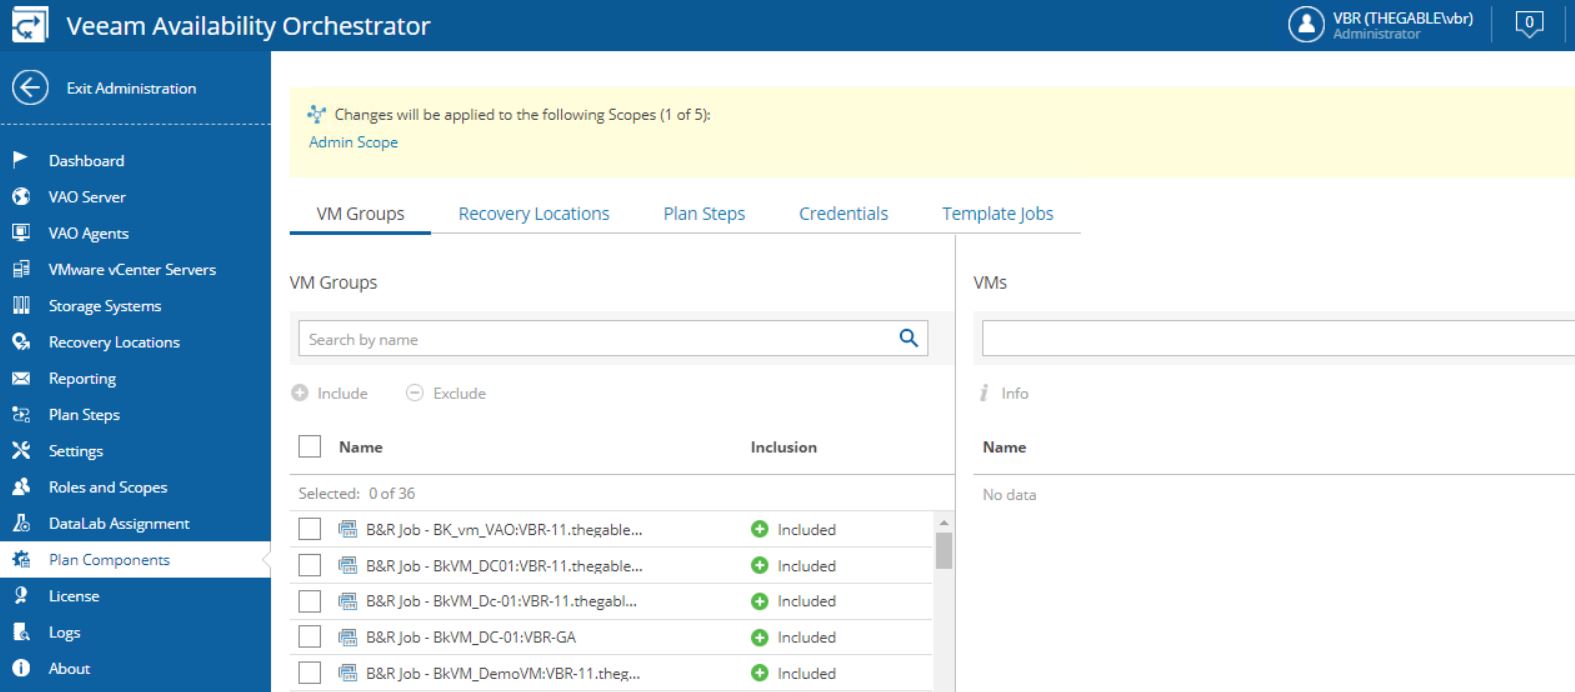
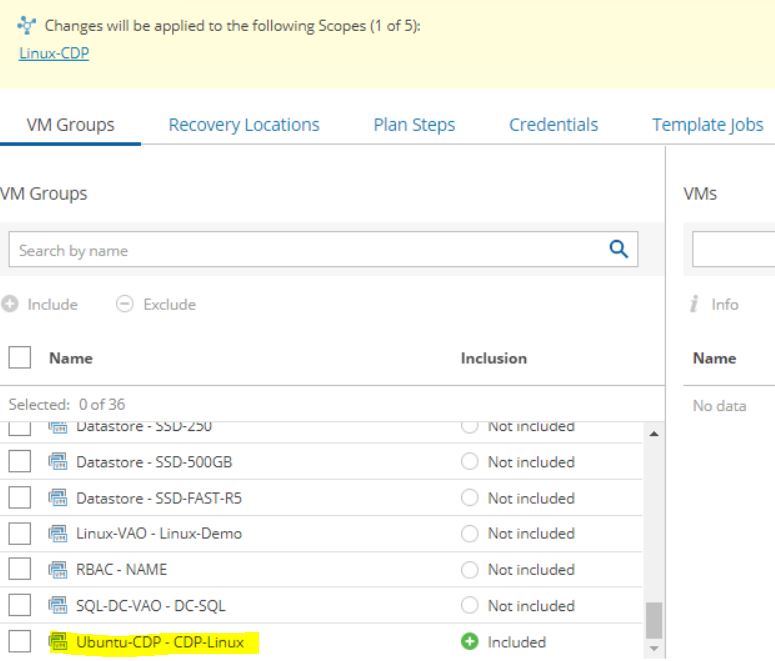
La seconda area identifica attraverso il tagging le risorse da aggiungere ai piani di DR:
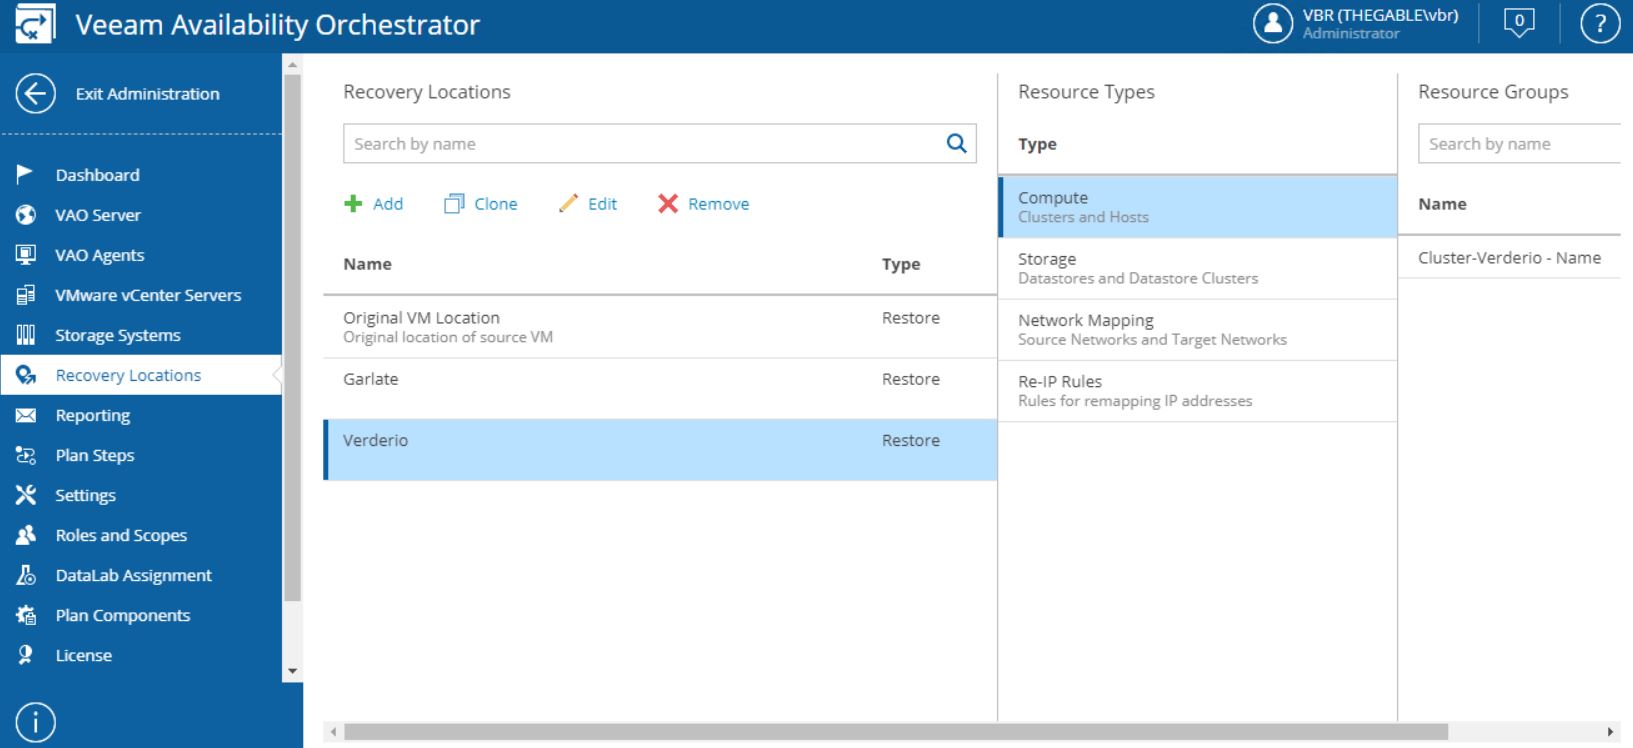
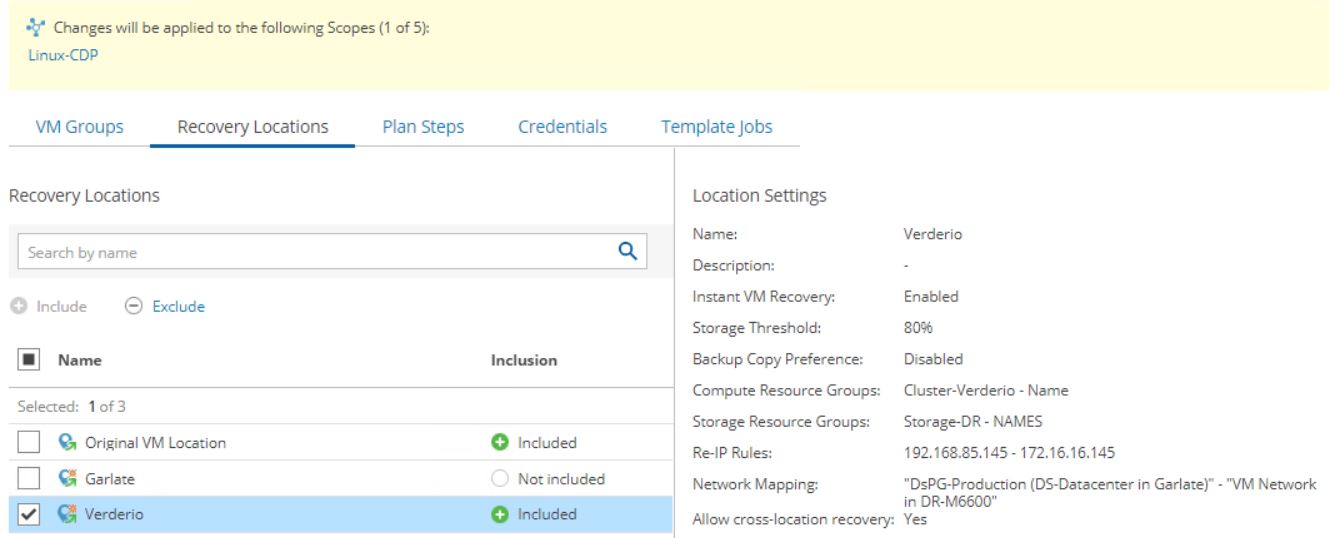
- La recovery location (immagine 6)
- Nella recovery location i datastore ove i filesystem delle VM resiederanno (immagine 7)
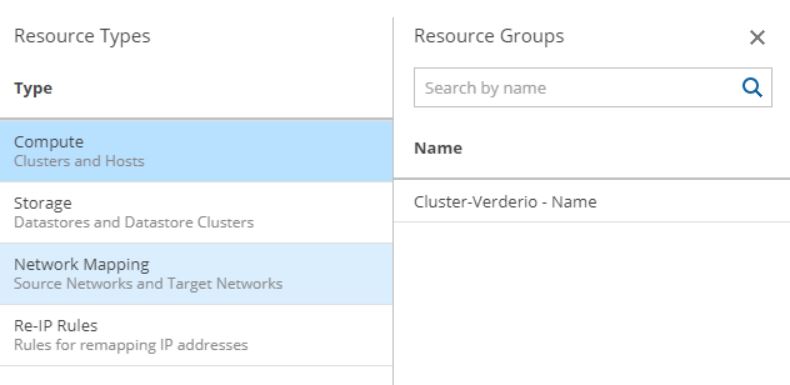
- Il mapping delle reti (immagine 8)
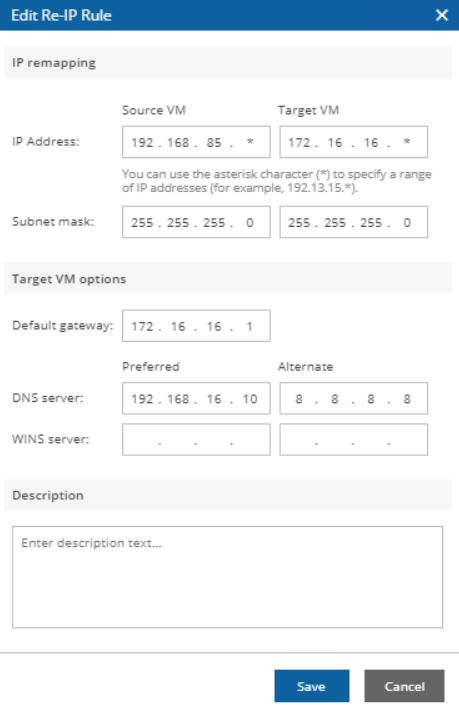
- Il remapping degli indirizzi IP (immagine 9)
Nota 2: Le operazioni sopra descritte sono possibili se e solo se tutte le risorse necessarie sono state etichettate.
Nota 3: Il remapping automatico degli indirizzi IP in caso di avvio di un piano di DR è disponibile solo per le VM Windows.
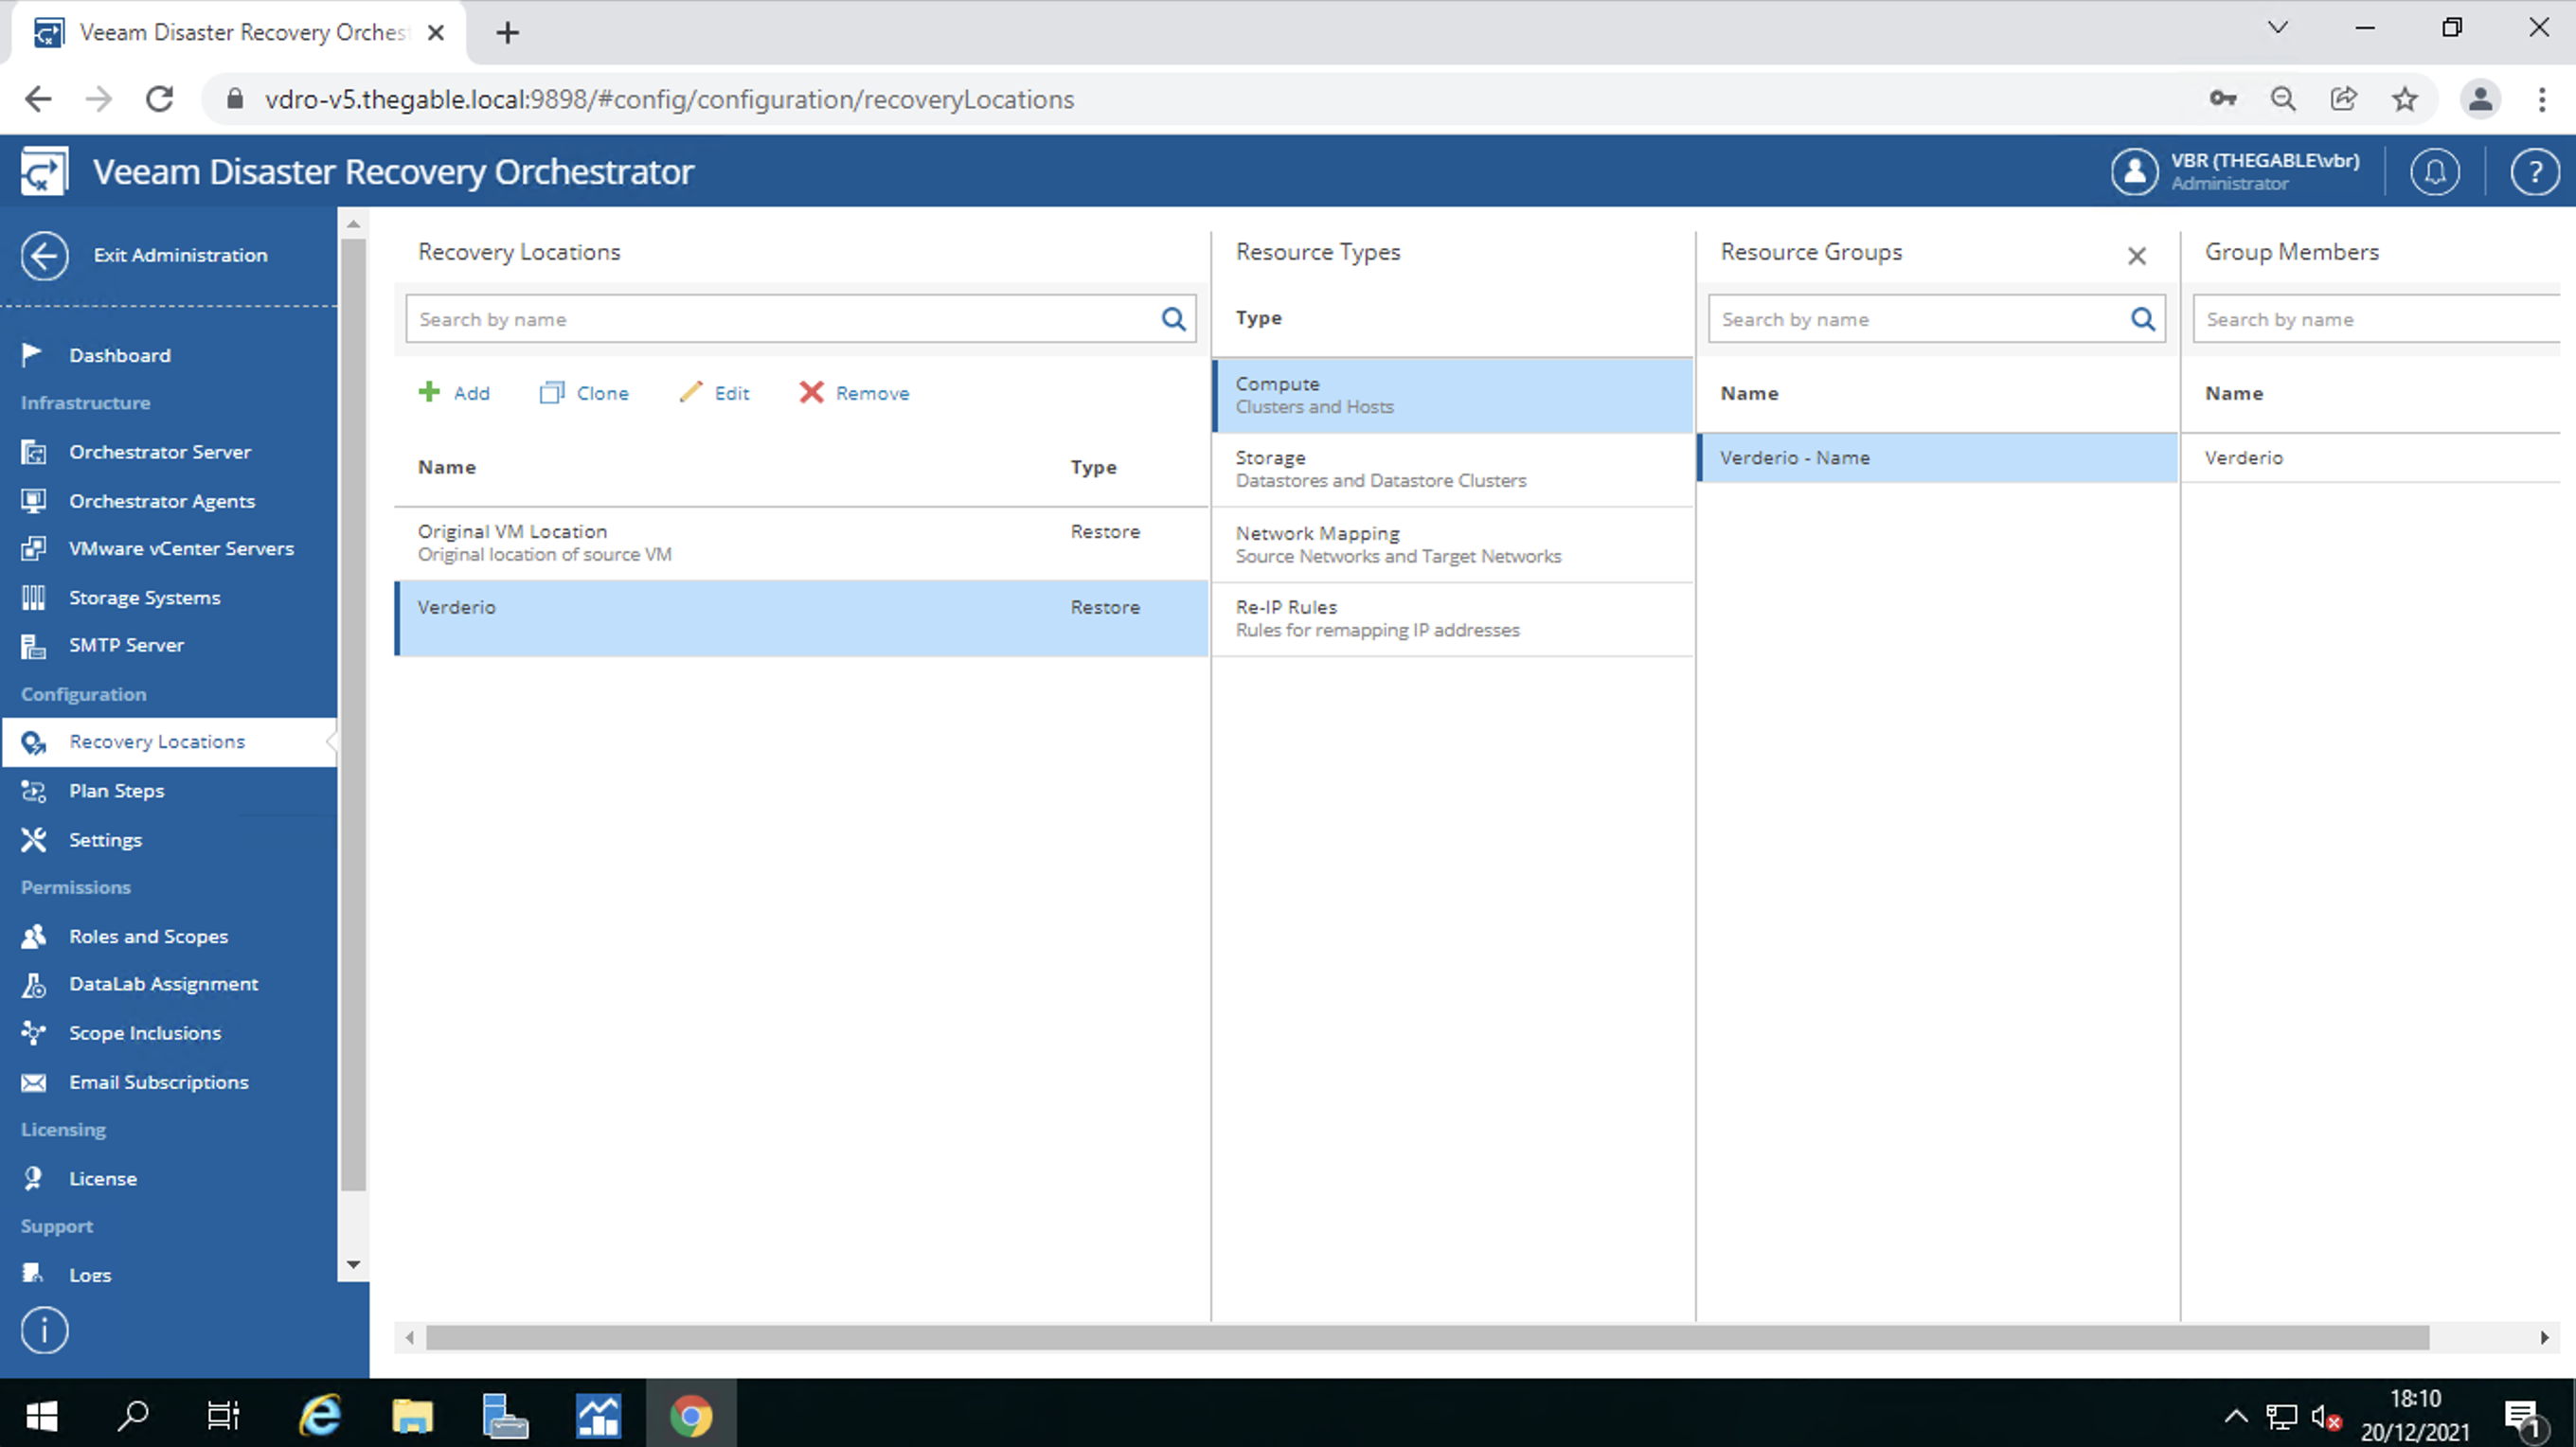 Immagine 6
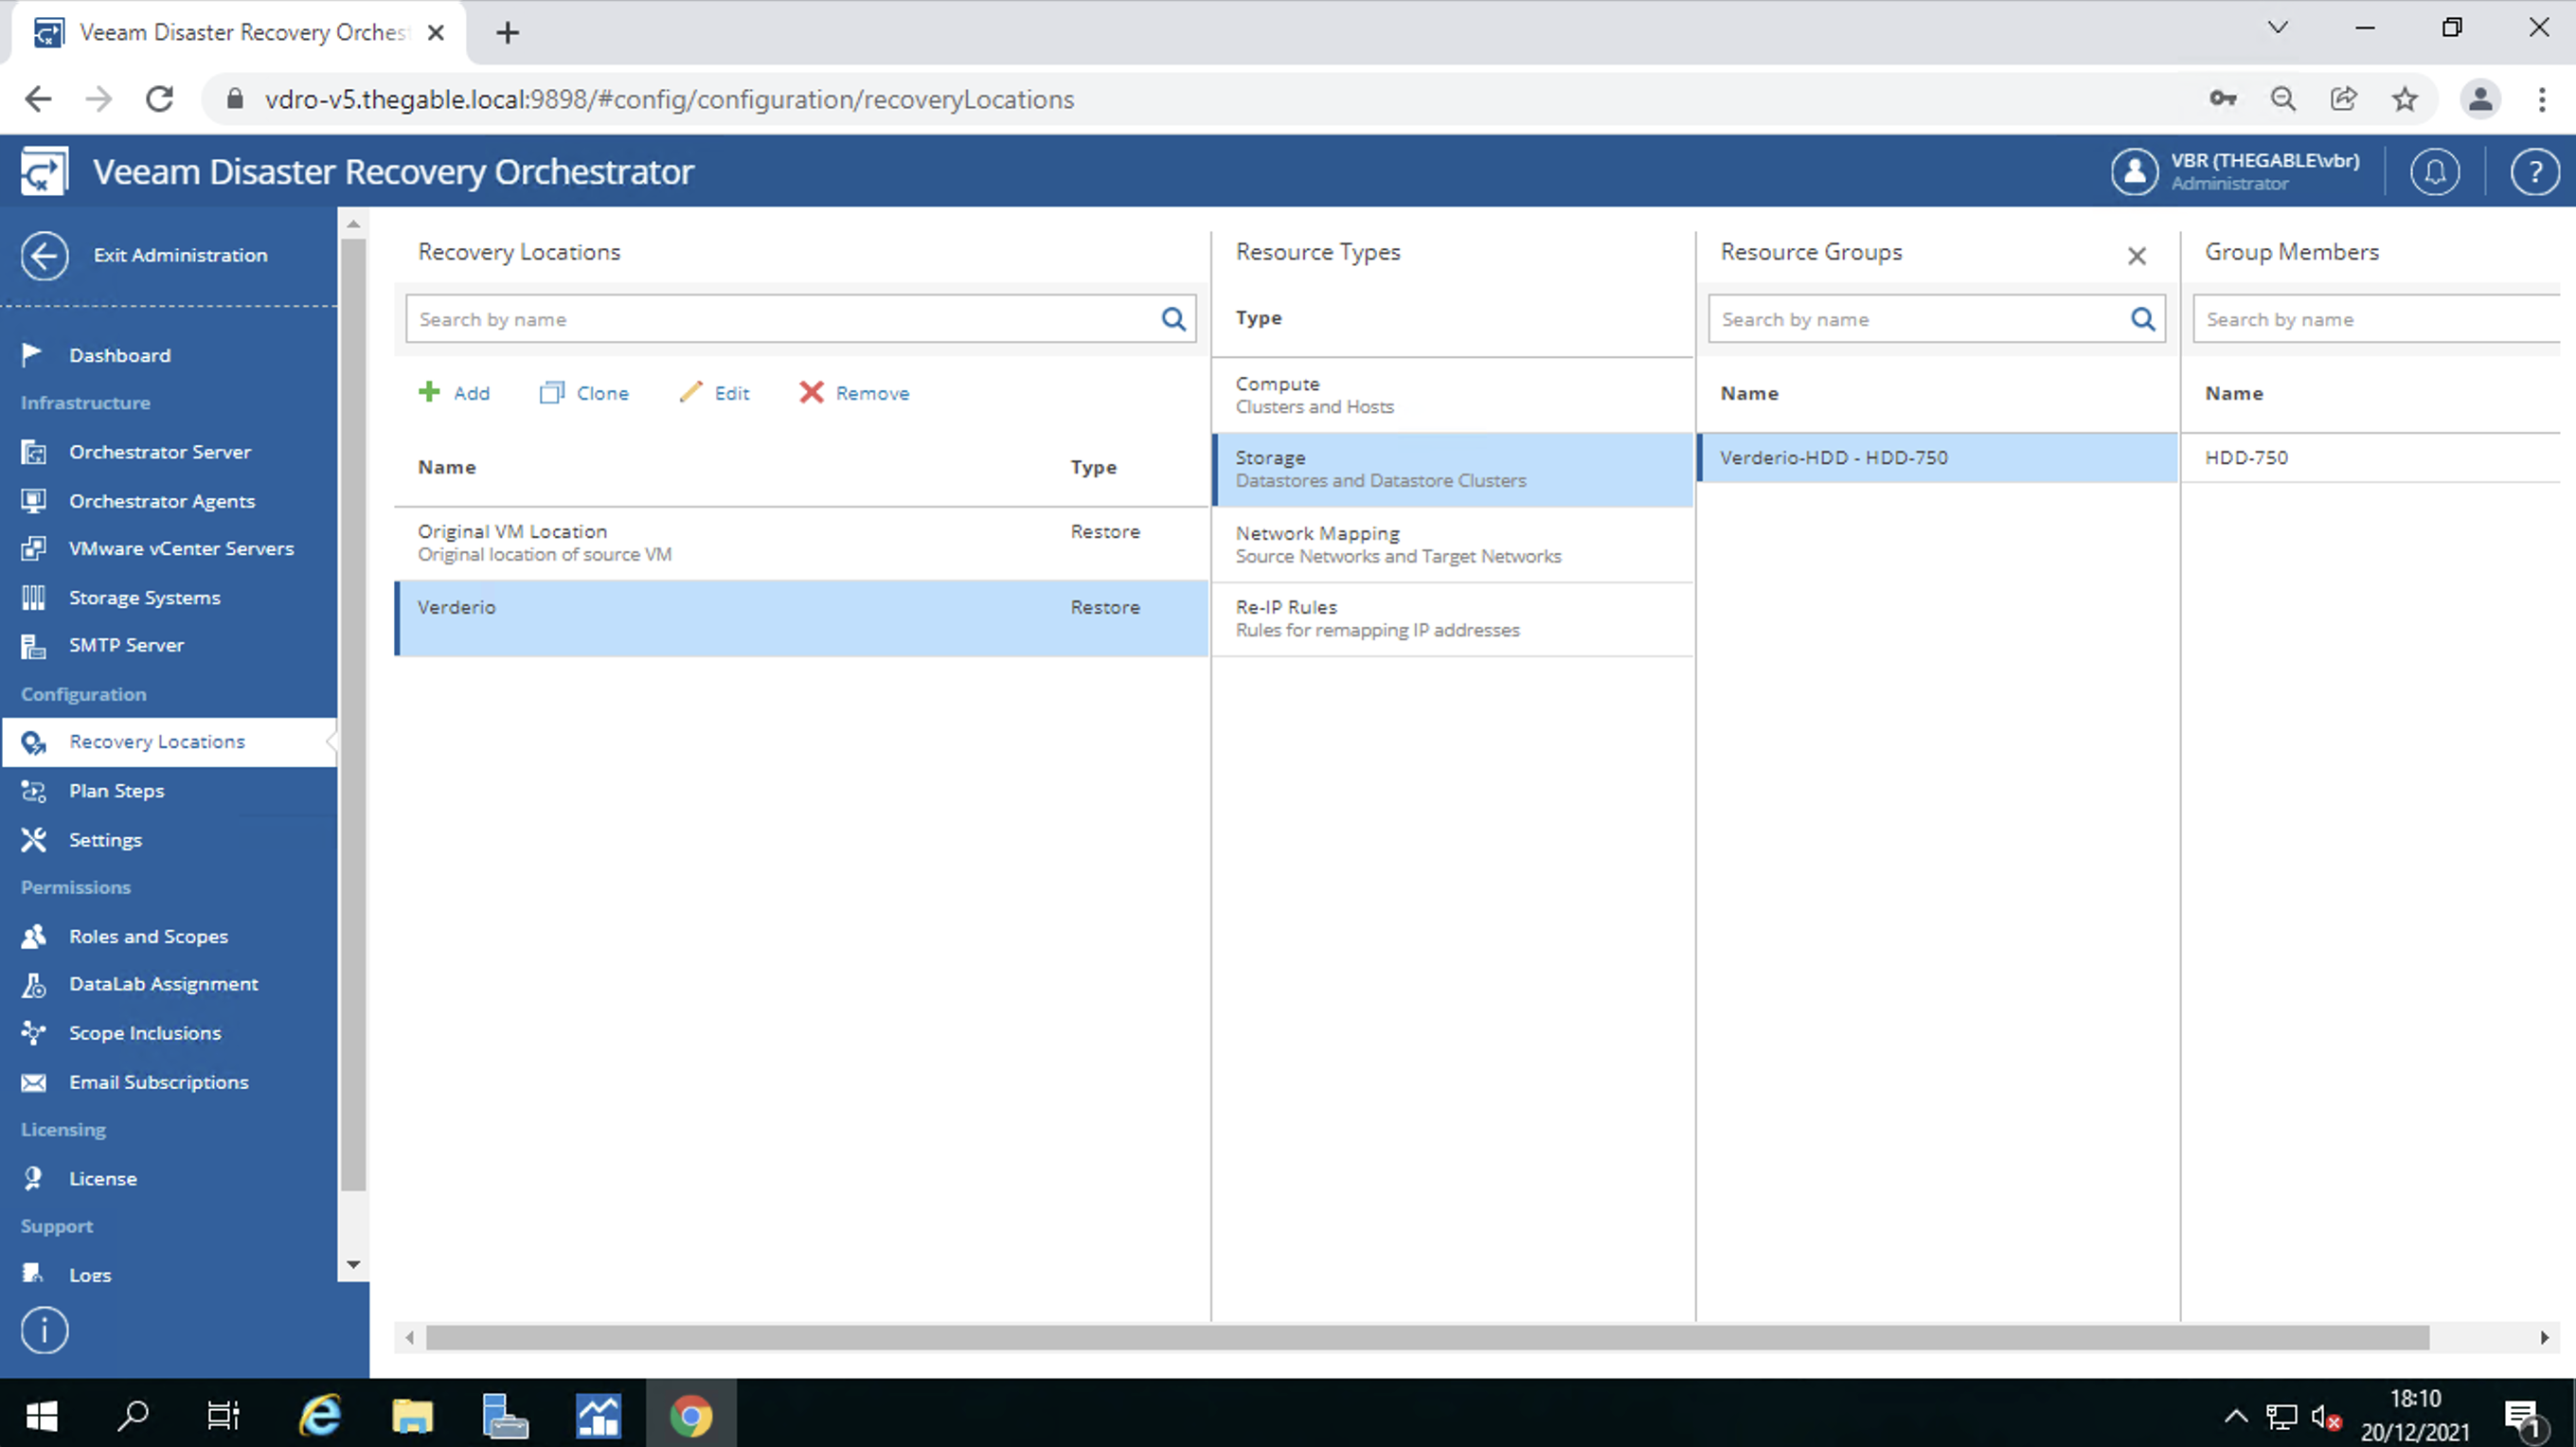 Immagine 7
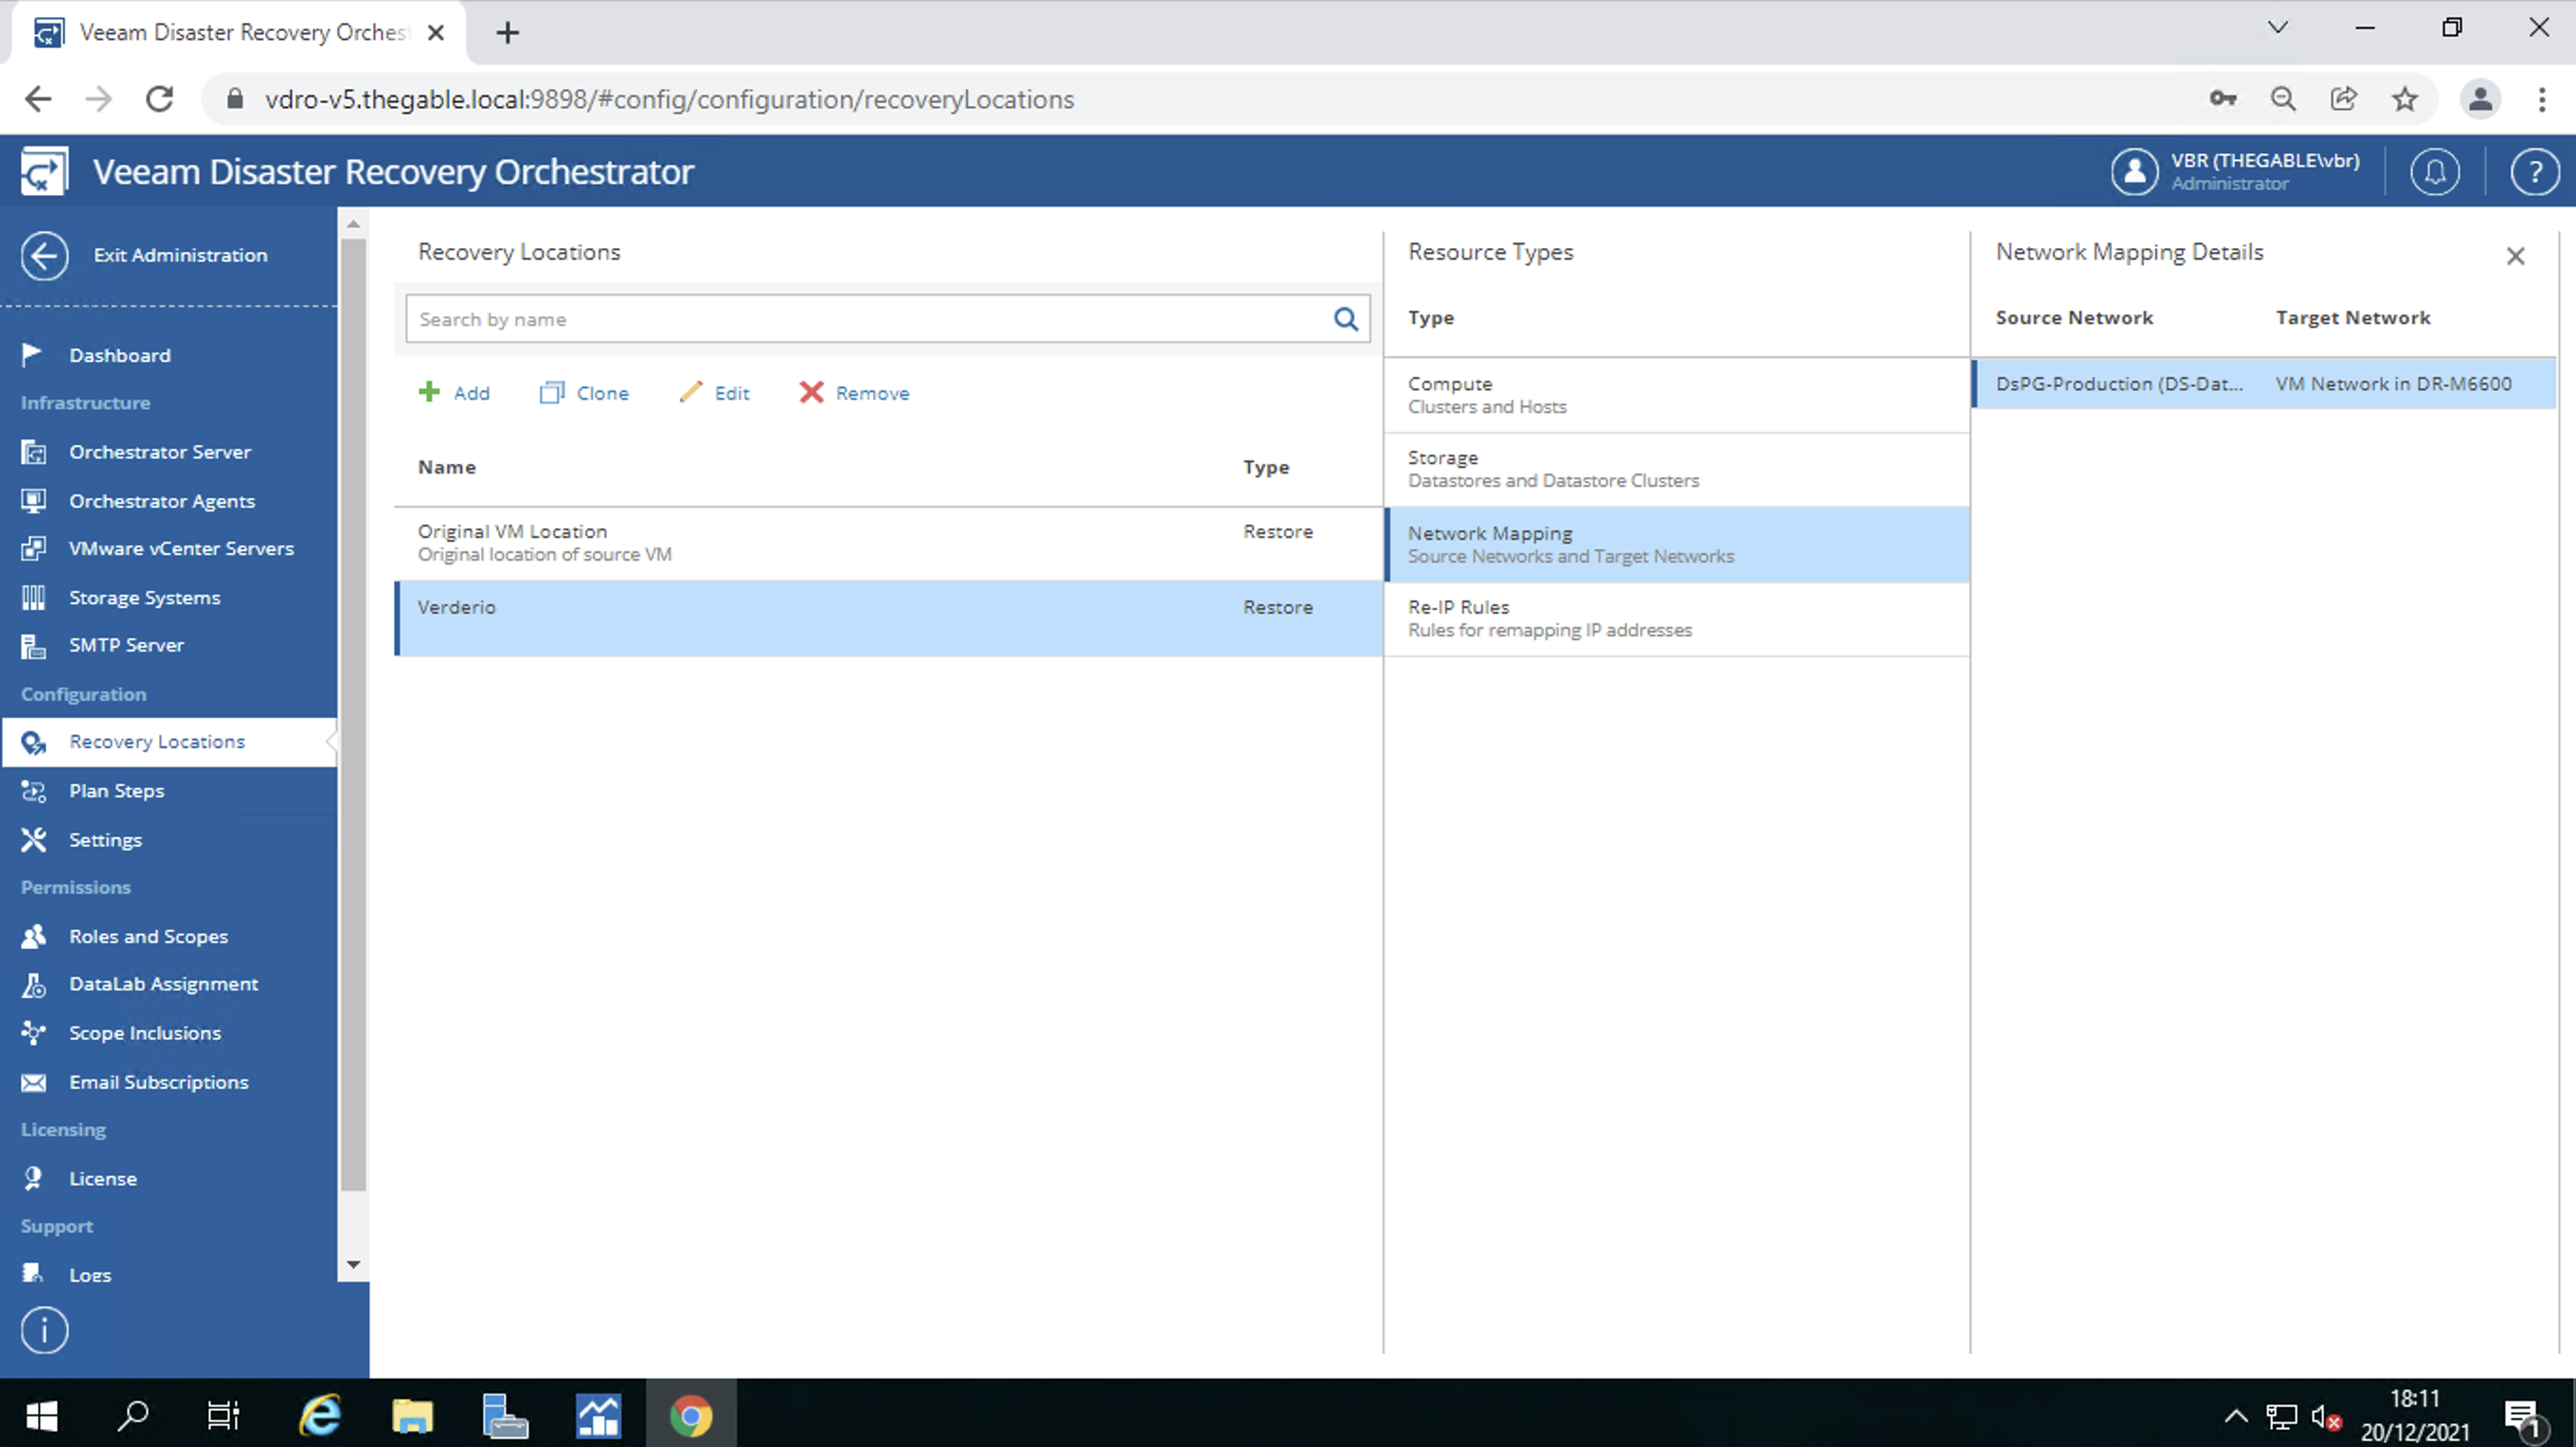 Immagine 8
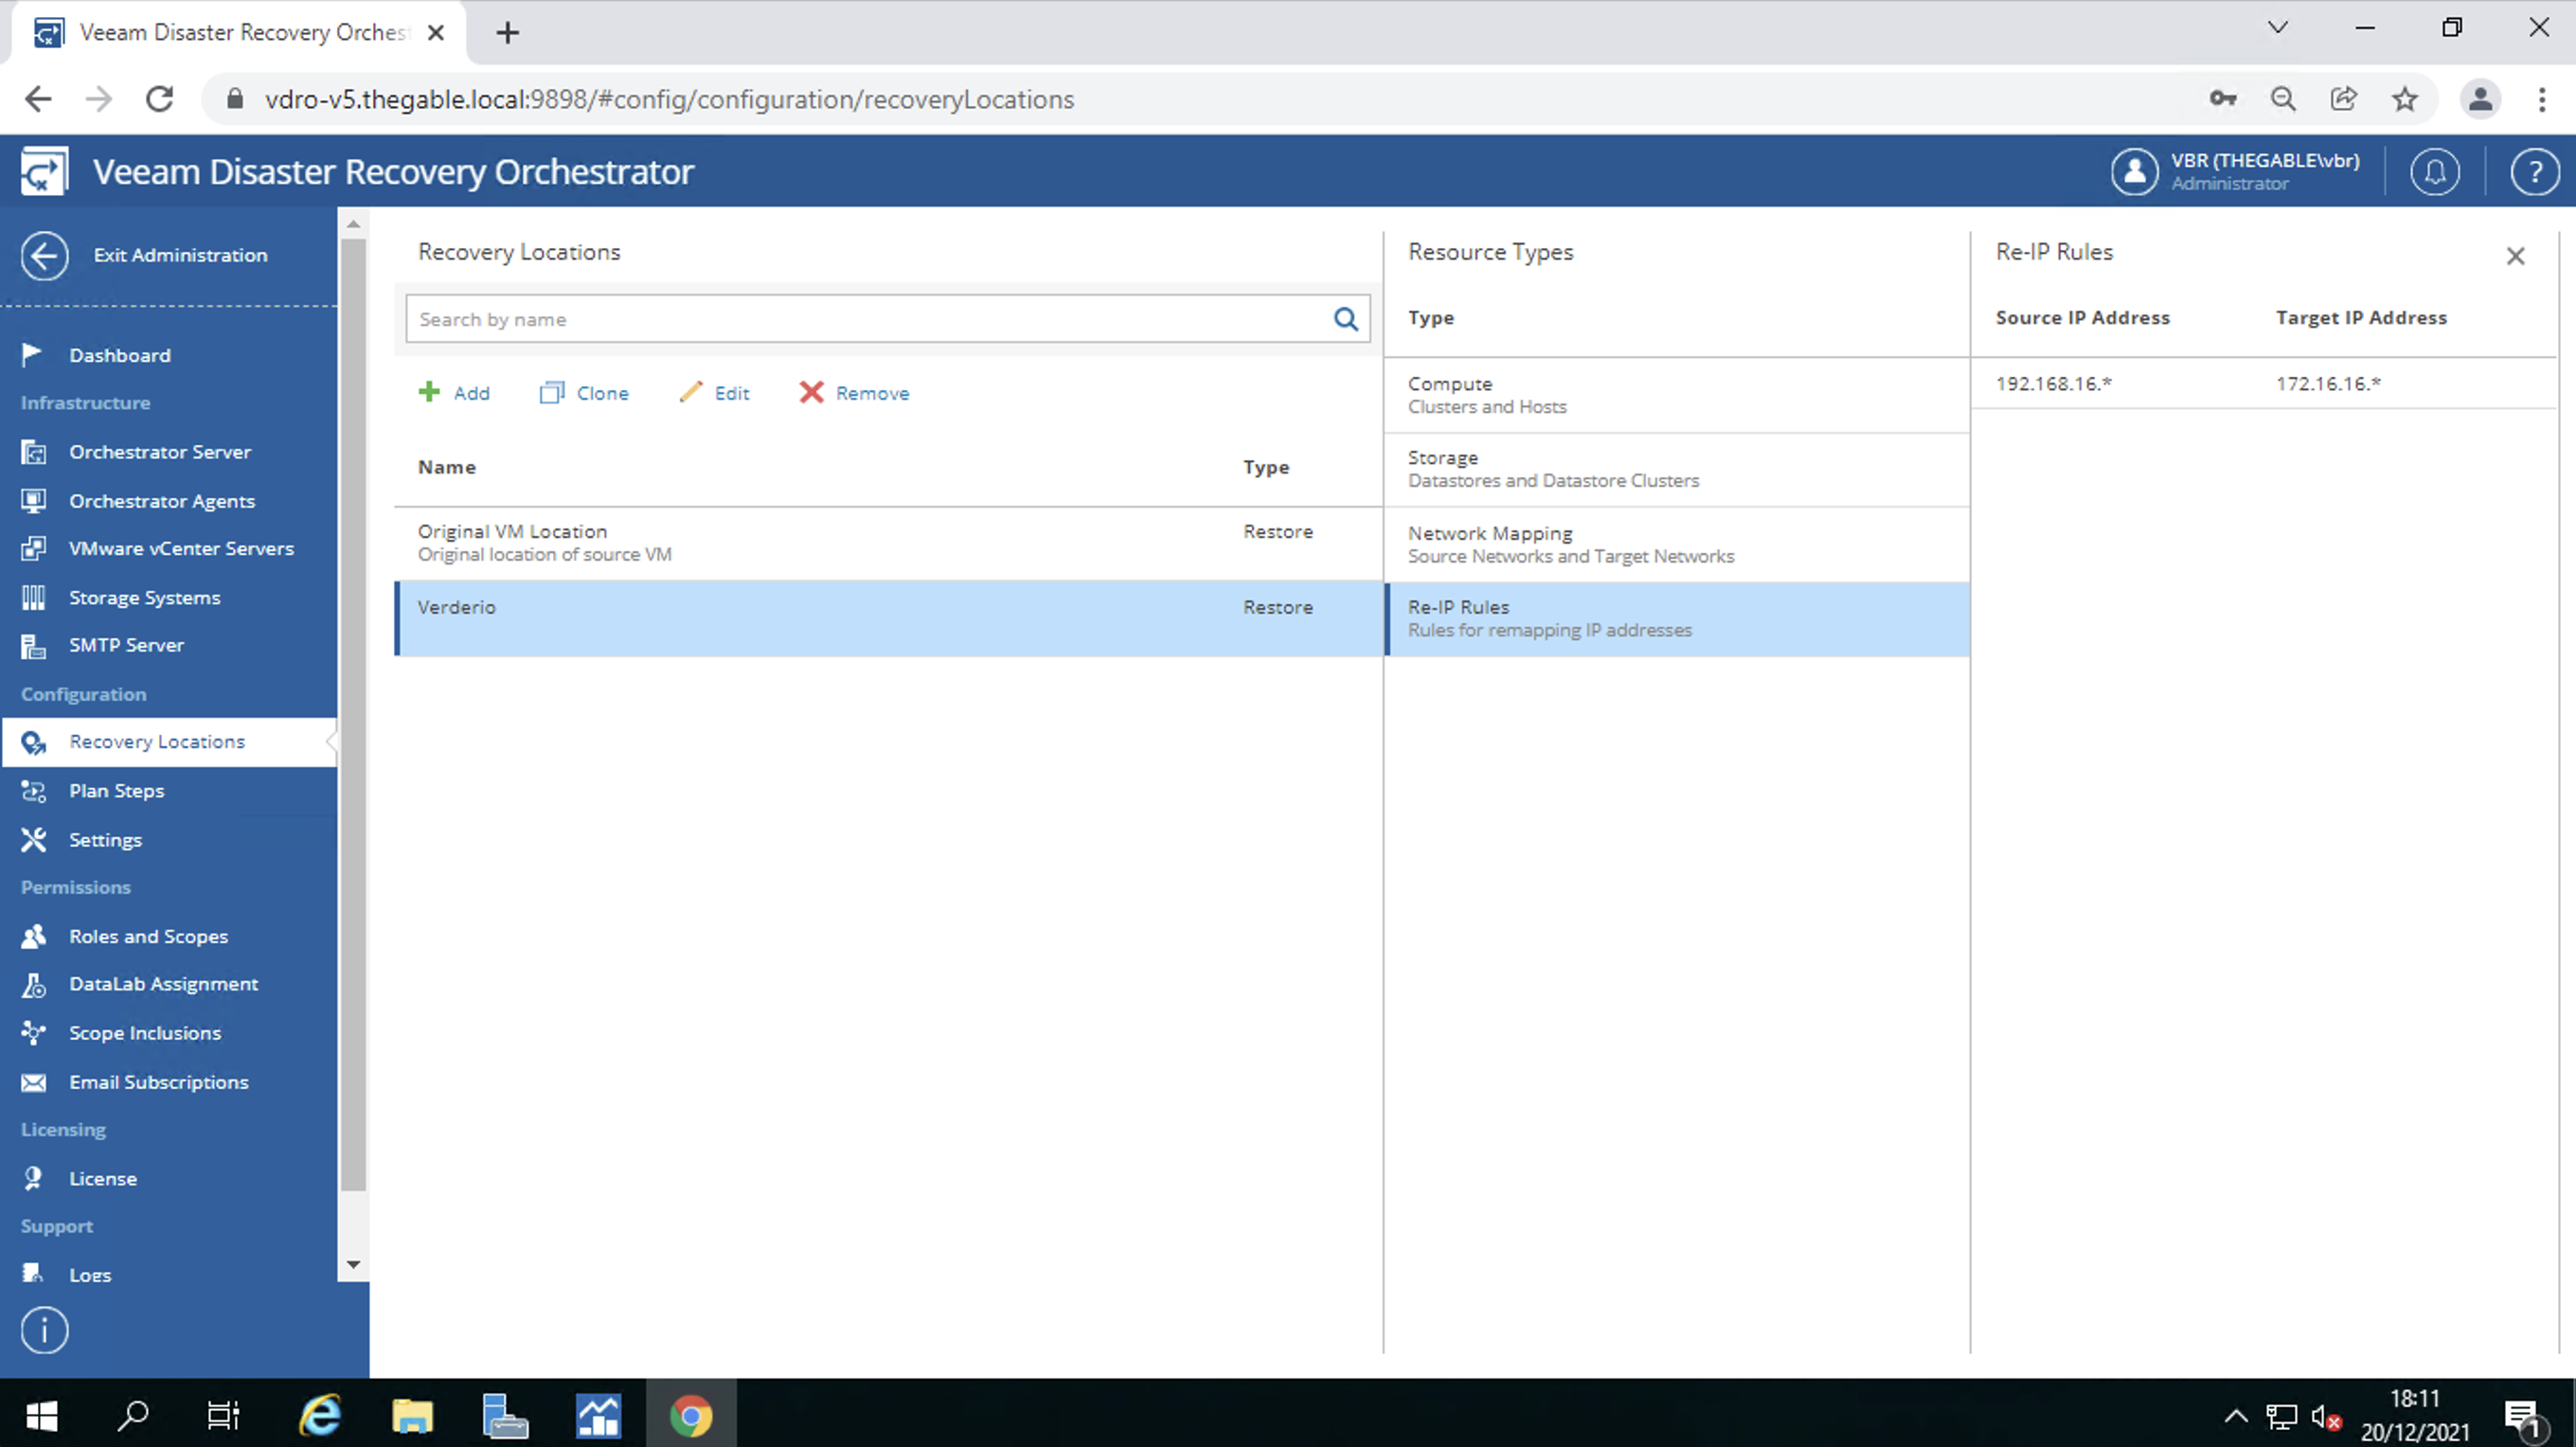 Immagine 9
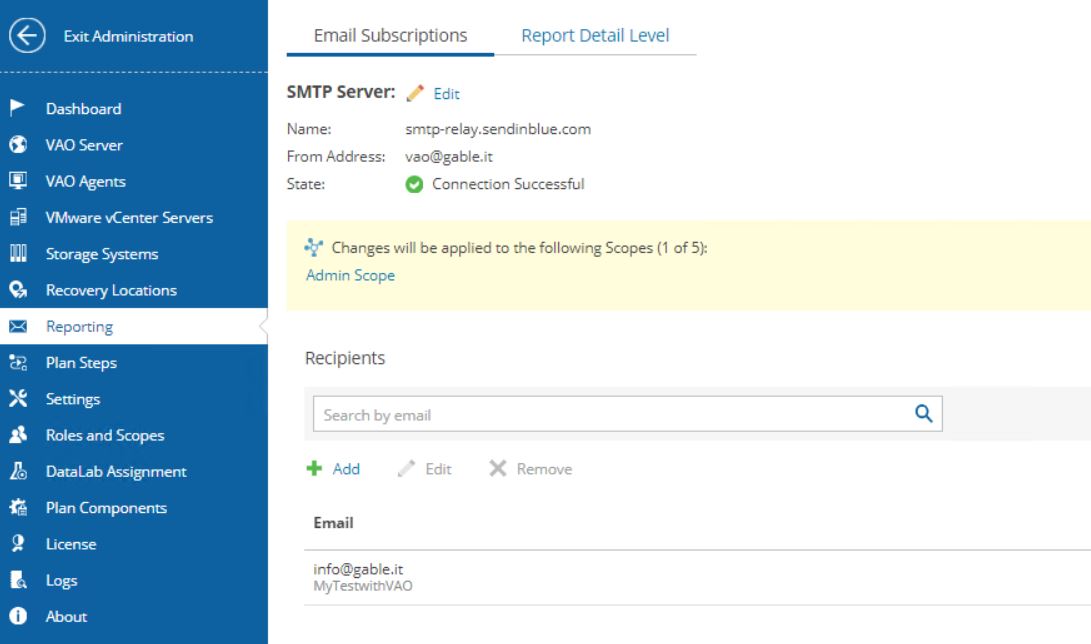
Nella terza area sono identificate:
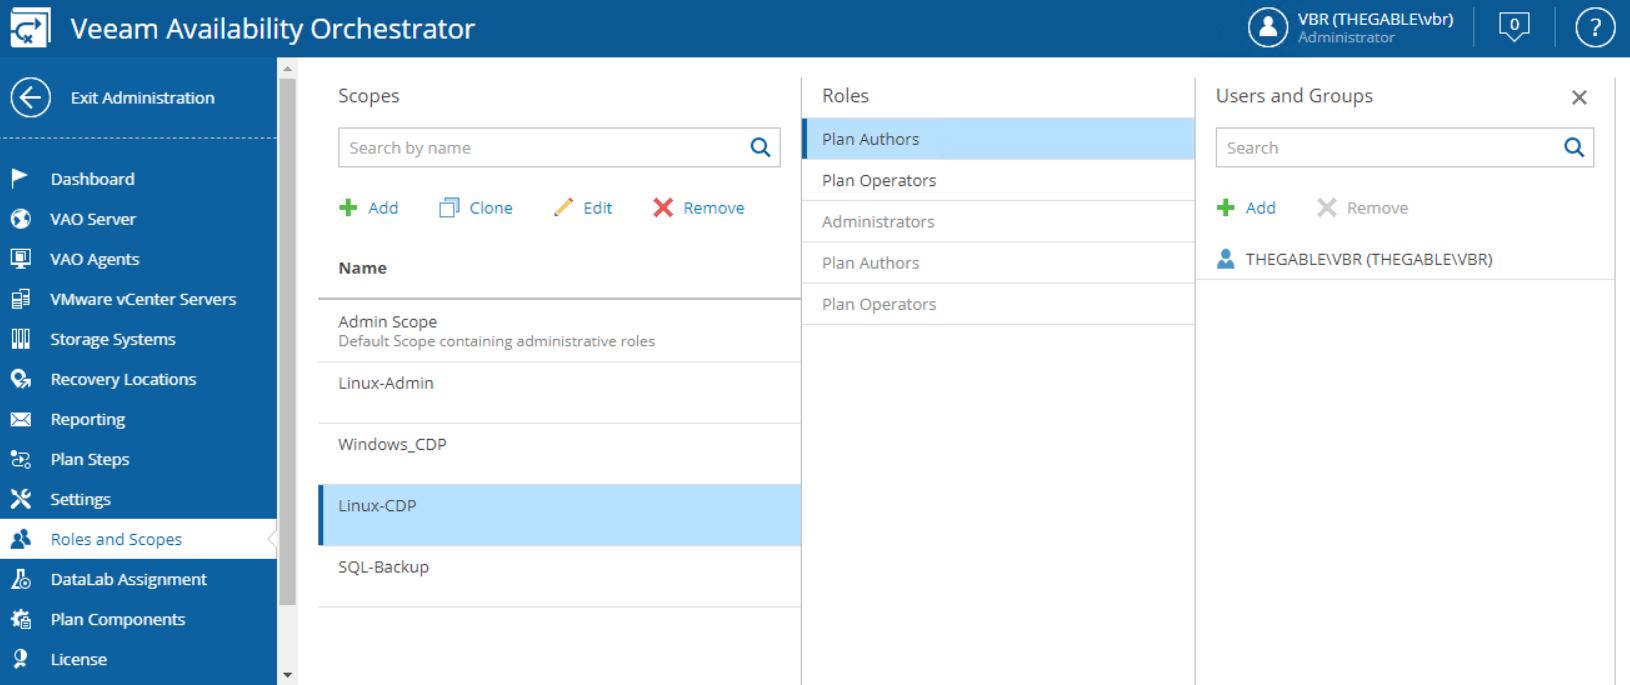
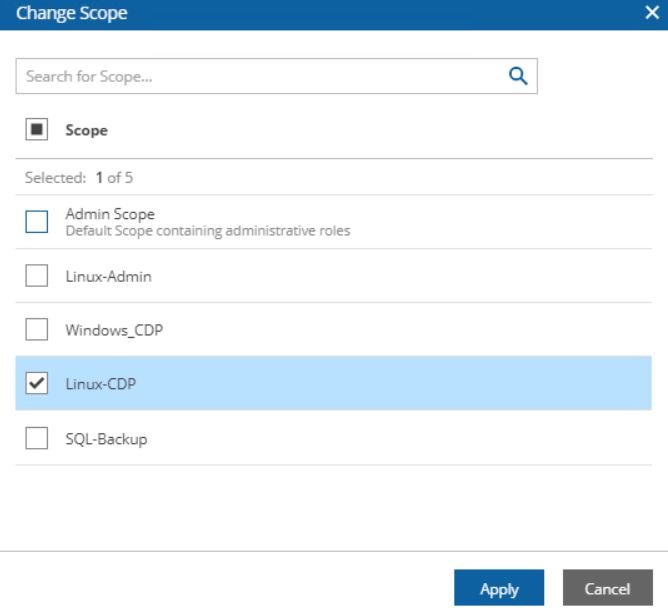
- La profilazione degli utenti. In parole semplici il VDrO permette di creare utenti in grado di amministrare solo degli specifici workload che sono chiamati “scopes” (immagine 10).
- L’assegnazione dei DataLab agli “scopes”. Ricordo che i DataLab permettono di verificare che il piano di DR sia utilizzabile (immagine 11).
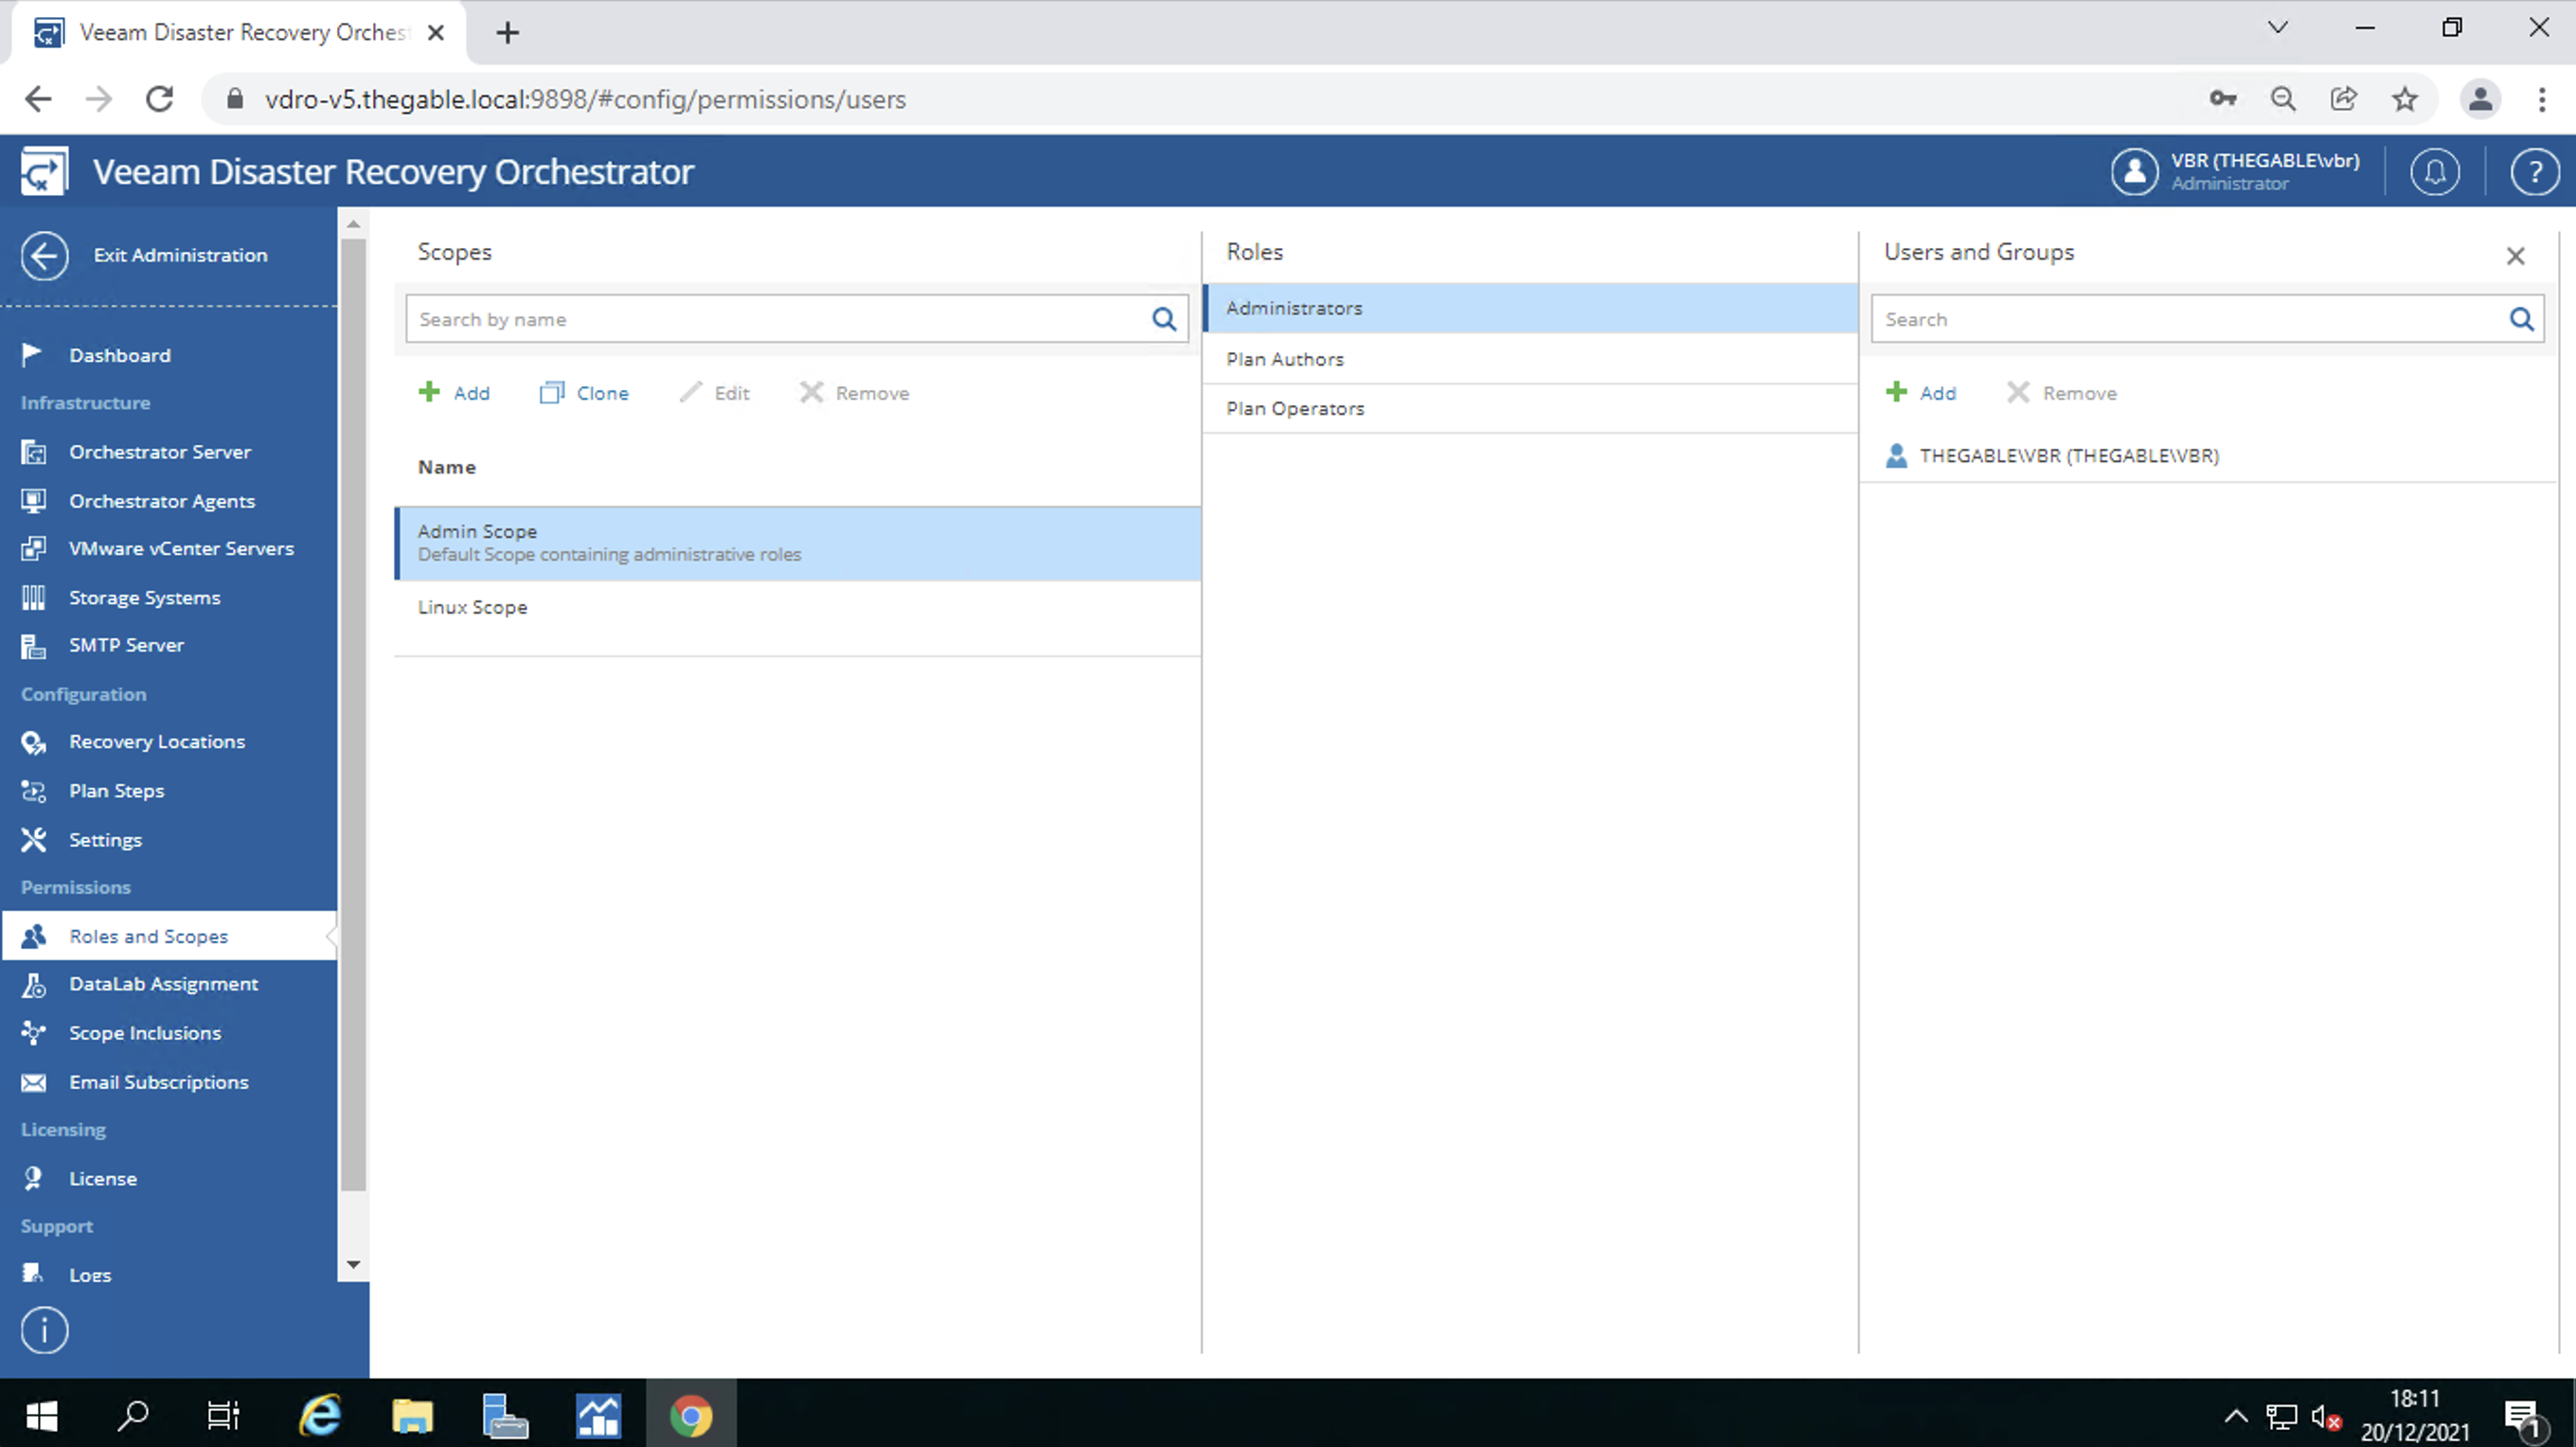 Immagine 10
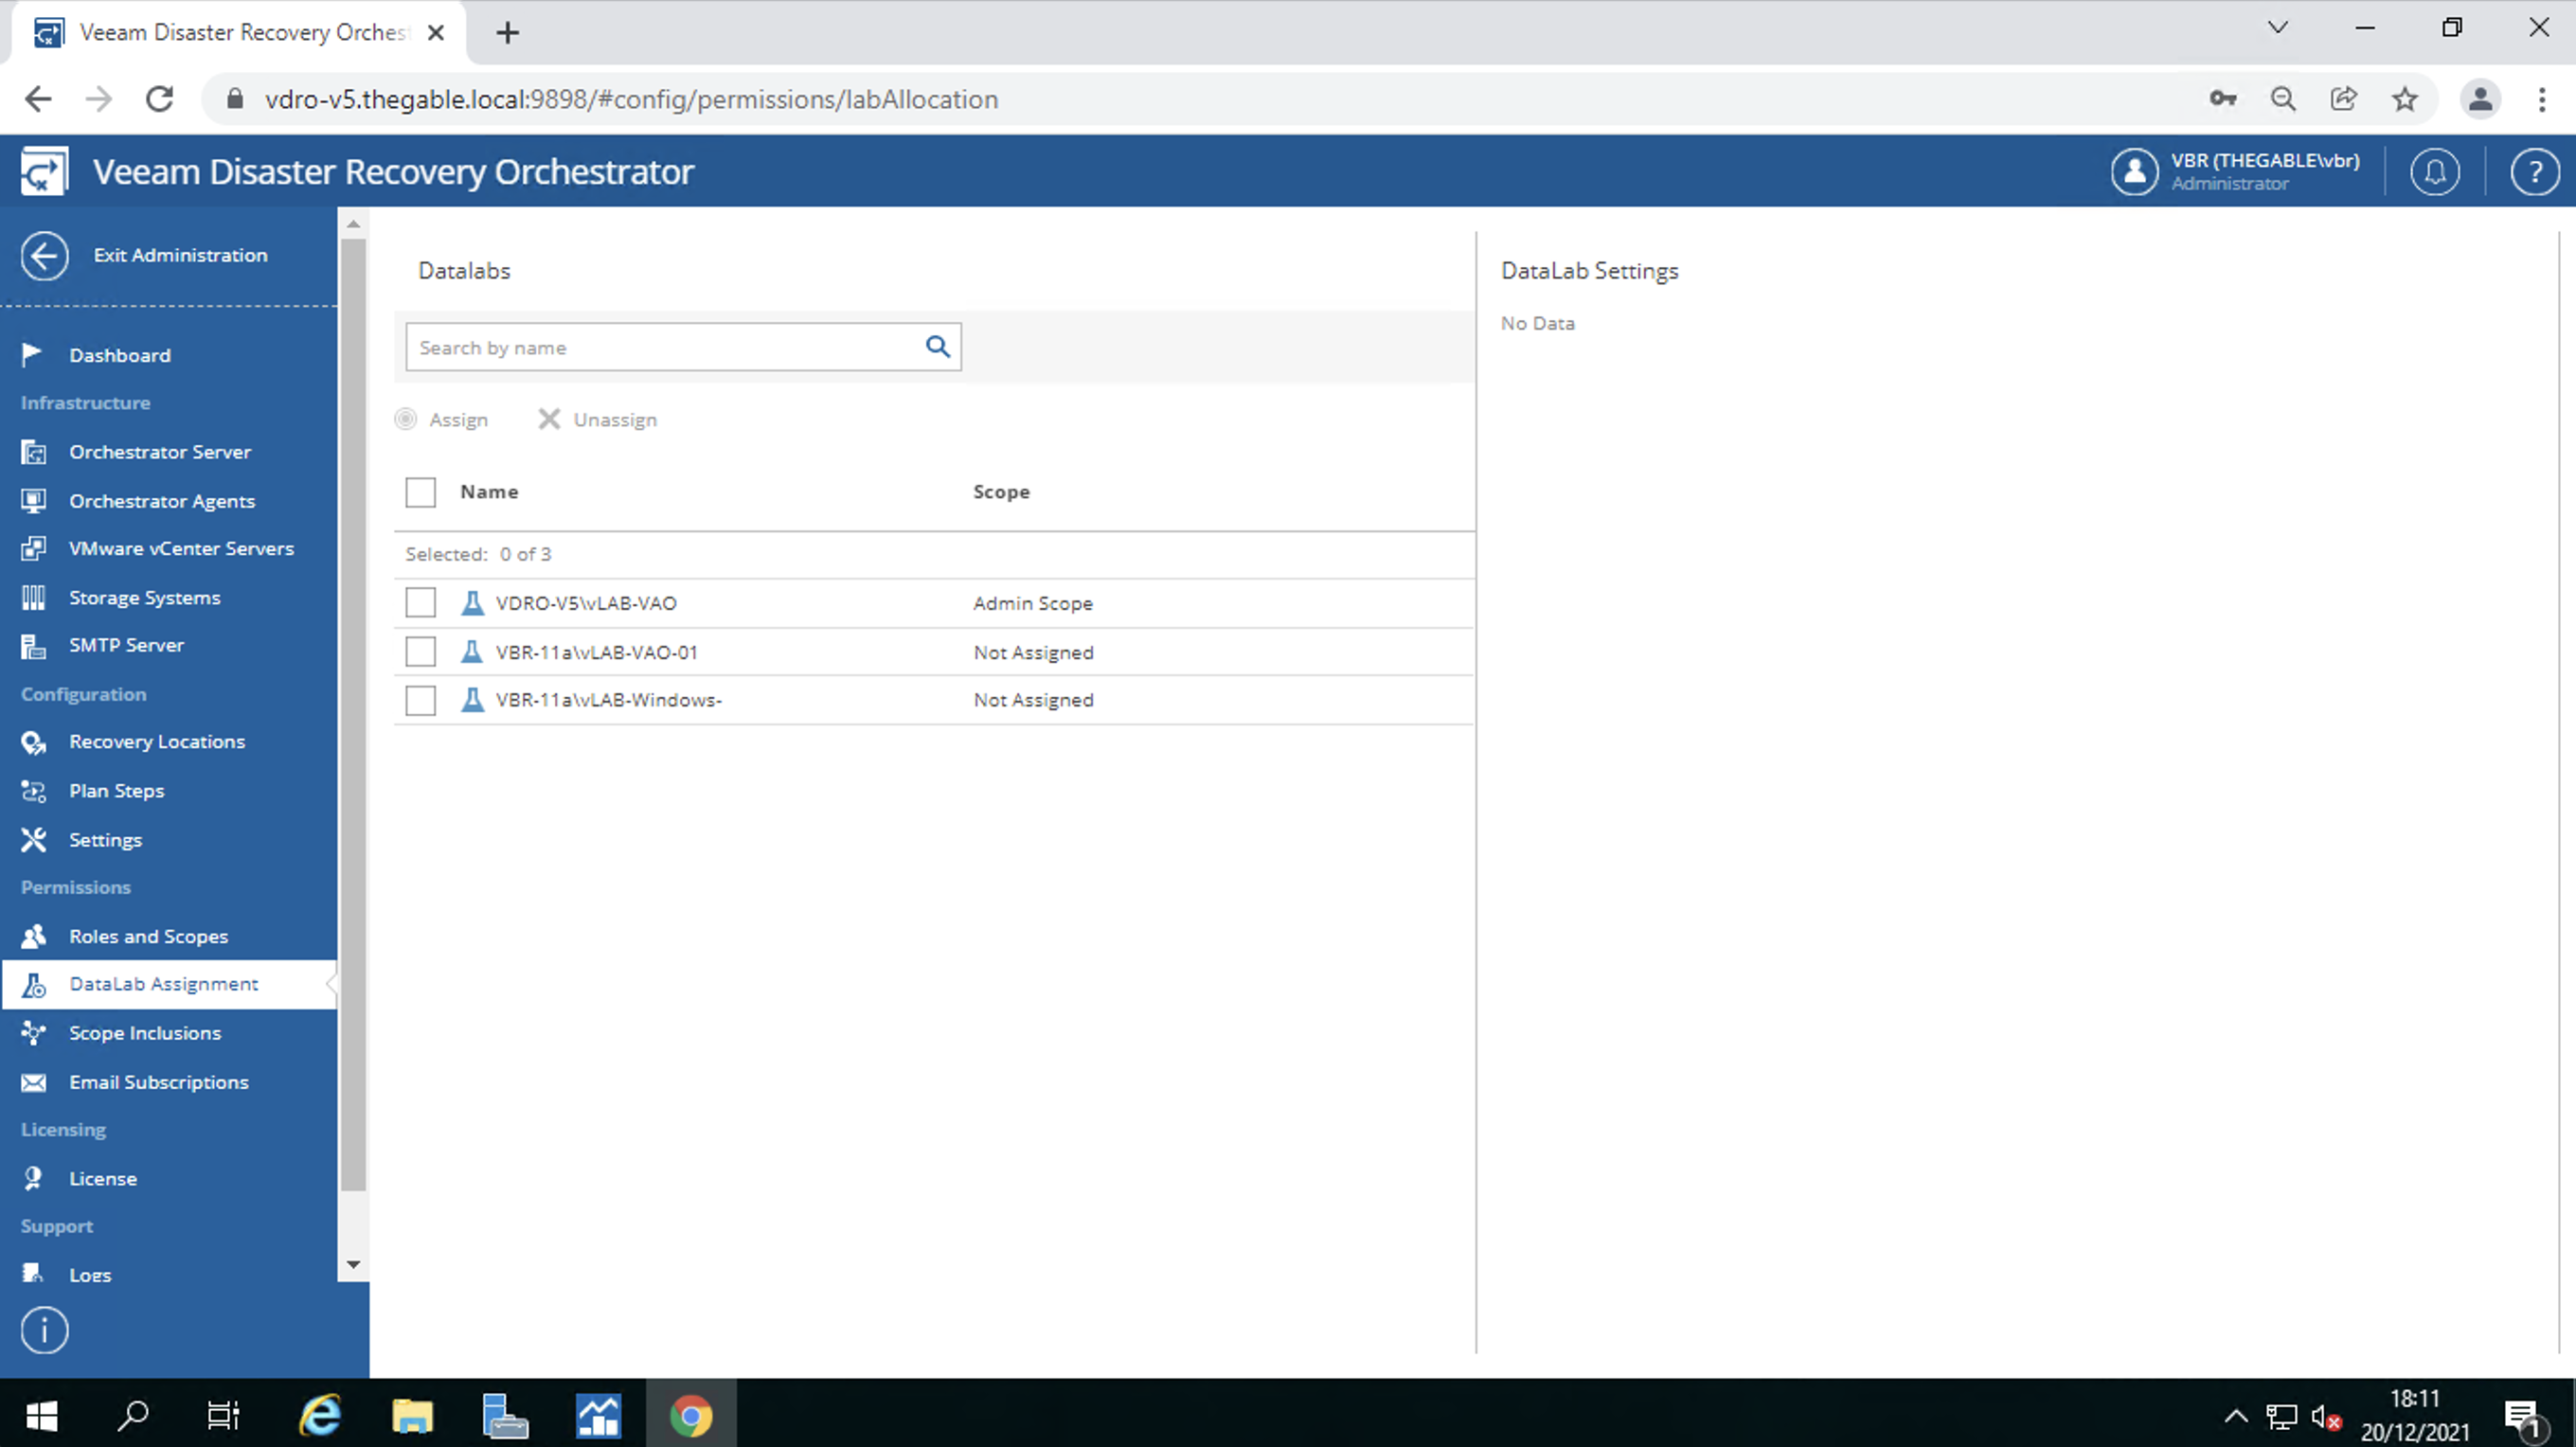 Immagine 11
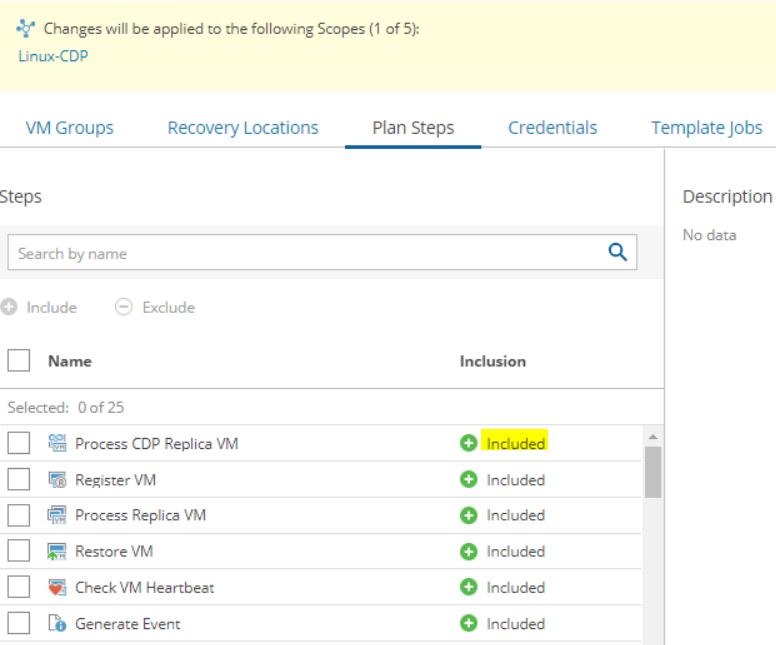
L’ultima configurazione permette di legare il gruppo di VM replicate o salvate tramite backup (dette VM Groups) agli scopes degli utenti.
Ad esempio, l’immagine 12 riporta che il VM Group “B&R Job – Replication VAO Win 10” è assegnato (included) ad entrambi gli scopes Admin e Linux.
 Immagine 10
Nel prossimo ed ultimo articolo scopriremo come creare e verificare un piano di DR.
A presto
 Figura 1
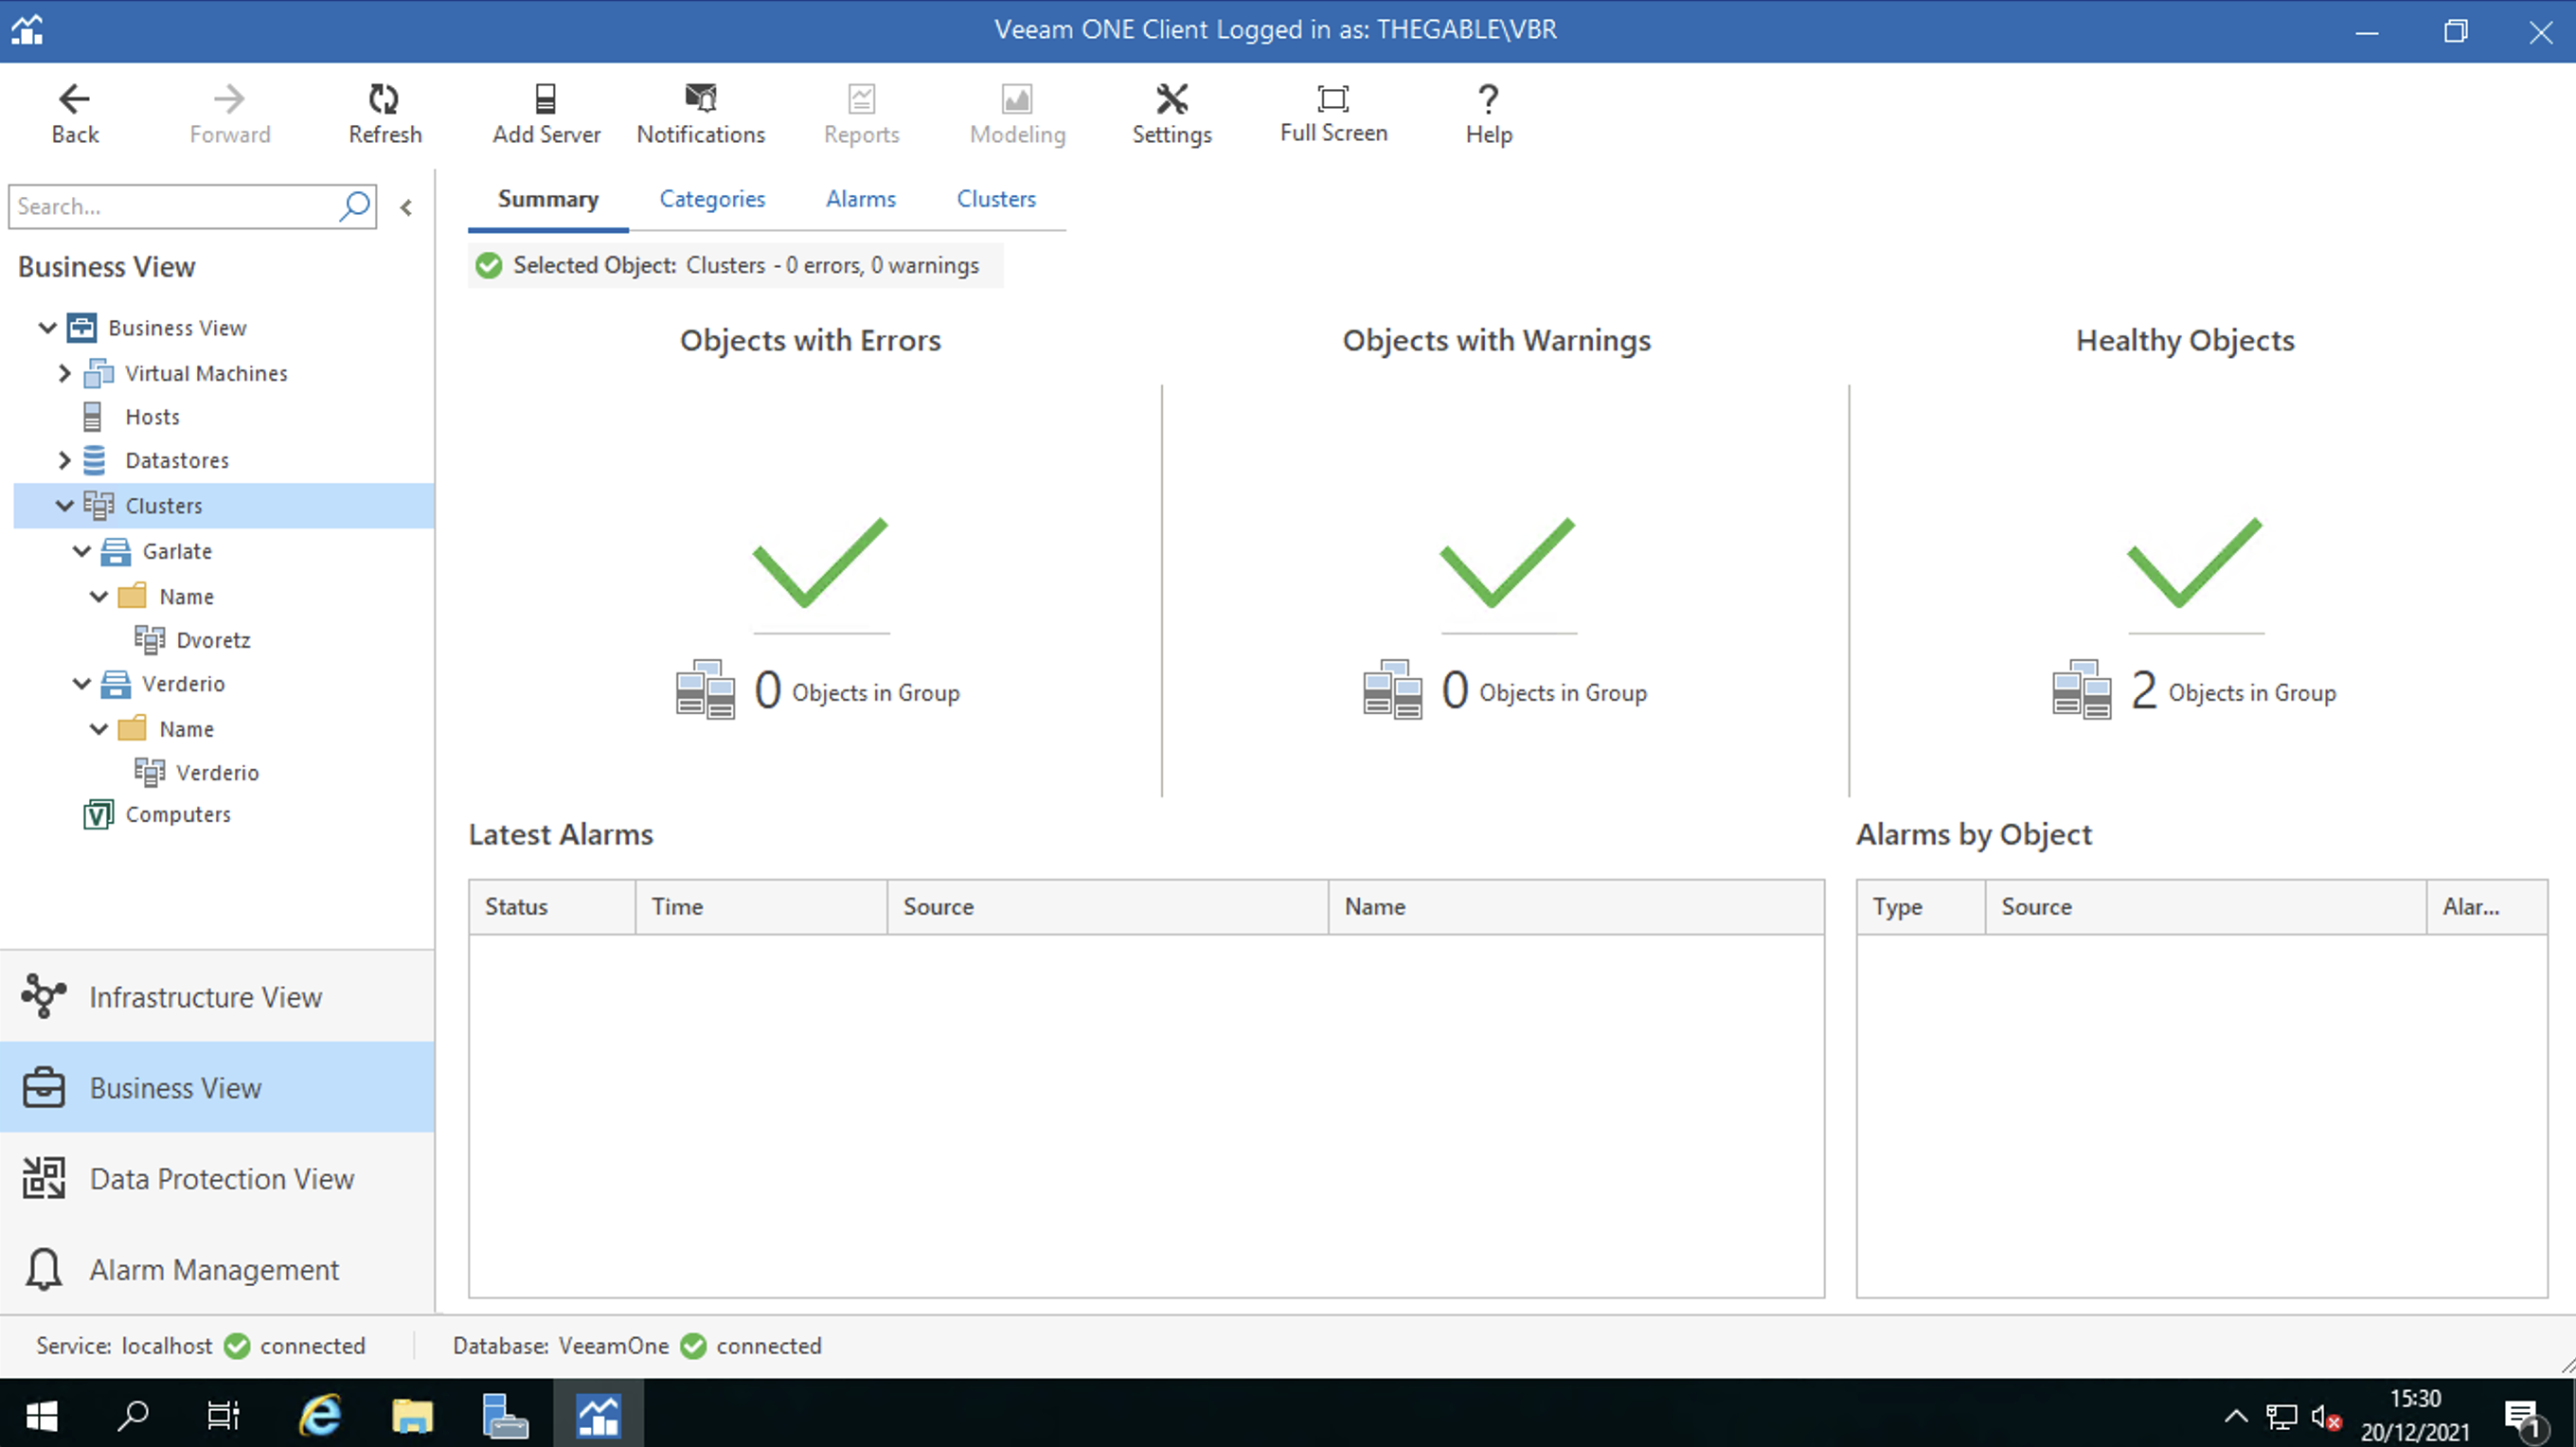 Figura 2
 Figura 3
 Figura 4
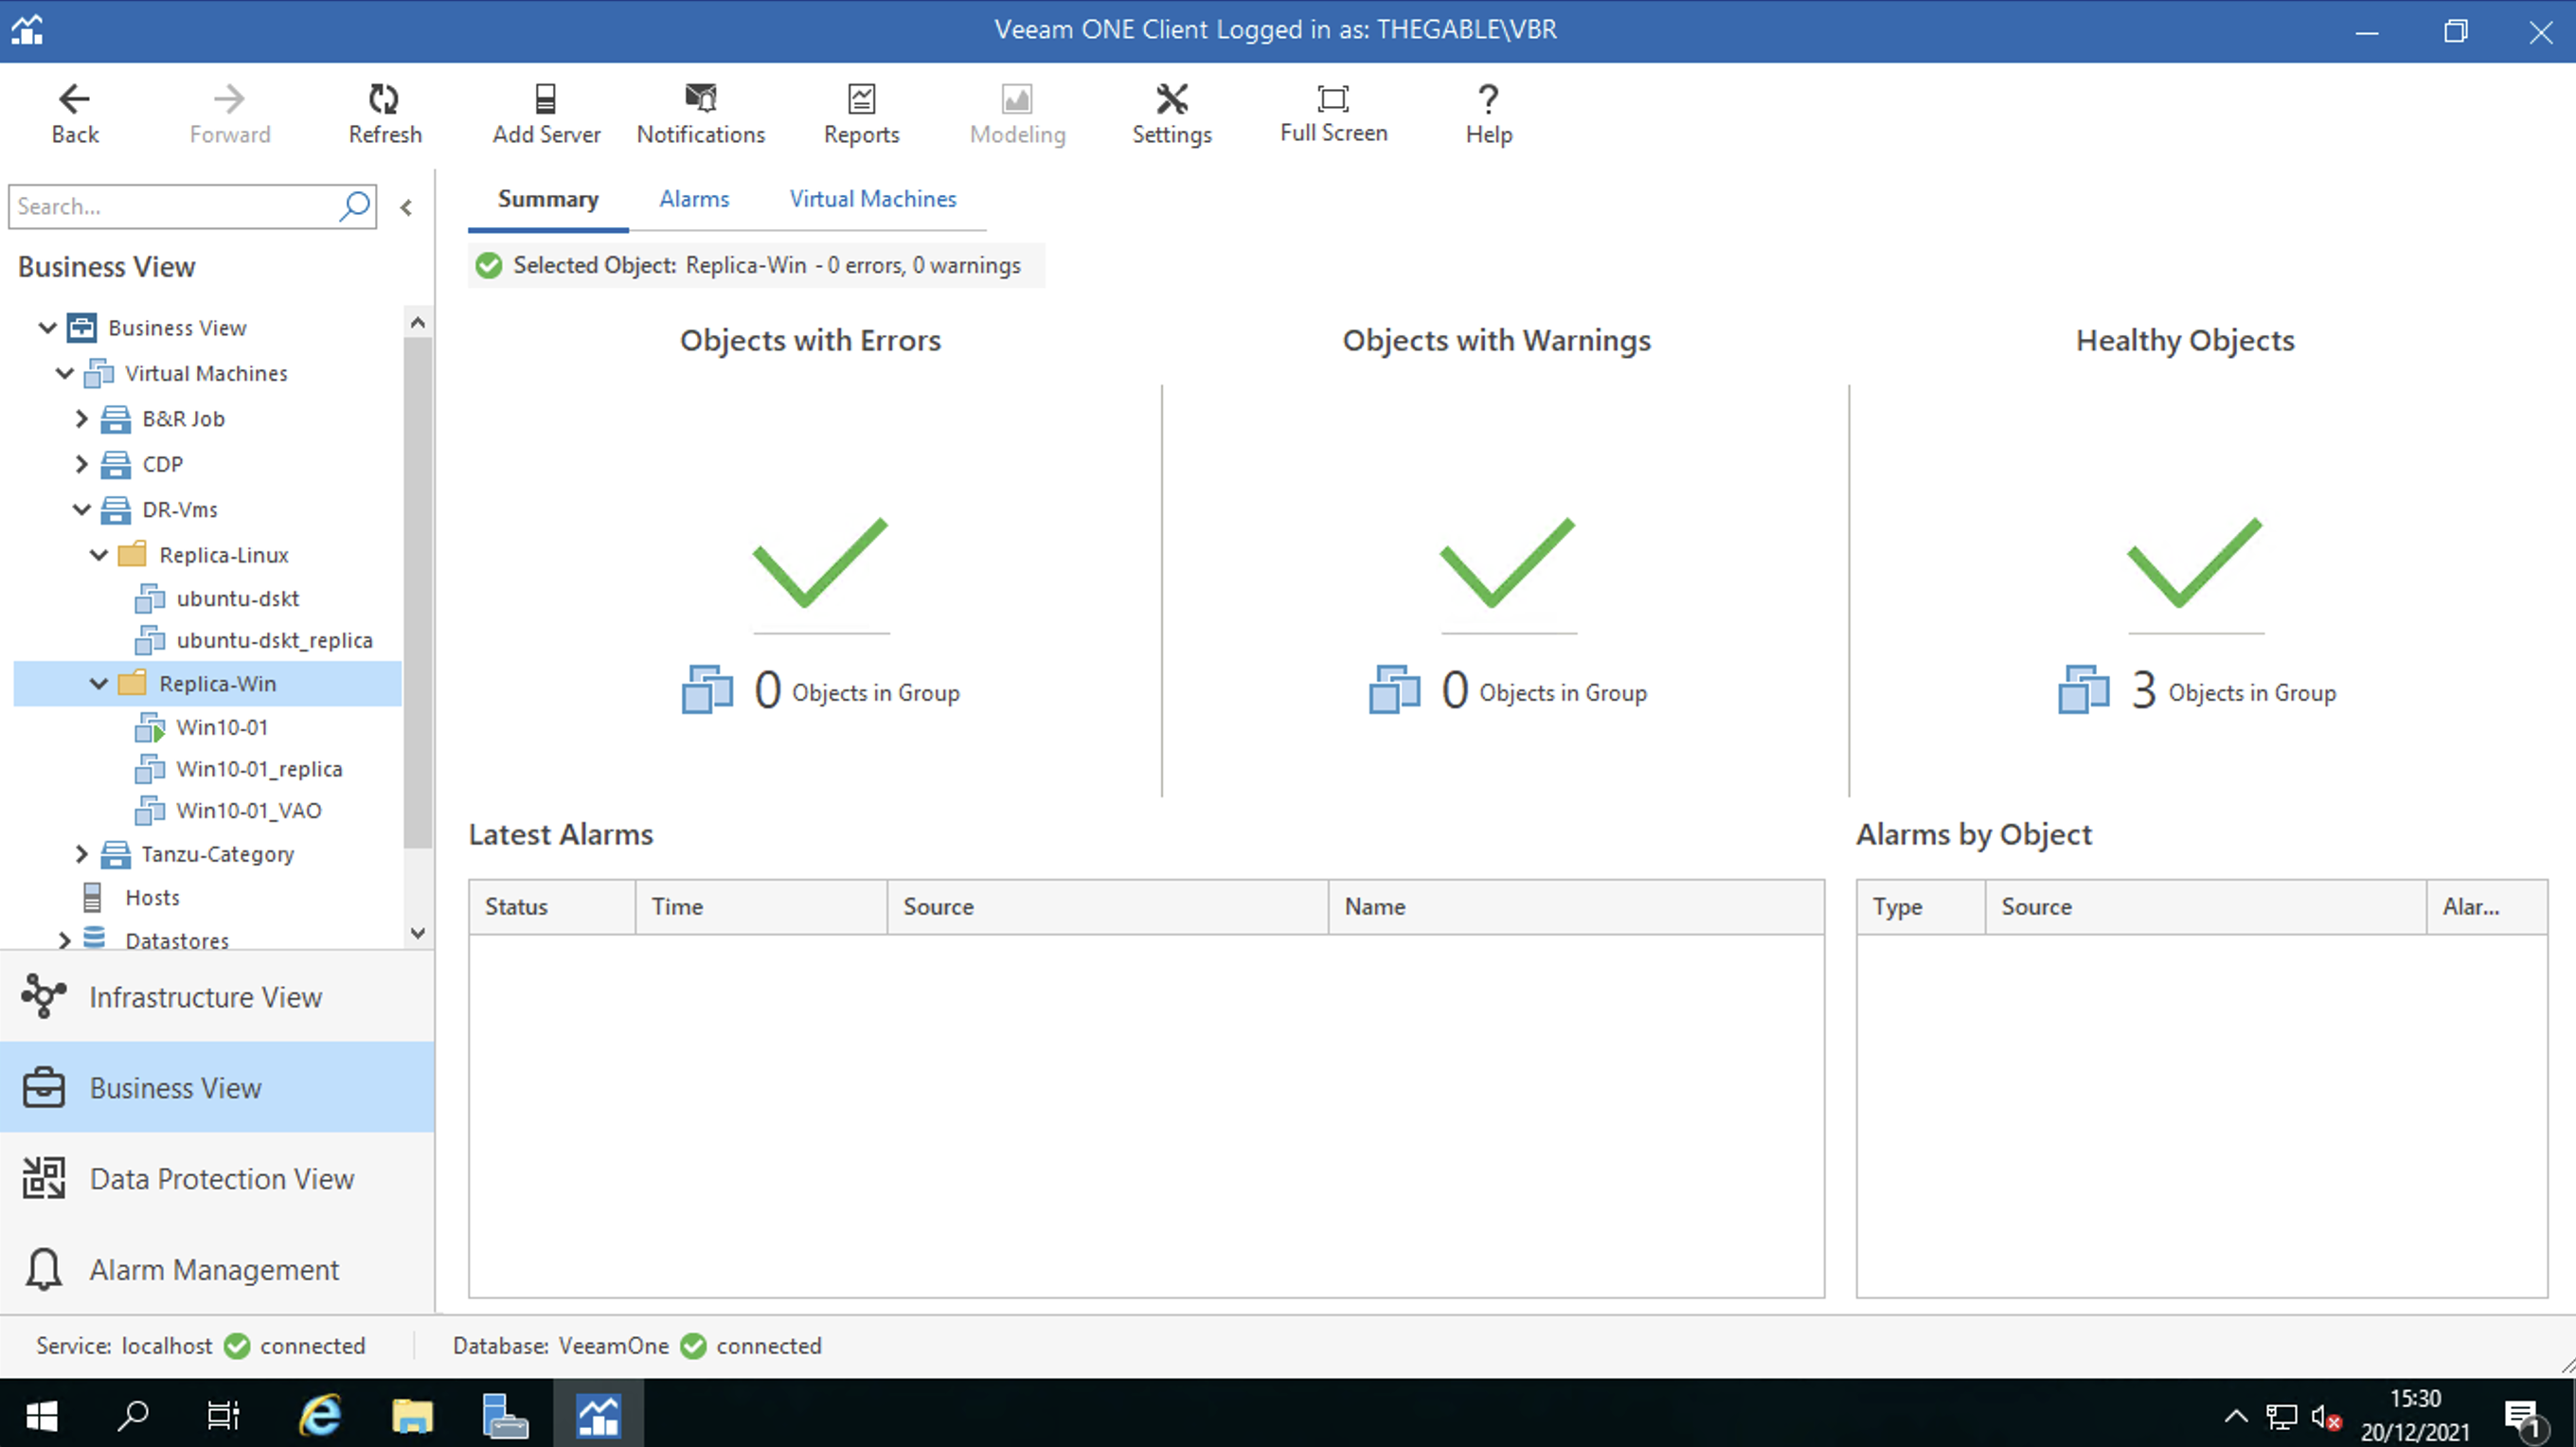 Figura 5
 Figura 6

 Picture 1
 Picture 2
 Picture 3
 Picture 4
 Picture 5
 Picture 6
 picture 7
 Picture 8
 picture 9
 picture 10
 Picture 11
 Picture 13
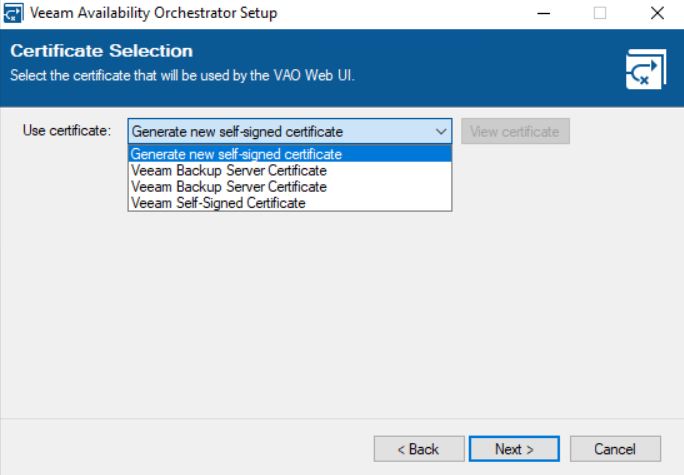 Picture 14
 Picture 15
 Picture 16

 Picture 1
 Picture 2
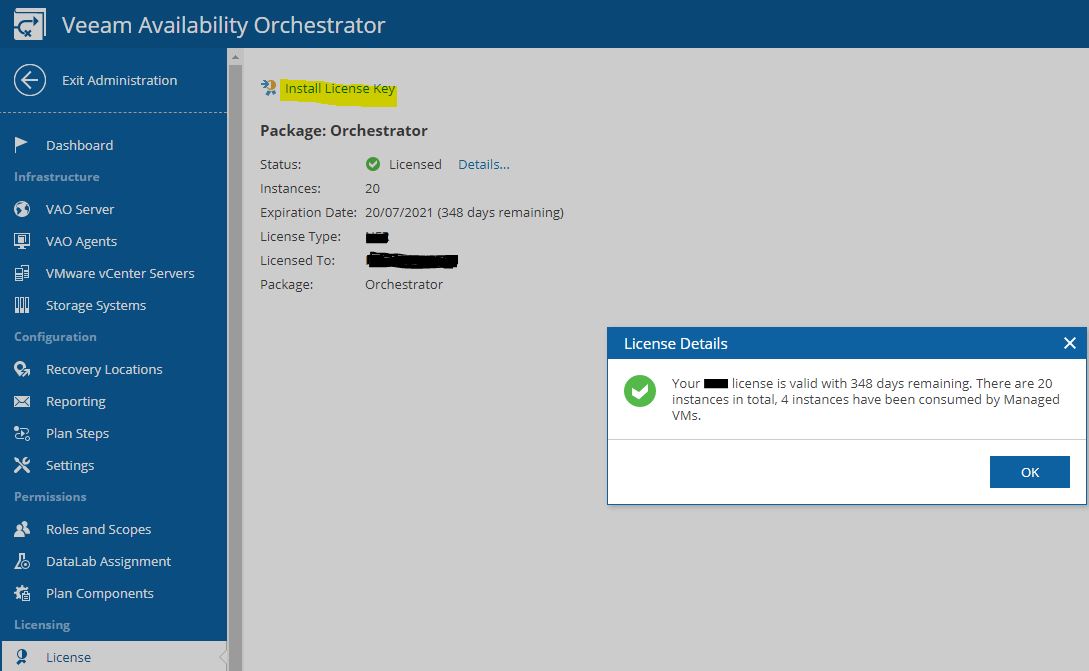 Picture 3
 Picture 4
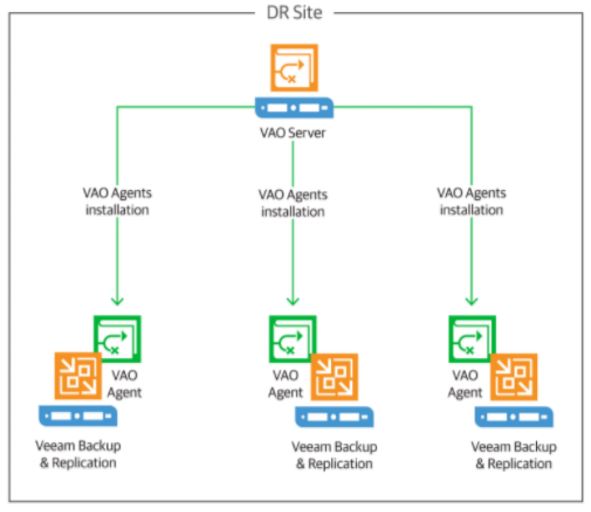 Picture 5
 Picture 6
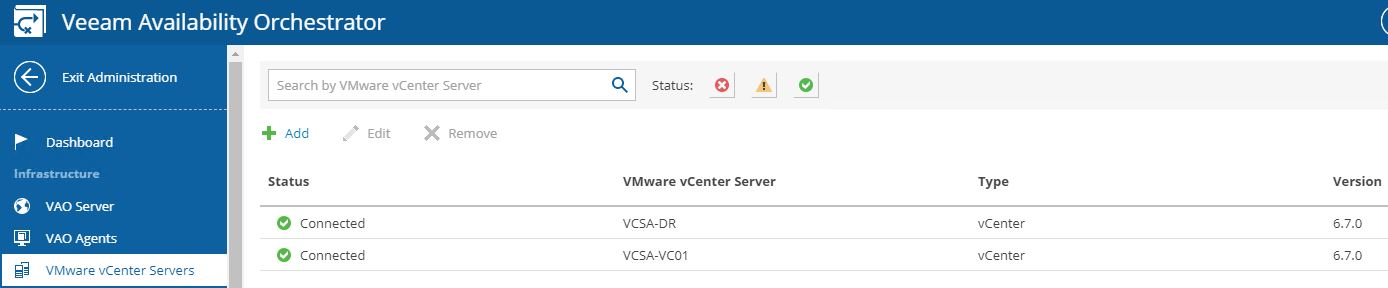 (Picture 7)
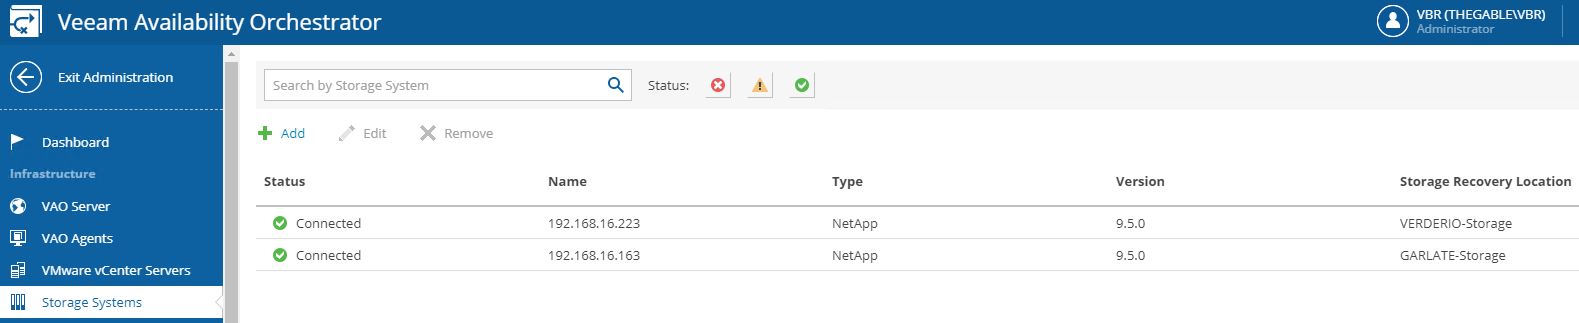 Picture 8
 Picture 9
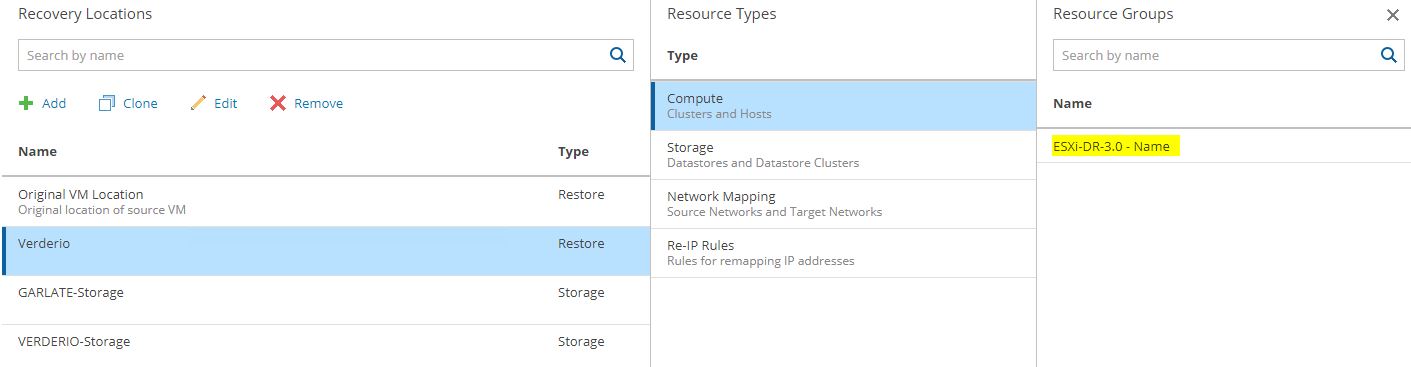 Picture 10
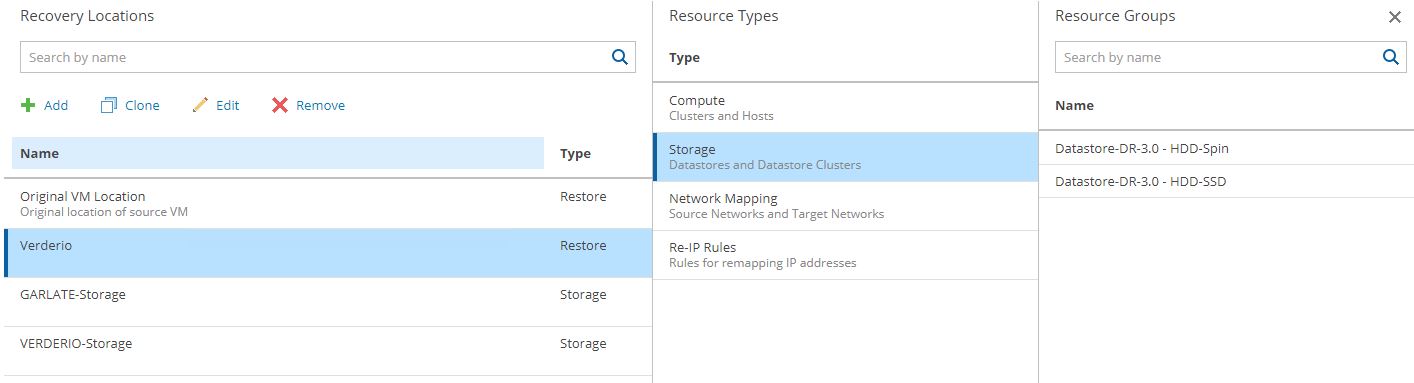 Picture 11
 (Picture 12)
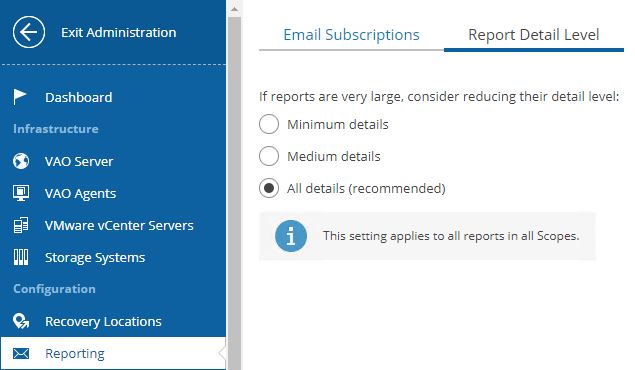 (Picture 13)
 (Picture 14)
 (Picture 15)
 Picture 16