Il primo articolo del 2022 è dedicato a come proteggere le istanze Google (GCP).
Il flusso e l’architettura di protezione è riportato nell’immagine 1 dove sono presenti due componenti Veeam.
- L’ istanza Veeam Backup for Google Platform (VBGP) ha il compito di realizzare backup e ripristini delle istanze GCP.
- Veeam Backup & Replication (VBR) ha l’onere di gestire centralmente la movimentazione dei dati di Backup da e per il cloud (Data Mobility).
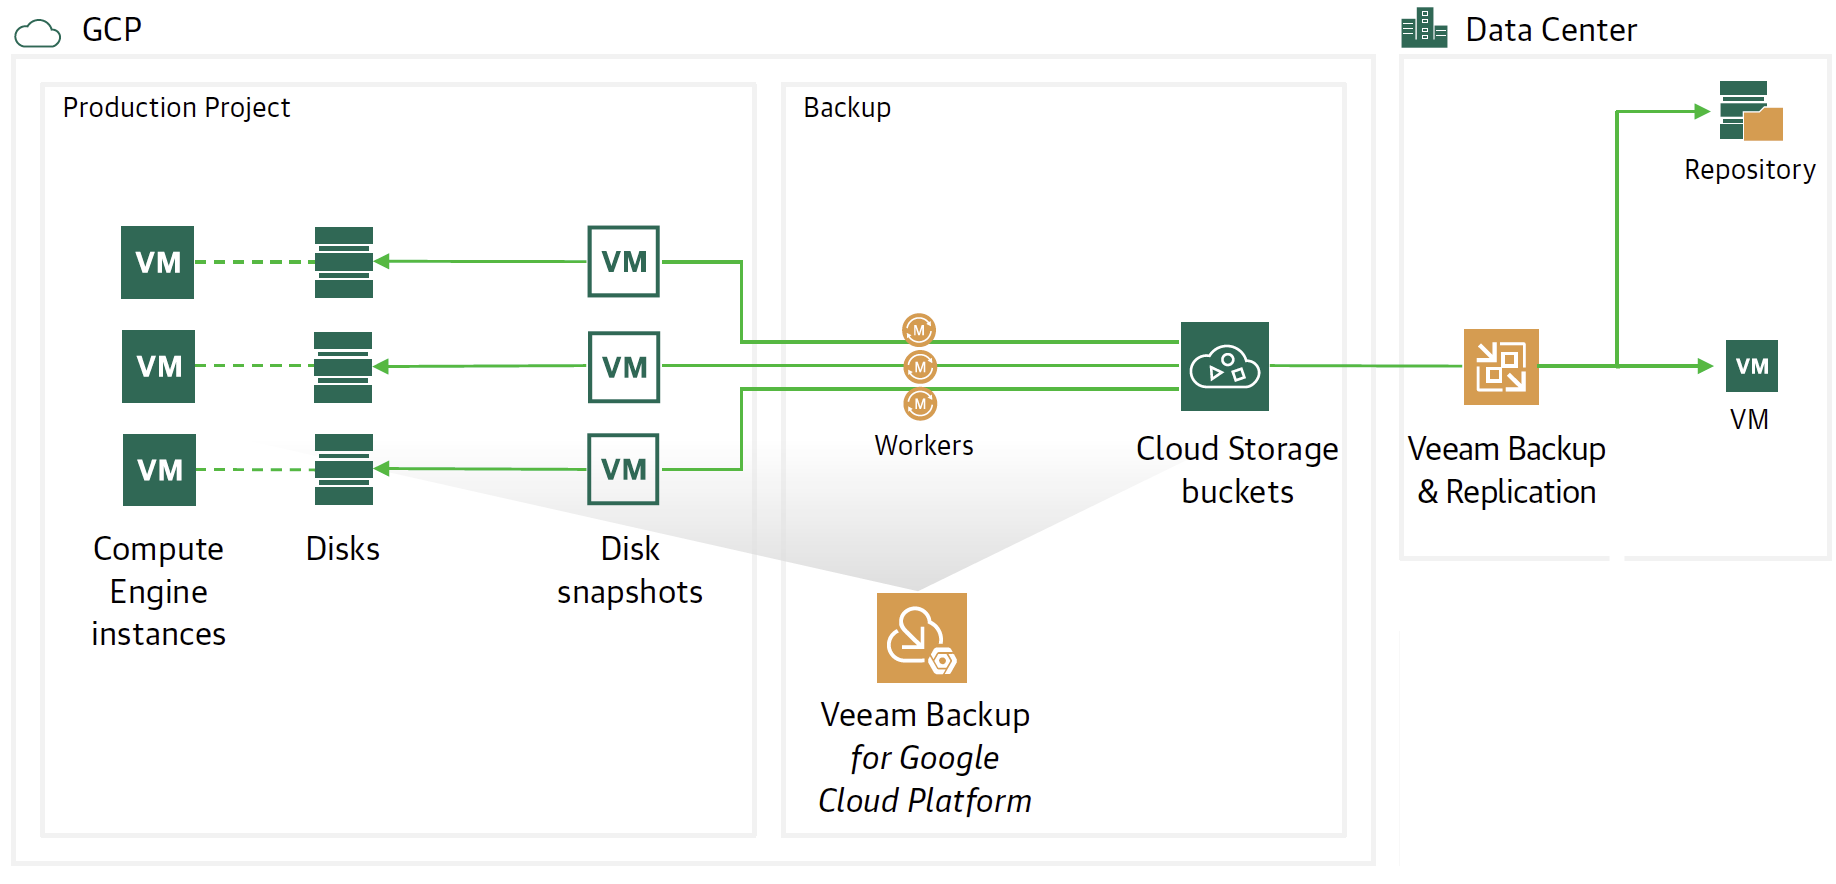 Immagine 1
- Nota 1: VBGP può essere installato in modalità stand alone oppure utilizzando il wizard di VBR.
- Nota 2: Il presente articolo mostrerà come agganciare da VBR un istanza VBGP già presente in GCP.
Vediamo in modalità dettagliata i passaggi:
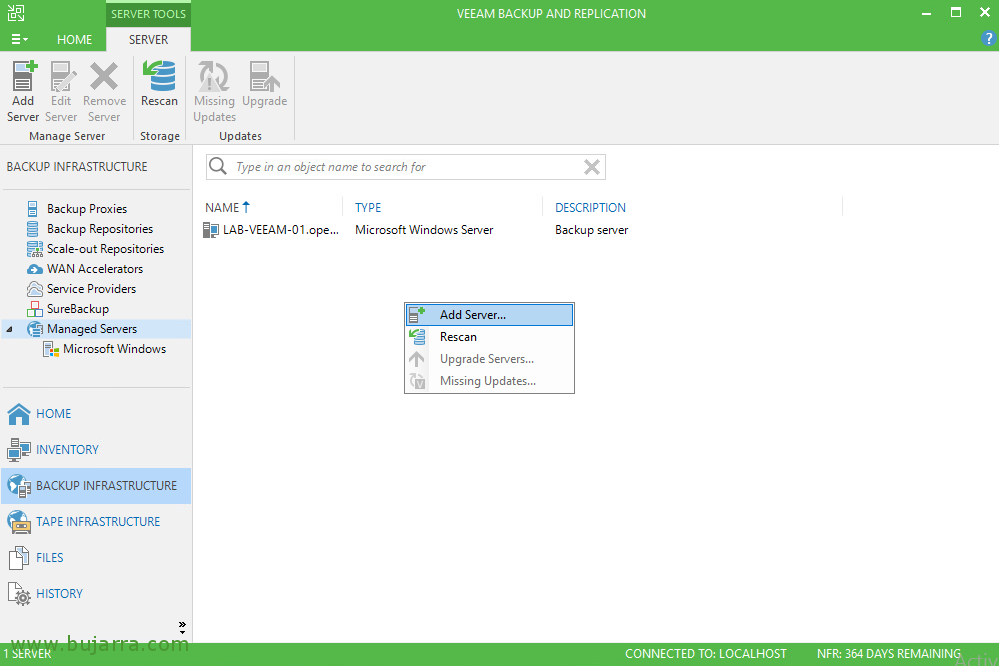
Dalla console di VBR scegliamo la voce Backup Infrastructure.
Cliccando con il tasto destro del mouse, selezioniamo la voce add server e successivamente Google Cloud Platform (vedi immagine 2)
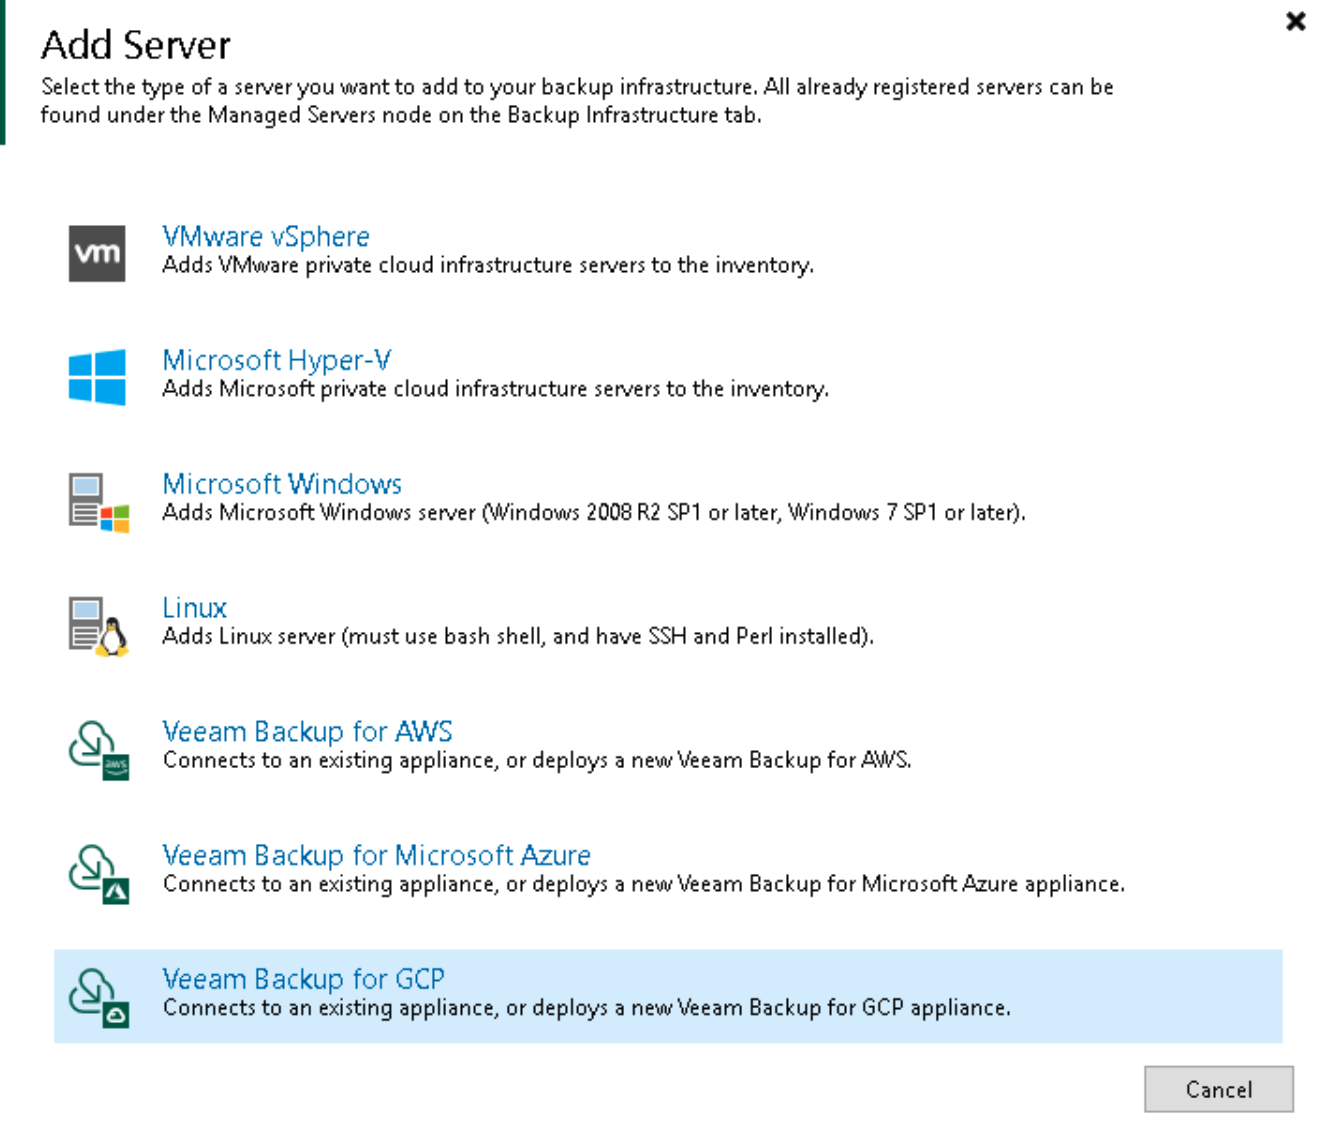 Immagine 2
Il prossimo passaggio è quello di inserire le credenziali di accesso al Service Account di Google (immagine 3)
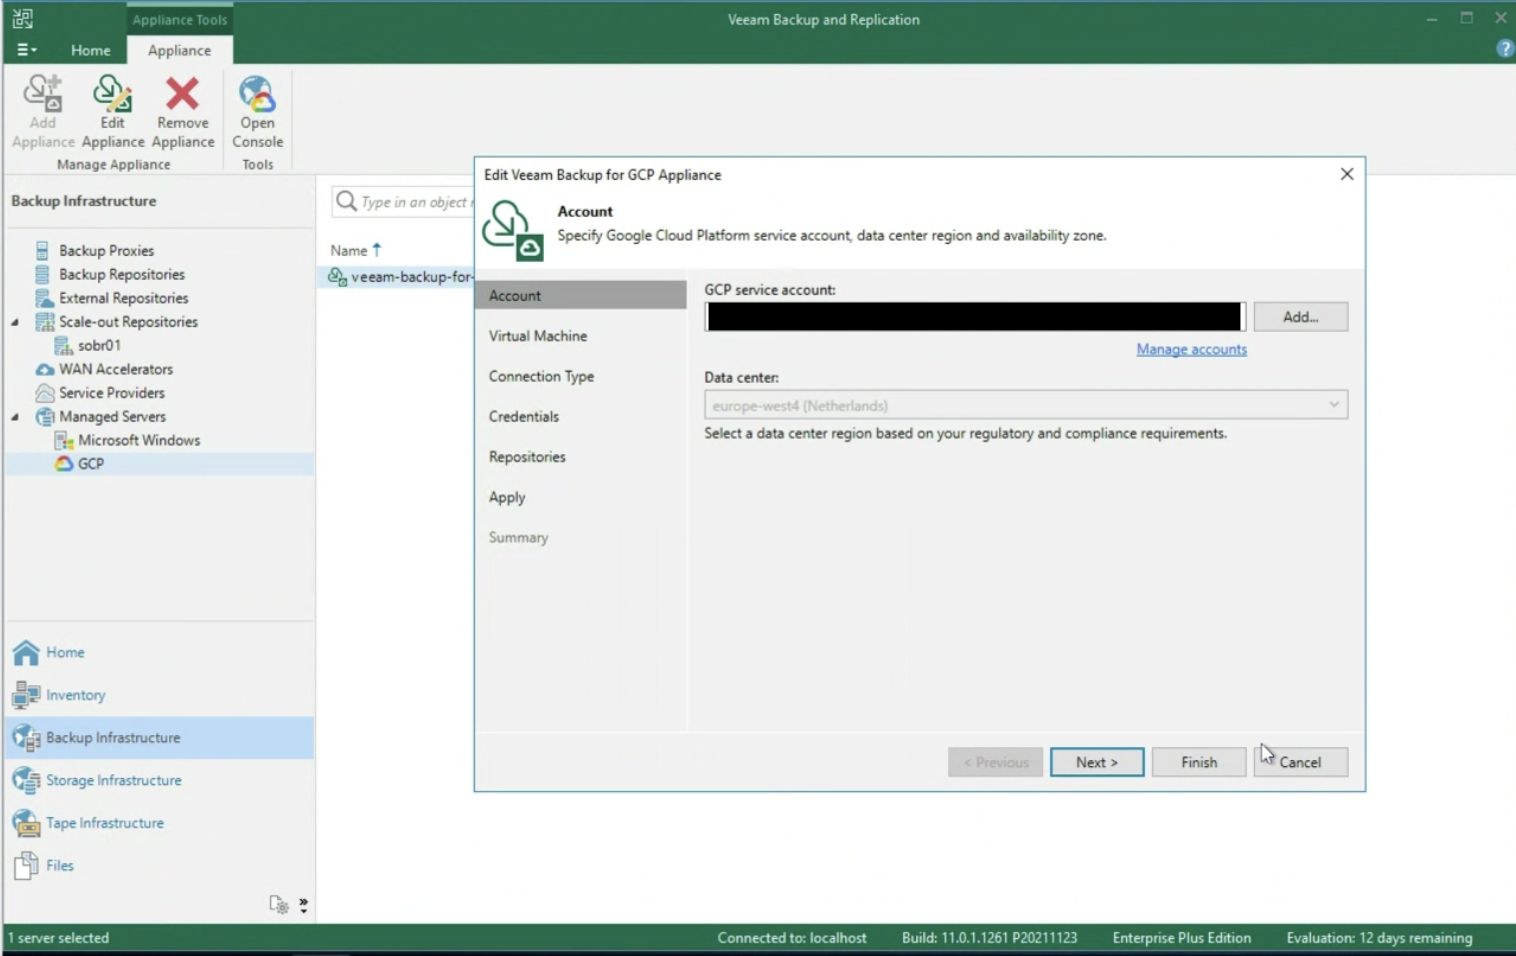 Immagine 3
Il wizard prosegue chiedendovi di inserire il nome del server VBGP già creato (immagine 4)
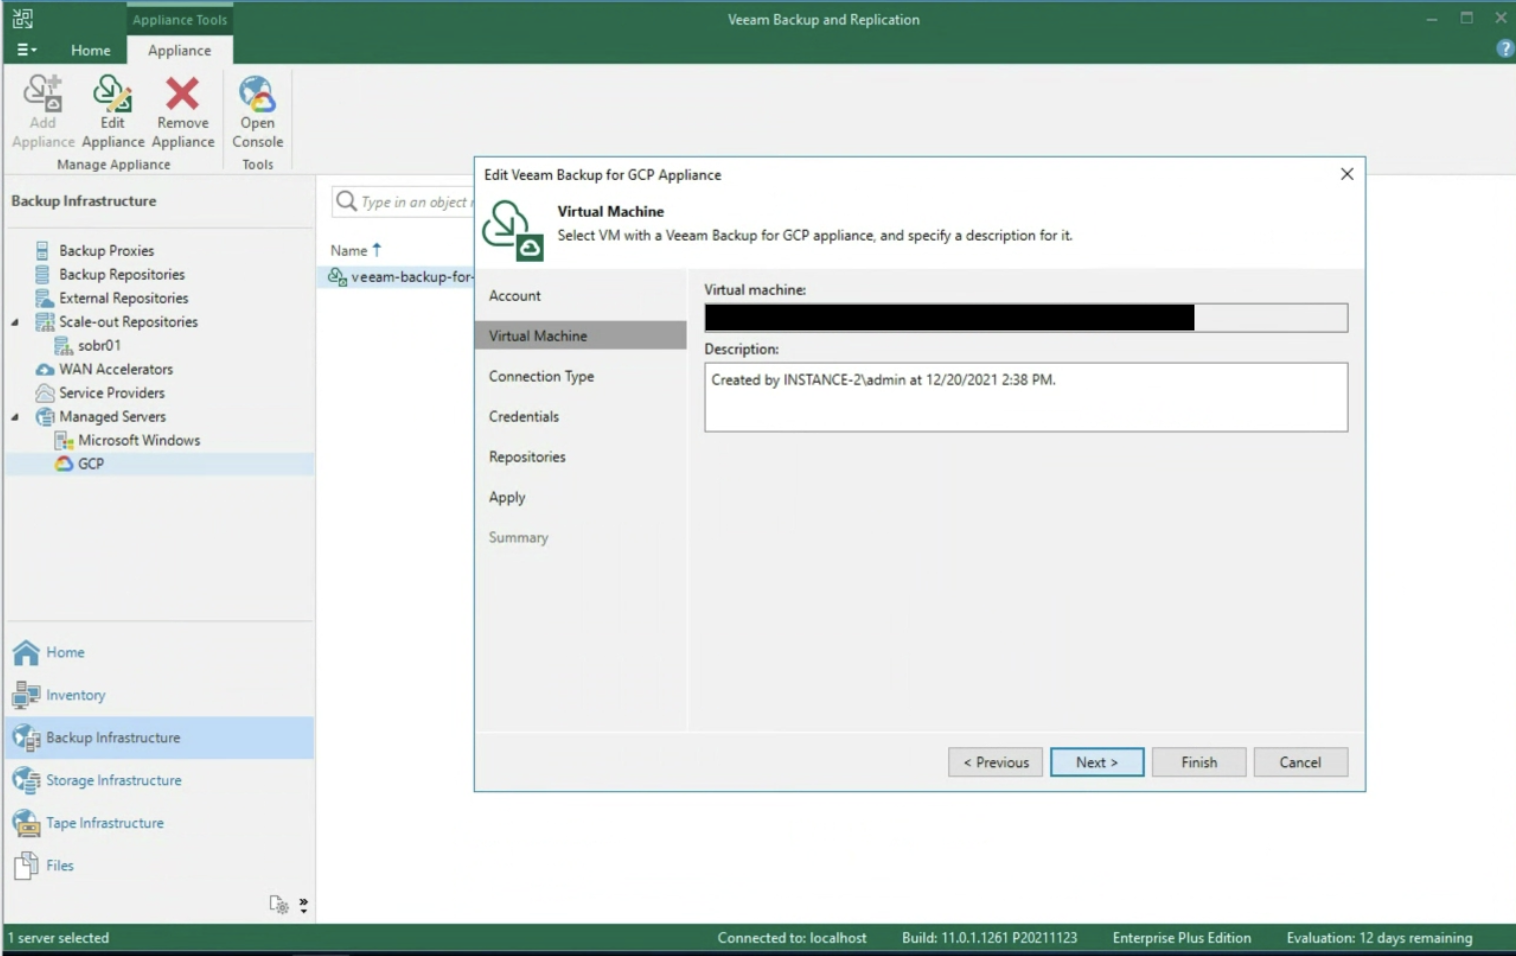 Immagine 4
Dopo aver selezionato la tipologia di rete presente (immagine 5) il passaggio successivo è quello di inserire le credenziali di accesso al Repository (immagine 6).
Ricordo che la best practice di protezione è quella di effettuare il backup dell’istanza come snapshot, successivamente riversare la snapshot verso il Cloud Object Storage di Google.
Si rispetta così la regola del 3-2-1, avere cioè 3 copie dei dati (Produzione + Snapshot + Object Storage) su due differenti media (Storage primario + Object Storage) con una copia offsite (Object storage dovrebbe afferire ad un’altra region).
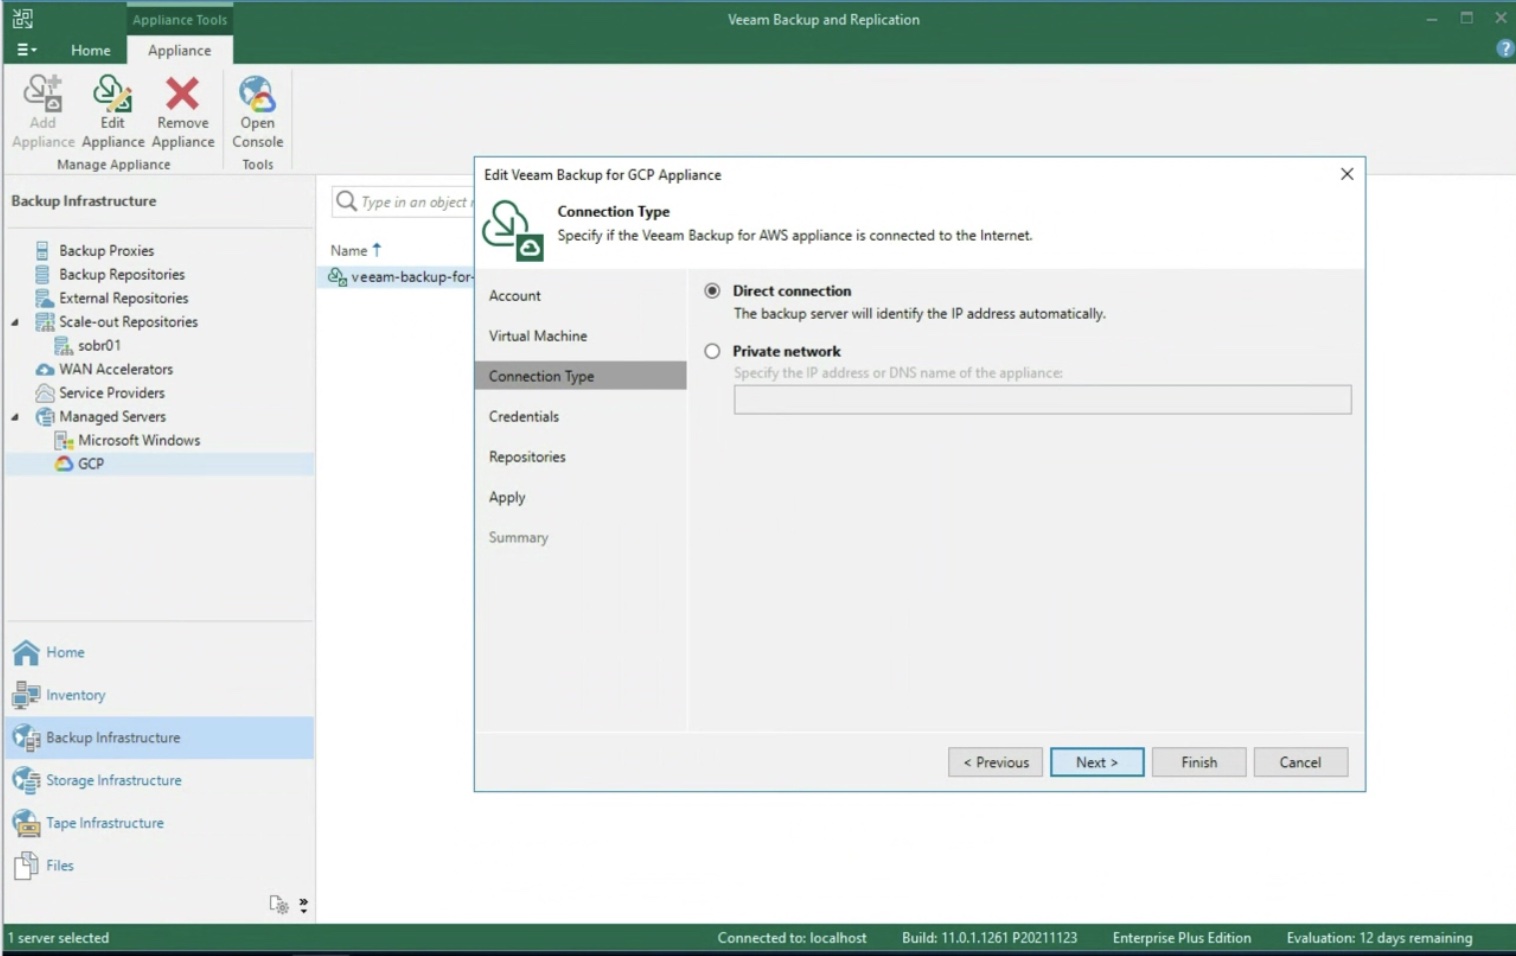 Immagine 5
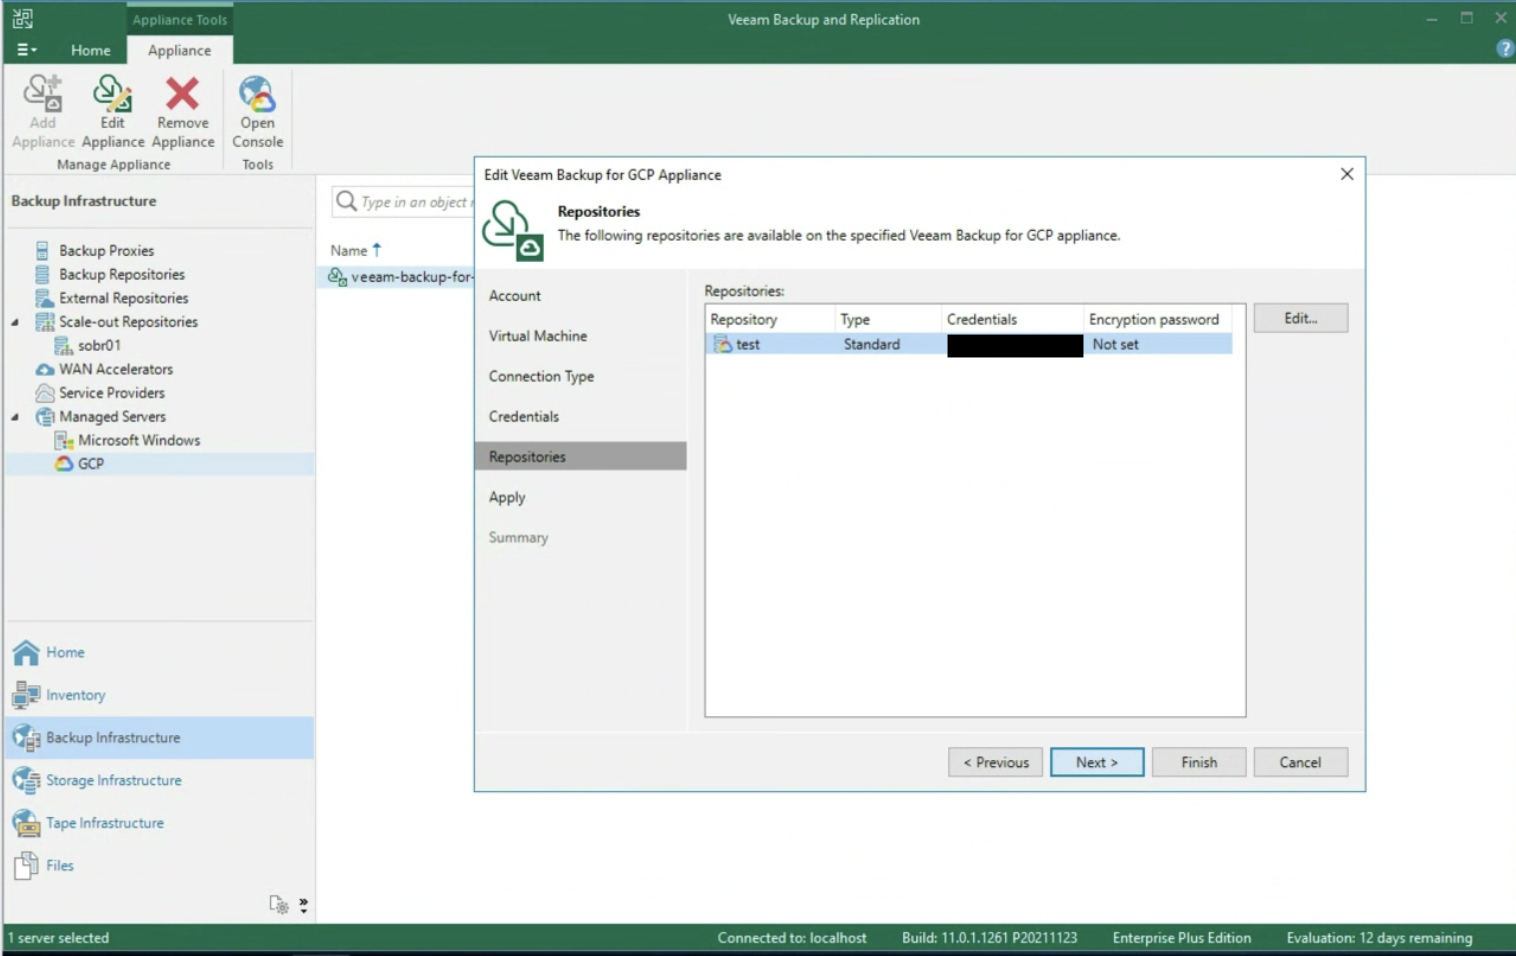 Immagine 6
Concluso il wizard, sempre dalla console di VBR possiamo collegarci alla console al server VBGP (immagine 7) per iniziare a creare policy di protezione.
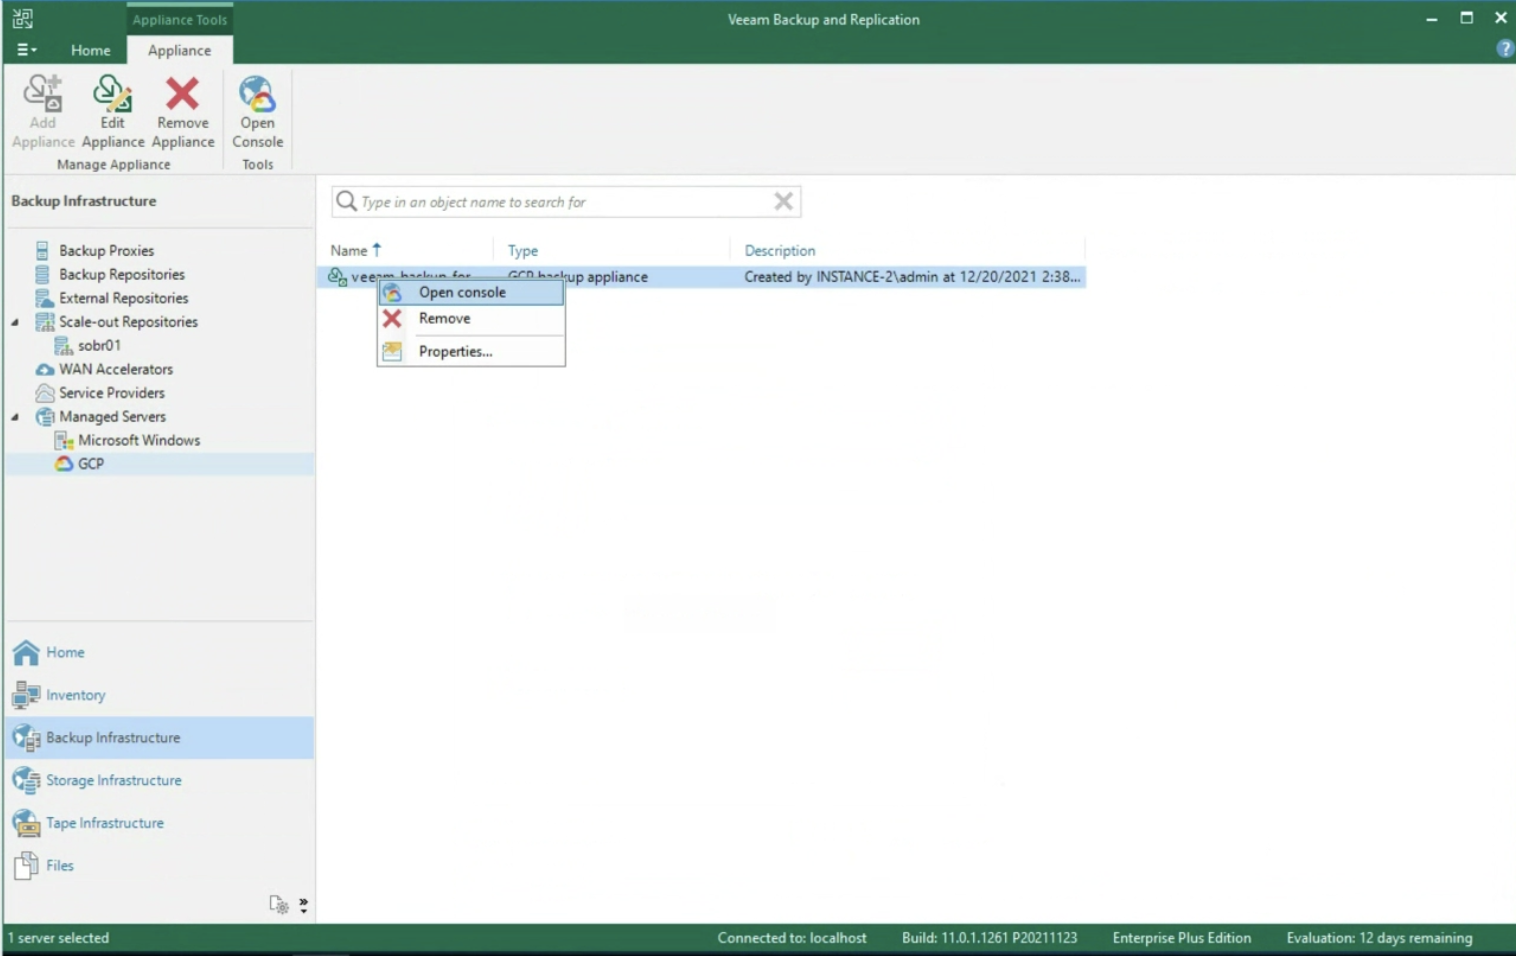 Immagine 7
Dopo aver inserito le credenziali di accesso (immagine 8)
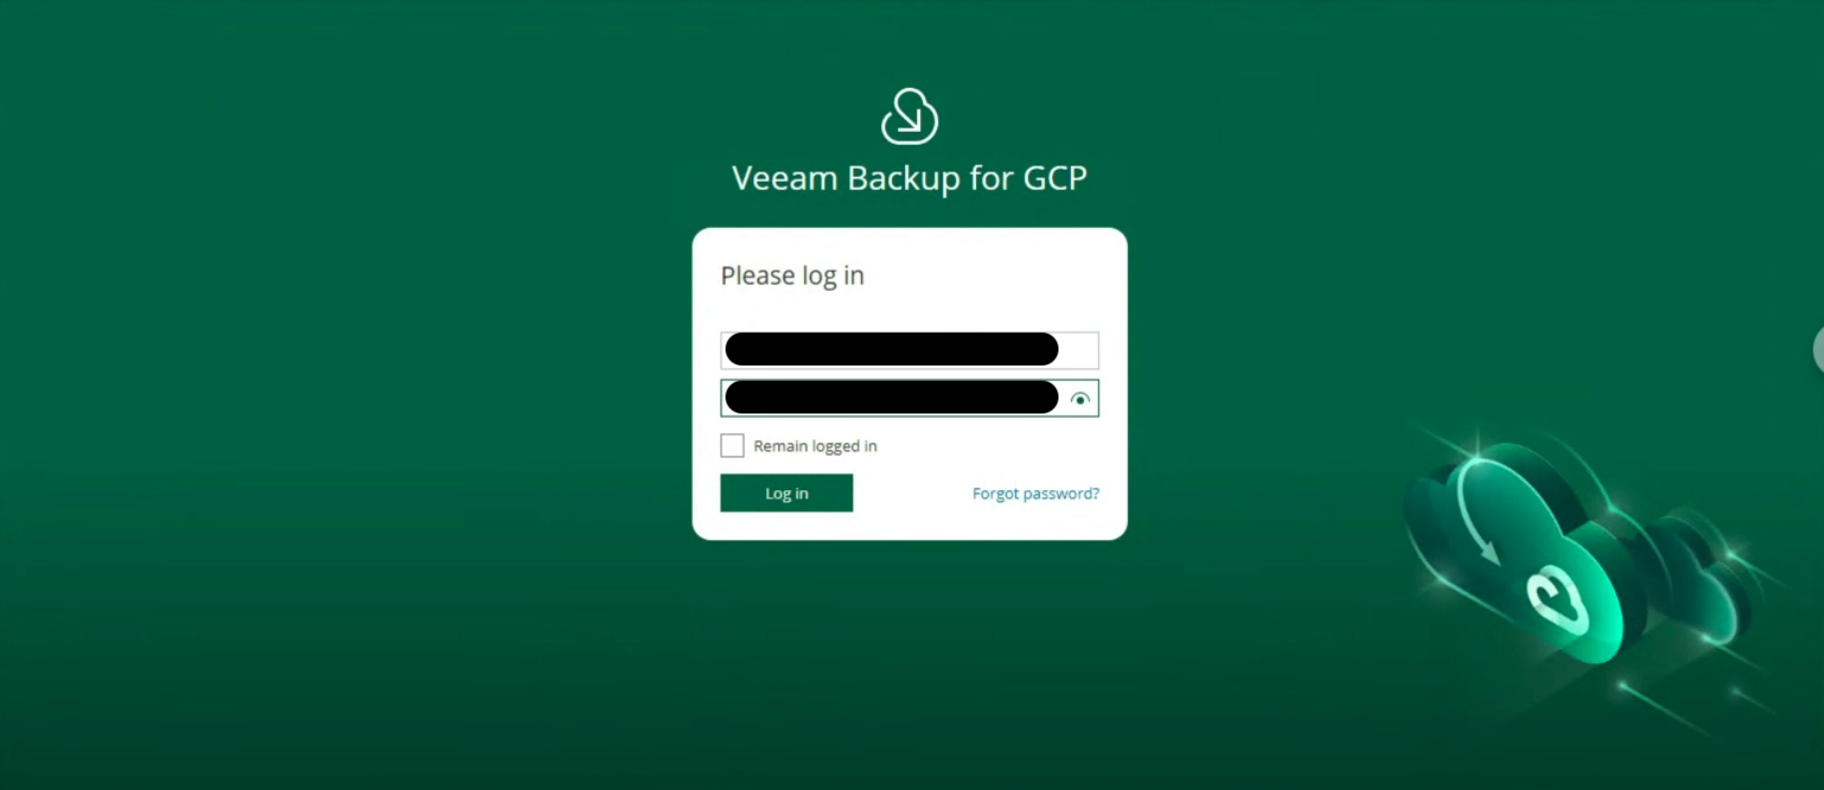 Immagine 8
è possibile monitorare l’ambiente attraverso un overview delle istanze presenti, di quelle protette (immagine 9 & 10)
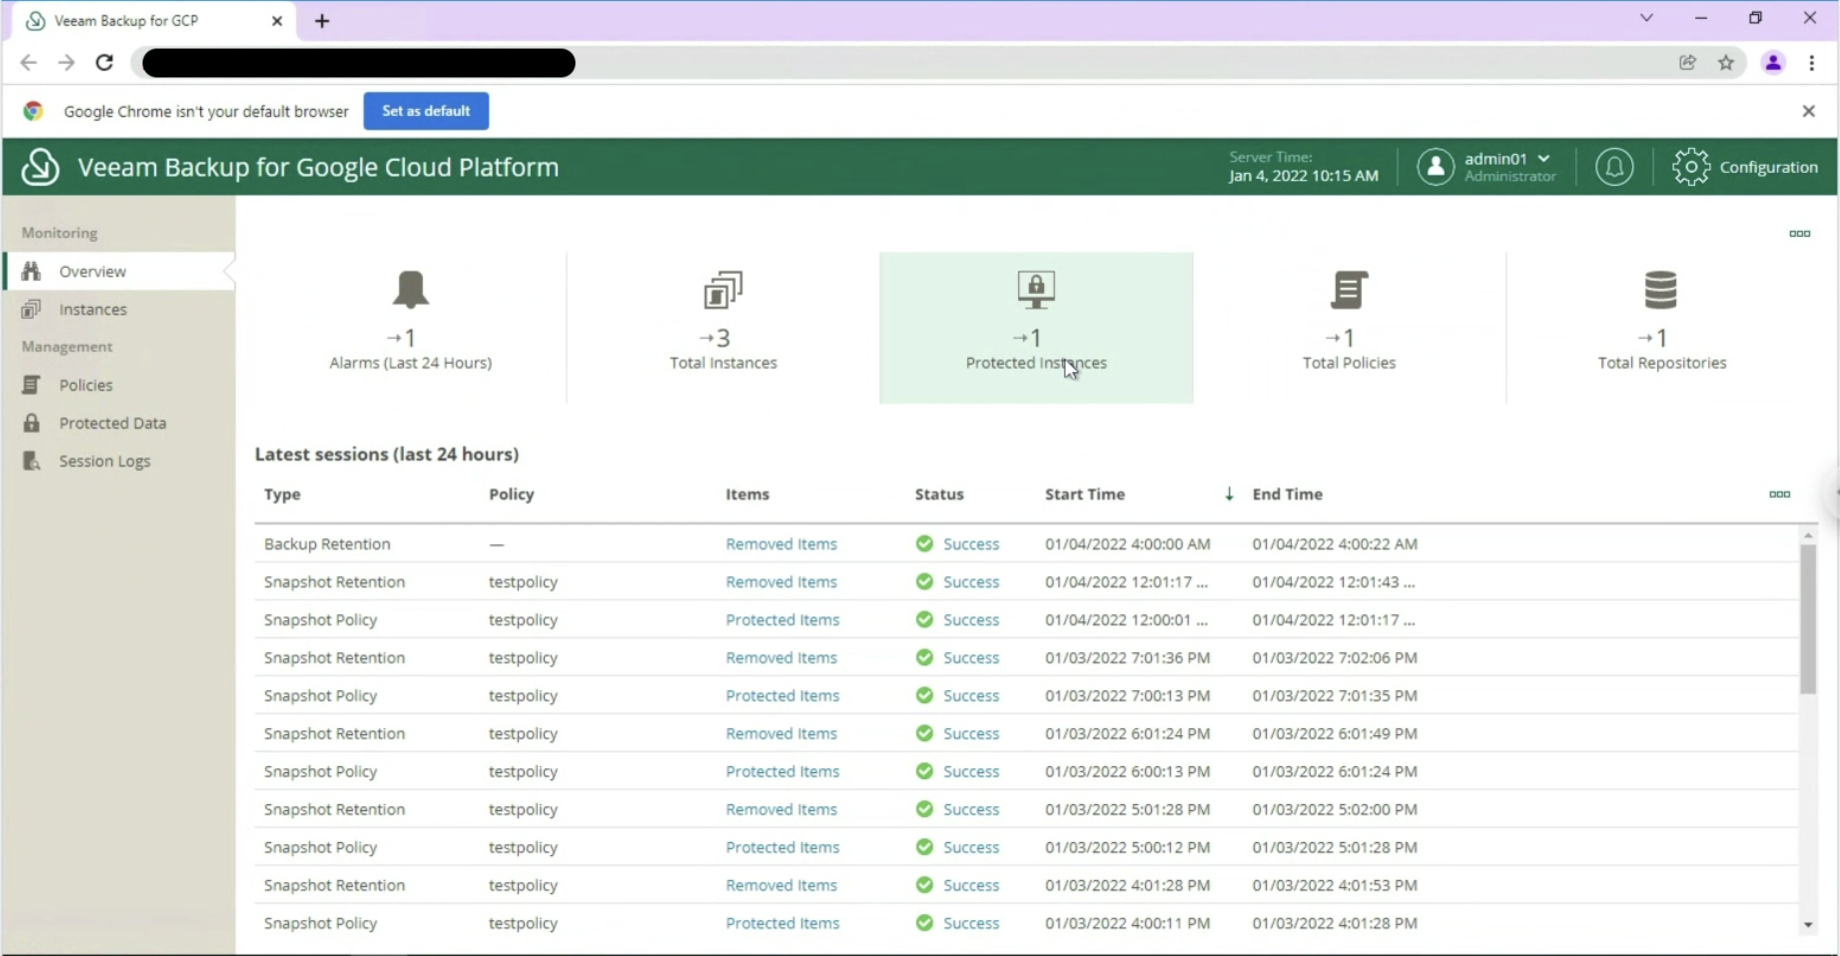 Immagine 9
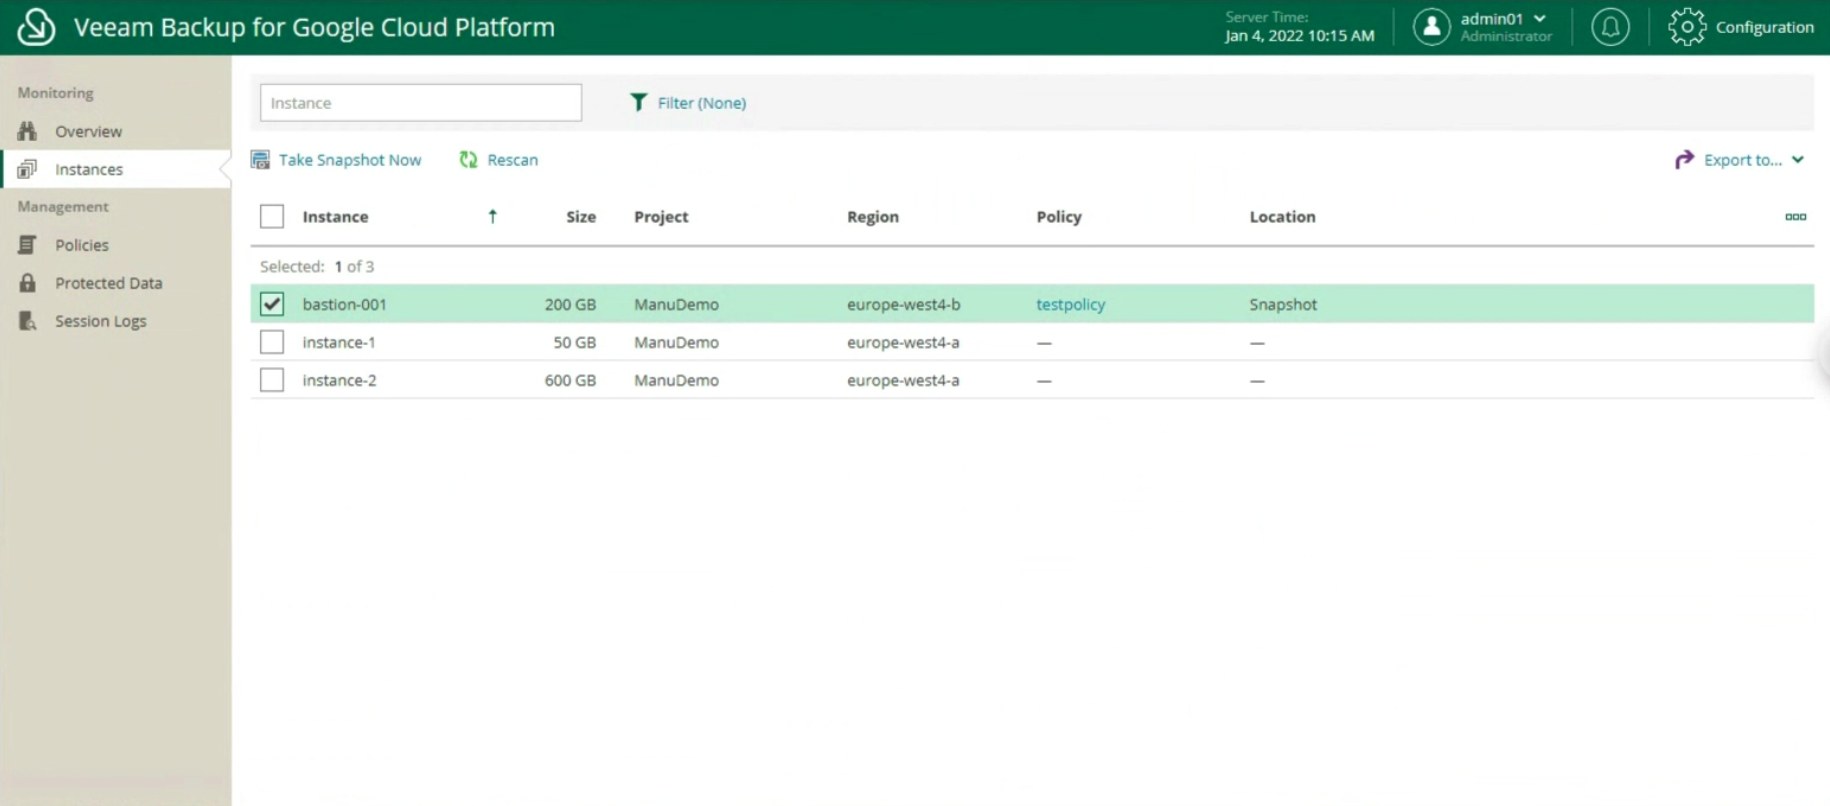
Immagine 10
Gestire le politiche di protezione attraverso:
La creazione delle policy di Backup, indicando nome (immagine 12), selezionando il progetto (immagine 13), la region (immagine 14), le risorse (immagine 15), il target di Backup (immagine 16), la schedulazione e la tipologia di backup (immagini da 17 a 19)
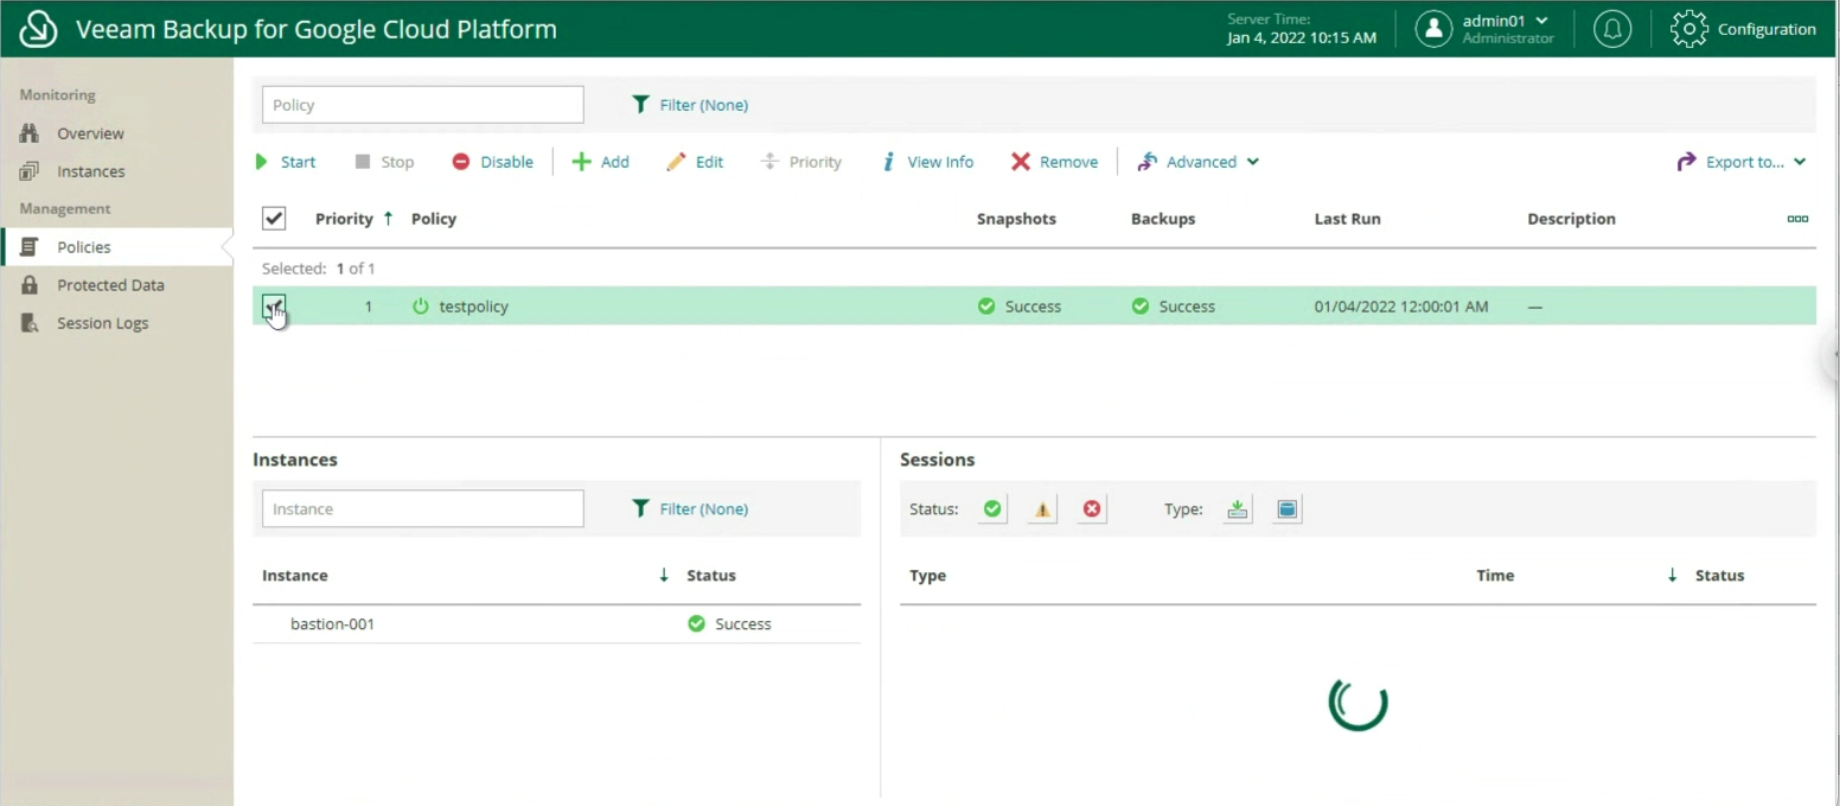 Immagine 11
 Immagine 12
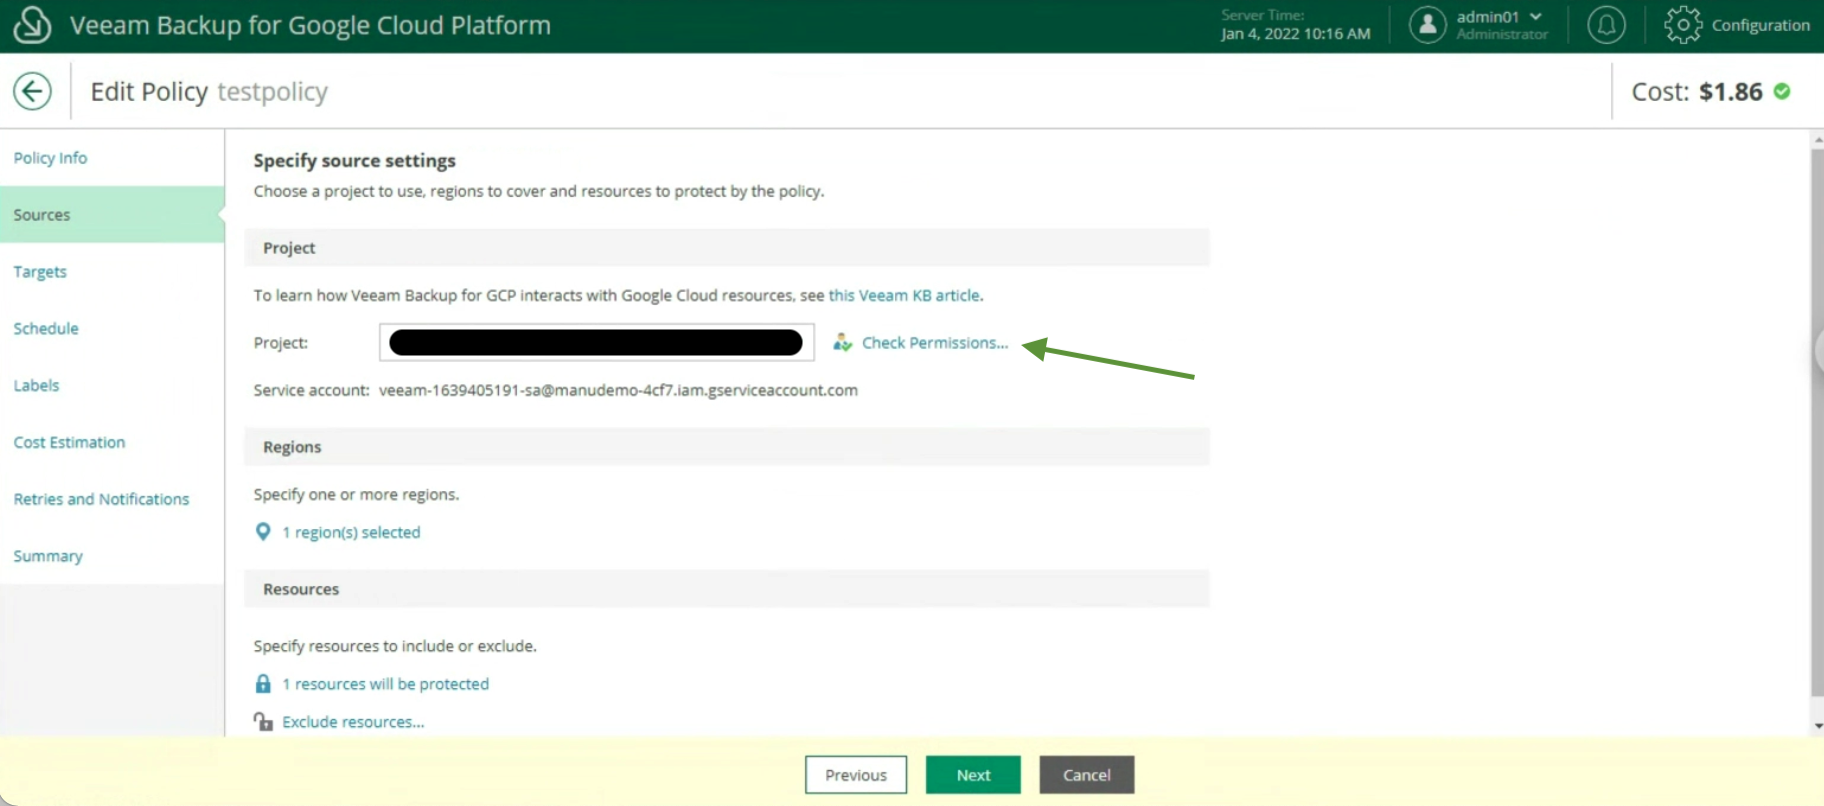 Immagine 13
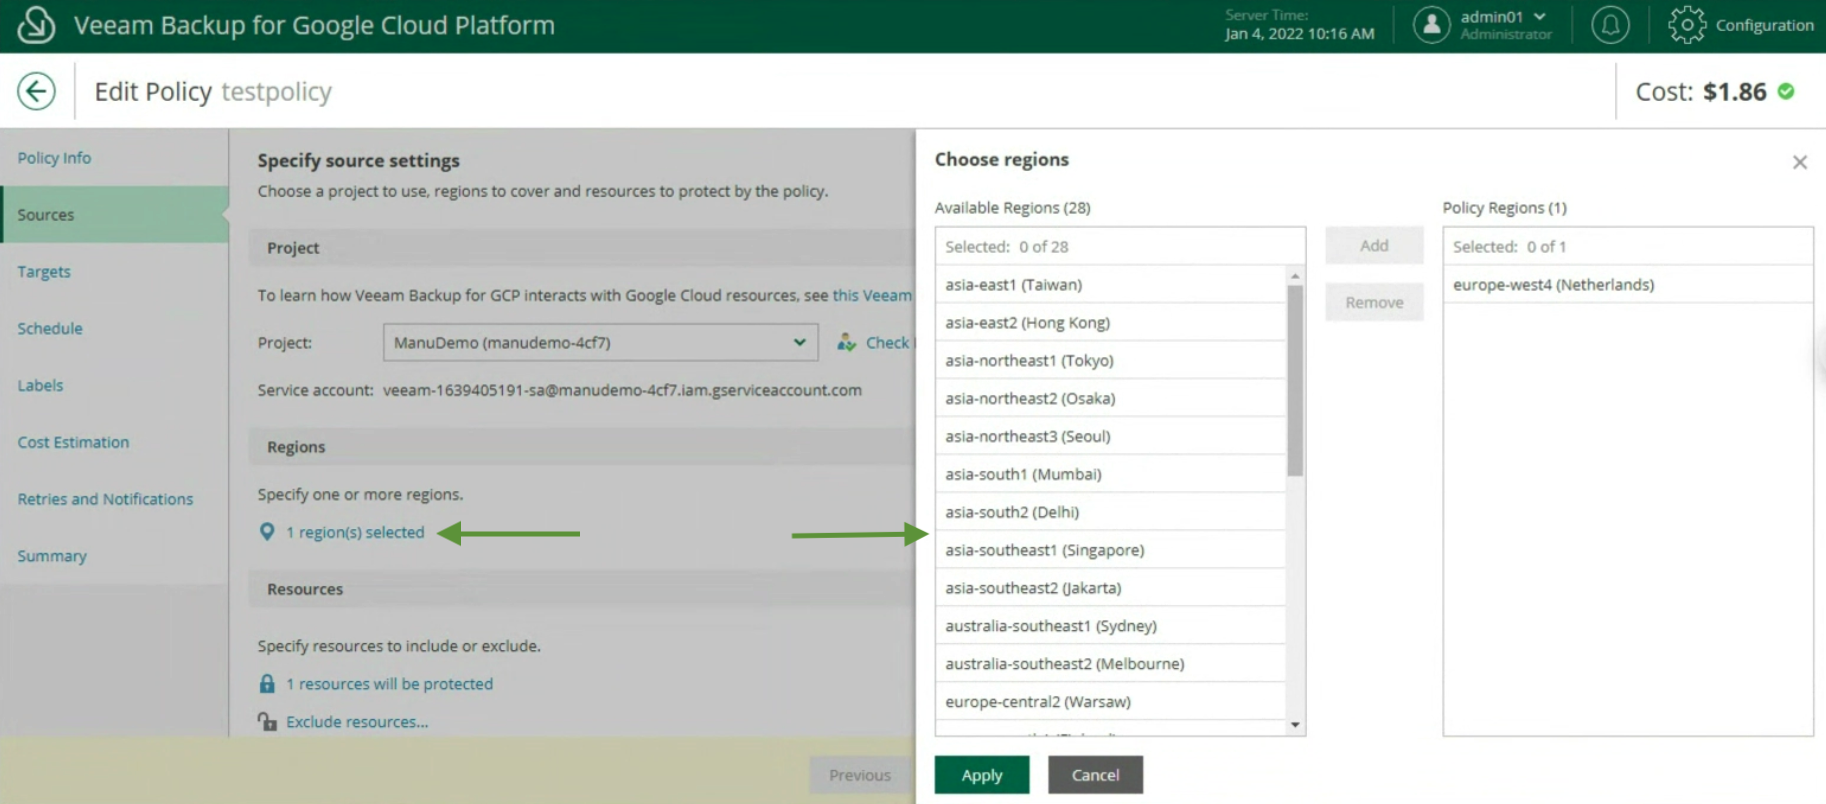 Immagine 14
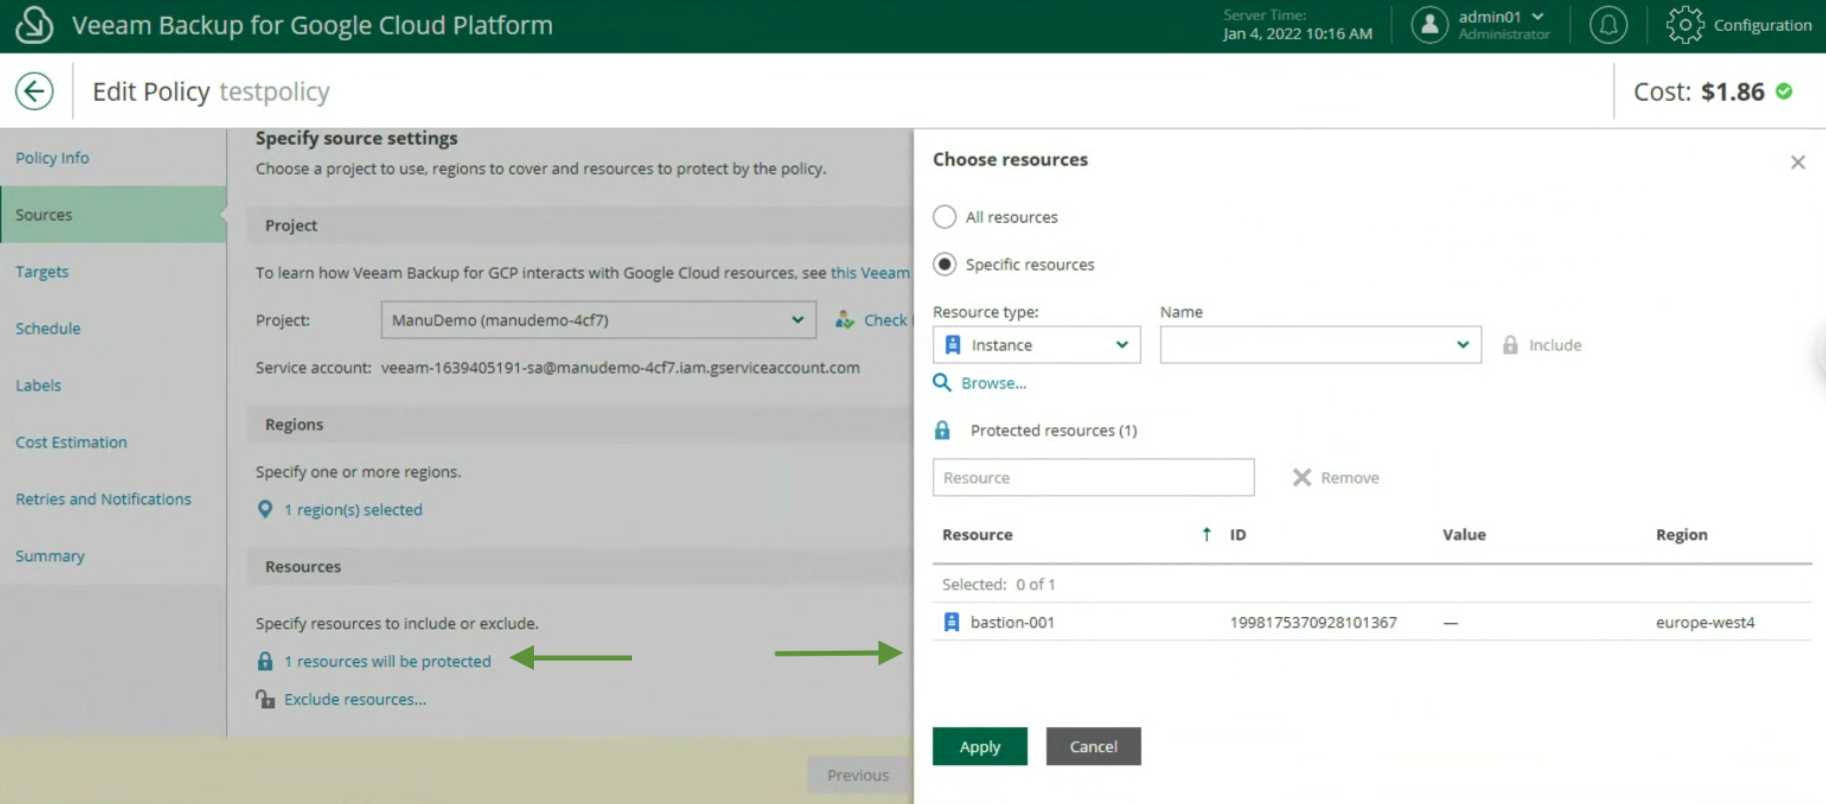 Immagine 15
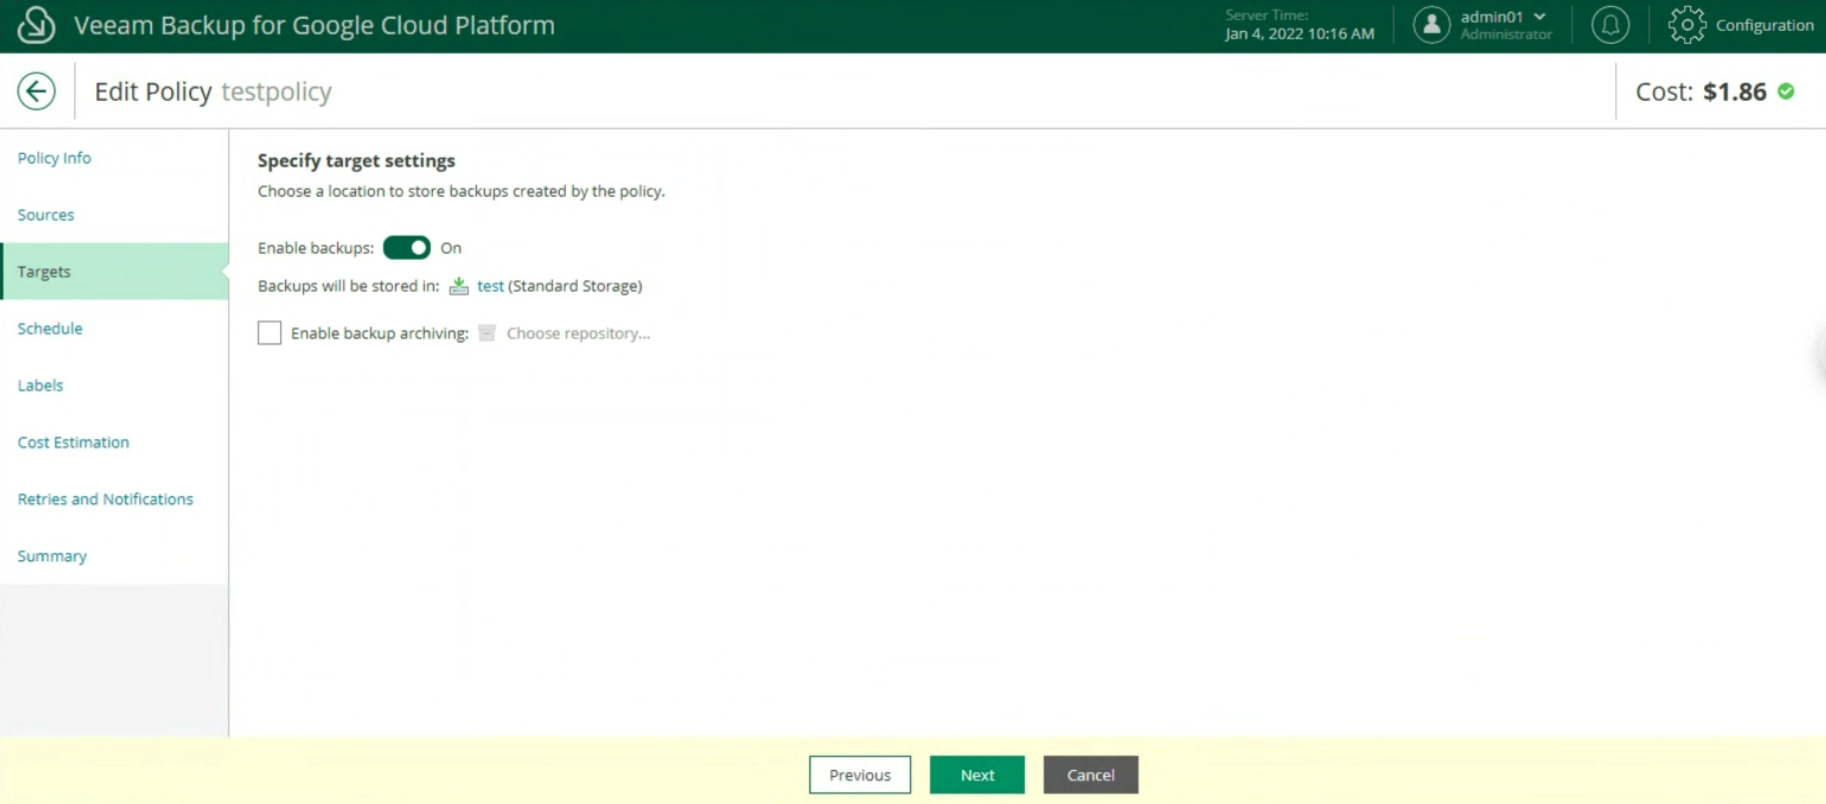 Immagine 16
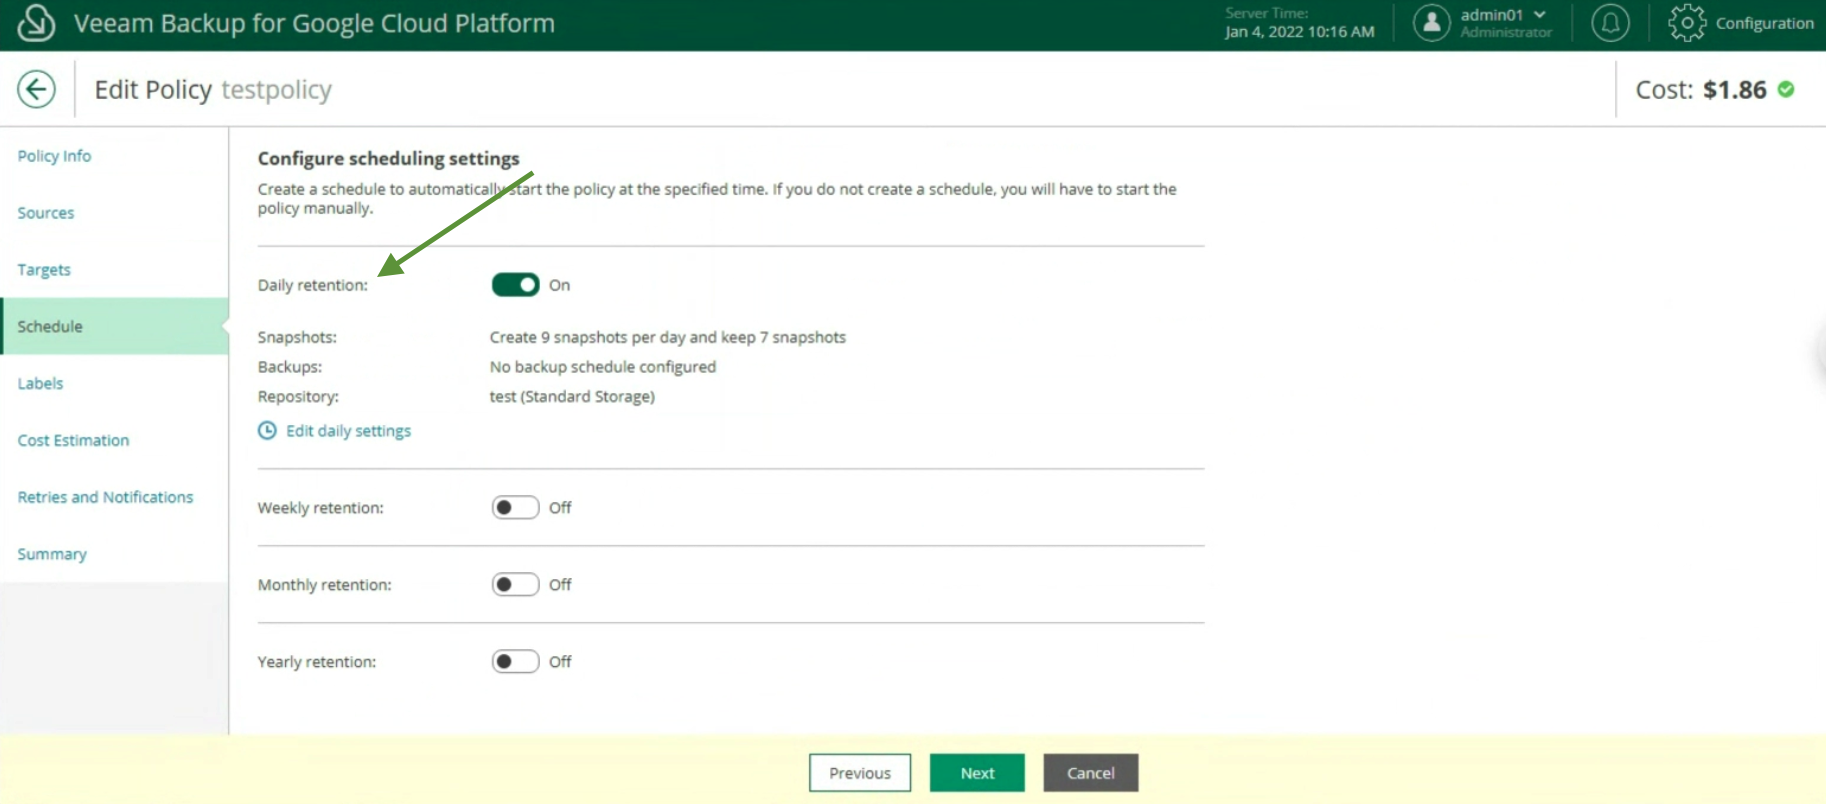 Immagine 17
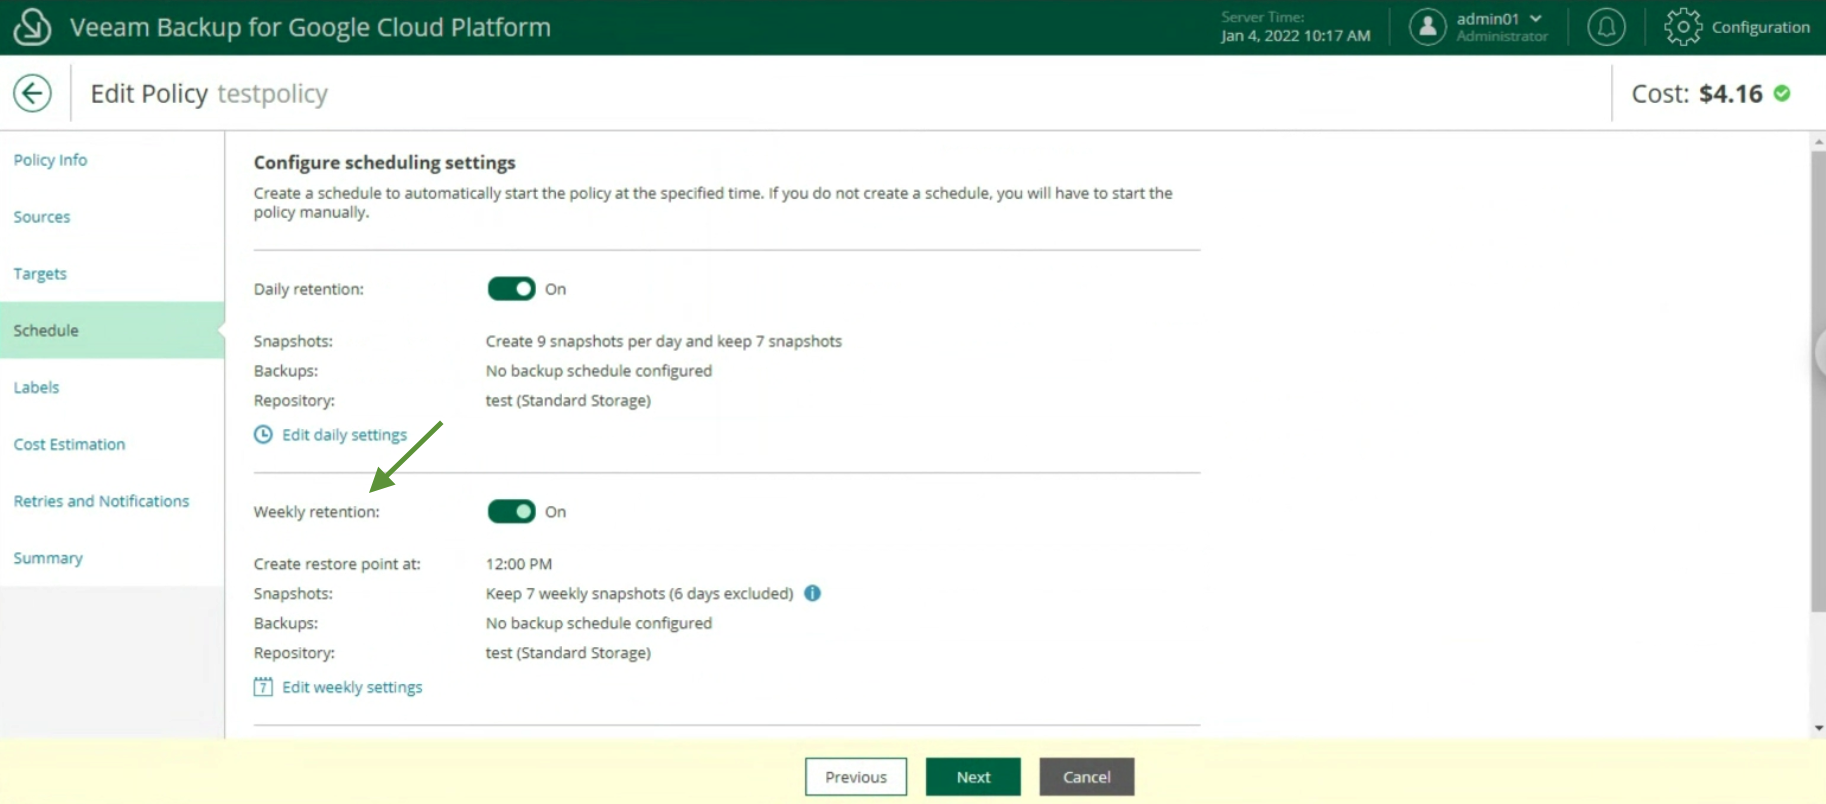 Immagine 18
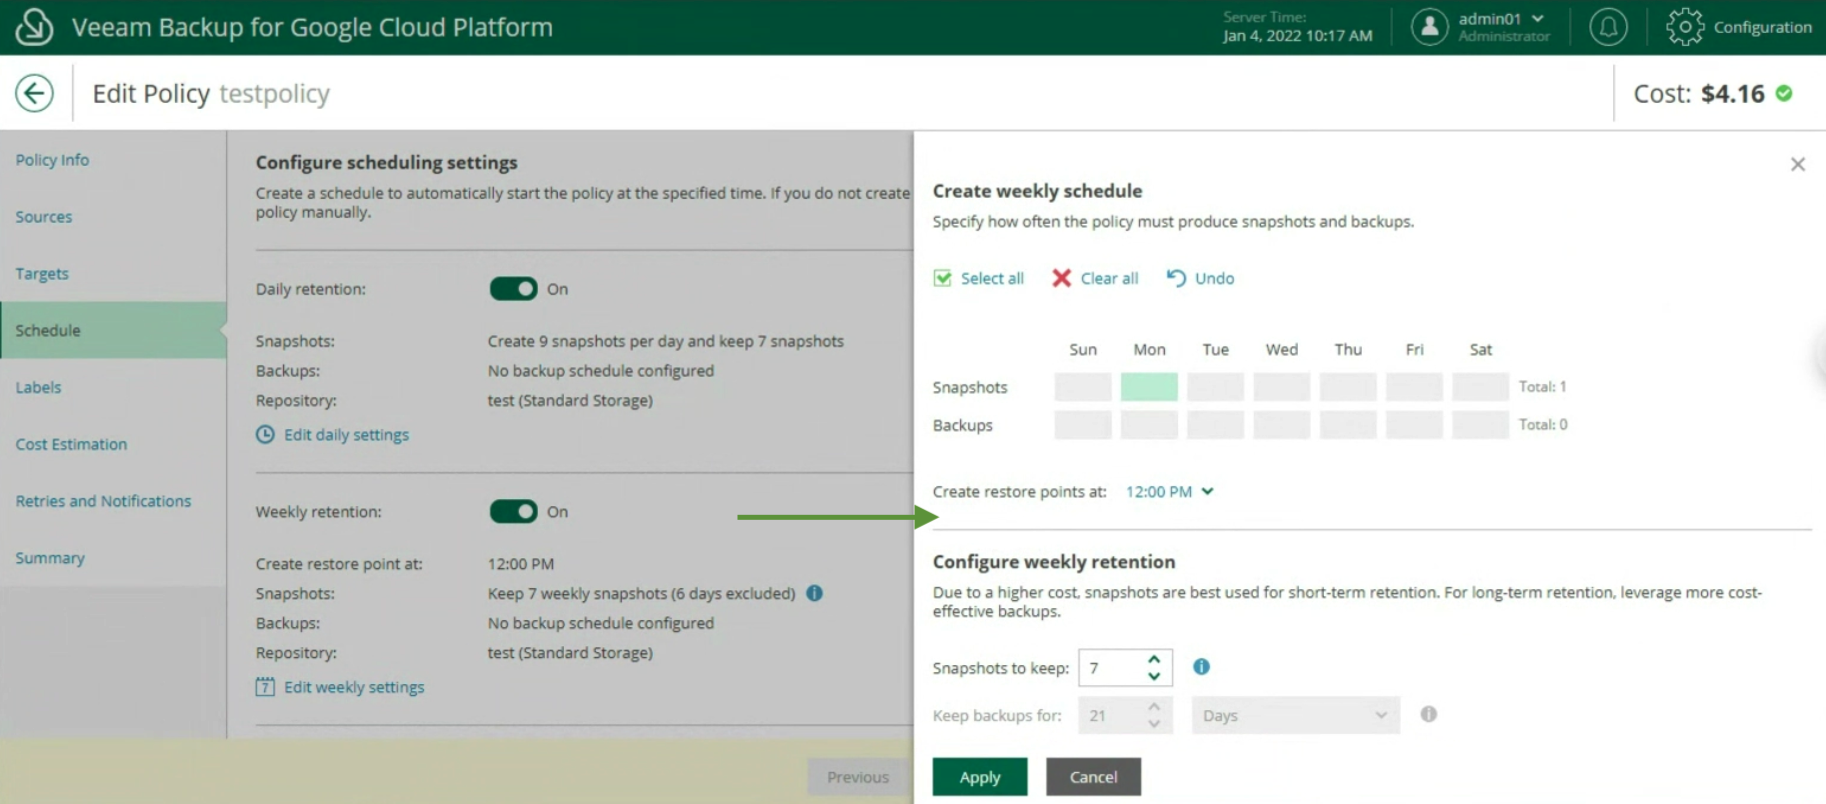 Immagine 19
Le ultime due voci indicano la stima dei costi mensili per realizzare la policy di backup (immagine 20) e l’impostazione dei retry e delle notifiche (immagine 21)
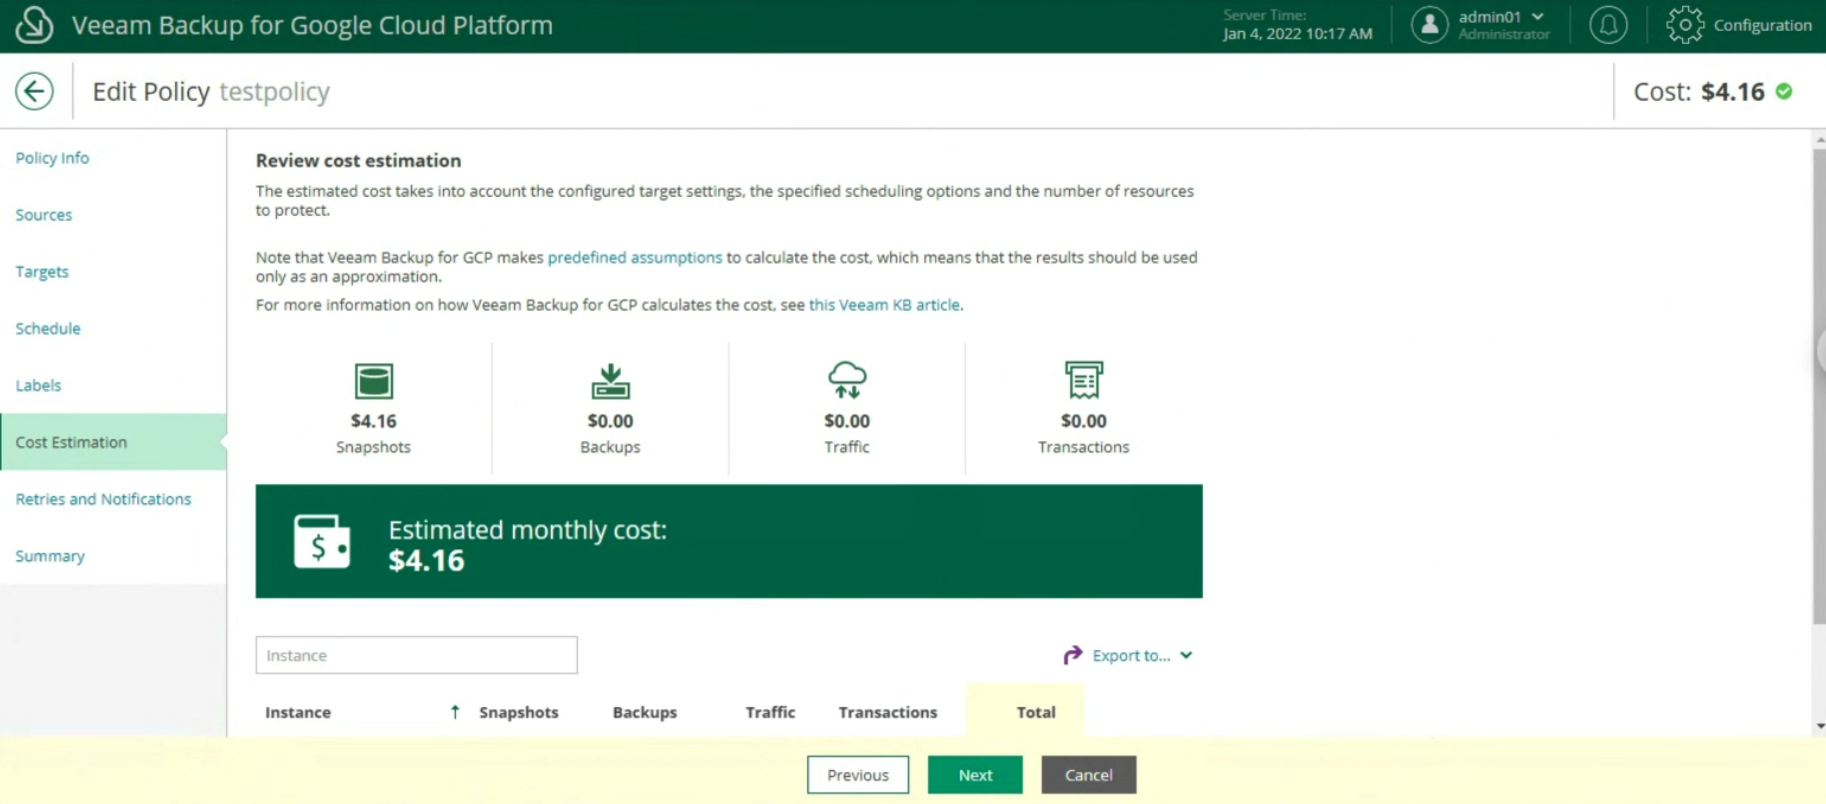 Immagine 20
 Immagine 21
Terminata la configurazione e dal monitoraggio verificato che la policy si è completata con successo, è possible procedere al ripristino (immagine 22).
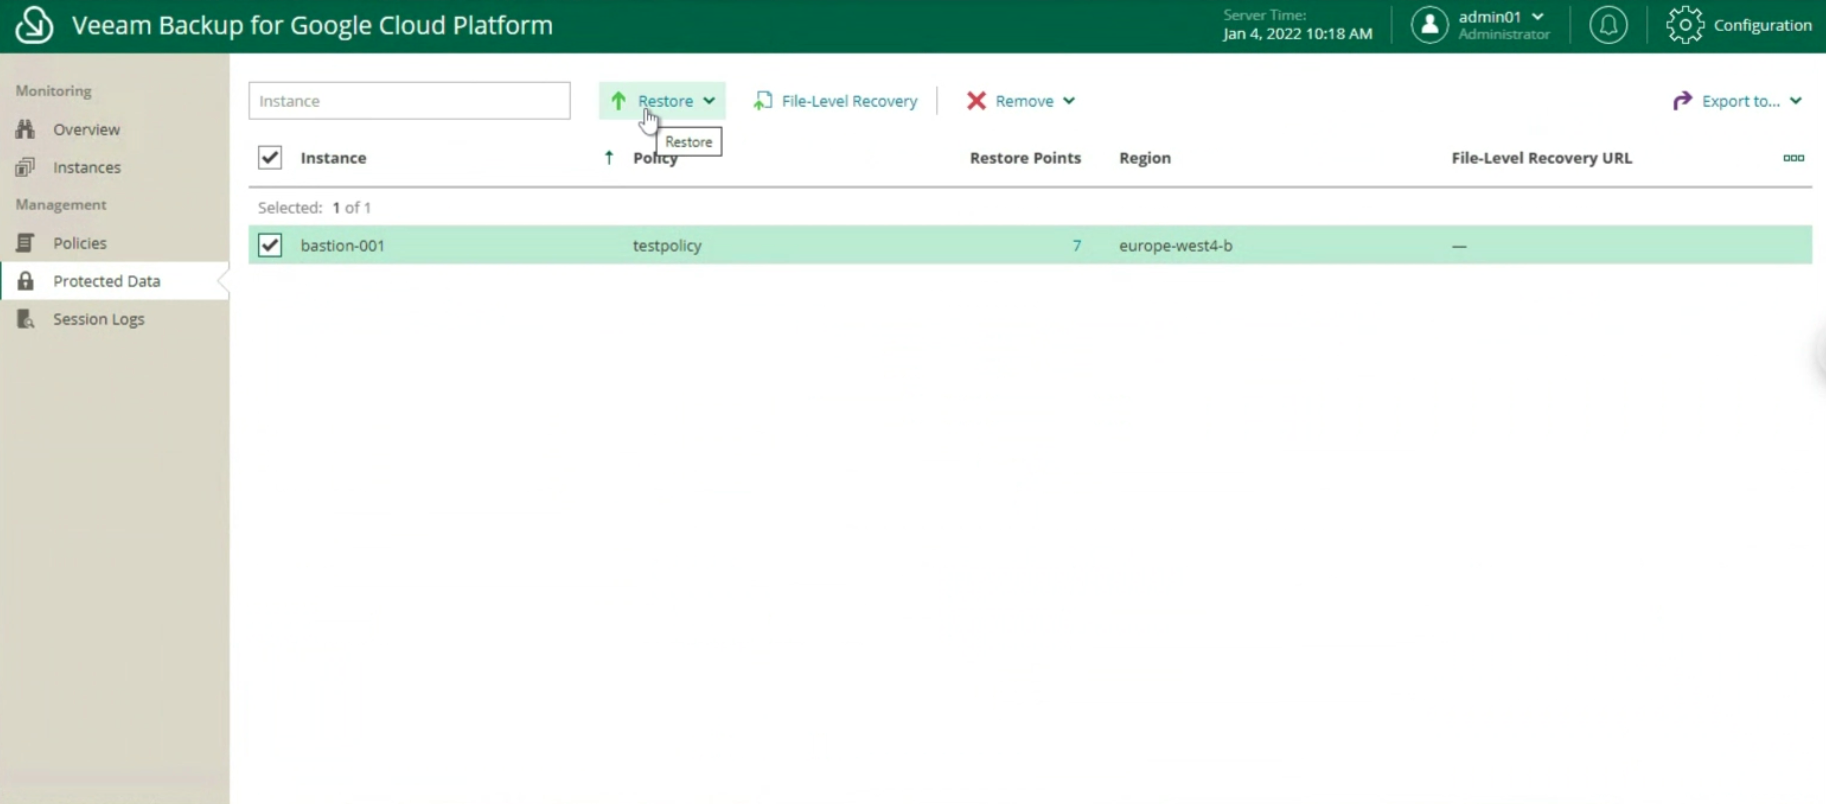 Immagine 22
Le opzioni disponibili sono:
- Intera Istanza
- File e Cartelle
Le prossime immagini (23-24-25) mostrano i passaggi chiave per ripristinare l’ìntera istanza.
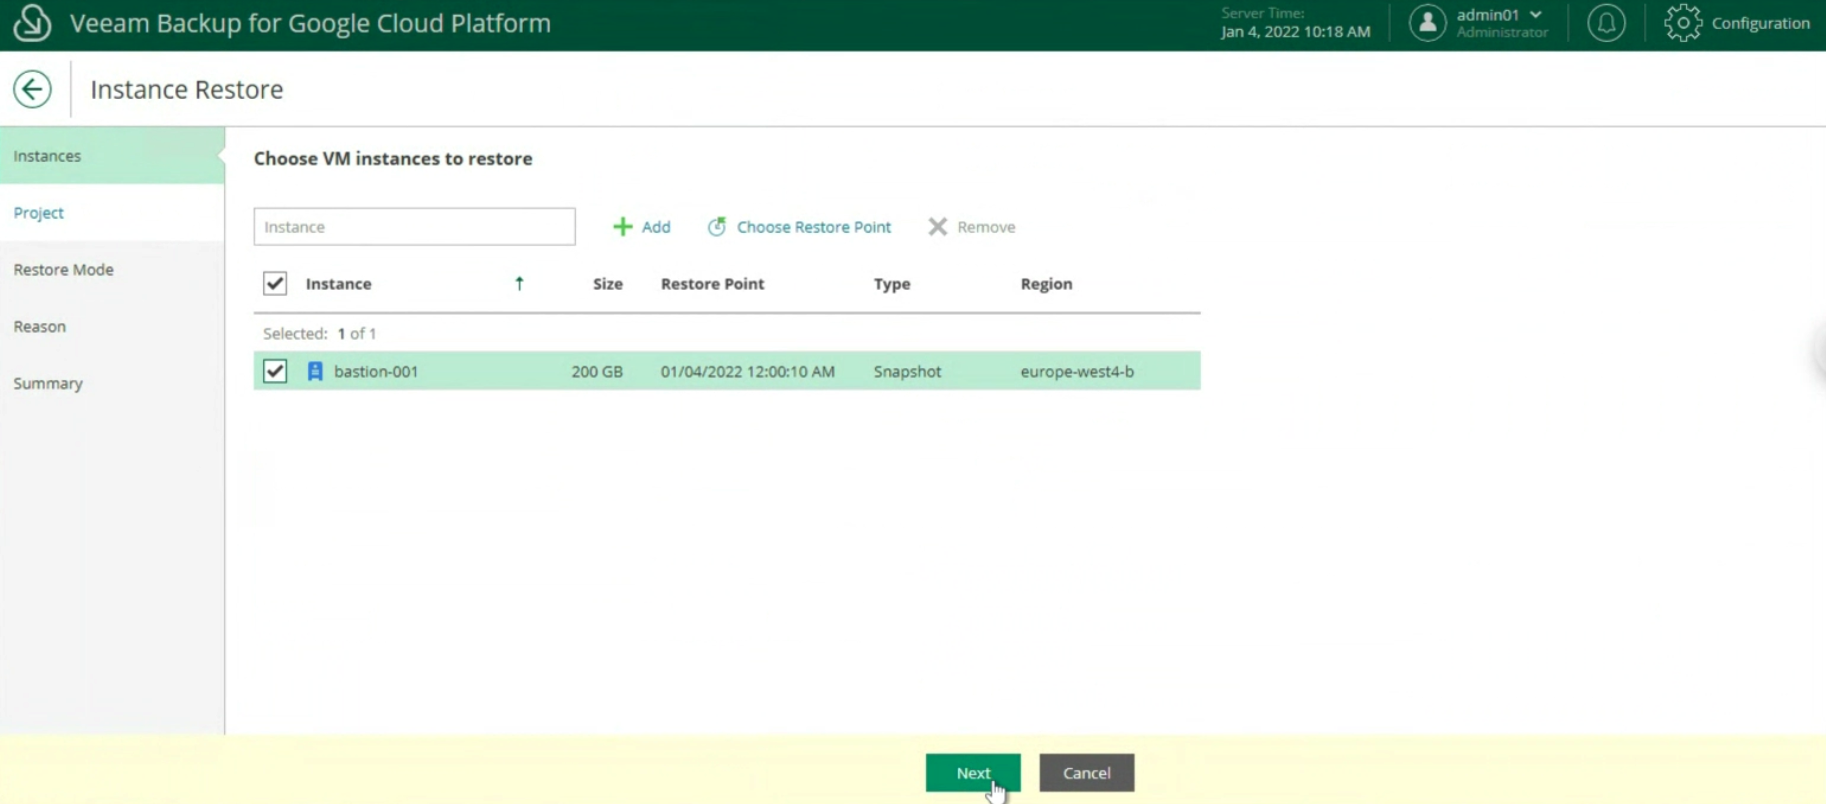 Immagine 23
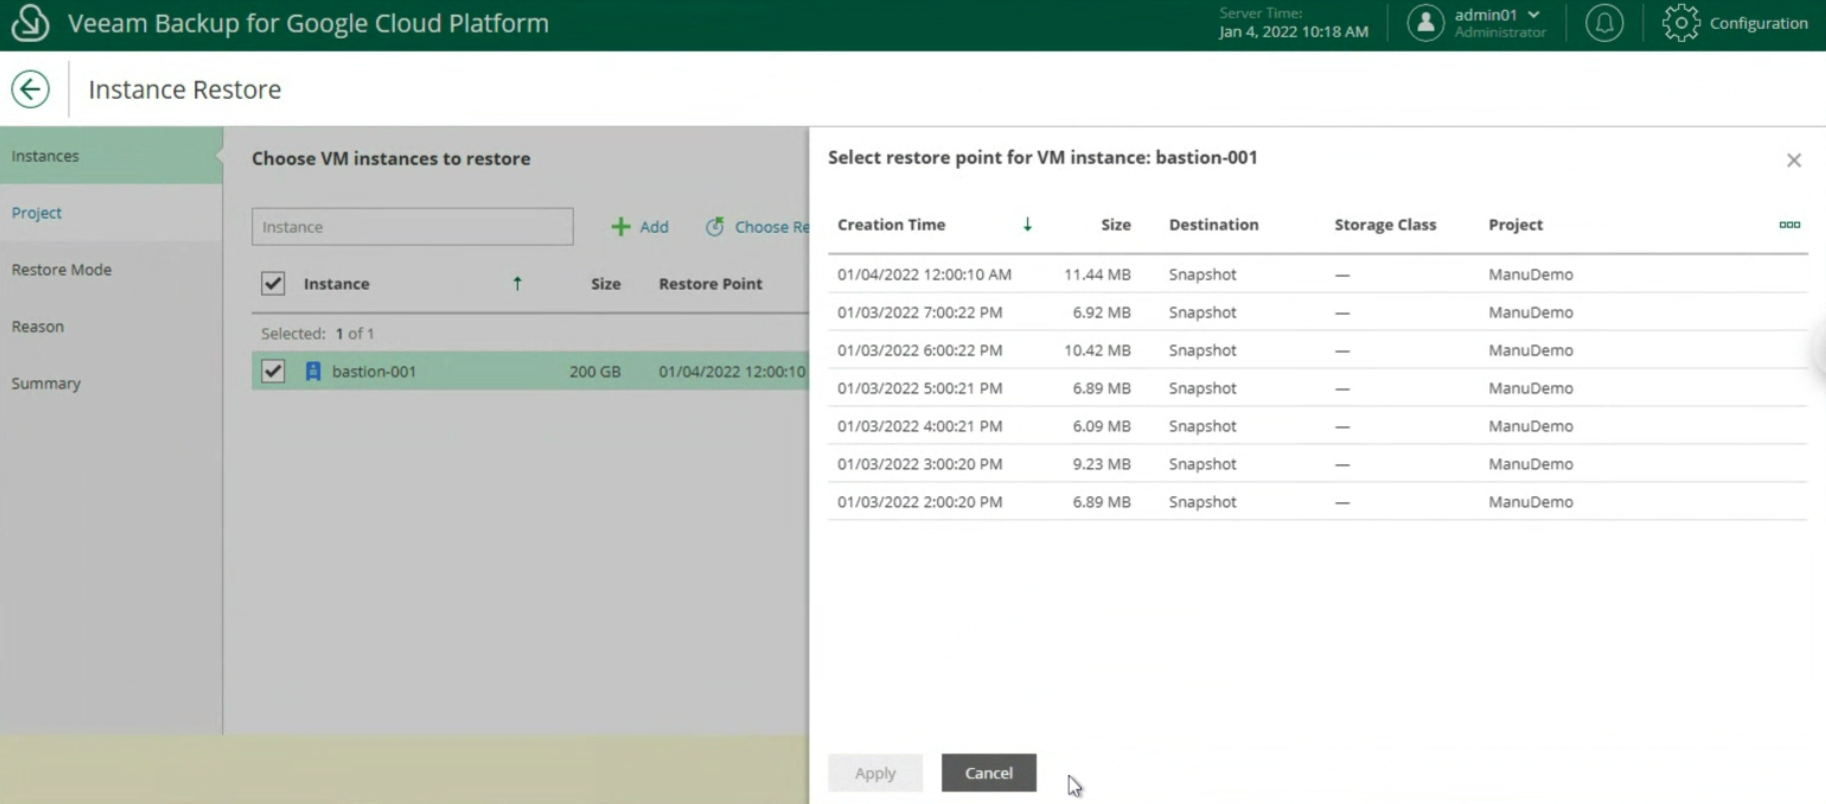 Immagine 24
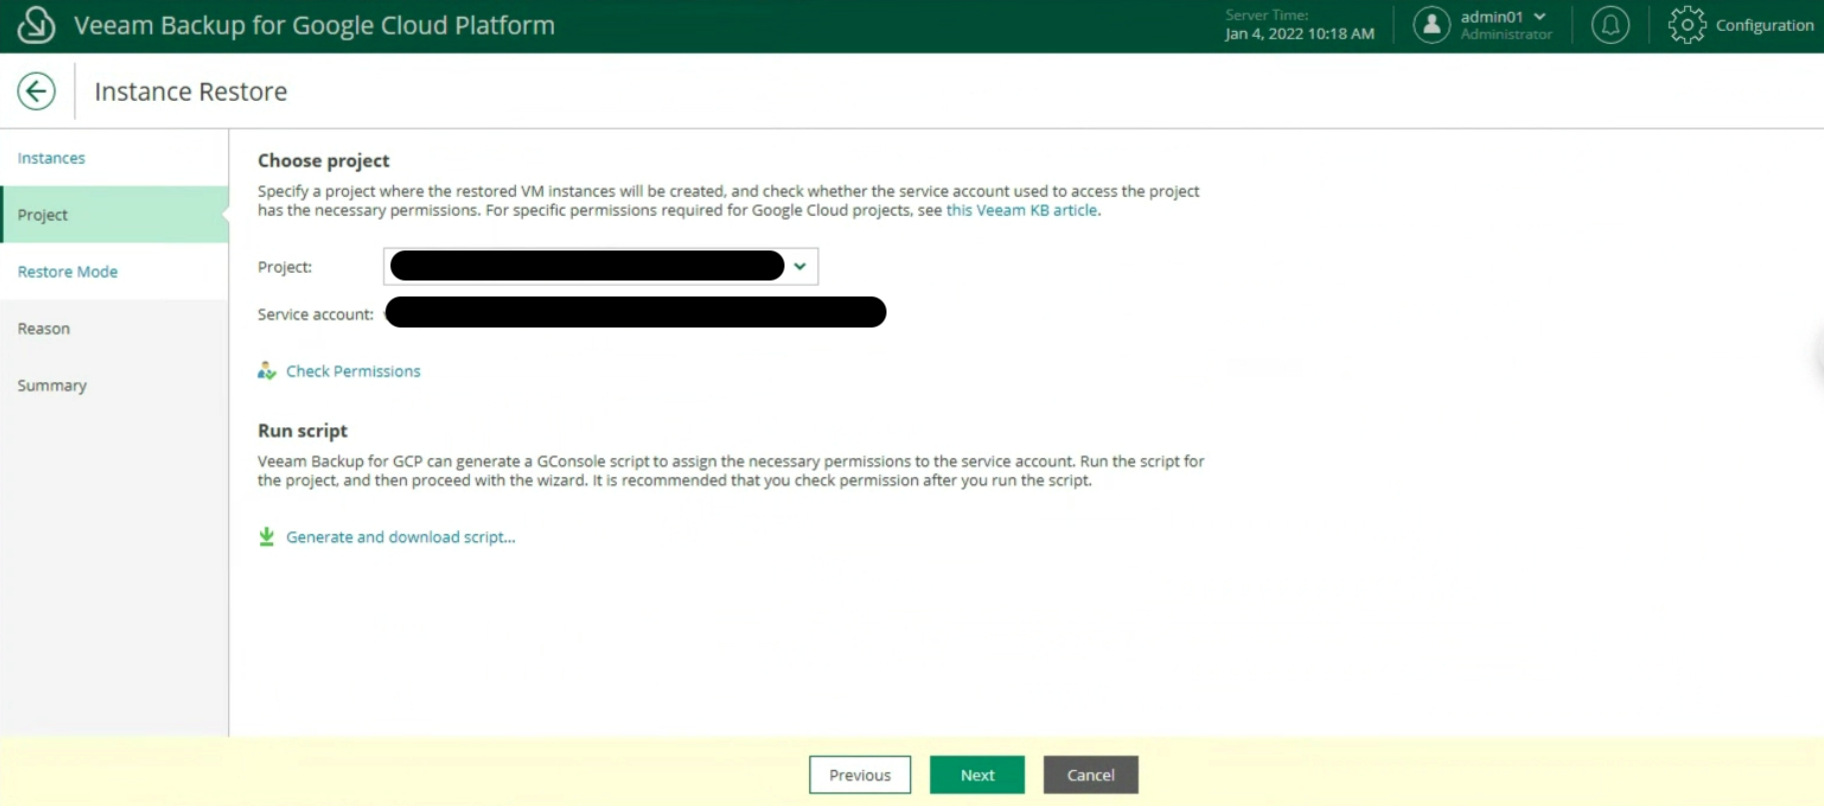 Immagine 25
Nel prossimo articolo vedremo come poter proteggere e rispristinare un DB Sql presente in un’istanza GCP
A presto

 Picture 1
 Picture 2