
An article devoted to how you can delegate restores with Veeam Backup & Replication (VBR).
The case study is related to the protection of files in shared folders, but can be extended to many of the objects protected with VBR. (see image 7)
—
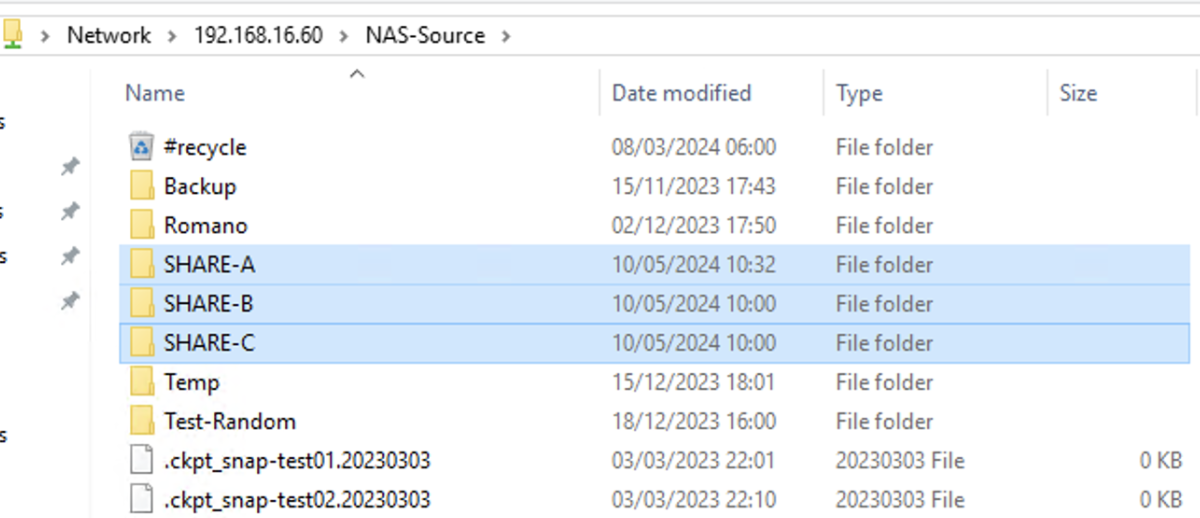
- Image 1 shows the three shared network folders (SHARE-A, SHARE-B, SHARE-C) that are used as the source of the files to be protected.
 Picture 1
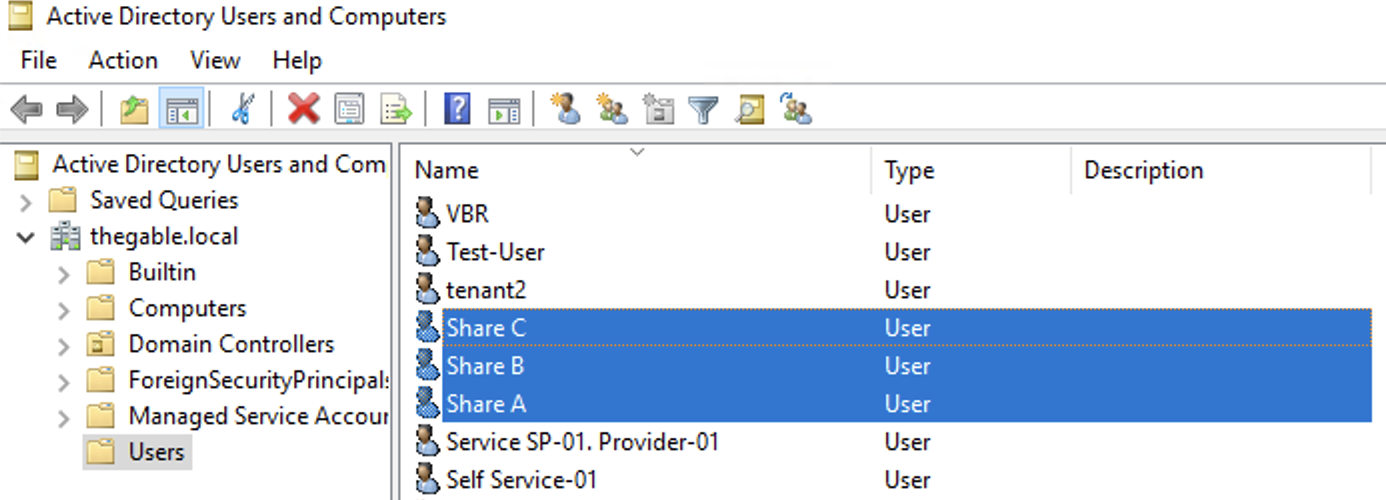
In the scenario, it is assumed that for each individual shared folder, only a specific user can proceed with the recovery tasks.
- Image 2 highlights the creation of three Domain users, ShareA, ShareB, ShareC.
 picture 2
Files pertaining to a specific shared folder will be restorable by the user with the identical ending letter in the name. For example, files pertaining to SHARE-A will be restorable by the ShareA user.
(
Editor’s note: For simplicity of exposition, the letter X will replace one of the three letters of the alphabet A-B-C)
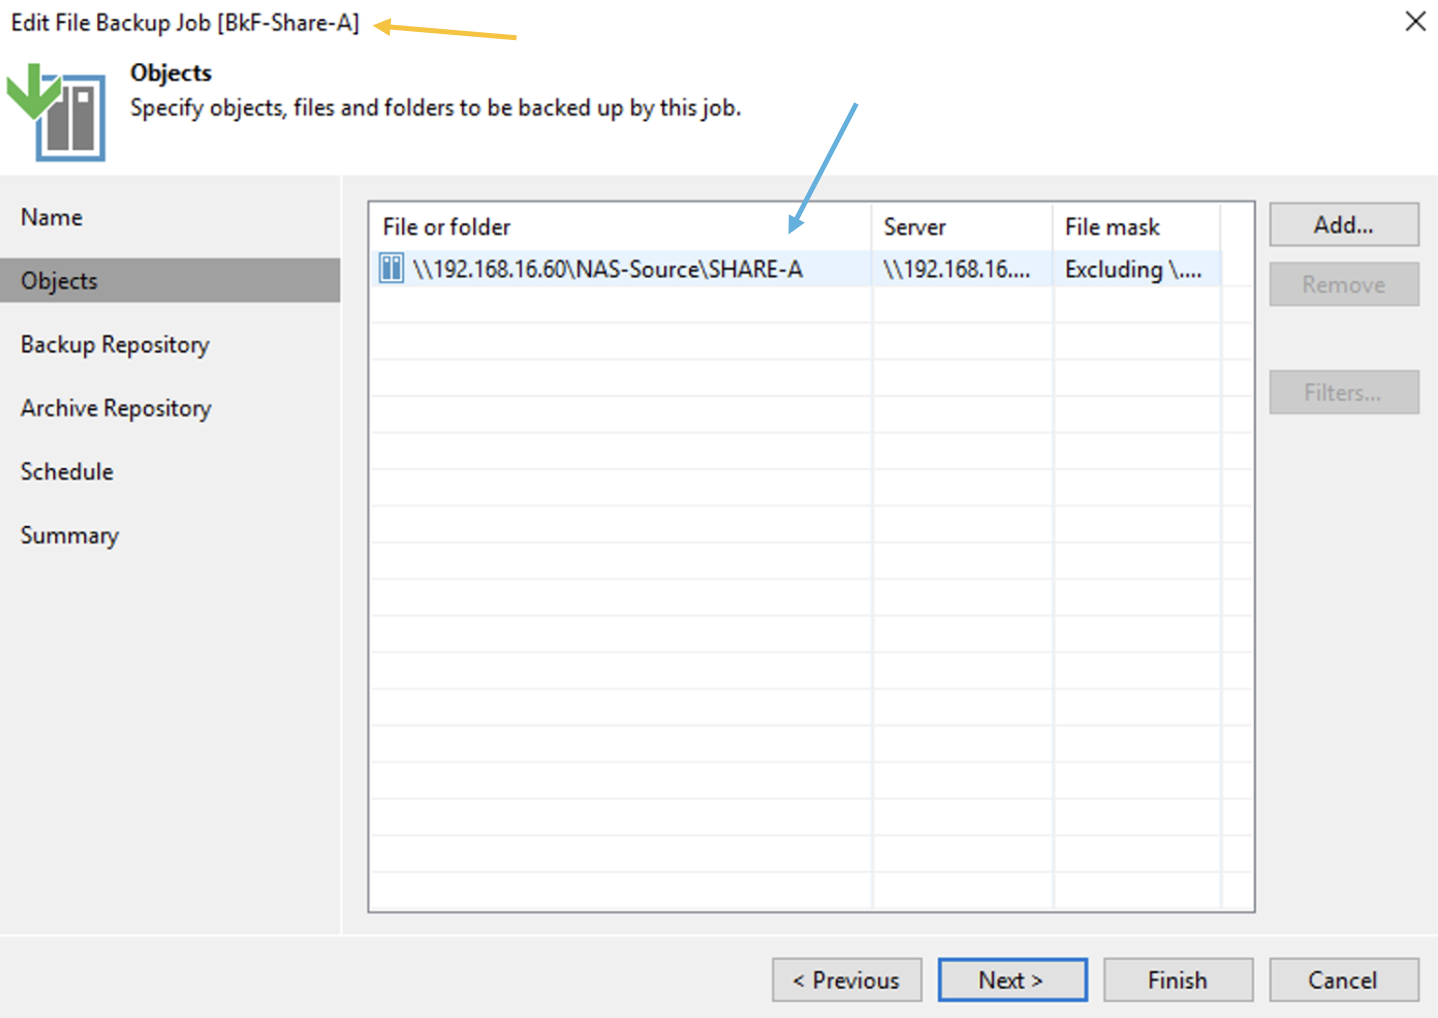
- A Backup job named “BkF-Share-X” was created for each shared folder.
Image 3 shows that the “BKF-Share-A” job (orange arrow) protects the entire SHARE-A (Blue arrow).
 Picture 3
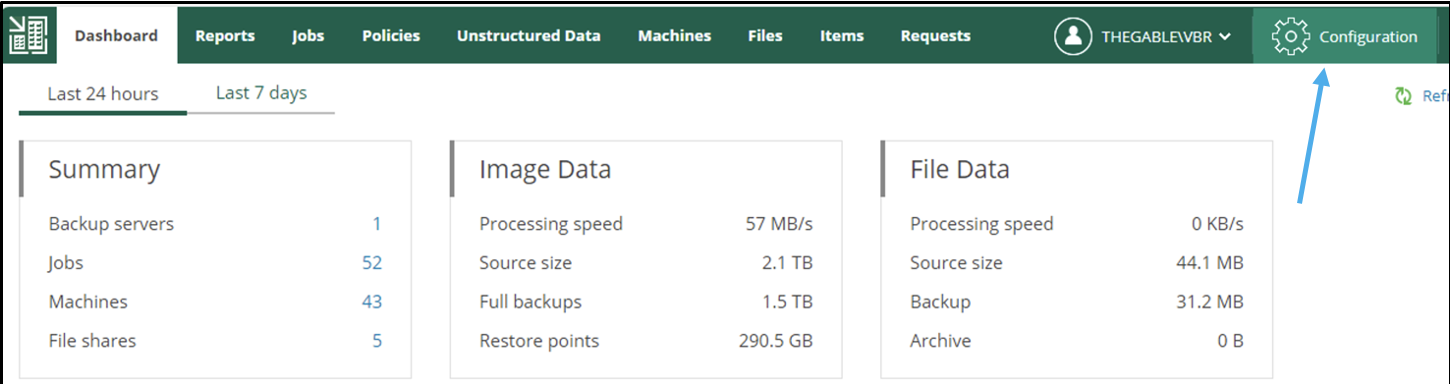
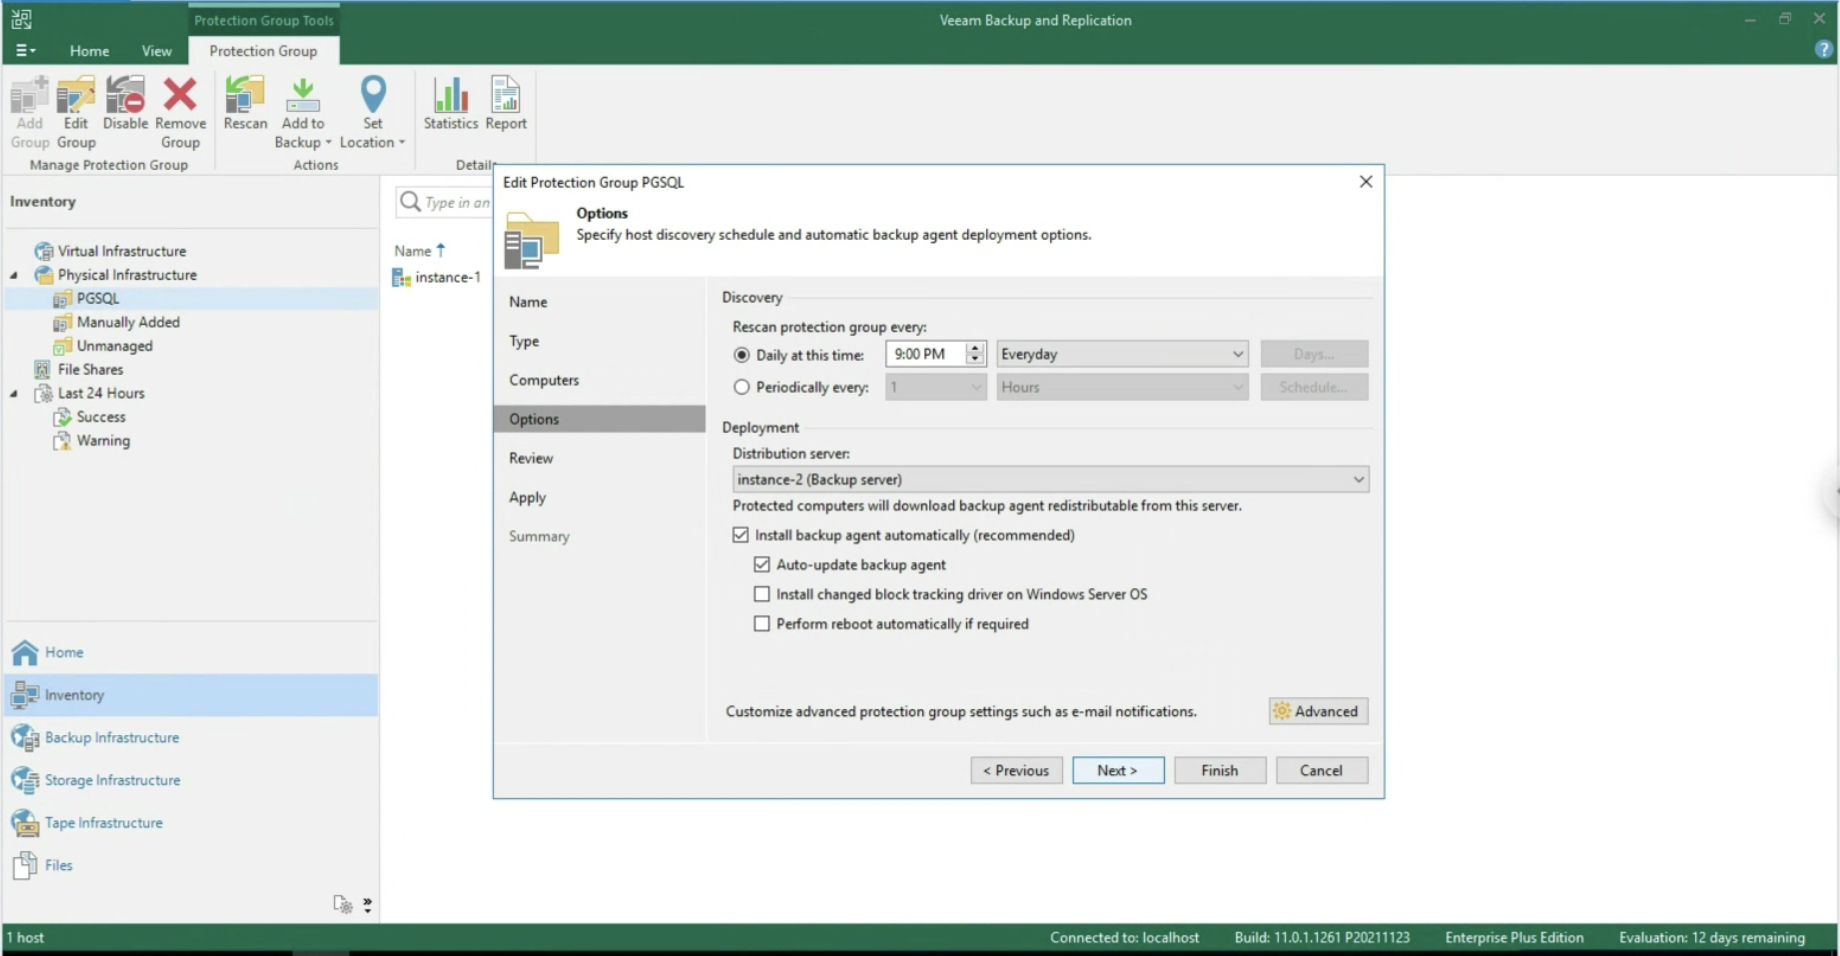
- Image 4 highlights the “configuration” menu from the Enterprise Manager.
Administration credentials are required at this configuration stage.
 Picture 4
- From the submenu
role
(image 5 – orange arrow) the three previously created users (ShareX) are added (green arrow) and assigned the role of Restore Operator (blue arrow).
 Picture 5
- Image 6 shows the delegation options.
The ShareA user (green arrow) is assigned the ability to restore all VBR-protected objects via the “Choose” button (orange arrow); in the restore options, only in-place restoration can be allowed (blue arrow).
The next images (7-8) show how to make the choice of objects to be displayed during the restoration delegation operations.
 Picture 6
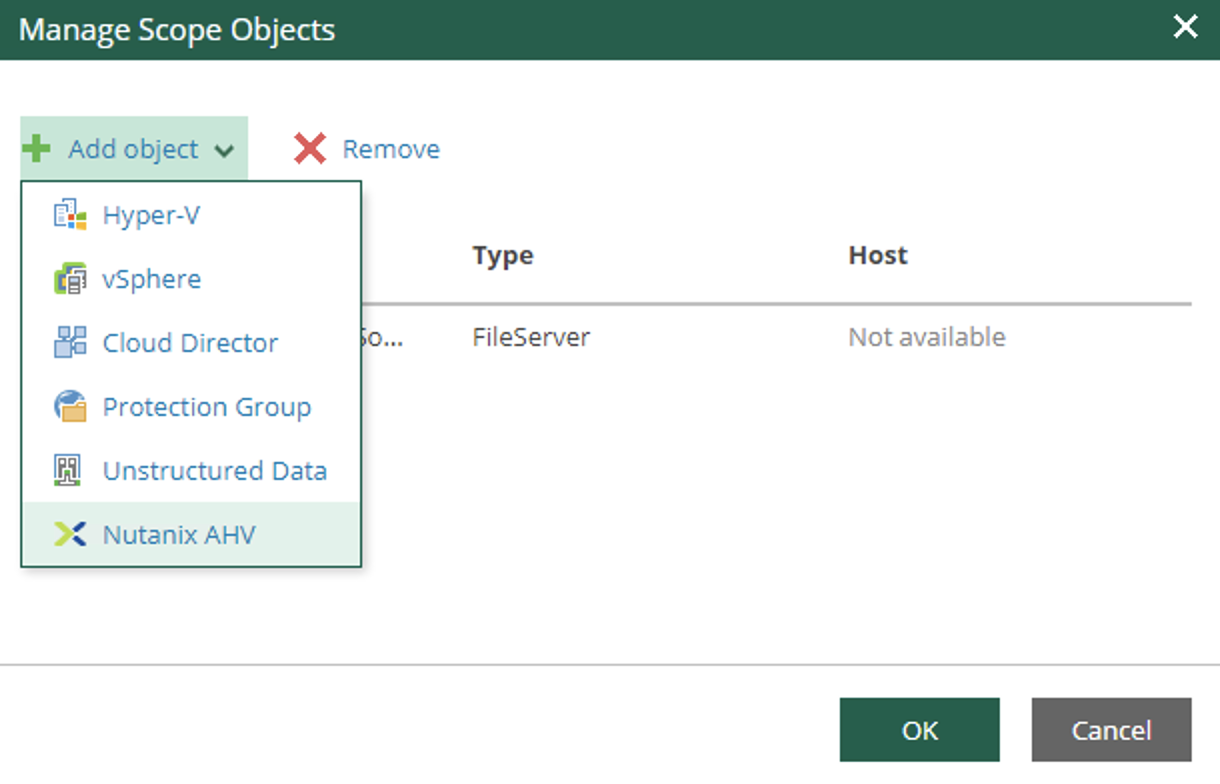 image 7
 Image 8
- Image 9 illustrates and confirms that when logged in from the Enterprise Manager with ShareX user credentials (Blue arrow), only files in the corresponding shared folder (orange arrow) are visible and restorable.
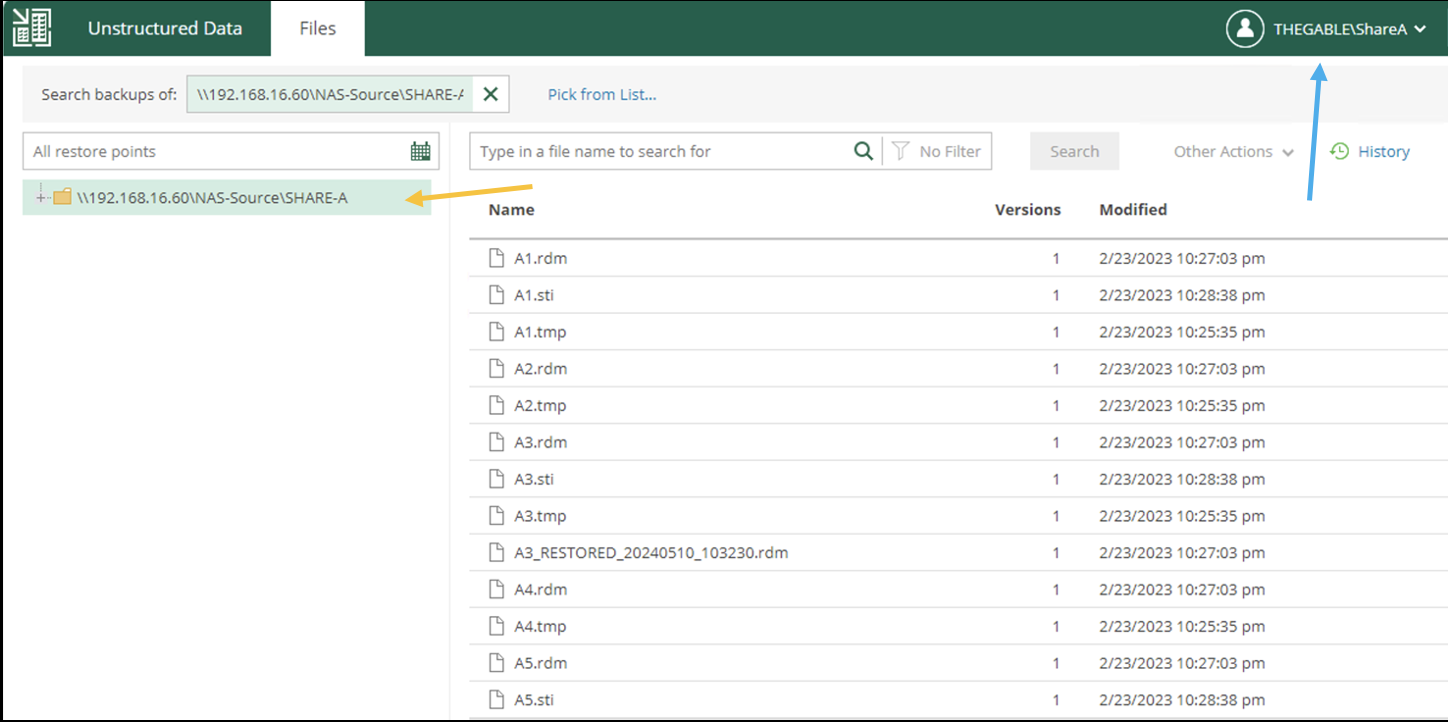 Image 9
Final Note:
- User management is configurable through AD groups.
- It is possible to temporarily enable and disable file restoration to a single user or groups of users.
- Licensing counts the amount of data protected for each individual Backup job. (The NAS Pack is intended to meet the needs of large amounts of data).
- It is possible to integrate with an existing web portal via Rest-Ful-Api.
- Documentation is available on the Veeam portal or by clicking here.
 Picture 1
 picture 2
 Picture 1
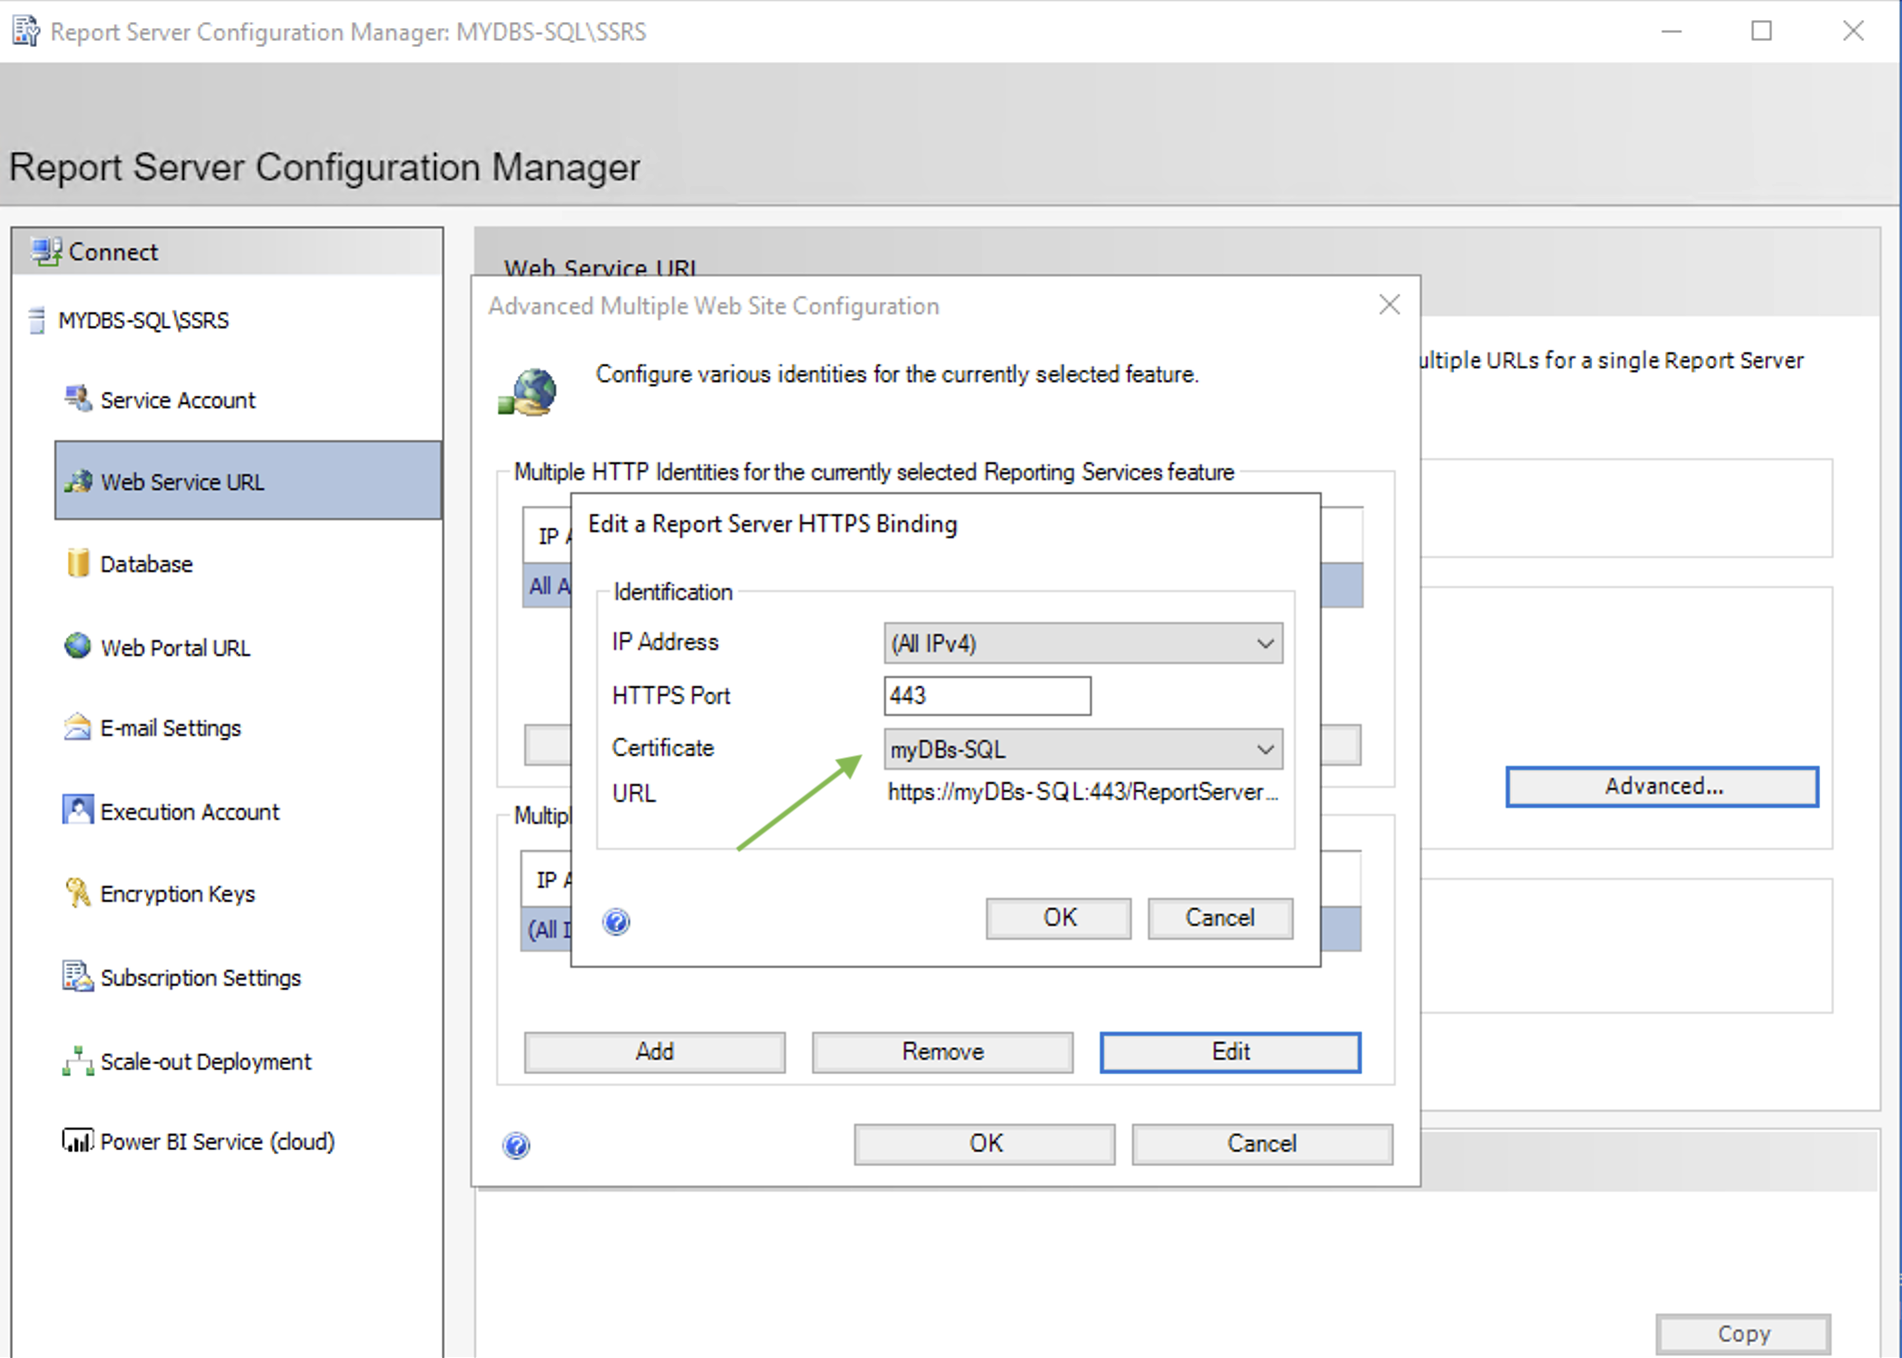 picture 2
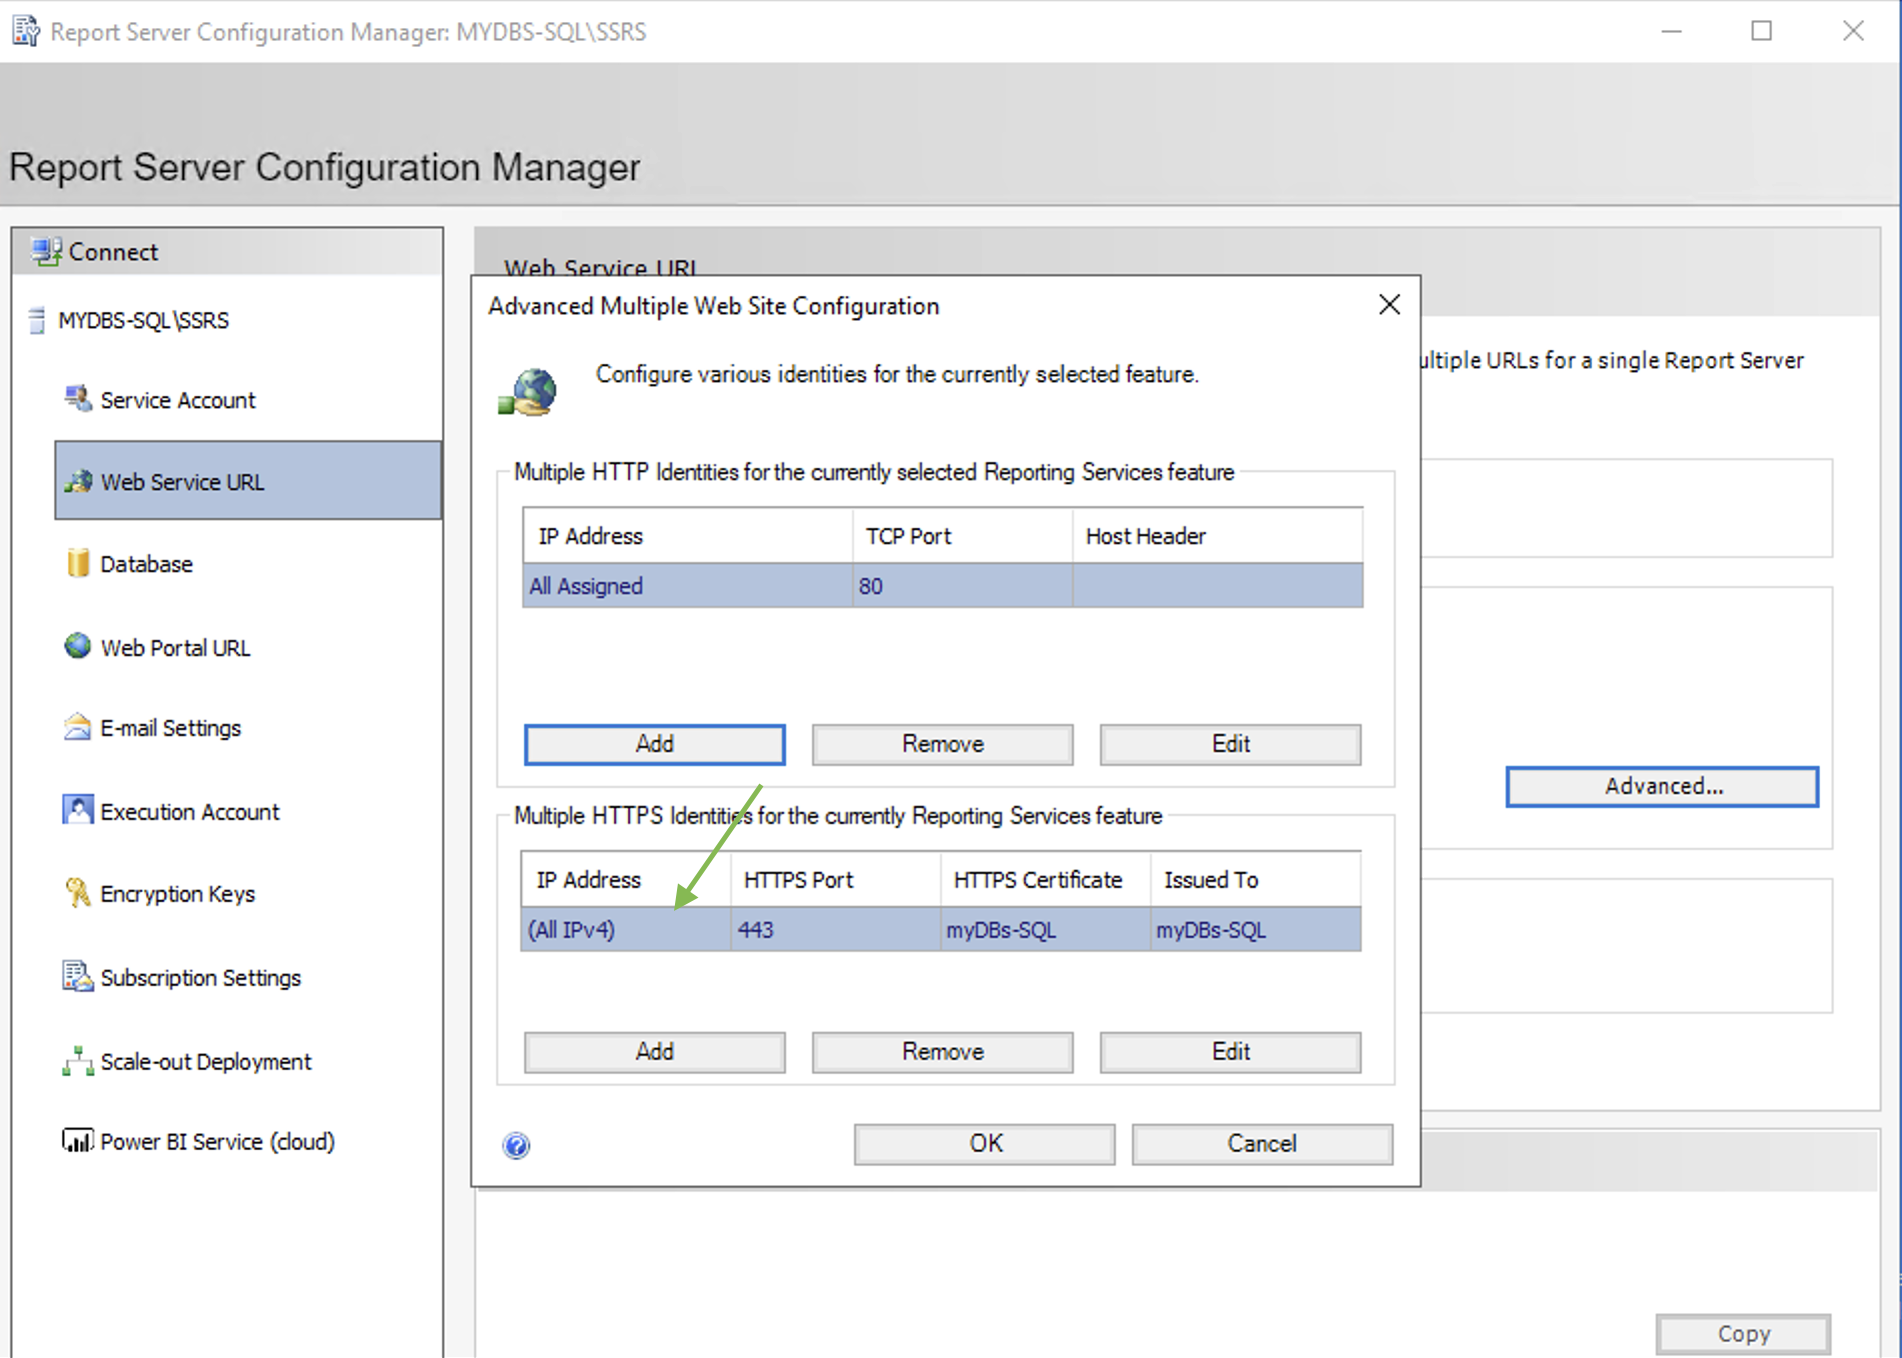 Picture 3
 Picture 4
 Picture 5


 Picture 1
 picture 2
 Picture 3
 Picture 4
 Picture 5
 Picture 6
 Picture 7
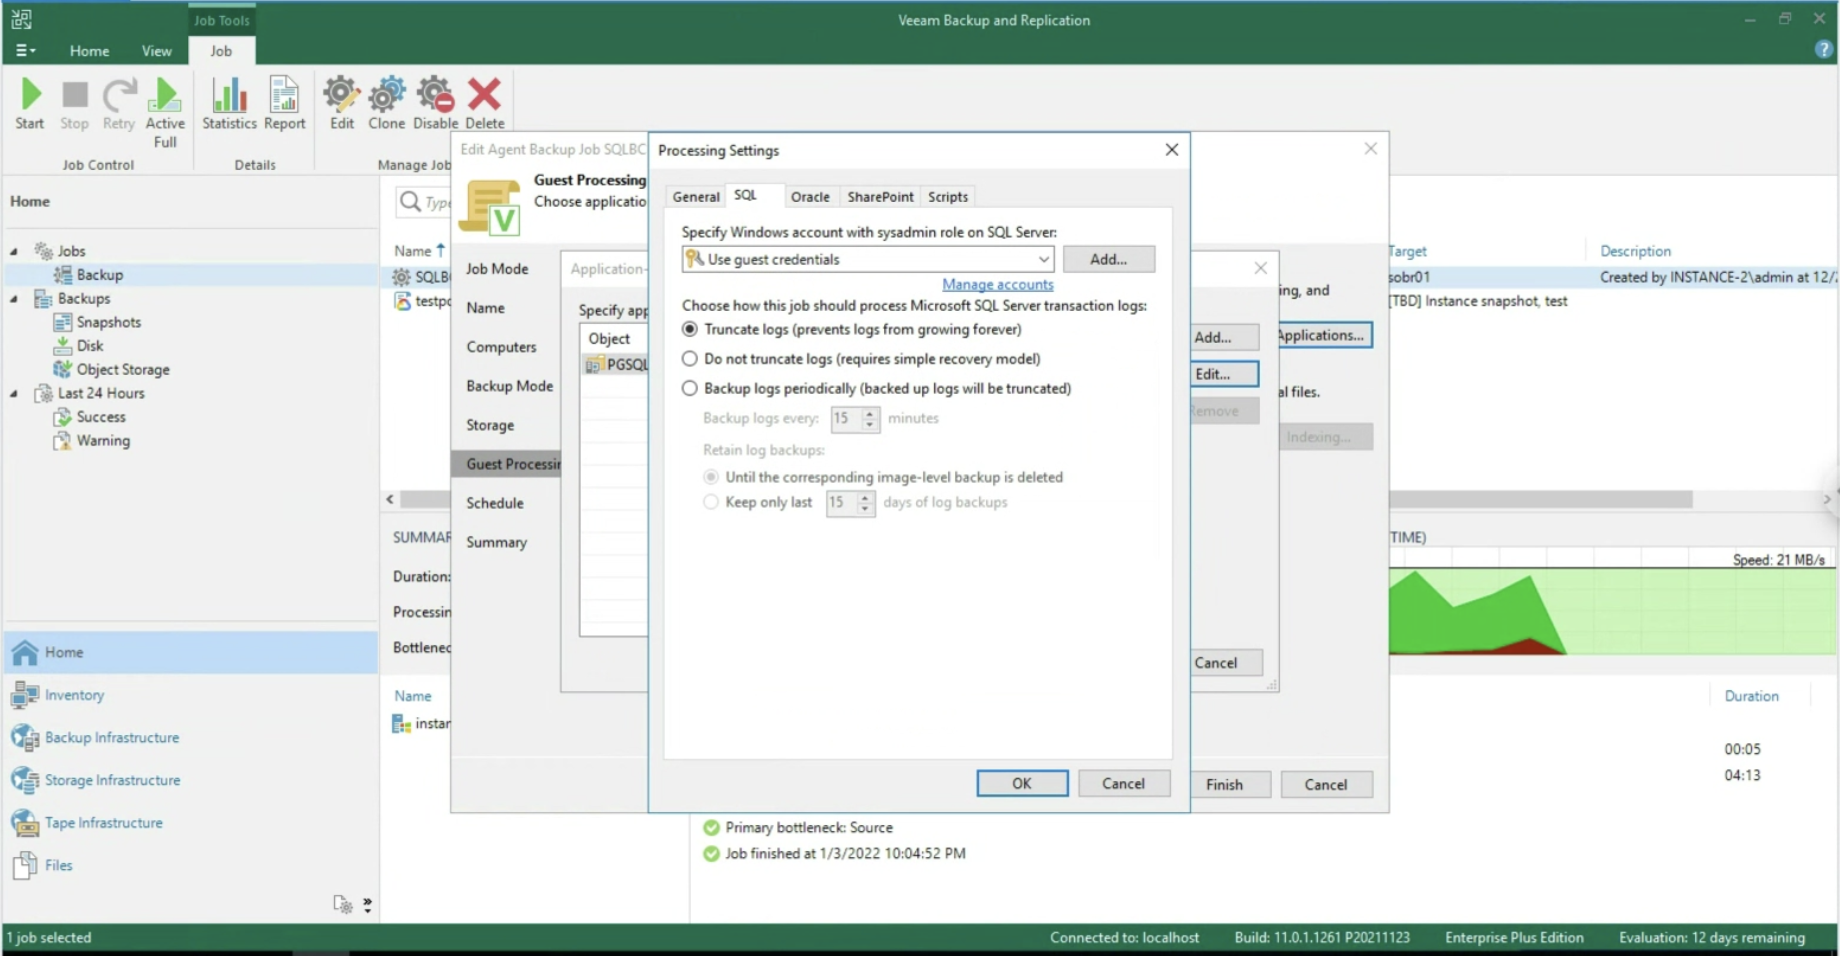 Image 8
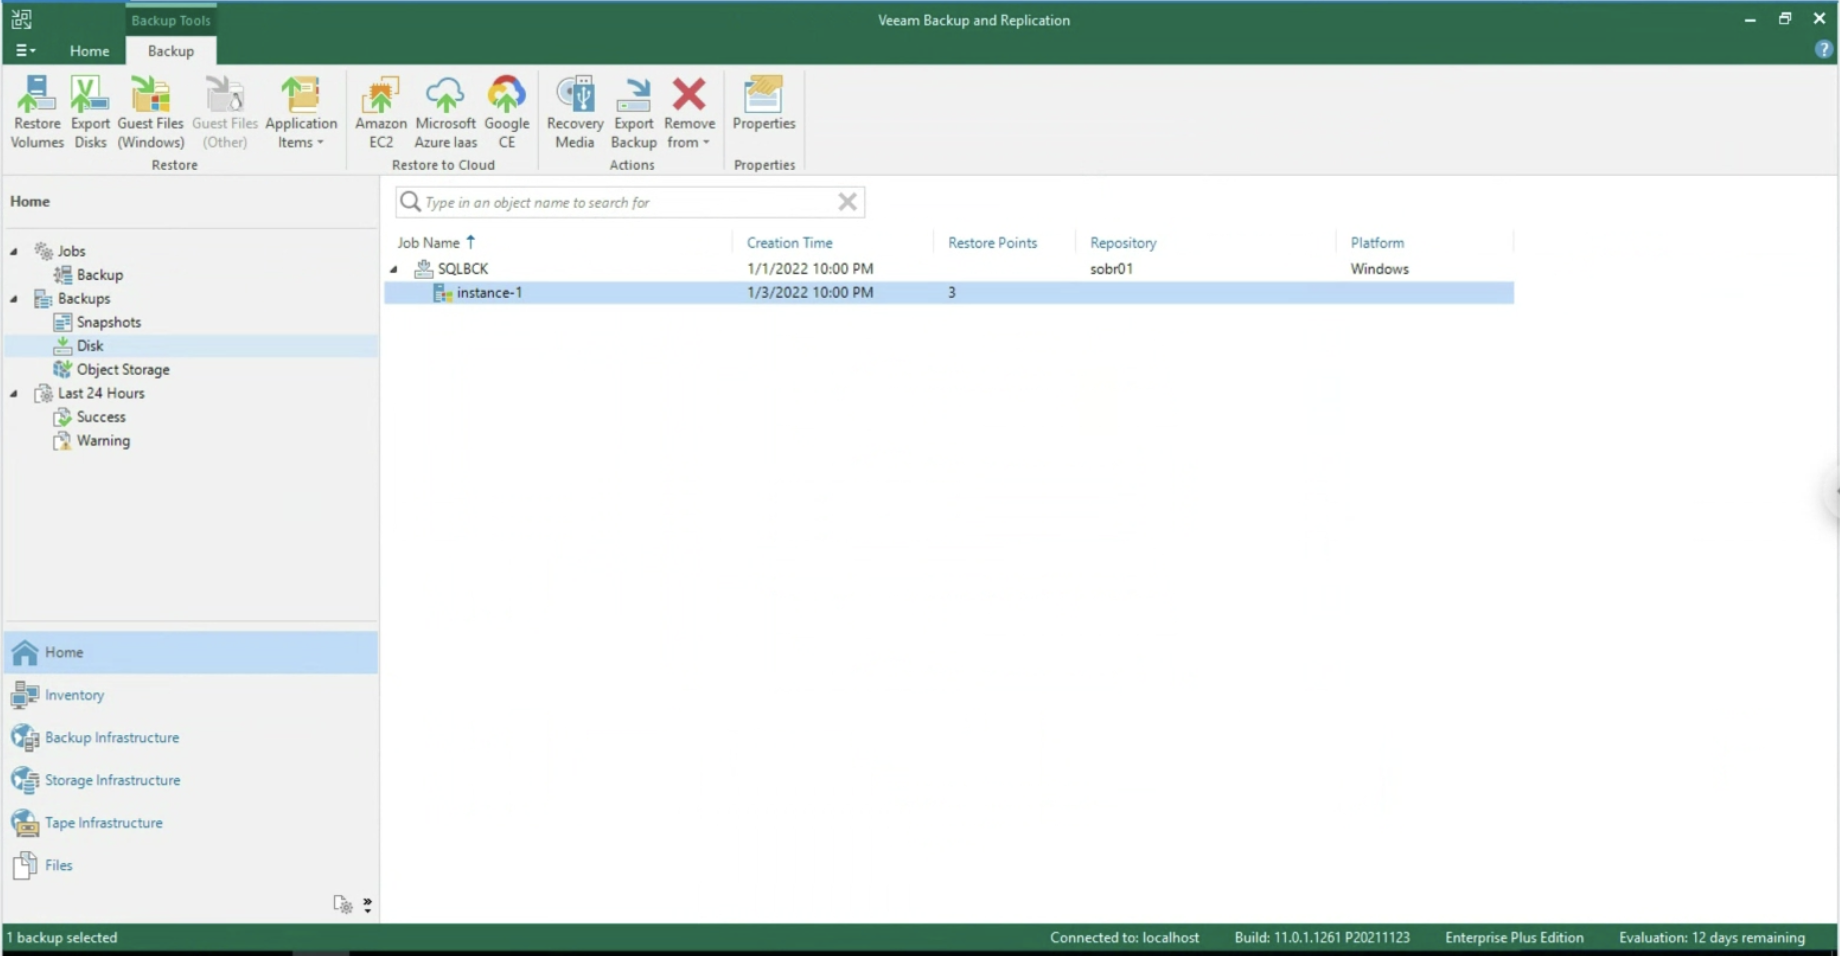 Image 9
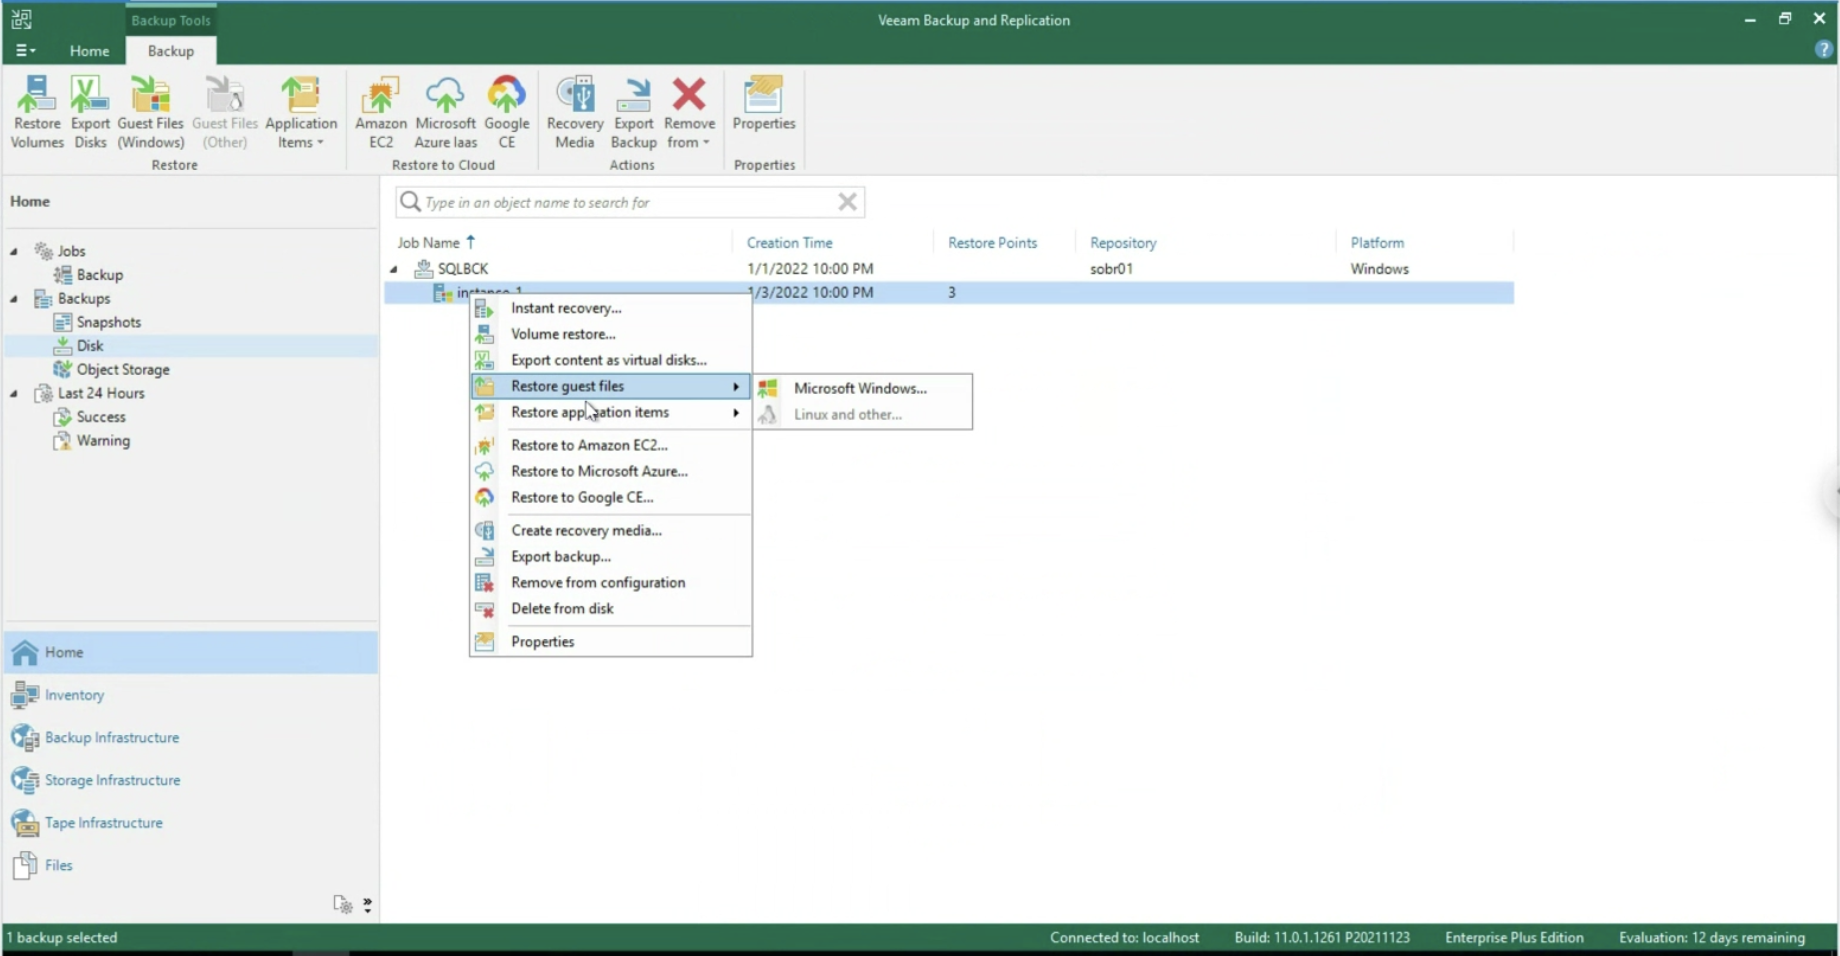 Image 10
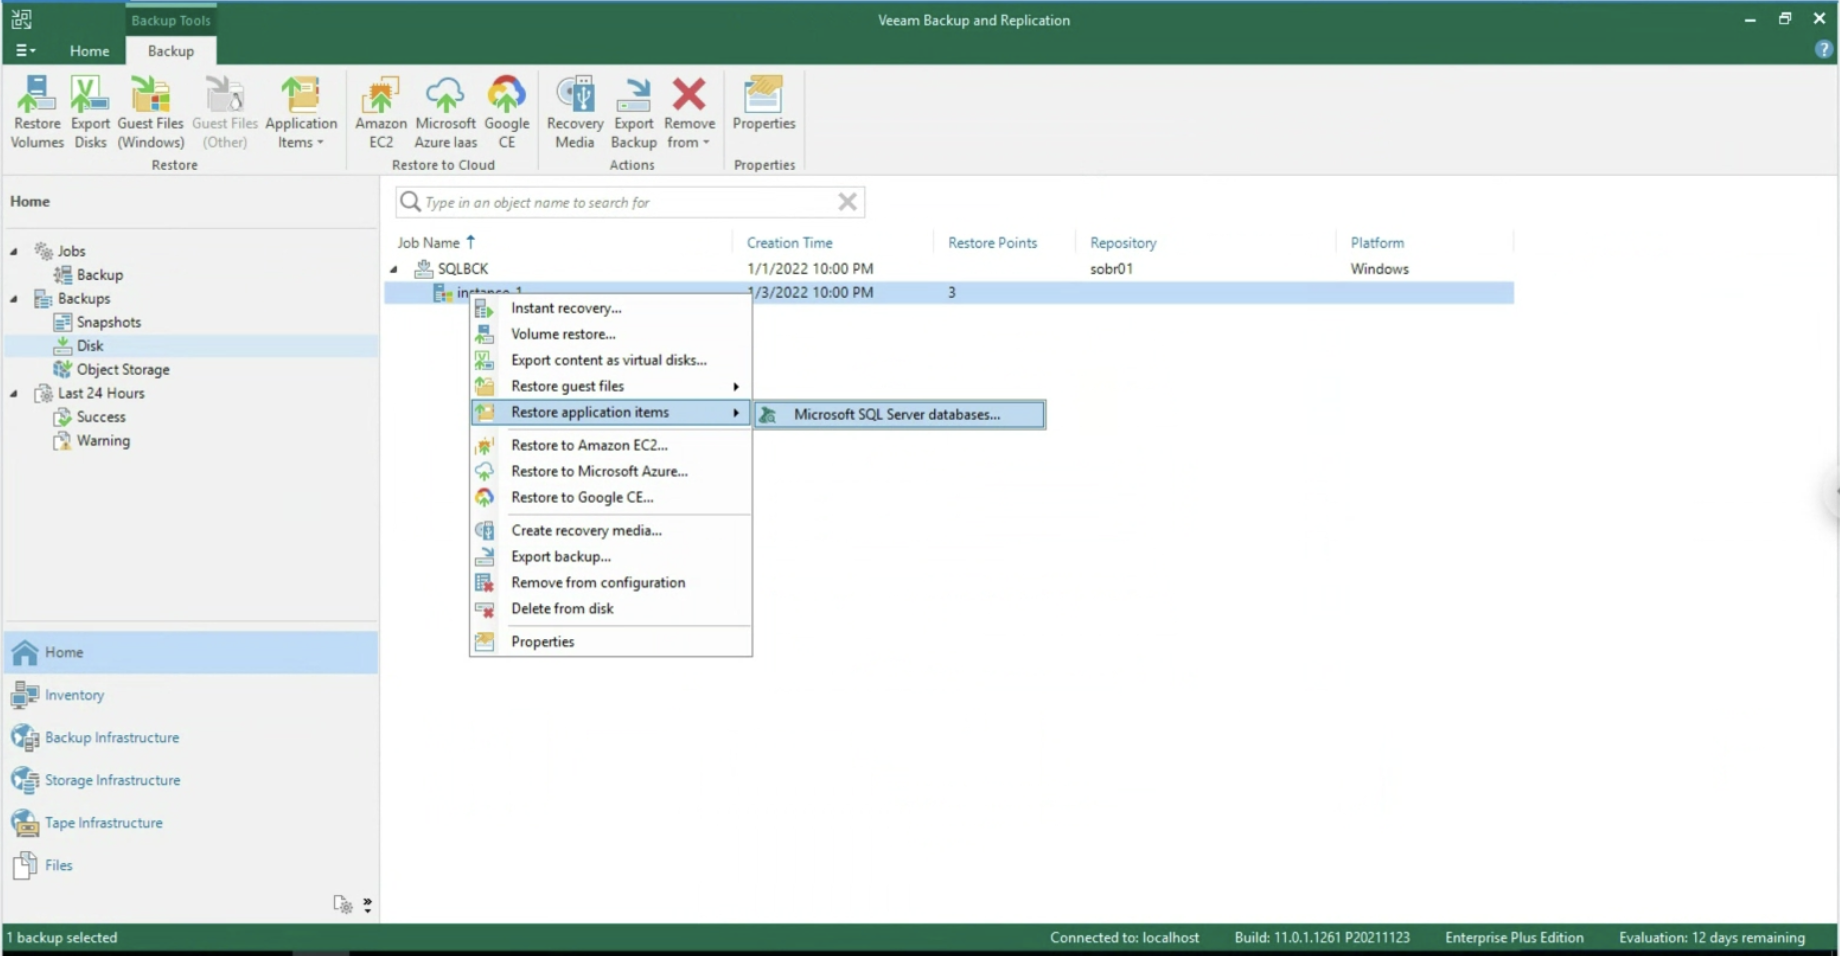
 Image 12
 Image 13
 Picture 1
 picture 2
 Picture 3
 Picture 4
 Picture 5
 Picture 6
 Picture 7
 Image 8
 Image 9
 Image 11
 Image 12
 Image 13
 Image 14
 Image 15
 Image 16
 Picture 17
 Image 18
 Image 19
 Image 20
 Image 21
 Image 22
 Image 23
 Image 24
 Image 25