This second article will complete the deployment scenario that began with Part 1. If you didn’t read it yet just click here.
The first important step is to enable VBO-365 to work with RestFul-API. Pictures 1 to 4 show the steps to perform the task
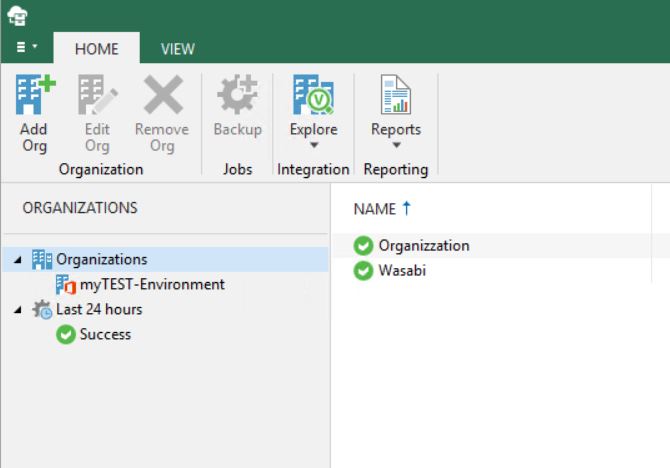 Picture 1
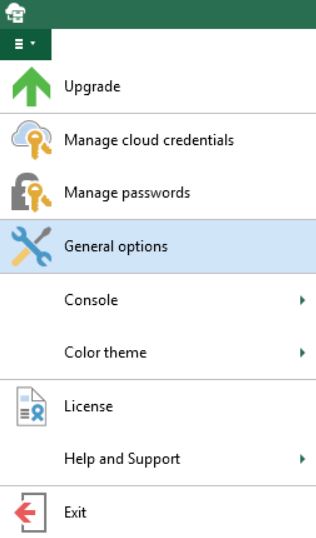 Picture 2
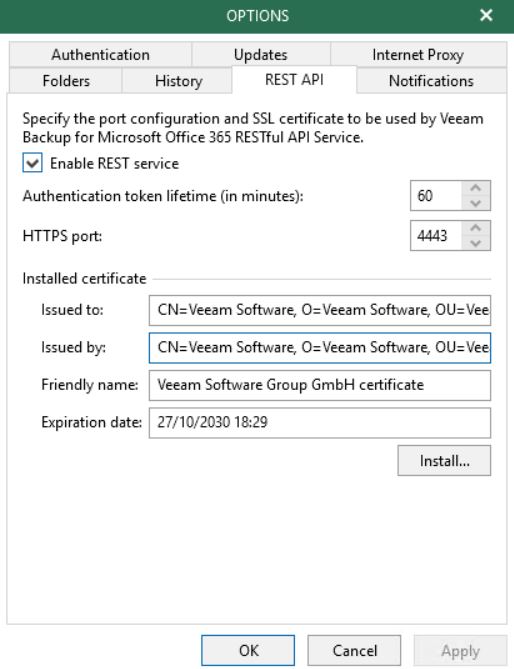 Picture 3
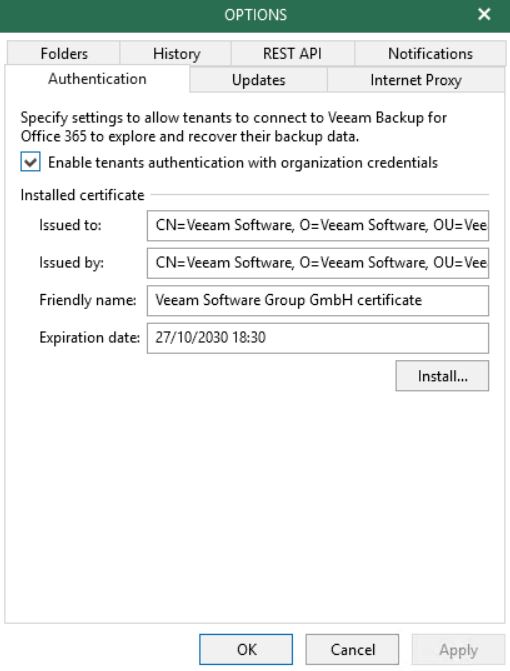 Picture 4
Now from a web browser insert the IP Address of the VBO-Portal.
 Picture 5
The login credentials are: username Admin, password the one you choose during the setup ( ‘new_password‘).
After completing the login phase, add a name to the tenant and its e-mail address (don’t worry, nothing will be sent to that e-mail address for now). Click the save button and make a note of the automatically generated. password (Picture 7)
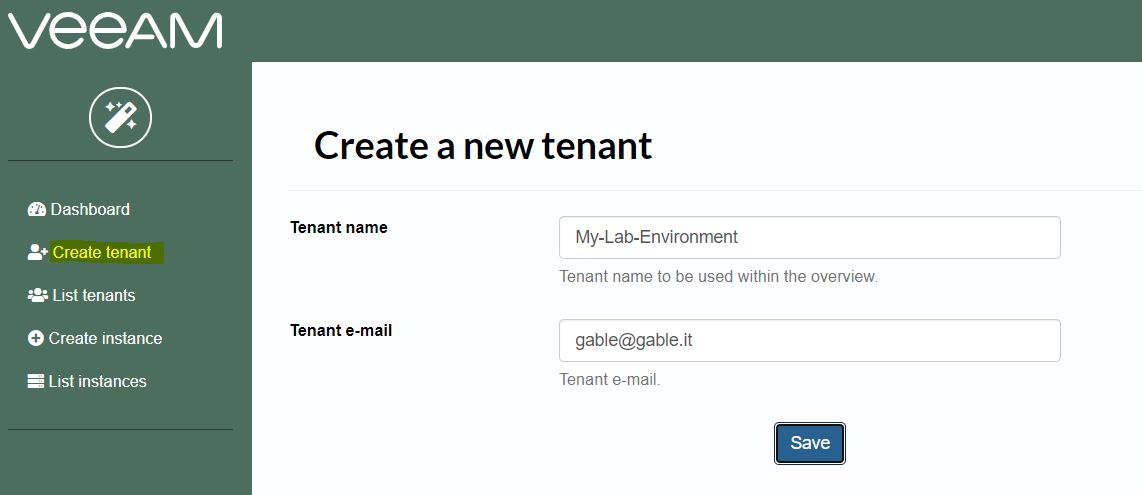 Picture 6
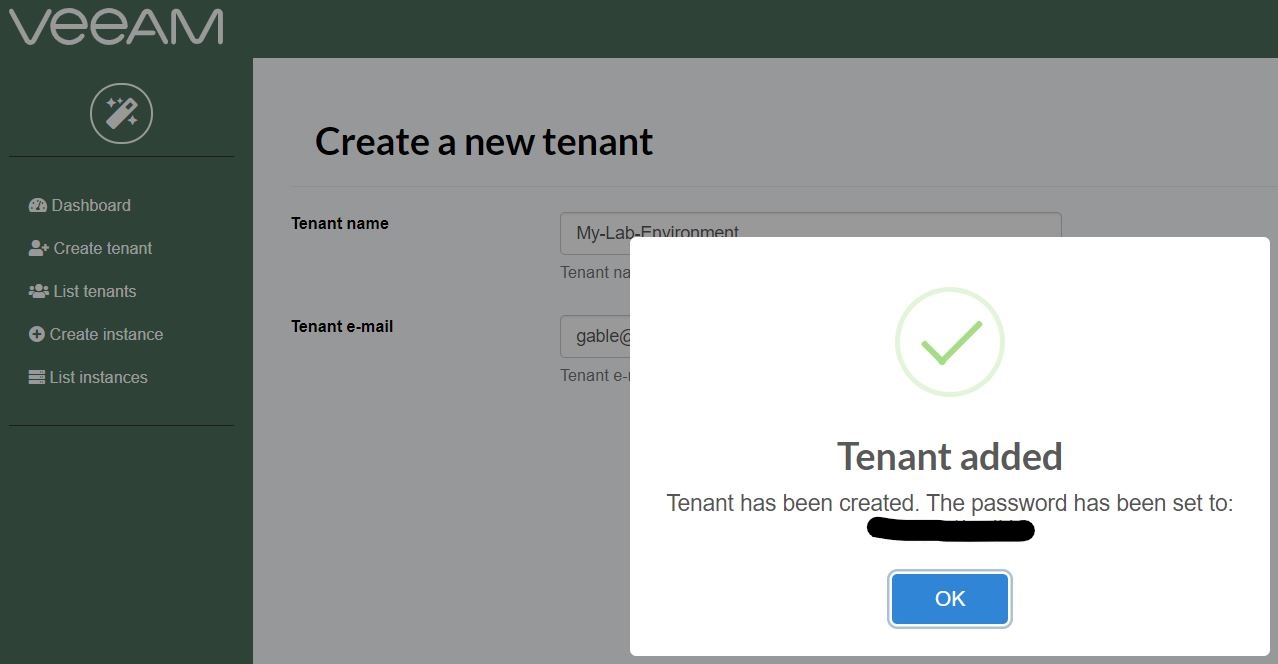 Picture 7
Now it’s time to add your VBO installation to the portal
On the left menu, click on “create instance” and after selecting the just created tenant (My-Lab-Environment), at the voice Instance Type select choose “Existing instance” as shown in Picture 3.
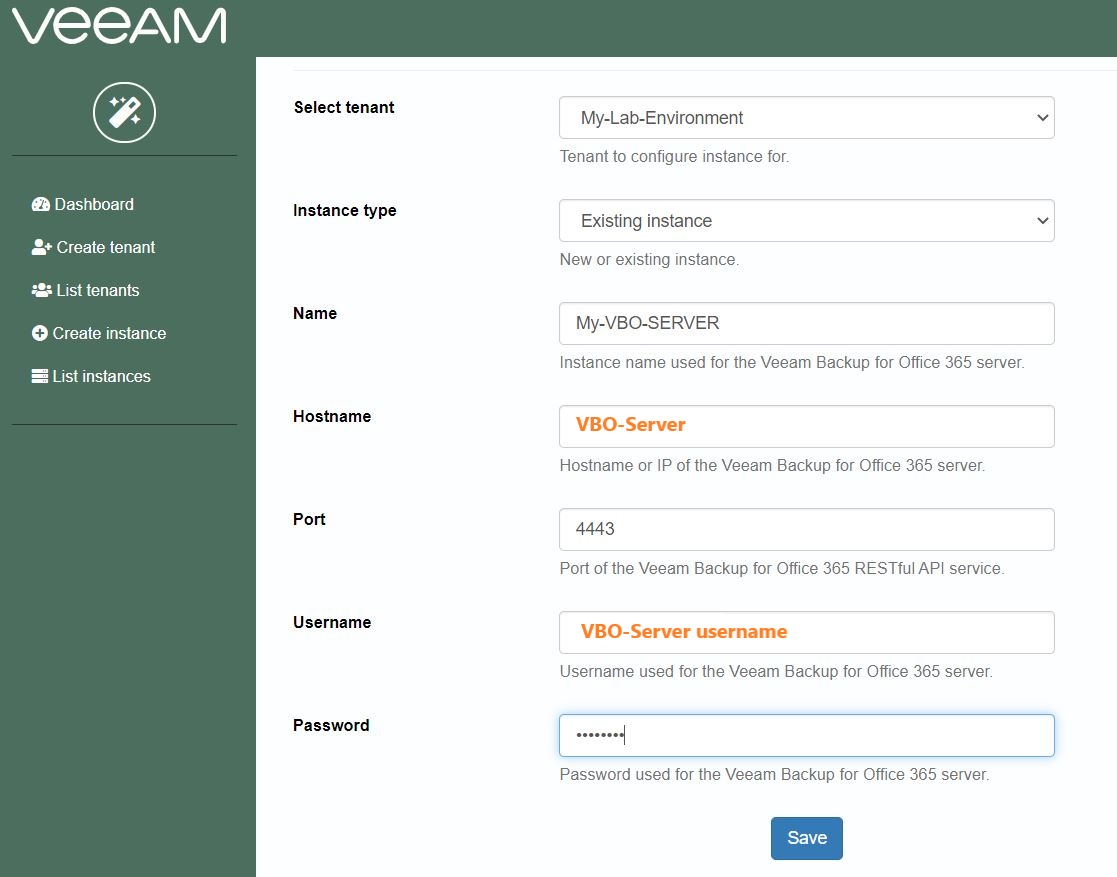 Picture 8
In the last blanks insert the data of your VBO installation.
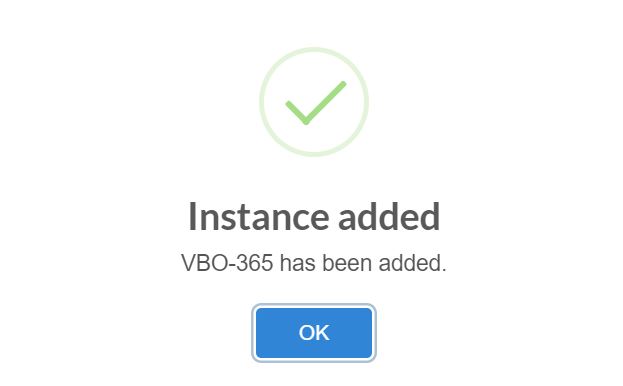 Picture 9
Now log out and re-login with the credentials just created (new tenant) as shown in picture 10
 Picture 10
The Dashboard is still empty (Picture 11), don’t worry it’s because the portal is not still connected to VBO.
 Picture 11
On the left menu, select list instances and from there just select connect (Picture 12)
 Picture 12
After the connection has been successfully completed (Picture 13), the dashboard is filled up (Picture 14) and you are ready to work with it.
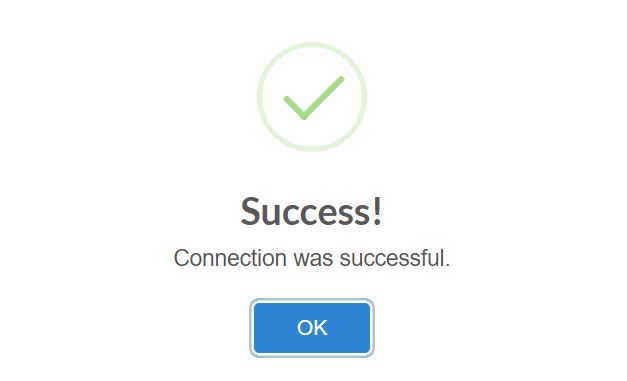 Picture 13
 Picture 14
Some interesting items to watch from now:
At the jobs menu, you can see the scheduling, disabling, or start the job (Picture 15)
 Picture 15
Picture 16 shows the license status and 17 the activity restore logs.
 Picture 16
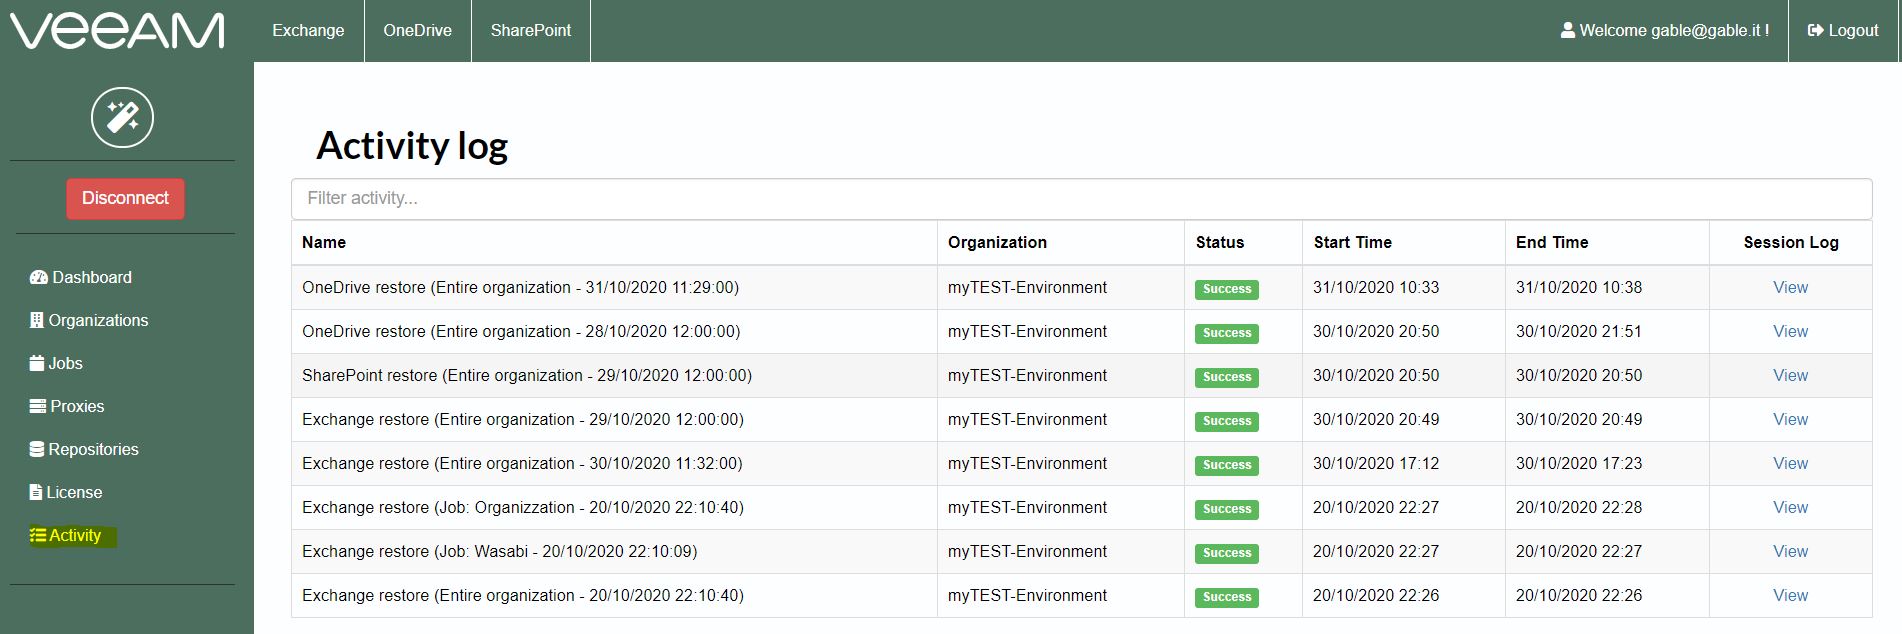 Picture 17
In my next article, I’ll write about restoration options.
Stay tuned and see you soon.
8th December update: If you see the connection is looping please download from this link the securerestore.php file and replace the old one.
Restart the configuration steps from picture 5.
8th January update: Good news, it works with VBO-365 v.5 too!
The only modify to perform is to change an entry inside the file named veeam.vbo.class.php located in /var/www/html/core.
At line 35
From: ‘base_uri’ => ‘https://’.$host.’:’.$port.’/v3/’
to ‘base_uri’ => ‘https://’.$host.’:’.$port.’/v5/
