Veeam + ReFS: How much space you save

ReFS is the advanced file system from Microsoft that improves data availability through technologies that can:

  1. Ensuring greater resilience of data stored on the file system.
  2. Increase the performance in reading and writing.
  3. Improve the scalability (we are talking about millions of TB).

One of the most useful and widely used features in backup is the technology of Block-Cloning which allows Veeam Backup & Replication to create full backups equal in size to an incremental.

The operation logic is simple and consists of 3 phases:

  1. TheBackup copies to the target Repository (ReFS), the incremental data of the VM / Instances / Physical Servers/ Clients To be protected.
  2. The File System ReFS will take care of storing the new blocks and creating the metadatarelated to the newly written data.
  3. The option “create a Syntethic-full” actually triggers anoperation at the level of metadata. ReFS adds to the metadata just created, those related to previous backups, thus creating a new full child of the union of all the necessary metadata. To further simplify, a logical full is created without any block being copied/moved.

Note 1: The result is not only a saving in space but also in the time it takes to make the full.

Well, how is it possible to quantify the disk space saved in the repository (ReFS)?

Timothy DeWin has made a tool (blockstat.exe) perfect for this calculation, to which I refer you for all possible options.

In my case, I solved the client’s need through:

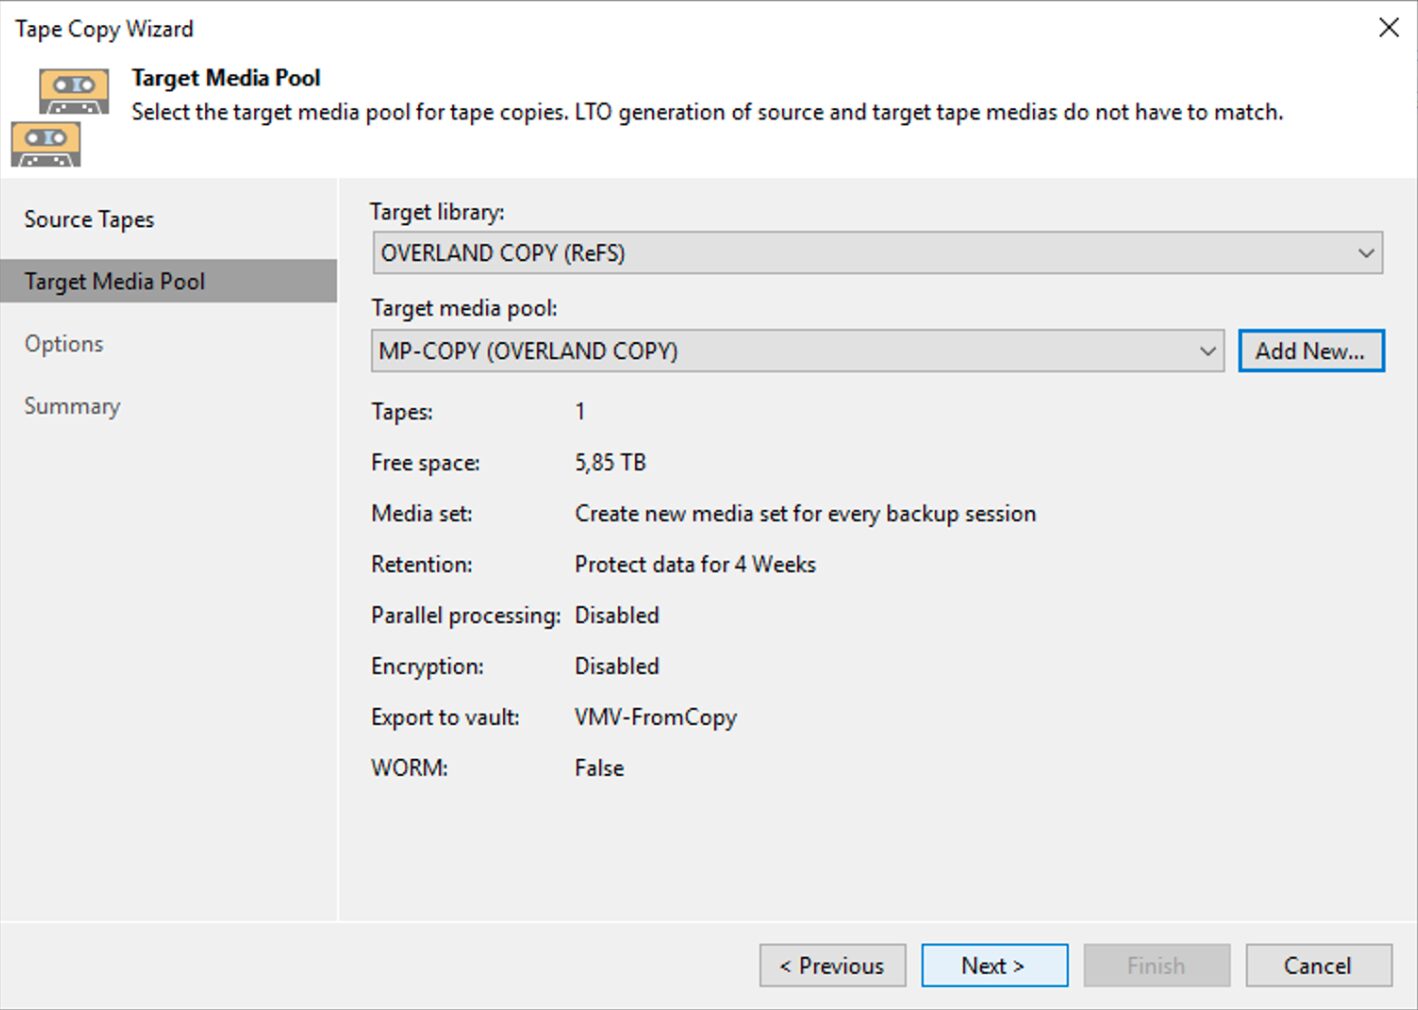
  1. Creation through powershell of a text file (Unicode format) that would search all the Backup files generated by Veeam Backup & Replication within the ReFS repository. (See image 1)
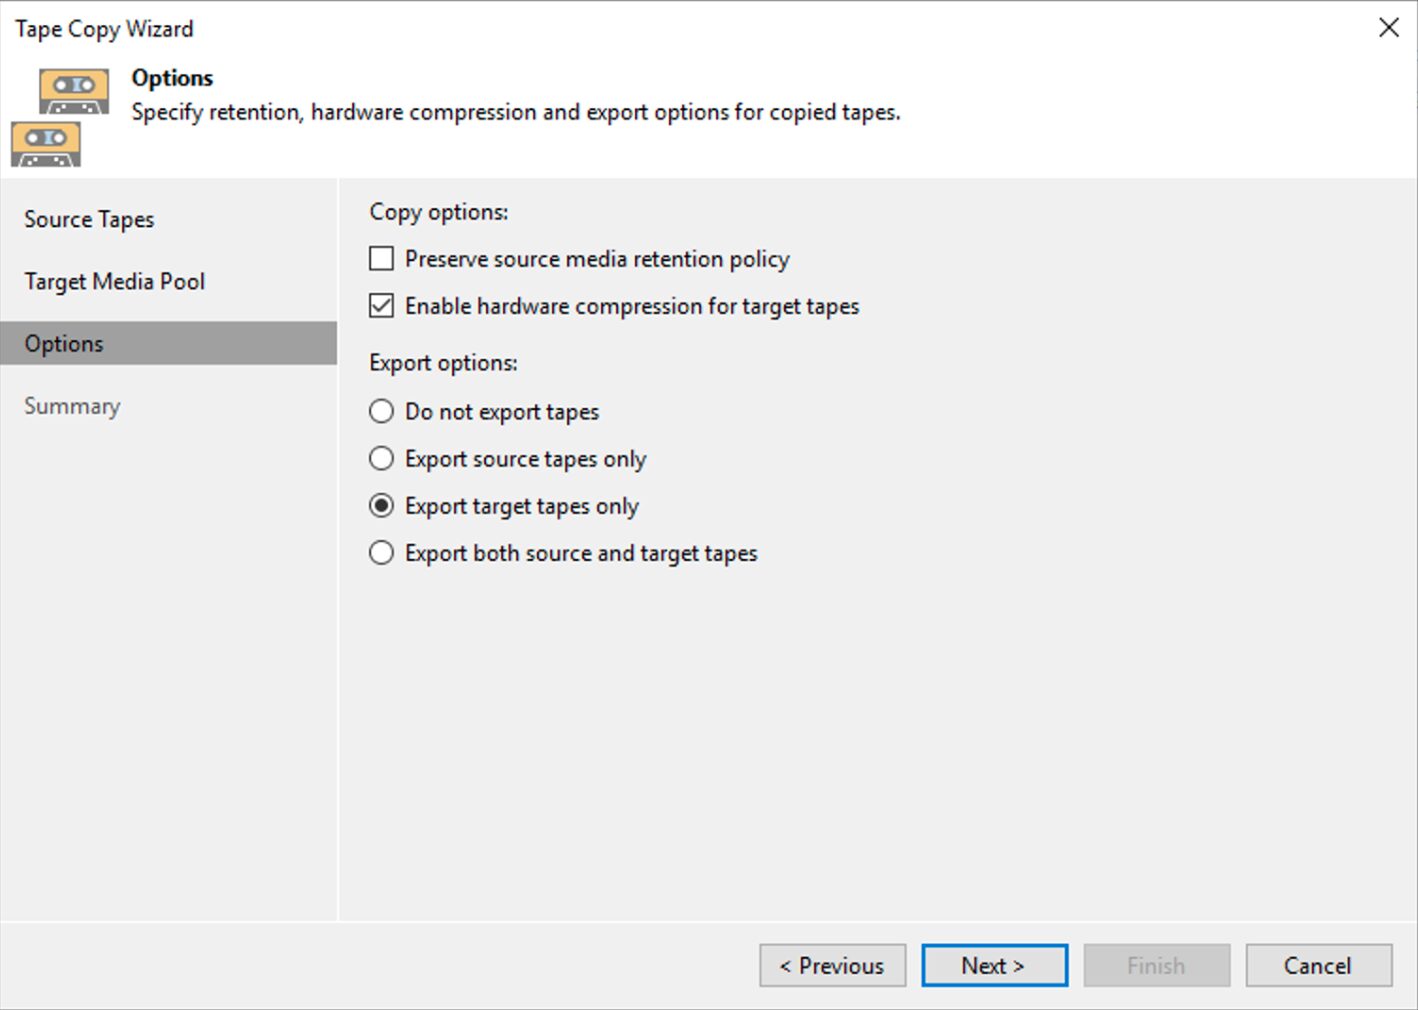
  2. Captured the output of the bloclstat command. (see image 2)

Picture 1

picture 2

SQL Reporting Server – Self Certificate & Veeam ONE

Veeam One is a splendid Advanced Analysis and Reporting tool for virtual and backup environments.

In an Enterprise architecture, the Veeam One roles are distributed on different Servers.

Let’s talk about the DataBase ( MS-SQL ), the Reporting Server ( SSRS ) and obviously the Veeam ONE Server ( VOS )

In this article, I will illustrate how you can streamline your reporting by creating an encrypted connection between Veeam ONE and the Reporting Server at the same time.

The procedure consists of three macro phases.

  1. The first creates the certificate that enables the HTTPS encrypted connection on the SSRS server.
  2. In the second, you configure SSRS to accept HTTPS connections.
  3. In the third, we configure the Veeam ONE server to use SSRS for reporting.

1- Creation of the certificate

If there is no certificate authority installed in your domain (like mine), you need to create a Self-Signed certificate.

Let’s see how to proceed:

On the SSRS , start a PowerShell console as administrator and run the following commands:

  1. New-SelfSignedCertificate -CertStoreLocation cert: \ LocalMachine \ my -dnsname NAMESERVER -NotAfter (Get-Date) .AddMonths (60) (replace NAMESERVER with your Server name).
  2. $ pwd = ConvertTo-SecureString ” yourpassword ” -asplainText -force (replace your password with a complicated one of your choice).
  3. $ file = ” C: \ MyFolder \ SQLcertificate.pfx ” (this is the location where the certificate will be exported ).
  4. Export-PFXCertificate -cert cert: \ LocalMachine \ My \< Thumbprint created from the output of the first command> -file $ file -Password $ pwd ( Copy the certificate to the file created in step 3 ).
  5. Import-PfxCertificate -FilePath $ file cert: \ LocalMachine \ root -Password $ pwd ( imports the certificate into the SSRS ).

Now it’s time to copy the SQLcertificate.pfx file (point 3) into the VOS and proceed with its installation as indicated in the next lines.

  1. Double click on the file and in the first window choose ” Local Machine “.
  2. When prompted for the password , provide the one set in step 2.
  3. On the next screen select ” Place all certificates in the following store “, and after selecting Browse, select from the ” Trusted Root Certification Authorities ” list.
  4. Ok and after selecting Next, finish the installation.

2- SSRS configuration

Using the SSRS configuration manager it is possible to set the HTTPS connection as shown in images 1,2 and 3.

Picture 1

picture 2

Picture 3

3- Veeam ONE configuration

Images 4 and 5 show how to configure VOS to use SSRS to generate reports.

Picture 4

Picture 5

Note 1: From image 5 we can see that it is possible to test the connection via the Test Connection button.

Note 2: The details on which ports open in the firewalls are documented in the guide. ( helpcenter.veeam.com) ; remember to add port 443 🙂

See you soon

VBR – Mac Backup

Veeam Backup & Replication (VBR) version 11 has a new feature and Mac users will fall in love with it.

It is now available for the backup and restores of your MACOS files.

It supports the last Operating Systems starting from High-Sierra (Big Sur 11.X.X / Catalina 10.15.X / Mojave 10.14.X / High Sierra 10.13.6).

Note 1: The Veeam Agent for Mac (VAM) version 1 supports the M1 processor via Rosetta.

Note 2: The VAM supports consistent data backup with snapshots for the APFS file system.

In the other file systems, the backup is created via a snapshot-less approach.

Note 3: At the moment it’s possible to perform the backup of user data (with a custom scope too). The image of the entire machine and a Bare Metal Restore are not available yet.

The configuration steps are quite easy as shown in the official guide:

To recap, the procedure consists of:

  1. From the VBR console create a resource group using a flexible scope
  2. Copy the files generated from VBR to the MAC to protect
  3. Install the package to your machine and import the created configuration. (It allows the communication between VBR and the Mac)
  4. From the VBR console creating the backup policy and apply it

The following video shows how it works in a managed VBR architecture.

Take care and see you soon.

Veeam Backup Office 365 & Cloud Connect

In the last few days, I have been contacted by a Service Provider to design a solution to back up the Microsoft Office 365 environment.

Actually, four months ago, I wrote three articles to show how to set up the environment using a great job of Niels and Timothy, creators and deployers the Martini project.

All details are available clicking  Veeam Backup Office 365 & Cloud Connect,

VBO-365 Portal: A nice project just behind the corner – Part 1

Why the Service Provider needs a different way to implement this service?
I think that the two main reasons were:

1) SP has already a Cloud Connect architecture and it wants to use it in all possible scenarios.
2) SP needs always official support from Vendor before implementing any project and the Martini is not. To be clearer, the RestFul Api technology inside VBO is totally supported, the Martini portal isn’t because it is not a Veeam product.

Before continuing the read, there is one requirement to respect: VBR Cloud Connect and VBO-365 have to be installed on the same server (a Windows Server).

Let’s start!

Picture 1 shows the high-level architecture.

Enhanced Self Service Restore in Backup for Office 365 v2.0 - VIRTUALIZATION IS LIFE!Picture 1

The service provider architecture is shown on the right part of picture 1 and it is composed of VBO-365 and the Cloud Connect architectures, while the left part shows the tenant architecture where VBR Server has been installed.

Which are the actions that can be performed by the Tenant?

Backup: the tenant can’t access the VBO-365 console. It means the Tenat can’t set up or launch any sort of backup. In other words, the backup tasks are a managed services.

Restore: The tasks can be driven by the administrator of the Microsoft Office 365 organization through the use of Veeam Explores. The Cloud Connect technology creates the tunnel to connect the two entities.

Note 1: When VBR is installed by default all Veeam Explorers are installed.

I mean that not just the traditional Veeam Explorers (for Active Directory, SQL, Oracle, Exchange, Share-points) are installed but also the Explorer for One Drive and Teams. that are specific for Microsoft 365 technology.

Note 2: Does this scenario require  VBR license?

Yes, but you can use the free community edition.

The point to highlight during the setup is the authentication task that allows the explorer to communicate with VBO-365:

From the VBO-365 console selecting “General Options” (Picture 2) and from the  authentication tab enabling the tenant authentication  you can catch your goal (please for security reason use your own certificate) (Picture 3)

Picture 2

Picture 3

Let’s switch to my demo environment:

1. The Service Provider VBO-365 console, has three Microsoft 365 organizations with a backup job each  (Picture 4). Two of those use modern authentication, the third the basic one.

Picture 4

2. The Cloud-Connect architecture has been set up in order to create a tenant called  Demo-VBO (Picture 5).

Picture 5

  • The VBR Tenant Console shows how the connection towards the service provider has been set up (Picture 6).

Picture 6

The following video shows the tasks performed by the tenant to restore his data (Exchange/Sharepoint/One-Drive/Teams items) located at the Service Provider site.

Video 1

That’s all for now, take care and see you soon

A flexible file backup Strategy – Part 4

This is the last article about NAS series.

The scope is recapping the different technology available for NAS backup pointing in which scenario they can be adopted.

The following table has the scope of helping and discovering which VBR technology can better fit with the NAS protection service.

Technology v.11 and later NAS Backup File to Tape NDMP
 Backup to Disk Yes No No
 Backup to Tape No Yes Yes
 Restore Files Yes Yes No
 Restore Entire NAS Yes Yes Yes
 Speed Backup High Low Medium
 Speed Restore High Low Medium
 Second copy Yes to Disk v.11  (Tape cloning) v.11 (Tape cloning)
 Archiving copy Yes No No
 Immutability v.11 (Hardened Repository) Yes Yes
 Object Storage Yes No No
 Scheduling Yes Yes Yes
 Licensing VUL Any Enterprise Plus

Table 1

An example:

Your managers are asking for a NAS backup architecture able to answer very astringent requests of backup and restore.

Watching table 1 and looking for the word speed it is possible to assess which VBR technology can answer the request of your managers better (in this case v.10 and later NAS backup).

Note-1: For sure the table can be improved by adding more details.

Note-2: The second tape copy and harden repository will be available with VBR v.11. Further details are available on the following web pages:

(https://community.veeam.com/blogs-and-podcasts-57/tape-improvements-in-vbr-v11-277)

(https://community.veeam.com/blogs-and-podcasts-57/veeam-v11-hardened-repository-aka-immutable-backups-275)

Note-3: v.11 is coming soon !!! Please take a look at the launching page and register yourself: https://go.veeam.com/v11-it.

Before closing this series, I show you a hidden gem that allows extending the use of the file copy feature.

What is “File Copy” option already present on the VBR menu?

It allows to copy and move files and folders between servers and hosts added to the backup infrastructure.

Is it possible to use it with Network share?

Not in a direct way.

Actually, No becomes a yes through the PS-tools.

What these tools are?

It is a free utility part of the Sysinternals pstools suite built by Mark Russinovich many years ago.

They allow the administrators to remotely execute commands, install software, launch applications, and run apps as the system account.

The PS-Tools package can be downloaded from the Microsoft web site:

(https://docs.microsoft.com/en-us/sysinternals/downloads/pstools)

A detailed guide is available on the following site:

Psexec: The Ultimate Guide

Which are the requirements?

Important Note:  File copy is a copy. It means that if you launch the same job twice, the second time it will delete the files previously saved. It’s like launching two times a copy command without changing any option. To be clearer, it’s not a backup so it can not manage retention policy,  nor deduplication/compression.

Note-4: I don’t know if this scenario is supported by Veeam, open a ticket before proceeding.

The following video will explain the steps to set up the environment, perform backup and restore (ps-tools are located to c:\Users\VBR\Desktop\PStools)

That’s all guys. Take care

A flexible file backup Strategy – Part 3

This article’s topic is how to set up and work VBR when it is combined with the NDMP protocol.

This type of configuration is part of the category “file to tape” I treated in my last article “A flexible file backup Strategy – Part 2”.

One more note before starting: VBR requires NDMP version 4 and later.

  • How does it work?

Picture 1

The architecture is quite easy.

Files are gathered from the File Server through the data mover present on the Gateway server. Then they are sent to the Tape Server that performs the write on Tape.

The Datamover installed on Tape Server has the ownership of managing the data traffic to Tape Device.

VBR has the task of enumerating the Volumes and launch the command to Tape Devices.

Point-1: VBR works with a 3 layer backup architecture. It means there is no direct connection between File Servers and Tape Devices. All Data have to pass through the tape Sever.

In this article, I’m not covering the procedure to set up the NAS correctly. Please ask your storage vendor specialist to get all details needed.

How to add the NDMP server to VBR and set up a backup job?

The next video will answer the question.

Video 1

After the backup is completed how to perform a restore?

NDMP backup files are available to perform restores from the FILE menu at the voice Tape and then NDMP as shown in picture 2

Picture 2


Please have a look at the next short video (video 2) to see the easy step to perform a restore.

Video 2

Point-2: The backup chain stored on tapes will consist of 10 restore points maximum. On the 11th run, VBR will force an active full.

  • Common scenarios

One of the main characteristics of NDMP backup is that it allows to perform backup and restore of entire volumes.

The most common scenario is the Disaster Recovery of the entire Filer. Imagine the case in which the customer NAS filer is completely out of order and the only way to restart the file sharing service is formatting all the disks and then restoring the volumes (or the worst case is getting a new NAS).

In this case, NDMP volume restores from tape is an excellent low-cost solution.

Main Pro:

NDMP servers backup to tape is available in the Enterprise Plus Edition of VBR.

It means that there is no limit on the amount of data that can be saved. Could be 1 TB or 100 PB it doesn’t matter.

Veeam Universal License (VUL) has the Enterprise Plus Edition available. Is it time to move your old sockets license to the subscription model (VUL)?

Cons:

The granular restore (files and folders) it’s not an available option with VBR and NDMP backup.

Please note that NAS backup is now completely supported by VBR (please refer to article 1 of this series) and it’s the fastest way to perform the granular restores.

Point-3: Even if the NAS device supporting NDMP protocol is already added to VBR, you need to add the NDMP server as a separate procedure. Otherwise, you will not be able to perform file backup to tape.

The next article will cover a recap of the different techniques and show a hidden gem of VBR.

See you next week and take care