
In the last few days, I have been contacted by a Service Provider to design a solution to back up the Microsoft Office 365 environment.
Actually, four months ago, I wrote three articles to show how to set up the environment using a great job of Niels and Timothy, creators and deployers the Martini project.
All details are available clicking Veeam Backup Office 365 & Cloud Connect,
https://lnx.gable.it/home-page/2020/11/02/vbo-365-portal-a-nice-project-just-behind-the-corner/
Why the Service Provider needs a different way to implement this service?
I think that the two main reasons were:
1) SP has already a Cloud Connect architecture and it wants to use it in all possible scenarios.
2) SP needs always official support from Vendor before implementing any project and the Martini is not. To be clearer, the RestFul Api technology inside VBO is totally supported, the Martini portal isn’t because it is not a Veeam product.
Before continuing the read, there is one requirement to respect: VBR Cloud Connect and VBO-365 have to be installed on the same server (a Windows Server).
Let’s start!
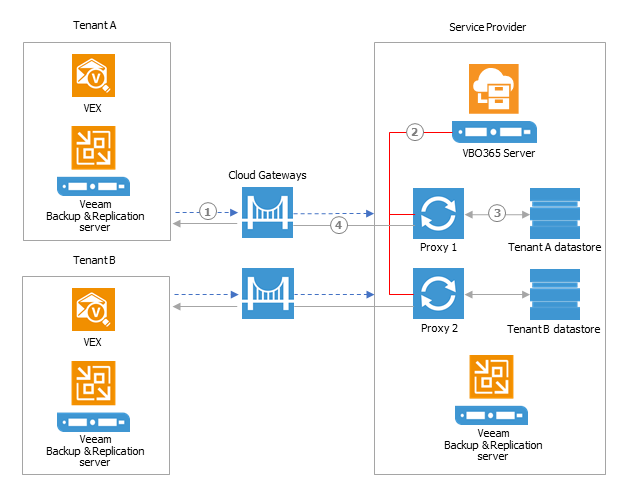
Picture 1 shows the high-level architecture.
 Picture 1
The service provider architecture is shown on the right part of picture 1 and it is composed of VBO-365 and the Cloud Connect architectures, while the left part shows the tenant architecture where VBR Server has been installed.
Which are the actions that can be performed by the Tenant?
– Backup: the tenant can’t access the VBO-365 console. It means the Tenat can’t set up or launch any sort of backup. In other words, the backup tasks are a managed services.
– Restore: The tasks can be driven by the administrator of the Microsoft Office 365 organization through the use of Veeam Explores. The Cloud Connect technology creates the tunnel to connect the two entities.
Note 1: When VBR is installed by default all Veeam Explorers are installed.
I mean that not just the traditional Veeam Explorers (for Active Directory, SQL, Oracle, Exchange, Share-points) are installed but also the Explorer for One Drive and Teams. that are specific for Microsoft 365 technology.
Note 2: Does this scenario require VBR license?
Yes, but you can use the free community edition.
The point to highlight during the setup is the authentication task that allows the explorer to communicate with VBO-365:
From the VBO-365 console selecting “General Options” (Picture 2) and from the authentication tab enabling the tenant authentication you can catch your goal (please for security reason use your own certificate) (Picture 3)
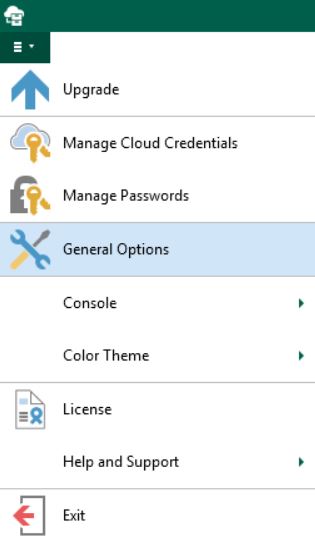 Picture 2
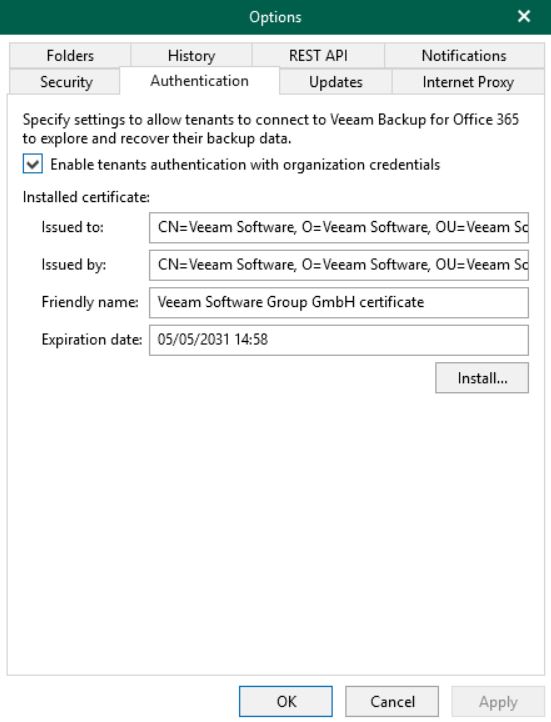 Picture 3
Let’s switch to my demo environment:
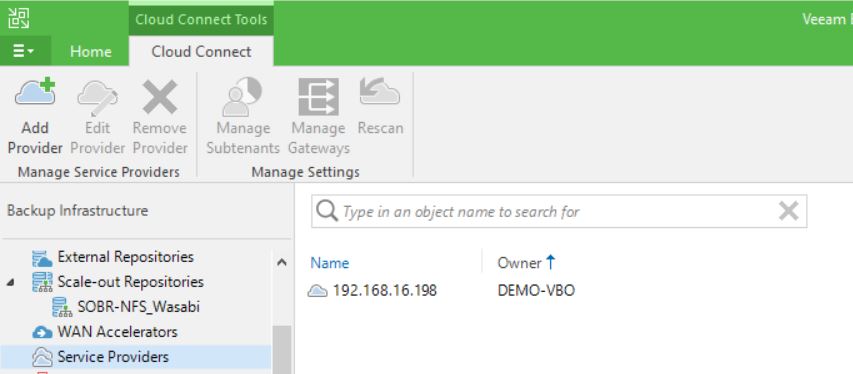
1. The Service Provider VBO-365 console, has three Microsoft 365 organizations with a backup job each (Picture 4). Two of those use modern authentication, the third the basic one.
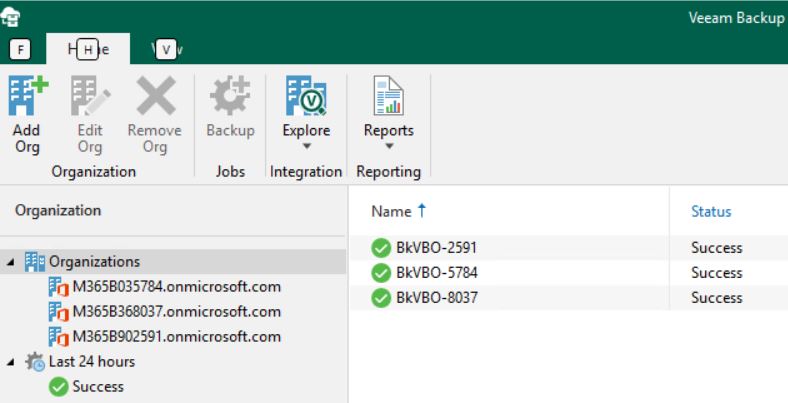 Picture 4
2. The Cloud-Connect architecture has been set up in order to create a tenant called Demo-VBO (Picture 5).
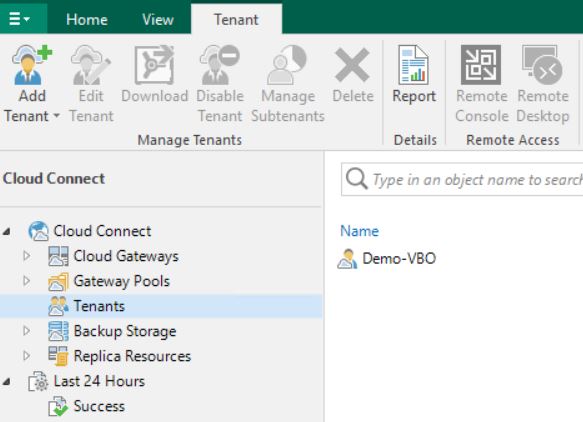 Picture 5
- The VBR Tenant Console shows how the connection towards the service provider has been set up (Picture 6).
 Picture 6
The following video shows the tasks performed by the tenant to restore his data (Exchange/Sharepoint/One-Drive/Teams items) located at the Service Provider site.
Video 1
That’s all for now, take care and see you soon
 Picture 1
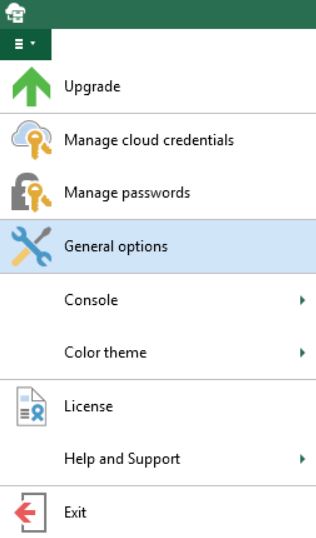 Picture 2
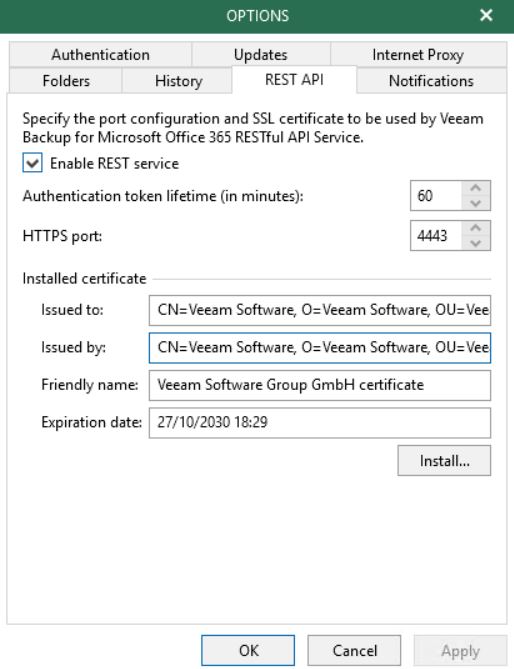 Picture 3
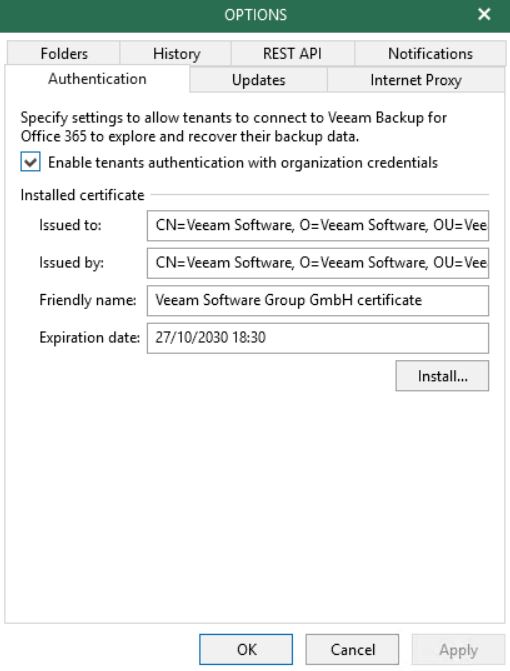 Picture 4
 Picture 5
 Picture 6
 Picture 7
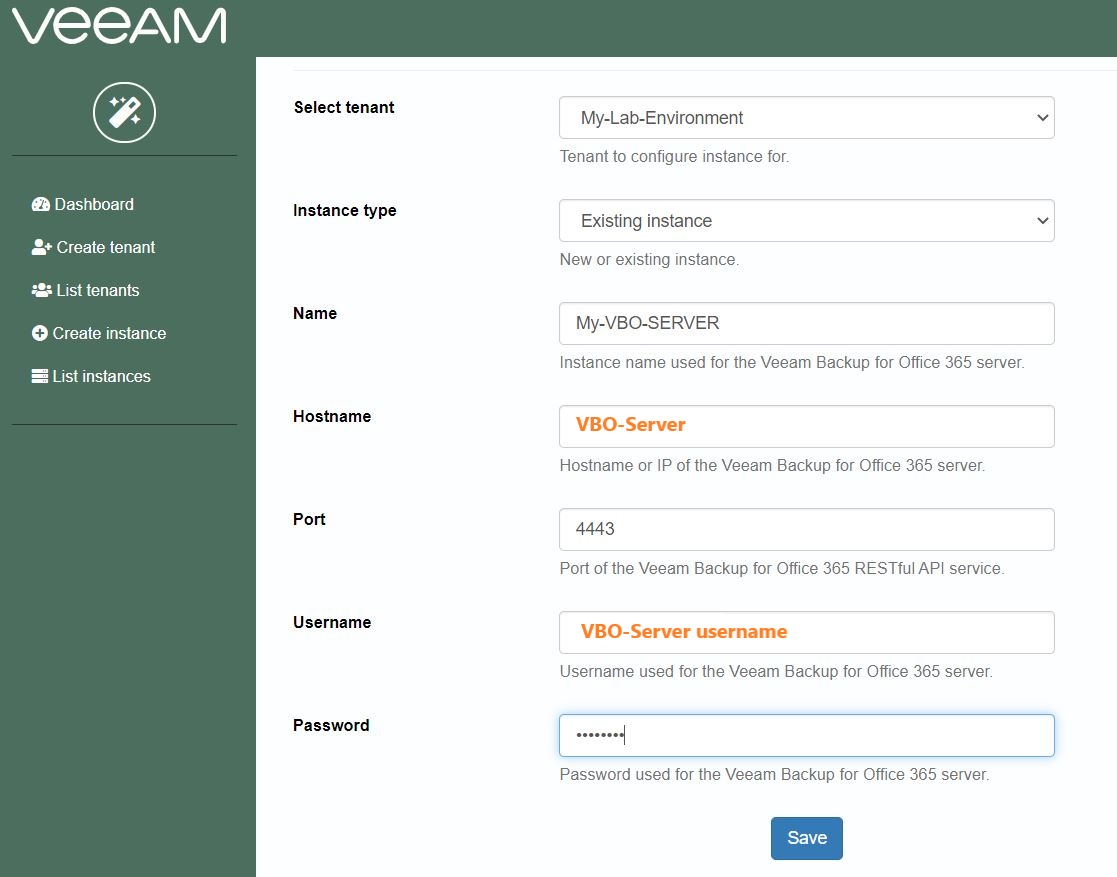 Picture 8
 Picture 9
 Picture 10
 Picture 11
 Picture 12
 Picture 13
 Picture 14
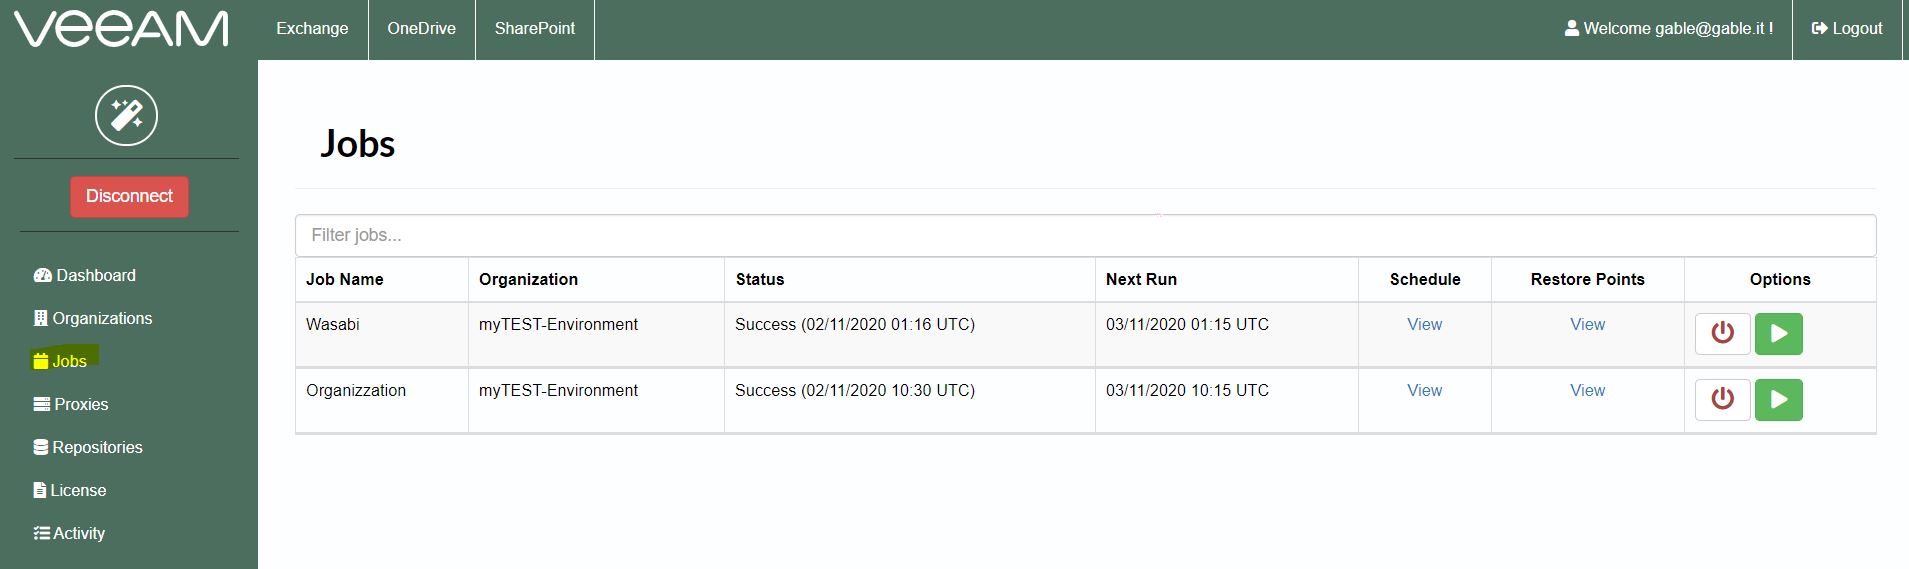 Picture 15
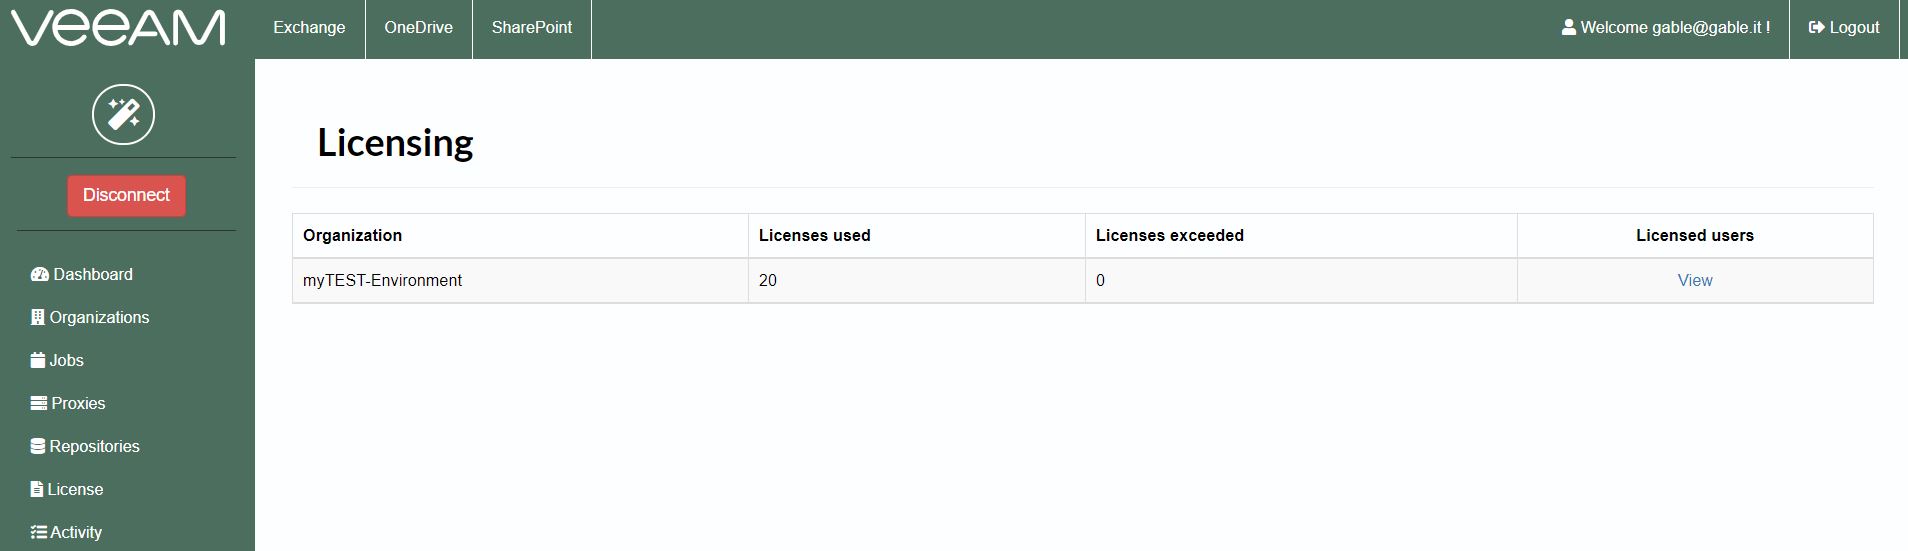 Picture 16
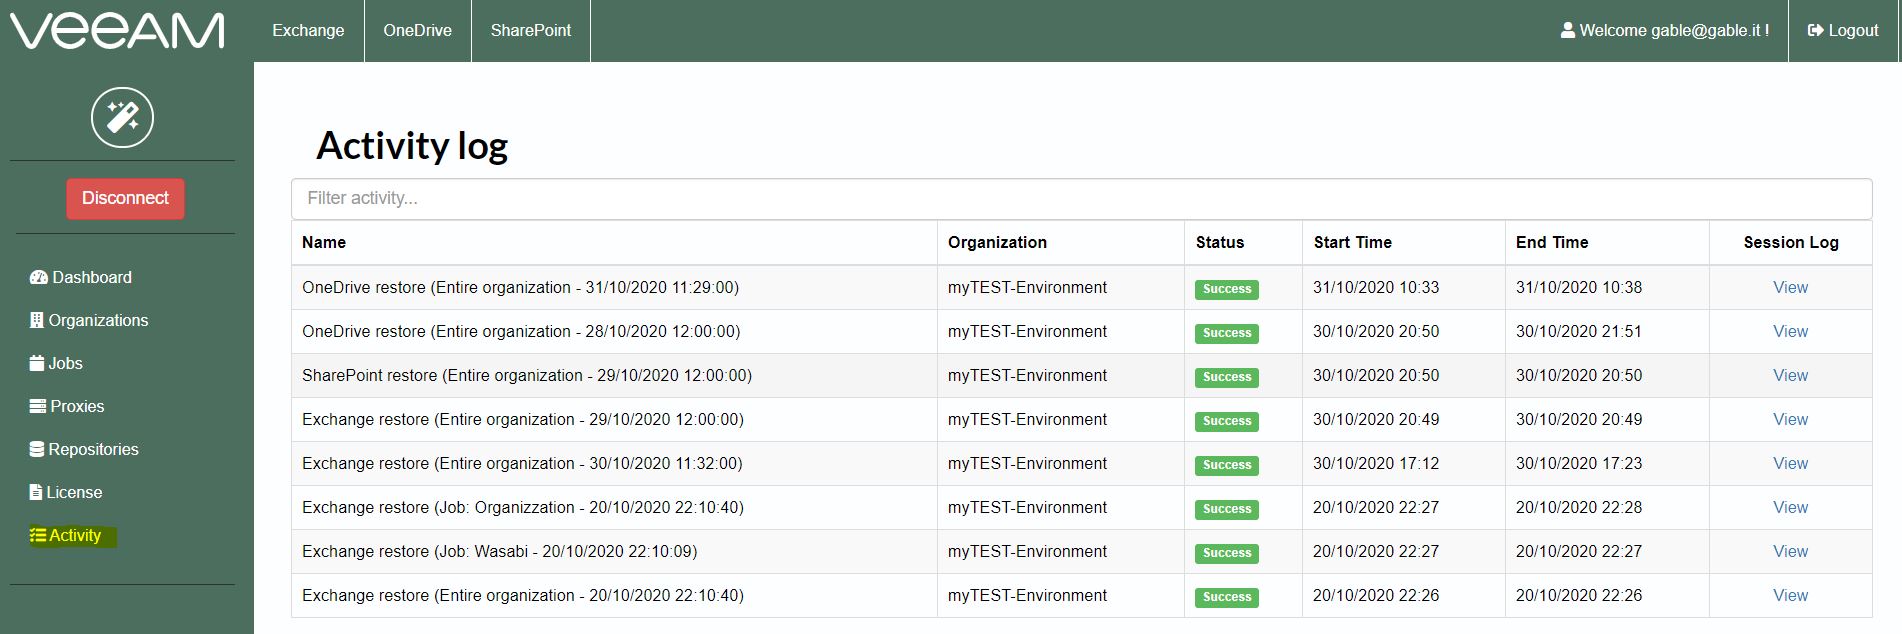 Picture 17
 Picture 1
 Picture 2
 Picture 3
 Picture 4
 Picture 5