MySQL Backup e Veeam Backup & Replication – Parte 1

Il presente articolo illustrerà come implementare una strategia di protezione dei dati in ambienti MySQL.

Partiamo da una considerazione.

Per realizzare backup consistenti da un punto di vista applicativo, è necessario che prima che sia avviato  il processo di copia, l’applicazione abbia scritto su disco tutti i dati in memoria (flush).

Ad esempio, le applicazioni Microsoft® utilizzano una tecnologia denominata Shadow Copy che attraverso il coordinamento di driver VSS realizza la consistenza applicativa.

Una tecnologia simile non è disponibile su Linux ed in più MySQL non la supporta in ambiente Microsoft®.

Come ovviare?

Attraverso la creazione di script che automatizzino la consistenza applicativa prima di avviare la creazione della Snapshot.

Compreso questo aspetto, torniamo all’ambito dell’articolo, introducendo le opzioni disponibili per MySQL.

Nota 1: La consistenza applicativa avviene prima della creazione della snapshot.

  • 1. Backup Logico: Lo script crea un file con l’estensione .sql che in caso di ripristino permette la ricreazione del database e dei suoi dati.

Il file .sql è creato attraverso il comando nativo MySQL “mysqldump”.

I vantaggi del backup logico possono essere riassunti in:

  • Non vi sono dipendenze con software di terze parti.
  • I backup possono essere ripristinati su altri server.
  • 2. Backup Fisico/Cold: Sono create copie a freddo dei file del DB (ad esempio: ibdata, .ibd, .frm, ib_logfile, my.cnf).

Per essere certi che i backup siano realizzati in modalità “consistenza applicativa“, prima di effettuare la snapshot, è      indispensabile fermare i servizi MySQL.

E’ una strategia di backup di norma implementata in ambienti che non richiedano operatività 24×7.

Nota 2: Il servizio viene fermato solo per il tempo necessario alla creazione della snapshot e non per l’intera durata del backup.

  • 3. Backup Fisico/Hot: Se è in esecuzione il motore InnoDB, lo script permette la realizzazione di copie consistenti senza fermare i servizi (utilizzando ad esempio il comando mysqlbackup componente della suite Enterprise di MySQL (MySQL Product)).

Ora che conosciamo le opzioni di scripting disponibili, vediamo come le soluzioni Veeam possano integrarsi nativamente con gli  ambienti MySQL.

La prima opzione disponibile è il Veeam Agent for Linux (VAL) che automatizza le seguenti quattro fasi:

  1. Flush dei dati dalla memoria al disco (consistenza applicativa).
  2. Creazione della snasphot.
  3. Rilascio delle tabelle.
  4. Avvio del processo di Backup.

Nota 3: Come indicato nella prima parte dell’articolo, se il DB è del tipo MyISAM è possibile effettuare il backup con il blocco di tutte le tabelle.

I pre-requisti del VAL sono:

  • Versione di MySQL maggiore o uguale alla 5.8.
  • Sistema operativo sia Linux.

Domanda: E’ possibile effettuare il backup in ambienti Windows e dove la versione di MySQL è inferiore alla versione 5.8?

La risposta è si e gli scenari disponibili sono:

Backup Logico -> Hot-Backup Database Online Dump -> Comando mysqldump.

Backup Fisico/Cold -> Cold-Backup Database Shutdown -> Fermo temporaneo dei Servizi.

Backup Fisico/Hot -> Hot-Backup Database Freeze -> Comandi nativi mysql.

Nota4: Esiste anche la possibilità di effettuare Backup Parziali. In questo scenario si effettua il backup di specifiche tabelle e database. E’ utile quando si devono realizzare strategie di protezione differenti sullo stesso Server.

Nel prossimo articolo scopriremo come creare gli script e come integrarli in Veeam Backup & Replication.

Check Replica Status – Before deleting it – Part 1

Last month, a partner had to face up a strange VBR behavior.

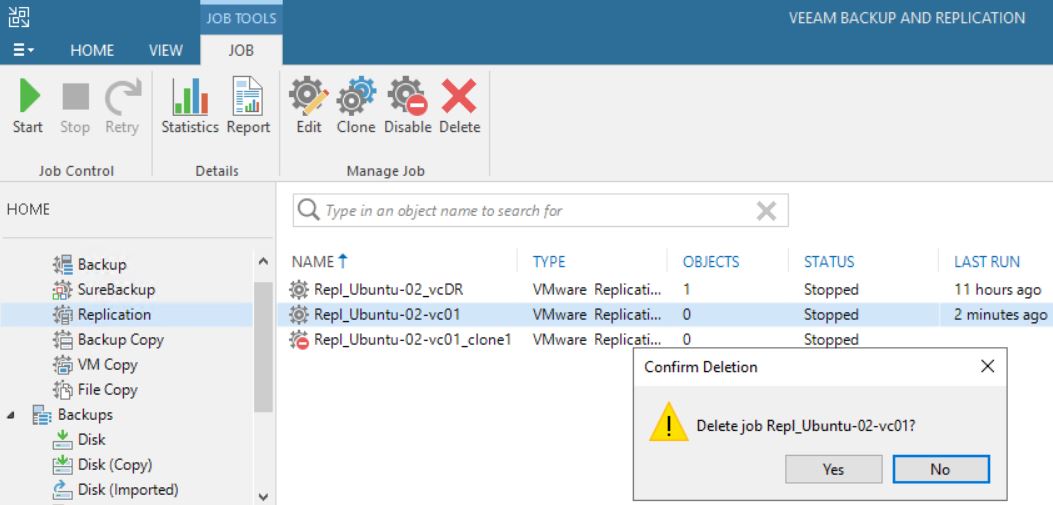
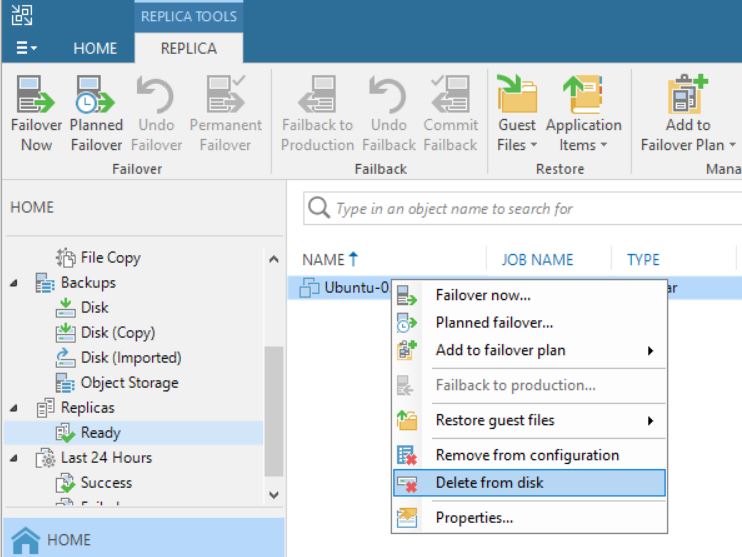
From the VBR console he deleted a VM’s replica (Picture 1), and suddenly the production VM has been also erased (don’t worry, before doing any activity he tested the backups using sure backup technology).

Picture 1

The reason why it happened become clear to me once I read the logs.

To do it shortly, some weeks before someone started a Failover directly from vCENTER console without doing any communication to the internal IT team.

This article wants to explain how to avoid this common mistake.

The first step is understanding some basic concepts:

a) VMware identify any single VM with a number named MorefID and a UUID.

b) Any single operating system has an identifier named Instance UUID (Universal Unique IDentifier); in my lab, I set-up  more than one replica job for a single VM

Table 1. row 2. shows the name of production VM (Ubuntu-02), its morefID  (vm2270), where it is running (Milan), the UUID (…bcc12) and its VM UUID … f58b.

Table 1. row 3-4 shows the name of  VMs replicas,  morefID, instance UUID and its UUID.

All tables shown in these articles have been created using Veeam One

Name PCName morefID DataCenter Instance UUID UUID
Ubuntu-02 ubuntu-02 vm-2270 Milan 502d2405-cc8f-de73-1a19-57e8496bcc12 564d013a-7835-9d1b-841e-32855790f58b
Ubuntu-02_Rep_VC01 ubuntu-02 vm-2694 Milan 502d2d90-d08f-08aa-efcf-d9feaa1d13f8 564d013a-7835-9d1b-841e-32855790f58b
Ubuntu-02_Rep_VCDR ubuntu-02 vm-399 Venice 501d517b-672e-30e0-665a-fd4b4af7dcb6 564d013a-7835-9d1b-841e-32855790f58b

Table-1

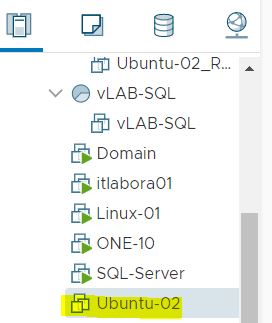
Picture 2 shows the VM  source (highlighted in yellow) from vCENTER console.

Picture 2

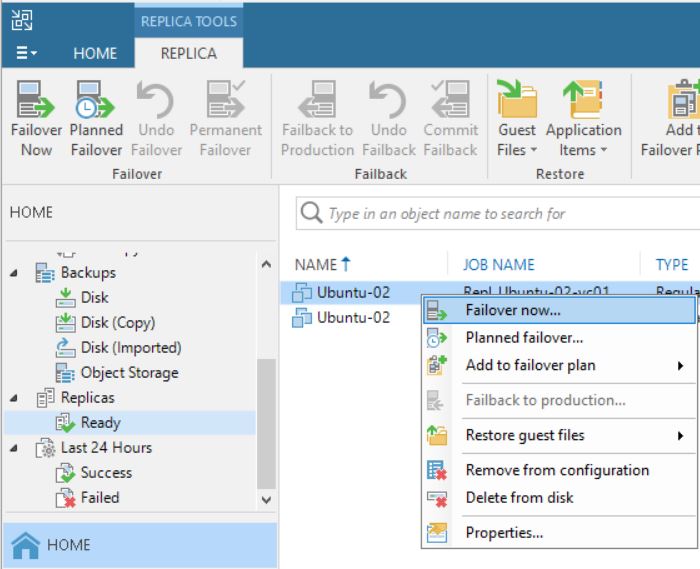
After checking up that the VM source is switched off, it’s possible to start a Failover (Picture 3).

Picture 3

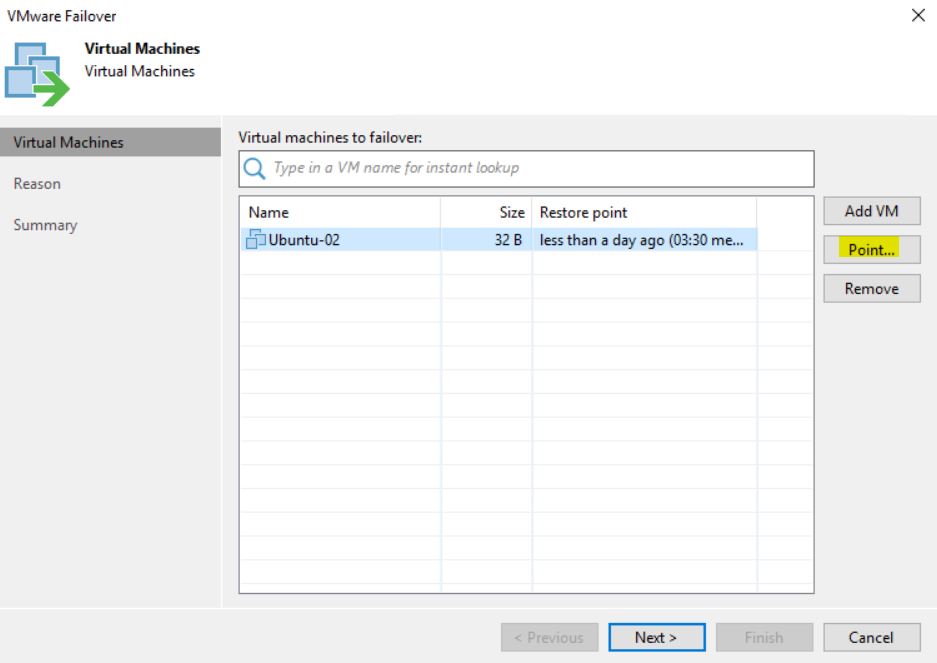
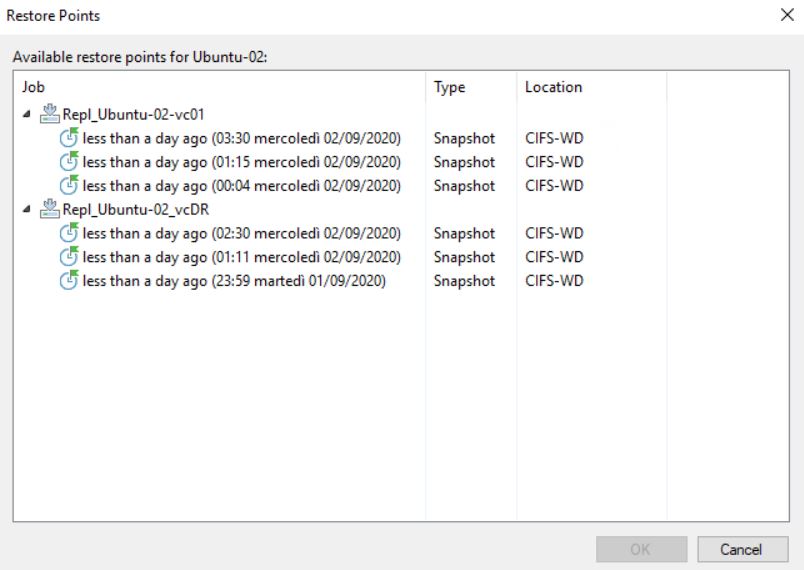
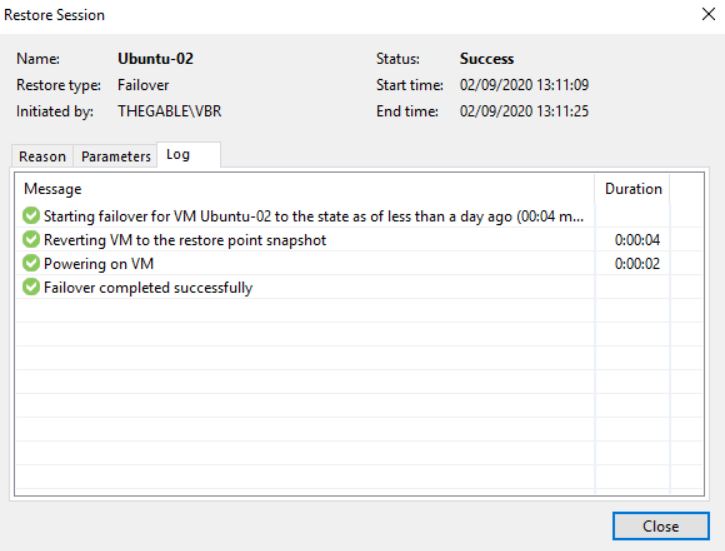
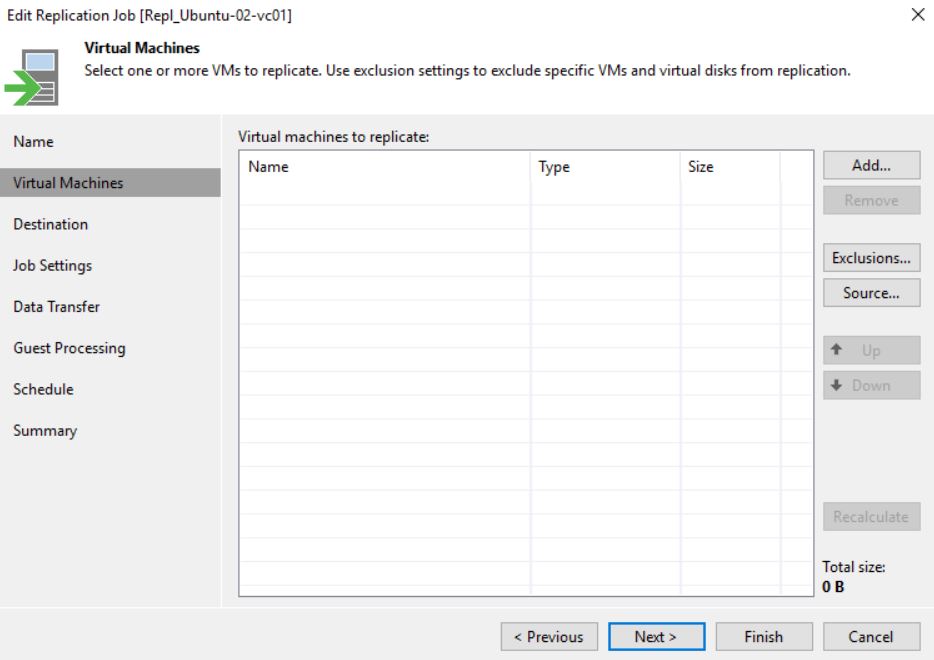
The next five pictures show the step-by-step wizard to complete the procedure correctly.  As you can see from picture 4 the VM that has been replicated with two different jobs (Picture 5) is always Ubuntu-02.

Picture 4

Picture 5

Pictures 6-8 show the result of the failover.

Picture 6

Picture 7

Picture 8

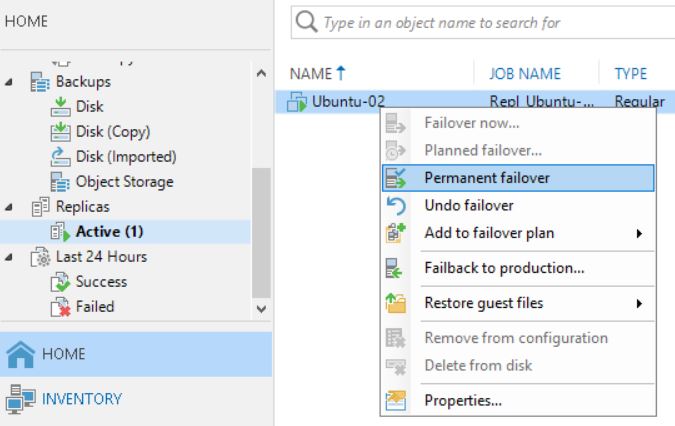
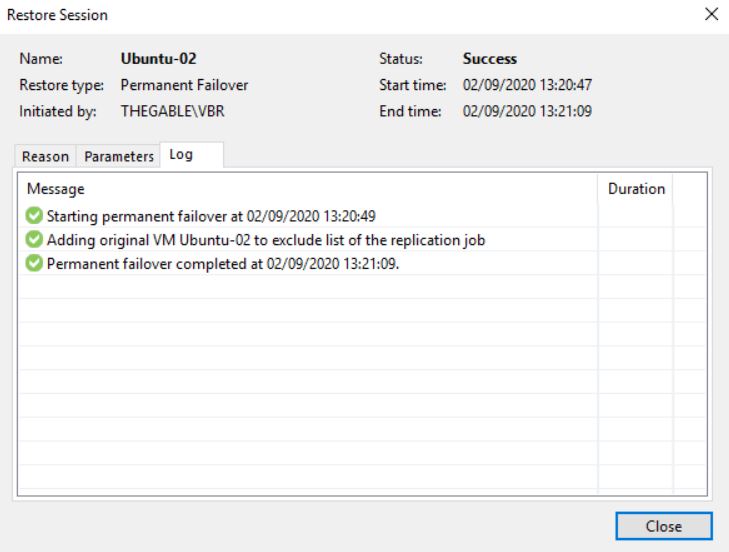
What happens when you complete the task with the Permanent failover? (Picture 9/10/11)

Picture 9

Picture 10

Picture 11

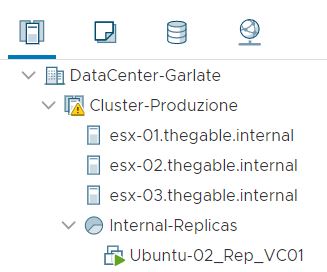
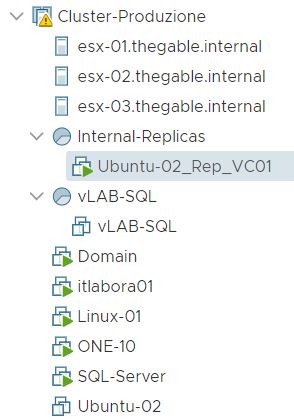
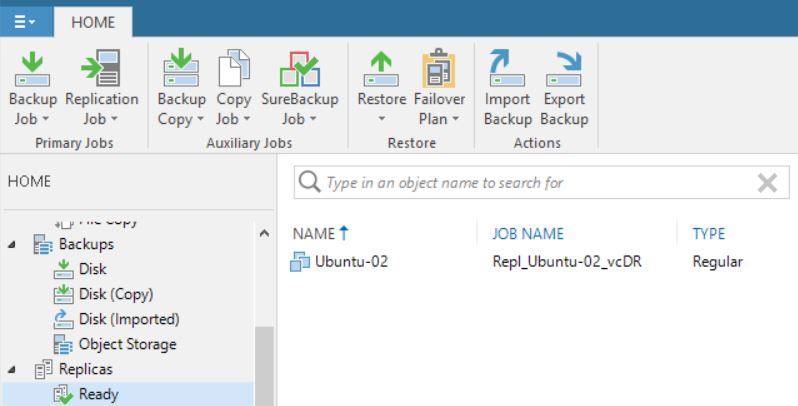
First of all, comparing picture 3 with 12 it is possible to see that one of the Replica Ready VM, and precisely the VM in permanent failover, has been deleted.

Picture 12

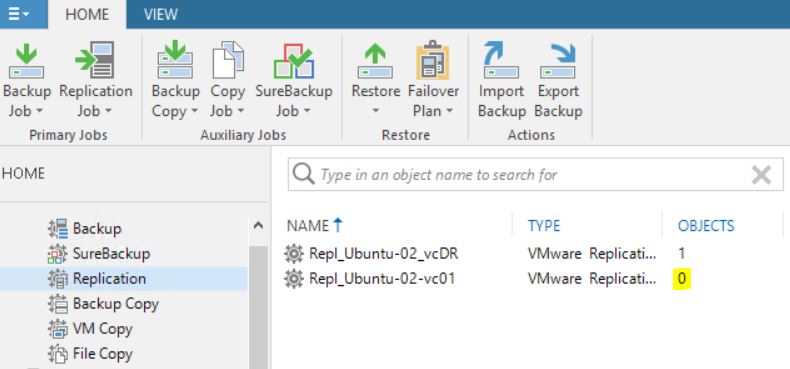
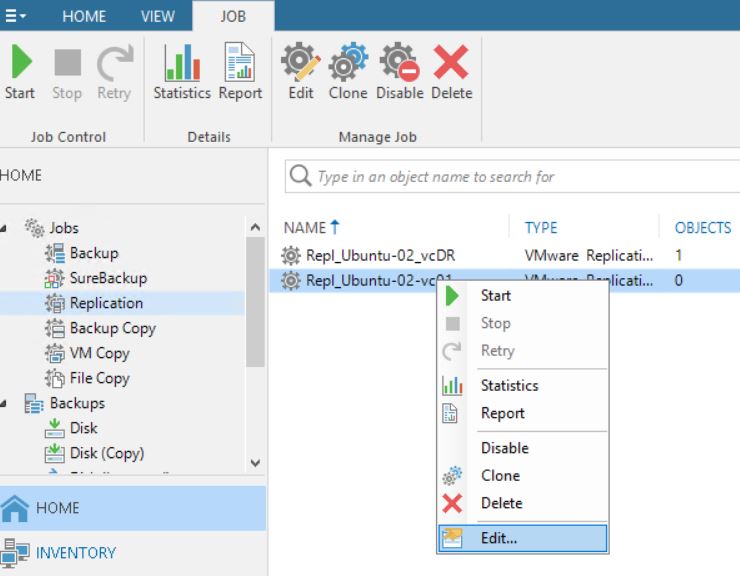
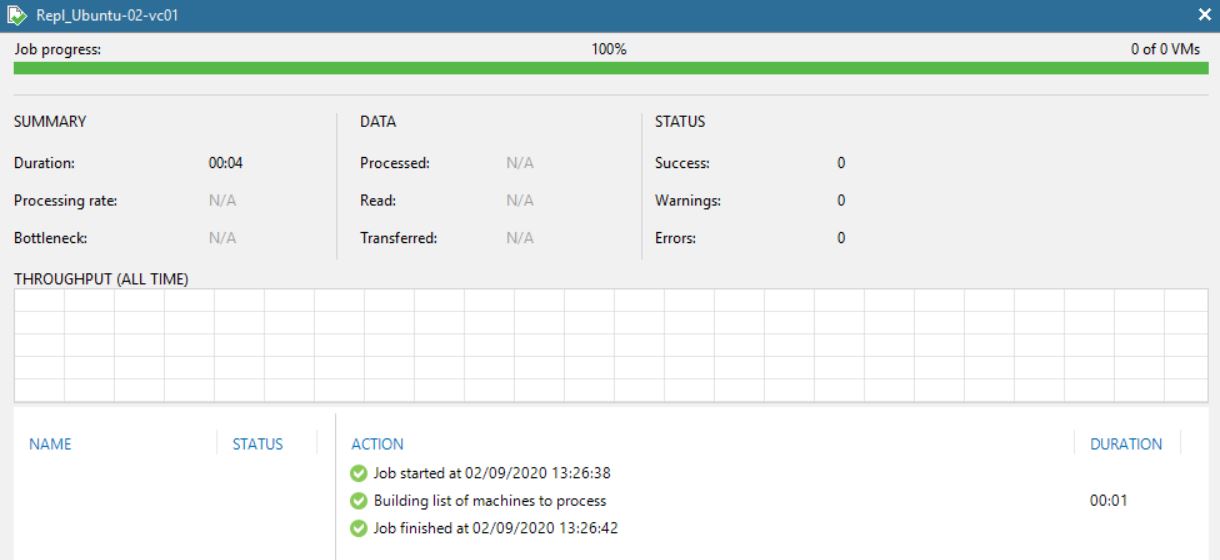
Picture 13 shows that now the replica job contains 0 objects. The right behavior is confirmed by pictures 14,15,16 and 17  where it is shown that the replica is not available anymore.

Picture 13

Picture 14

Picture 15

Picture 16

Picture 17

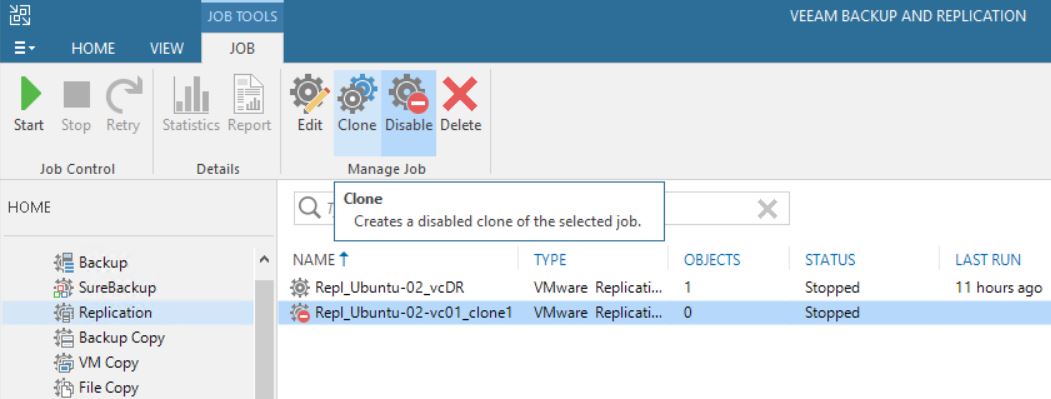
The cloning job option didn’t change the correct behavior (Pictures 18 and 19)

Picture 18

Picture 19

Let’s sum up. Following the right procedure, the Failover works as aspected

Now …. why the VM has been deleted? The next article will explain it in detail.

How to find strings with PowerShell

An article to explain how easy it is to answer some working needs using Microsoft Powershell.

In my job, I happen to have the need to search some data written inside files.

Three classic requests:

1) I need to remember some info about a meeting (I take always notes during meetings)

2) I need to get a statistic about how many customers asked a particular feature

3) I need to search for some errors in application logs

In this short article, I show you how to answer.

In my example, I need to find  a string with the content “find me” in my Documents folder

The PowerShell command is:

Get-ChildItem -Recurse -Path “C:\Users\VBR\Documents\” | Select-String Pattern “find me”

it is composed of two parts separated by a vertical bar (|)

In the first part, the command will search all files into the path C:\Users\VBR\Documents\ (Recurse)

In the second will search the type (string) and the object (pattern)

I like the idea of saving the results of the command in a file and also having just the path of the string I searched.

The command is changed as you can see below:

Get-ChildItem -Recurse -Path “C:\Users\VBR\Documents\Test-Find” | Select-String -Pattern “find me” | select path | Out-File C:\Scripts\Results\search_script_out.txt

To remember:
All PowerShell commands support wild card (*, ?, [ ]), which means you can search any string in your environment.