
In my lab, the Disaster Recovery site consists of a single ESX 7.01 host.
It is managed by a virtual vCenter (called vCenter-DR ), which relates exclusively to the hardware resources made available by the ESX 7.01 host itself.
Last month Veeam Software released the Veeam Backup & Replication 11A update.
Among the various improvements introduced, my attention was focused on the new drivers (called I / O filters ) of the CDP component.
If in the main cluster, the upgrade was simple, immediate, and painless (given the presence of more hosts under an additional vCenter), a complication related to the hardware architecture was generated for the Disaster Recovery site.
The update failed, as it was impossible to put the ESX 7.01 host in maintenance mode without actually turning off the vCenter-DR that managed it (see image 1).
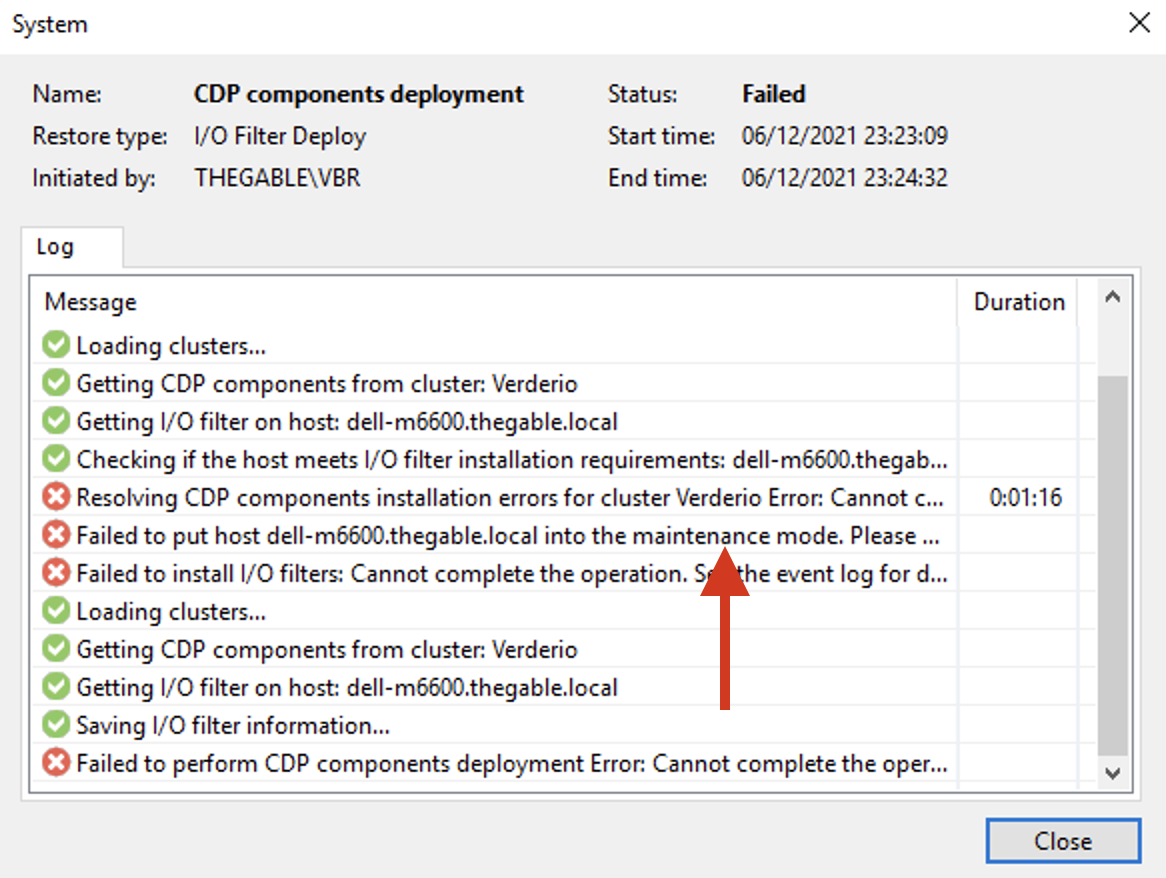
Picture 1
How was it possible to overcome this obstacle without changing the cluster configuration? (I.e. without adding an additional ESX 7.01 Host)
The procedure I followed was simple and uses the Vmware kb 2008939 ( https://kb.vmware.com/s/article/2008939).
It is composed of two main stages:
- Copy the Veeam CDP package to the ESX 7.01 host (veecdp-offline-bundle.7.0.0.zip)
- Installation of the package through the command “esxcli software vib update -d /yourpath/veecdp-offline-bundle.7.0.0.zip” (see Image 2)
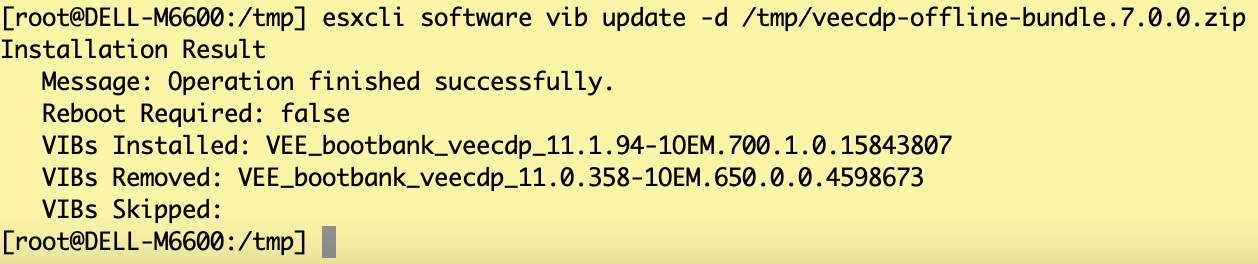
Image 2
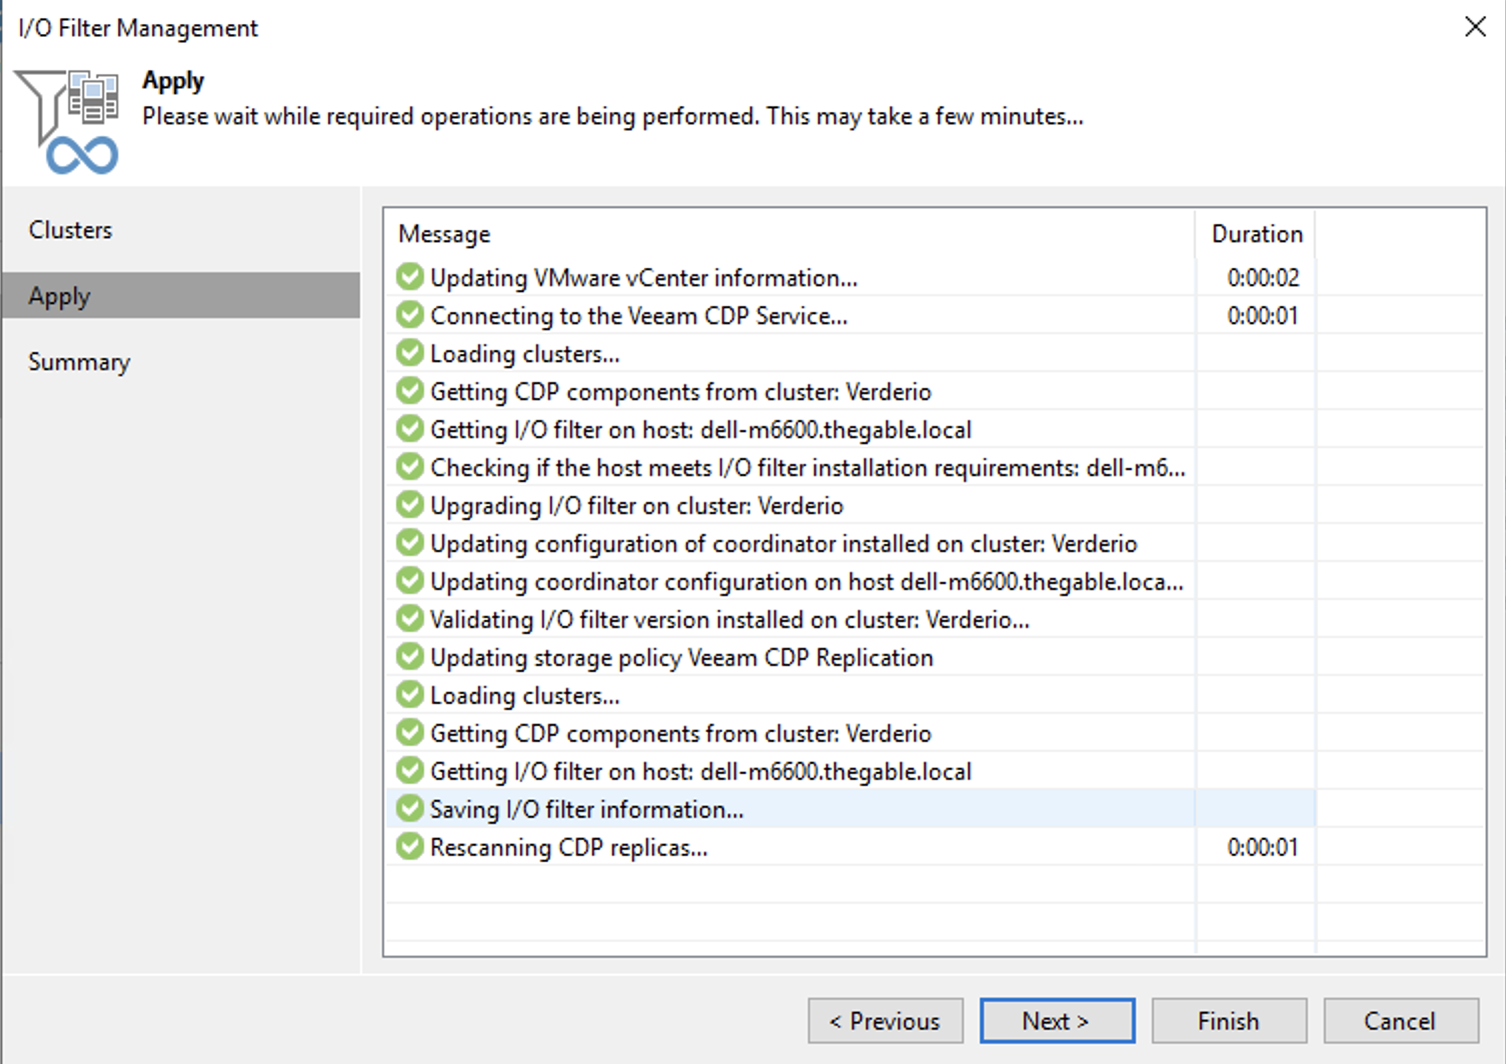
At the end of this first phase, it was now sufficient to repeat the standard update procedure (see images 3,4, and 5).
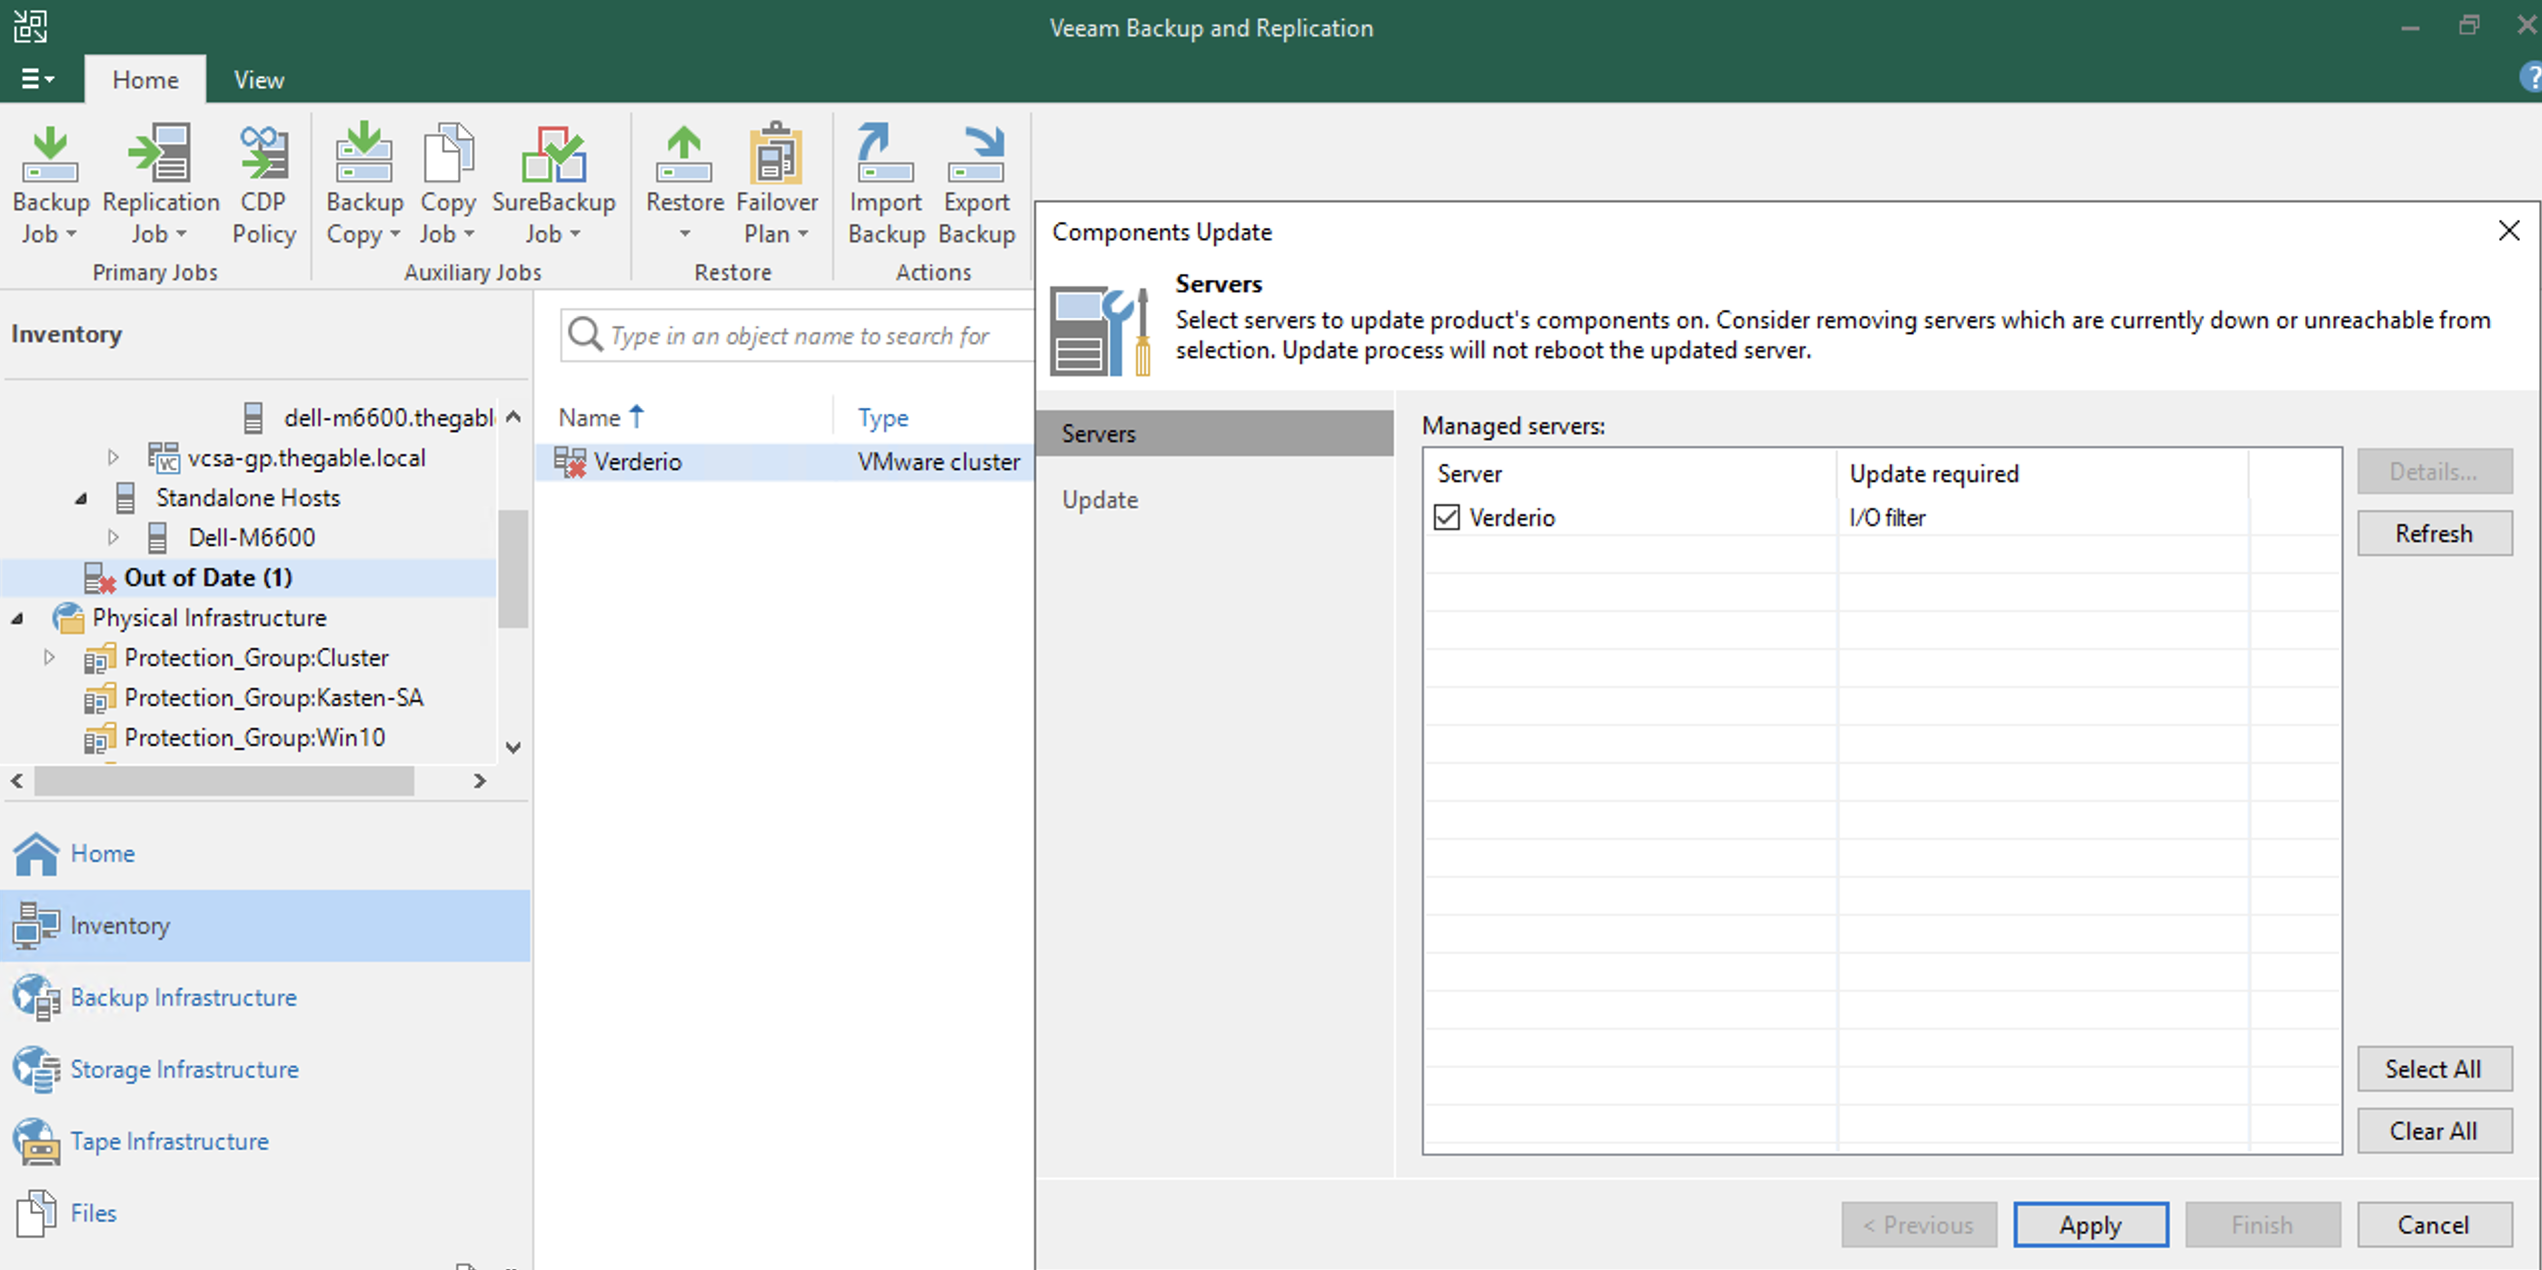
Picture 3
Picture 4
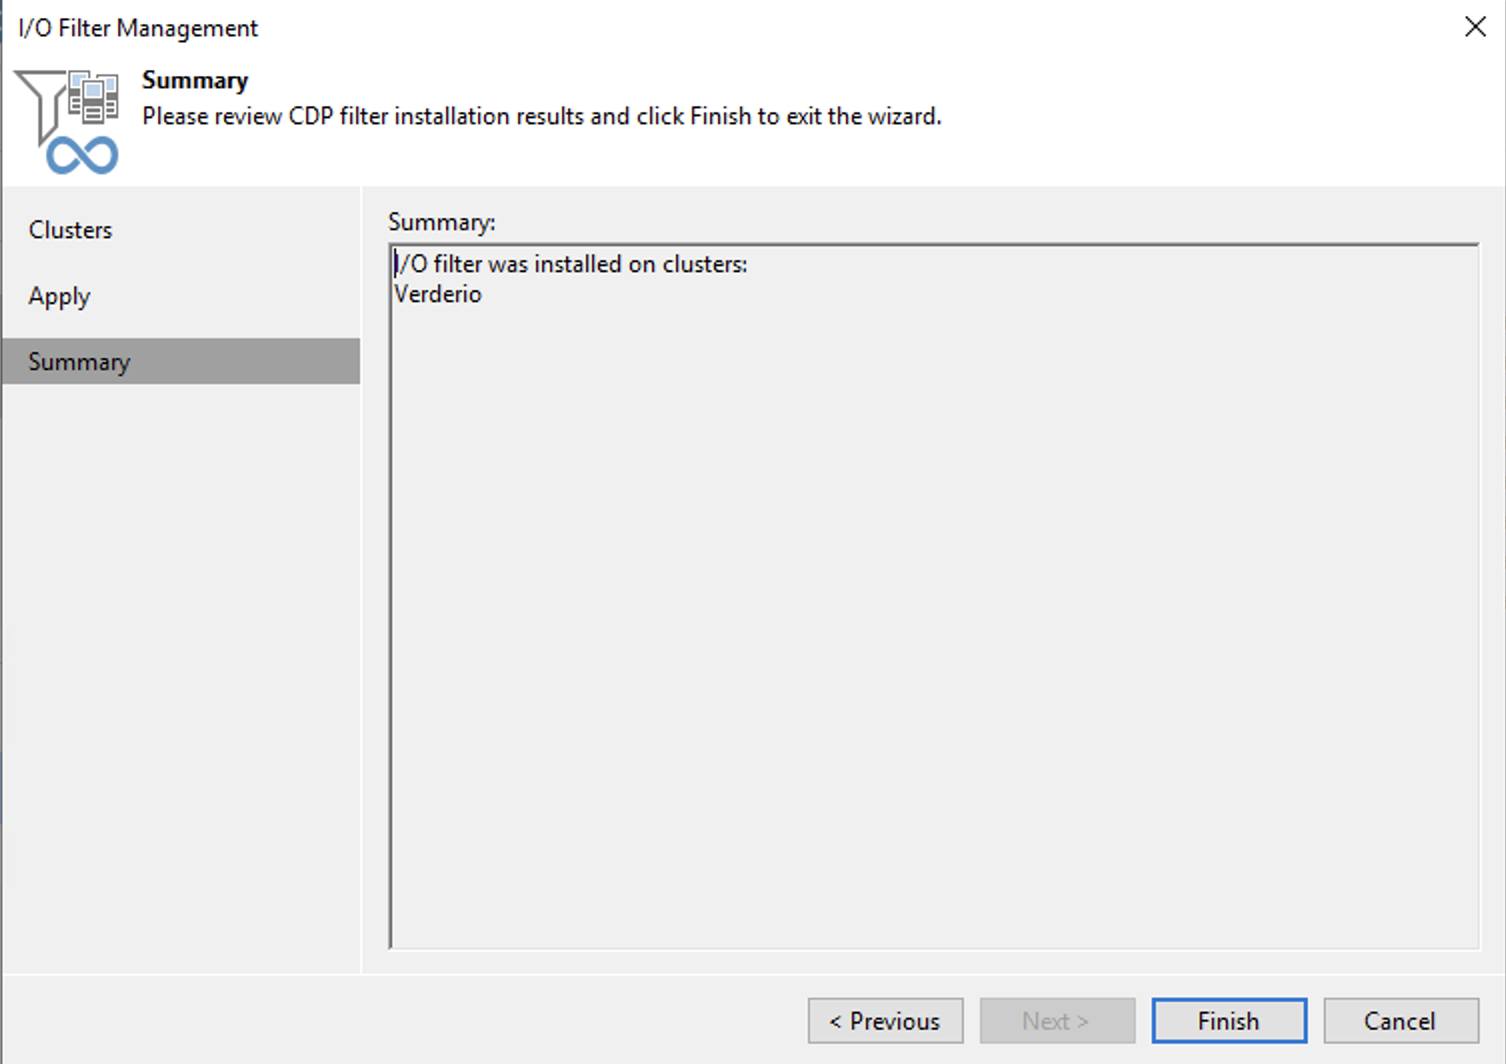
Picture 5
The check that guarantees that the procedure followed is correct is to create a CDP Replication Job, wait for it to finish without errors and for the failover procedure to be started.
Note 1: The I / O filters update procedure is available in the manual on the following page: (https://helpcenter.veeam.com/docs/backup/vsphere/cdp_io_filter_remove.html?ver=110).
Note 2: Before proceeding it is mandatory to open a support ticket to Veeam( my.veeam.com)
See you soon