
Nel mio laboratorio, il sito di Disaster Recovery è composto da un singolo host ESX 7.01.
Viene gestisto da un vCenter virtuale (denominato vCenter-DR), che afferisce esclusivamente alle risorse hardware messe a disposizione dallo stesso host ESX 7.01.
Lo scorso mese Veeam Software ha rilasciato l’aggiornamento di Veeam Backup & Replication 11A.
Tra le diverse migliorie introdotte, la mia attenzione si è concentrata sui nuovi driver (detti I/O filters) della componente CDP.
Se nel cluster principale, l’aggiornamento è stato semplice, immediato e indolore (vista la presenza di più host sotto un ulteriore vCenter), per il sito di Disaster Recovery si è generata una complicanza collegata all’architettura hardware presente.
L’aggiornamento falliva, poichè era impossibile porre l’host ESX 7.01 in mantenance mode senza di fatto spegnere anche il vCenter-DR che lo gestiva (vedi immagine 1).
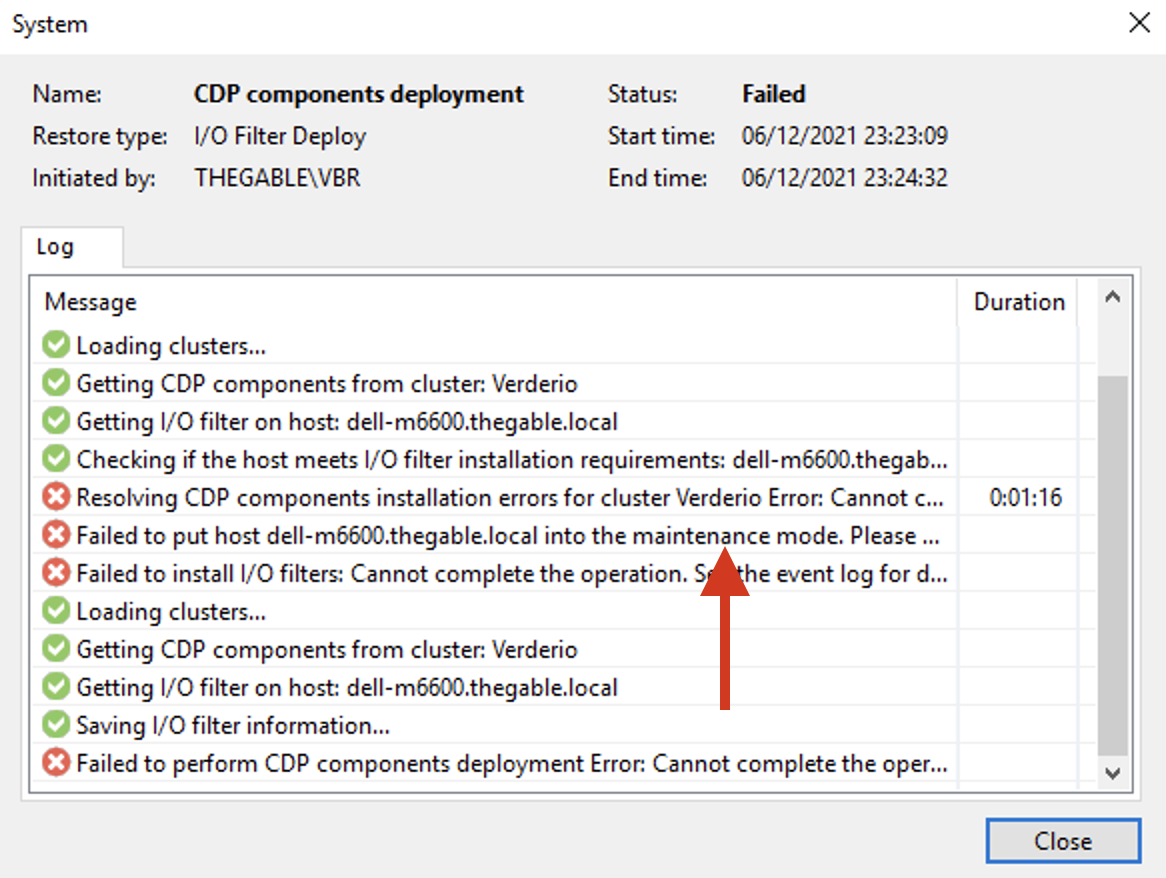
Immagine 1
Come è stato possibile superare tale ostacolo senza modificare la configurazione del cluster? (Senza cioè aggiungere un ulteriore Host ESX 7.01)
La procedura che ho seguito è stata semplice e sfrutta la kb 2008939 di Vmware (https://kb.vmware.com/s/article/2008939).
Costa di due fasi principali:
- Copia del pacchetto Veeam CDP nell’host ESX 7.01 (veecdp-offline-bundle.7.0.0.zip)
- Installazione del pacchetto attraverso il comando “esxcli software vib update -d /yourpath/veecdp-offline-bundle.7.0.0.zip” (vedi Immagine 2)
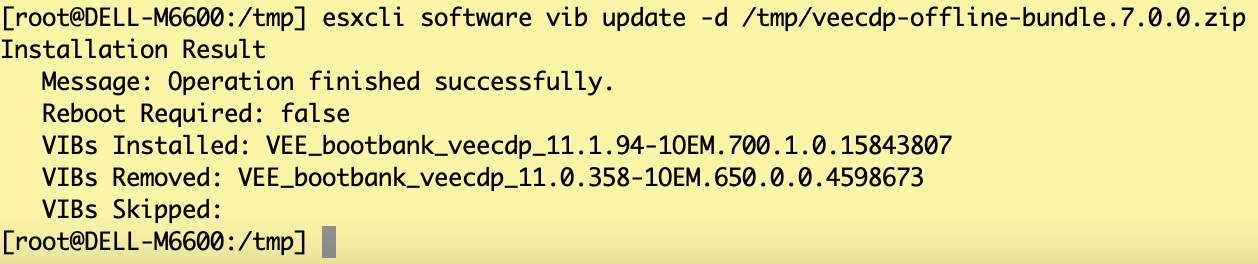
Immagine 2
Terminata questa prima fase, è ora stato sufficiente ripetere la procedura standard di aggiornamento (vedi immagini 3,4 e 5).
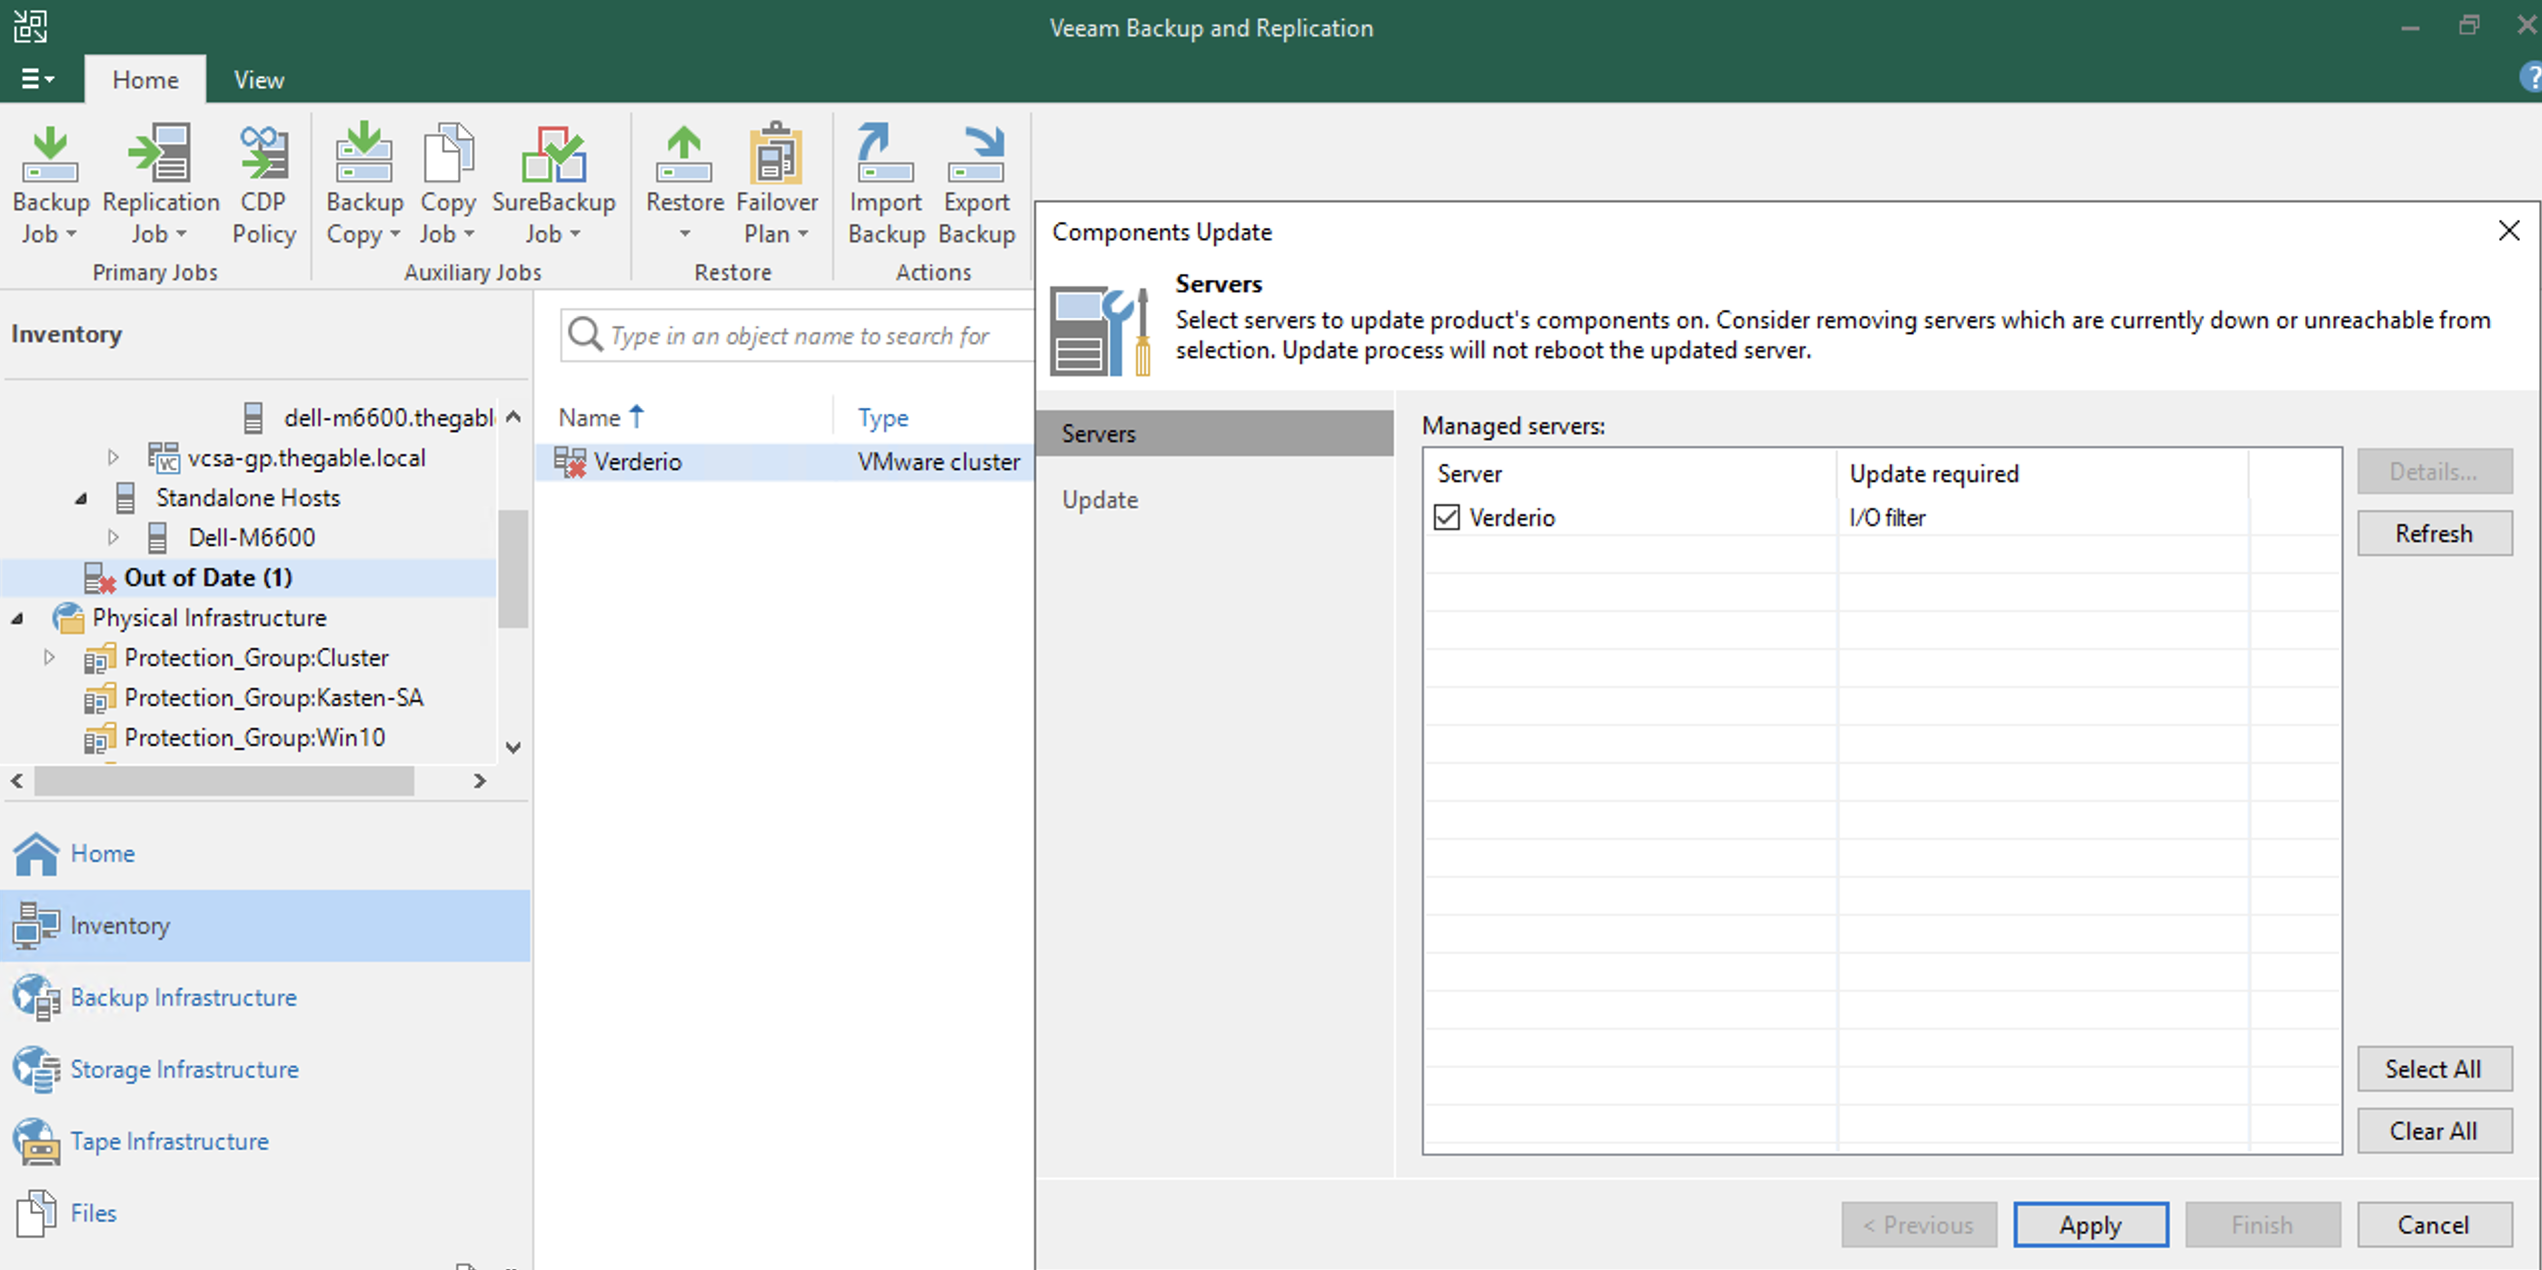
Immagine 3
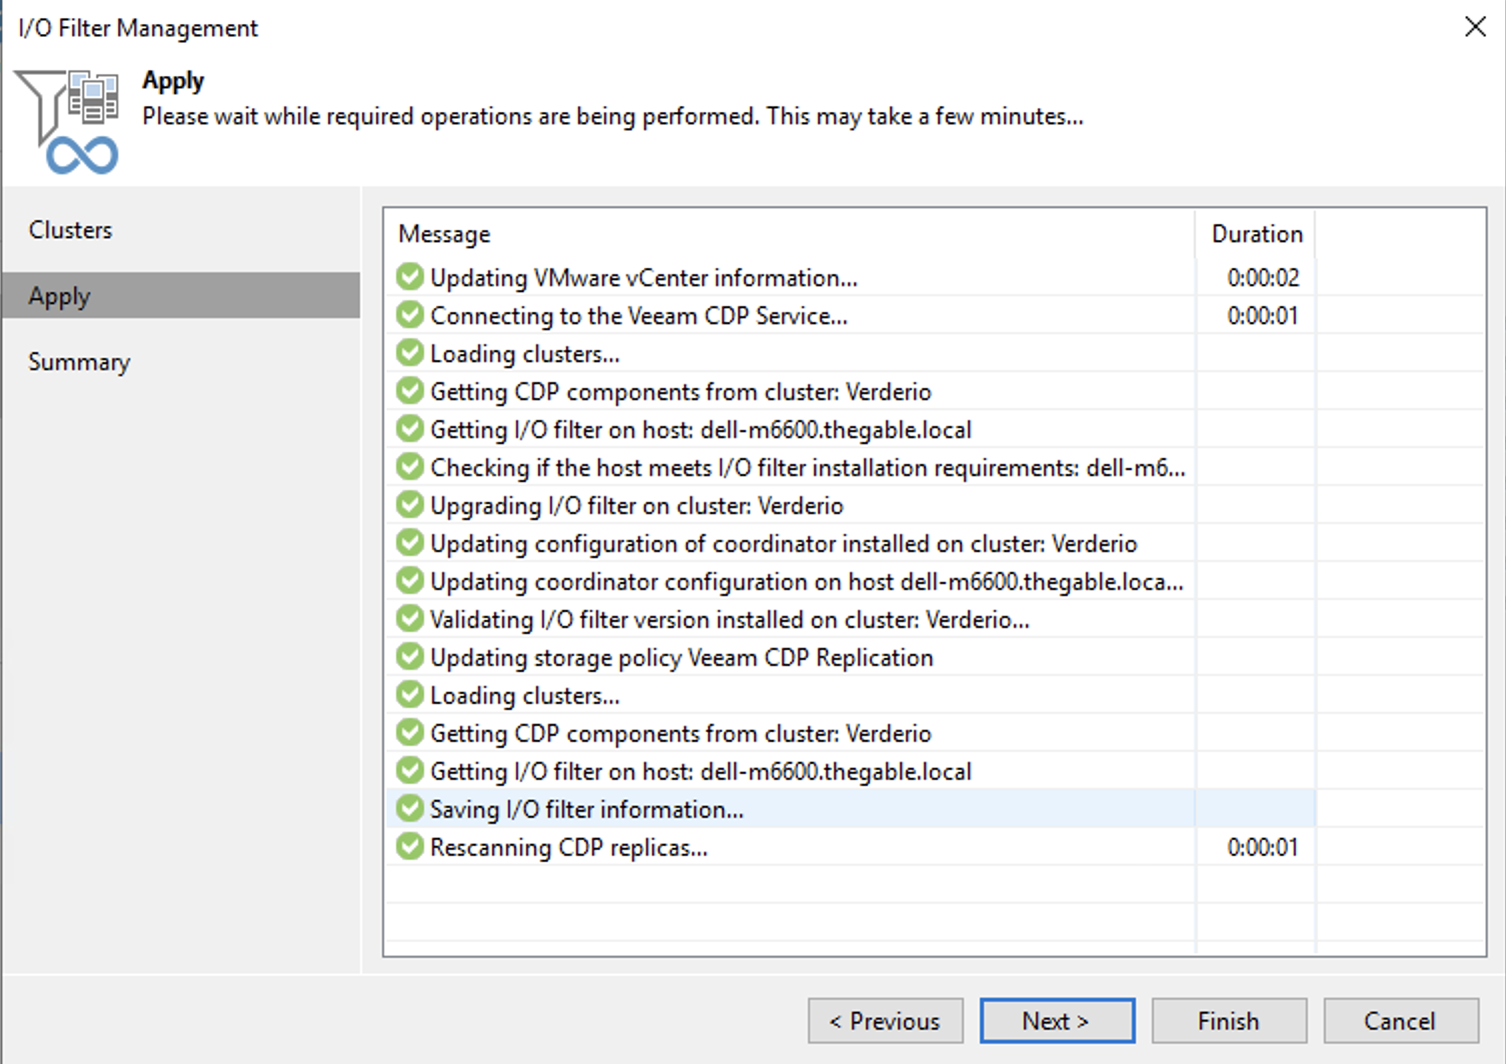
Immagine 4
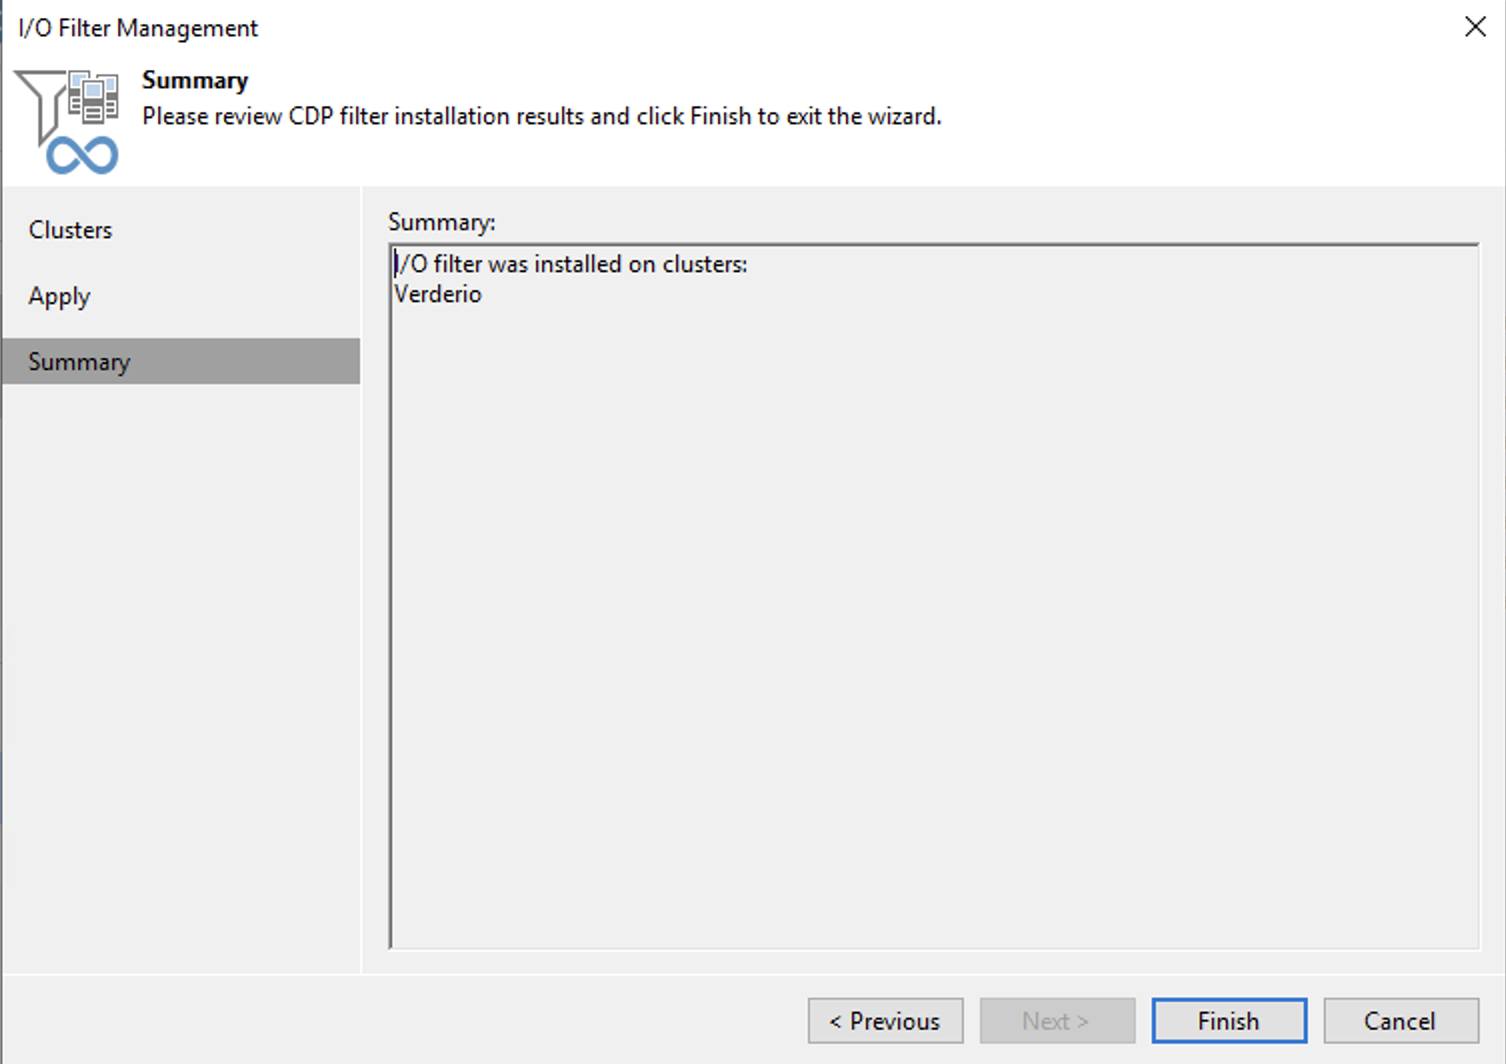
Immagine 5
La verifica che garantisce che la procedura seguita è corretta è quella di realizzare un Job di Replica CDP, attendere che si concluda senza errori e che sia possibile avviare la procedura di failover.
Nota 1: La procedura di aggiornamento dei I/O filters è disponibile nel manuale alla seguente pagina: (https://helpcenter.veeam.com/docs/backup/vsphere/cdp_io_filter_remove.html?ver=110).
Nota 2: Prima di procedere è obbligatorio confrontarvi con il supporto Veeam attraverso l’apertura di un tiket (my.veeam.com)
A presto
 Picture 1
 Picture 2
 Picture 3
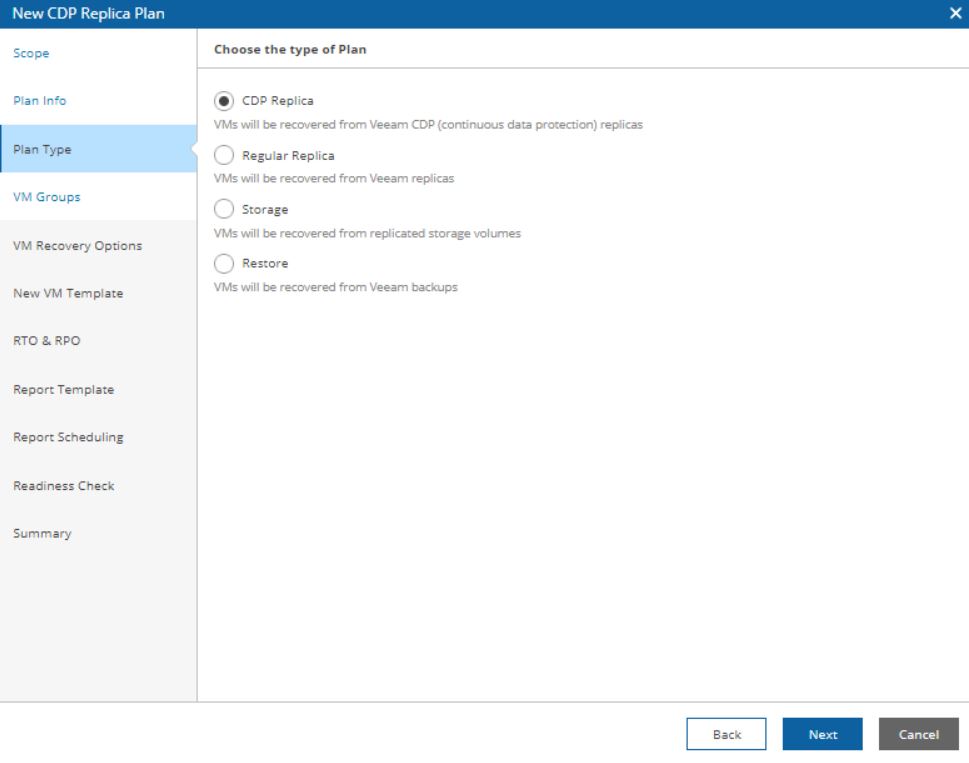 Picture 4
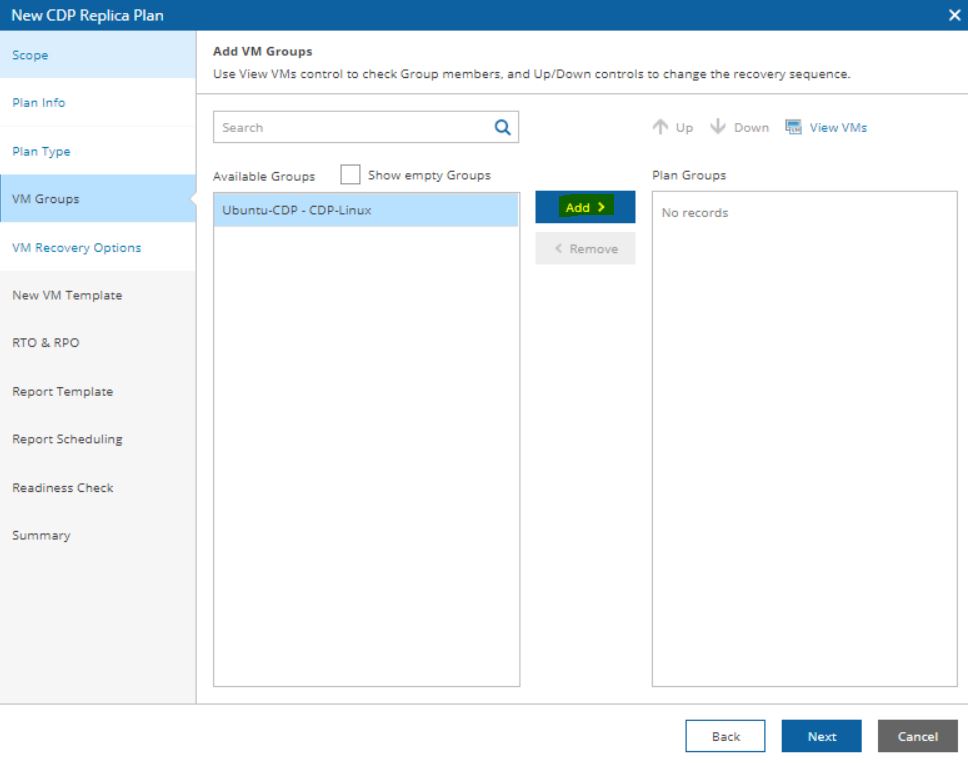 Picture 5
 Picture 6
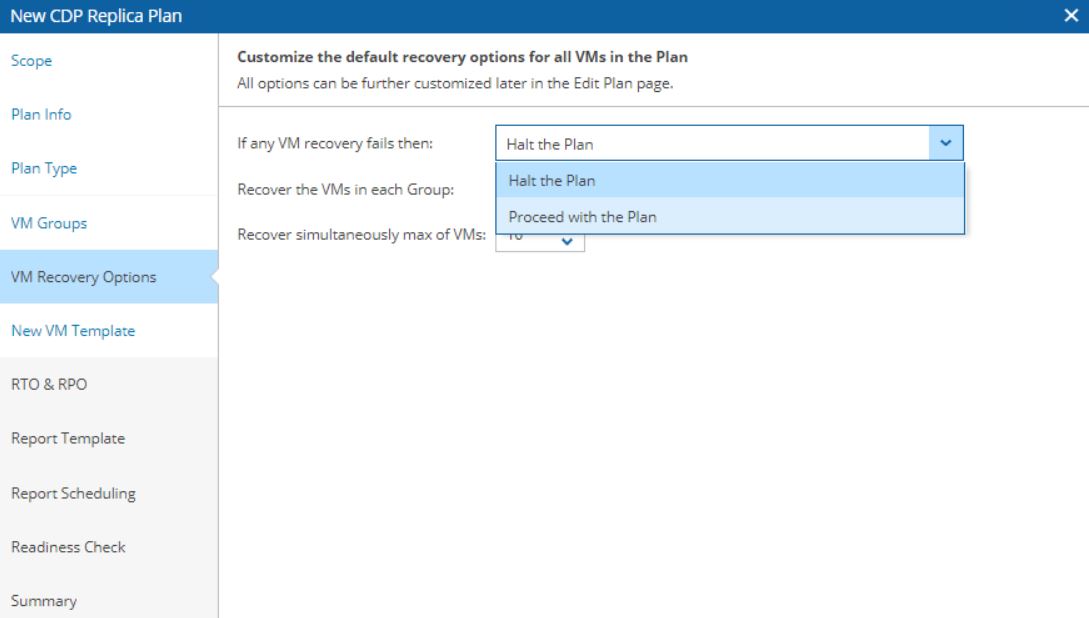 Picture 7
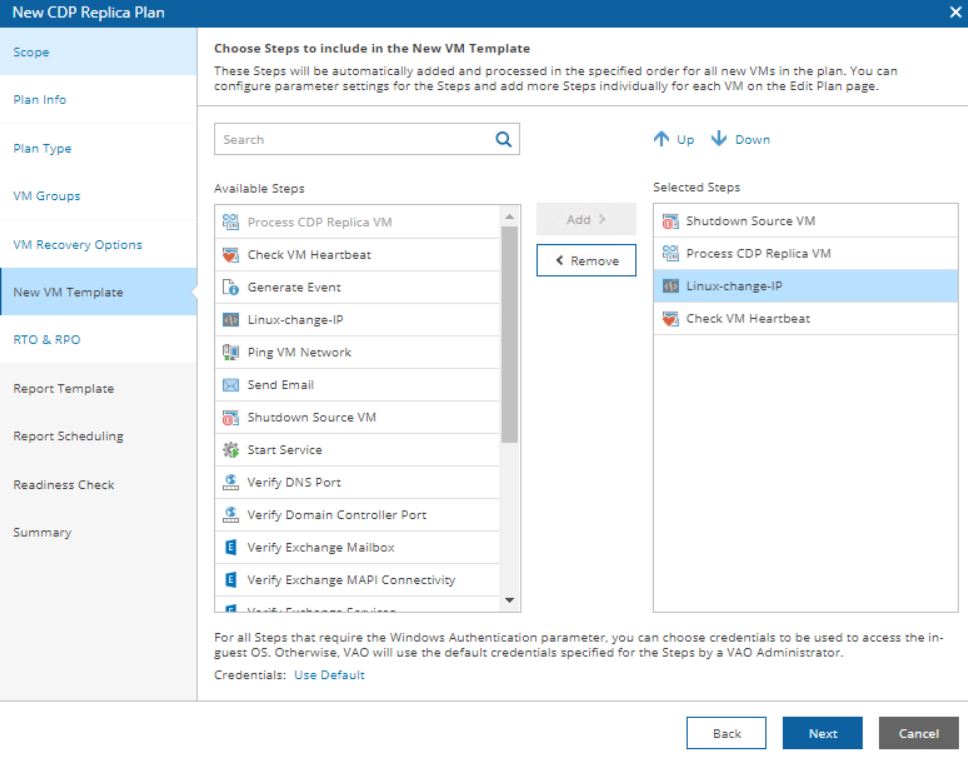 Picture 8
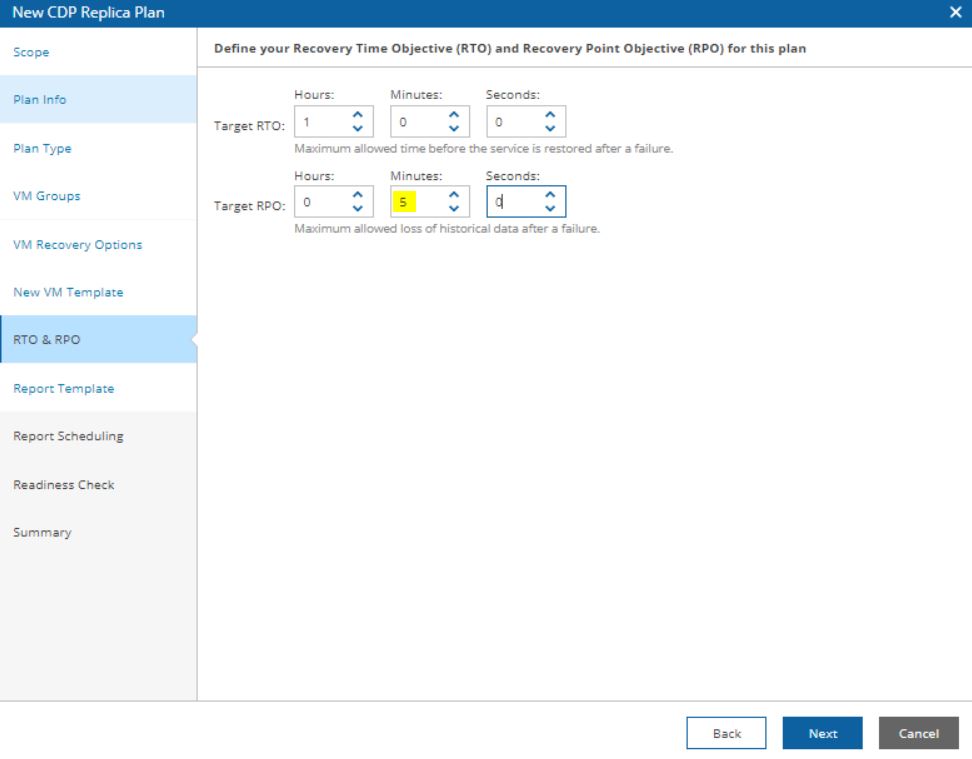 Picture 9
 Picture 10
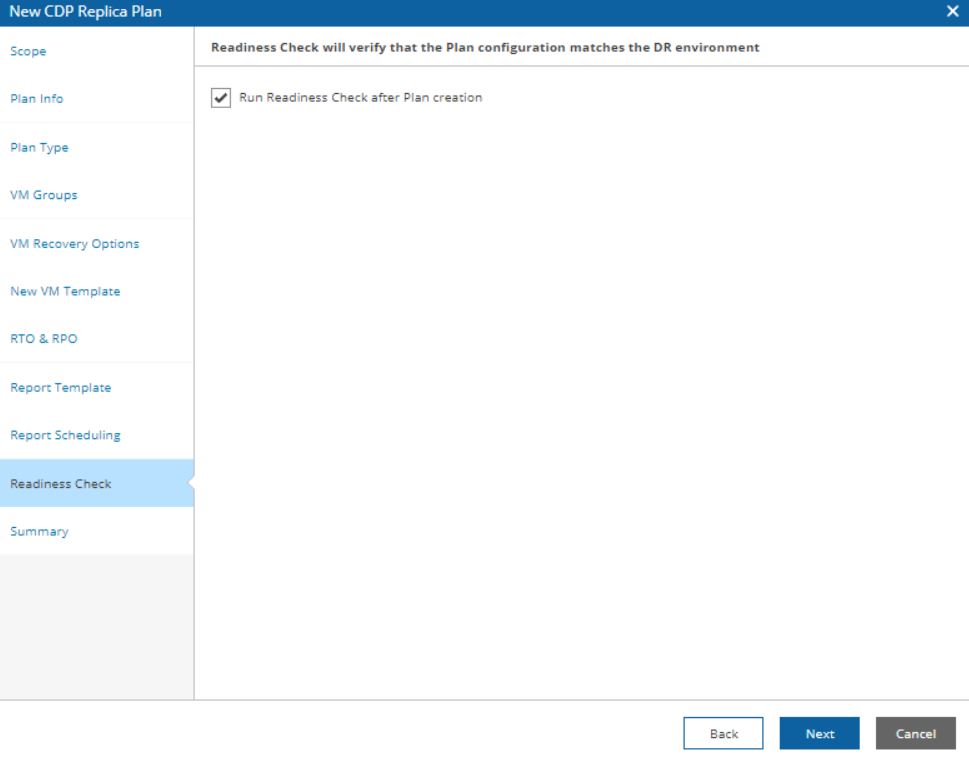 Picture 11
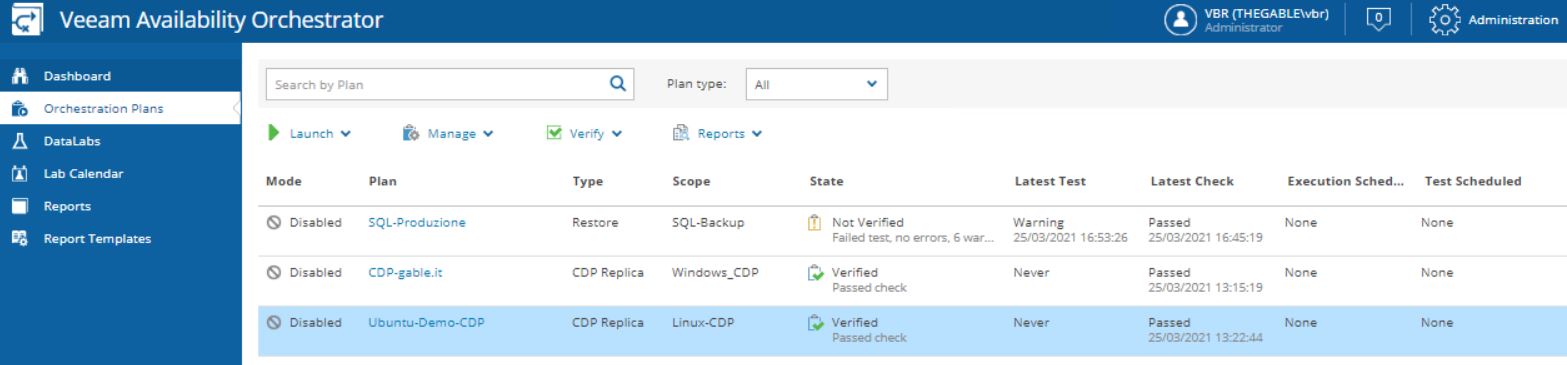 Picture 12