Immaginate un disastro, in cui l’infrastruttura virtuale deve essere ripristinata da zero.
È tutto perso, tranne i file di backup, che sono ancora disponibili su almeno un repository, meglio se immutabile, on-premises o in cloud.
Per ripristinare l’ambiente avete a disposizione cinque differenti opzioni che sono in funzione da come è stata disegnata e implementata l’architettura di protezione e resilenza Veeam Backup & Replication.
Nota 1: Veeam Backup & Replication verrà d’ora in avanti indicato con l’acronimo VBR.
Scenario A (Ripristino da zero):
- Non avete effettuato il backup application aware del server VBR.
- Non avete effettuato la Replica application aware del server VBR.
- Non è disponibile l’export della configurazione del DB del server VBR.
- Volete ripristinare immediatamente i workload di produzione.
Cosa fare?
Passaggio 1A: Installare Veeam Backup & Replication.
Come: Dal sito web di Veeam (https://www.veeam.com) scaricate l’ultima versione di VBR.
(link diretto -> https://www.veeam.com/products/data-platform-trial-download.html?tab=cloud-plugins).
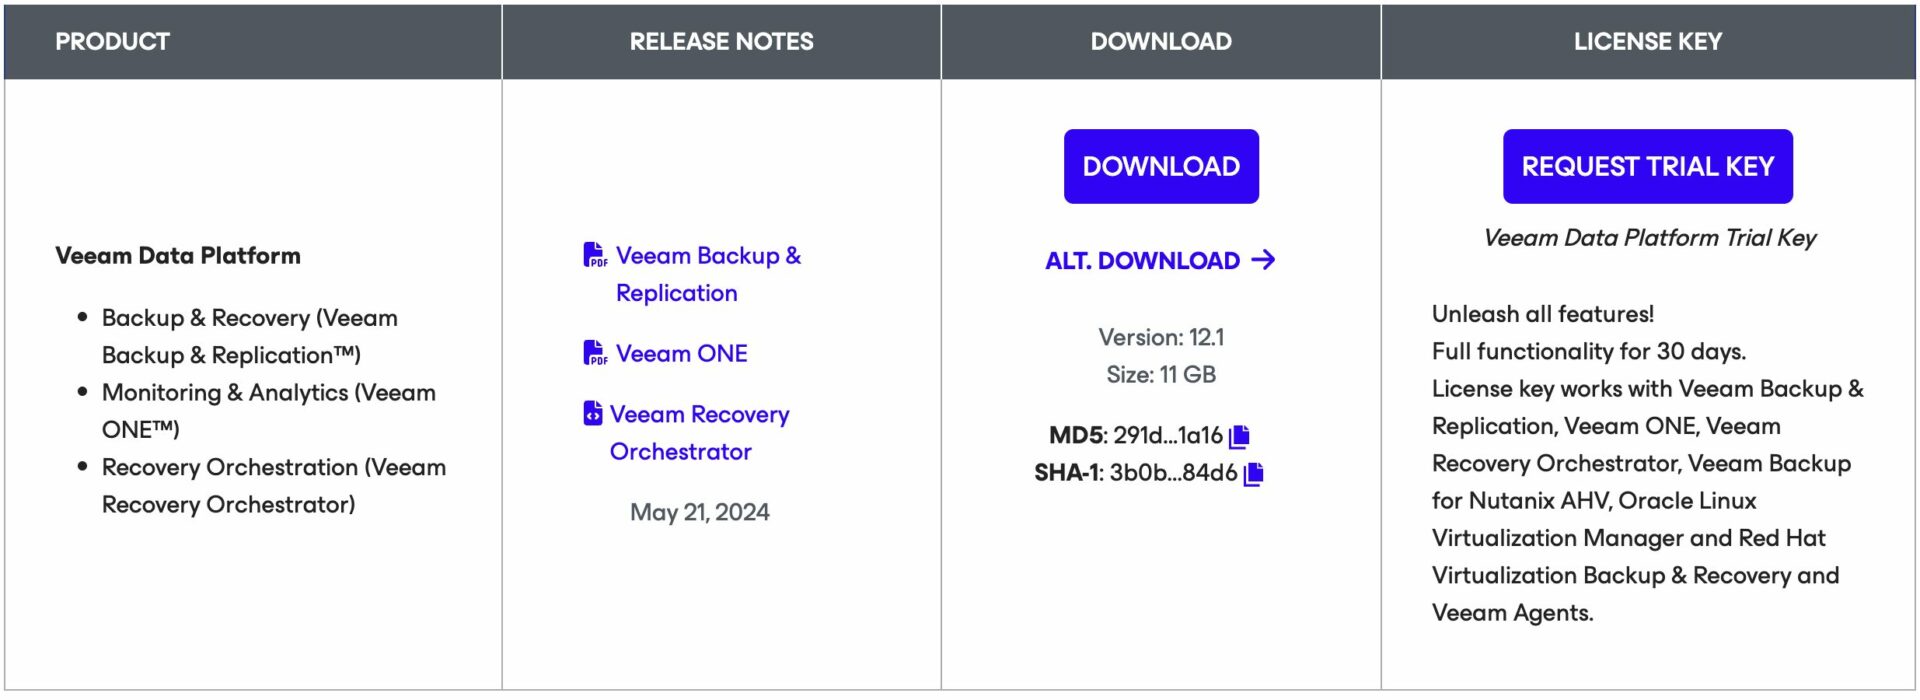 Immagine 1
Nota 2: VBR è in grado di leggere file di Backup creati con versioni precedenti.
La semplicità nell’installare Veeam Backup & Replication rende l’operazione semplice, veloce e può essere realizzata in modalità unattended.
(https://helpcenter.veeam.com/docs/backup/vsphere/silent_mode.html?zoom_highlight=Unattended&ver=120)
In questo passaggio è spesso sufficiente cliccare solo su “next” per completare l’operazione.
Nota 3: si consiglia di utilizzare il proprio file di licenza (può essere scaricato da my.veeam.com) anche se la Community Edition (senza licenza) è spesso sufficiente per la maggior parte ripristini necessari in questa fase.
Passaggio 2A: Aggiungere l’infrastruttura virtuale di produzione ove si voglia ripristinare i carichi di lavoro protetti da VBR.
Come: dopo aver completato il primo passaggio, dalla console di VBR aggiungete l’infrastruttura virtuale (Menù: “Inventory” -> “Vmware vSphere“-> “Add Server”) (Immagine 2).
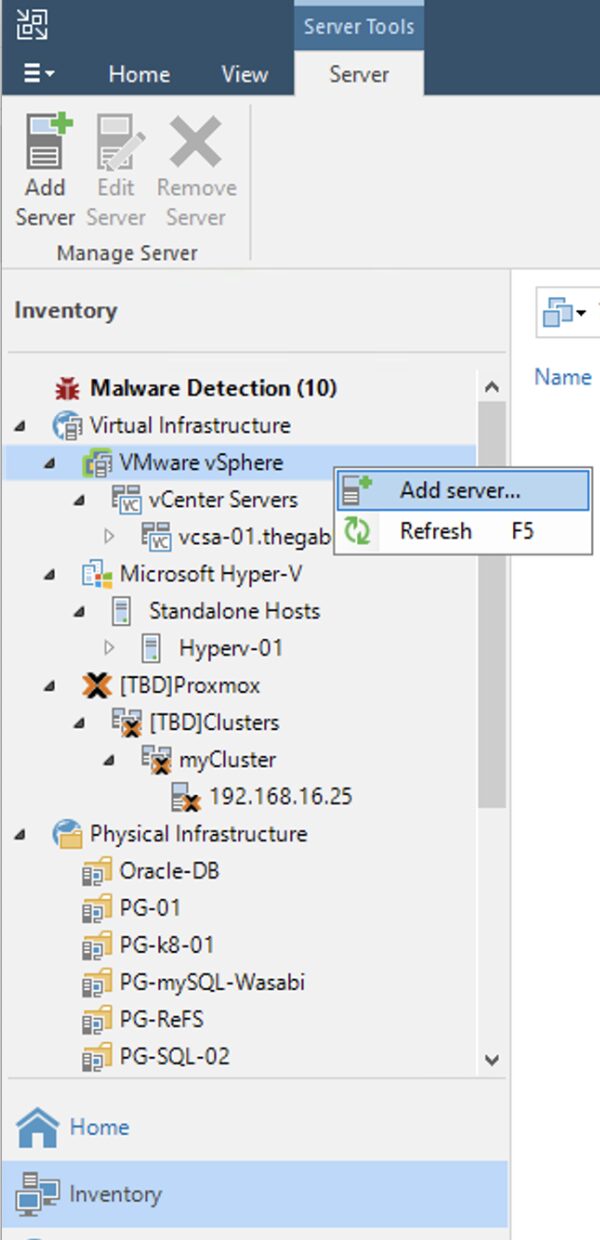 Immagine 2
I passaggi seguenti dipendono dalla tipologia di Hypervisor (VMware vSphere, Microsoft Hyper-V, Nutanix AHV, …) ma risultano sempre molto semplici.
Passaggio 3A (opzionale): Aggiungere i proxy di backup.
Anche se stiamo operando a livello di ripristino, è sempre una buona idea per migliorare le prestazioni di aggiungere proxy di backup.
Passaggio 4A: Aggiunta dei repository di backup Veeam.
L’ultima fase propedeutica prima di avviare i ripristini è quella di aggiungere i repository con i dati di backup.
Come: dalla console selezionare la voce “Backup Infrastructure”, “Backup Repository” e quindi “Add Repository” (immagine 3).
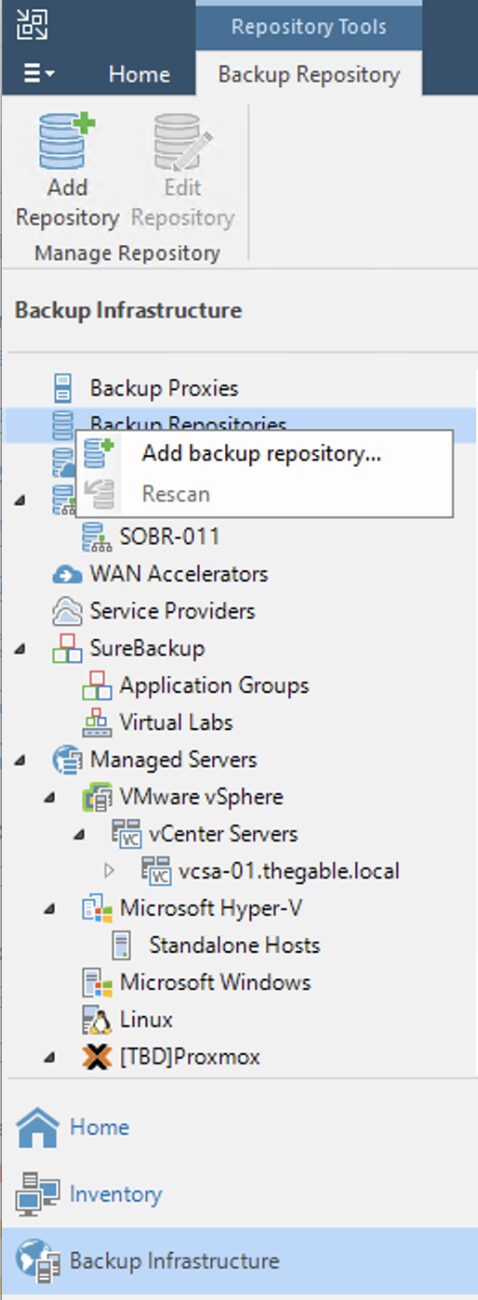 Immagine 3
Passaggio 5A: Avvio dei ripristini.
Come: dalla console di VBR selezionare dalla voce “Home”, “Backup”, “Disk imported”, la VM che si vuole ripristinare e cliccando con il tasto destro del mouse avviare il processo di ripristino (Immagine 4).
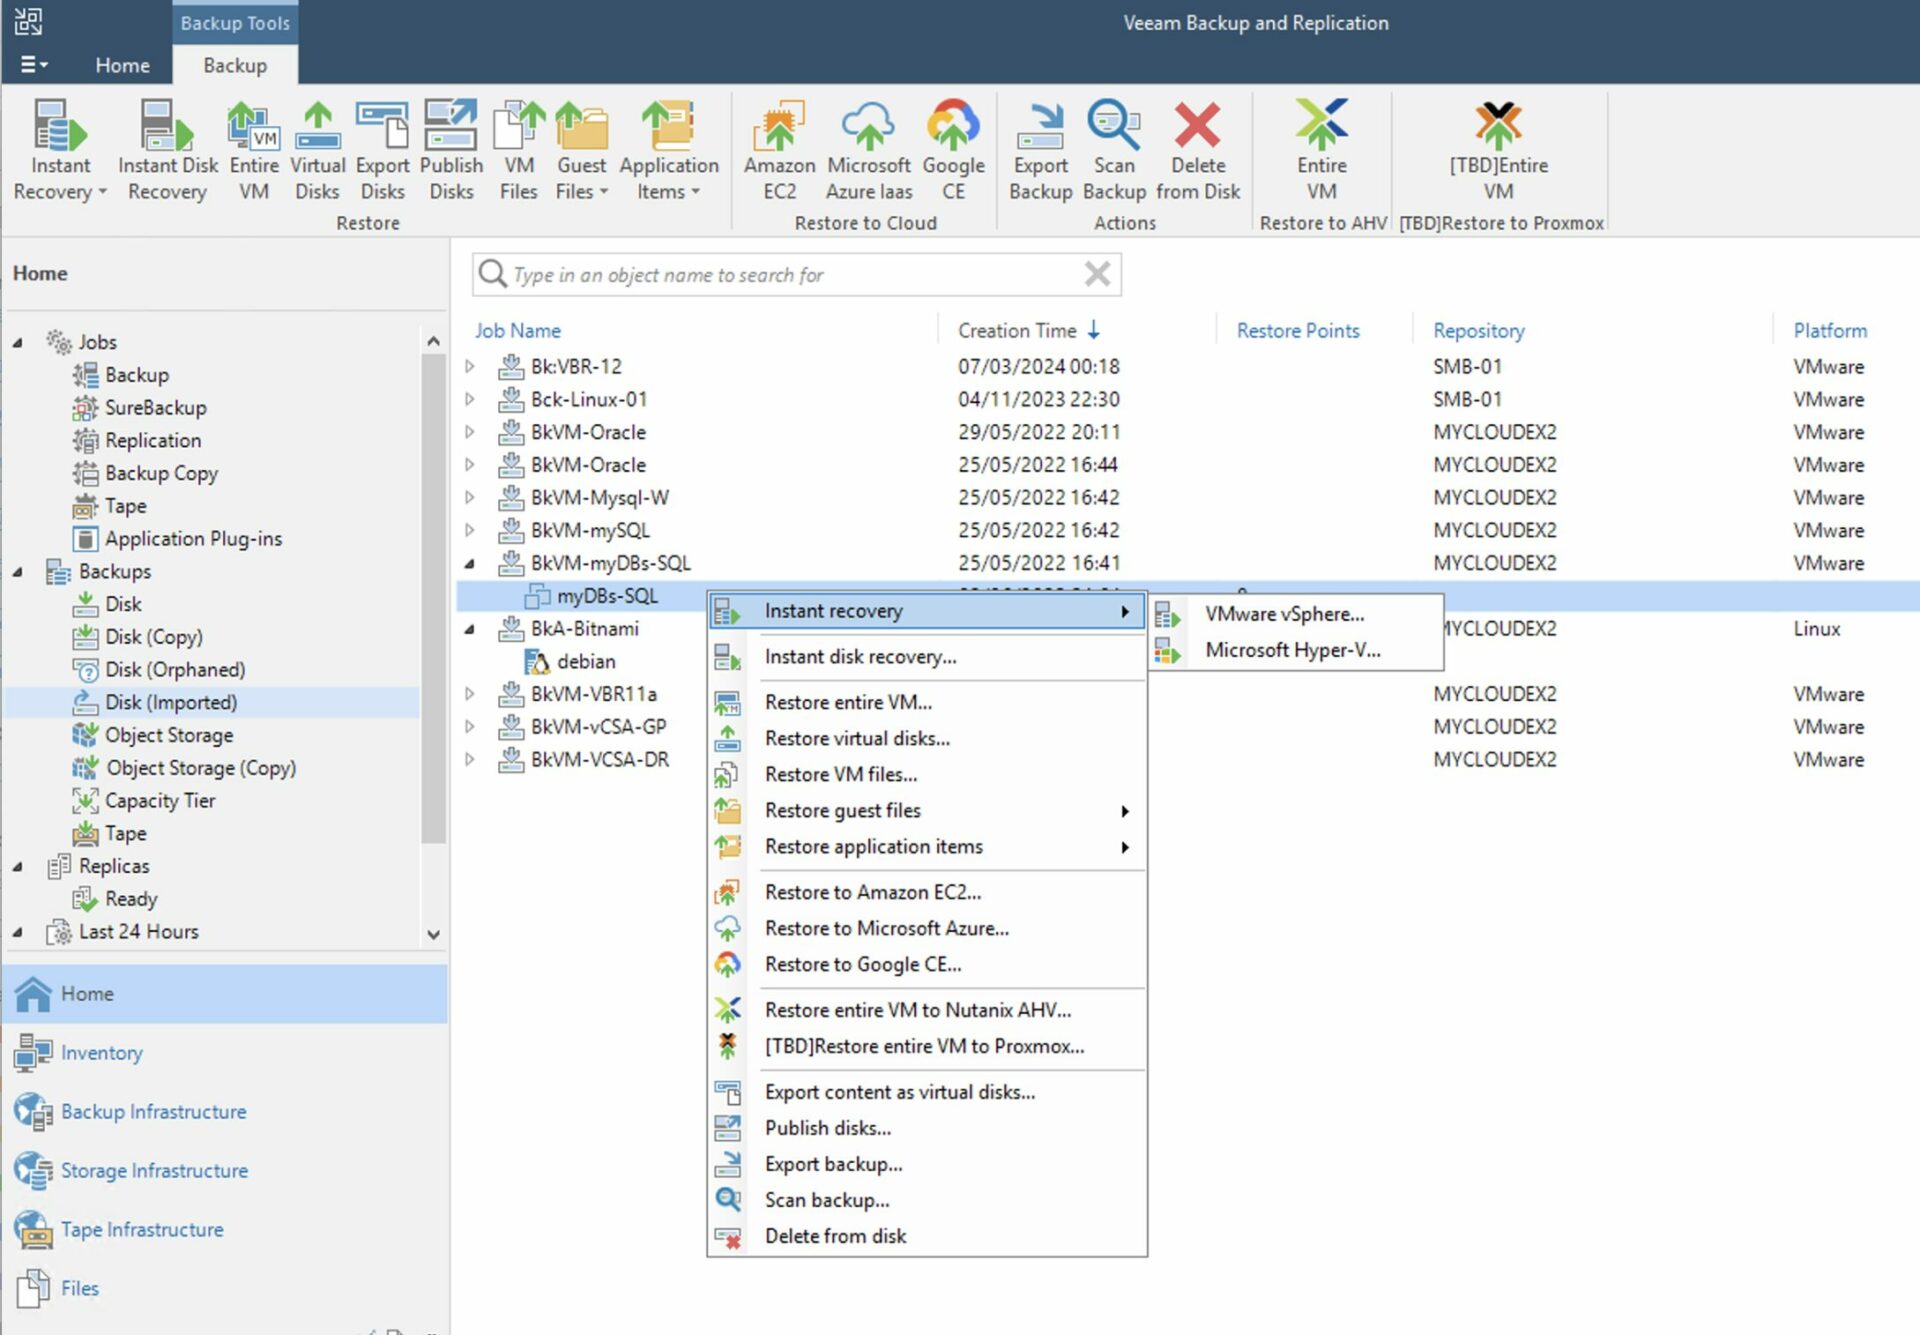 Immagine 4
Nota 4: Il ripristino può essere istantaneo. Con questa modalità le VMs sono avviate direttamente dal repository di backup. In questa opzione il repository funge da archivio dati (per VMware il DataStore) per l’ambiente virtuale.
(L’instant VM recovery è stato inventato da Veeam più di dieci anni fa e da allora ne ha migliorato performance e flessibilità).
Ora la vostra architettura di produzione è tornata operativa!
https://www.veeam.com/blog/restoring-infrastructure-from-scratch-with-veeam.html
Scenario B: Il VBR è un server virtuale.
- Avete effettuato il backup application aware del server VBR.
- Non avete effettuato la Replica application aware del server VBR.
- Non è disponibile l’export della configurazione del DB del server VBR.
- Volete ripristinare immediatamente il server VBR.
Cosa fare?
Passaggio 1B: Effettuare il download dell’utility ”Veeam.Backup.Extractor.exe” dal sito Download di Veeam.
(https://www.veeam.com/products/data-platform-trial-download.html?tab=extensions).
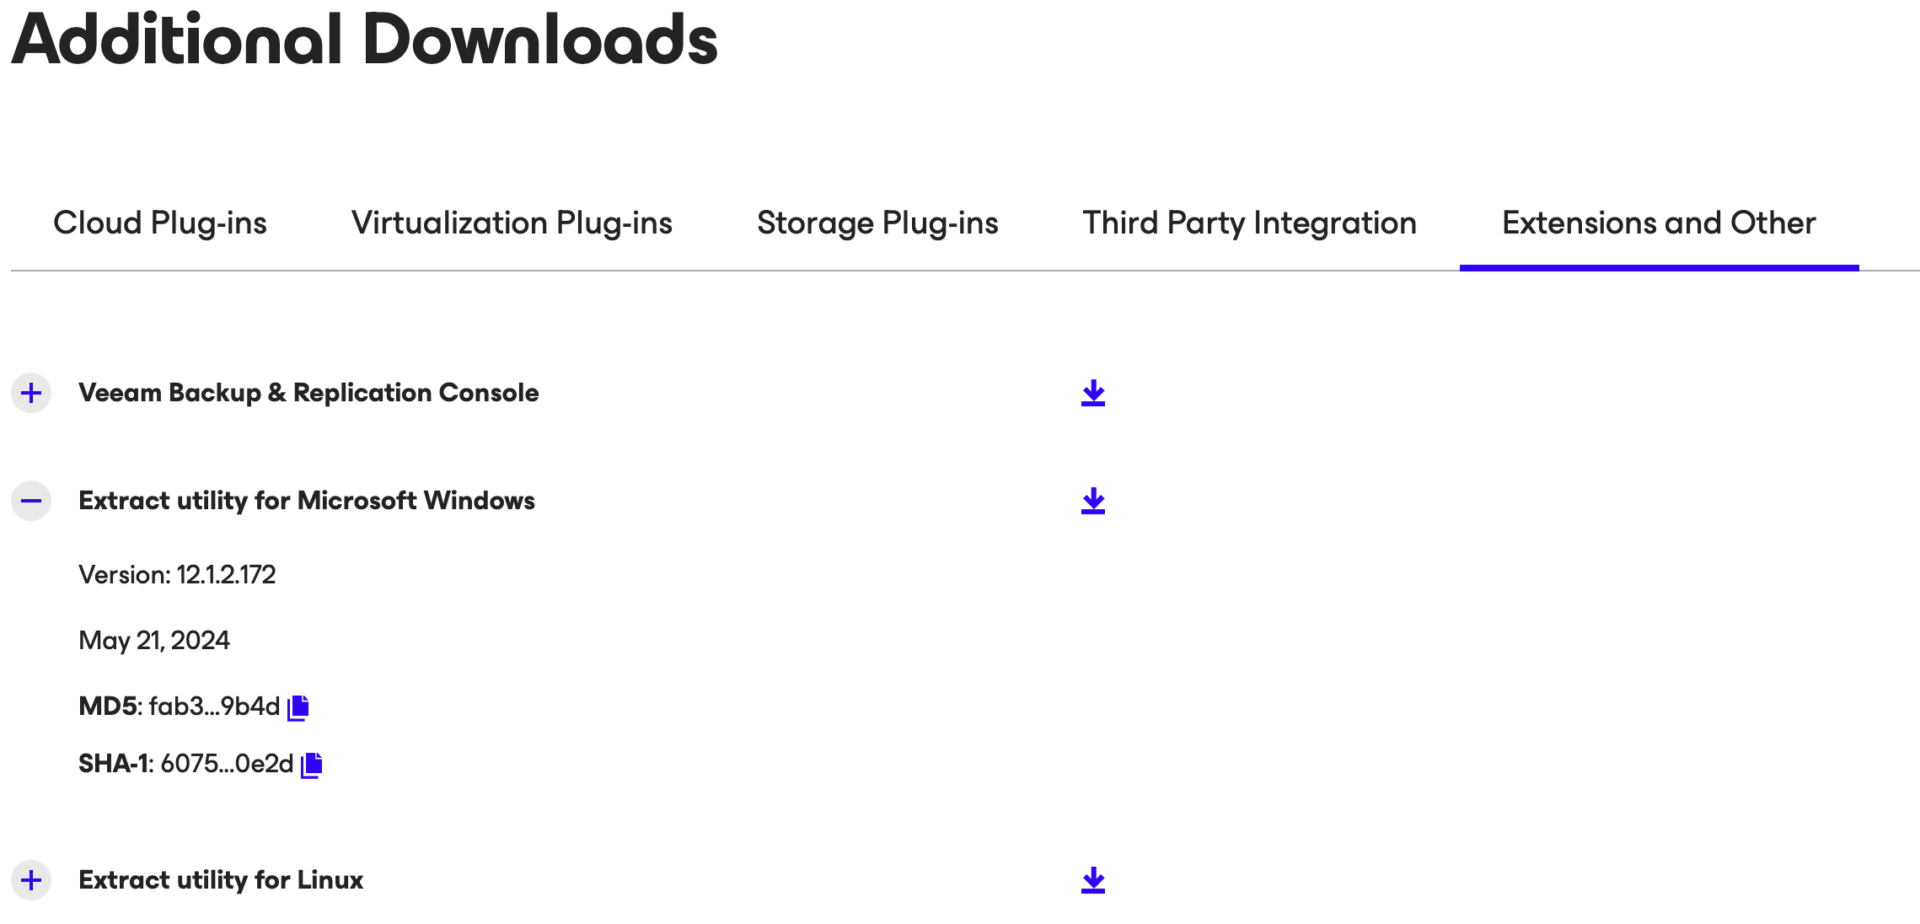 Immagine 5
Nota 5: Esiste anche l’opzione di Extract da linea di comando per piattaforme Windows e Linux.
Passaggio 2B: Avviare l’Extract, selezionare il backup del VBR e una volta creati i file della VM-VBR copiateli nel Datastore VMware che preferite.
Ora dal vCenter registrate la VM appena copiata.
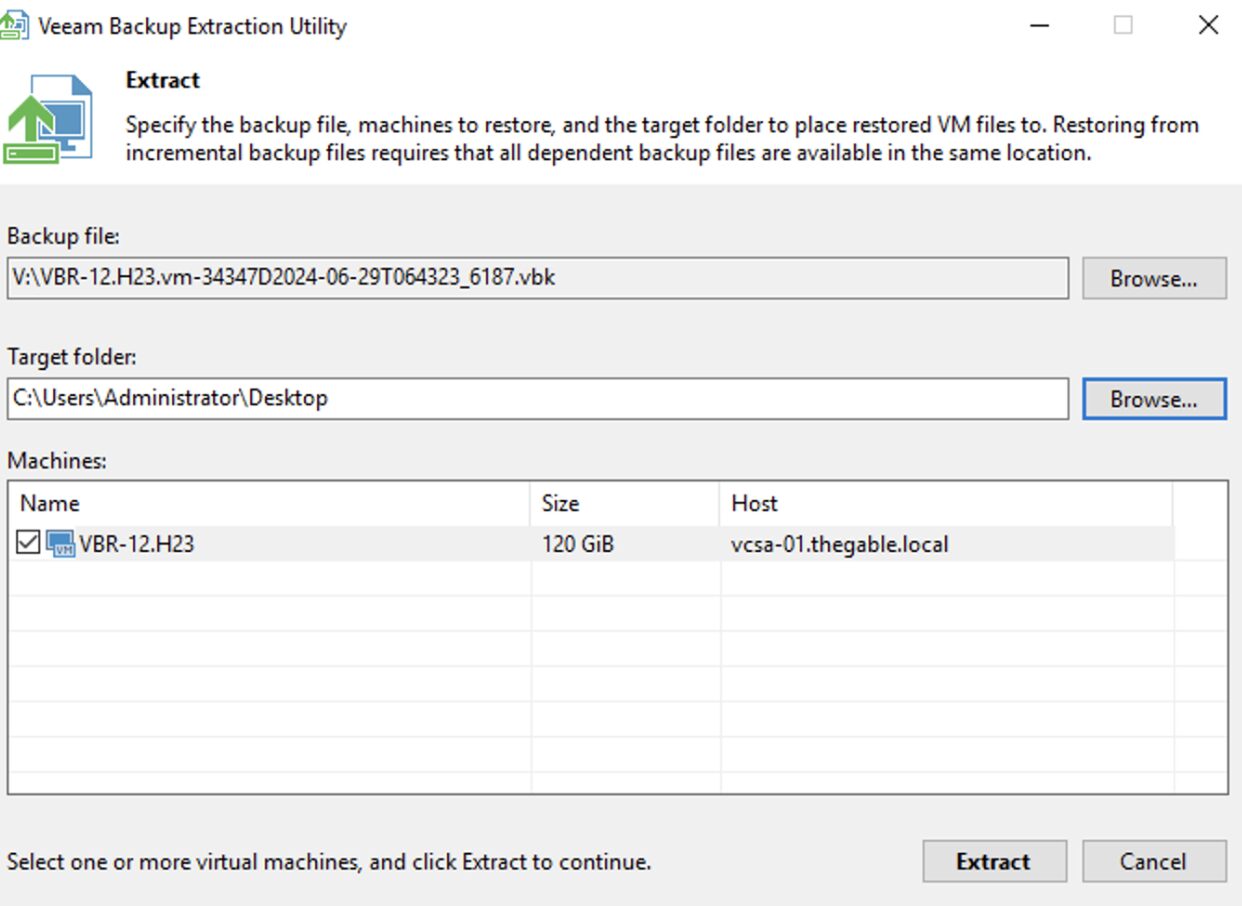 (Immagine 6)
Nota 6: E’ disponibile l’opzione di extract da linea di comando per piattaforme Windows e Linux.
Nota 7: E’ possibile automatizzare e semplificare la copia verso il Datastore VMware pubblicando una share di rete NFS come indicato nel seguente articolo:
https://www.virtualtothecore.com/veeam-extract-utility-quick-restores-without-veeam-server
Passaggio 3B: Una volta completato il ripristino del passaggio 2B, avviare il VBR e realizzare le operazioni standard di utilizzo (vedi passaggio 5A).
Scenario C: Il VBR è un server fisico
- Avete effettuato il backup application aware di VBR creando il recovery media.
- Non è disponibile l’export del file di configurazione di (VBR).
- Volete ripristinare immediatamente il server VBR.
Cosa fare?
Passaggio 1C: Rendete disponibile al Server fisico VBR il recovery media (via Rete o via USB).
Passaggio 2C: Avviare l’operazione di Bare Metal Recovery selezionando in fase di ripristino il backup necessario (immagine 7 e immagine 8).
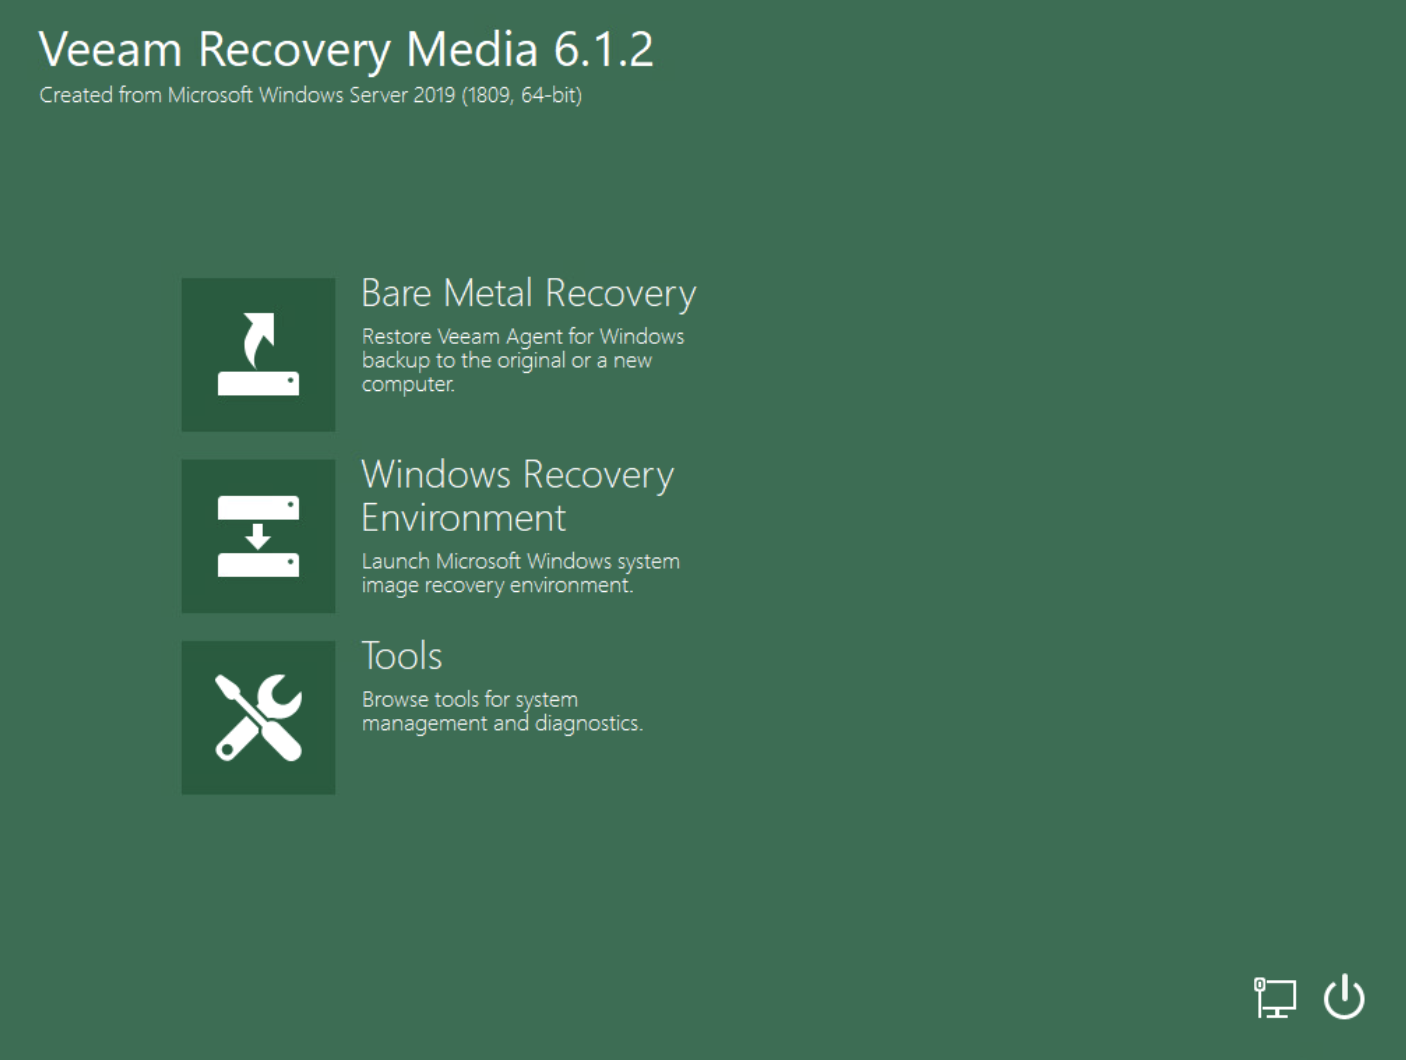 Immagine 7
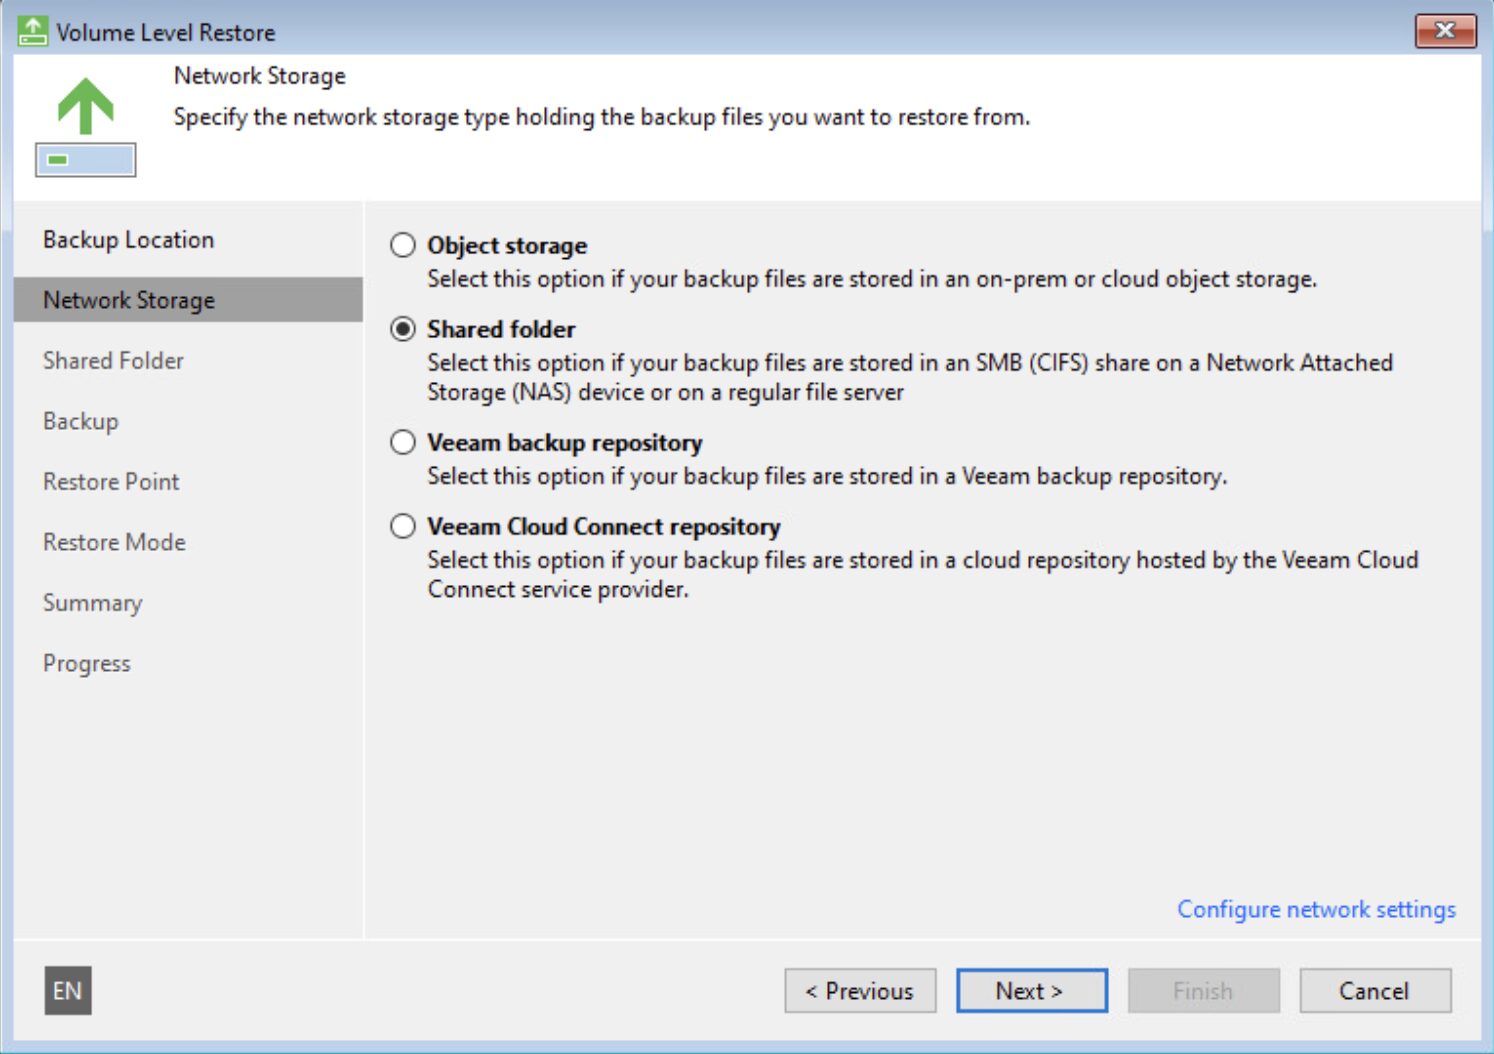 Immagine 8
(https://helpcenter.veeam.com/docs/agentforwindows/userguide/howto_baremetal_recovery.html?ver=60)
Passaggio 3C: Una volta completato il ripristino del passaggio 2C, avviare il VBR e realizzare le operazioni standard di ripristino come indicato nel passaggio 5A.
Scenario D: Il VBR è una VM replicata.
- Non avete effettuato il backup application aware del server VBR.
- Avete effettuato la Replica application aware del server VBR.
- Non è disponibile l’export della configurazione del DB del server VBR.
- Volete ripristinare immediatamente il server VBR.
Cosa fare?
Passaggio 1D: Connettersi al vCenter e ricercare il VBR già replicato.
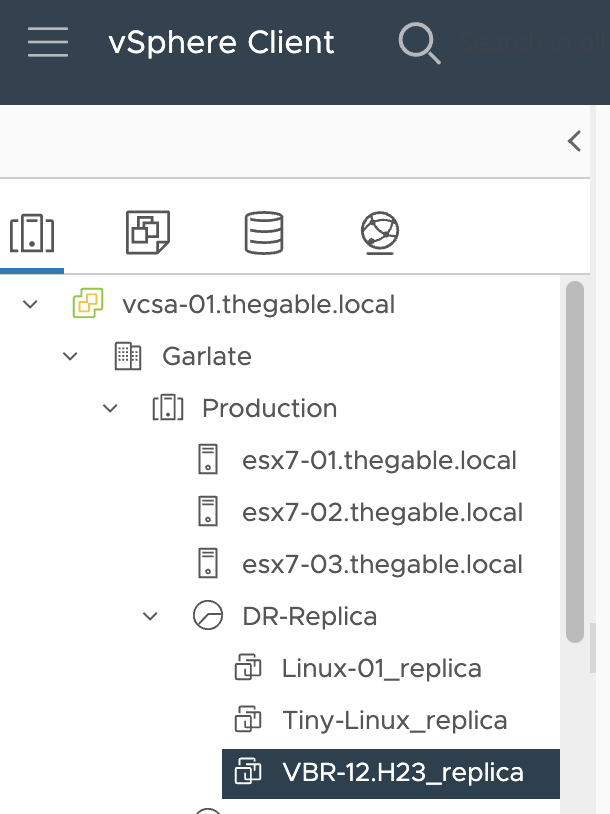 Immagine 9
Passaggio 2D: Innescare il failover del VBR.
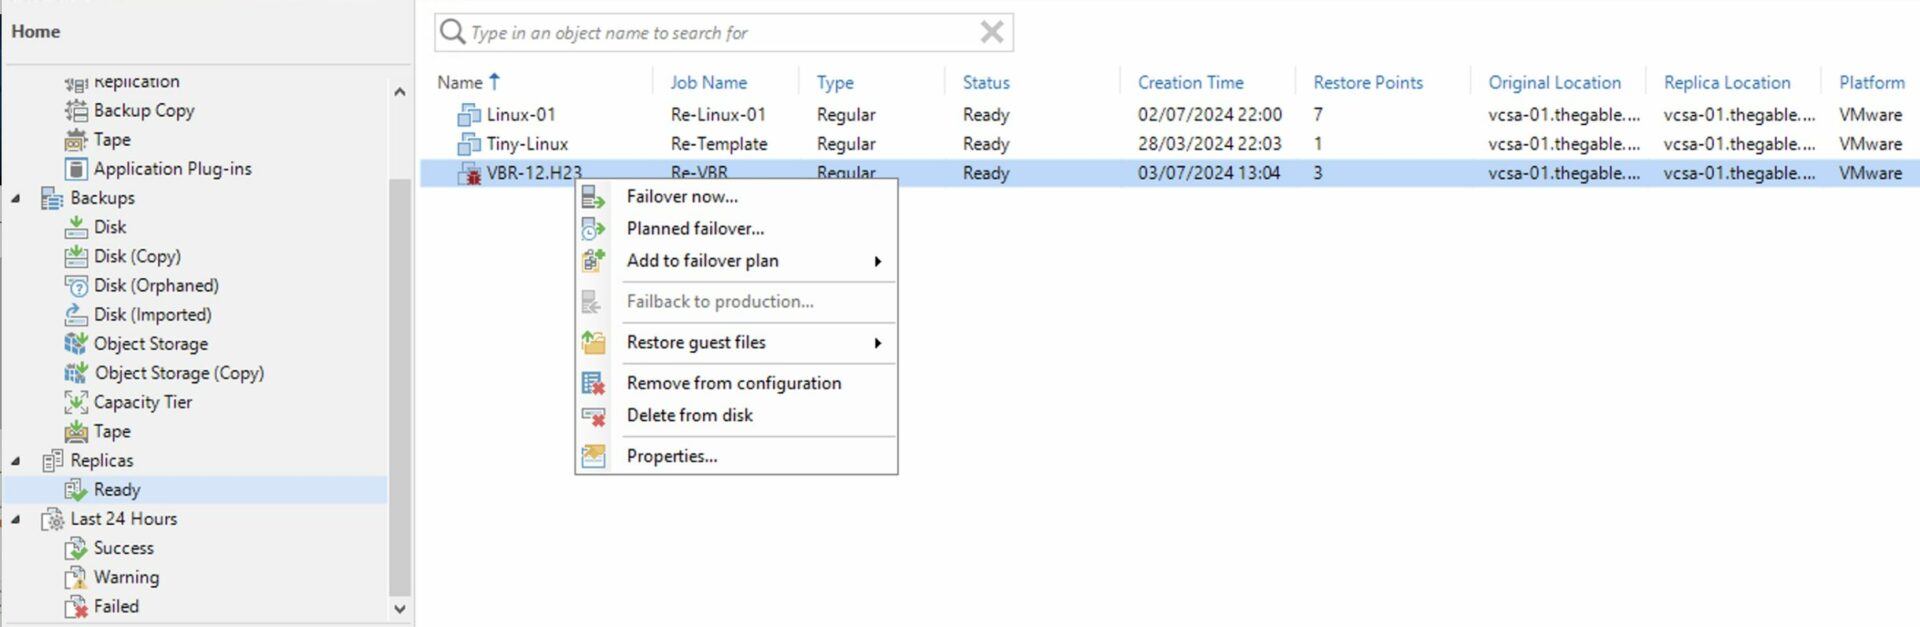 Immagine 10
Passaggio 3D: Realizzare le operazioni di gestione di VBR come da punto 5A.
Scenario E: La configurazione del VBR.
- Non avete effettuato il backup del server VBR.
- Non avete effettuato la Replica del server VBR.
- E’ disponibile l’export della configurazione del DB del server VBR.
- Volete ripristinare immediatamente il server VBR.
Cosa fare?
Passaggio 1E: Installare VBR sul server (fisico o virtuale, vedi punto 1A).
Passaggio 2D: Effettuare il ripristino della configurazione del VBR come indicato nella guida.
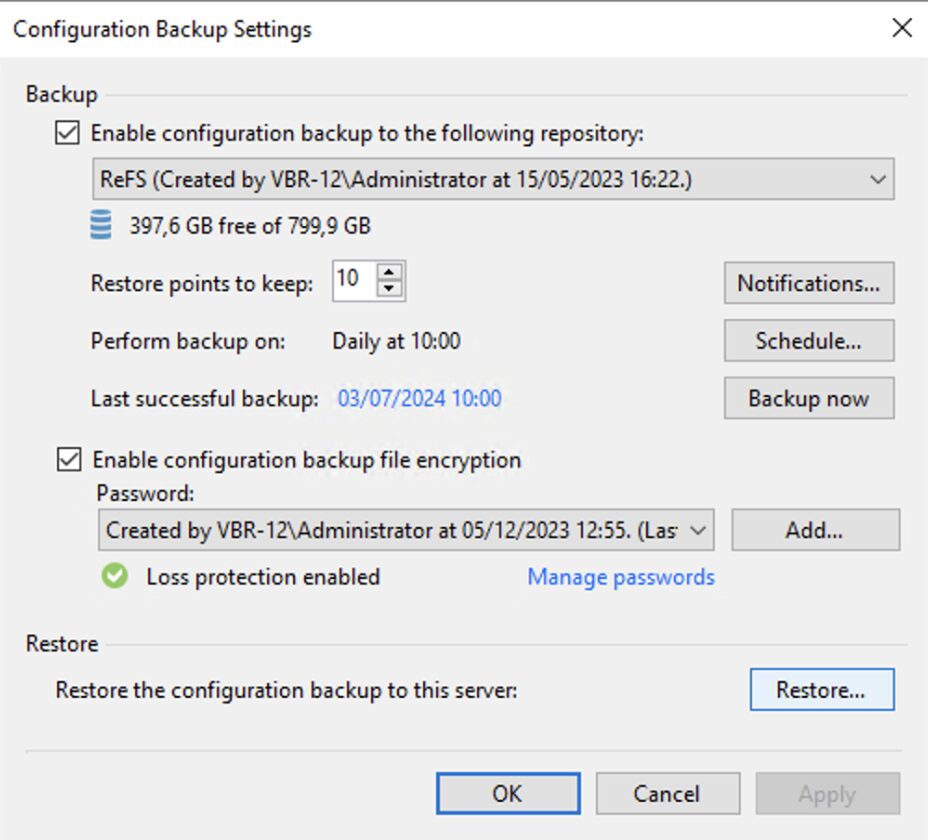 Immagine 11
Passaggio 3D: Realizzare le operazioni di gestione di VBR come da punto 5A.
Nota 8: E’ sempre buona norma salvare la configurazione del server di Backup.
Nota Finale: Il consiglio è di adoperarsi al fine di poter utilizzare tutte le strategie descritte in questo articolo in modo che se una non fosse disponibile, si possa utilizzarne una seconda.
 Immagine 2
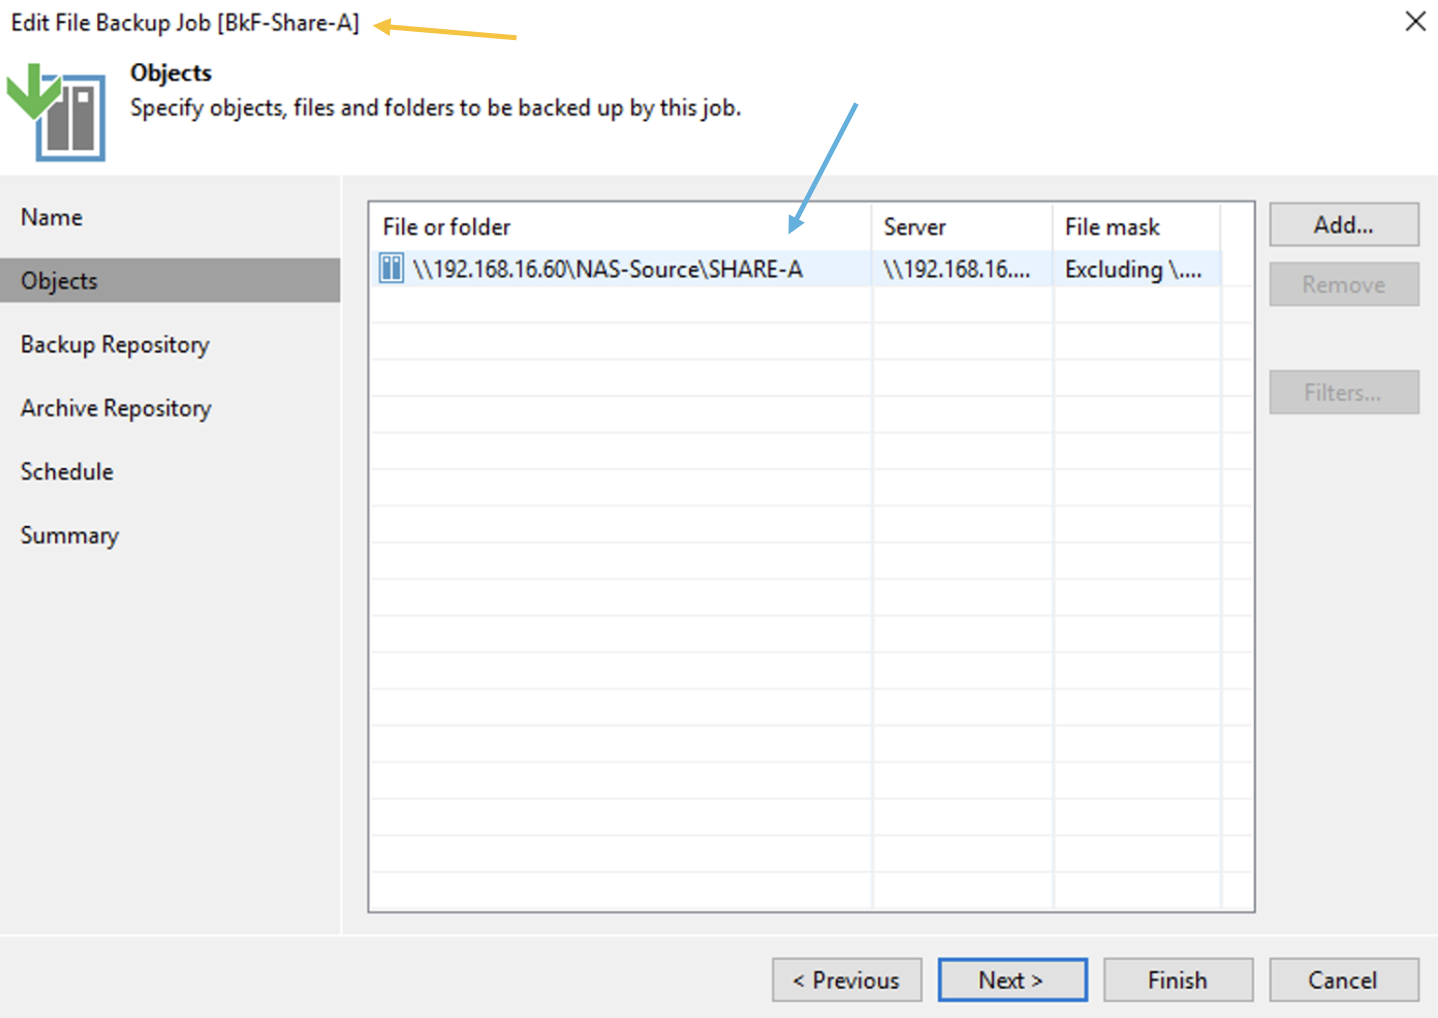 Immagine 3
 Immagine 4
 Immagine 5
 Immagine 6
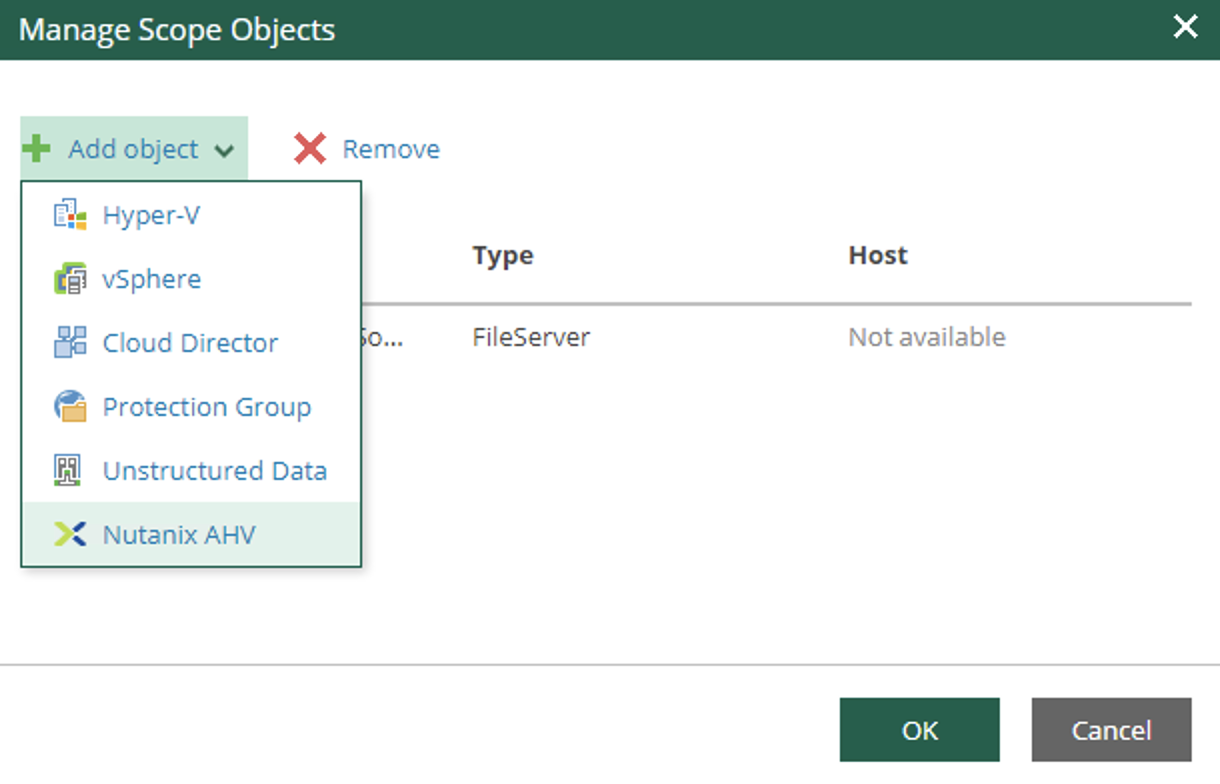 immagine 7
 Immagine 8
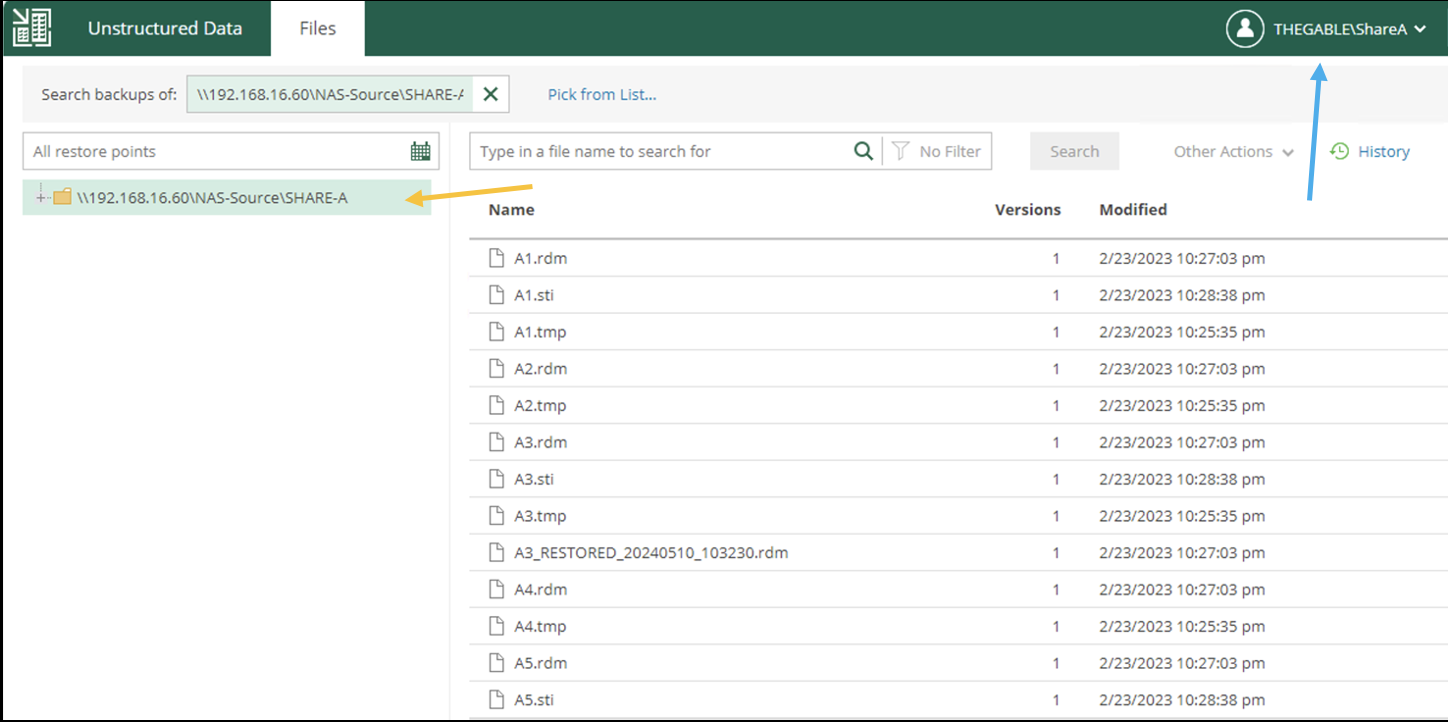 Immagine 9


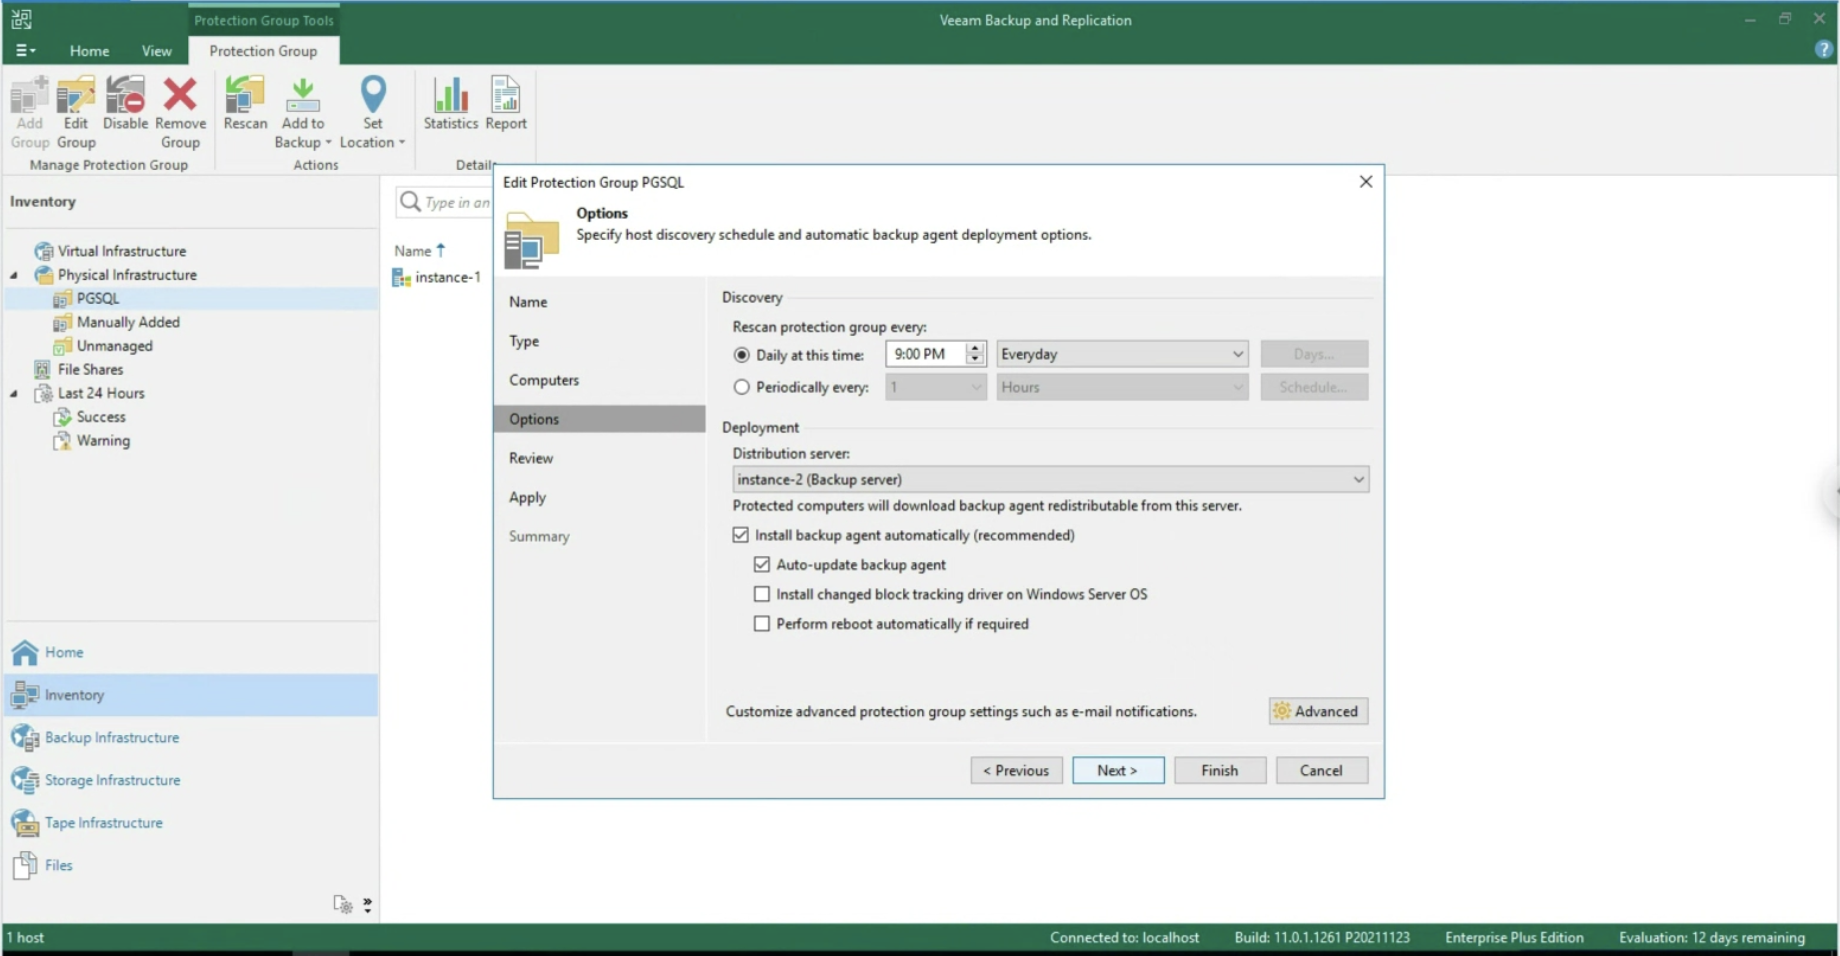 Immagine 1
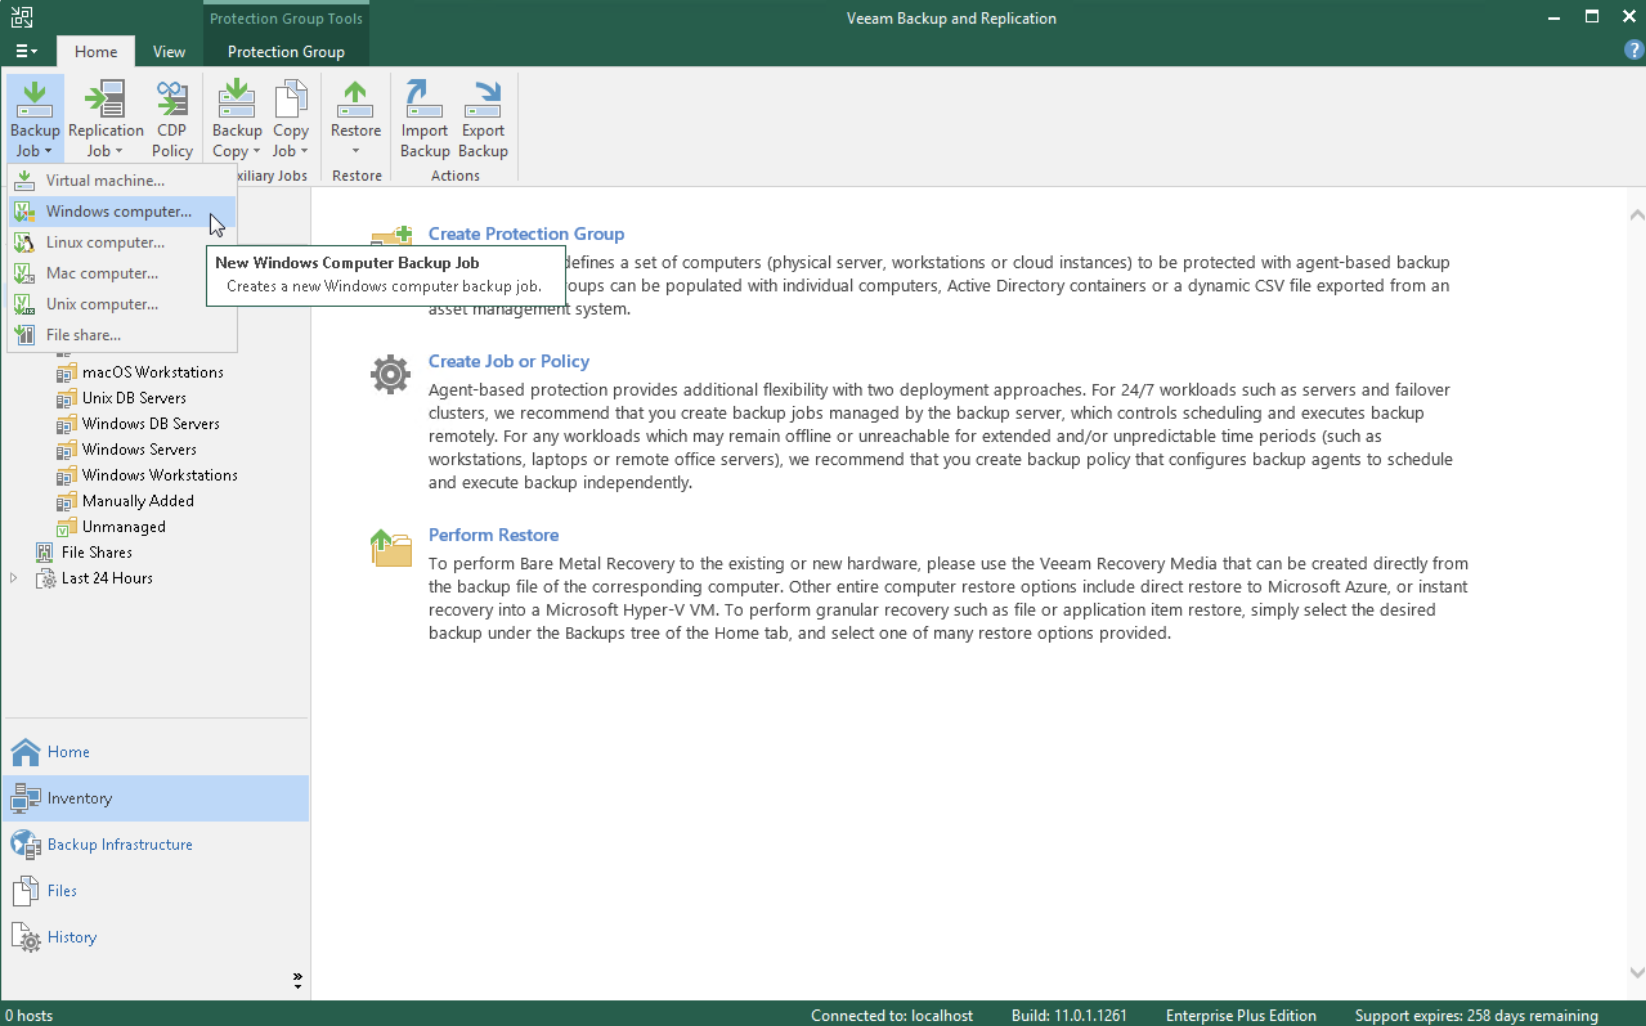 Immagine 2
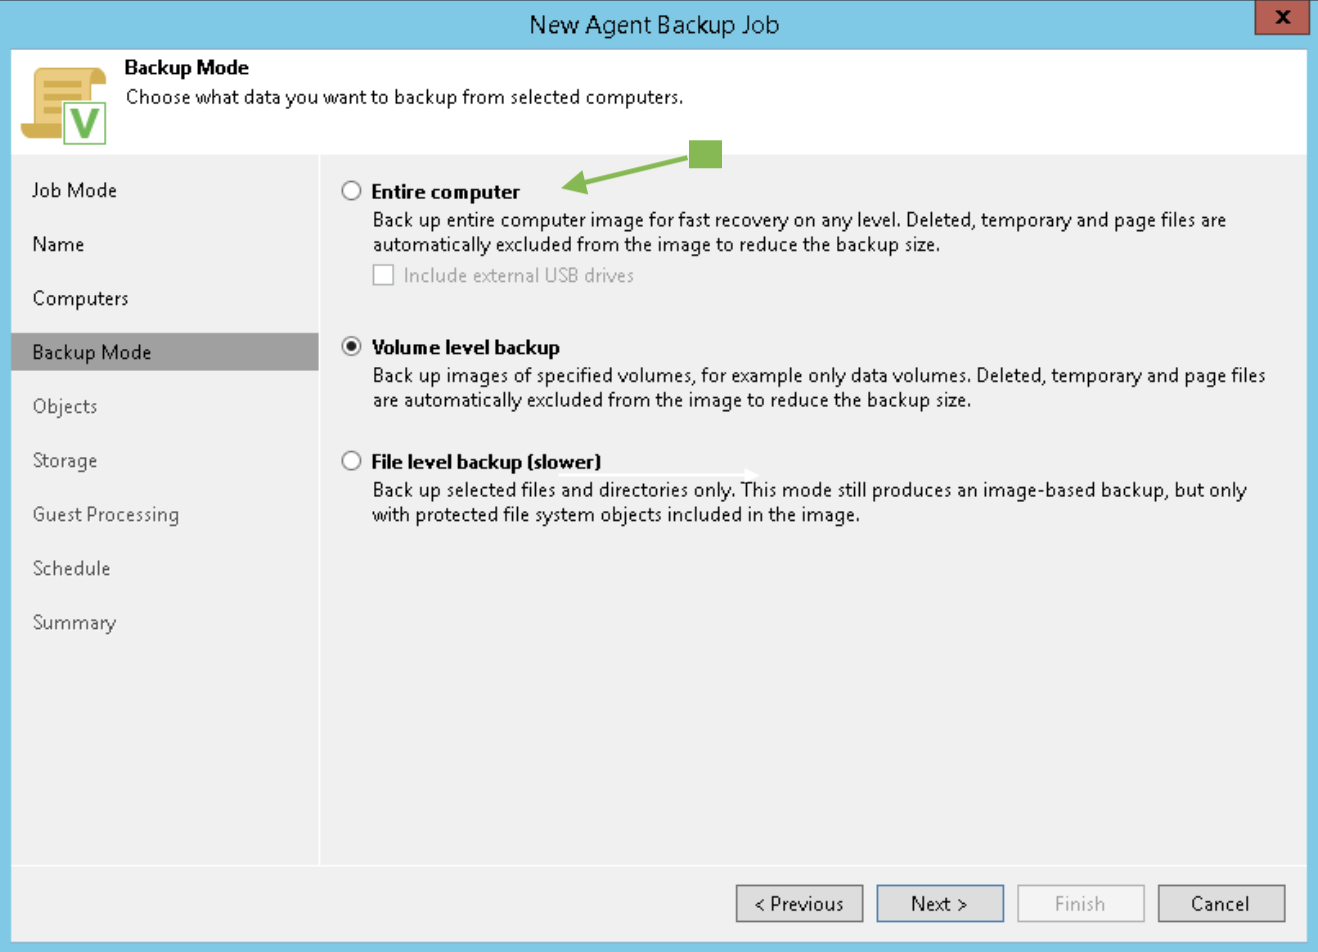 Immagine 3
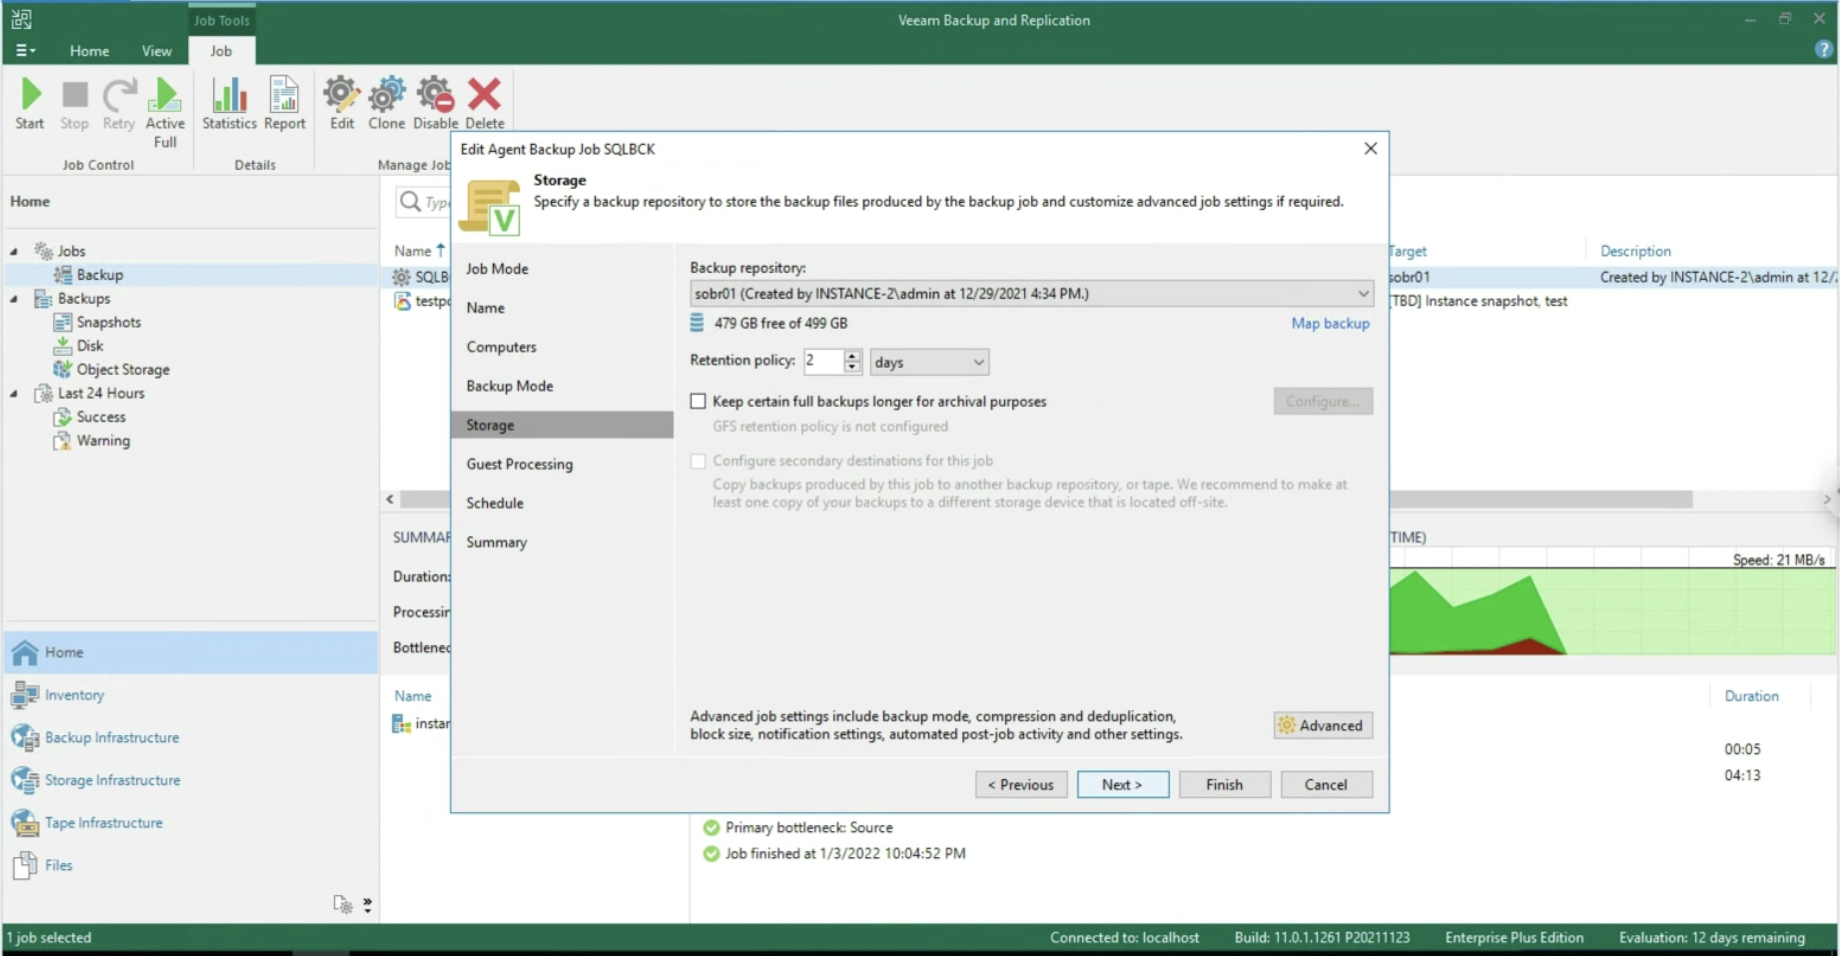 Immagine 4
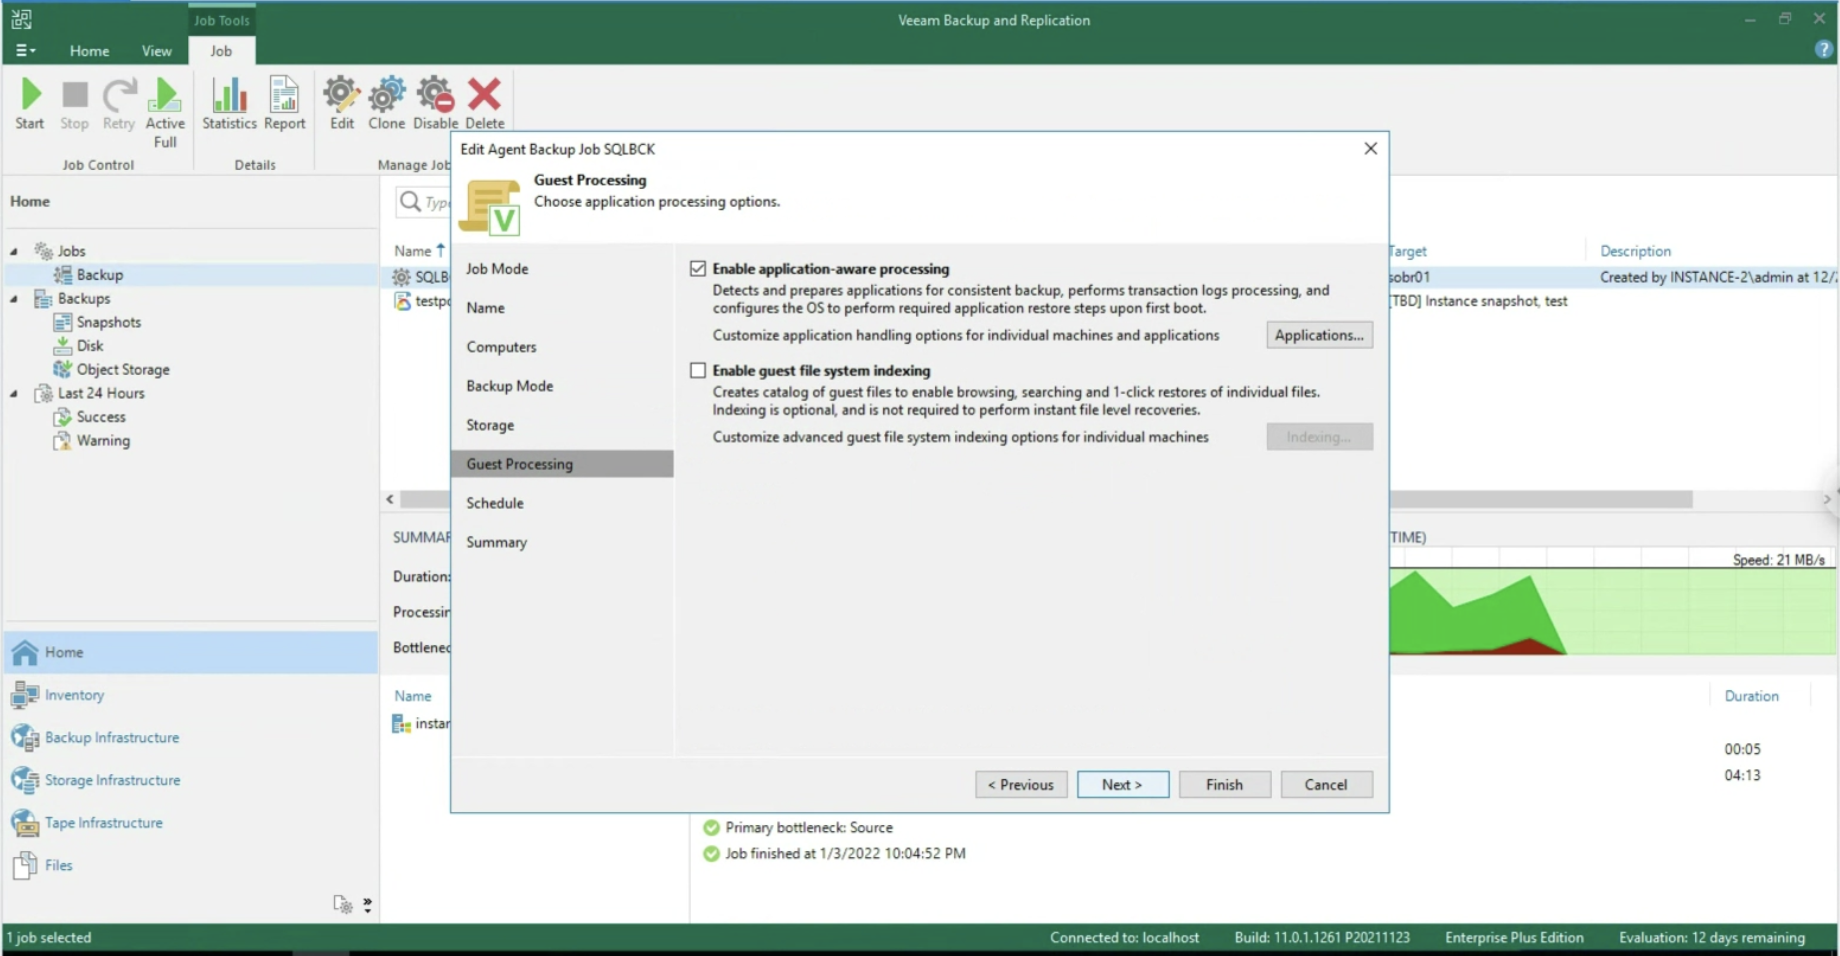 Immagine 5
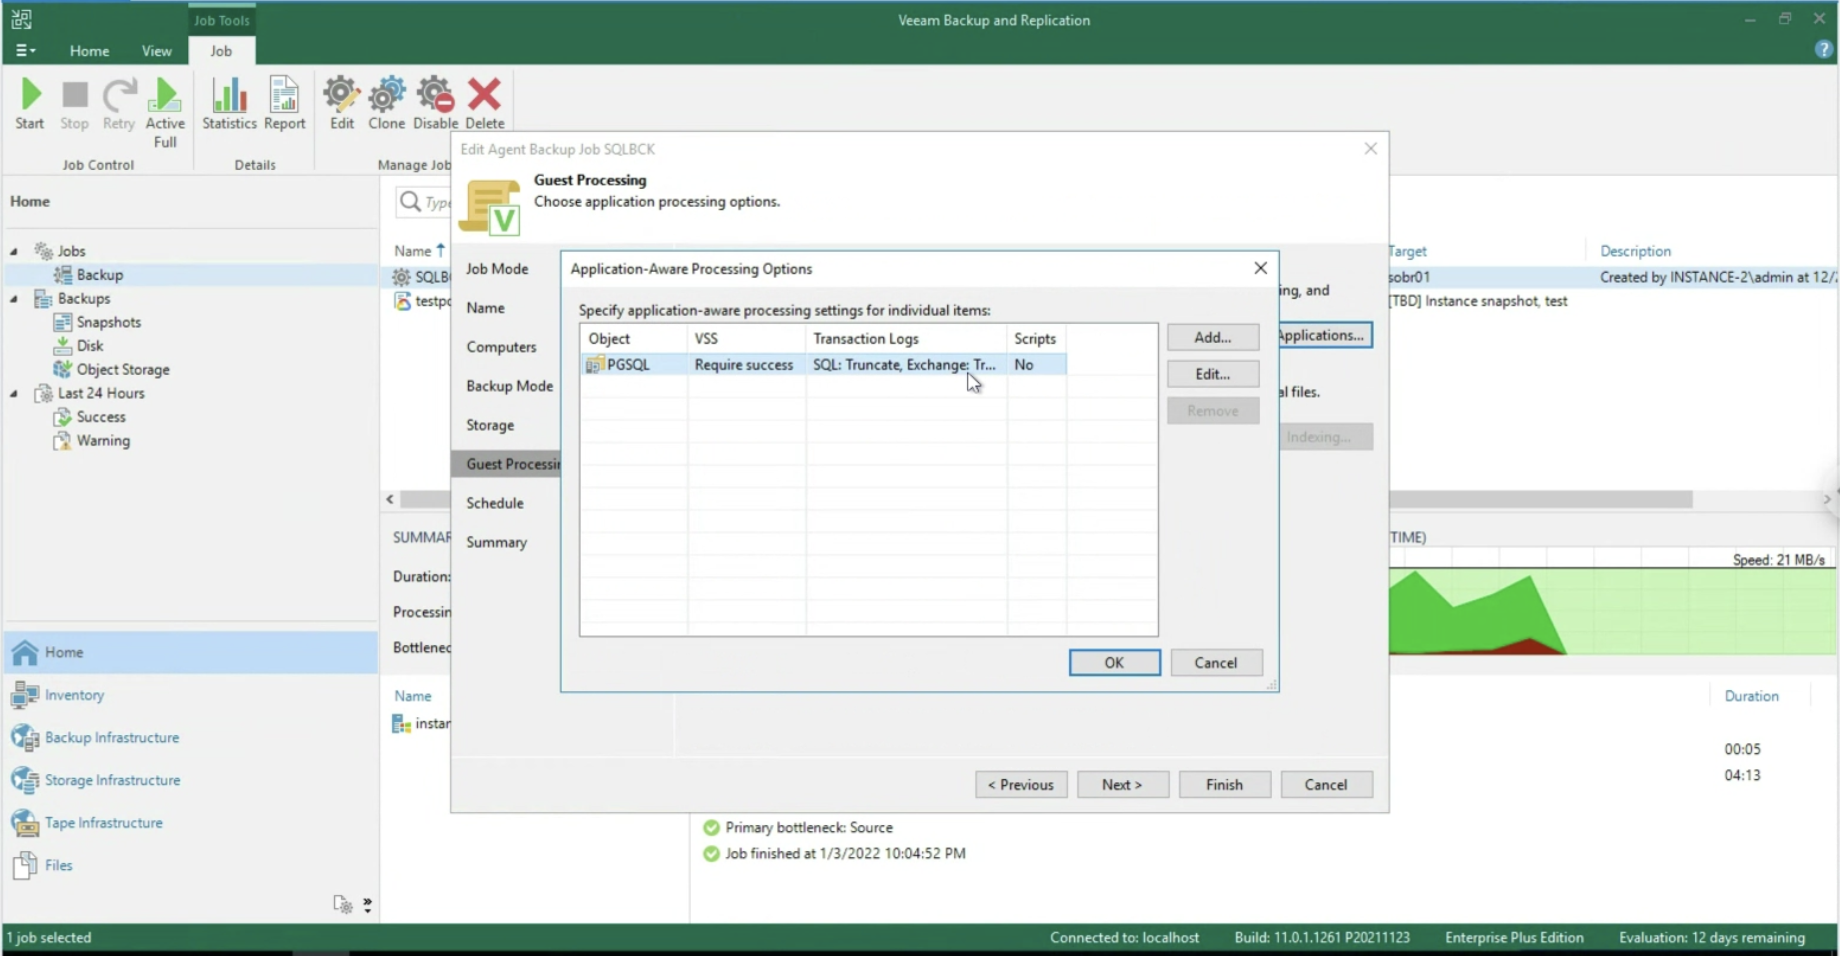 Immagine 6
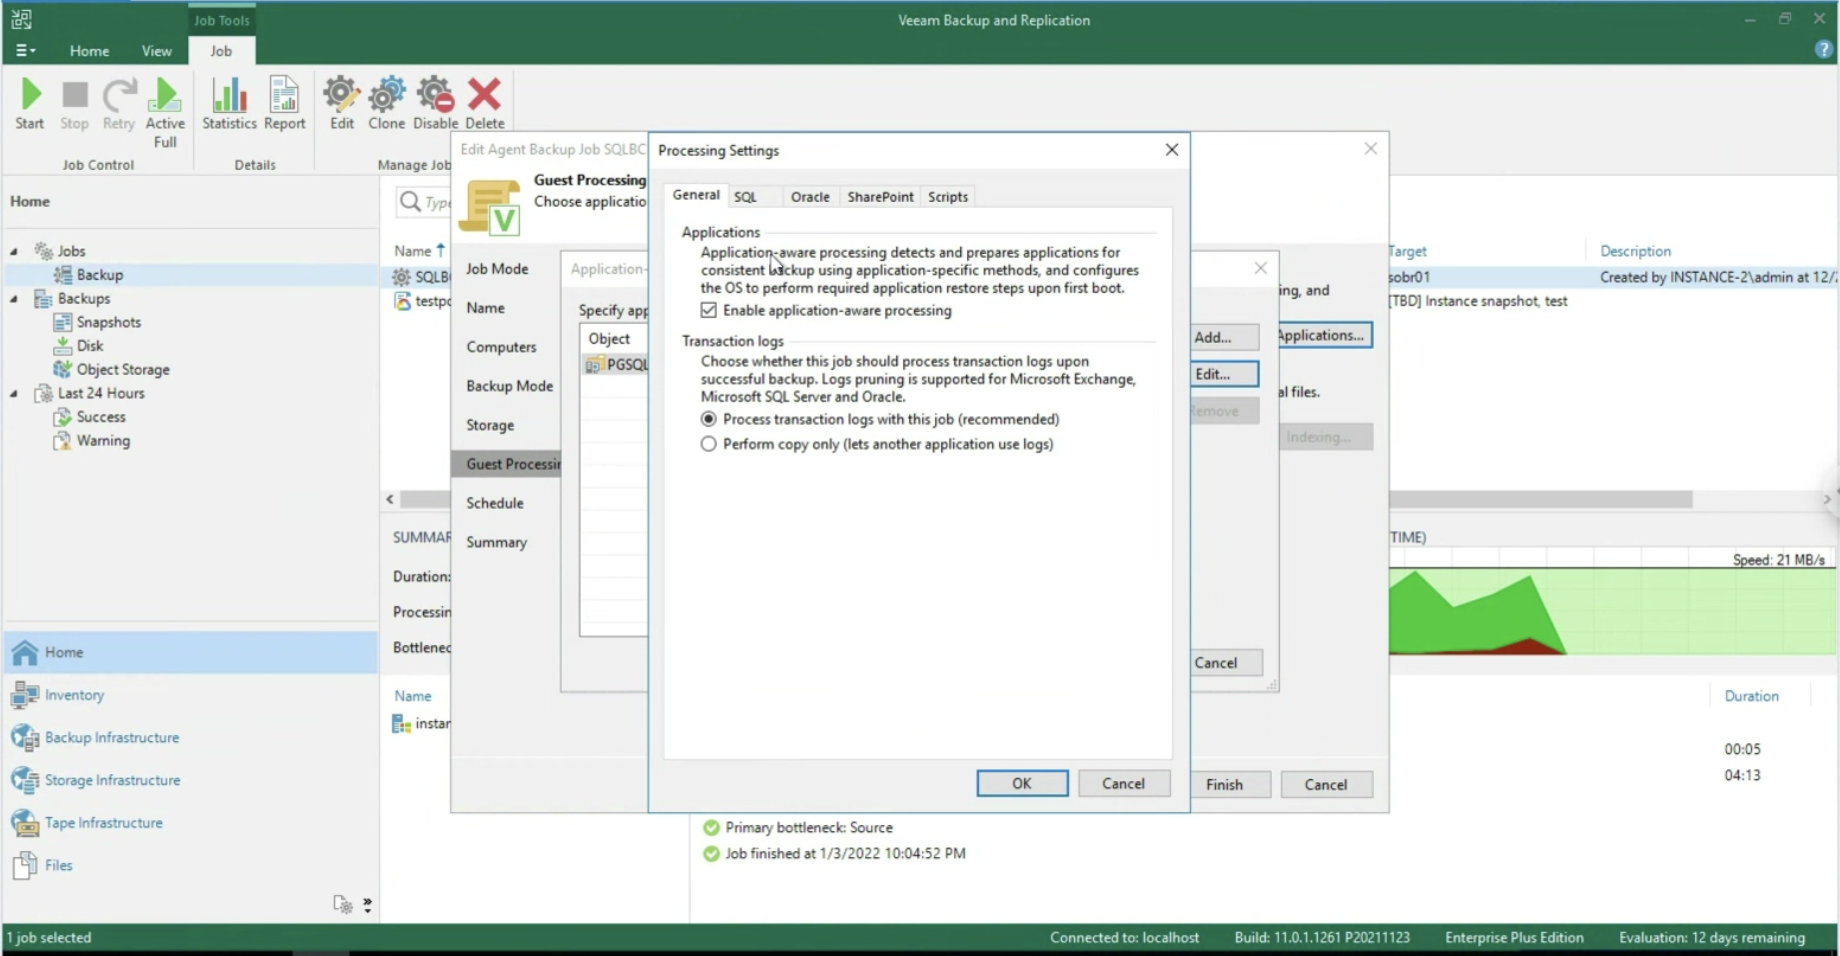 Immagine 7
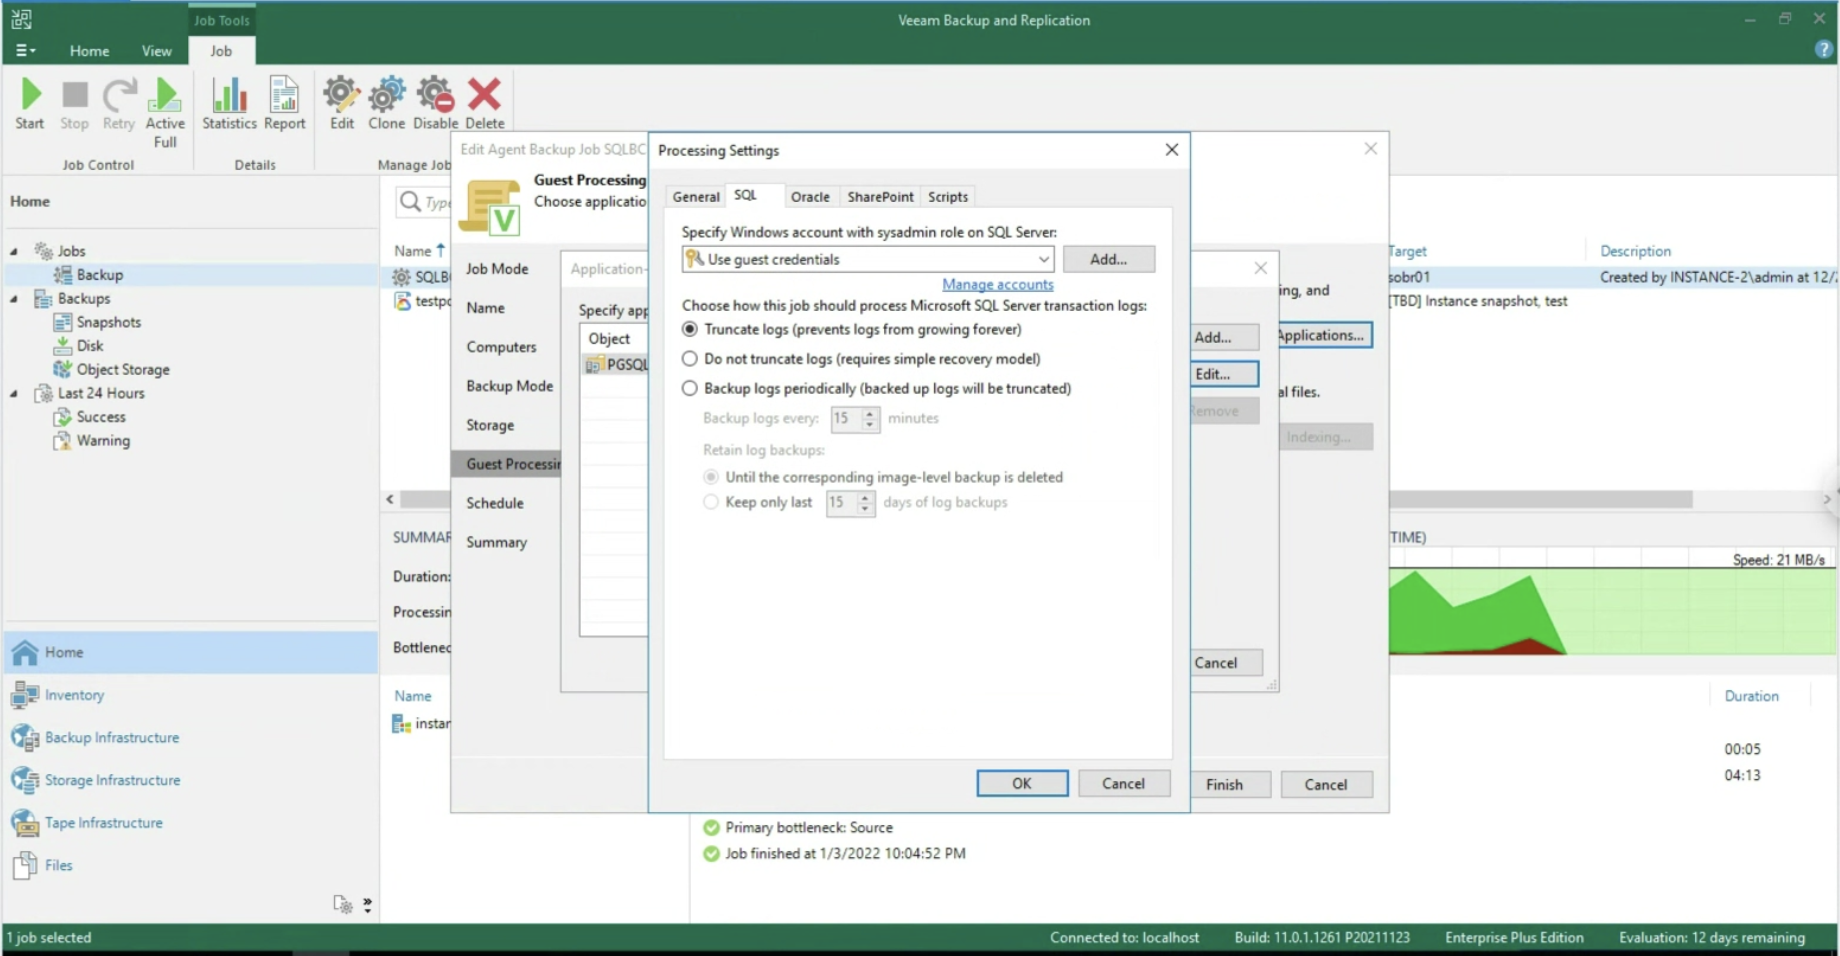 Immagine 8
 Immagine 9
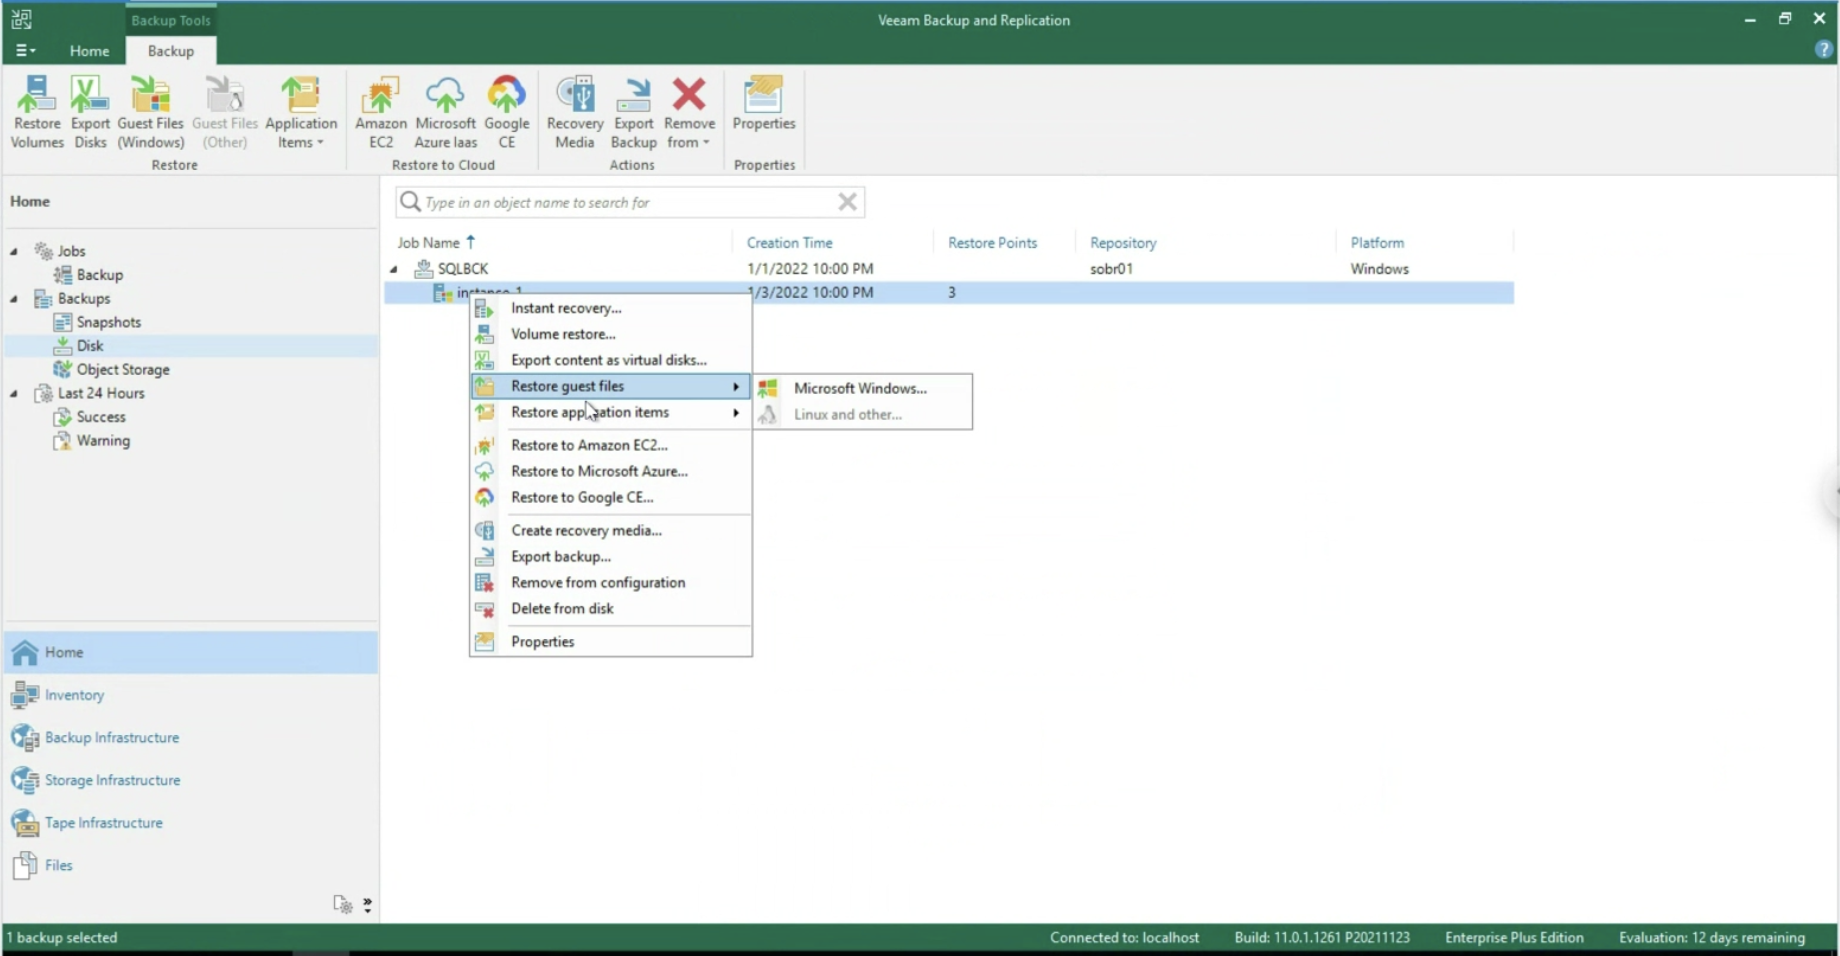 Immagine 10
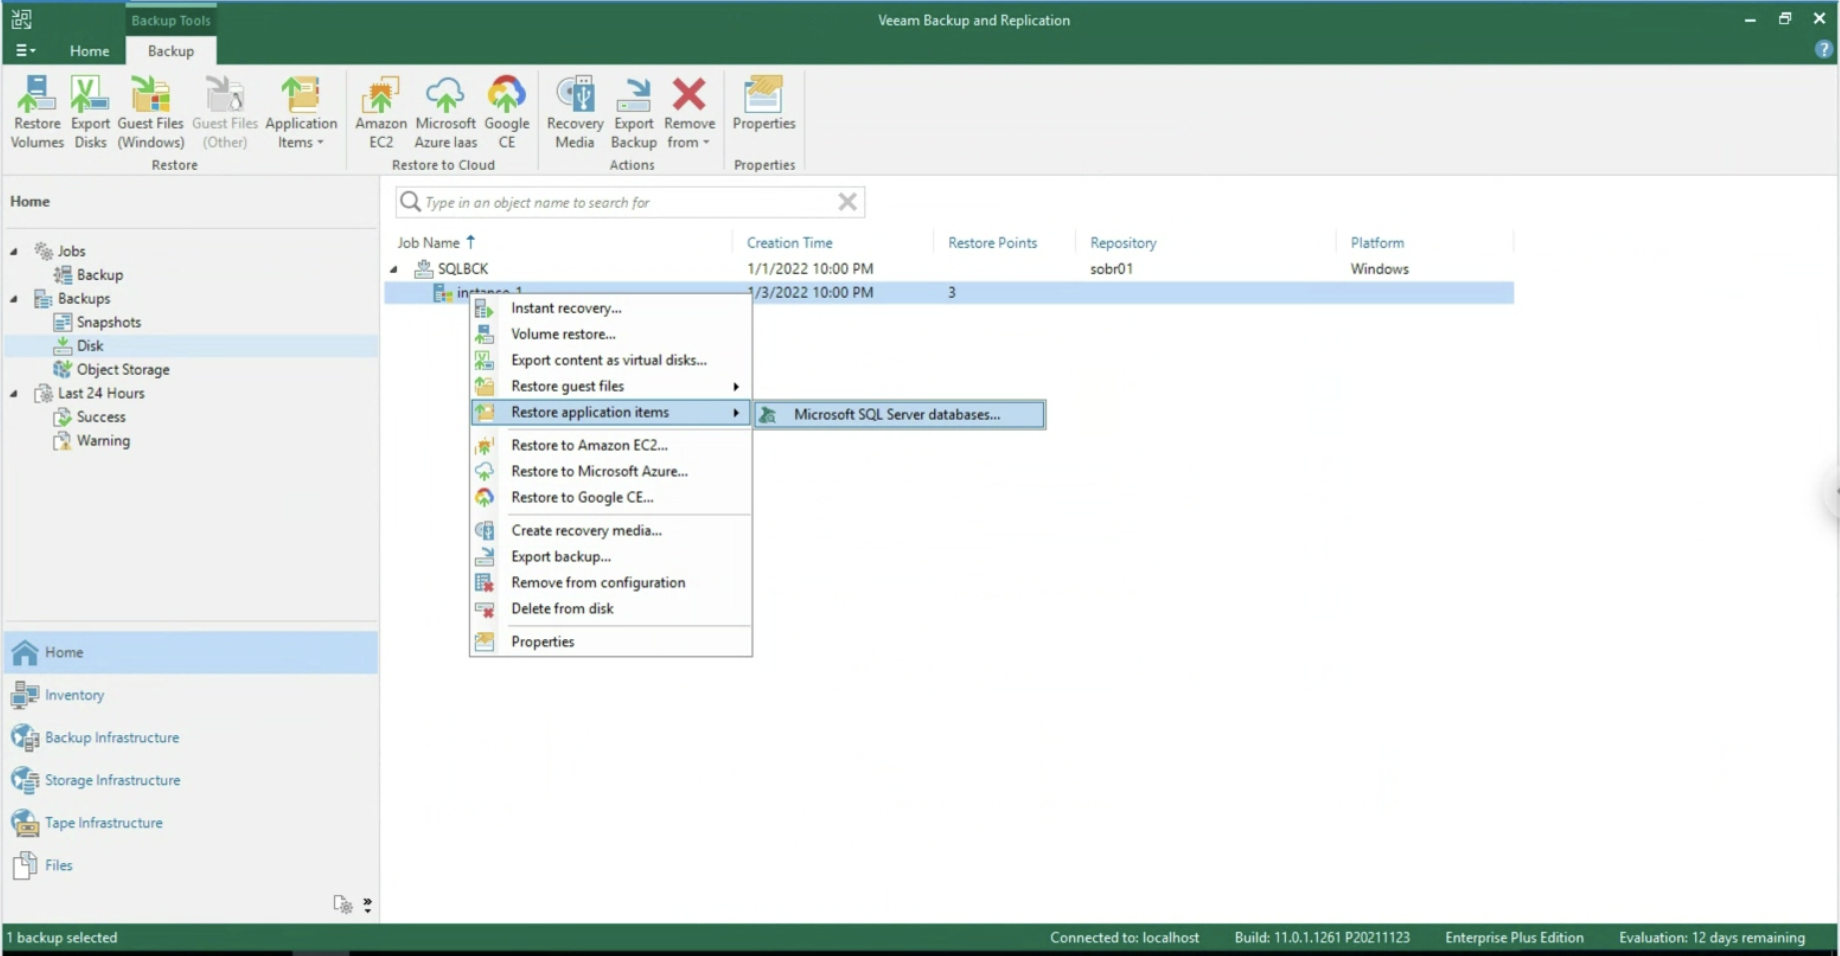
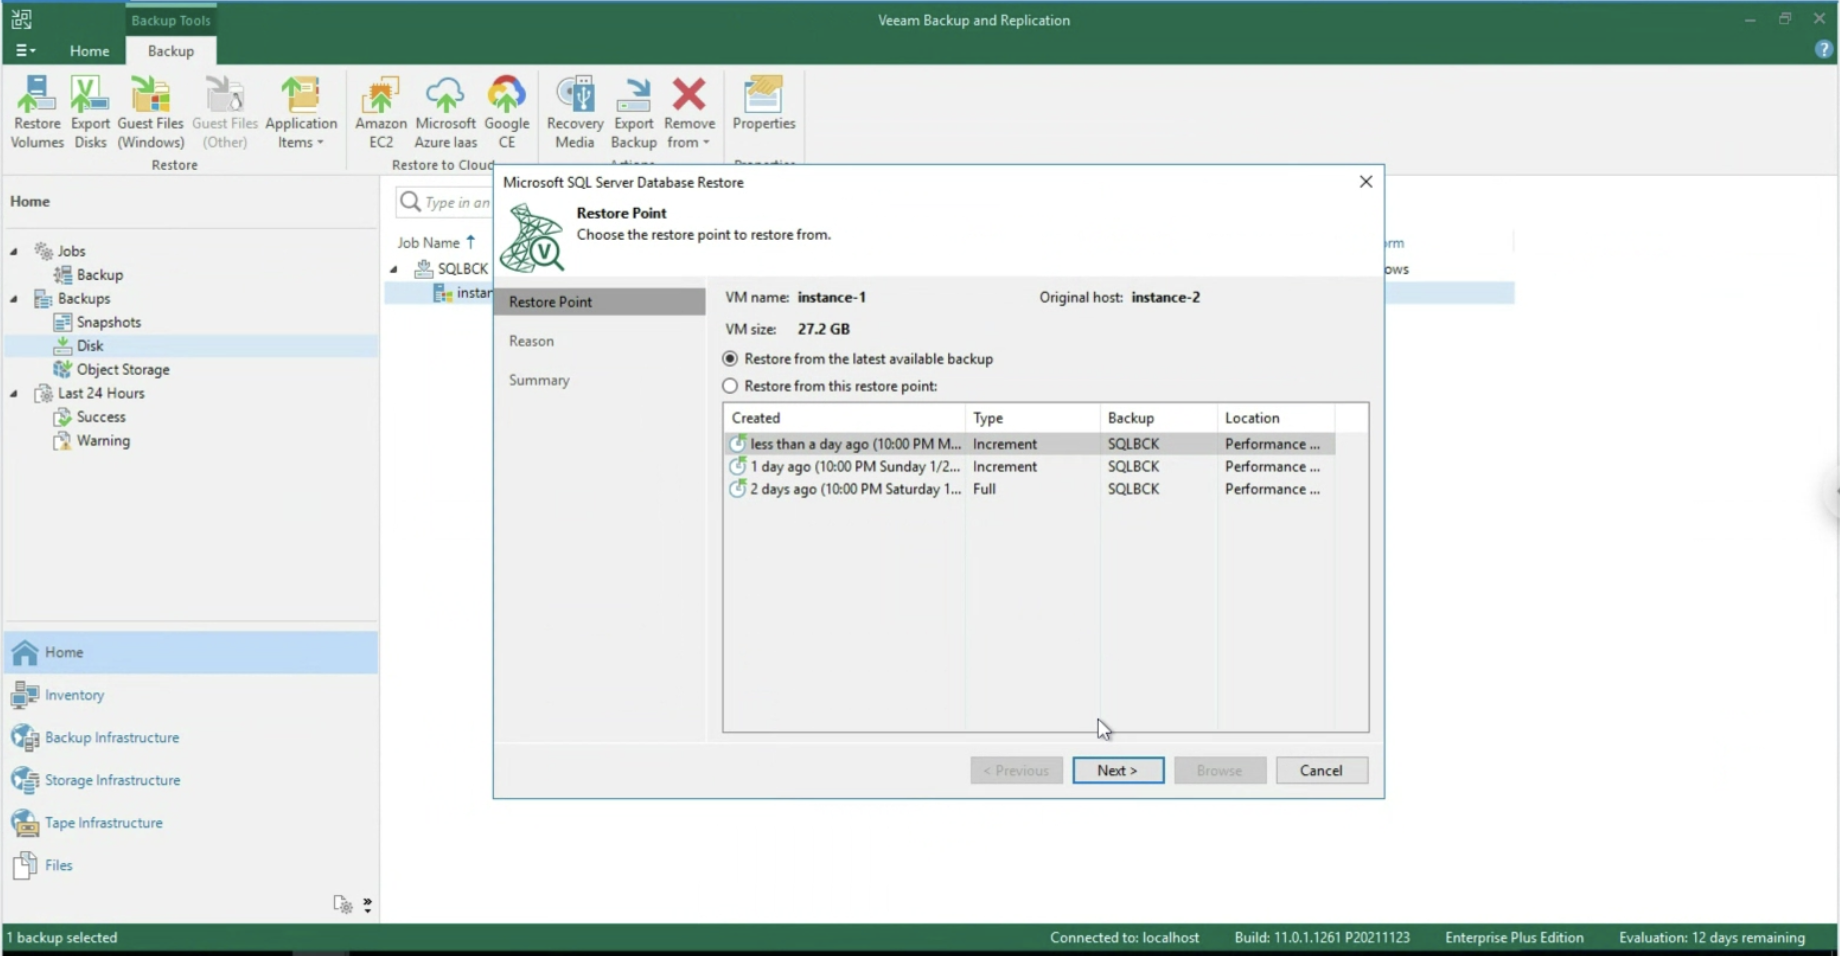 Immagine 12
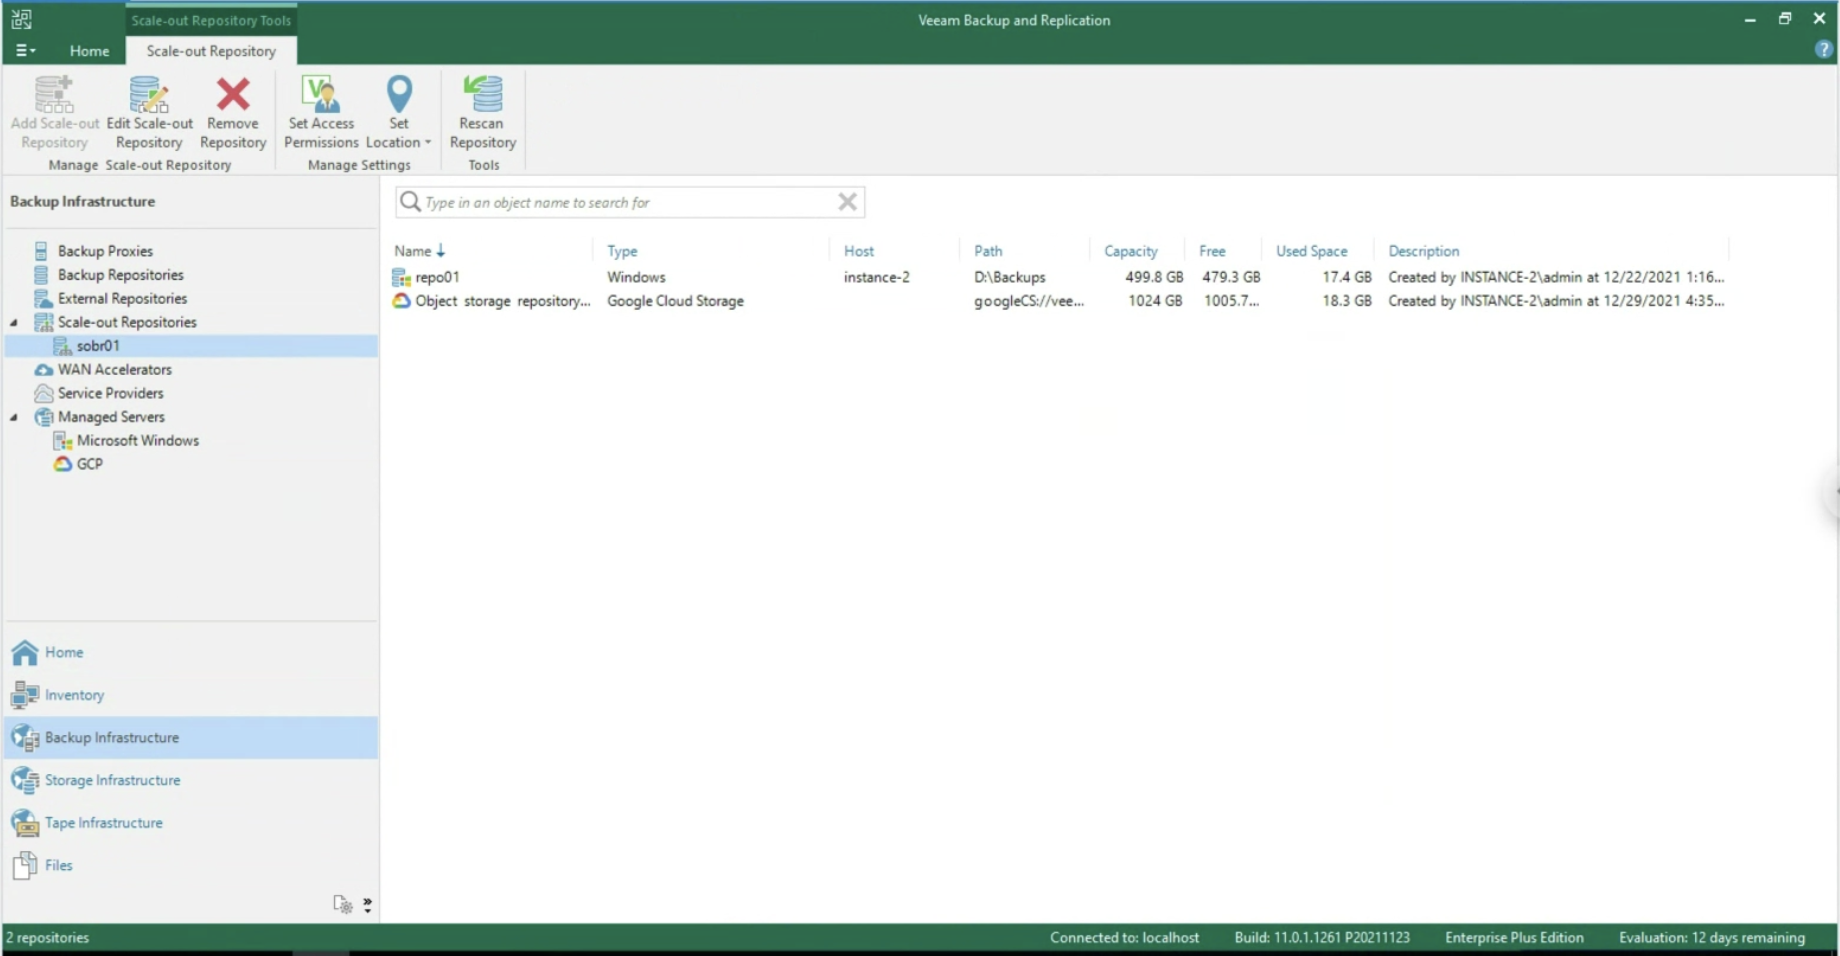 Immagine 13
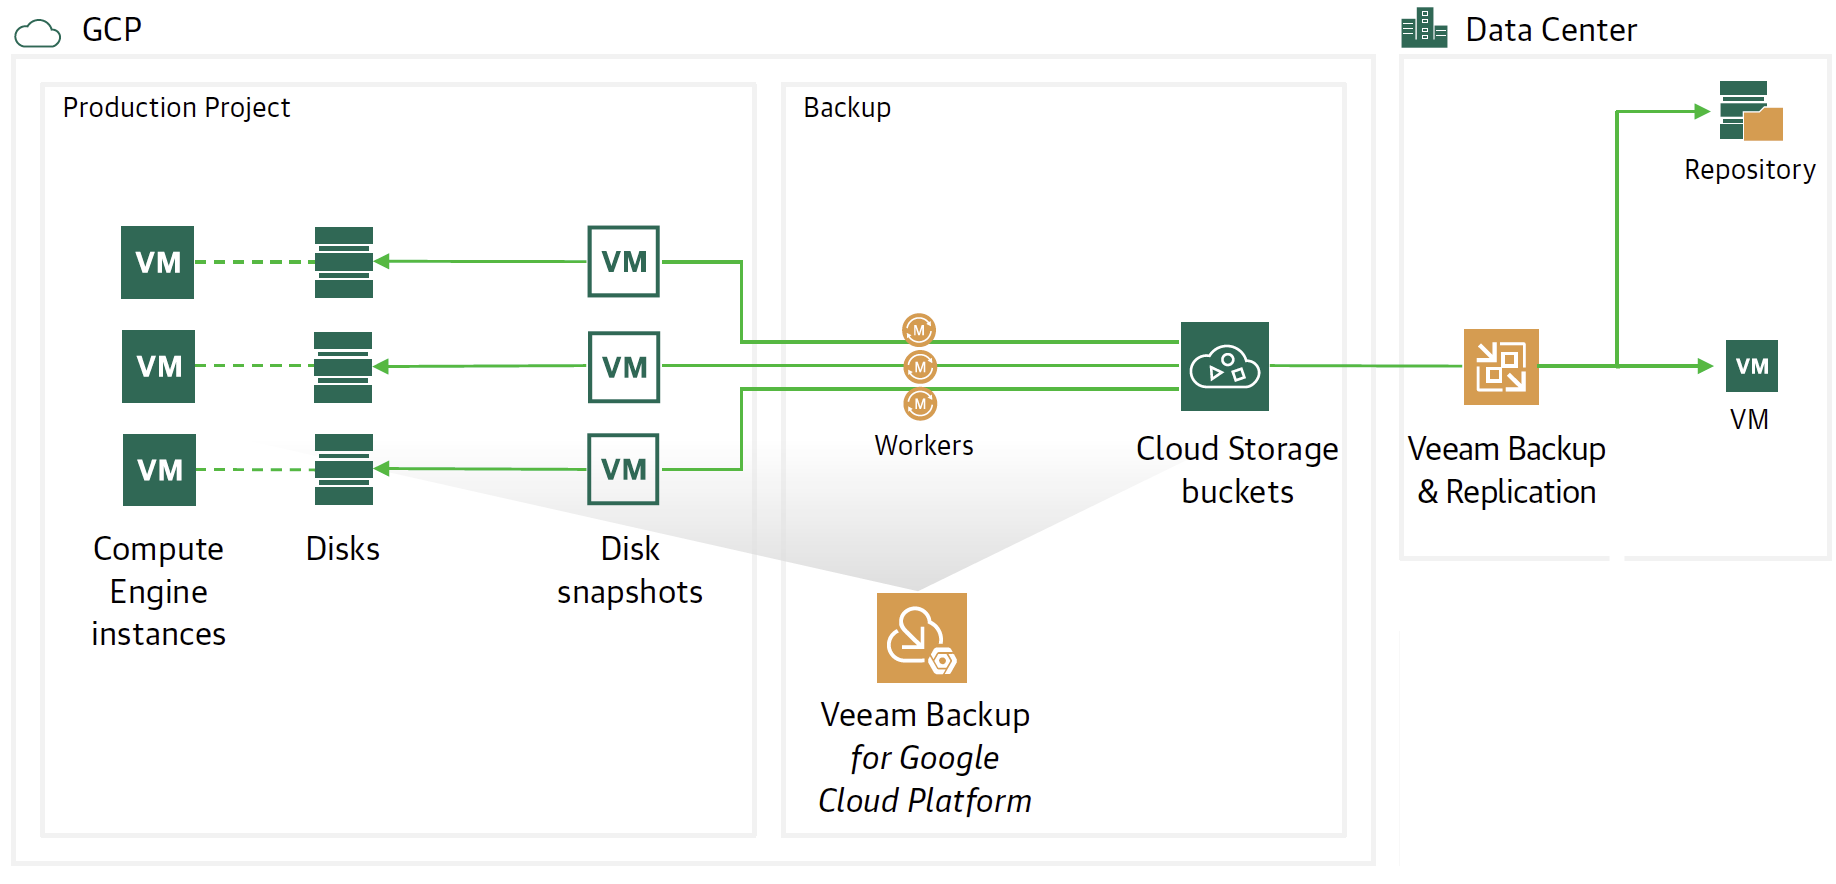 Immagine 1
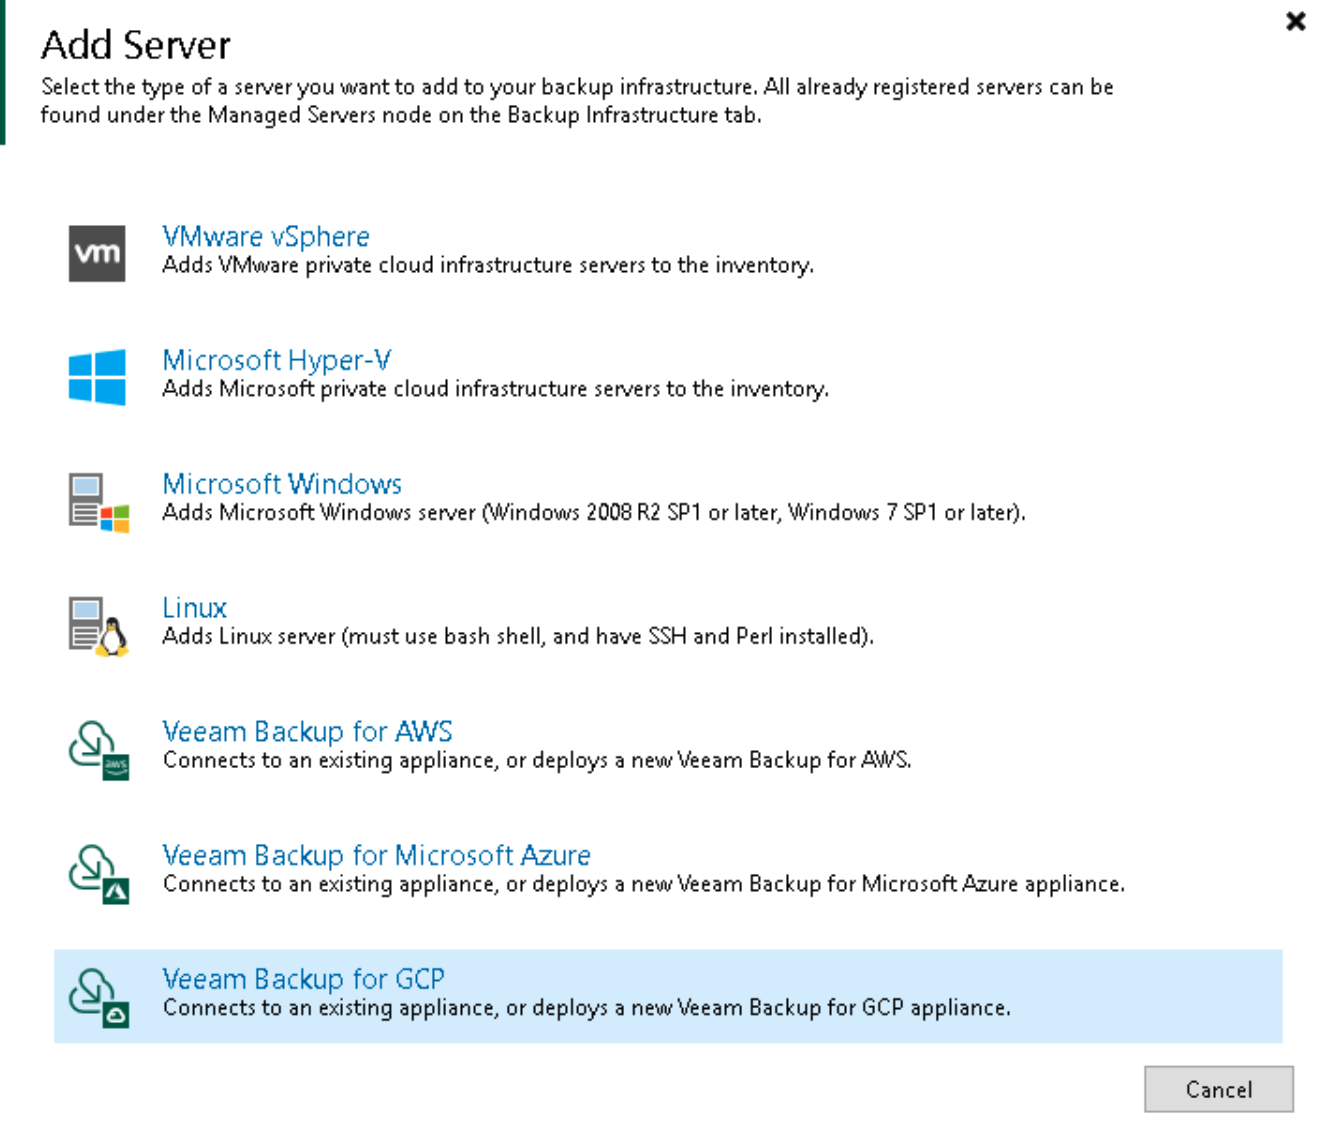 Immagine 2
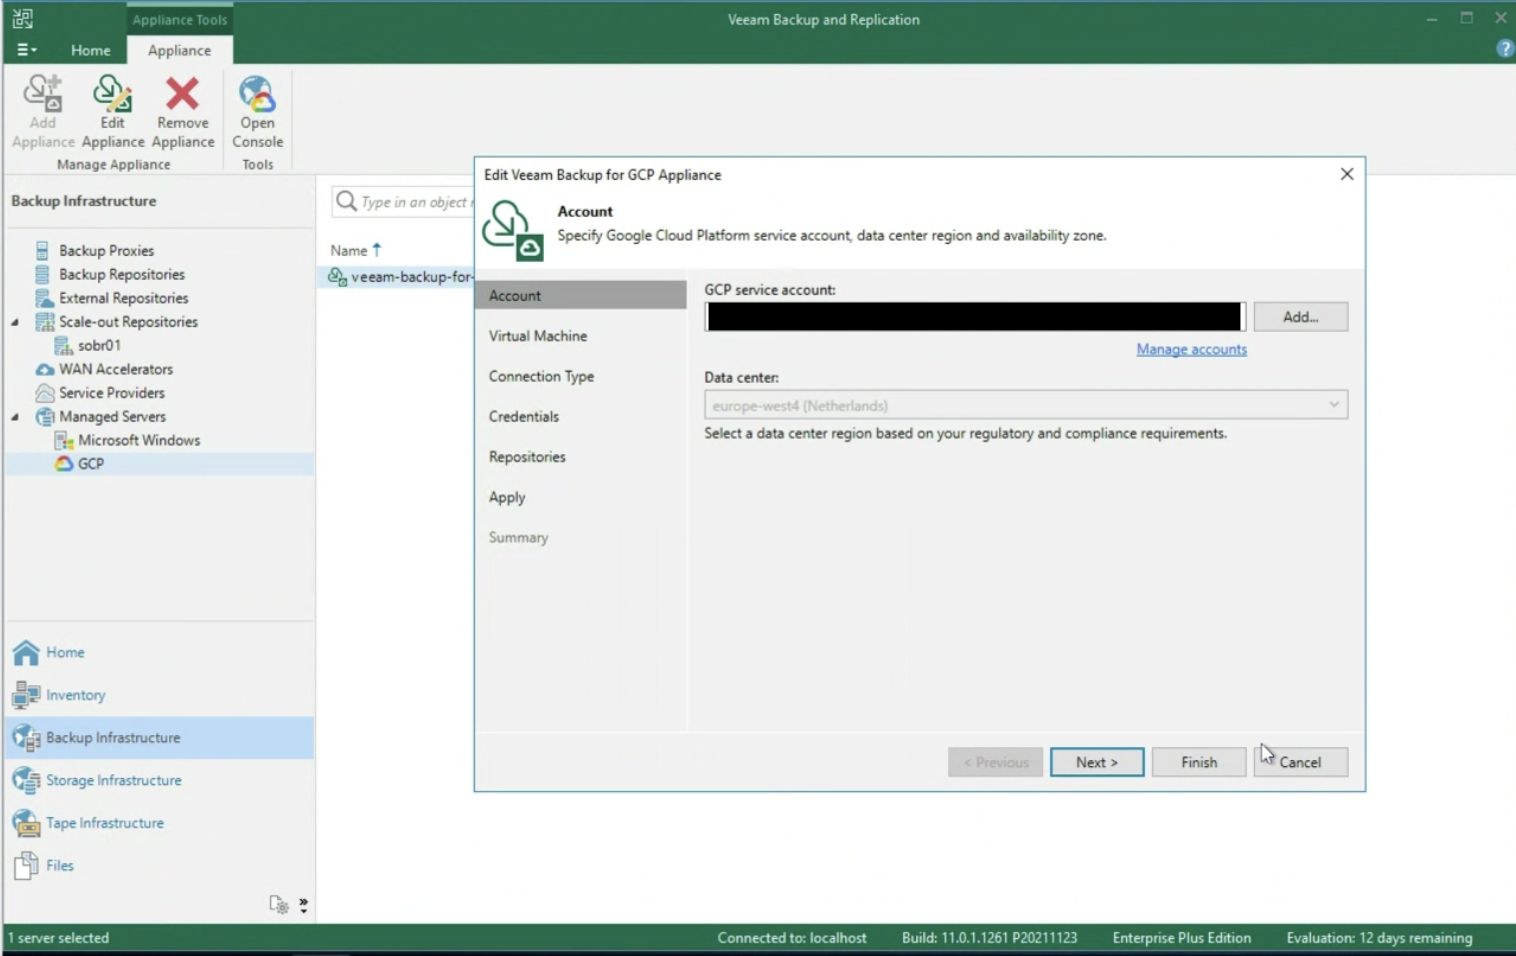 Immagine 3
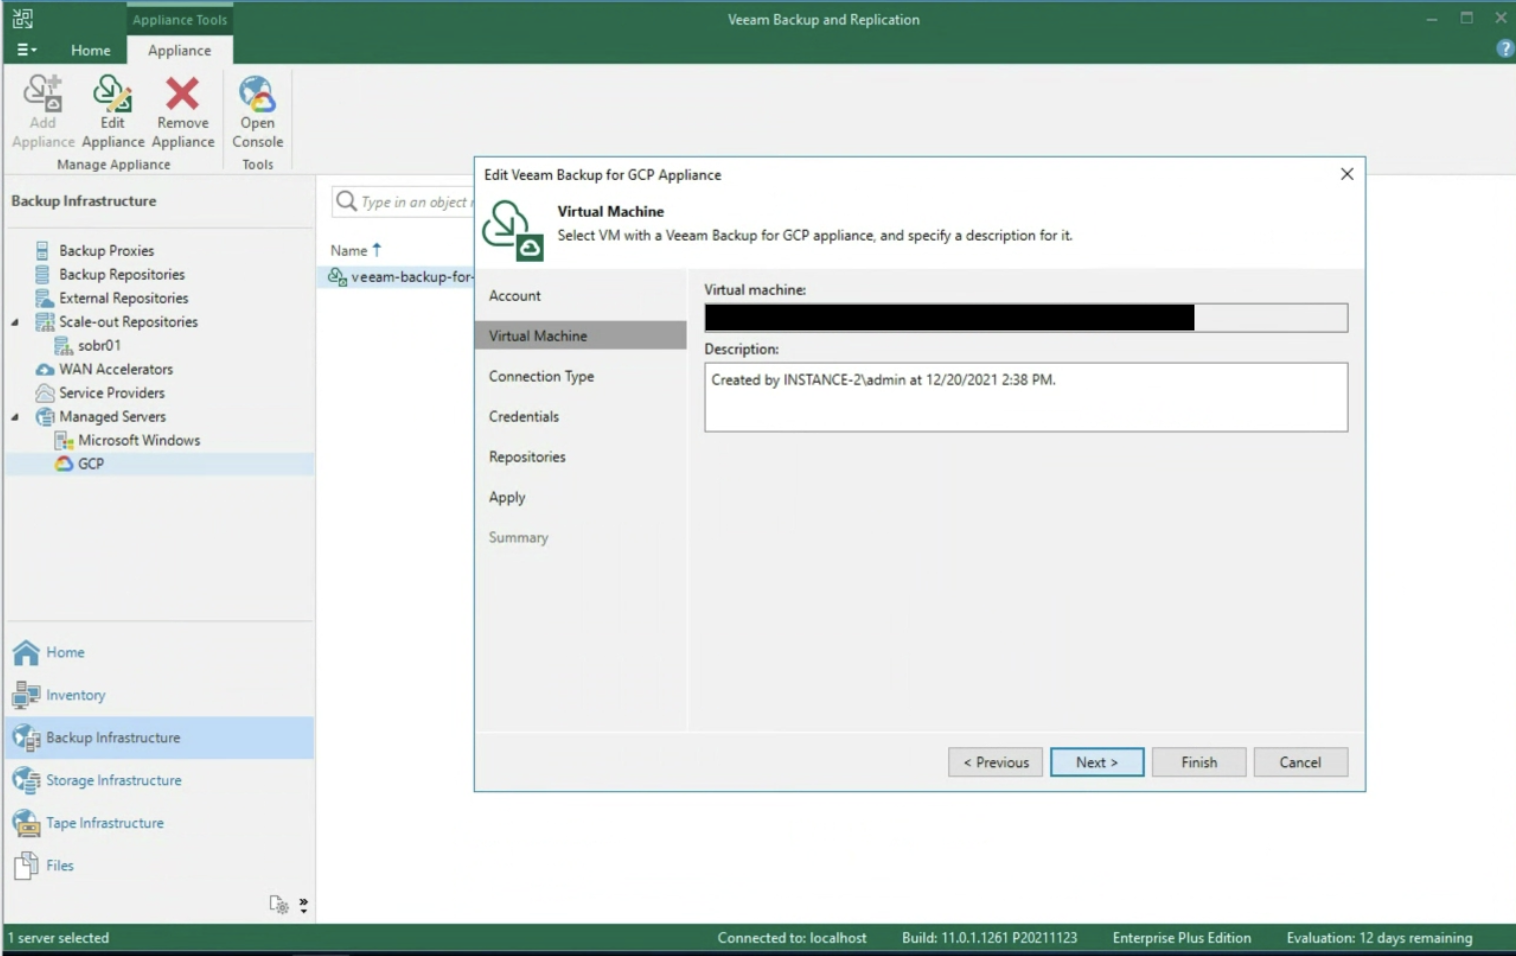 Immagine 4
 Immagine 5
 Immagine 6
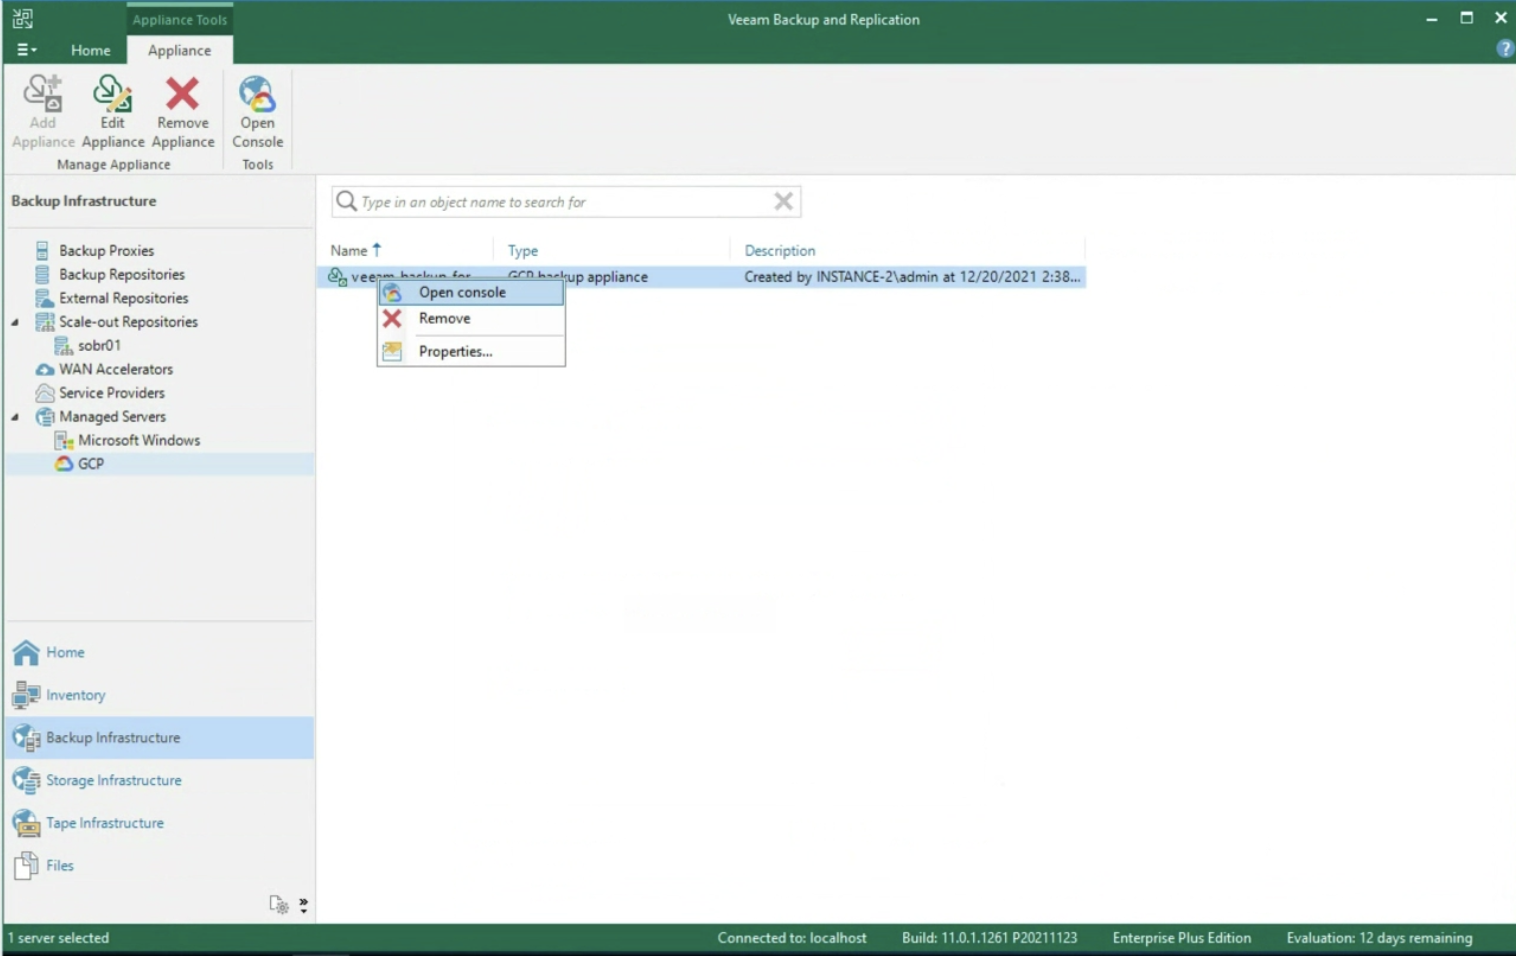 Immagine 7
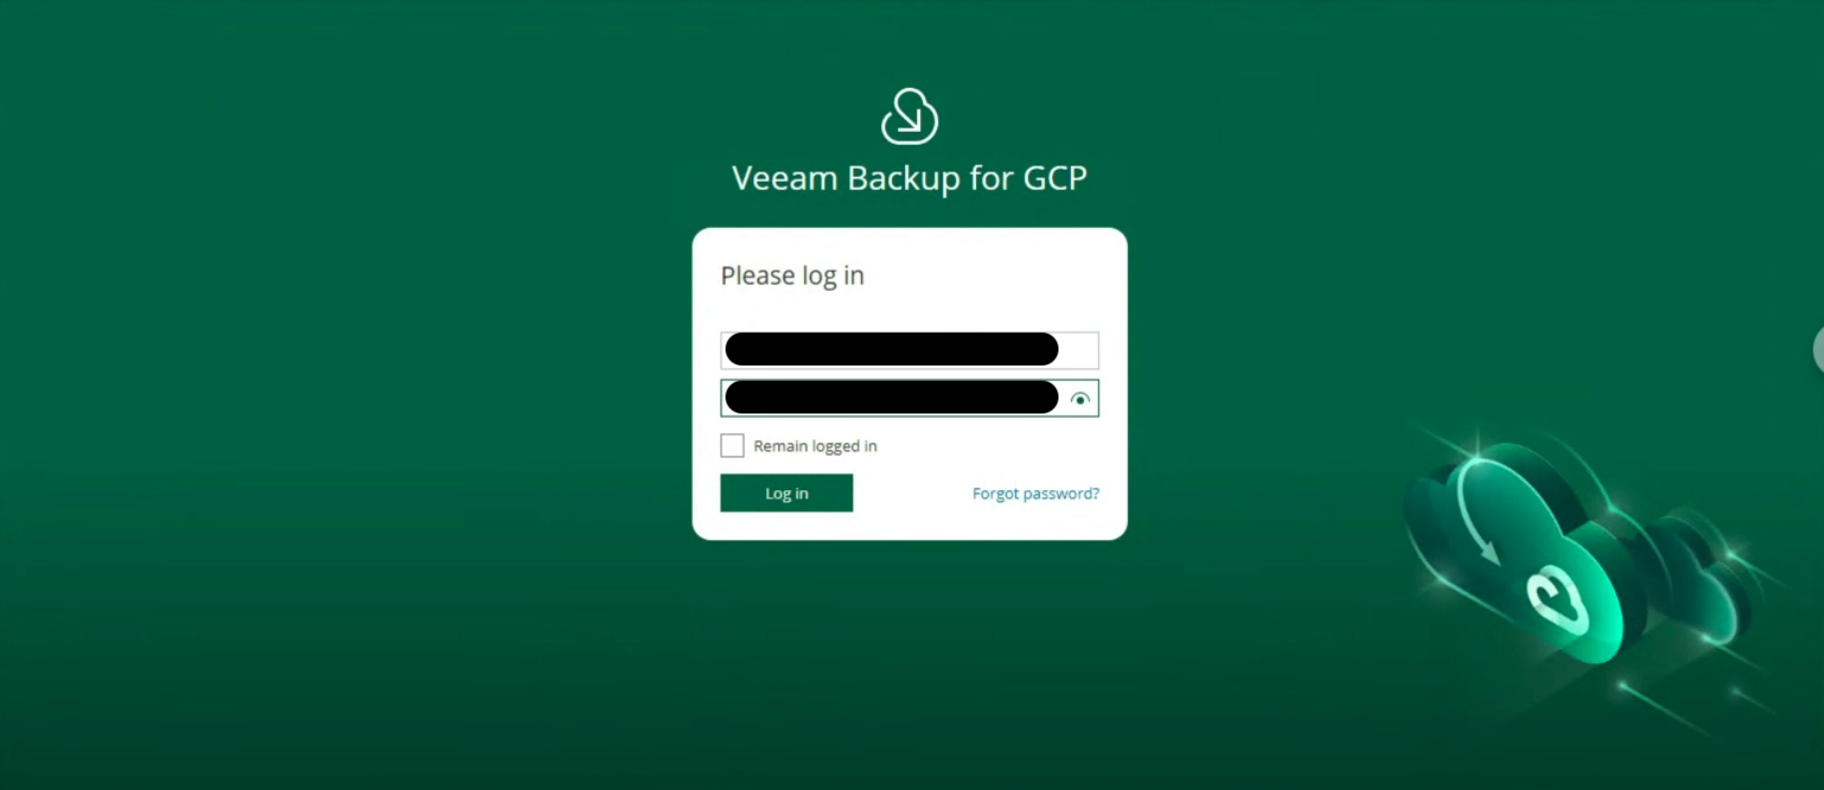 Immagine 8
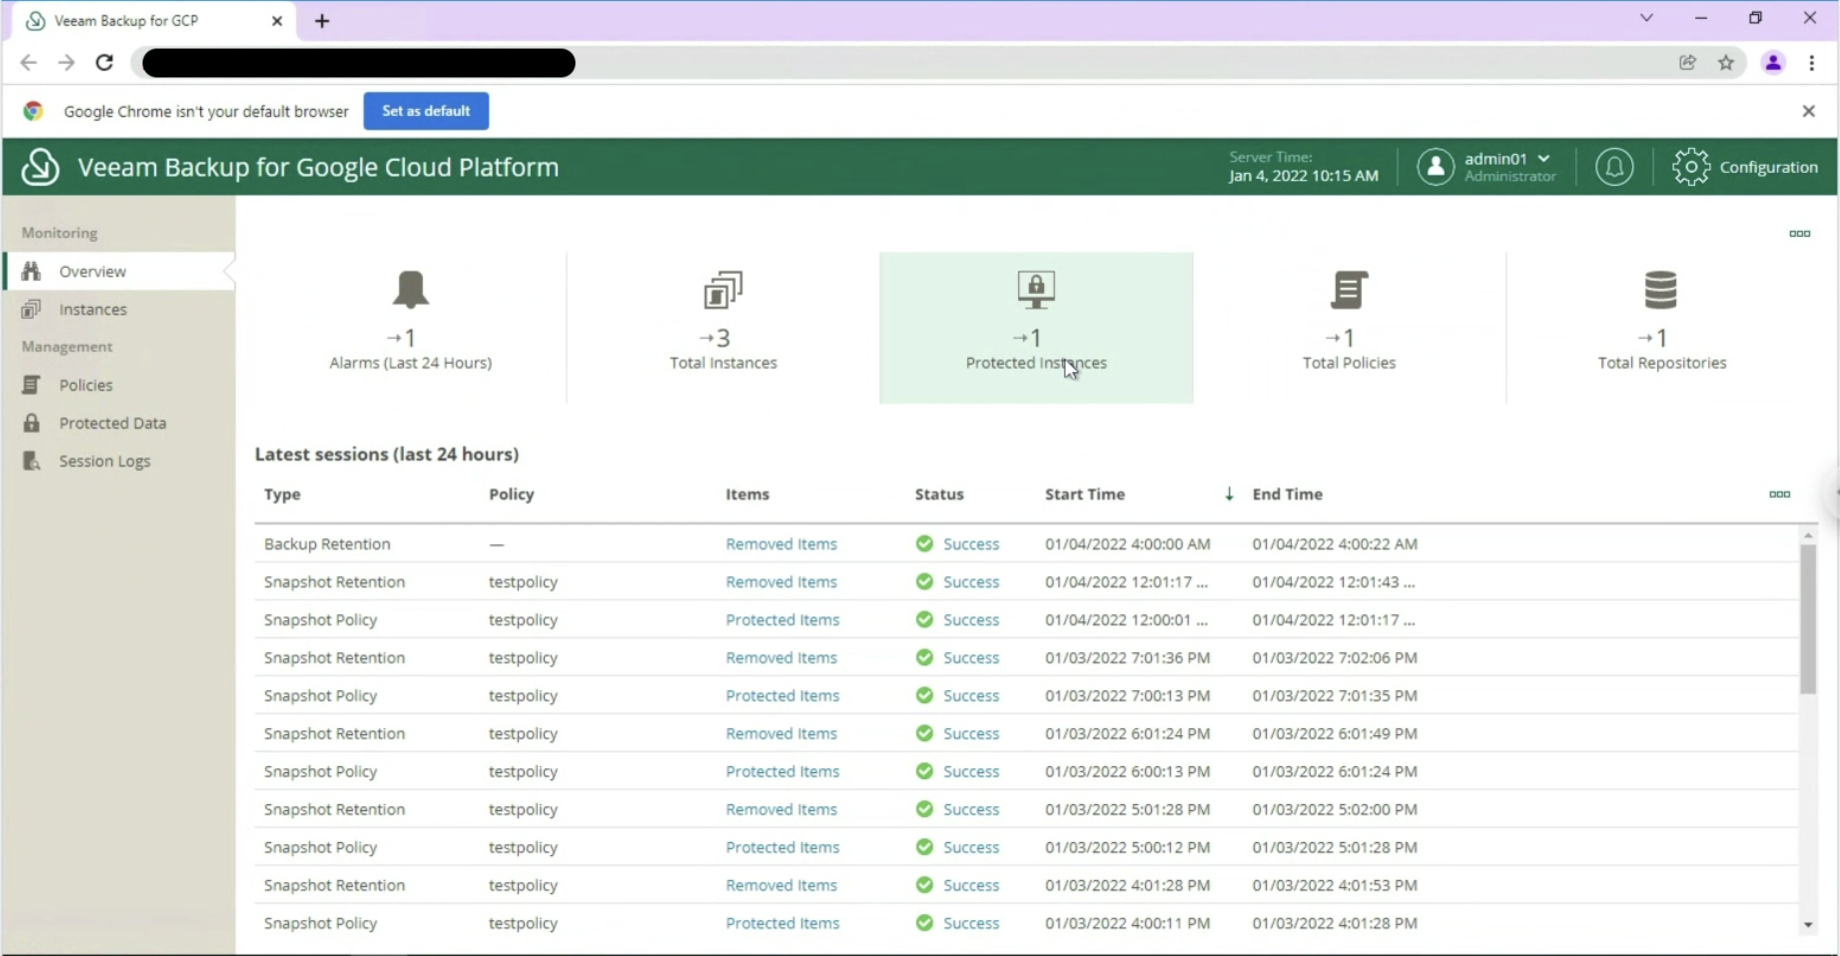 Immagine 9
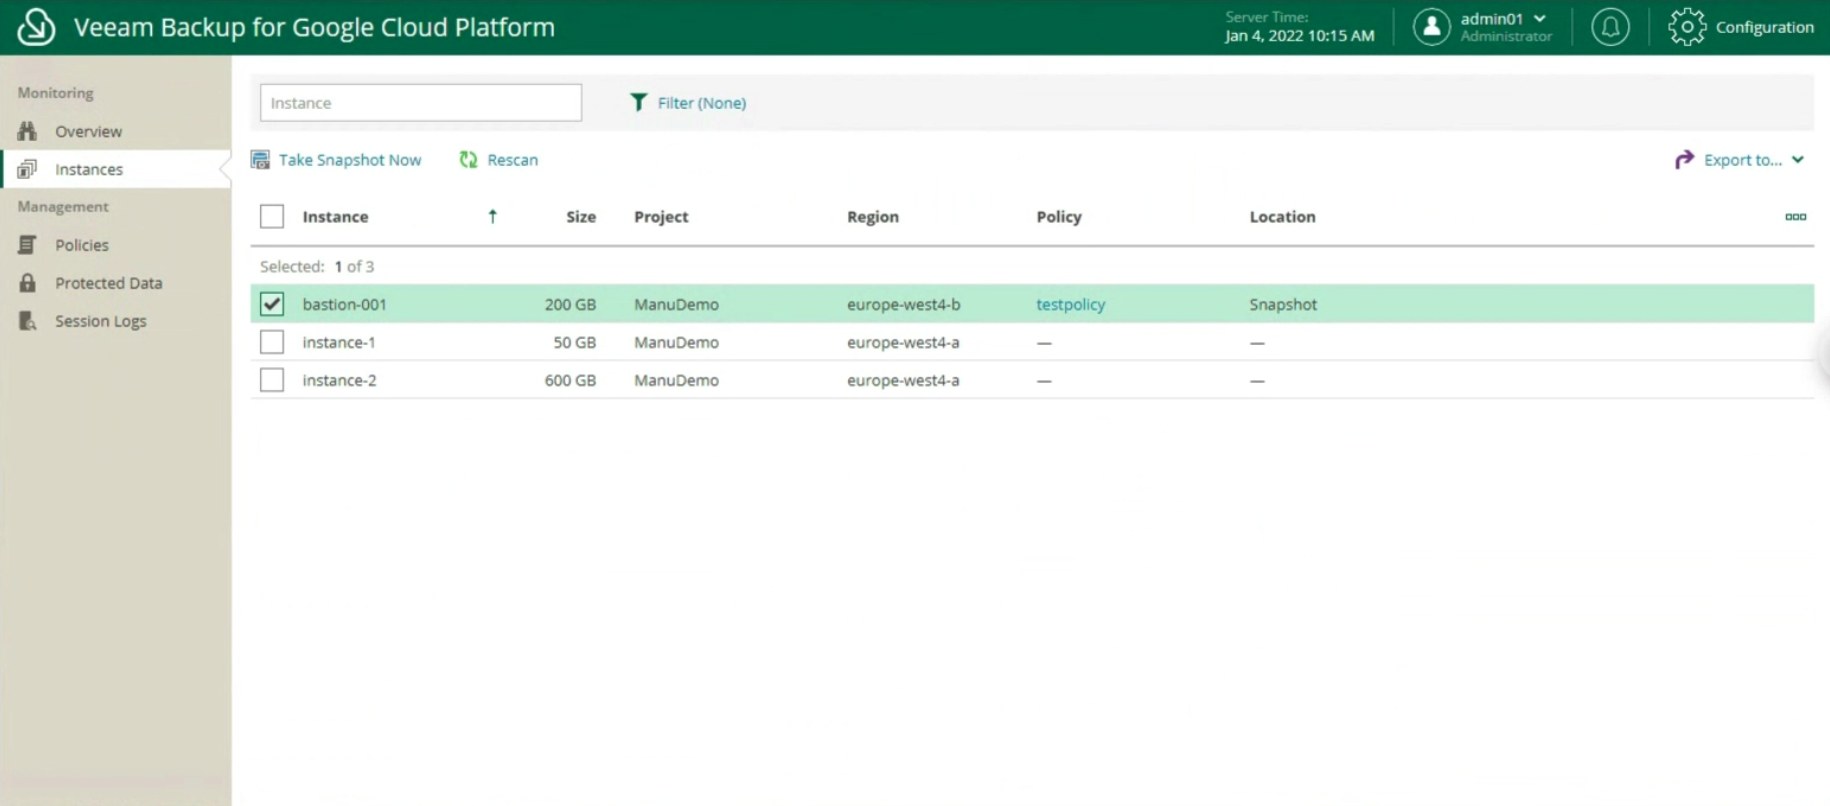
 Immagine 11
 Immagine 12
 Immagine 13
 Immagine 14
 Immagine 15
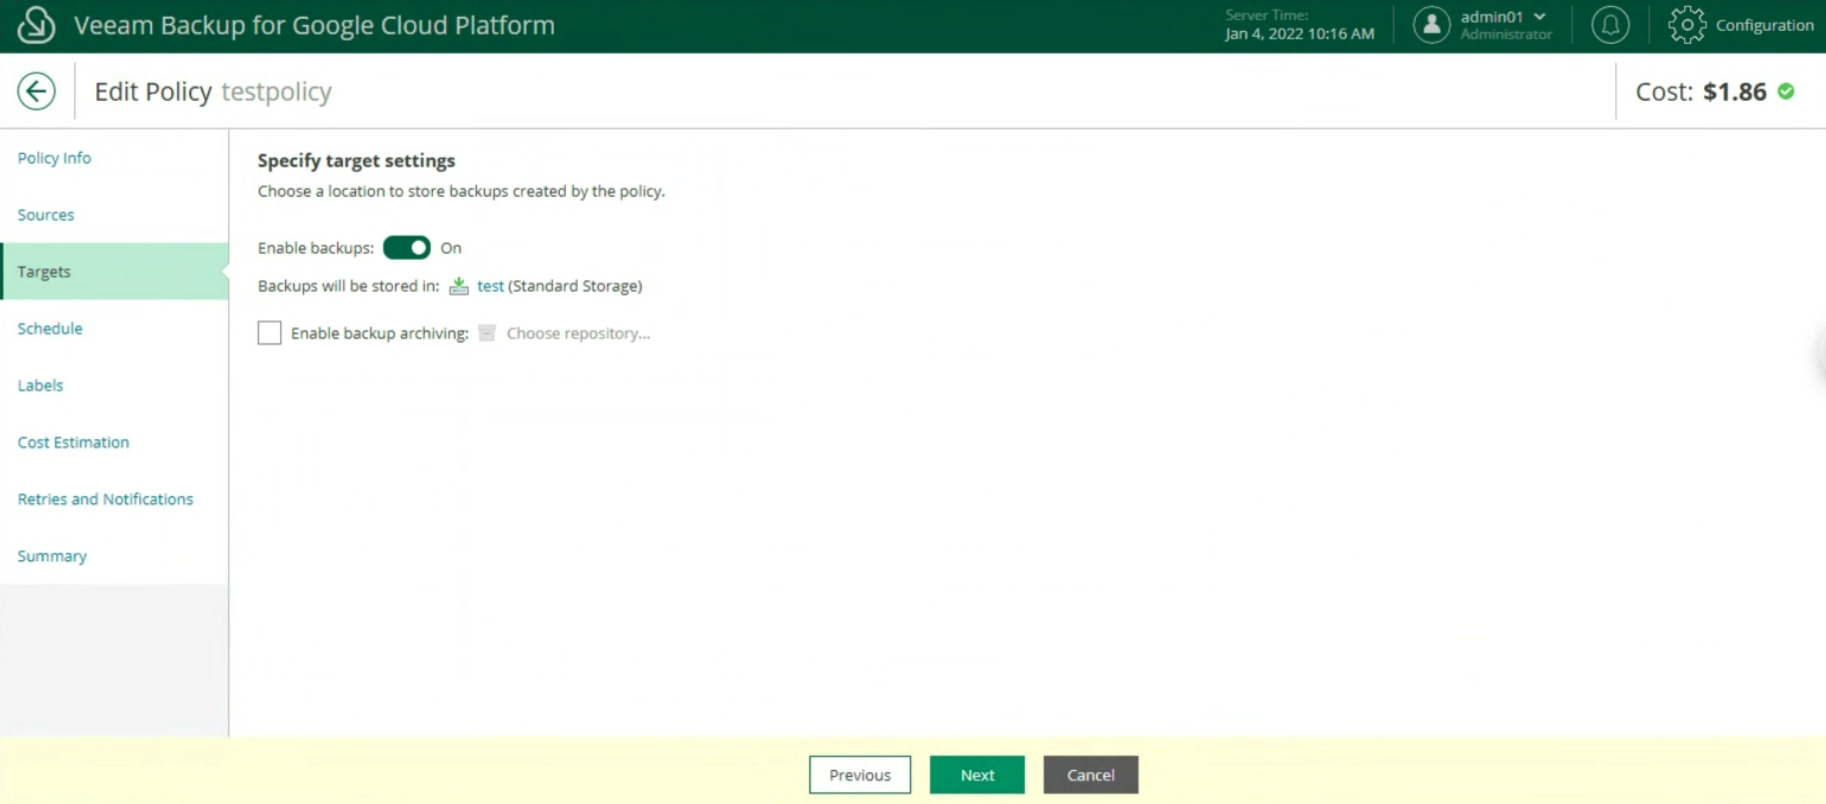 Immagine 16
 Immagine 17
 Immagine 18
 Immagine 19
 Immagine 20
 Immagine 21
 Immagine 22
 Immagine 23
 Immagine 24
 Immagine 25