VDrO v.4 – Create a DR plan

C. Create an Orchestration Plan

The DR plan is a sum of more Orchestration plans. This article is going to explain how to create them.

Just a small and important note before continuing: it’s mandatory to have already completed the steps described in the last article.

Let’s start!

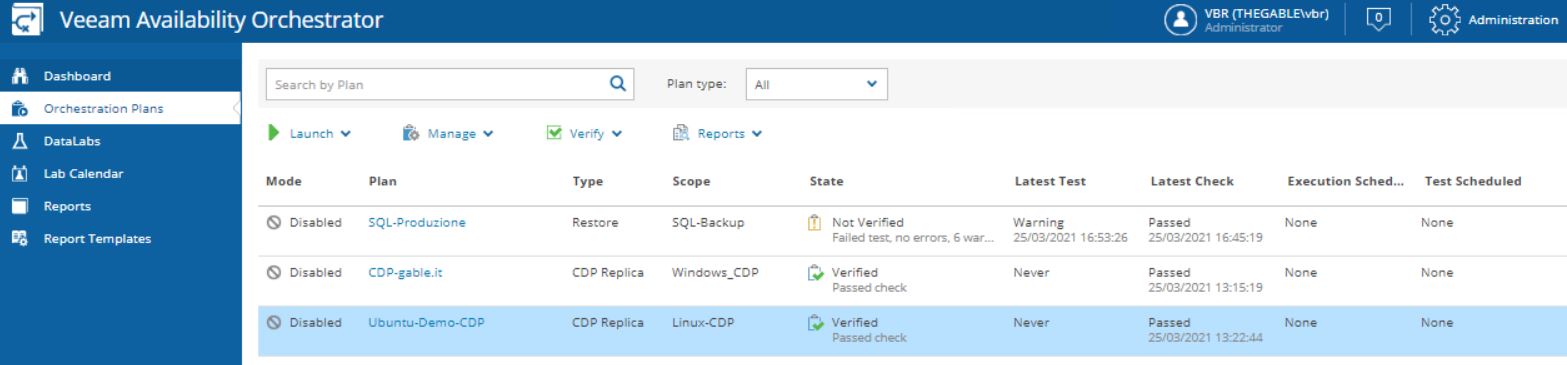
From the main menu of the VAO server select the Manage button.

Now click on New as shown in picture 1.
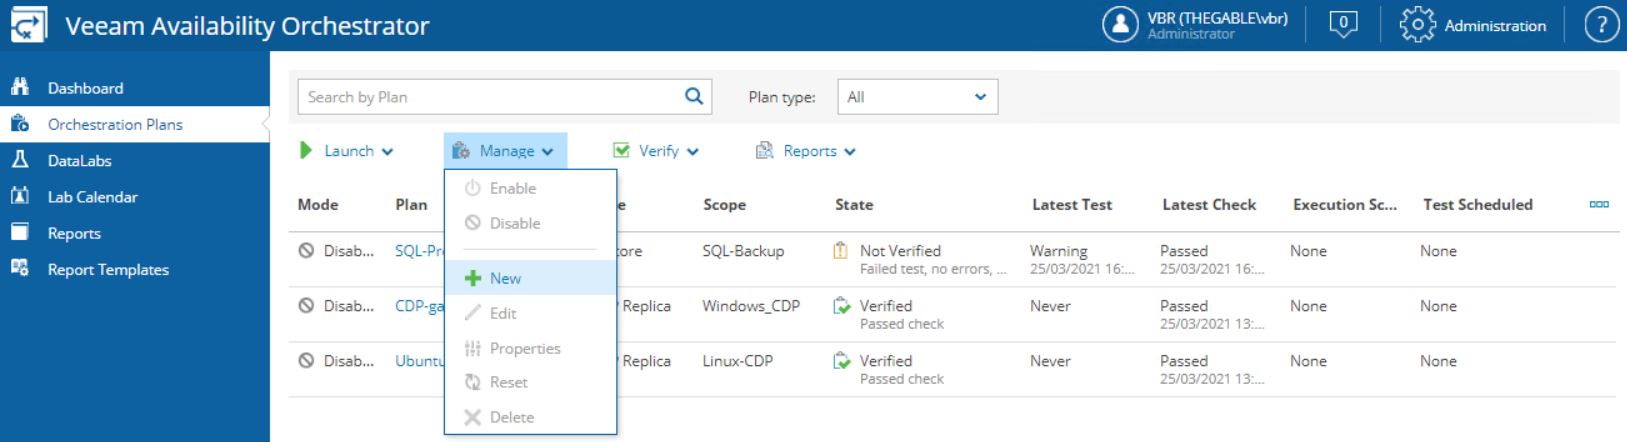
Picture 1

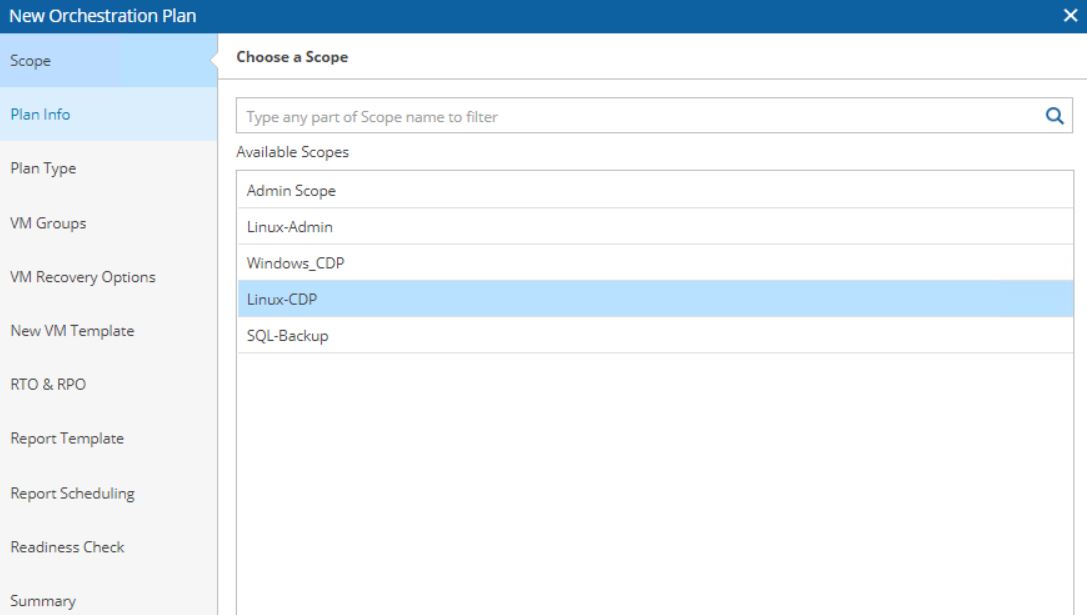
The easy wizard is going to ask to choose a scope.

In our example, we use Linux-CDP as shown in picture 2.

Picture 2

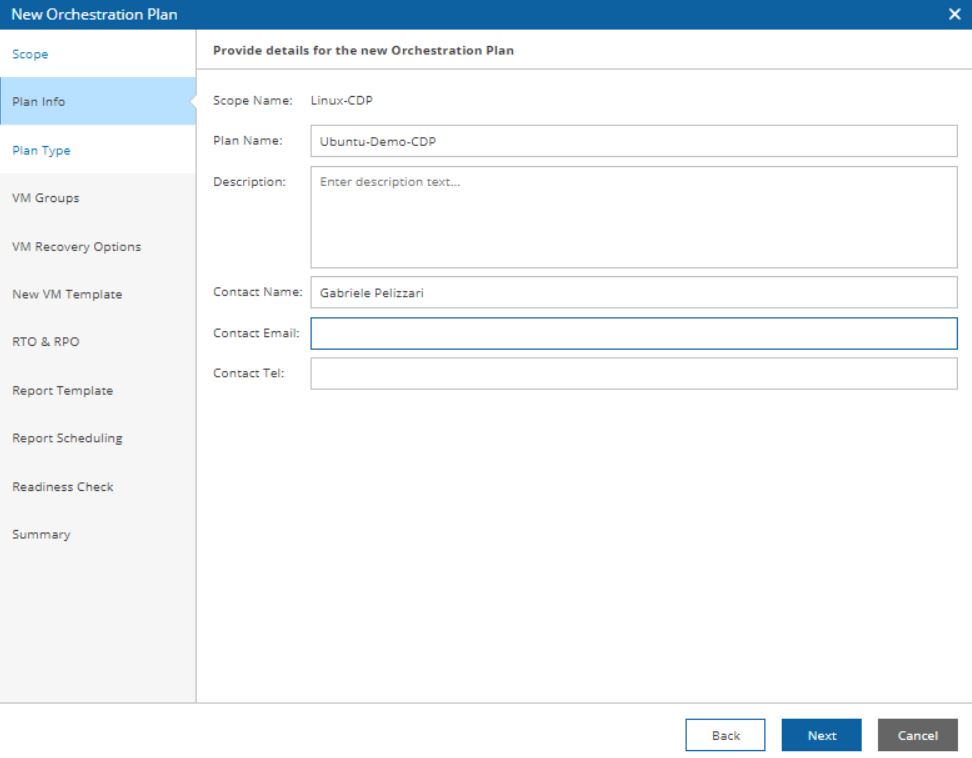
Now fill up the plan info with the Plan Name, the description, the contact name of the plan (picture 3),

Picture 3

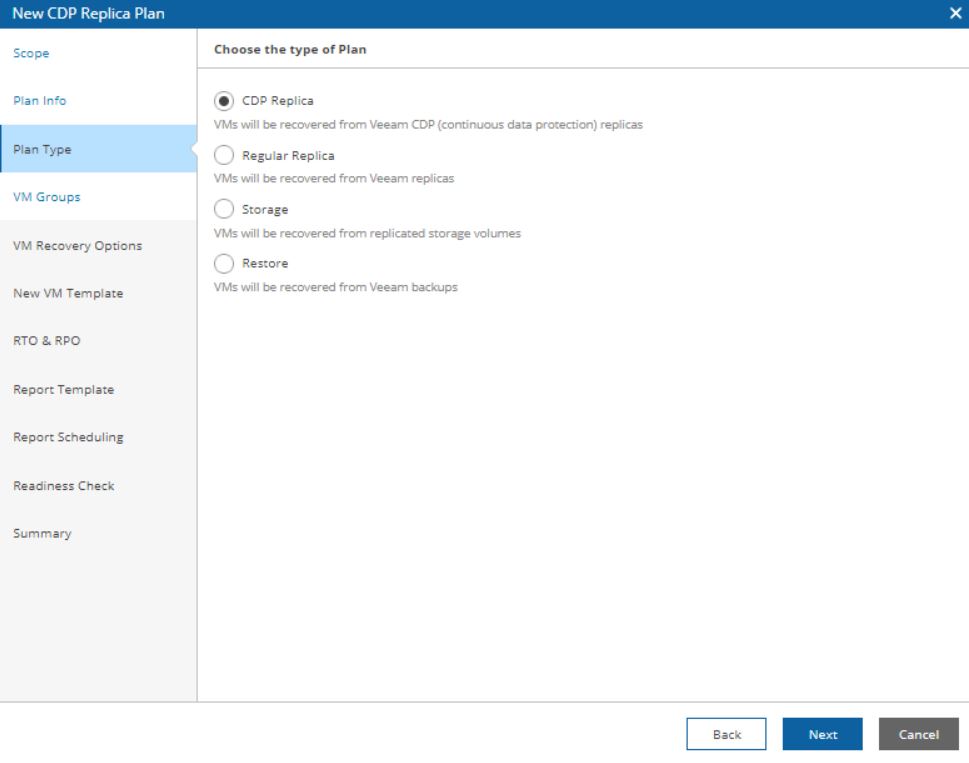
Select the type of Plans. In this article choose the CDP replica (picture 4)

Picture 4

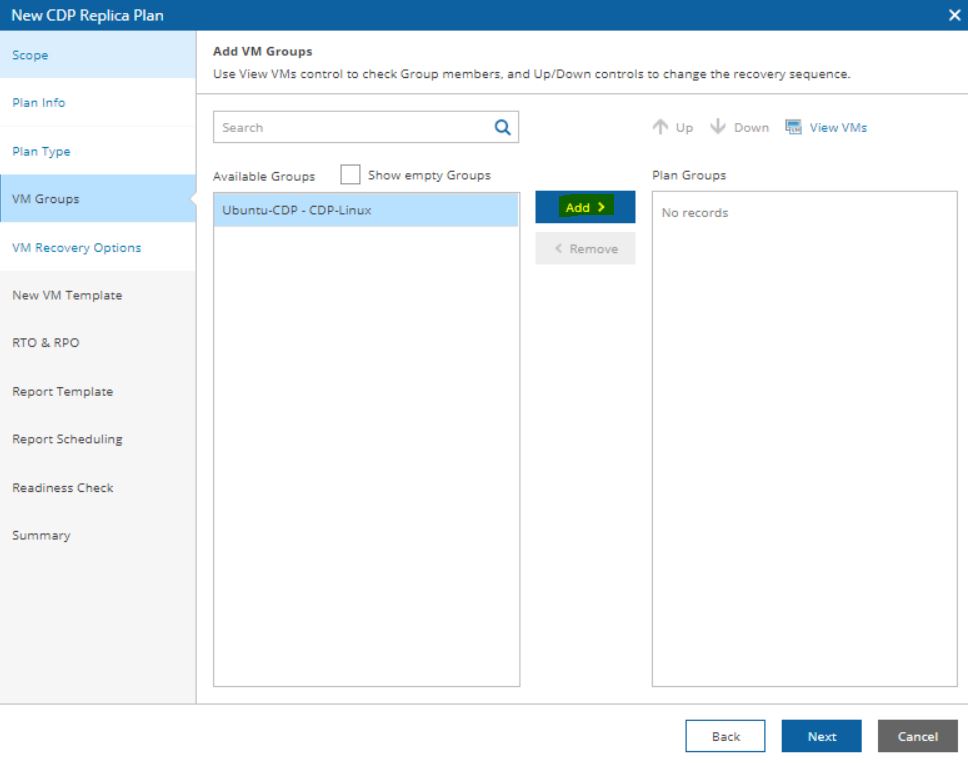
In the next step please check if the correct “VM Group” appears.
If it doesn’t, it’s necessary to go back to the setup phase (please read the previous article) and fix the issue.

In our example, it appears correctly (Ubuntu-CDP) as shown in the next two pictures (5 and 6).

Picture 5

Picture 6

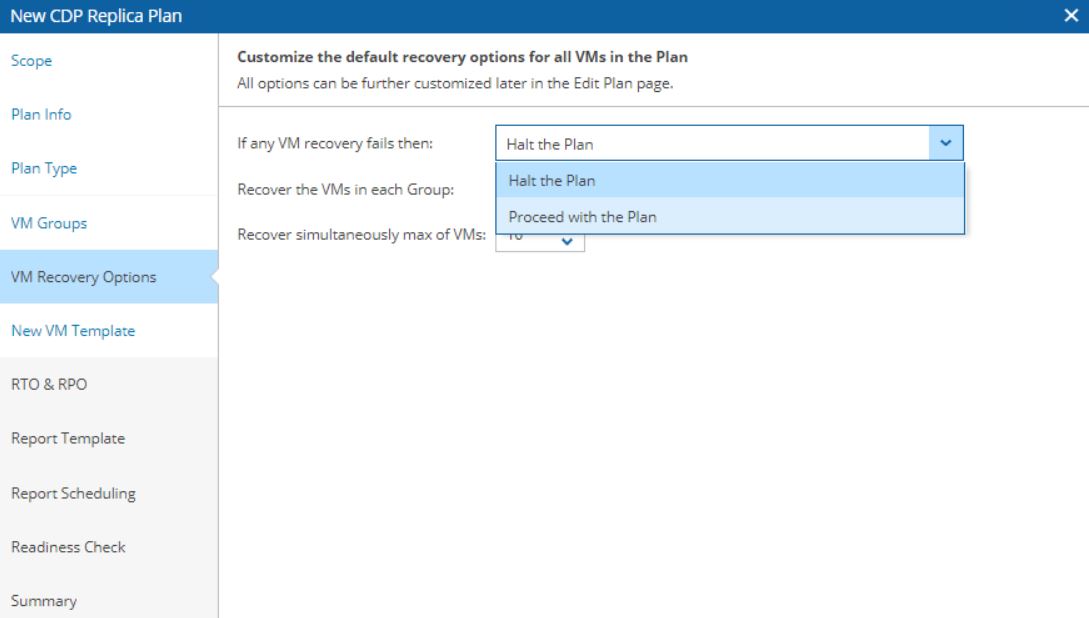
The next step shows the VM Recovery options (picture 7).

It gives the operator control of the plan. For example, stopping the plan if something goes wrong.

Picture 7

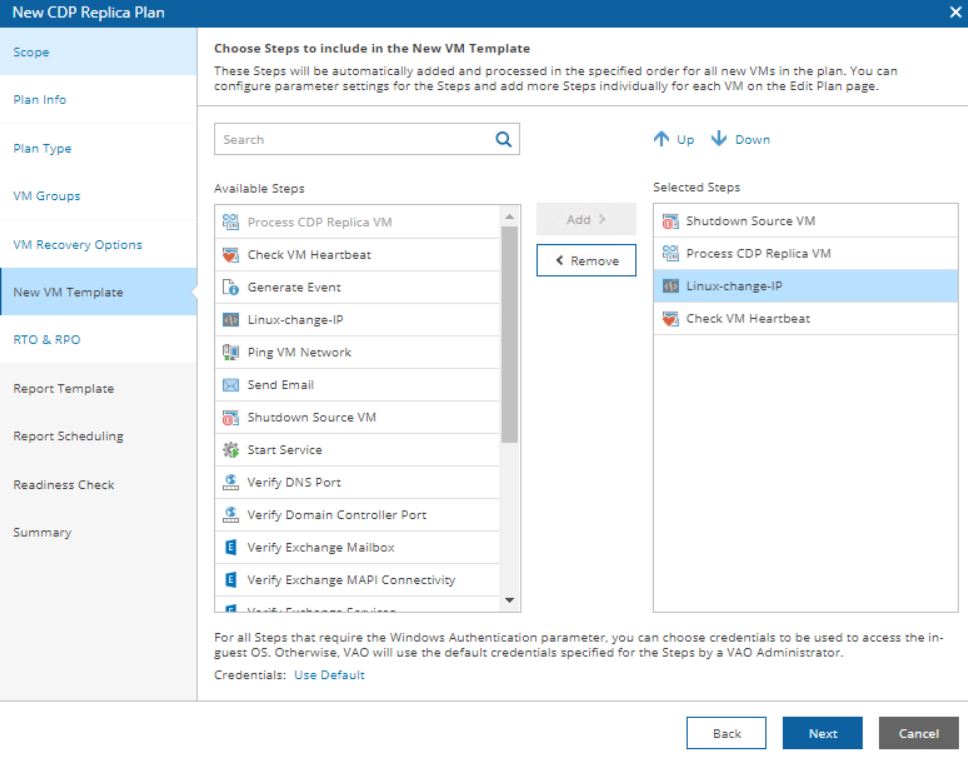
In “New VM Template” menu the VAO user can add additional steps to the orchestration process; for example, starting the CDP replica job first and shut down the source VM after (Picture 8)

Picture 8

Tips I: I created a customized script to change the IP Address of the VM.

Tips II: it’s possible to set up the access credential directly from this page by clicking the button on the bottom of the page. It is available for Windows VM only.

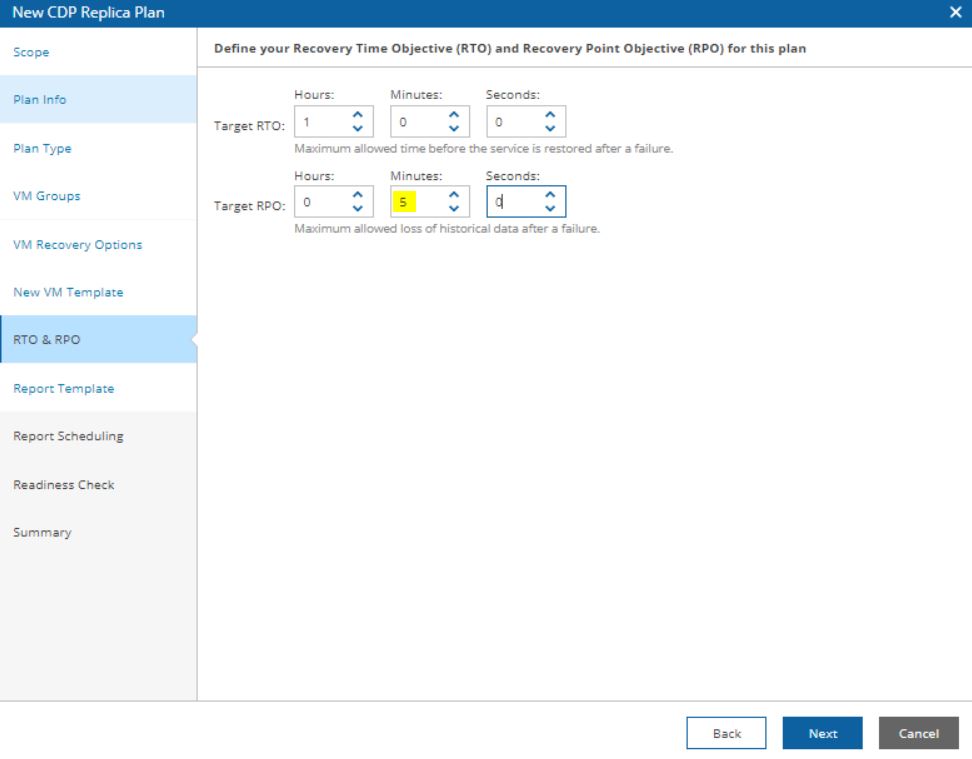
The next step defines the RTO & RPO.

The most important thing to remember here is that the RPO has to be equal or major than the RPO set in the CDP replica job (picture 9).

https://lnx.gable.it/wp-content/uploads/2021/03/vao-cdp-45.jpgPicture 9

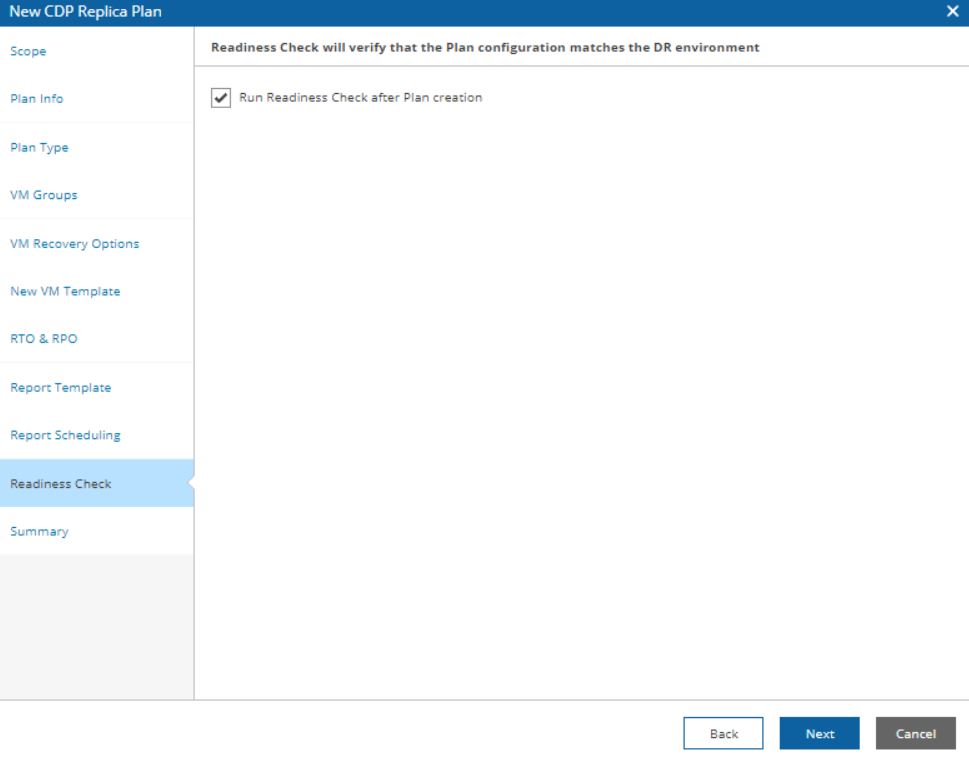
The last steps define when the plan report shall be automatically generated (picture 10) and if the readiness check has to run at the end of every single wizard (recommended option) (picture 11).

Picture 10

Picture 11

The result is shown in picture 12

Picture 12

The next article is going to be a video to see VDrO in action.

Take care and see you soon

Unifi USG – Setup and configuration

Last device I added to my lab is the Ubiquity Unify Security Gateway (from now on USG)

I need it because I have to work with a great number of vLAN in my demo lab.

Let’s see what I learned in the last test weeks and how I set it up to address my needs.

The hardware installation is quite easy. After unpacking the box you just need to plug-in the power supply and two ethernet cables, the first one on LAN Port and the second to WAN port.

The USG setup is composed of 5 configuration phases

  1. LAN / WAN
  2. Unifi-Controller
  3. VPN
  4. VLAN
  5. Routing

In this first article, we are going to cover the three first phases.

I – LAN /WAN Configuration

  1. On your PC set up the Ethernet IP Address as 192.168.1.x/24 and plug the LAN cable. Now ping the 192.168.1.1 address to be sure you can reach the USG. Open a Browser and  you’ll be able to configure LAN and WAN interfaces from 192.168.1.1 address.

Figure 1

My personal router works on 192.168.18.x while I choose to set up the LAN on 192.168.16.x address

After “applying the changes”, you have to re-change the IP address of your PC to a LAN address (192.168.16.99 for example) and test the USG answer to ping.

II Unify Controller

After creating an account on the Ubiquity site (https://account.ui.com/register), download and install the Unifi Controller (https://www.ui.com/download/unifi-switching-routing) on your local PC.

Let’s see the most important steps on the wizard:

Click on “Launch a Browser to manage the network” button (Figure 2)

Figure 2

Log-in to Ubiquiti account

Figure 3

Checking if the USG device is properly discovered

Figure 4

After the wizard has been completed you can start to play with the friendly user interface. Figure 5 and 6 show the USG Device status (the fourth icons on the left panel (device))

Figure 5

Figure 6

III VPN Creation

The Wizard consists in:

  1. Creating a new Network (Figure 6) selecting the options “Remote user VPN” and L2PT server. On Radius menu you must add a new profile as shown in (Figure 7)

Figure 6

Figure 7

2) Enable Radius Server as shown in figure 8

Figure 8

Now you can set on your windows/linux/mac/android device the VPN connection and test it

Before ending the article two more notes.

  1. If you see the provisioning entry on the web interface, it means USG is loading and saving the new configuration.
  2. You can have all detail about USG products at the following internet address:  https://www.ui.com/unifi-routing/usg/