
This third part will cover the restoration options.
If you need to know how to set the portal up or the option it can provide, please read the previous articles (Part-1 – Part-2)
Let’s start with Exchange Environment:
Clicking on the Exchange voice located on the top part of the web page (in picture 1 it is highlighted with a green arrow )
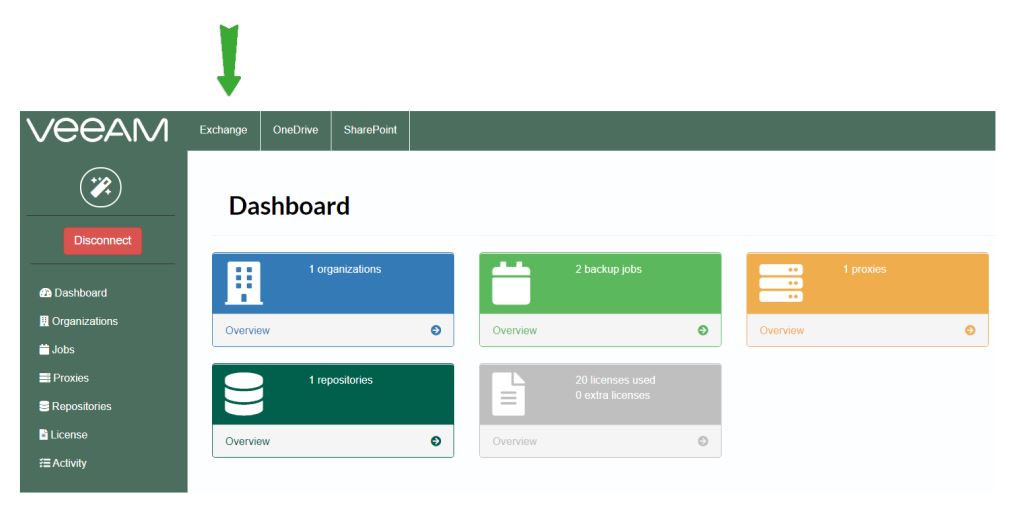 Picture 1
After selecting the organization you want to restore data from (in my case is myTEST-Environment as shown in picture 2), just choose the restore point you need (Picture 3).
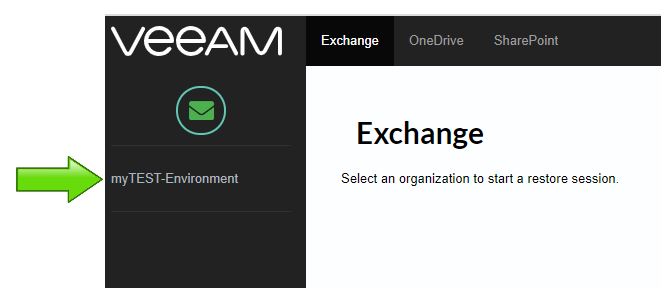 Picture 2
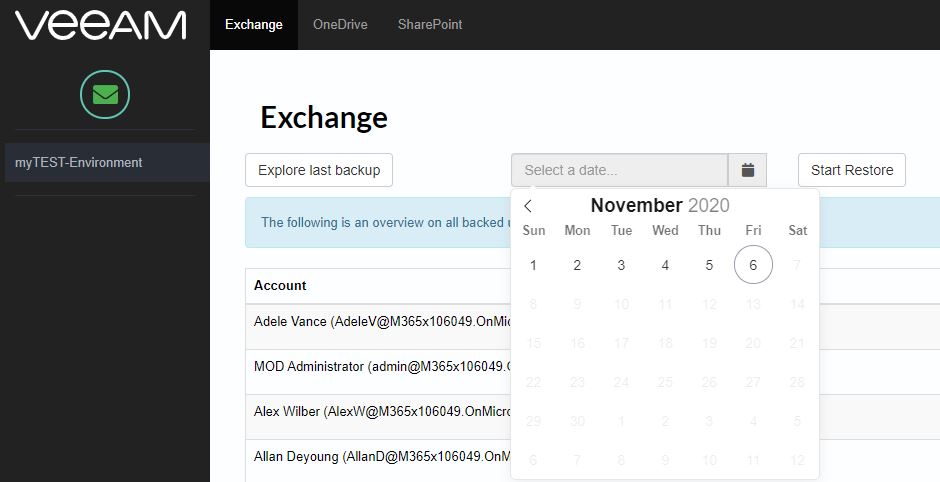 Picture 3
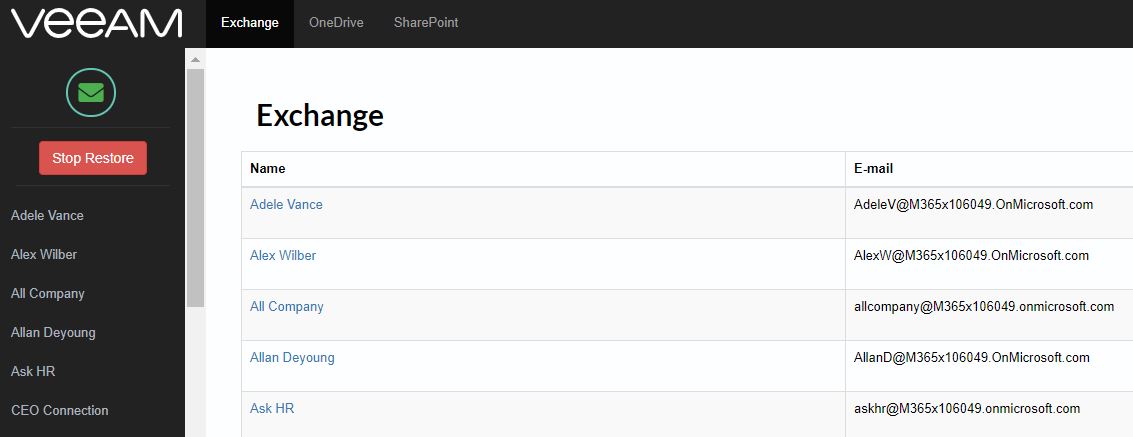
Picture 4 shows the mail-boxes previously saved that you can restore.
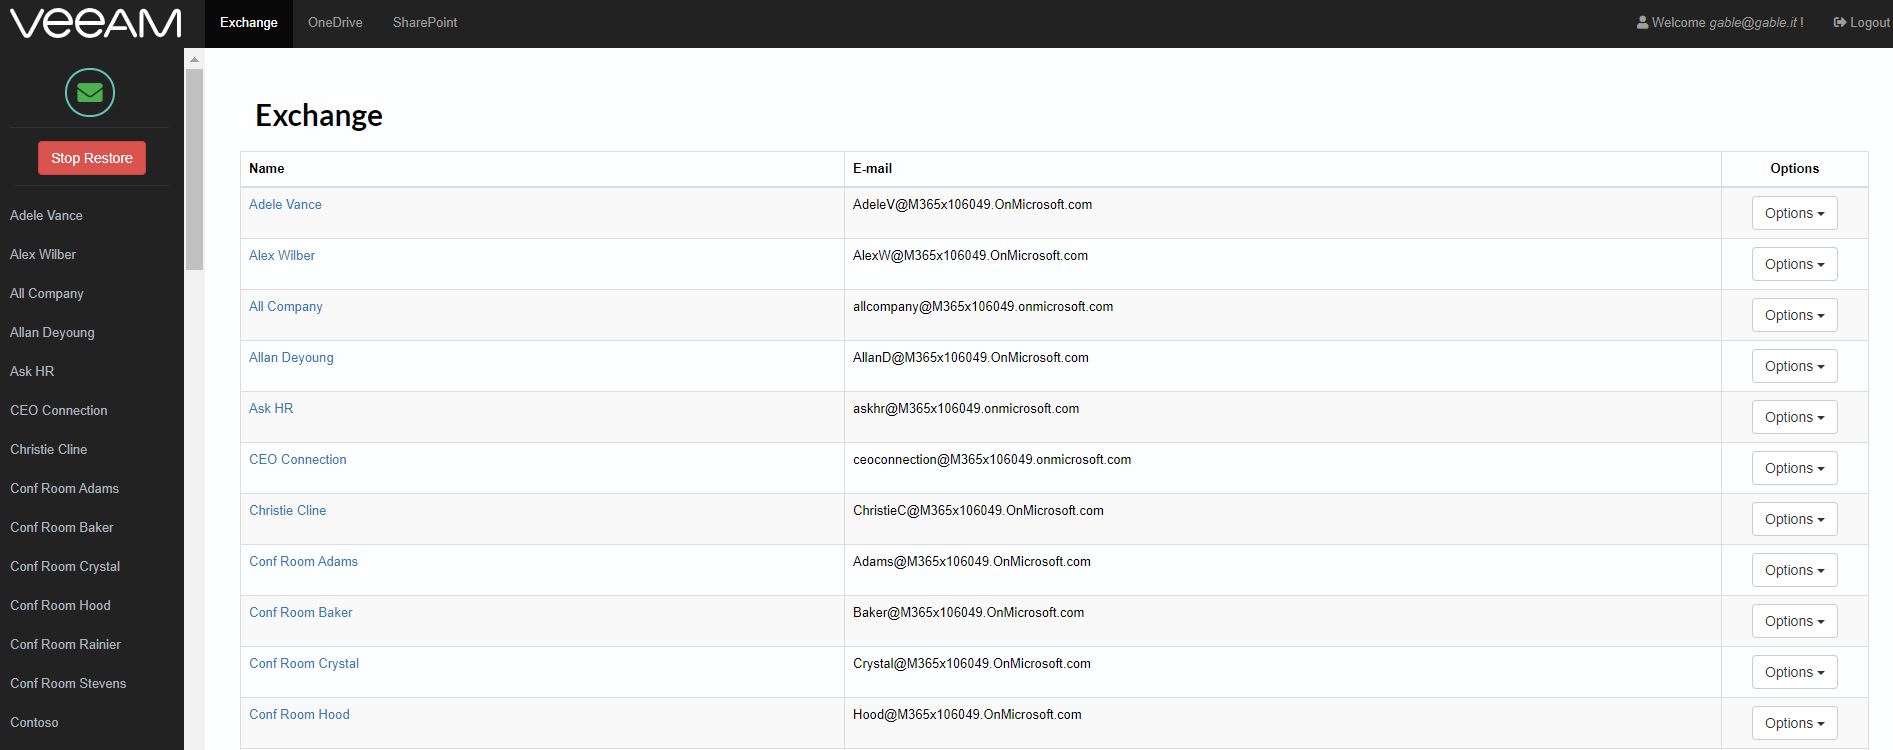 Picture 4
What’s happening on VBO-365? As shown in picture 5 the portal has triggered a classical restore task.
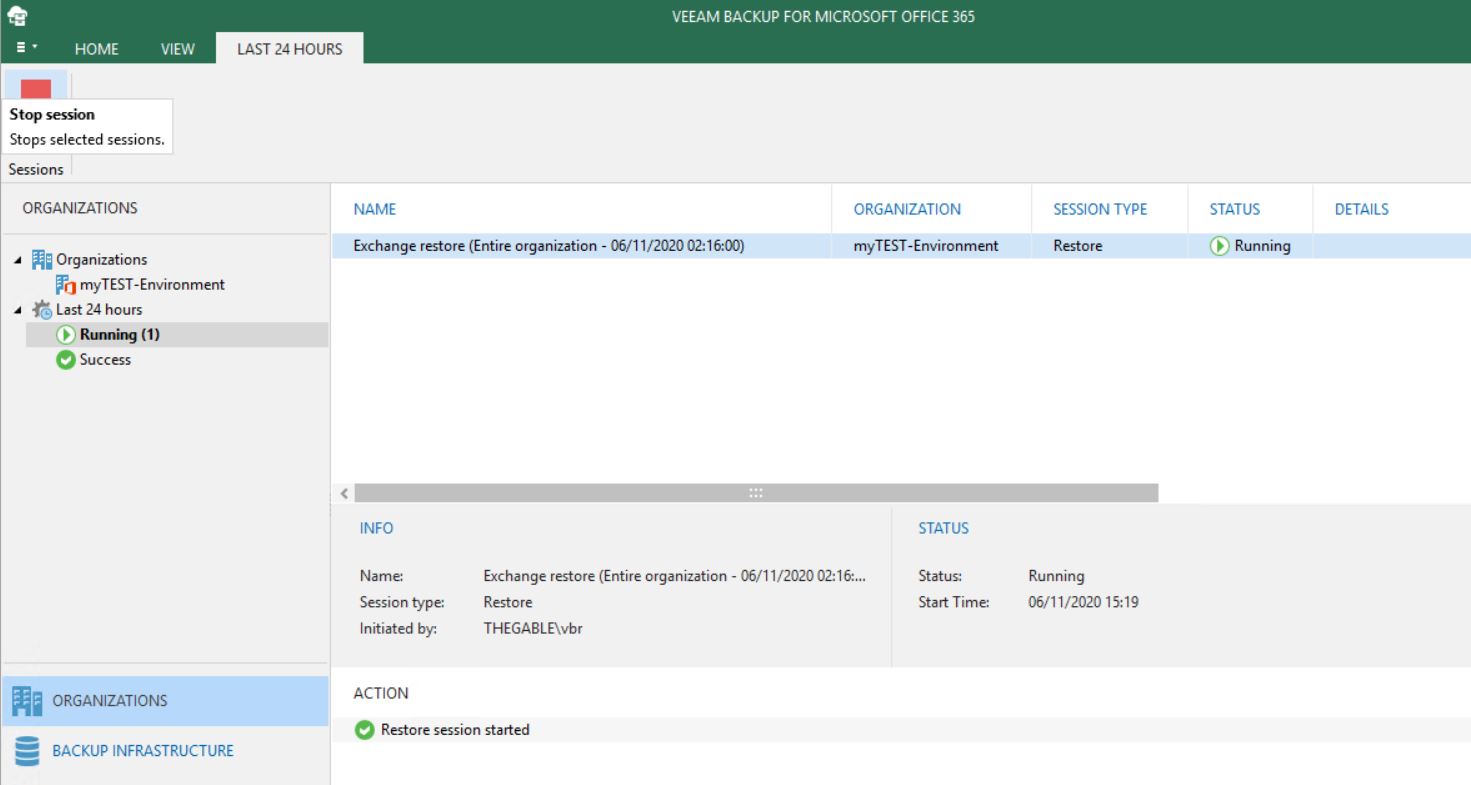 Picture 5
Which are the restore option available in the portal for the Exchange environment? As shown in picture 6, you can download the mail as a pst file (it requires outlook client installed) or restore to the original or different location as shown in picture 7.
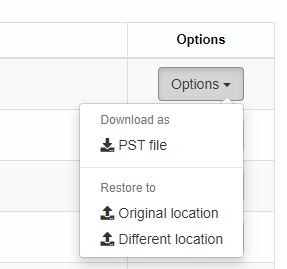 Picture 6
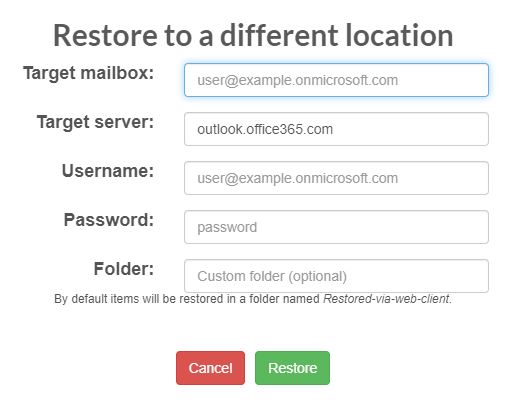 Picture 7
To finish the restore tasks just click on stop restore (Picture 8 and 9).
 Picture 8
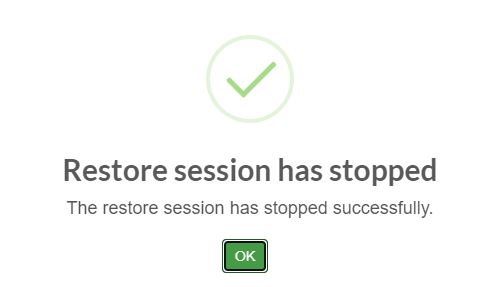 Picture 9
And what about restore of One-Drive and Sharepoint items?
The procedure is very similar and the restore options are shown in pictures 10 and 11.
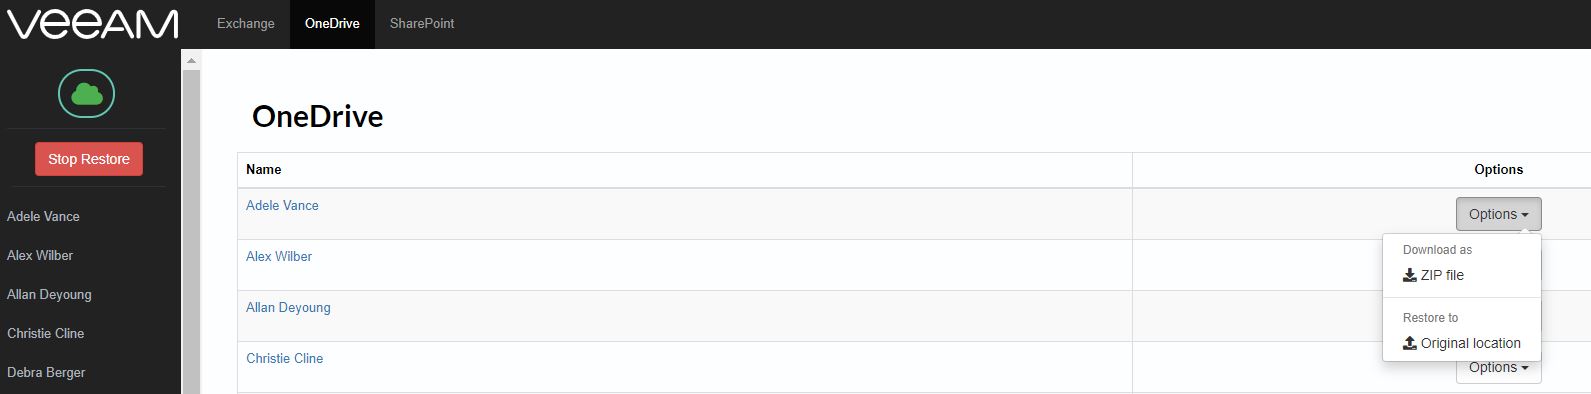 Picture 10
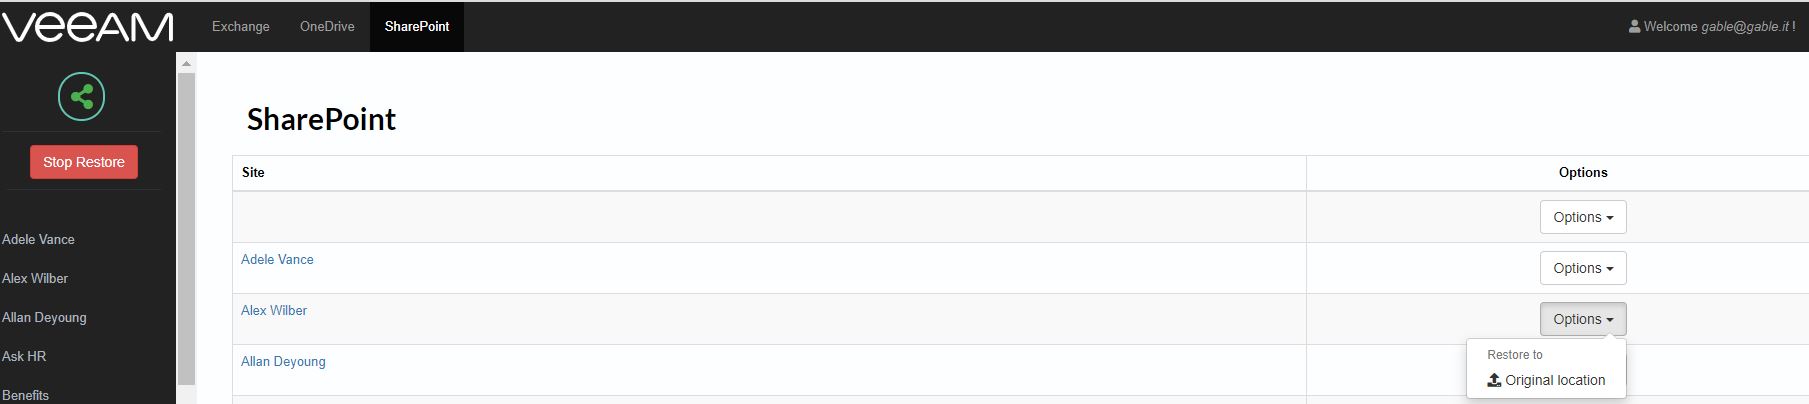 Picture 11
VBO-365 v.5 has introduced support for Microsoft-365 Teams. It is not still available in this portal and I hope it will come soon. Stay tuned 🙂
That’s all for the VBO portal for now. Take care
 Picture 1
 Picture 2
 Picture 3
 Picture 4
 Picture 5
 Picture 6
 Picture 7
 Picture 8
 Picture 9
 Picture 10
 Picture 11
 Picture 12
 Picture 13
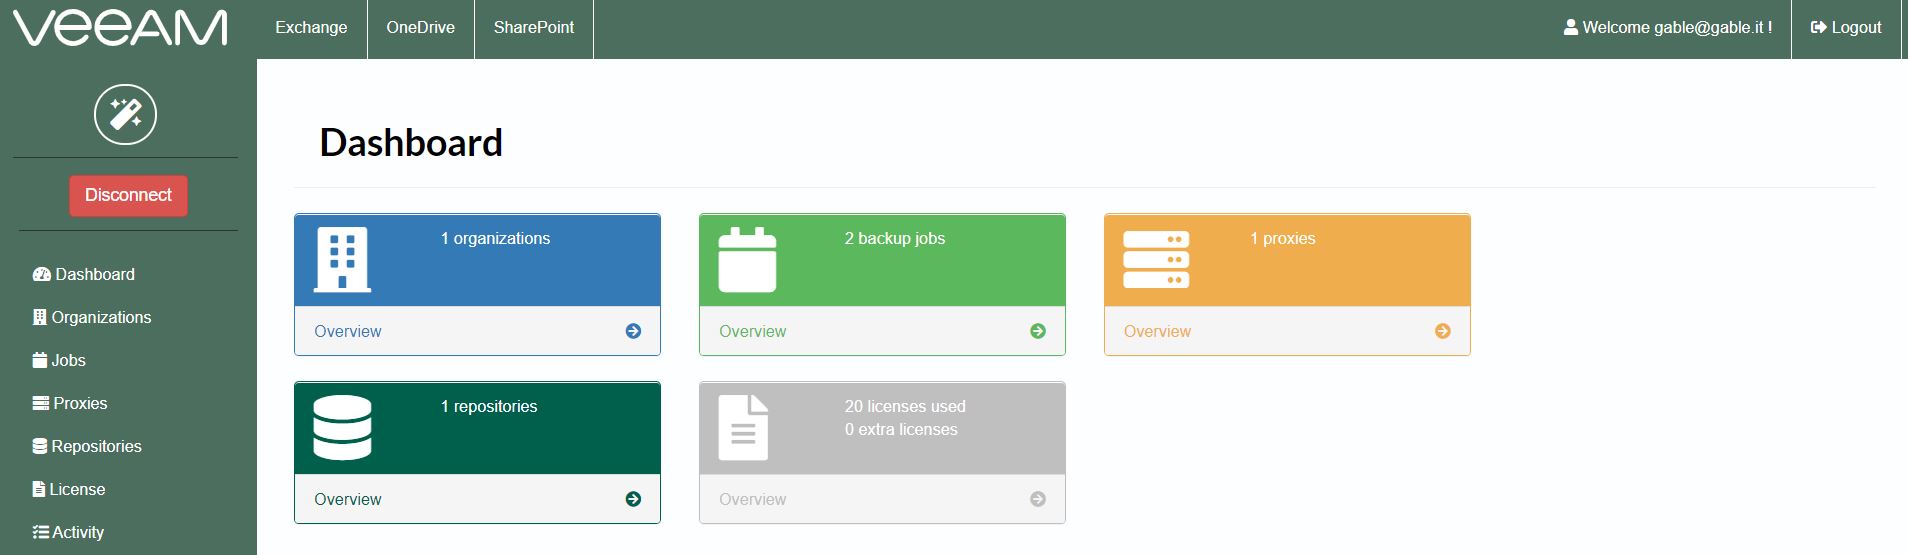 Picture 14
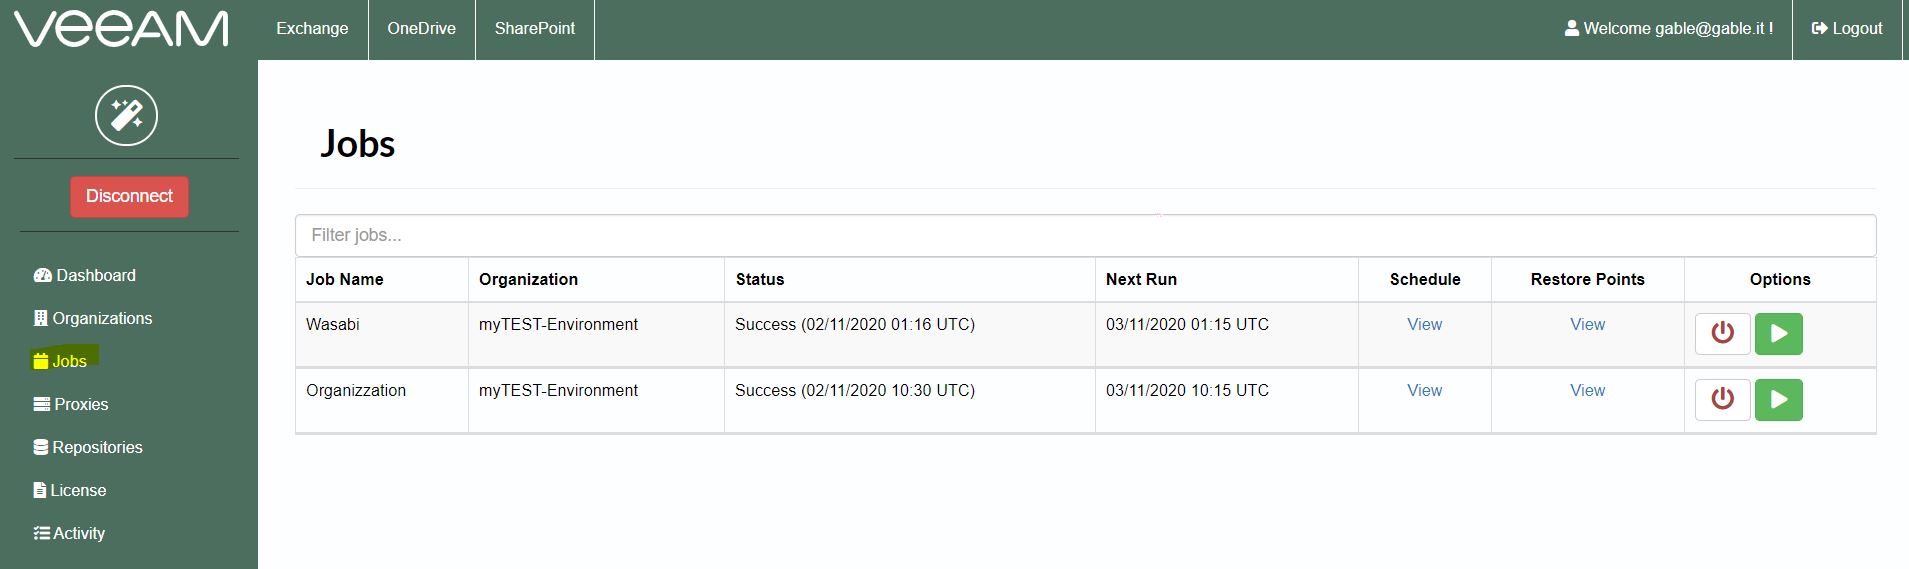 Picture 15
 Picture 16
 Picture 17