Today we will show how to tell Veeam Disaster Recovery Orchestrator which resources to use to start a Disaster Recovery plan.
Before reading this article, we suggest you read the previous article ( by clicking here ) which allows you to check the status of the VDrO Server.
The main tool of asset labeling is Veeam One, which is installed by default with the Veeam Disaster Recovery Orchestrator v.5.
The procedure is very simple:
After connecting via RDP to the VDrO Server select Veeam One Client on the desktop (see Figure 1)
 Figure 1
After selecting the Business View item (bottom left), the resources to be labeled are:
- Clusters: this item identifies the Disaster Recovery and production vCenter resources (Figure 2)
- The DataStores: this item identifies the disk areas where the VMs will reside once turned on (Figure 3)
- Virtual Machines: this item identifies the VMs that guarantee service continuity in the event of a Disaster (Figures 4 and 5).
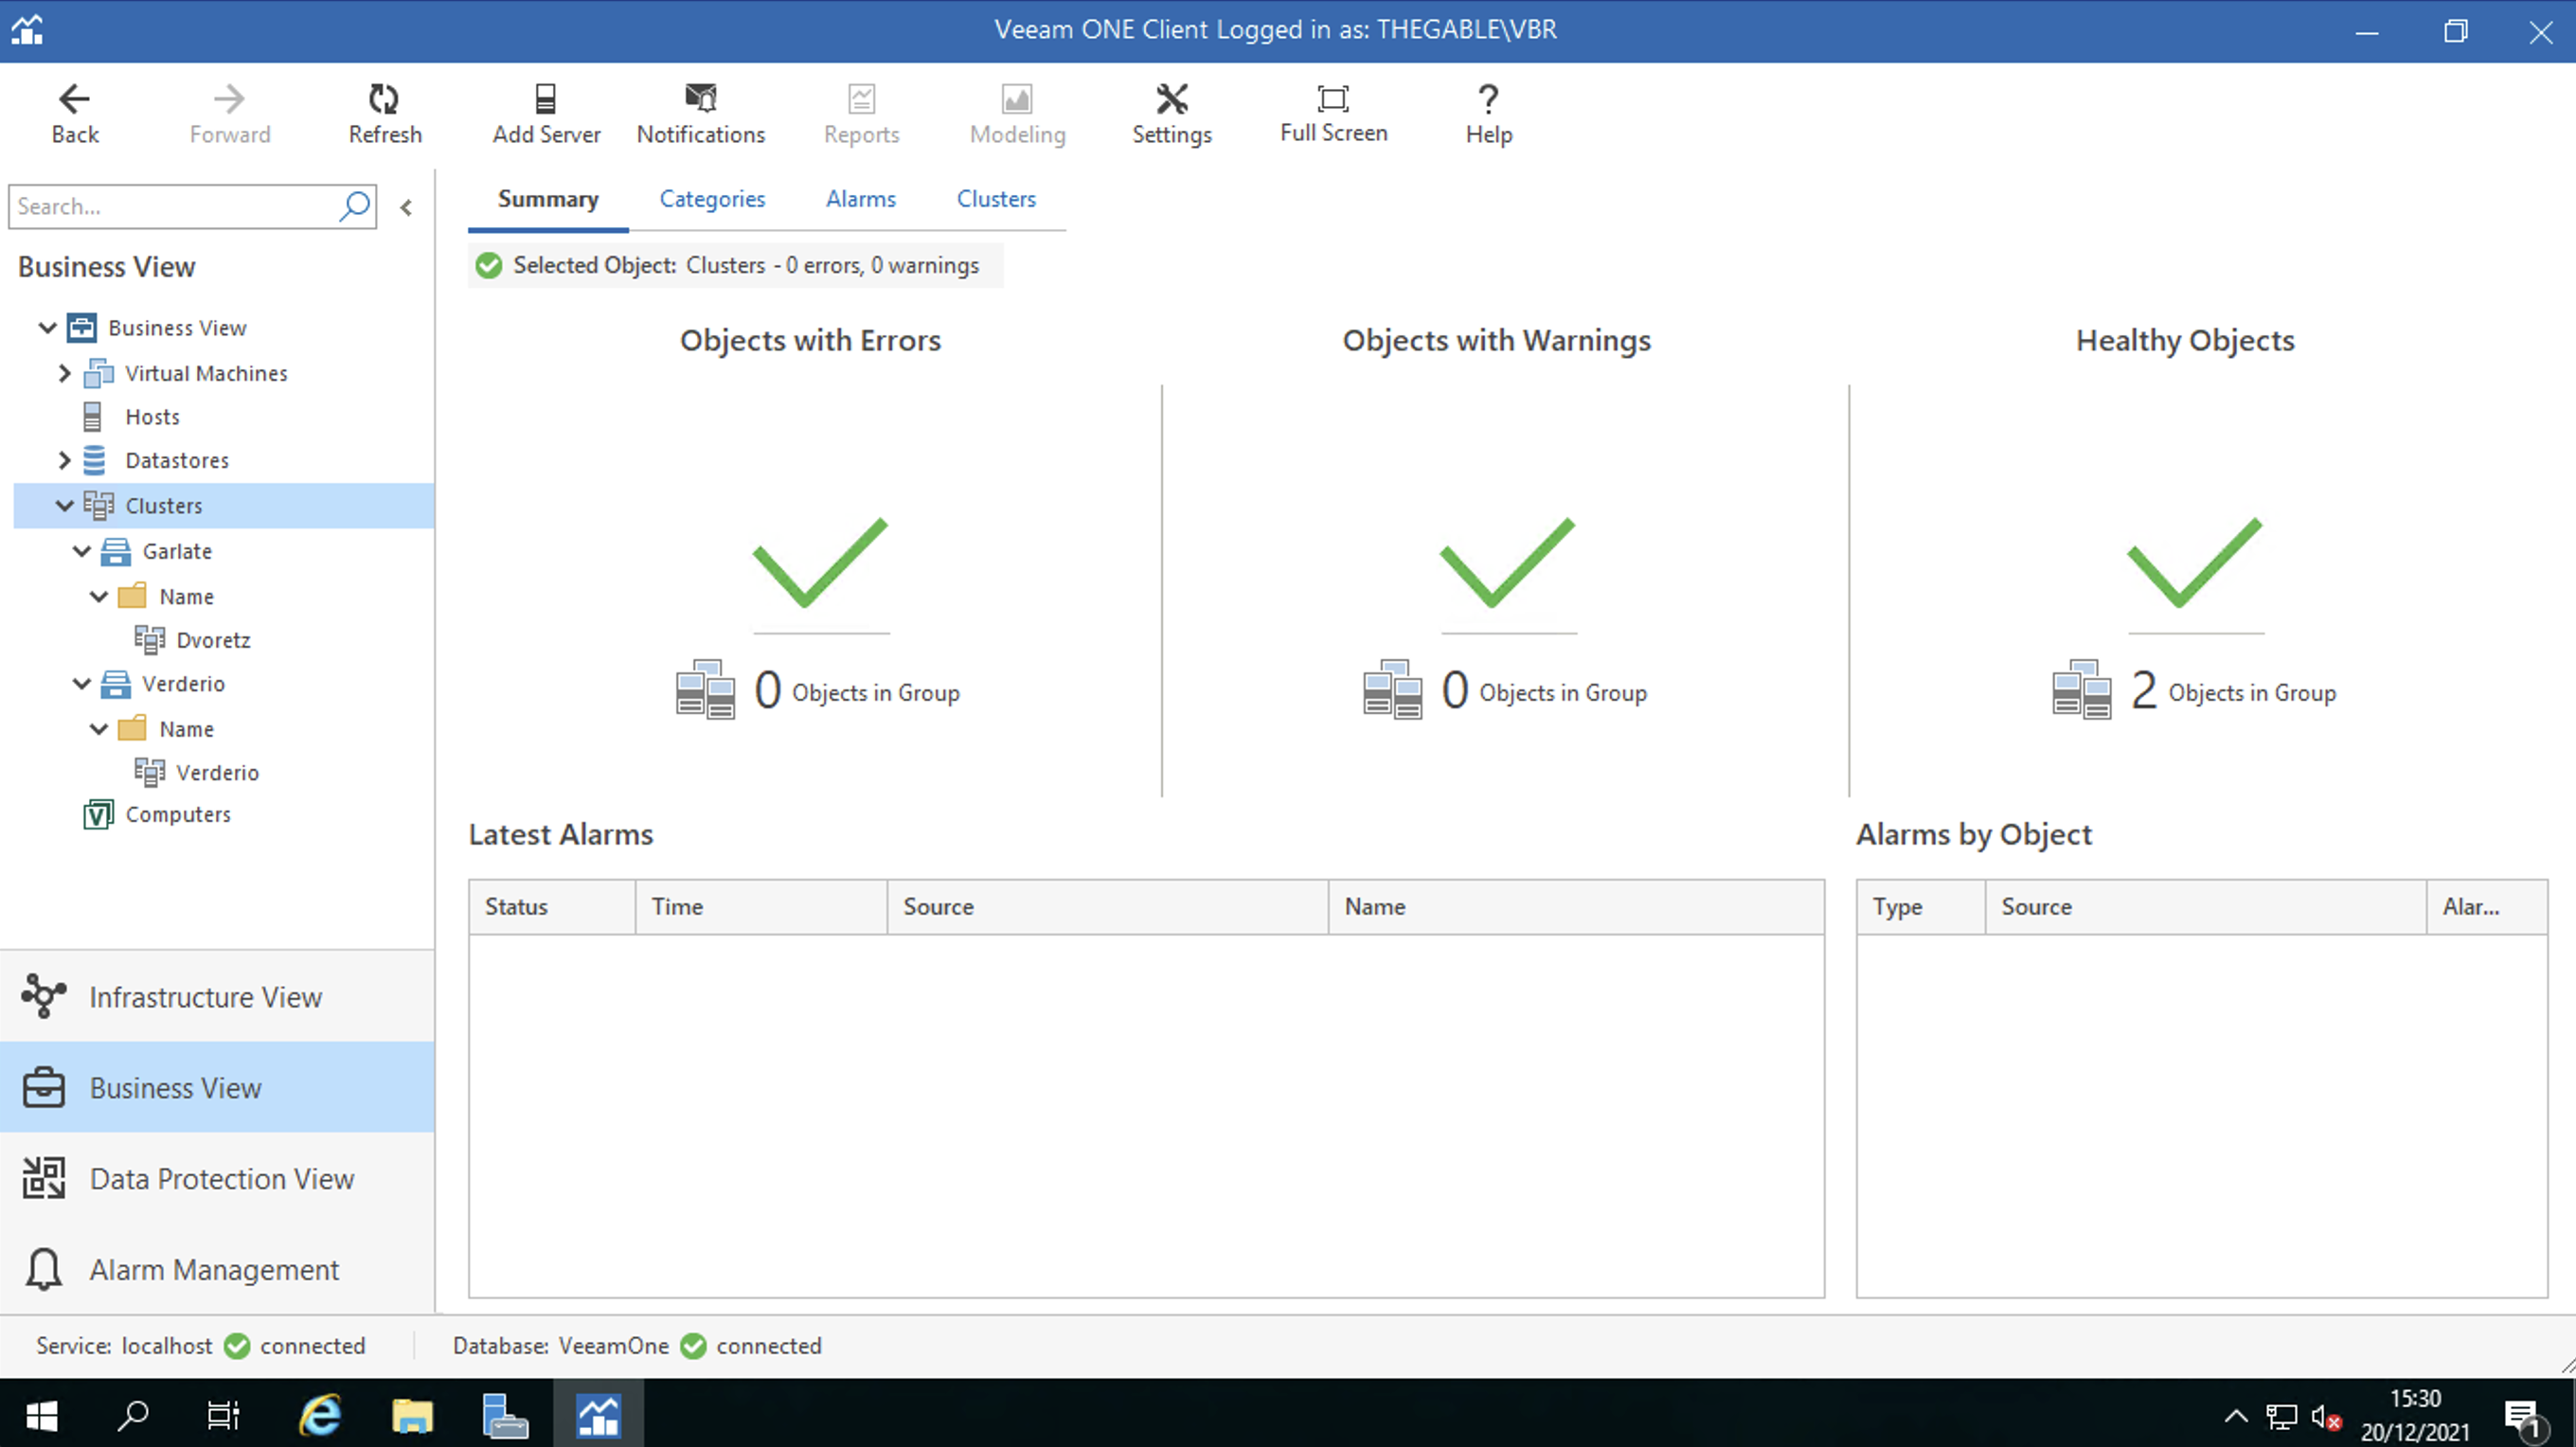 Figure 2
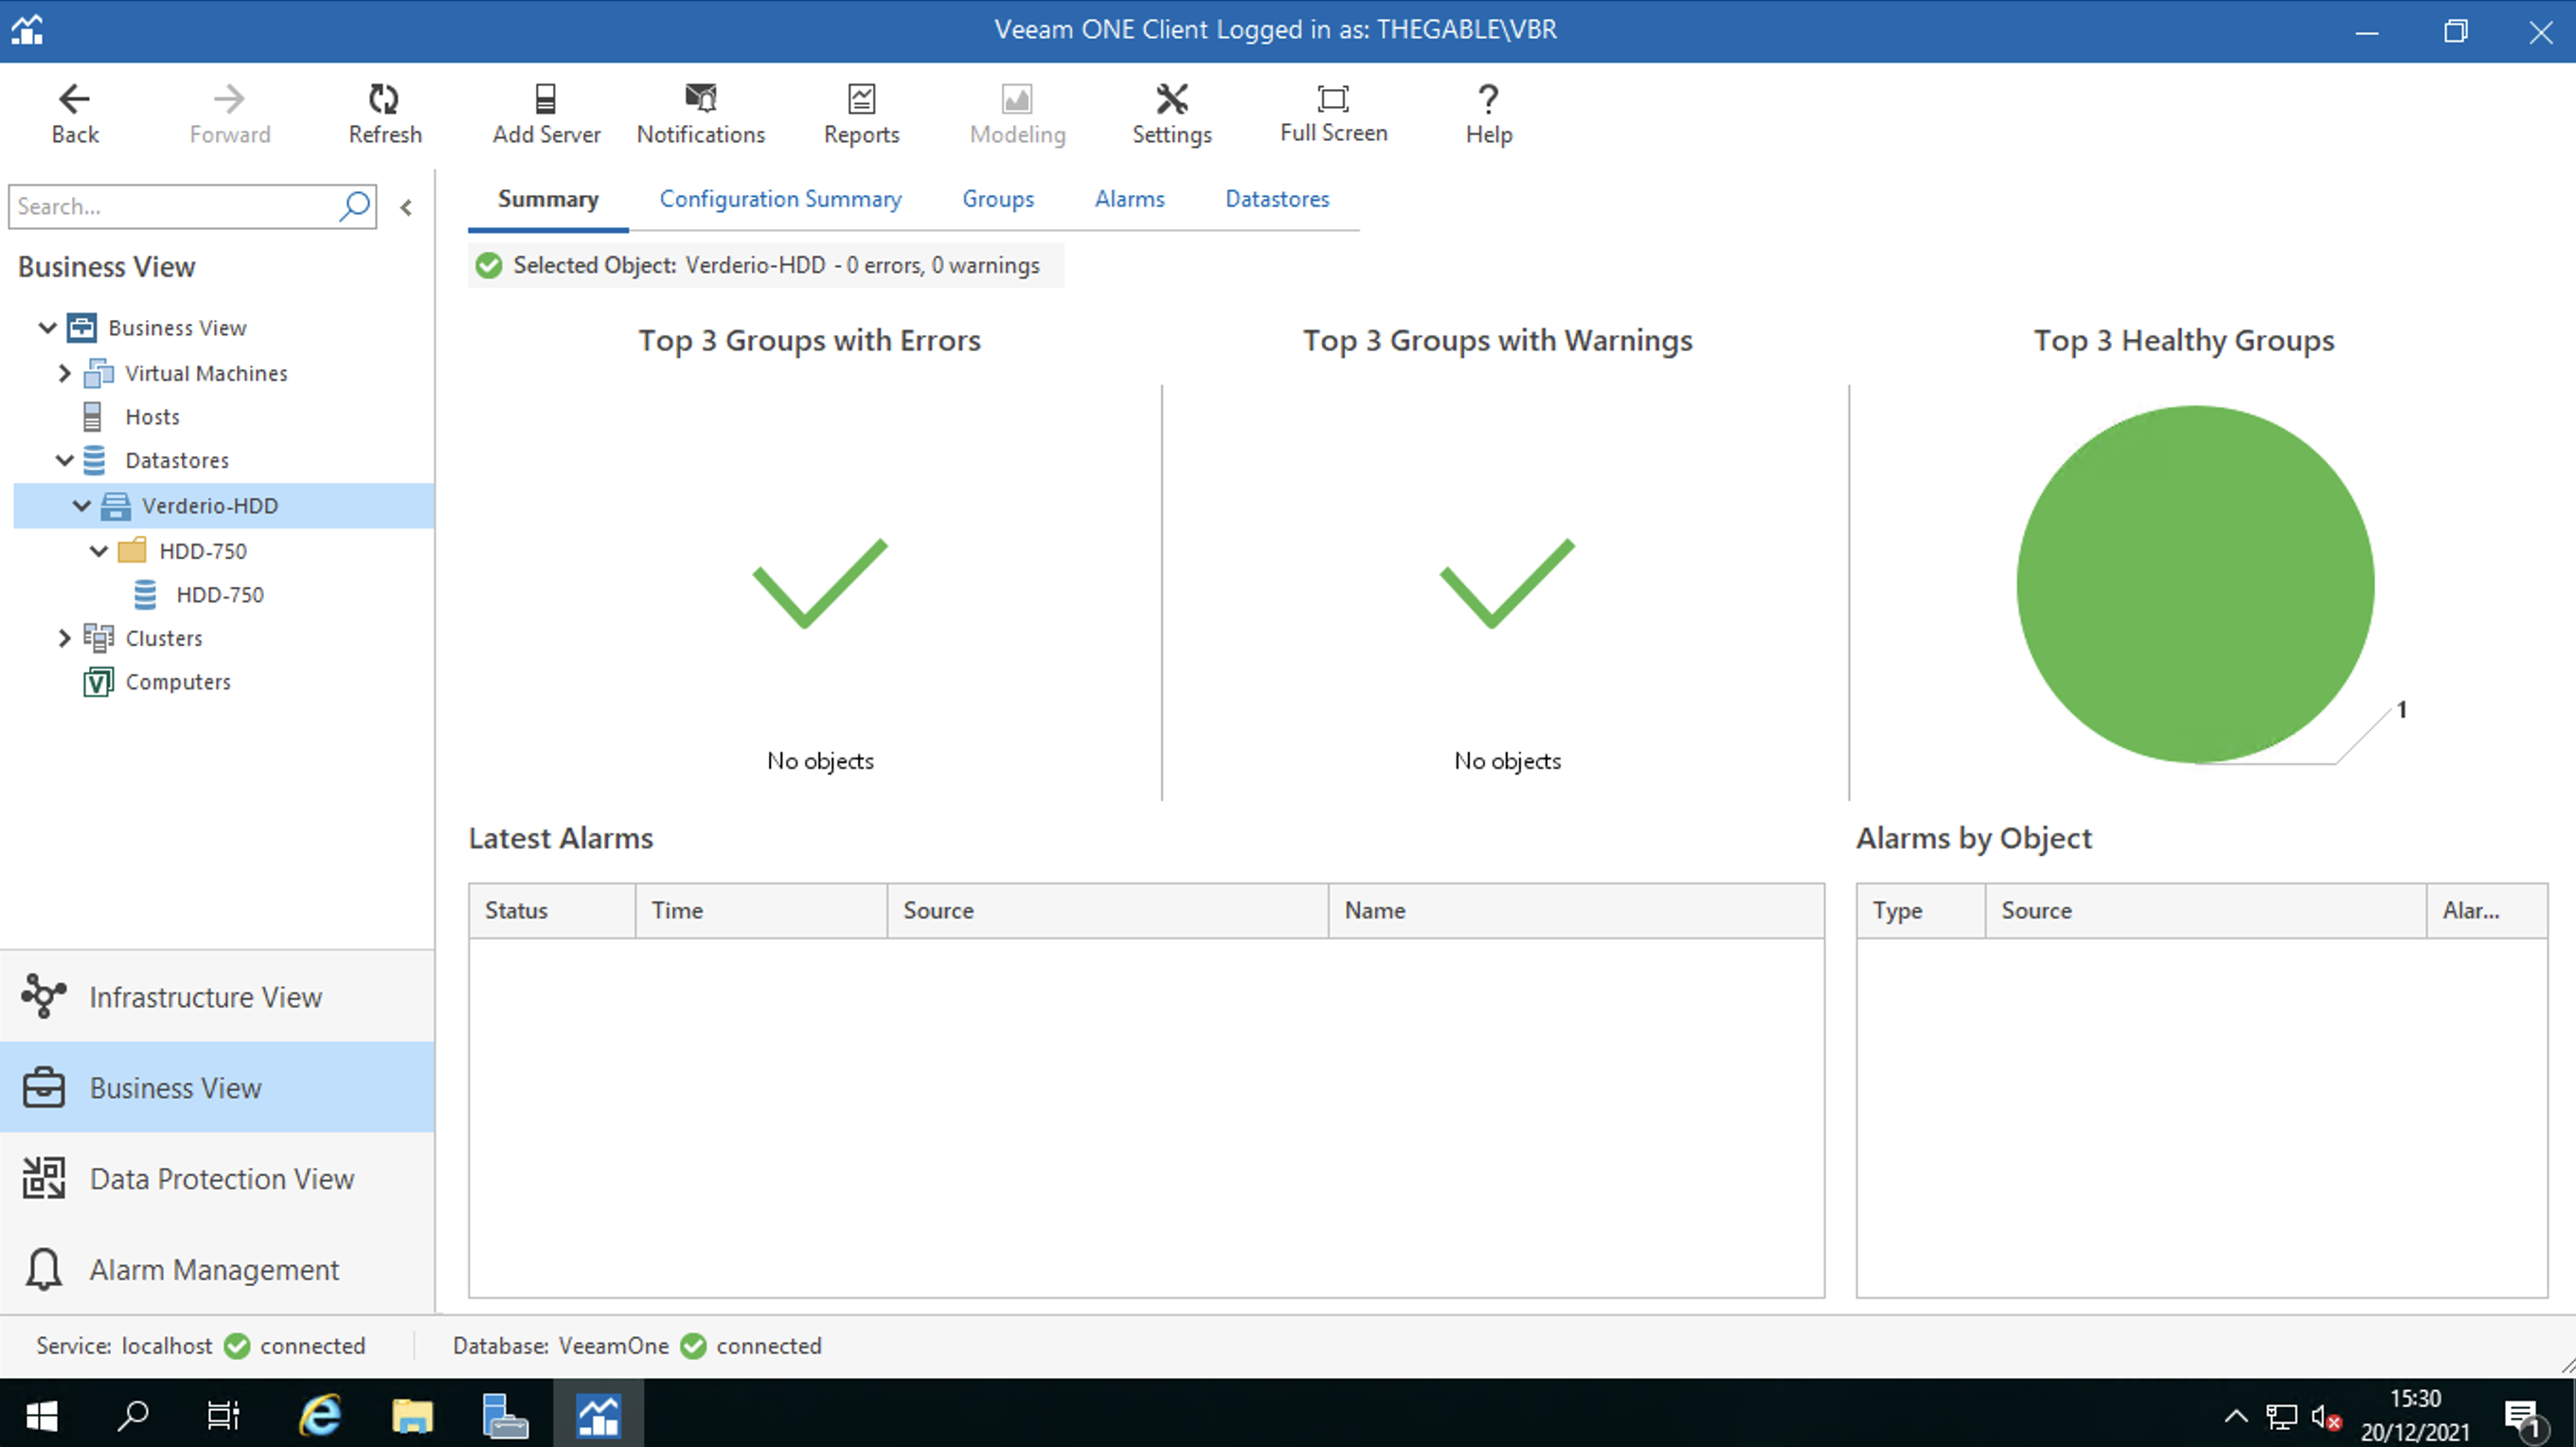 Figure 3
 Figure 4
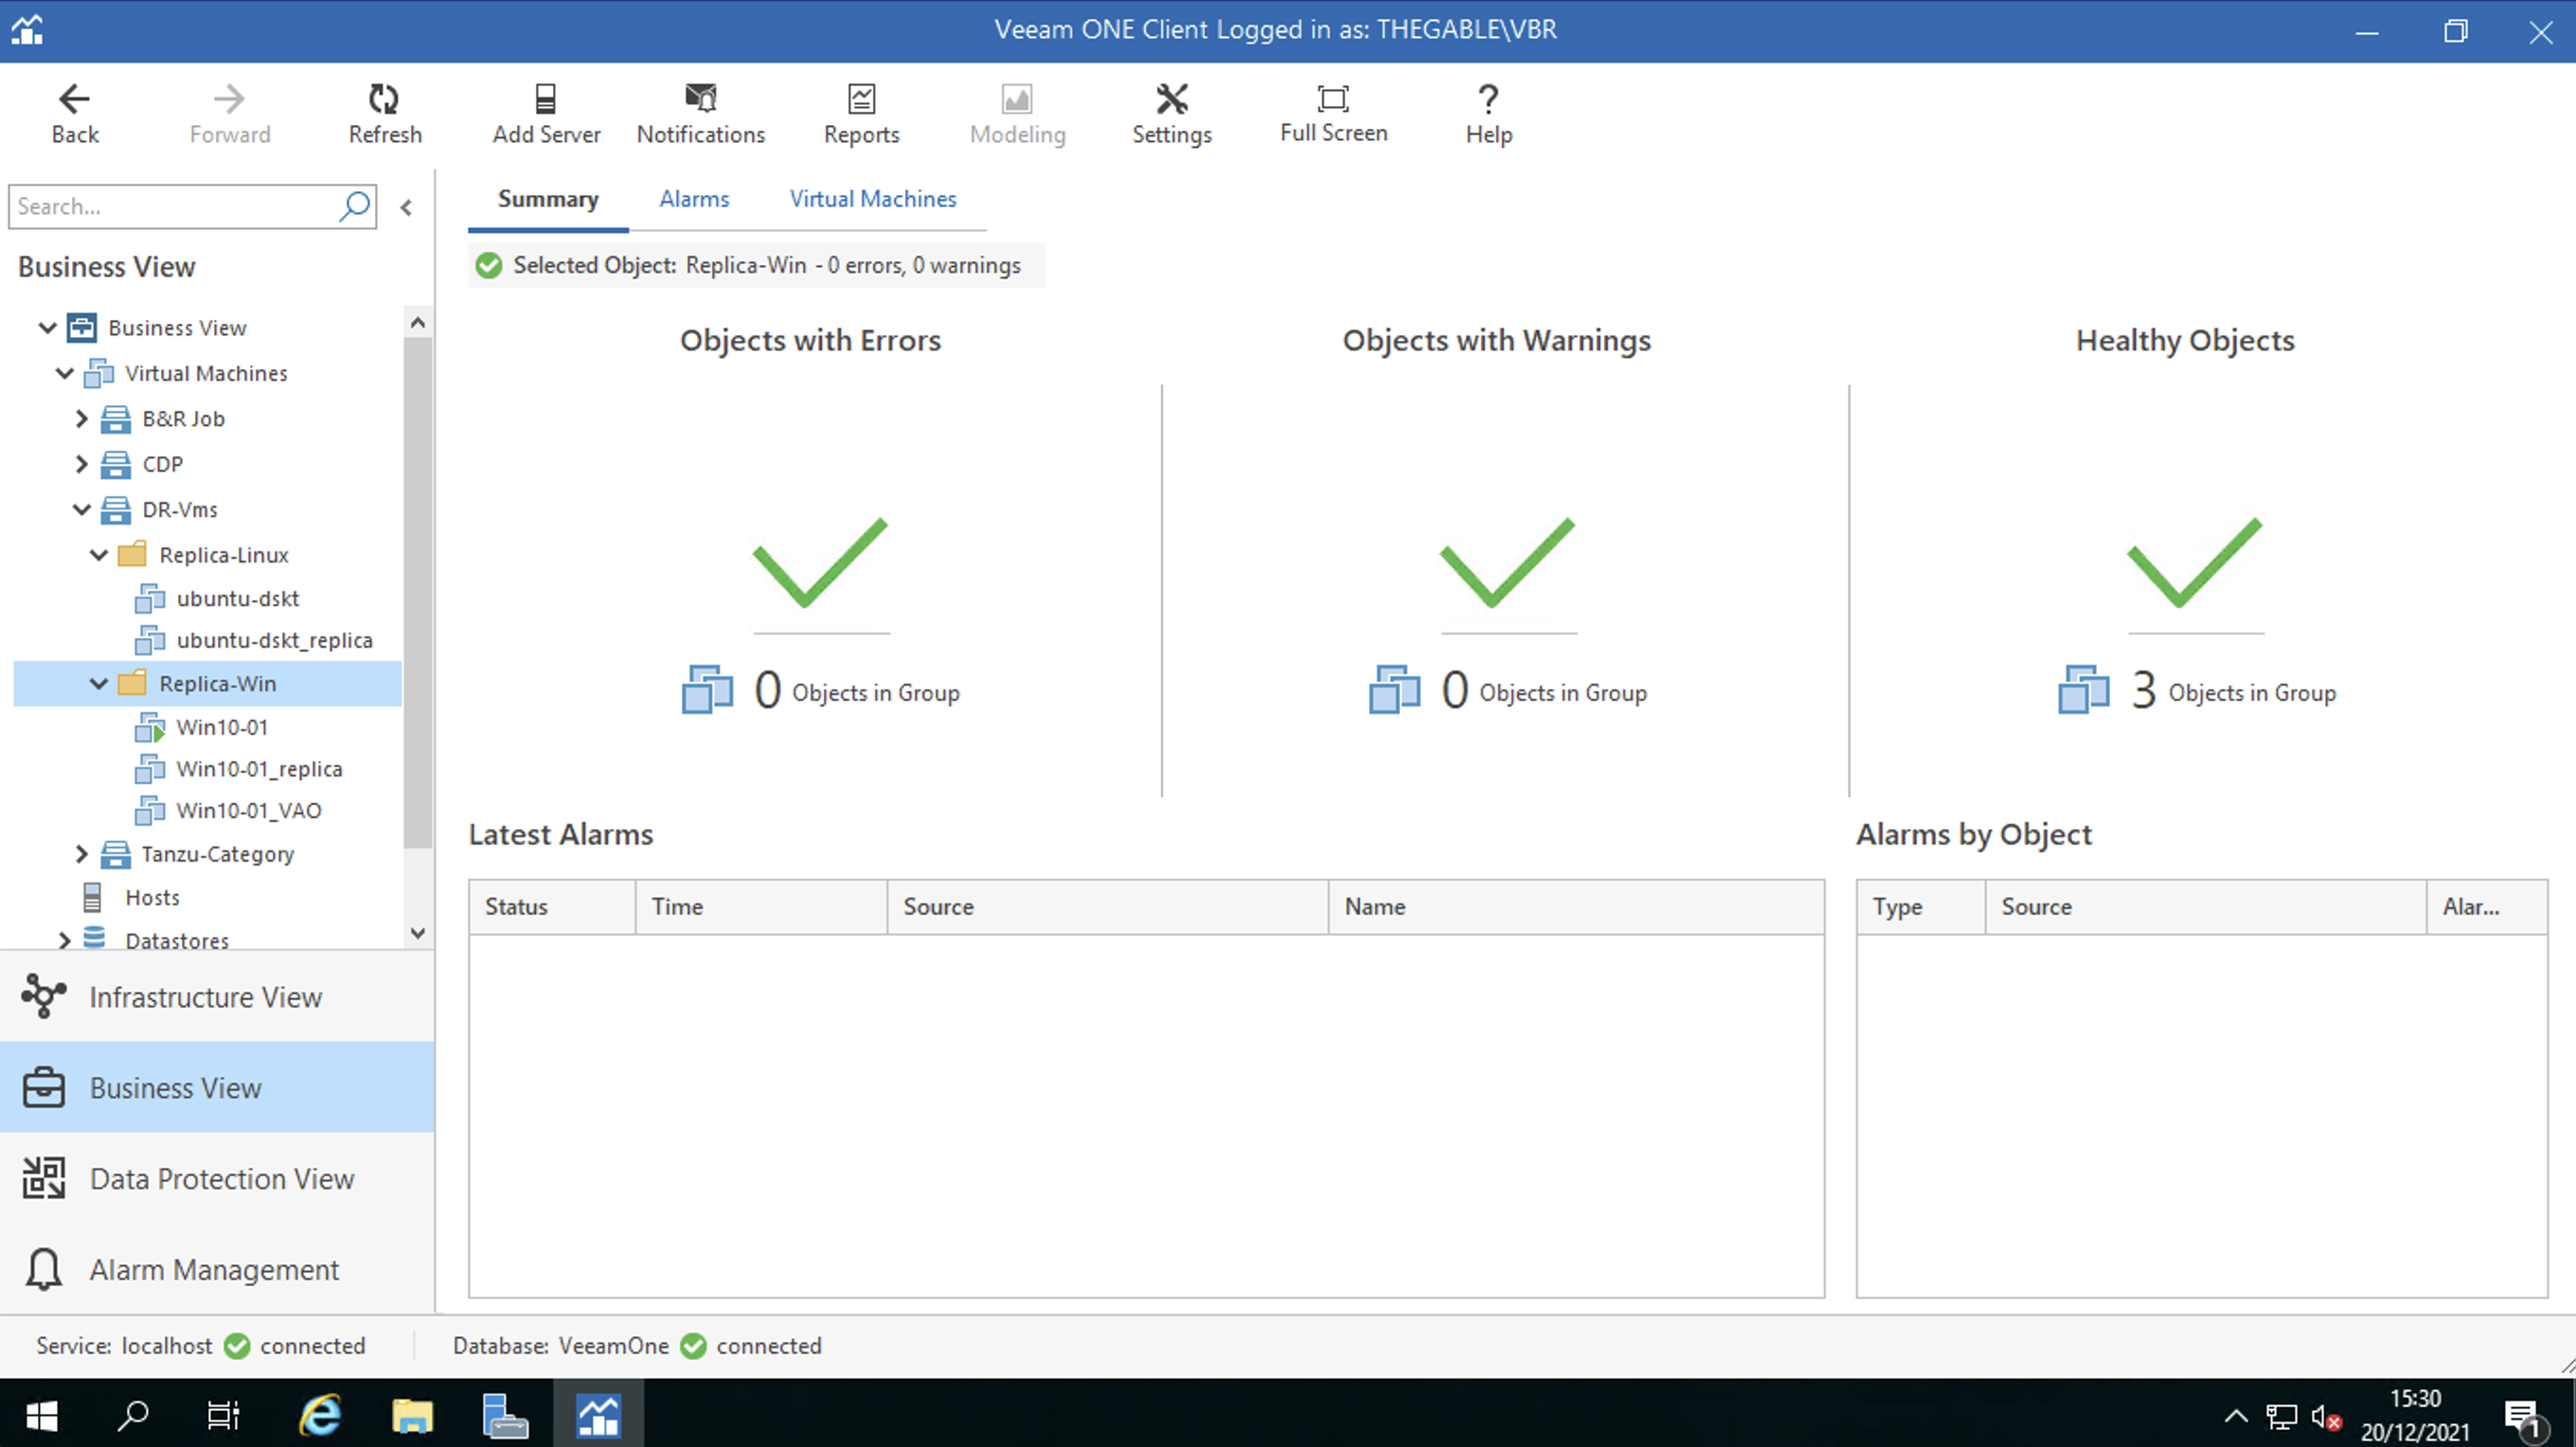 Figure 5
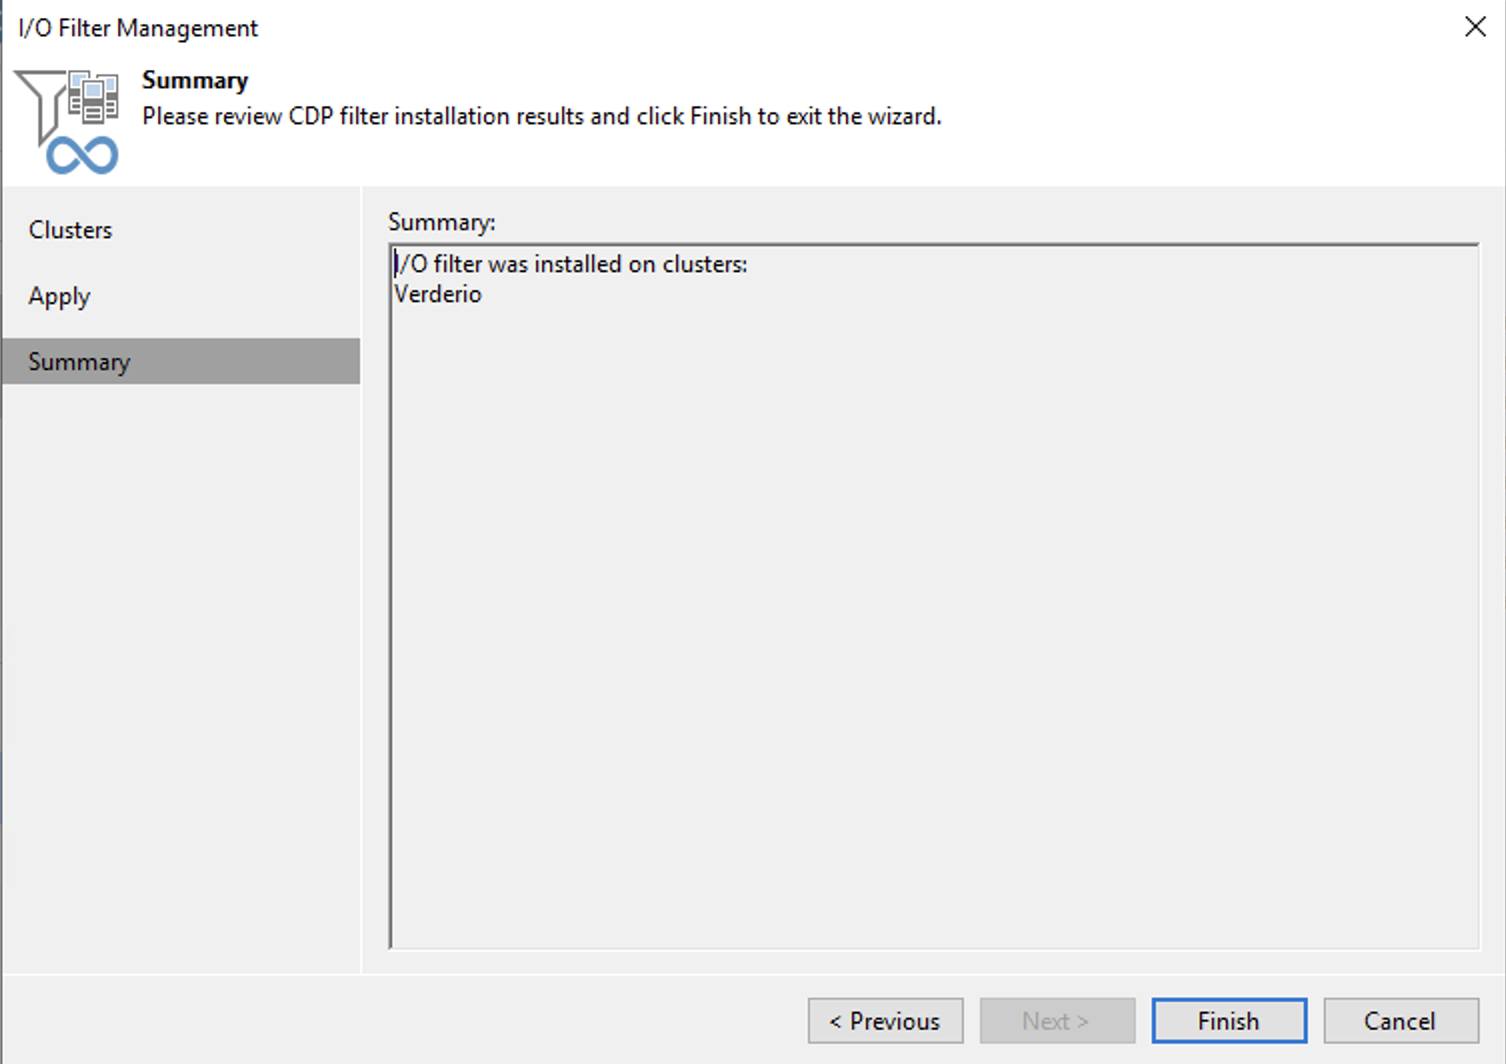
Note 1 : The replication jobs have been configured on the embedded VBR of the VDrO server (see figure 6)
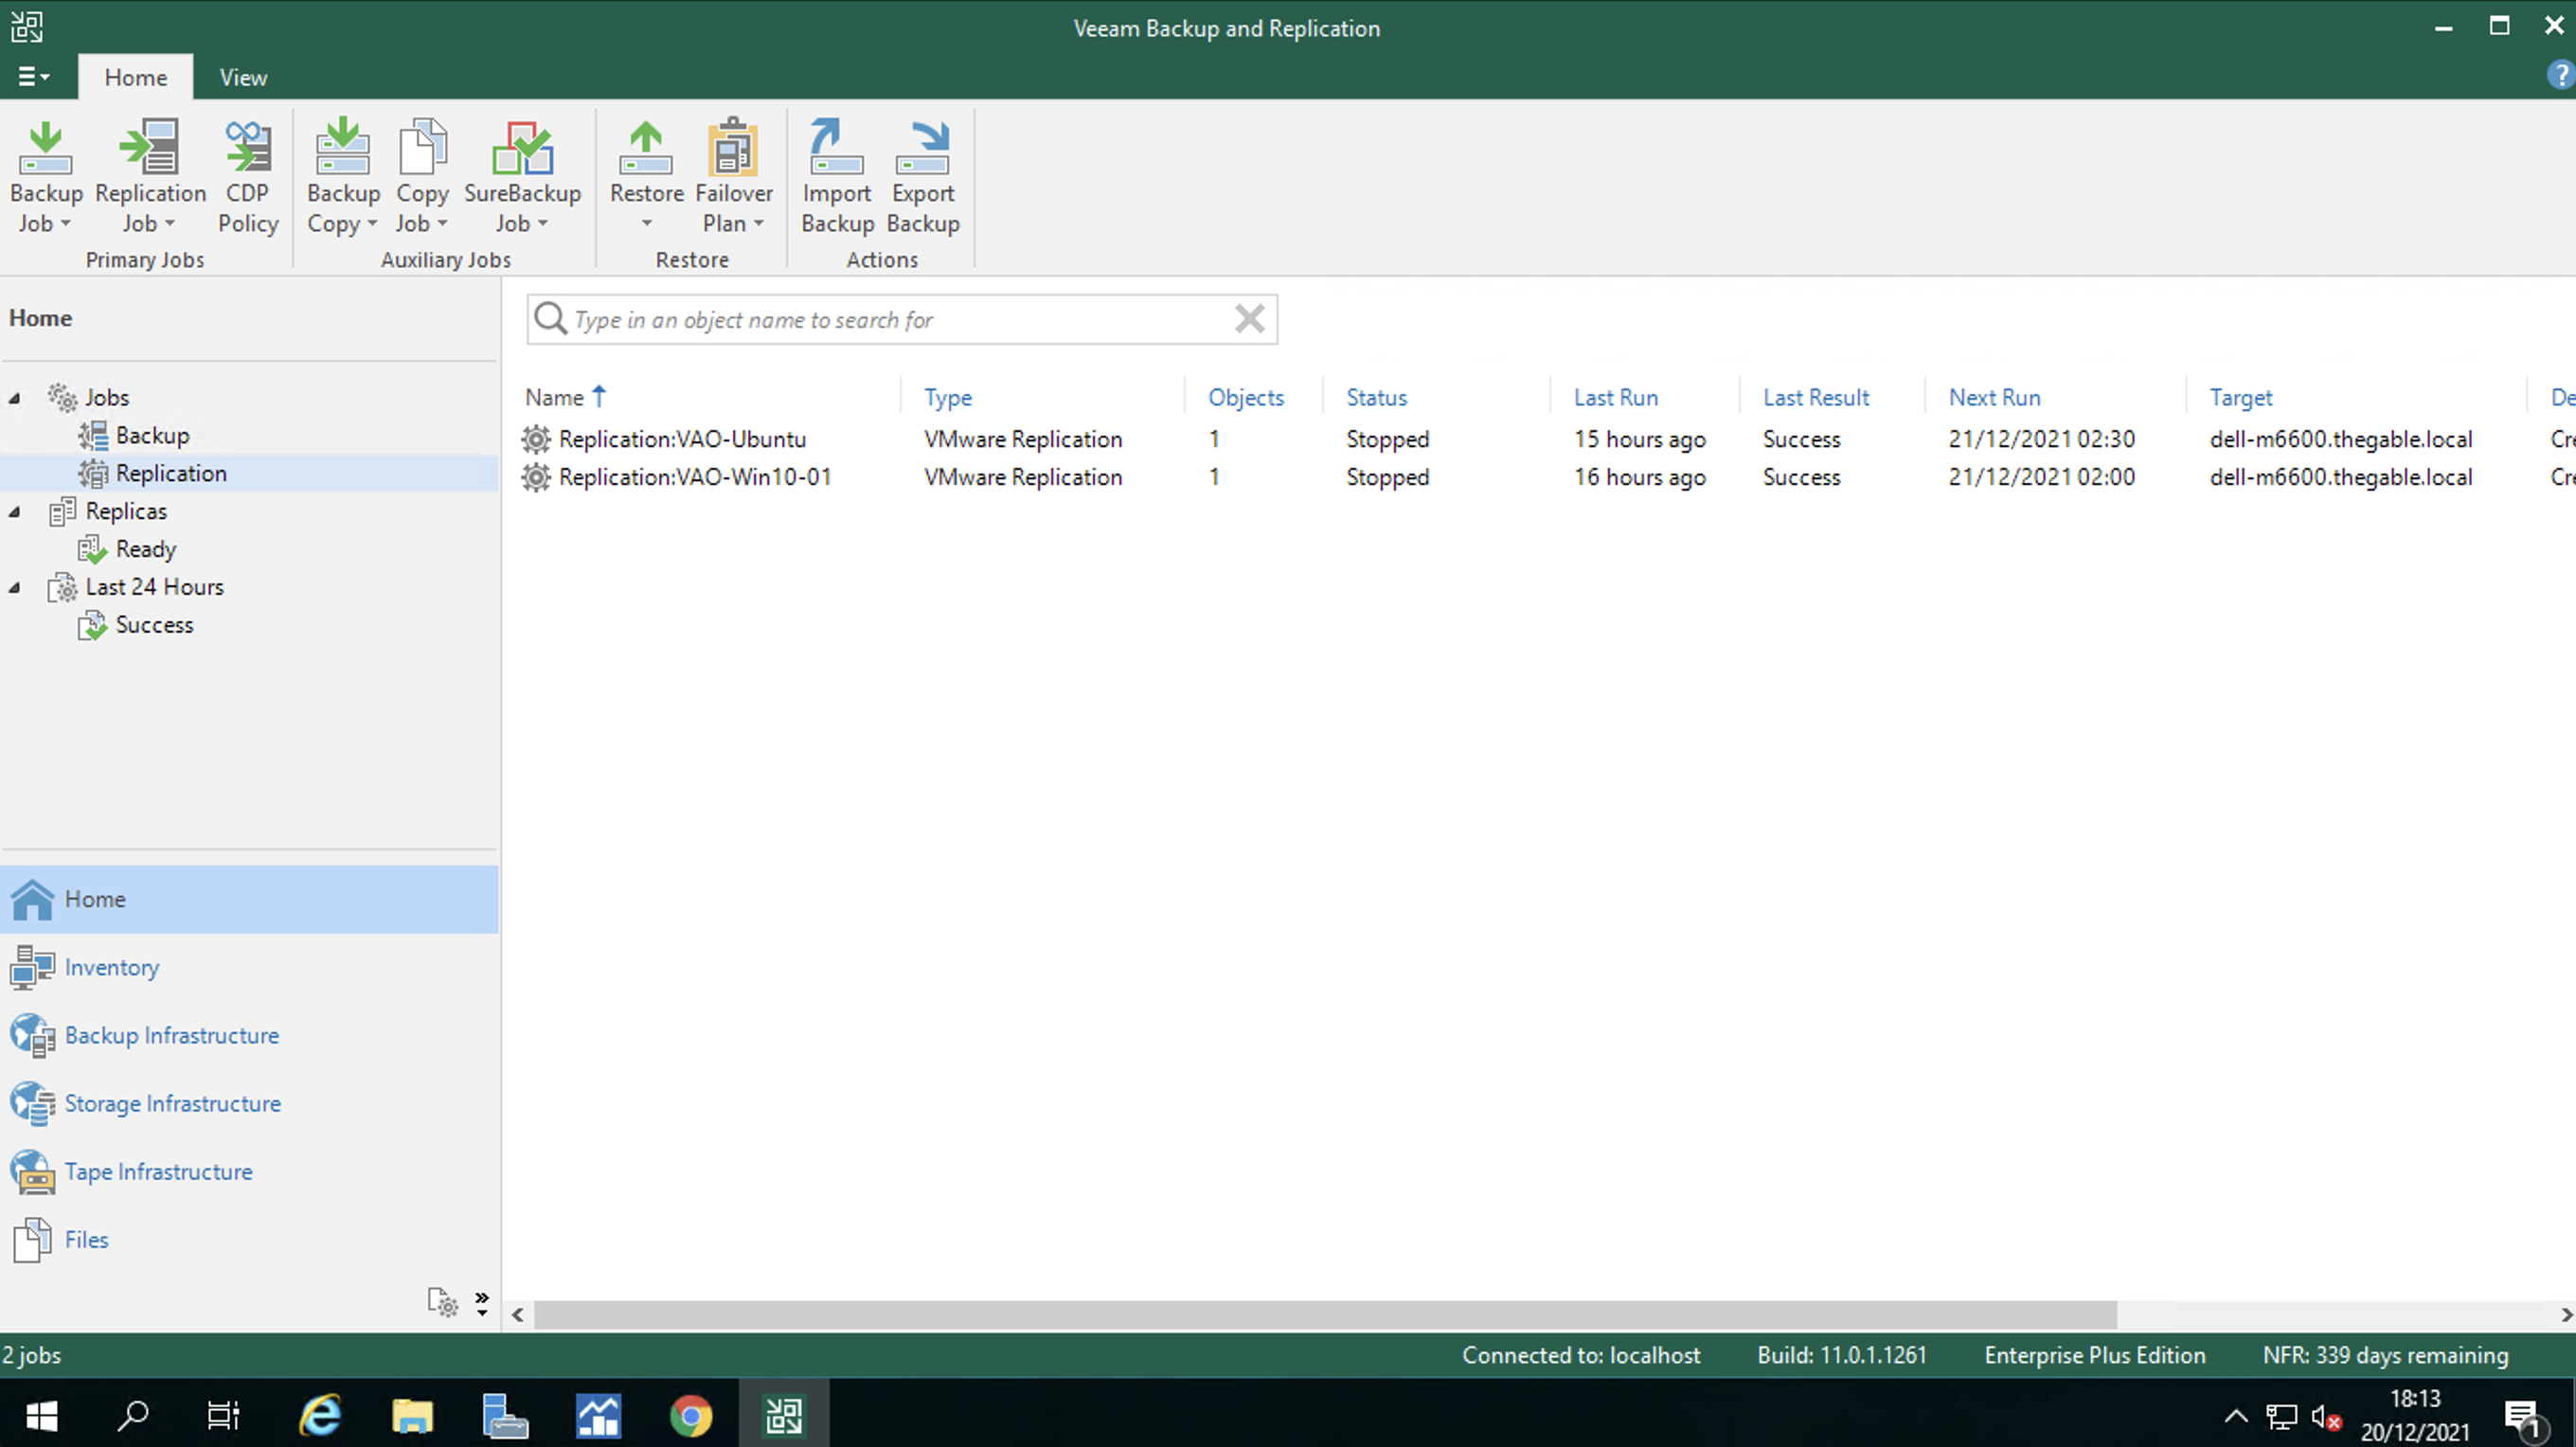 Figure 6
Note 2 : The tagging operation is discussed in a previous post available at the following link:
https://lnx.gable.it/home-page/veeam-availability-orchestrator-v-3-0-dr-from-replicas/
That’s all for today, see you soon!
 Immagine 1
 Immagine 2
 Immagine 3
 Immagine 4
 Immagine 5
 Immagine 6
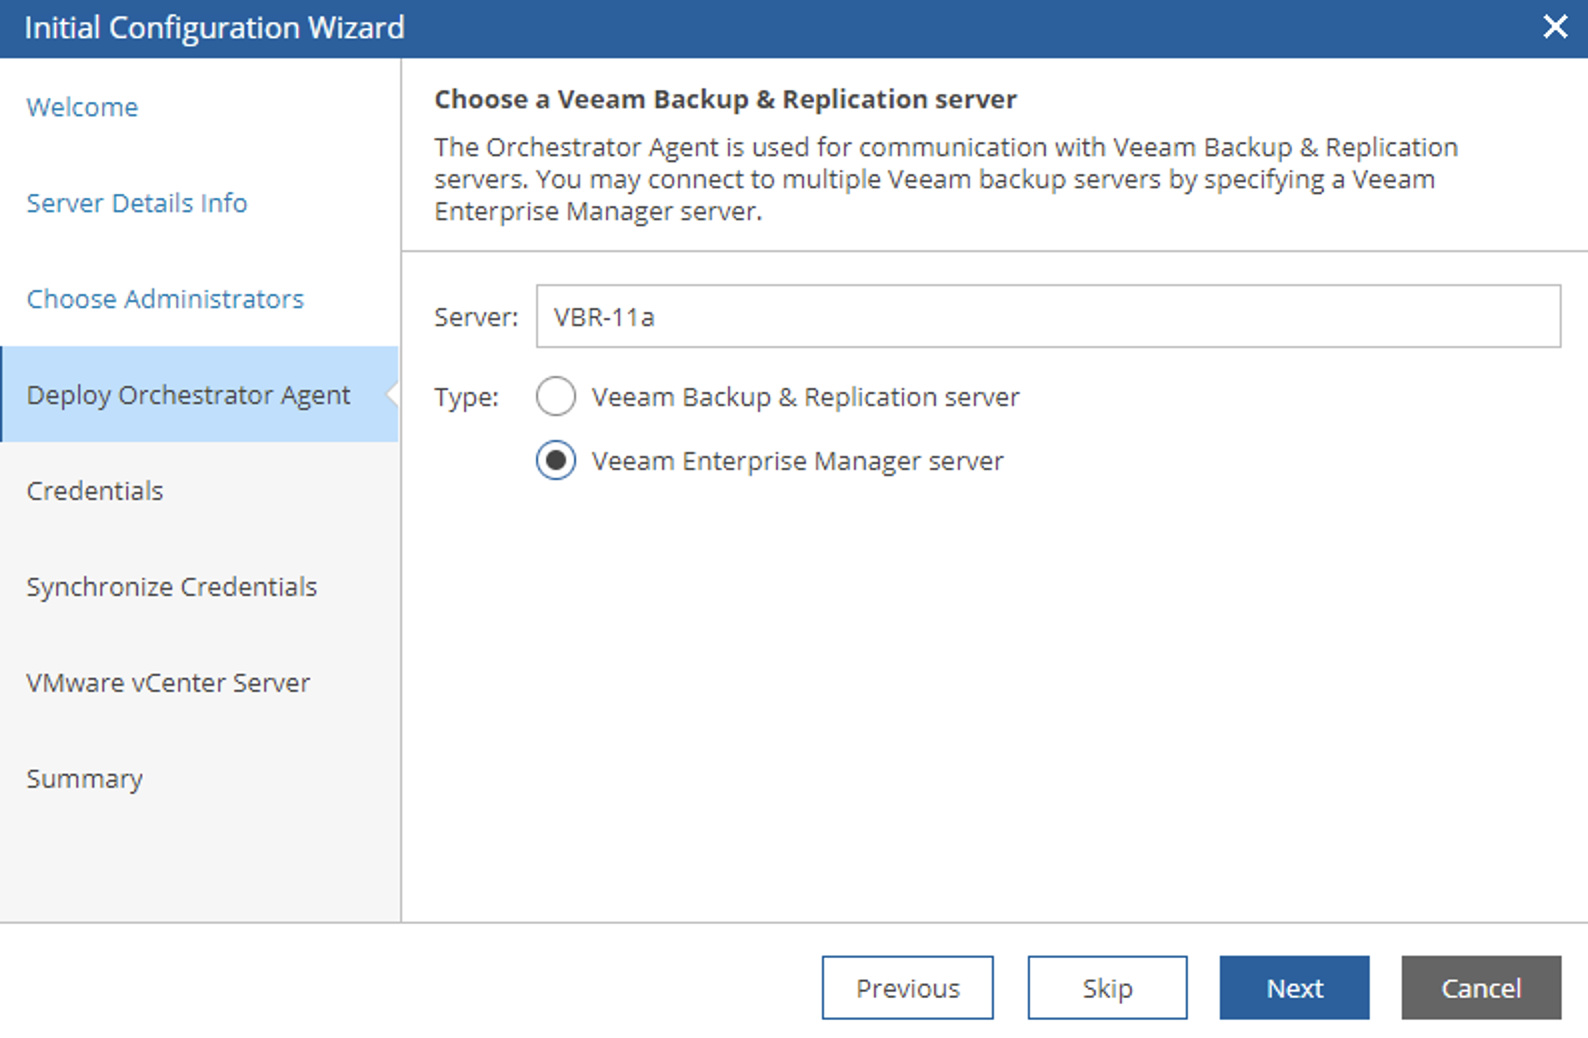 Immagine 7
 Immagine 8
 Immagine 9
 Immagine 10
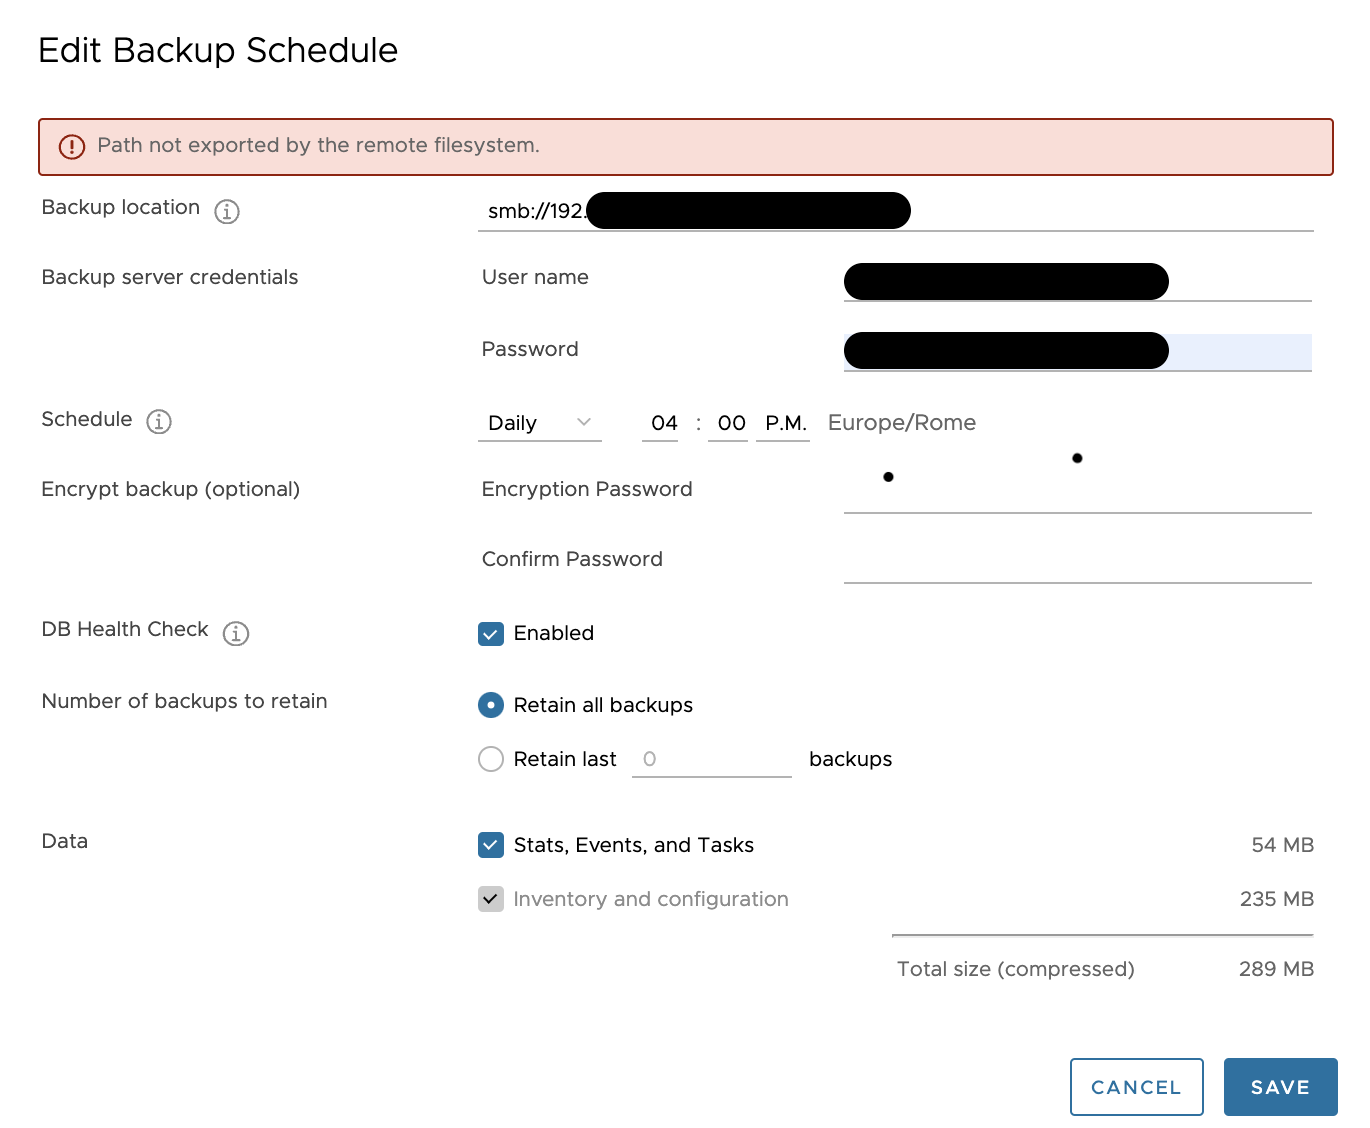 Immagine 1
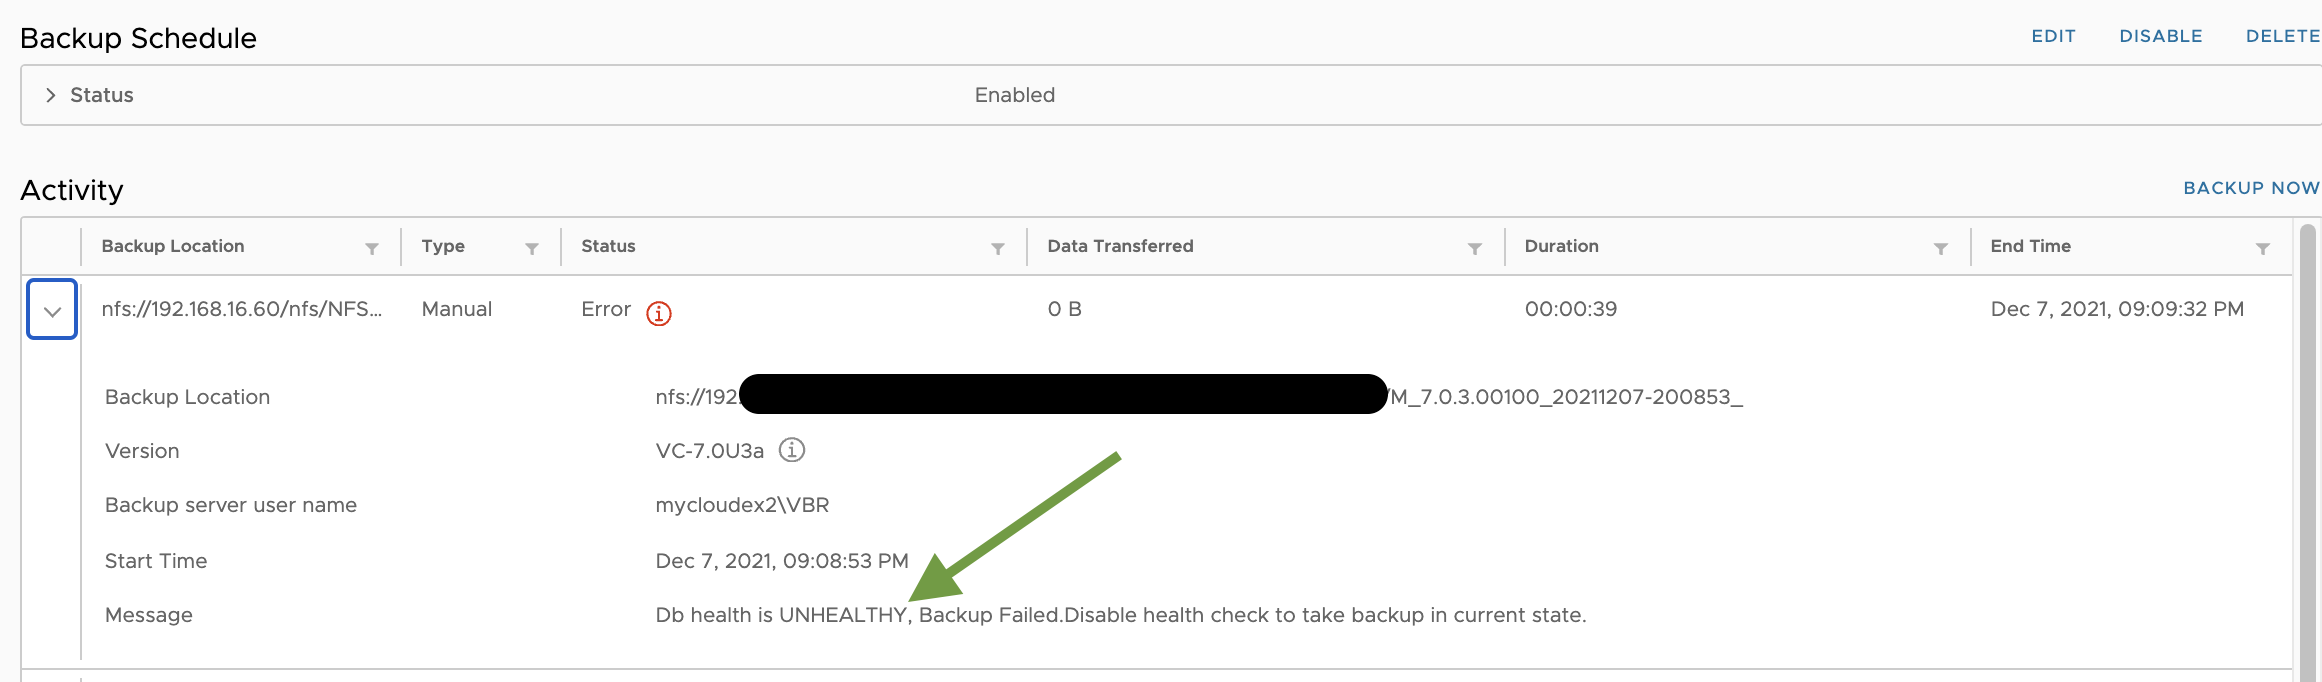 Immagine 2
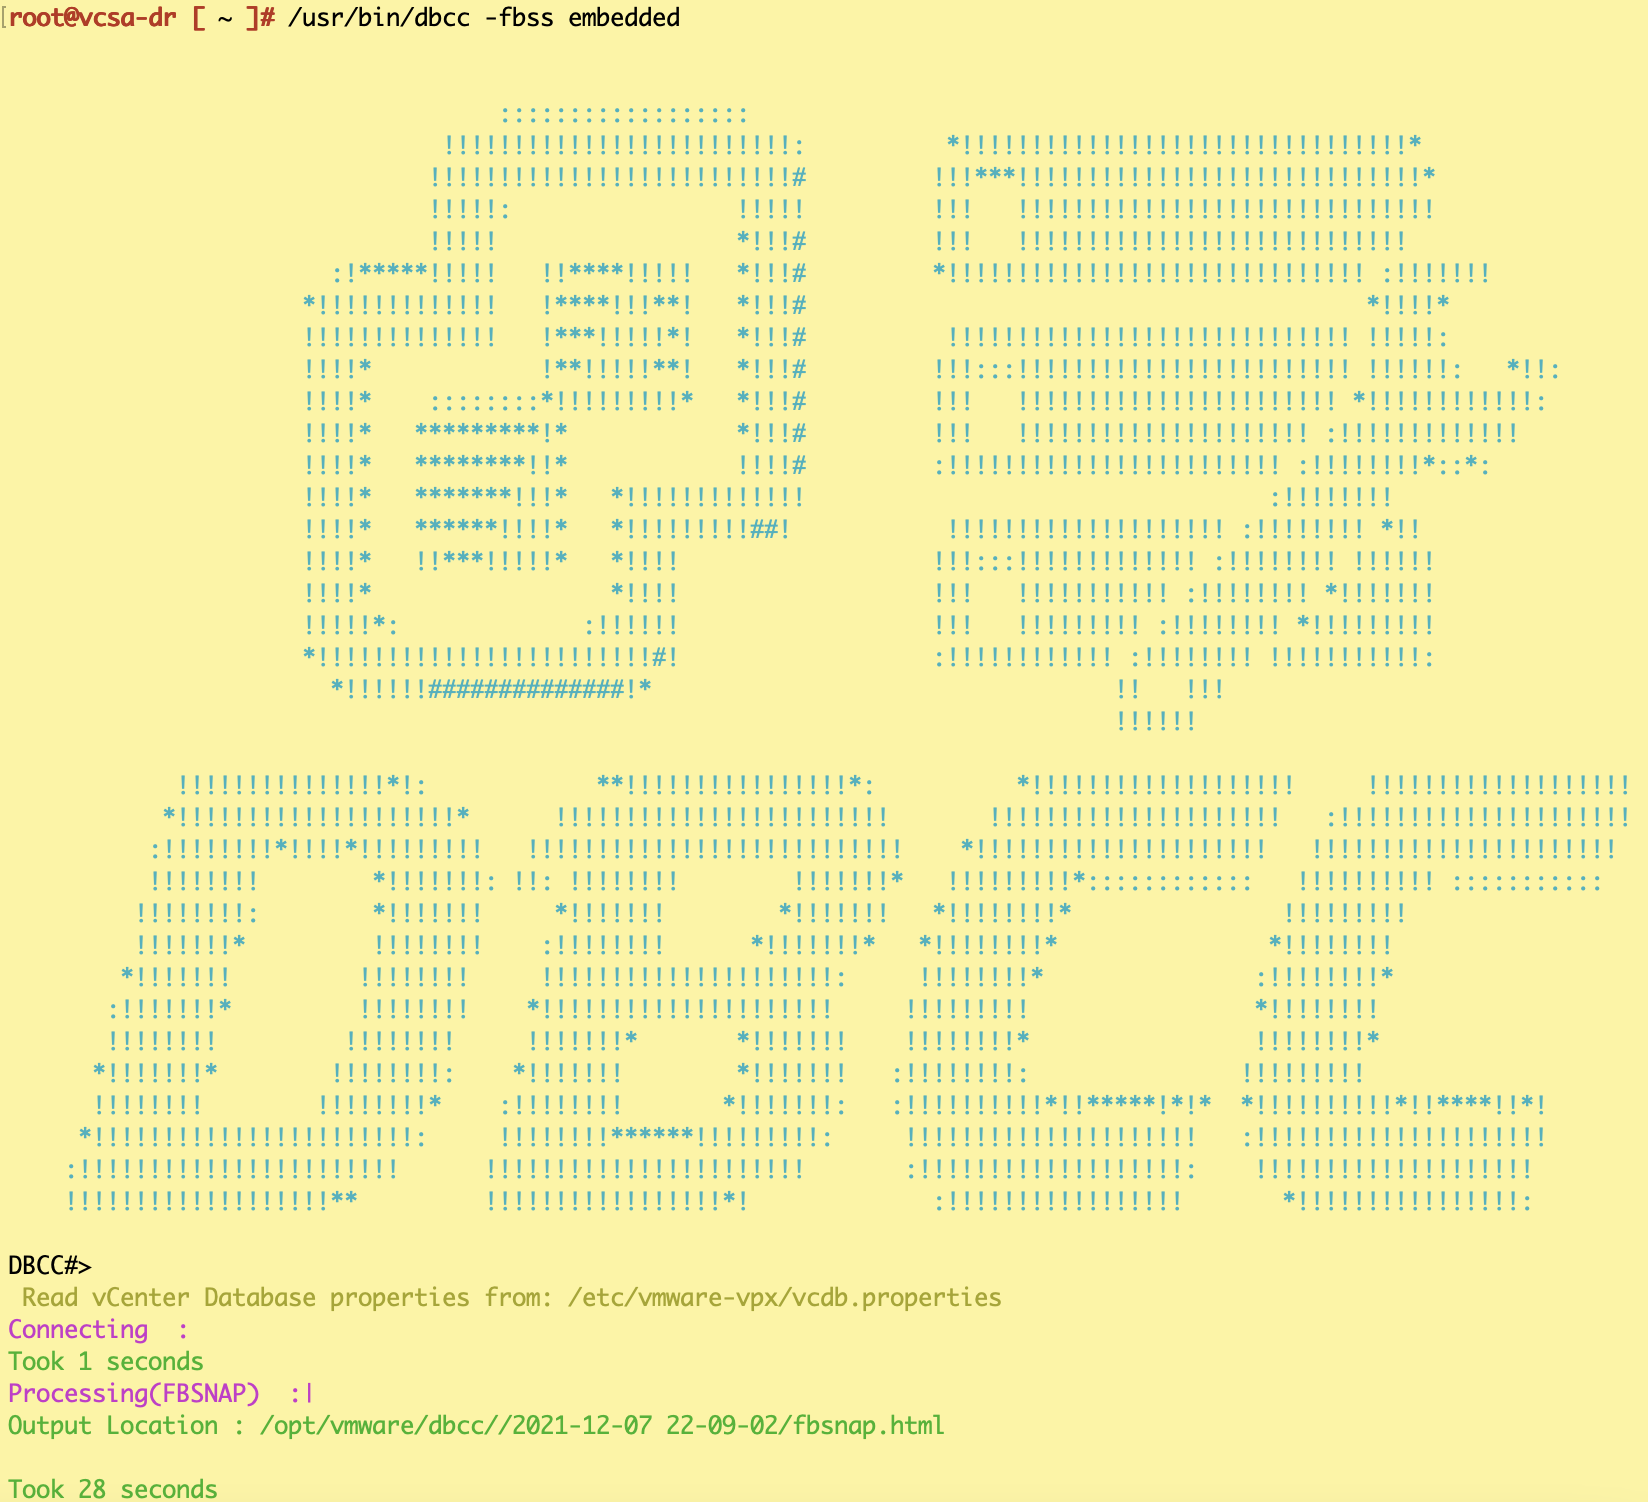 Immagine 3
 Immagine 4
 Immagine 5