VDrO-Baseline 2

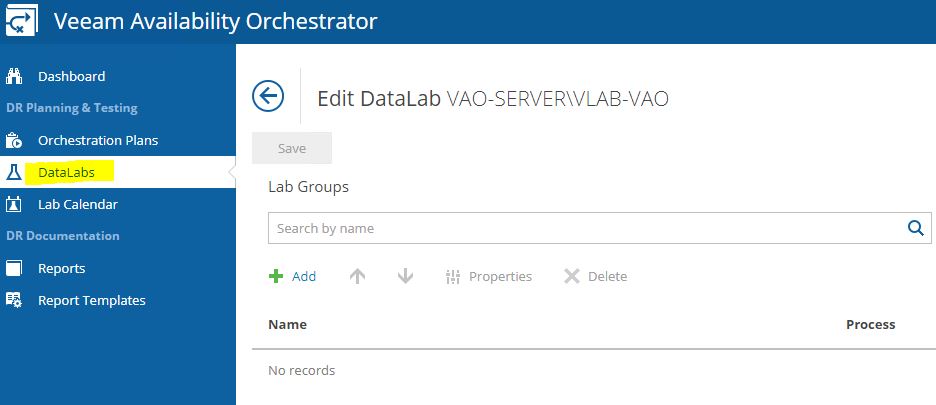
Let’s continue the VDrO features description talking about scope (Picture 1).

Picture 1

The VDrO controls access to its functionality with the scopes.

A scope defines which operations users can perform.

Let’s back to my example, I created a SQL Production scope where only the users belonging to the SQL administrator group can manage and launch the DR process.

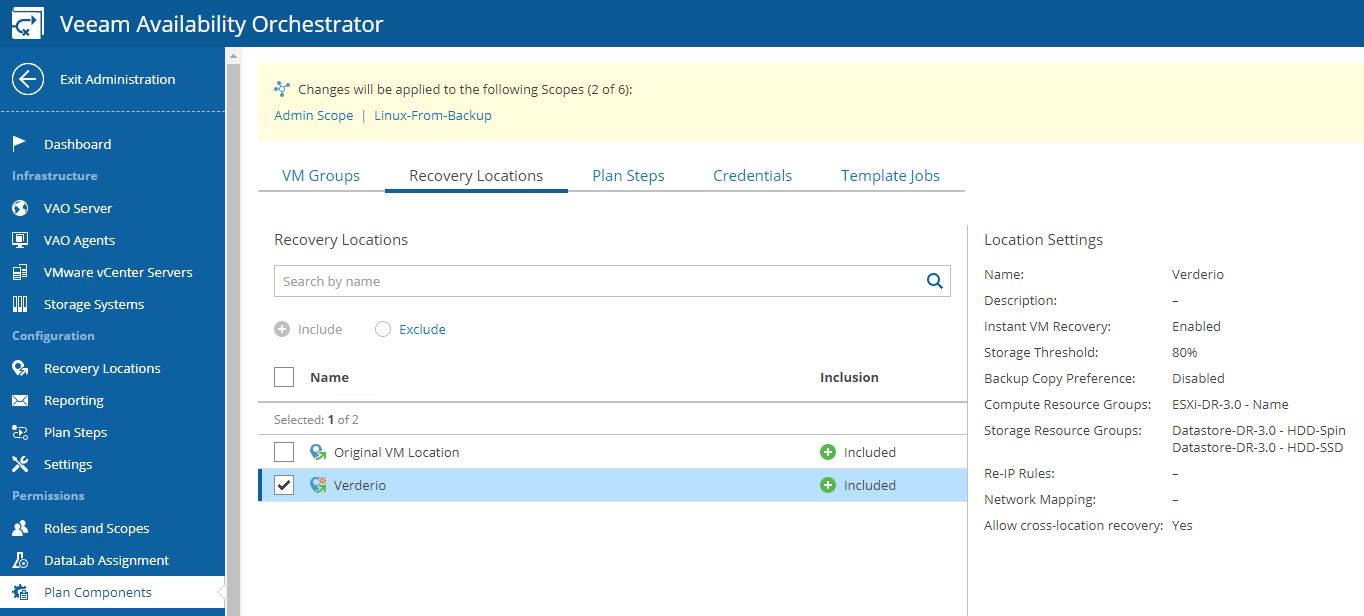
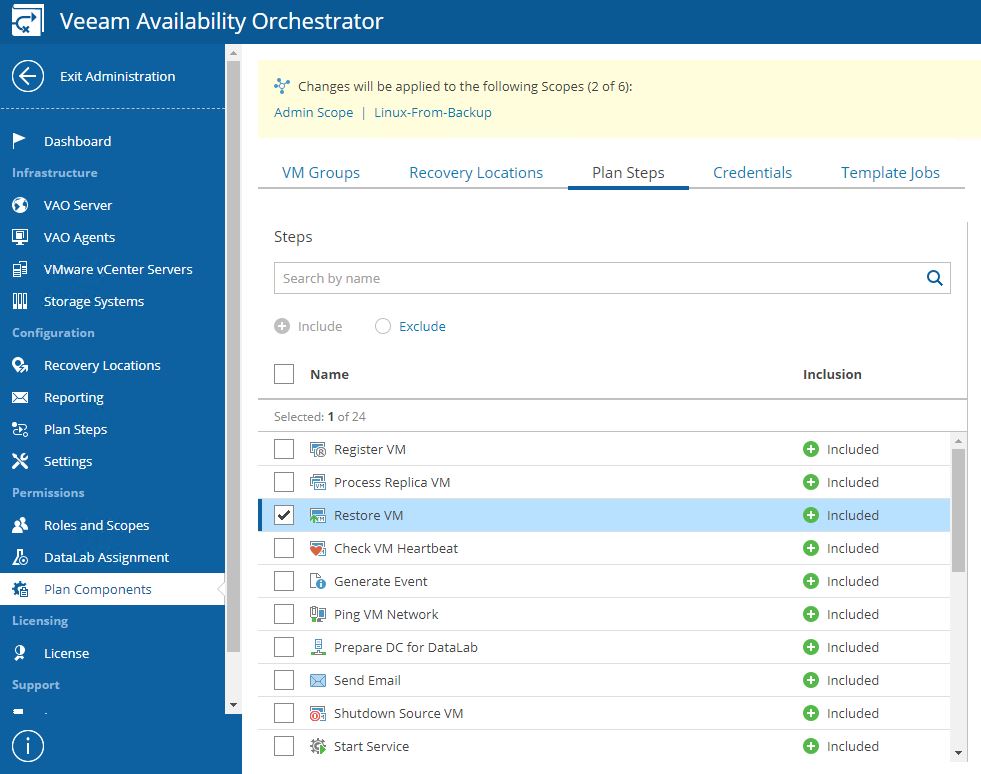
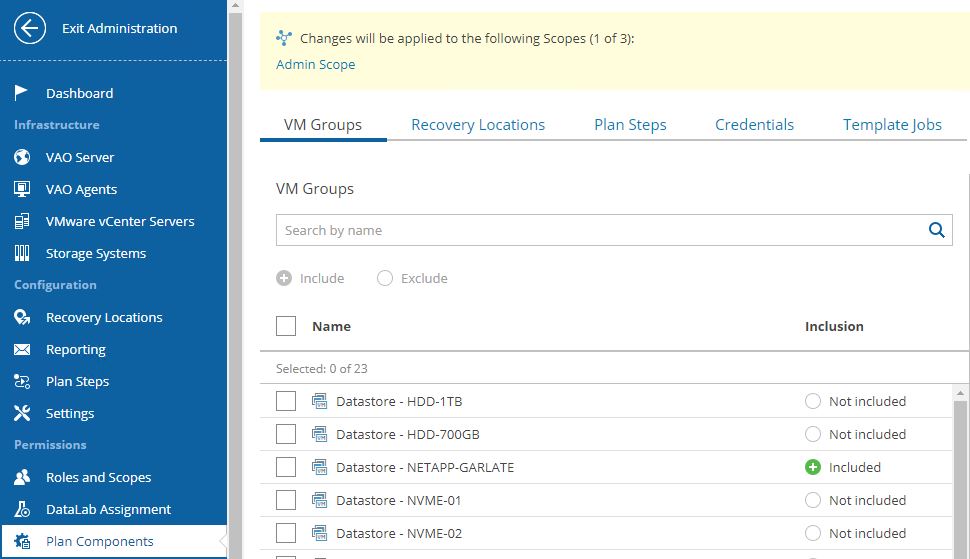
The plan components are probably the main VRrO attention point (Picture 2).
(Picture3)

From this menu, it’s possible to group as a single entity all objects you need to create a Disaster Recovery strategy.

I’m talking scope (first to select), VM (applications and services), recovery locations, plan steps, credentials, and jobs template.

To be clearer, it’s like creating a picnic basket and putting it inside different dishes.

Now you just have to lay the table.

How to do it? (Which dishes do I have to put into the basket?)

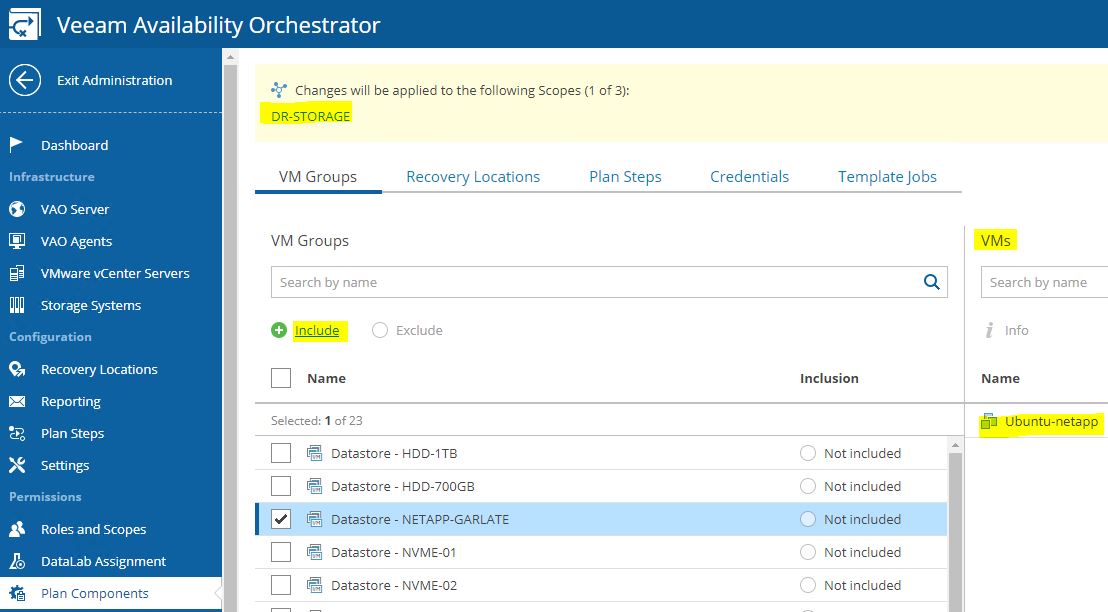
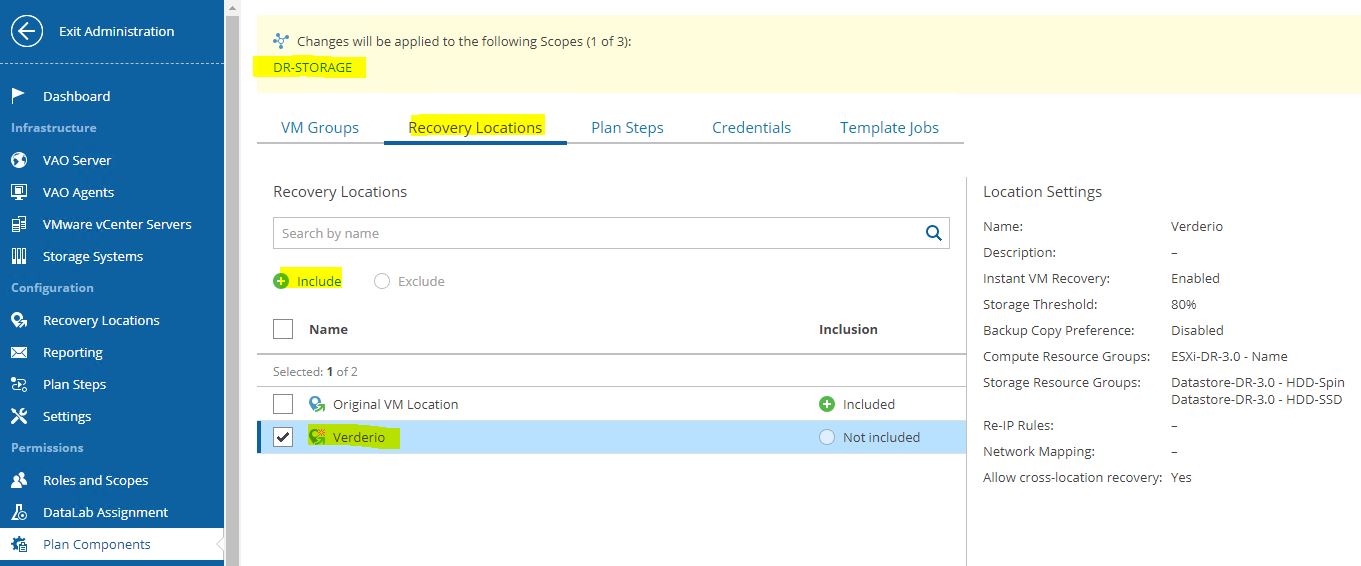
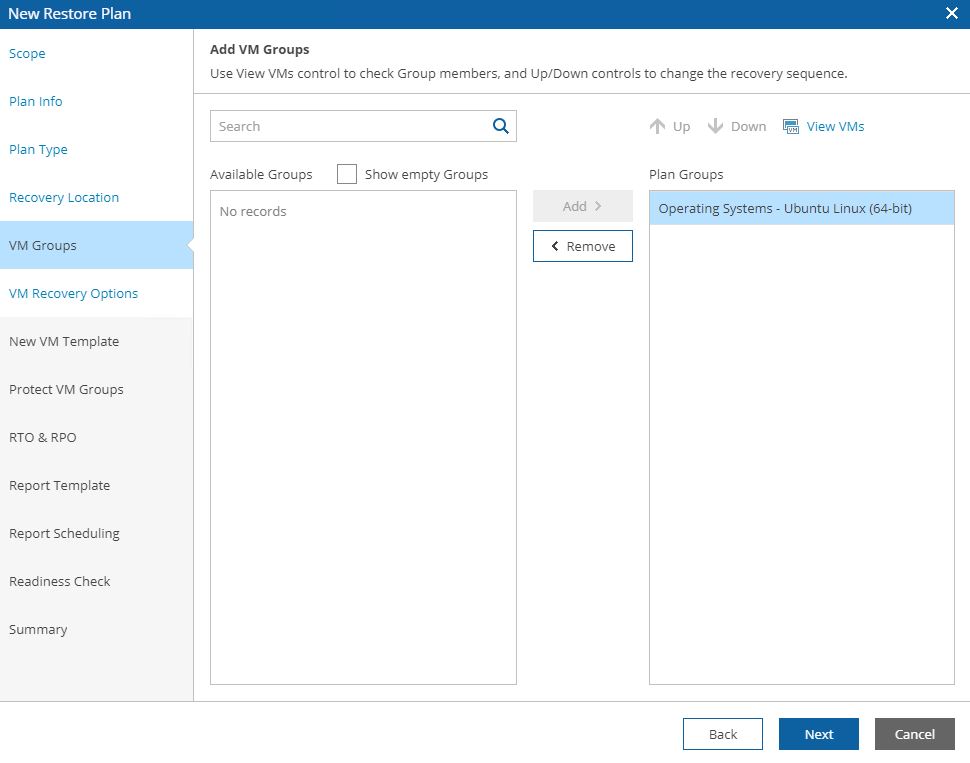
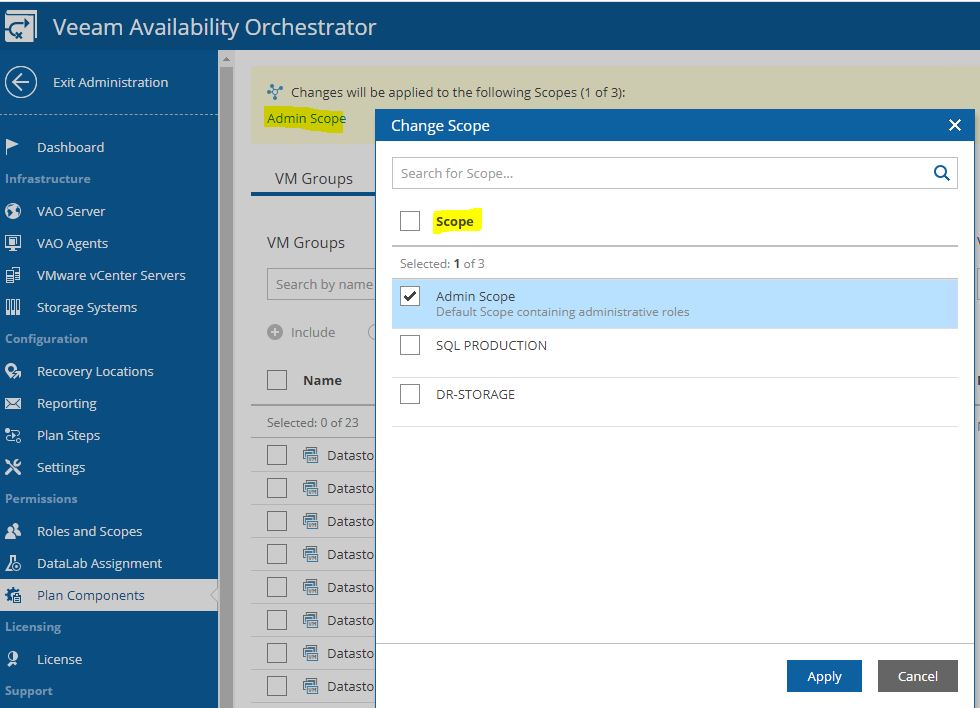
Just select scope (Picture 4), then from VM groups include the needed VMs source (Picture 5), from recovery locations, select the DR site (picture 6), and at the end select plan steps, credential, and Template Job.
Picture 4

Picture 5

Picture 6

The last point is the DataLabs assignment but I’m sure you can now include them on the right scopes.

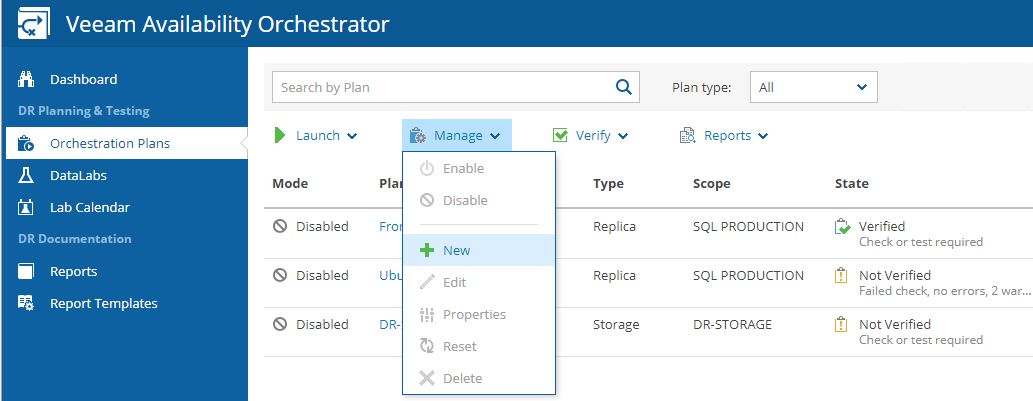
Exit from the Administrator menu and move to the main menu to create the first Recovery Plan.

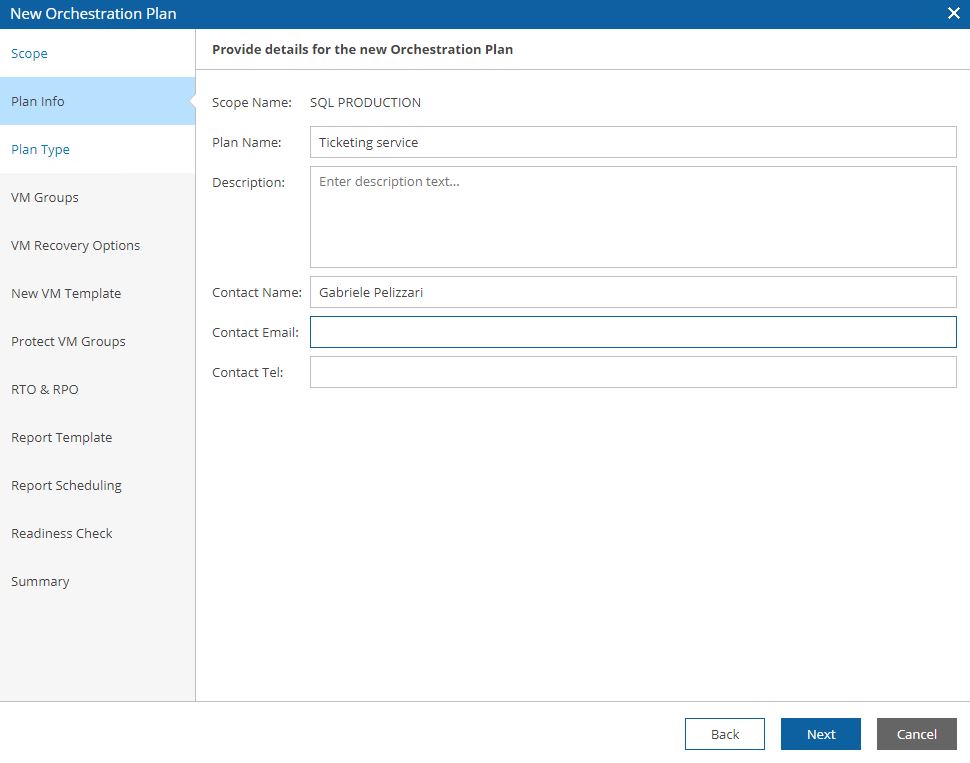
The wizard is very easy to be used:
Picture 7

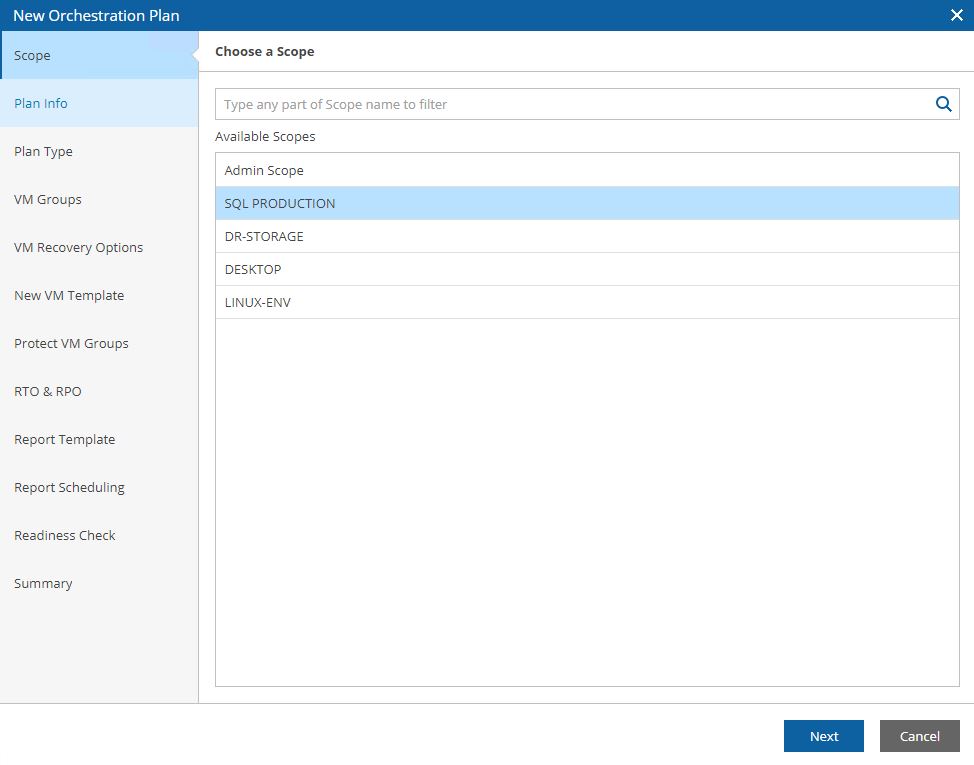
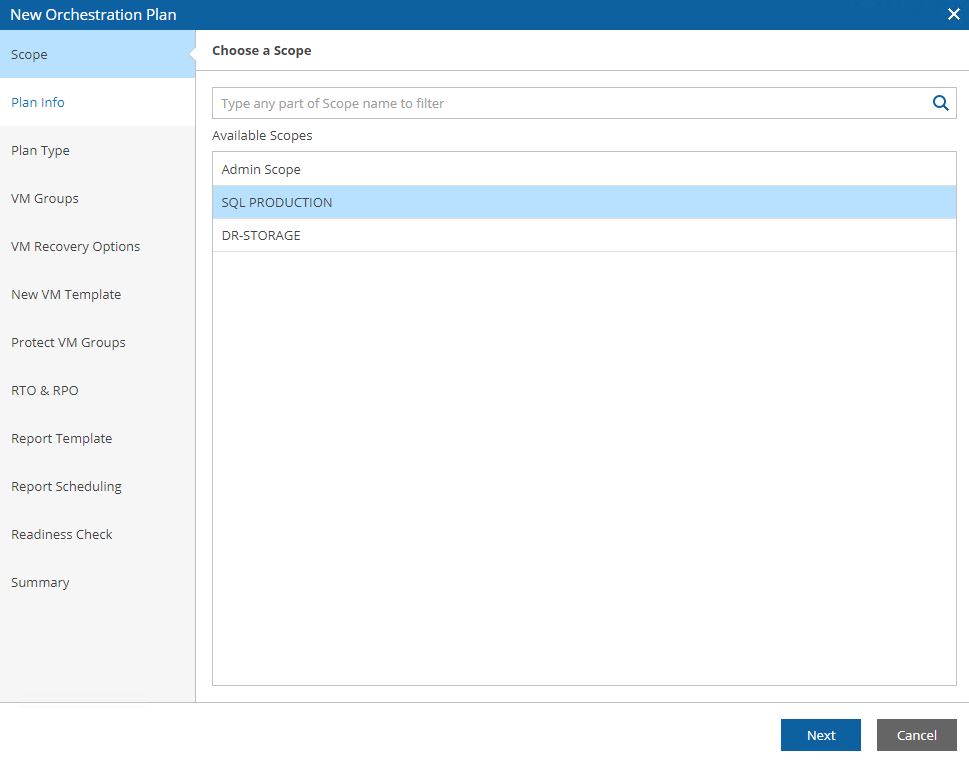
Picture 8 shows how to select the Scope.
Picture 8

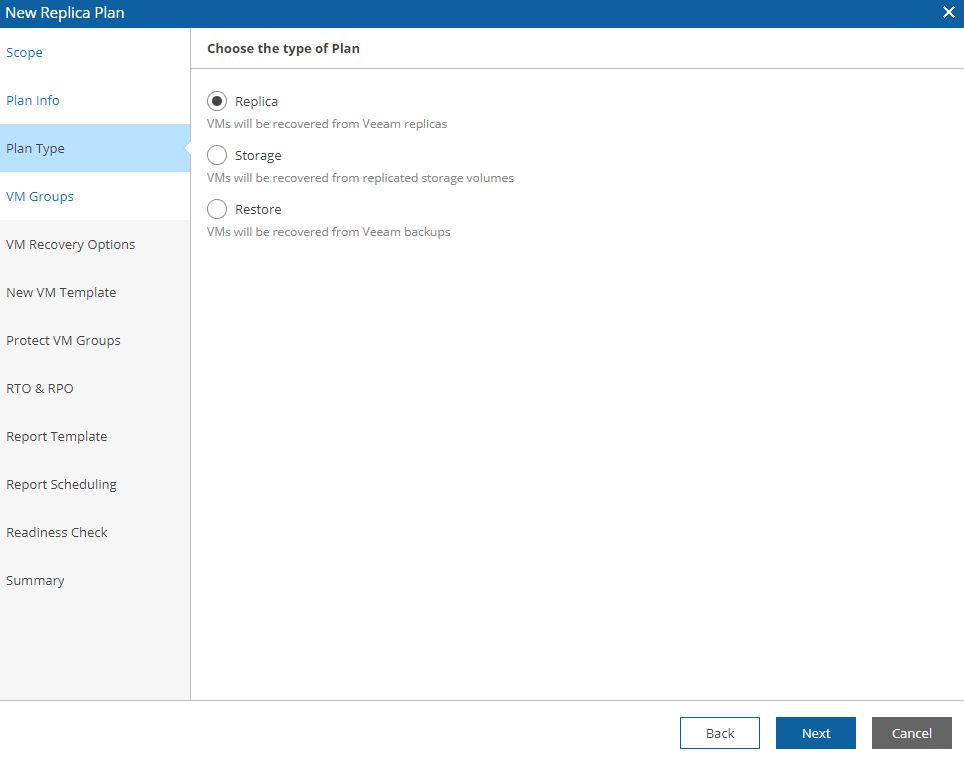
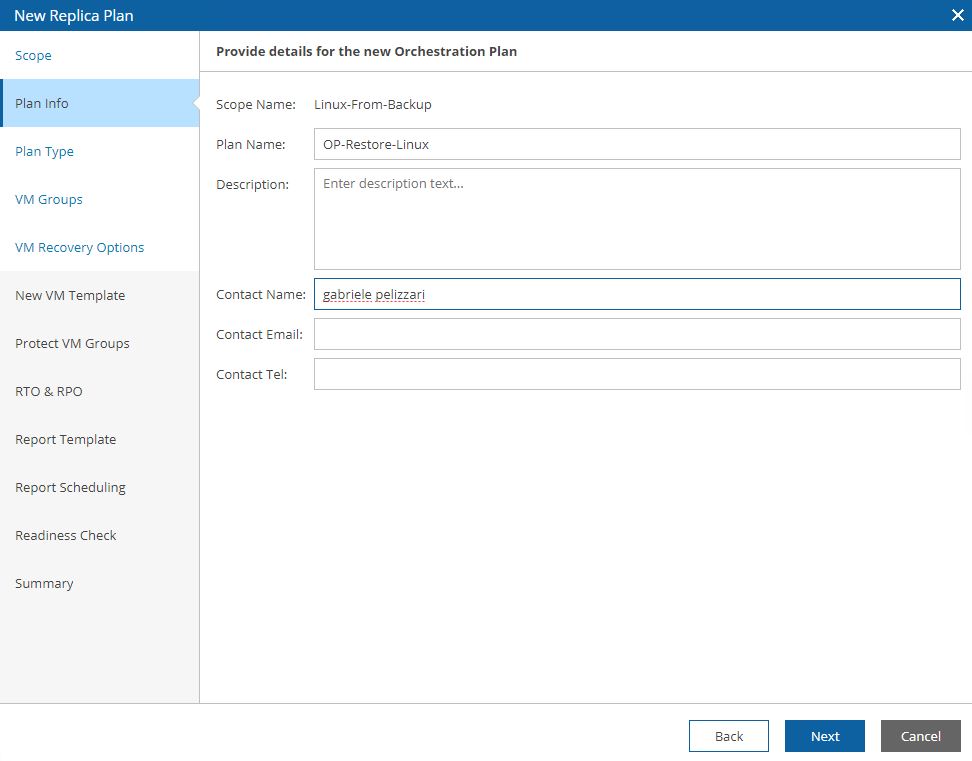
Picture 9 shows the detailed plan info and Picture 10 the plan type (next articles will deep how to set them up).
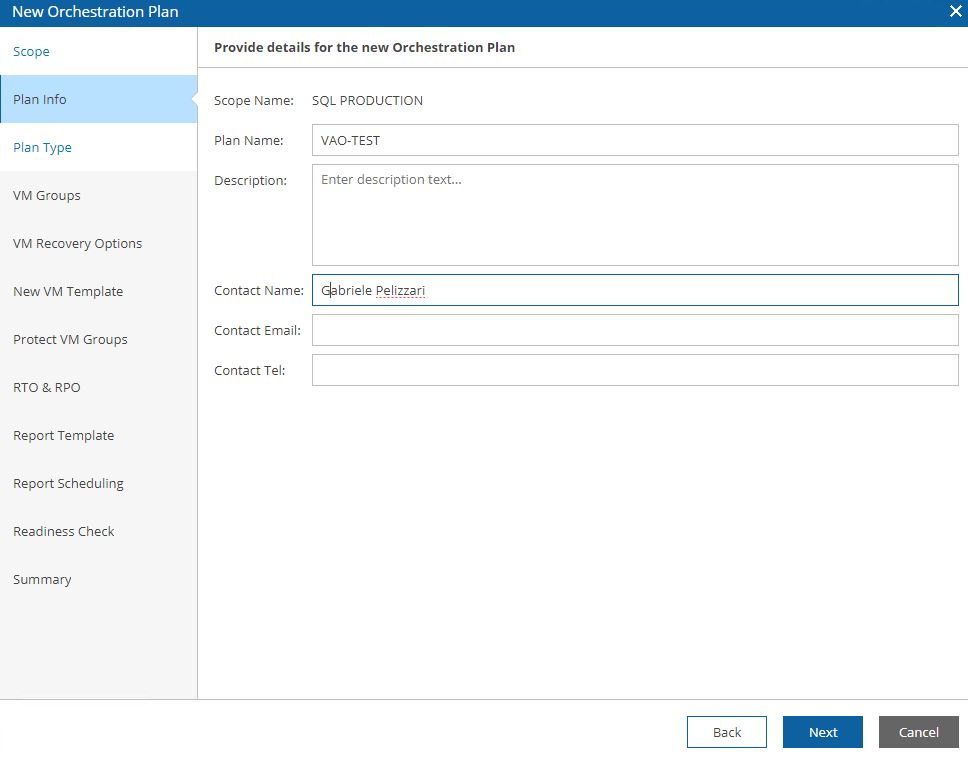
Picture 9
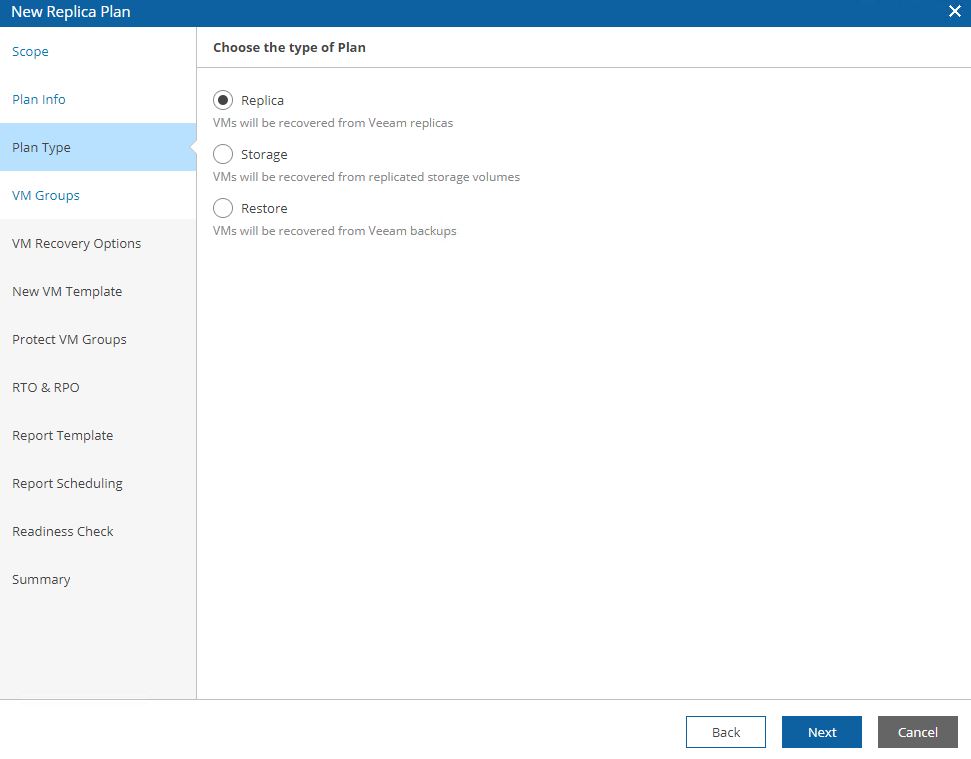
Picture 10

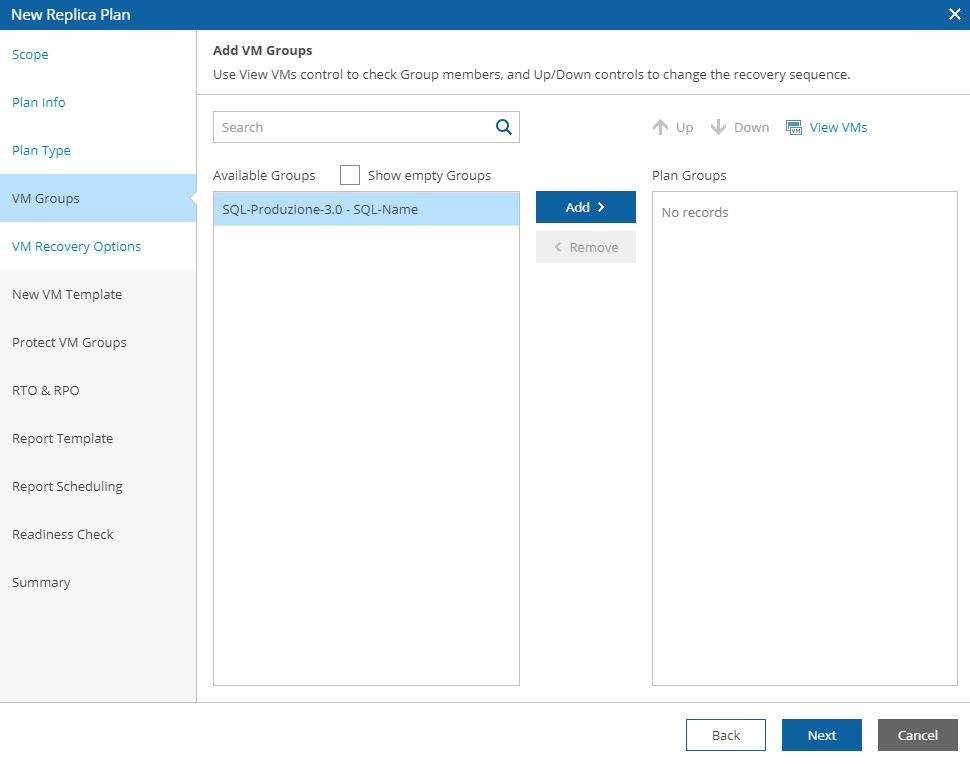
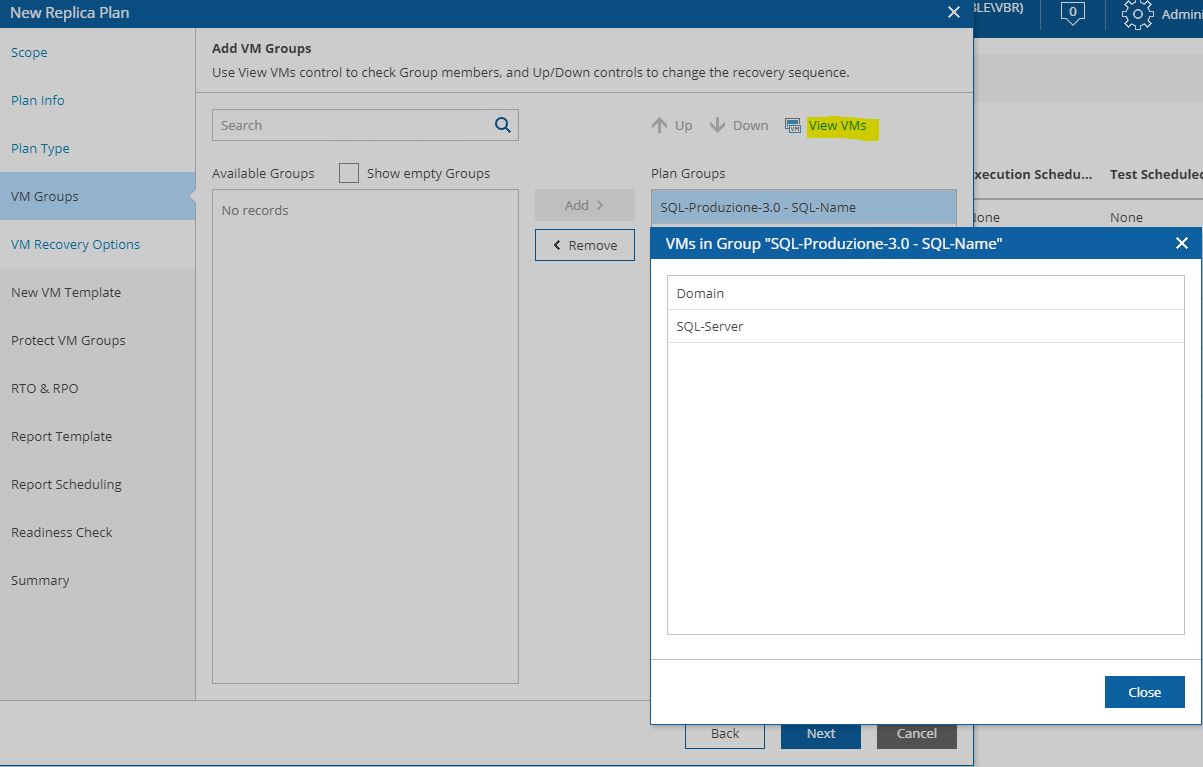
Pictures 11, 12, 13 show how it’s possibles to discover the VMs that belong to the group selecting VM group.
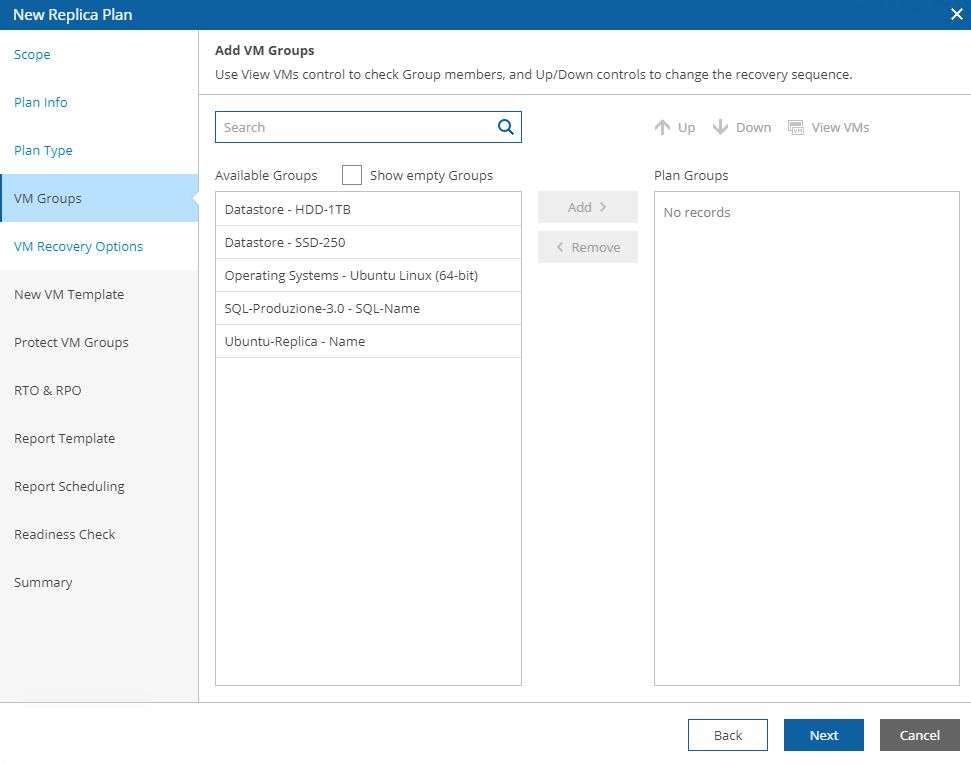
Picture 11
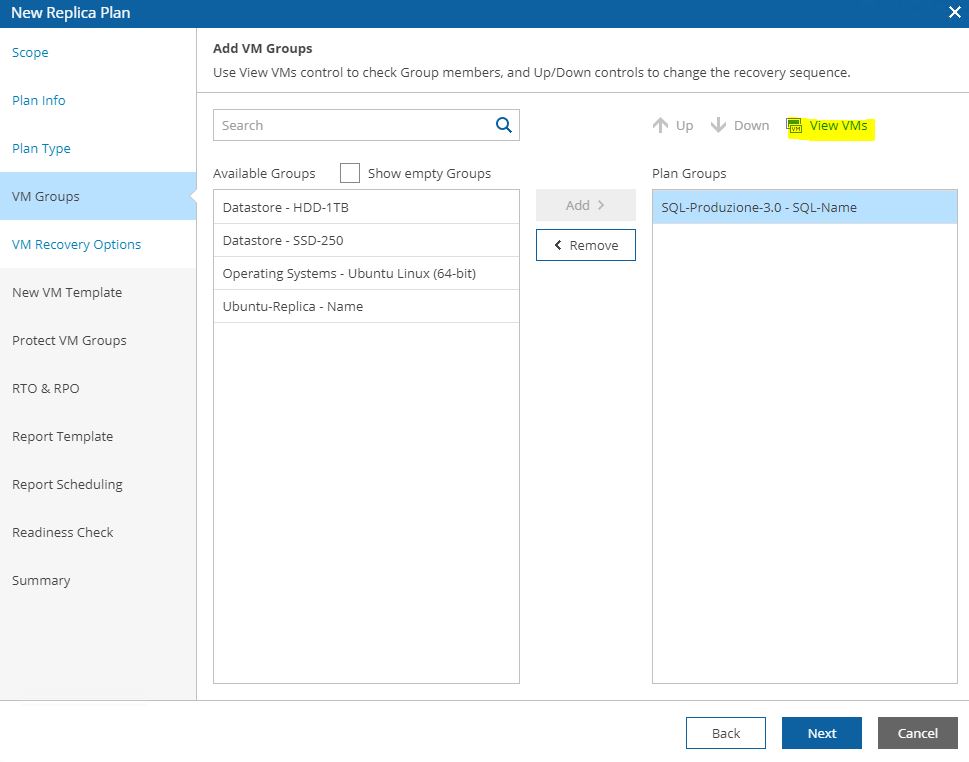
Picture 12
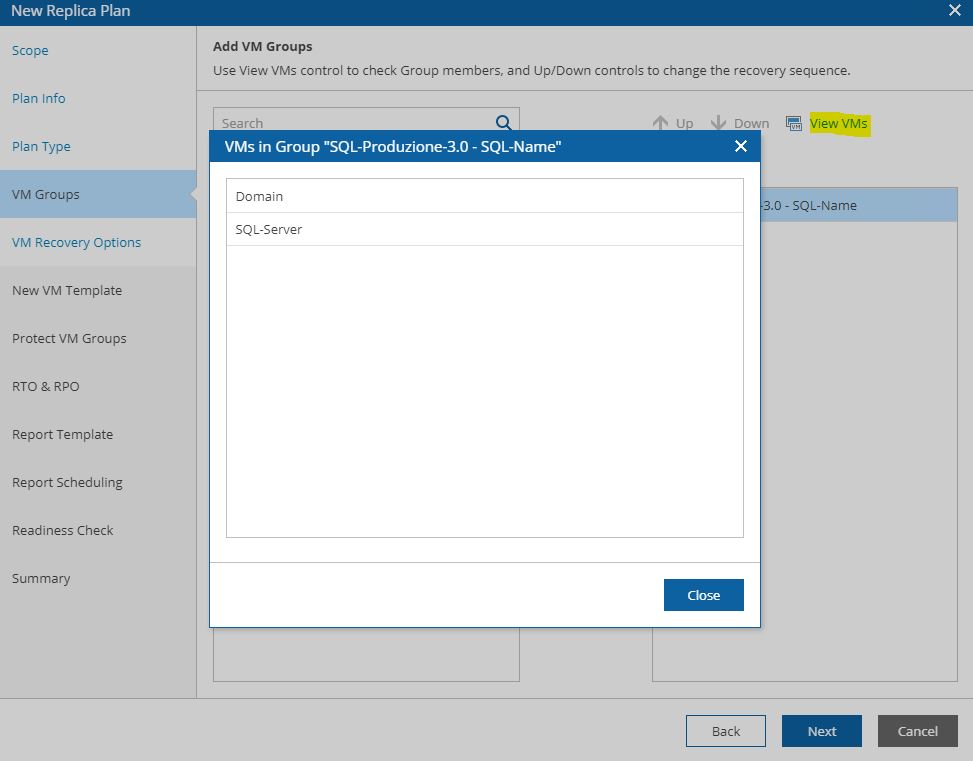
Picture 13

Picture 14 shows the control options for the DR plan. If something goes wrong the plan can be halted or not.
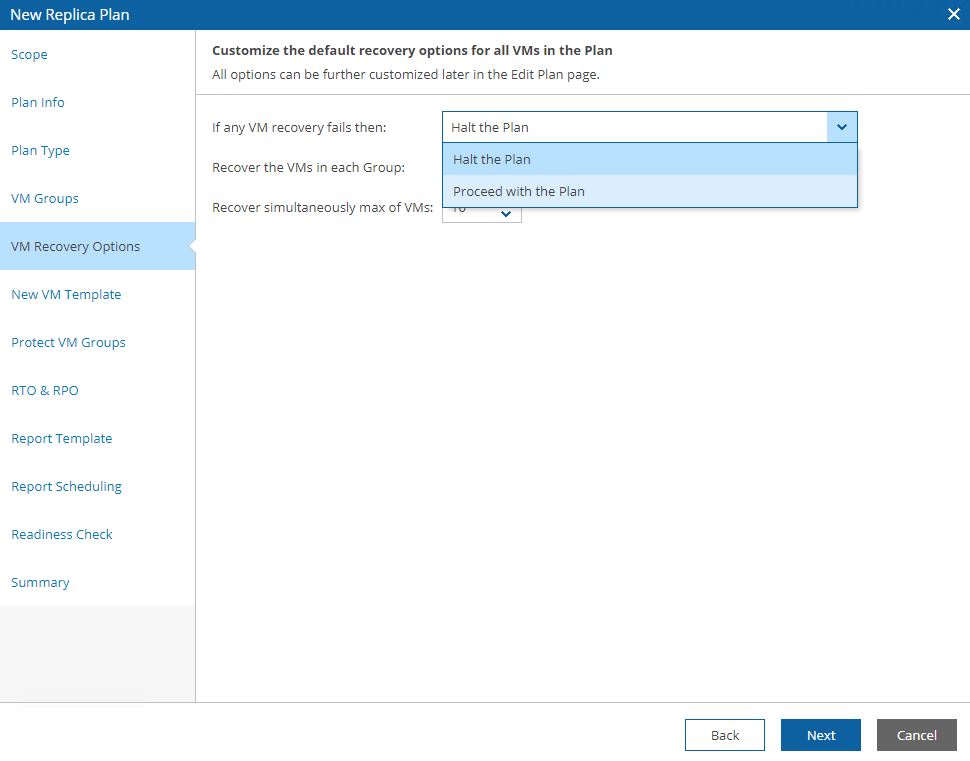
Picture 14

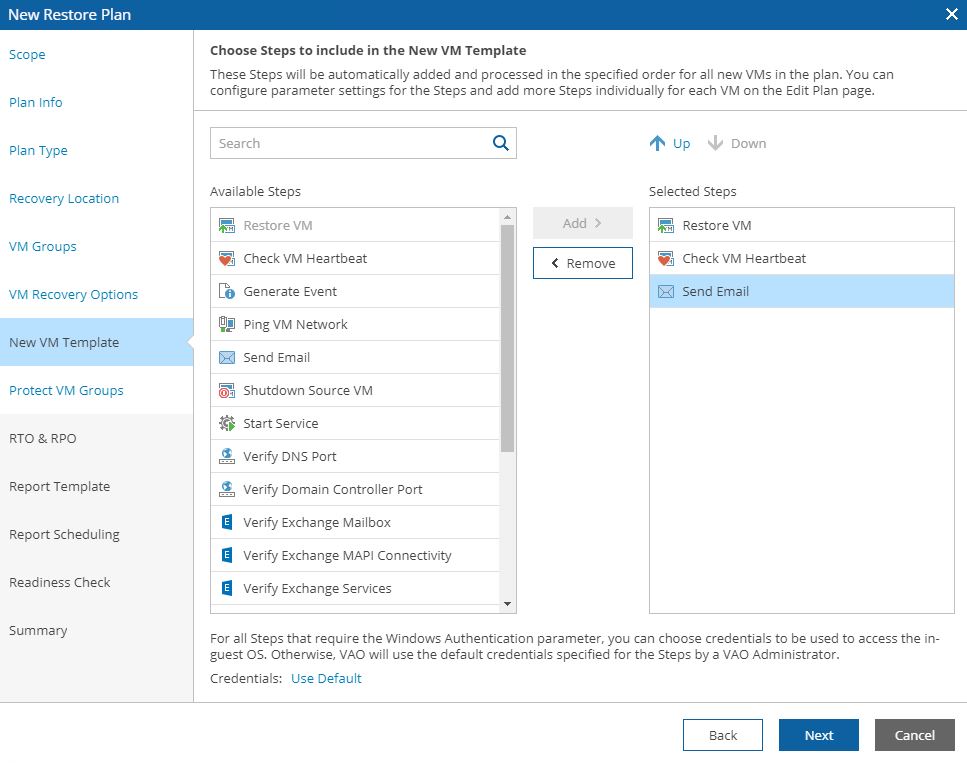
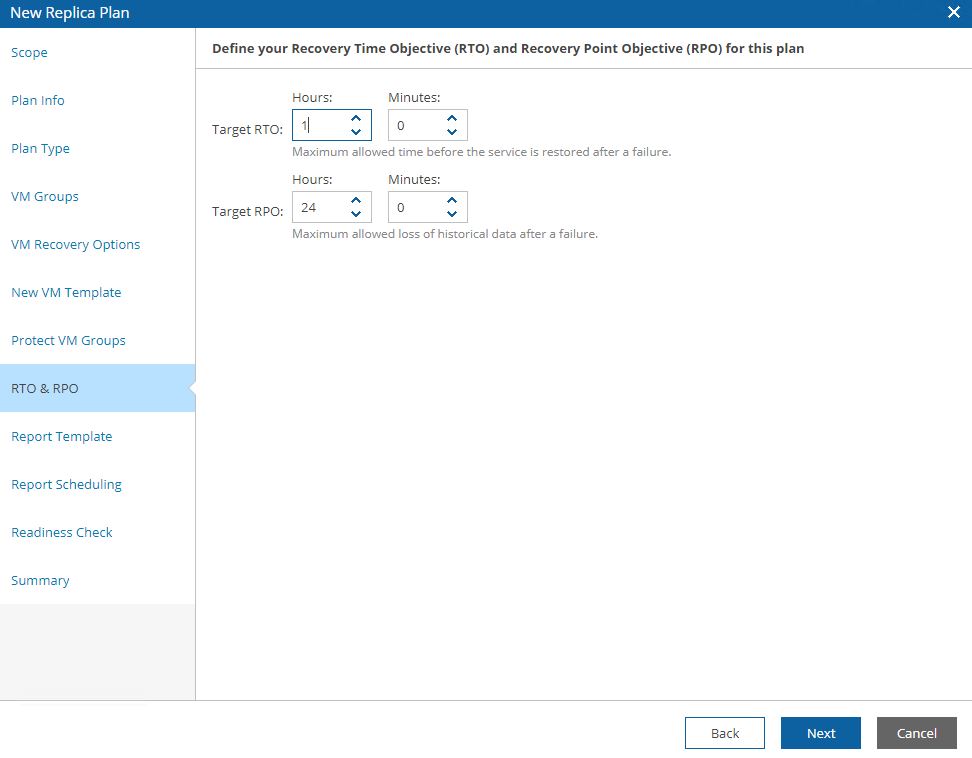
Picture 15 shows the steps, 16 the option to protect VMs switched on after the failover has been completed, 17 the RPO and RTO that the plan has to respect.
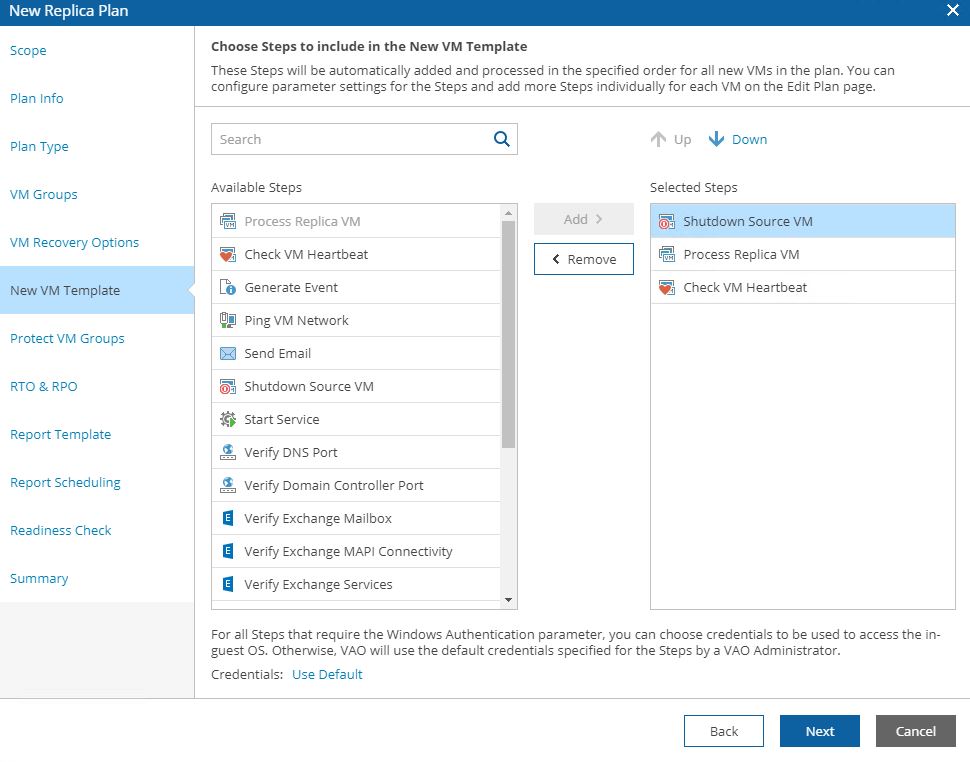
Picture 15
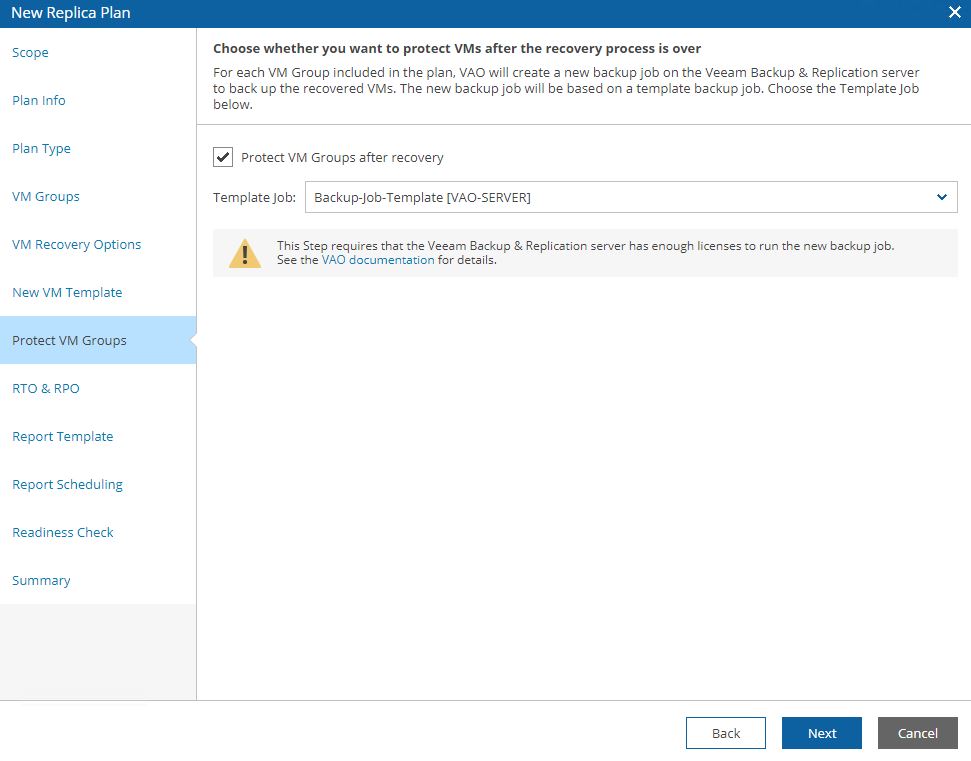
Picture 16
Picture 17

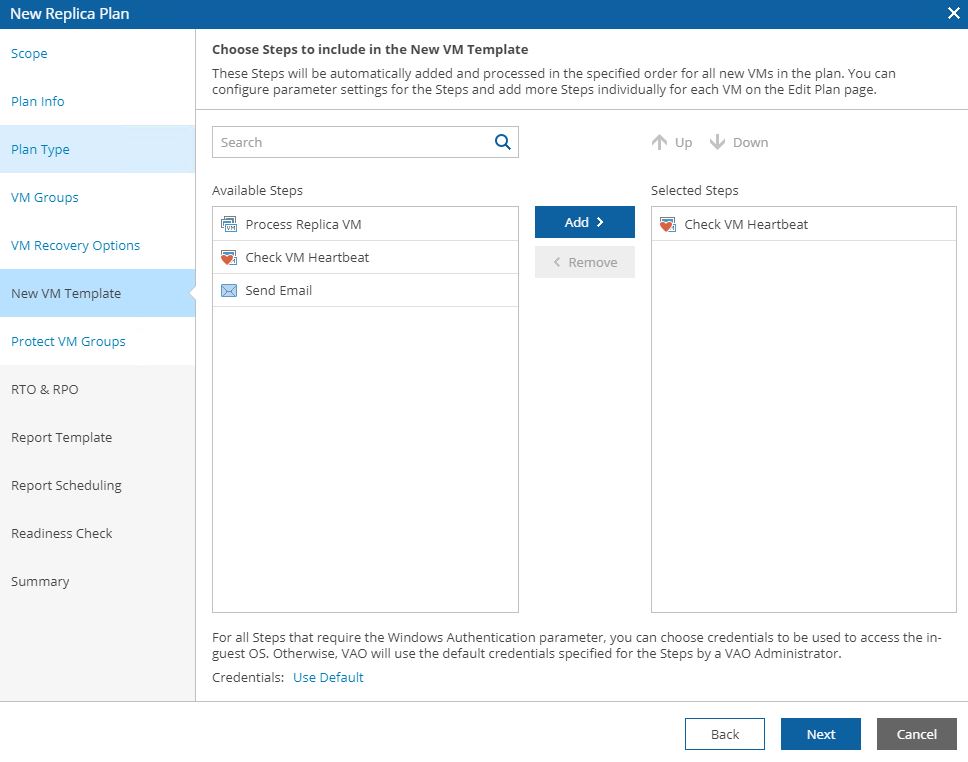
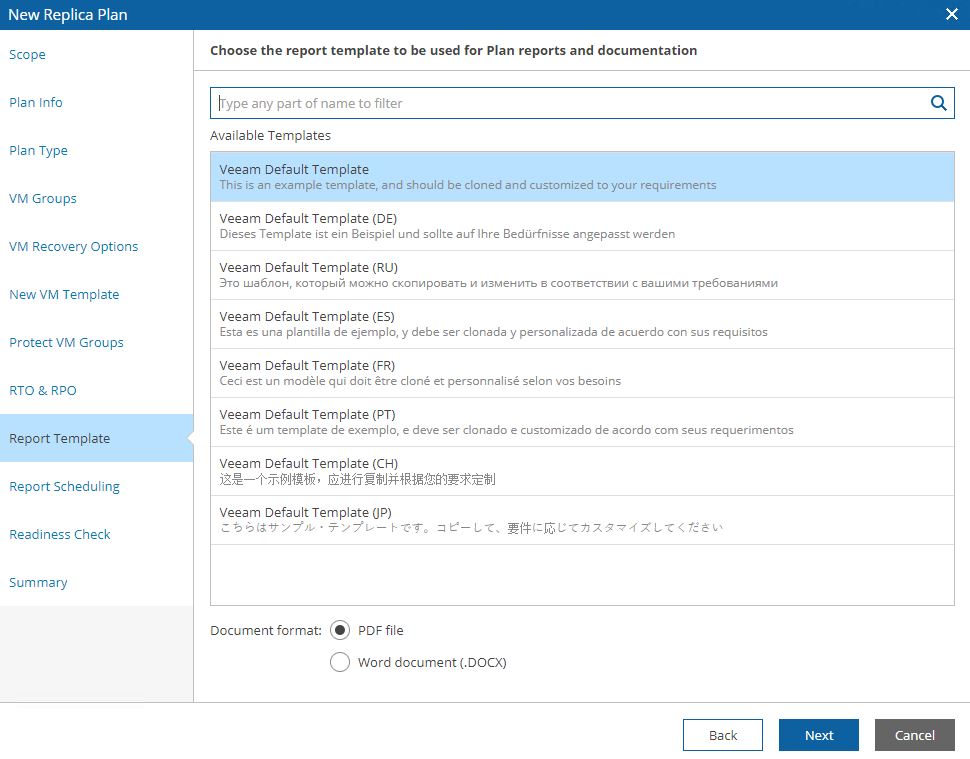
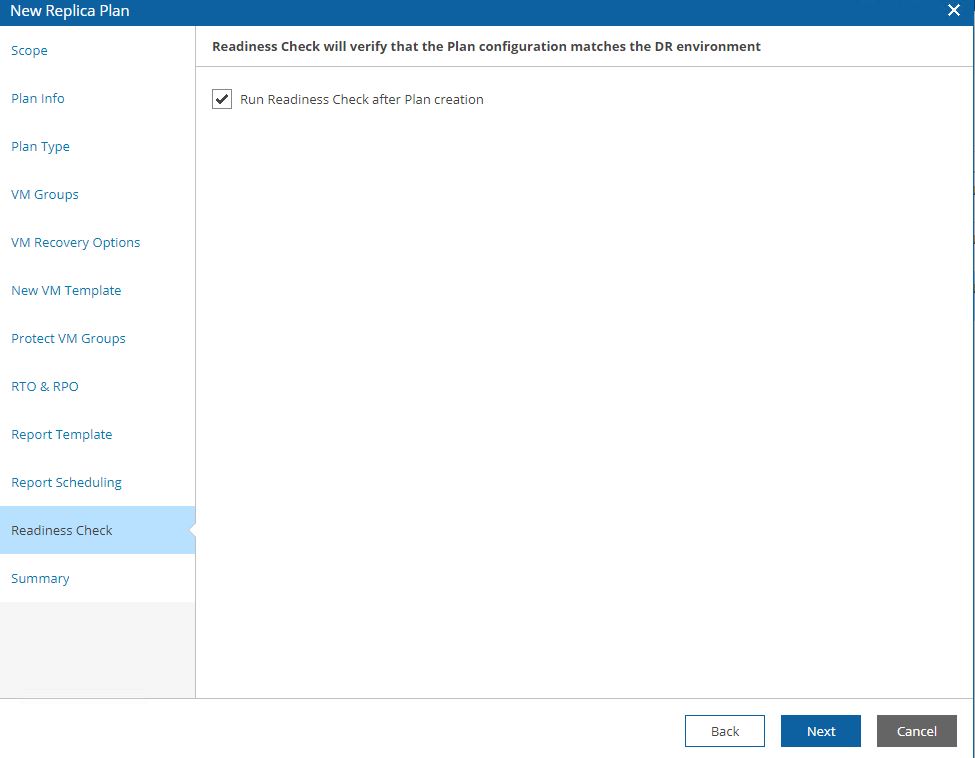
Picture 18 shows the template docs that will be used, while picture 19 shows a (for me) interesting mandatory check option.

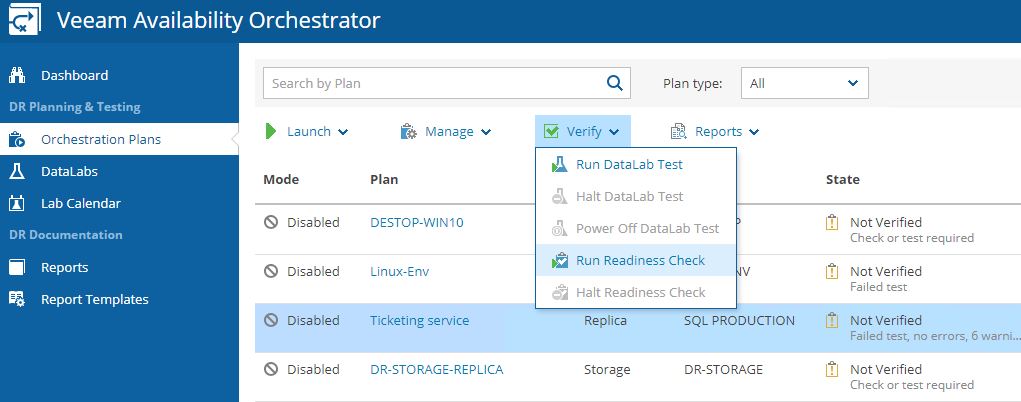
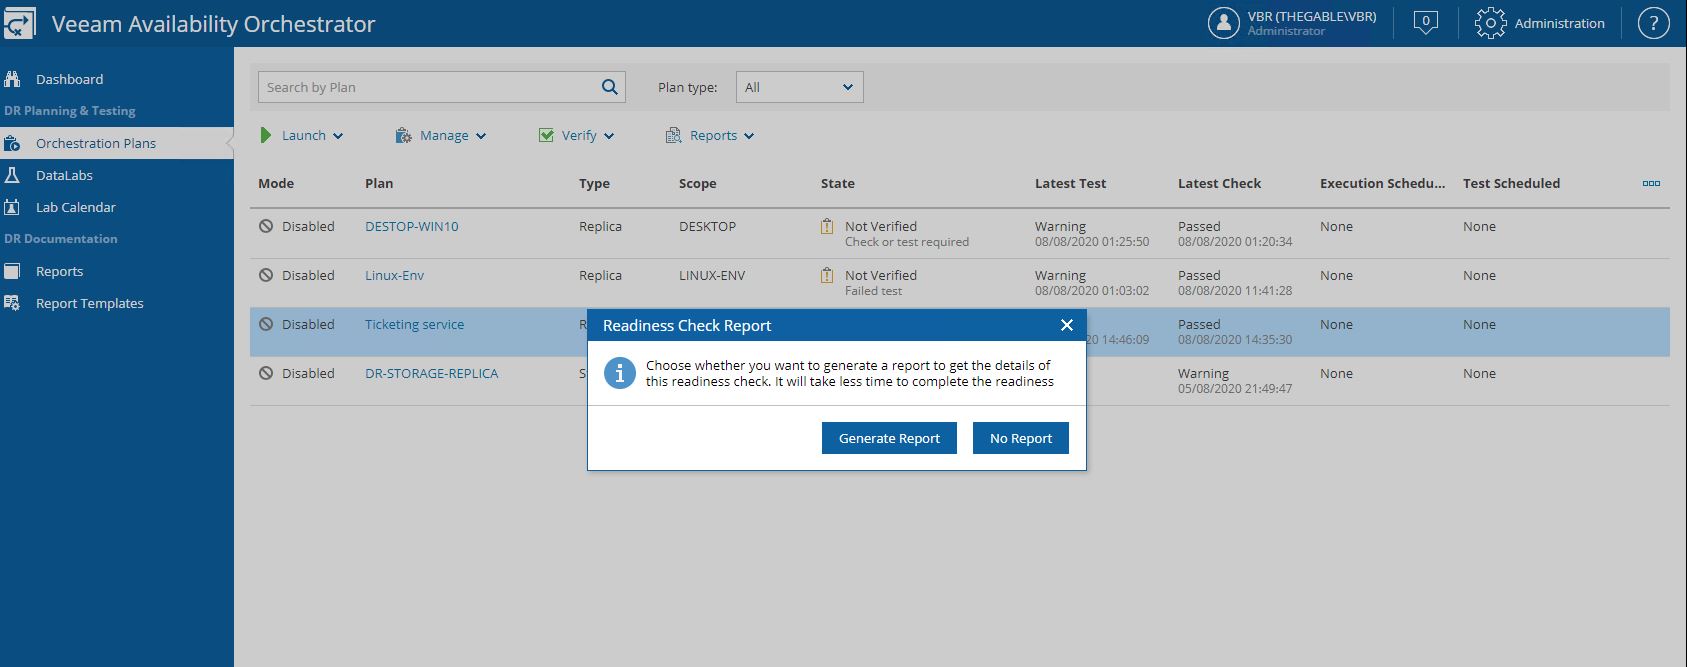
Before doing any new activity the Readiness check analyzes that all components are correctly set up.
Picture 18
Picture 19

In my next article, I will cover two examples: DR-plan from Replica and DR-plan from backup. Keep in touch!

VDrO – DR from Replicas

The first step by step guide how to set up a Disaster Recovery plan starting from a replica job.

Anyway, I suggest having a look at the previous articles before reading this one.

VDrO-Baseline 1      –       VDrO-Baseline 2

In today’s example, I imagined implementing a DR-Orchestration for a company selling tickets. The two VMs that deliver the services are the Domain controller and SQL DB with installed the application needed.

The main points are:

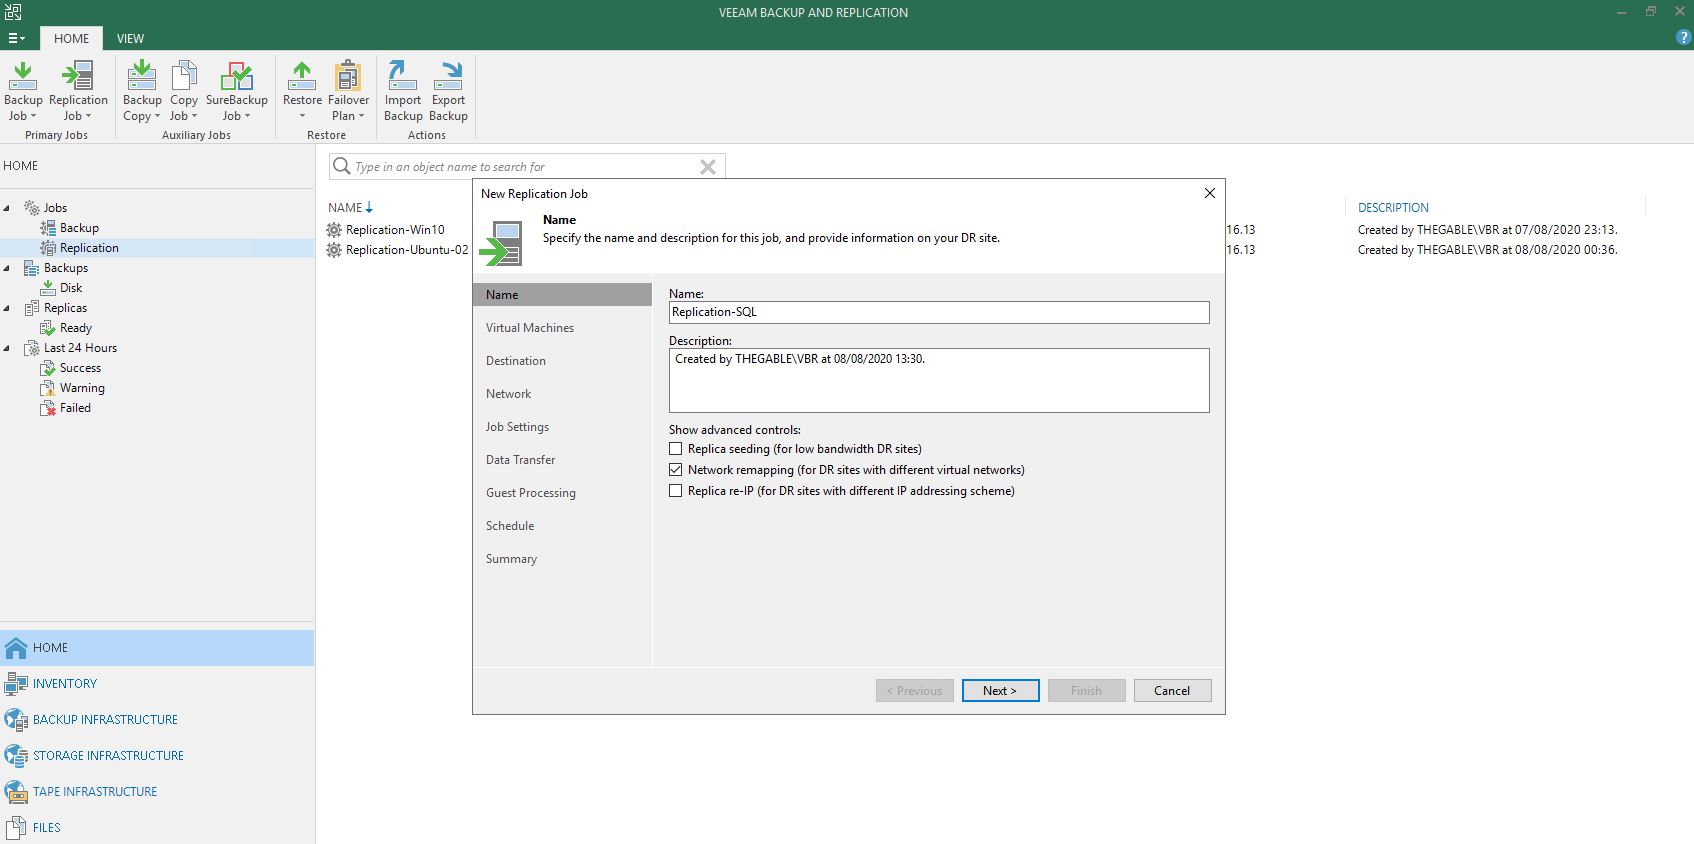
  1. Setting up replica job using  VBR present into VDrO
  2. Creating Tags
  3. Adding the plan components to the scope
  4. Creating a lab group
  5. Configuring the Orchestration Plan
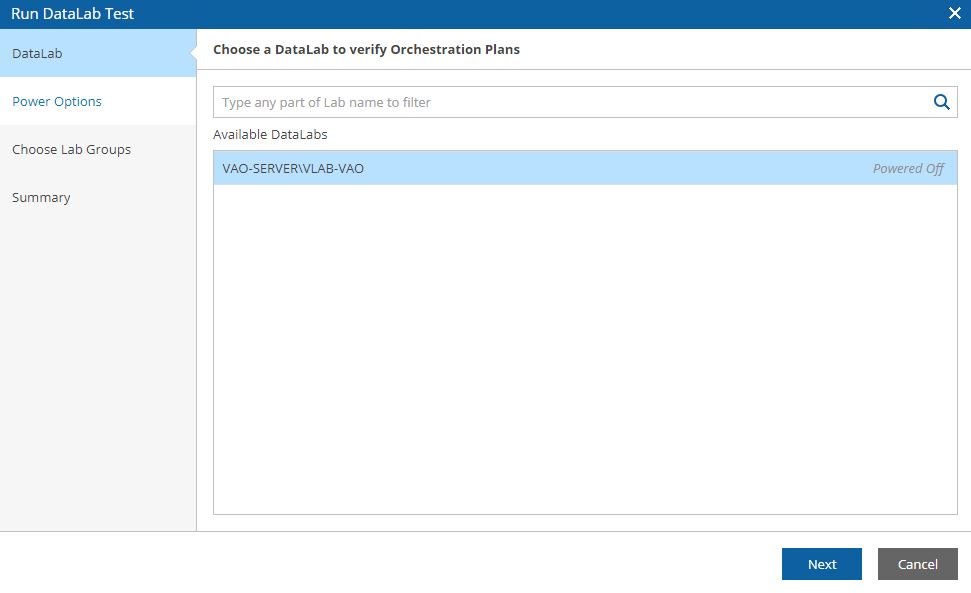
  6. Testing

1.  Setting up Replica Job

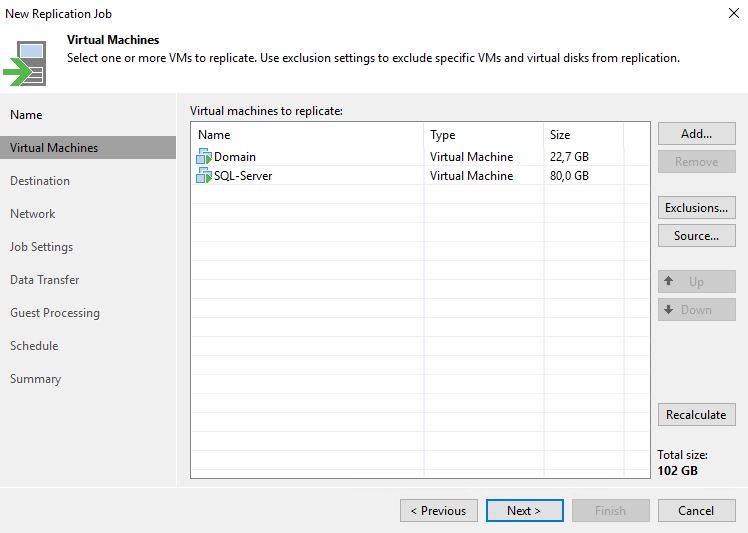
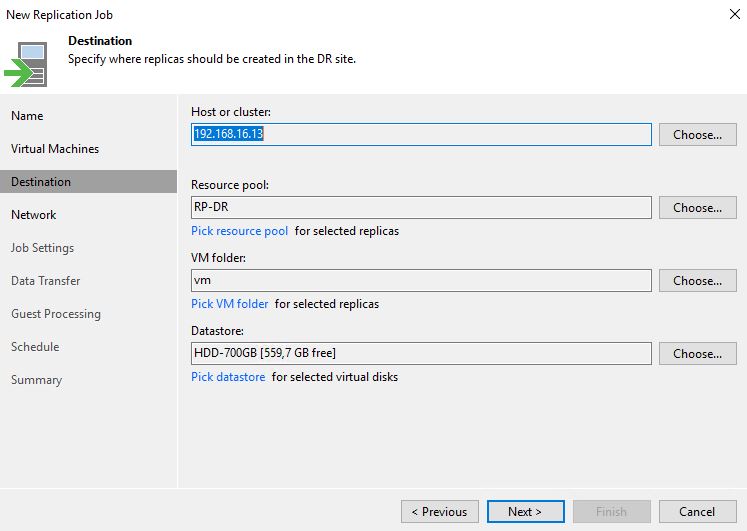
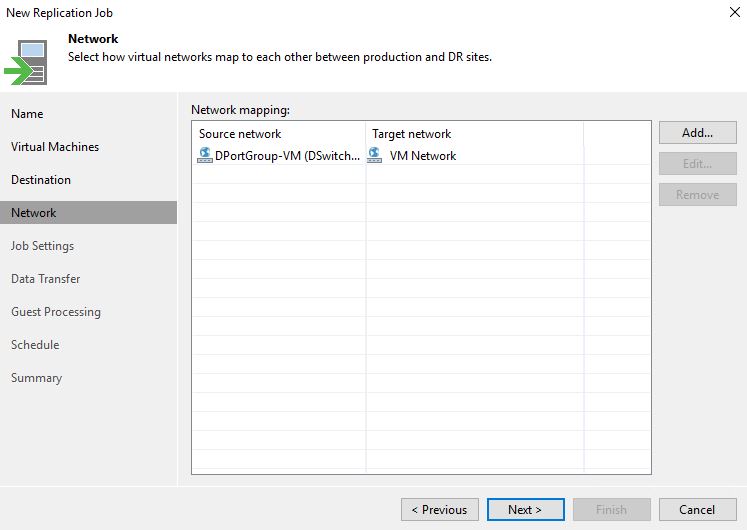
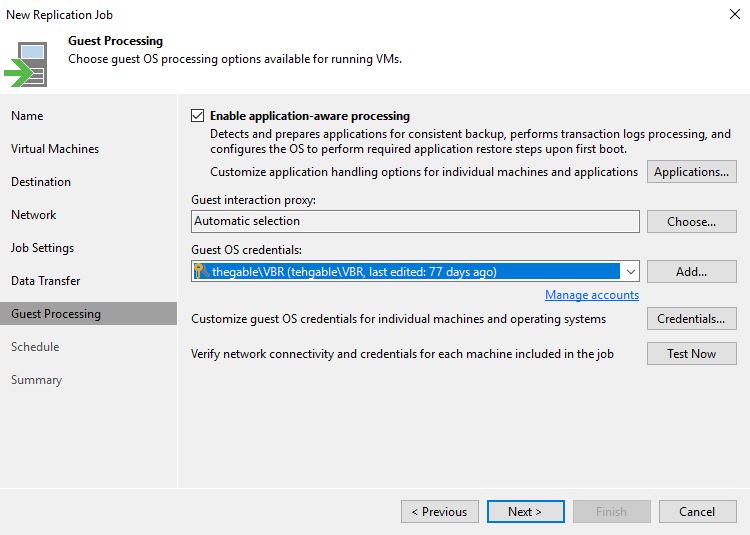
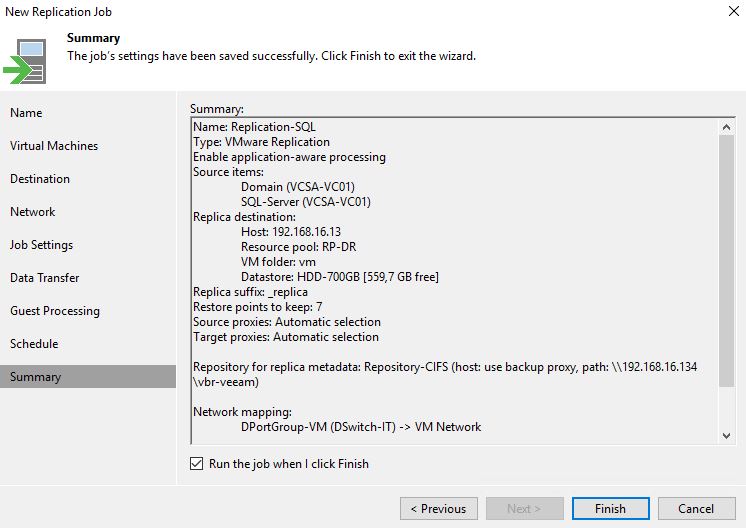
From the Veeam console, it’s quite easy to set up the Replica Job (From Picture 1 to 5).

Picture 1

Picture 2

Picture 3

Picture 4

Picture 5

Picture 6

2.Creating Tags

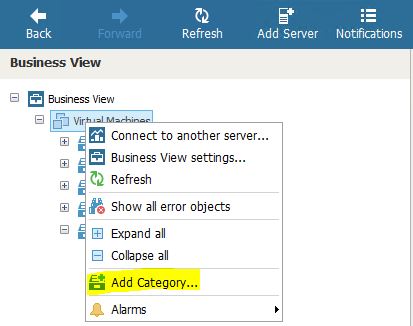
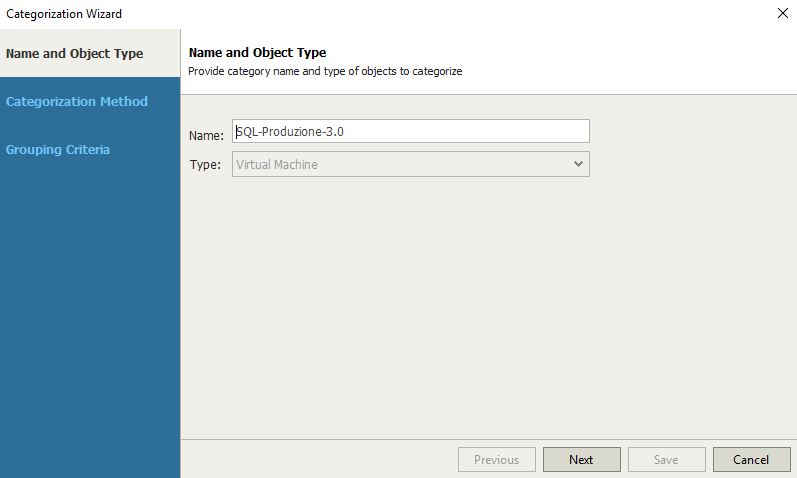
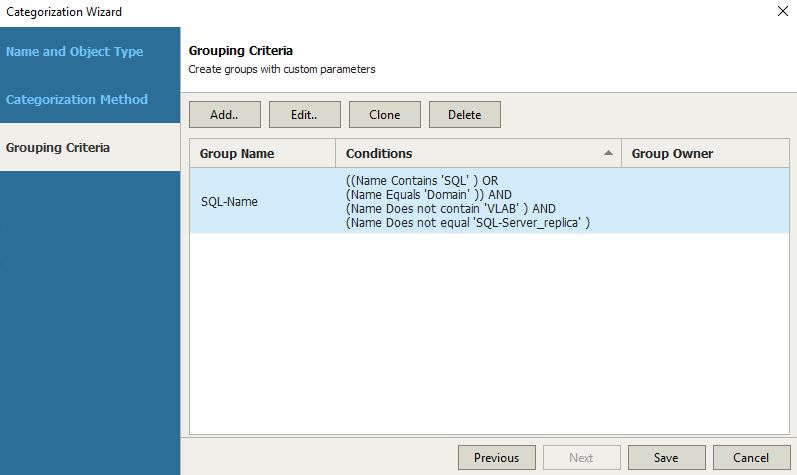
Veeam-One Business View is reachable from the Veeam Monitor console. To create the tagging just select add Category (Picture 7) from the resource you want to tag (in the picture are Virtual machines).

Picture 7

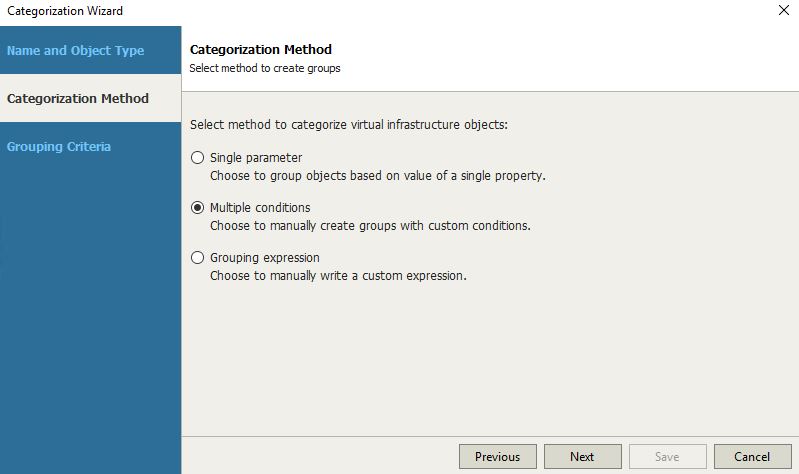
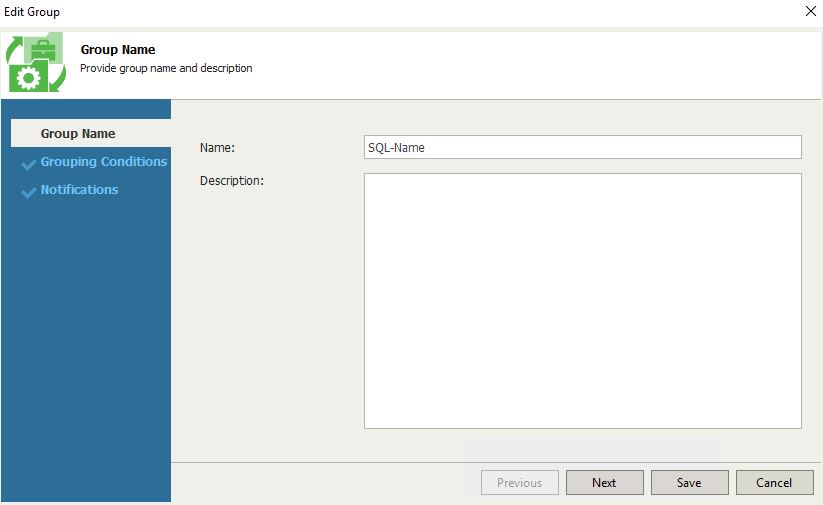
After folding it up with a name (Picture 8) in pictures 9, 10, 11, and 12 is shown how easy it is customizing the tag.

Picture 8

Picture 9

Picture 10

Picture 11

https://lnx.gable.it/wp-content/uploads/2020/08/bw-5.jpg

Picture 12

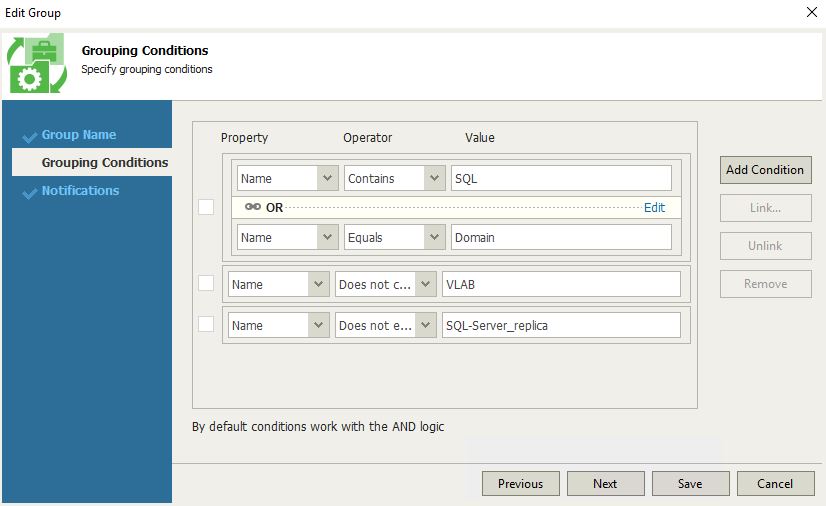
Picture 11 shows how to concatenate the conditions.

That means that it is possible to add different conditions selecting for every entry the logical operator “and – or”.

3. Adding the plan components to the scope

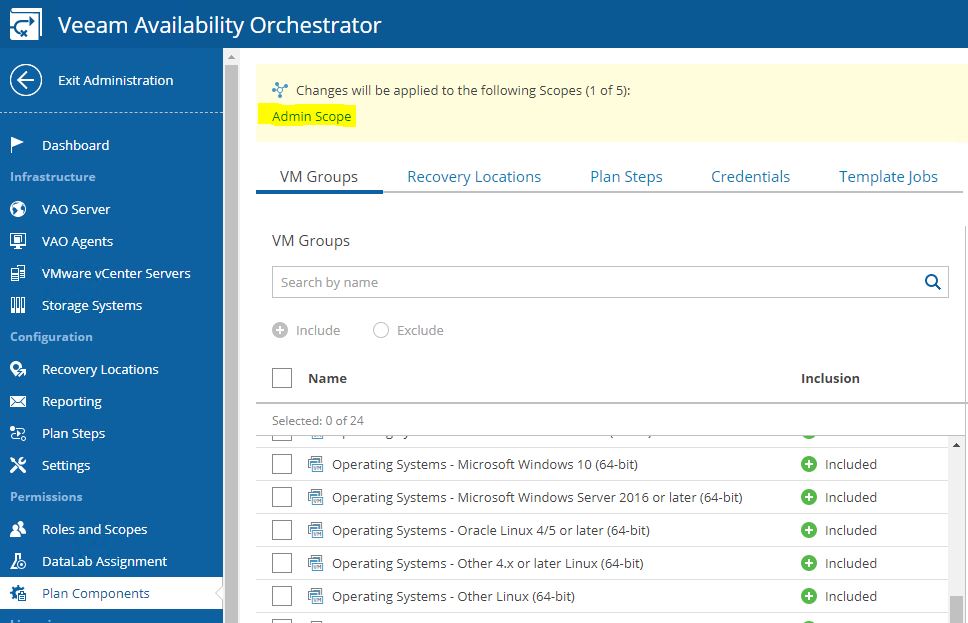
From the Administrator panel, through plan components, it is possible to select which VM groups can be added to the scope.

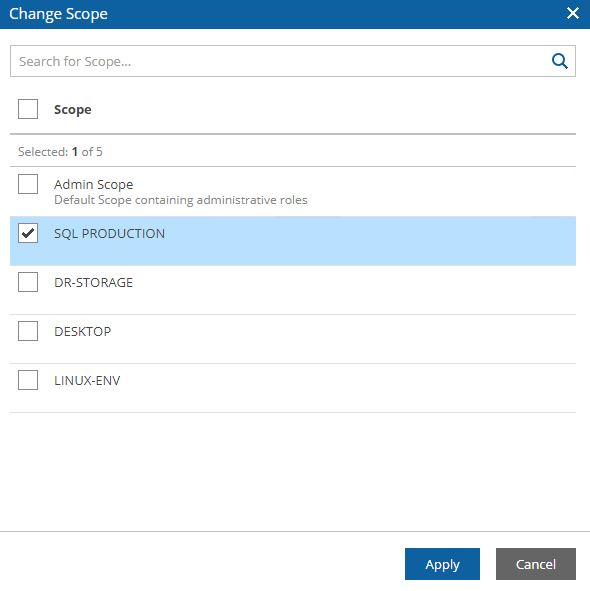
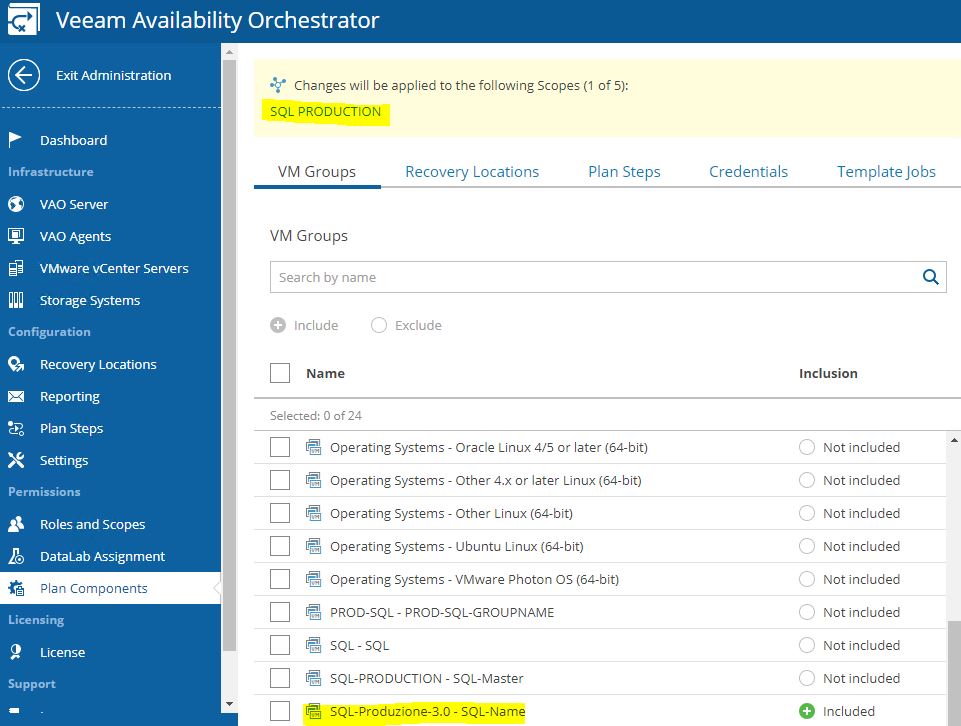
In our example, we are going to create a DR-strategy for SQL-Production scope (picture 14) using the VM Groups named SQL – Produzione (Picture 15). How to do it? Just clicking on the include button.

Picture 13

Picture 14

Picture 15

Now it’s time to repeat the same procedure for Recovery location (Picture 16), Plan steps (Picture 17), Credential (Picture 18), and Template jobs (Picture 19).

Picture 16

Picture 17

Picture 18

Picture 19

Now that we have finally added all components to the baskets. we need to create an Orchestration Plan for this specific service.

4. Creating a Lab group

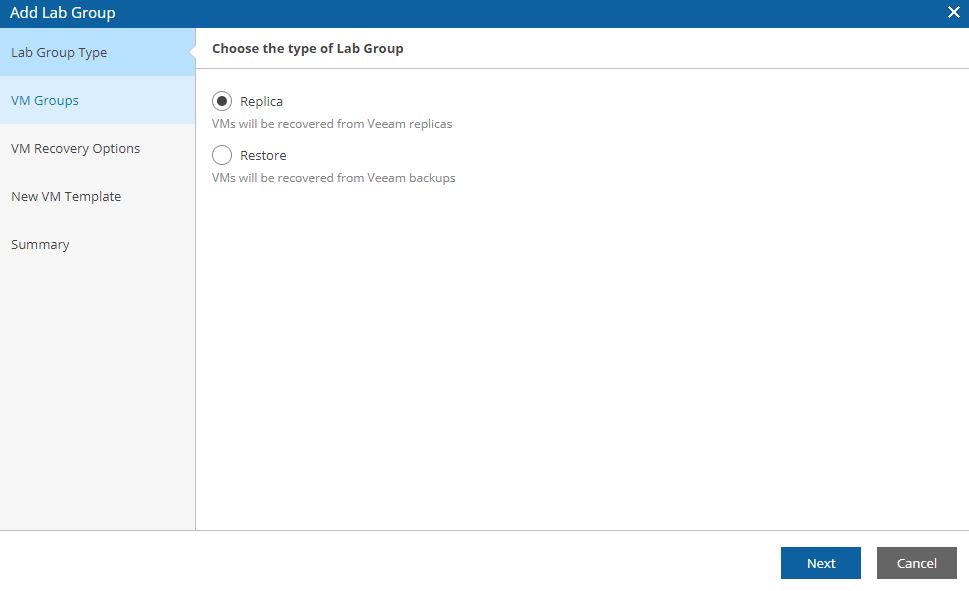
From the main menu select Datalabs entry.

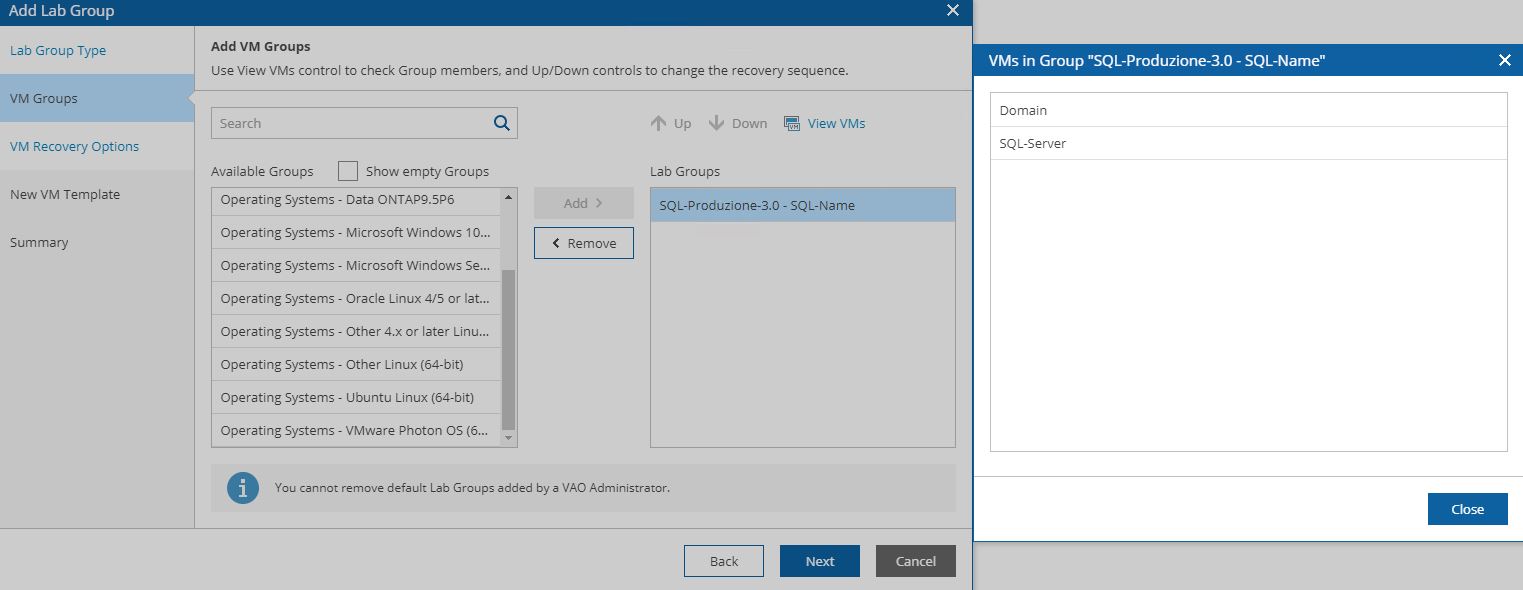
Now clicking on the add button, it’s possible to assign the tasks that will be performed during tests to the Datalab as shown in Picture 20,21,22.

Remember that the Datalab assignment has been already performed from the VDrO administrator page.

Picture 20

Picture 21

Picture 22

5. Configuring the Orchestration Plan

The configuration wizard has been already explained in my previous article (VDrO – Baseline2).

Please find hereafter a short summary.

If you set it up correctly you should see your VMs in the VMGroups (picture 27&28) as they belong to the scope set on step 2 (Picture 24).

Picture 23

Picture 24

Picture 25

Picture 26

Picture 27

Picture 28

Picture 29

6. Testing

There are two different tests performed by VDrO.

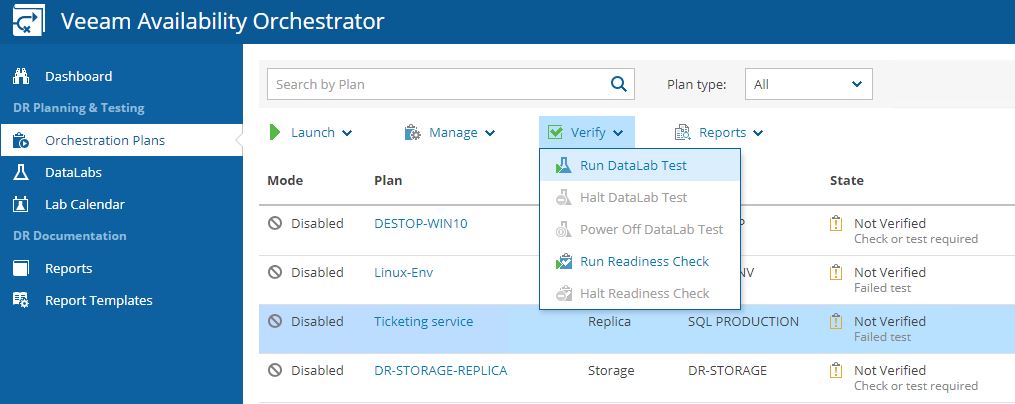
Readiness Check (Picture 30-31) is a low-impact method to confirm that the configuration of an orchestration plan matches the DR environment.

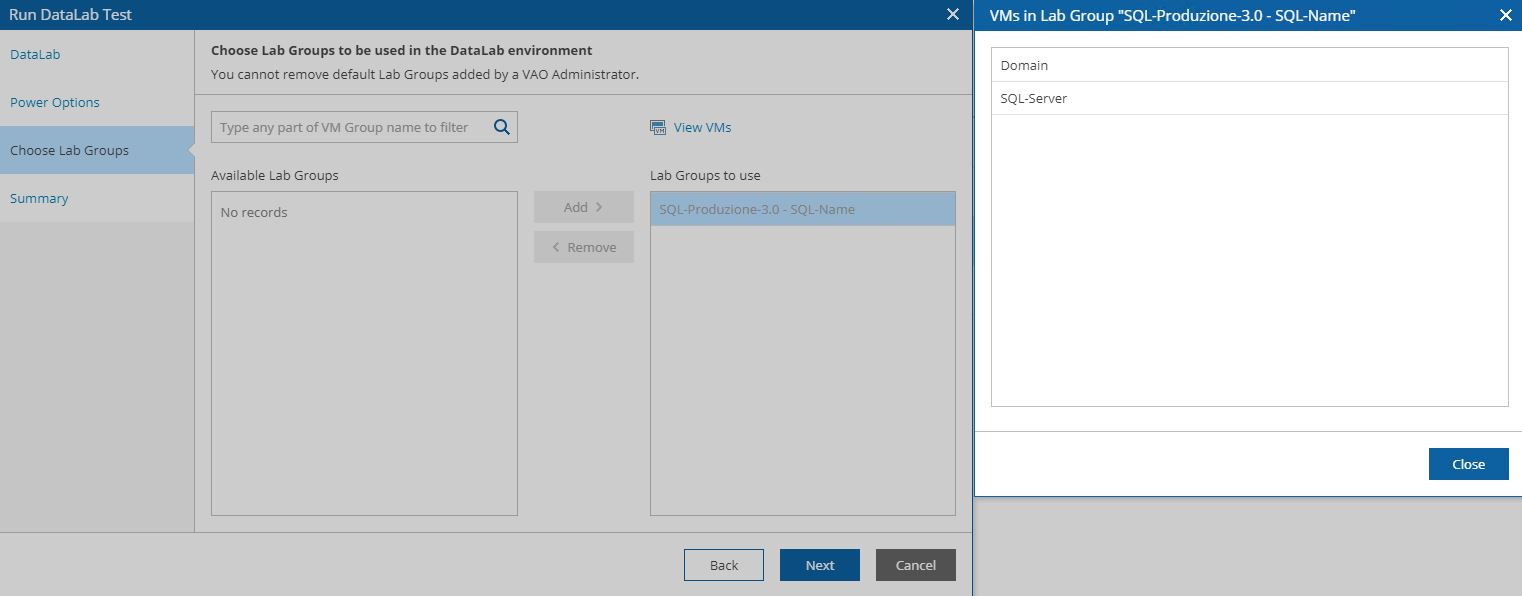
Datalab Test simulates the DR starting VMs, Applications, and Services into a different network. The data labs have to be set up from the VBR console (Picture 32-34).

Picture 30

Picture 31

Picture 32

Picture 33

Picture 34

All reports are available from the Reports menu (Picture 35).

Picture 35

Please find here two examples:

– Readiness check report example download

– Datalab Test example download

The next articles will talk about Backup and Replica Storage.

See you soon and take care

VDrO – DR from Backup

Fourth article is about VDrO 3.0 and the second use case.

How to use a Backup Job to implement a DR scenario with VDrO.

In this article, I don’t cover the mandatory step related to the VMs tag.

If you need a guide please refer to my previous writes:

  • Baseline-1
  • Baseline-2

The main steps are:

  1. Creating a Failover location where the VMs can be restarted
  2. Setting up scope
  3. Creating the orchestration plan

Let’s start!

1 . Creating the Failover location

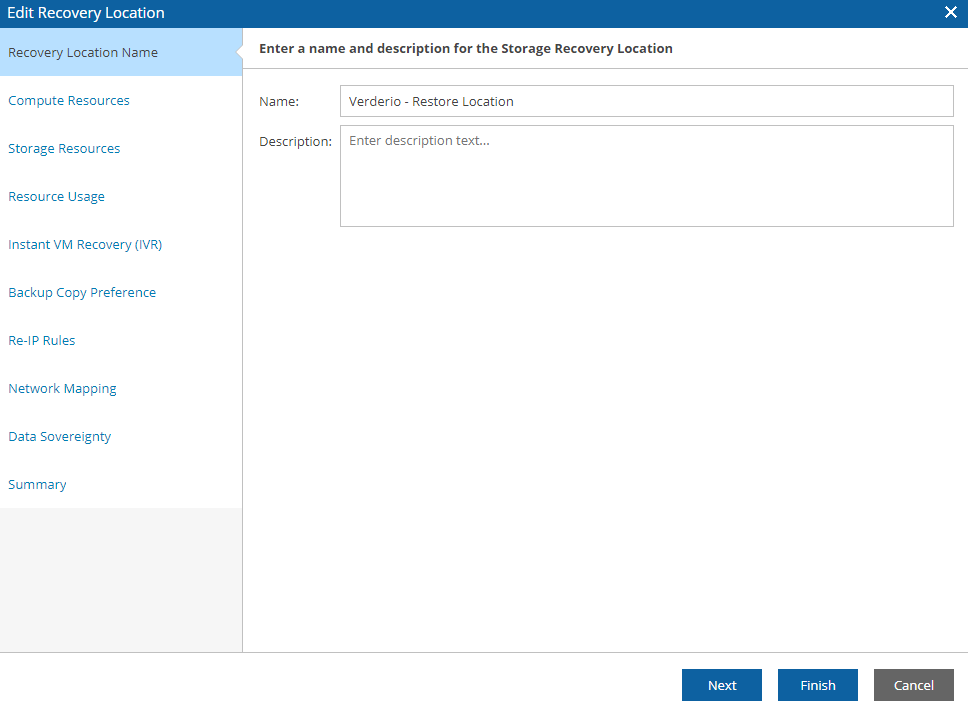
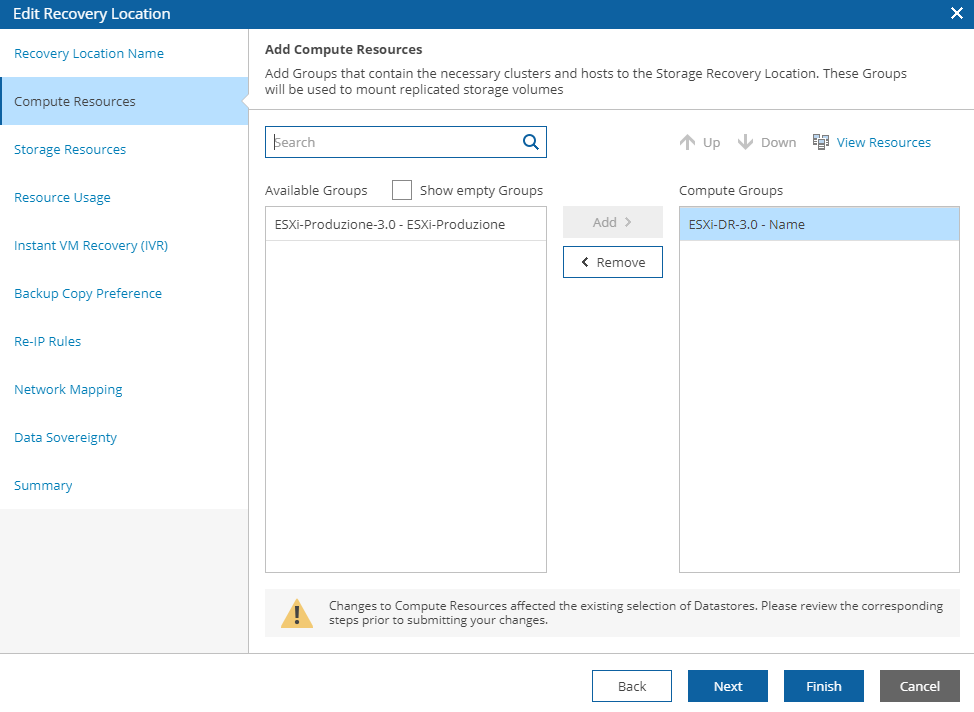
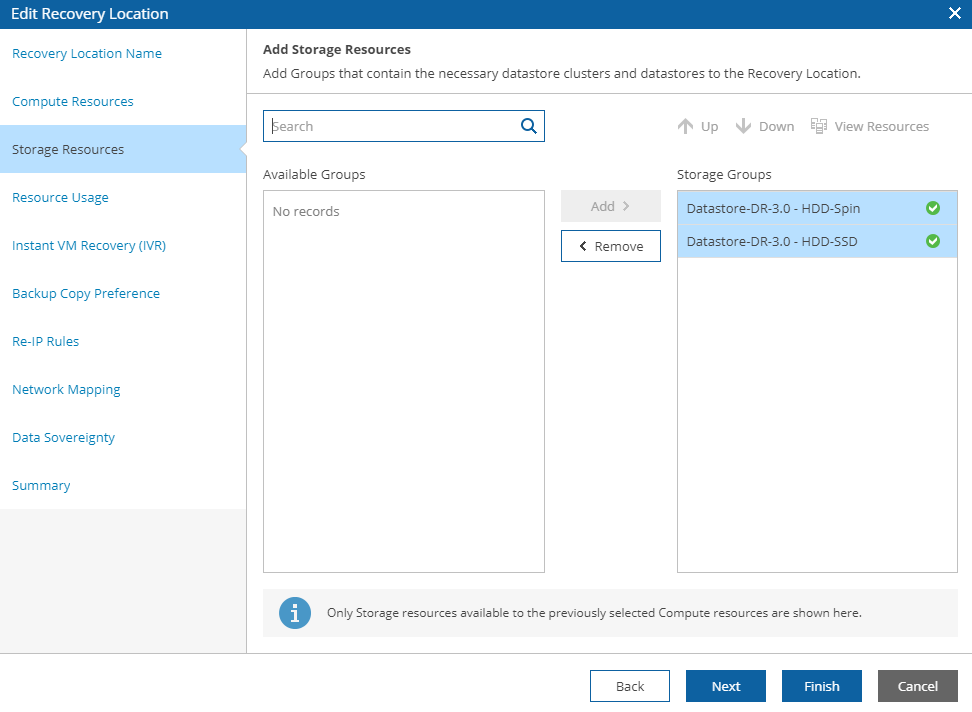
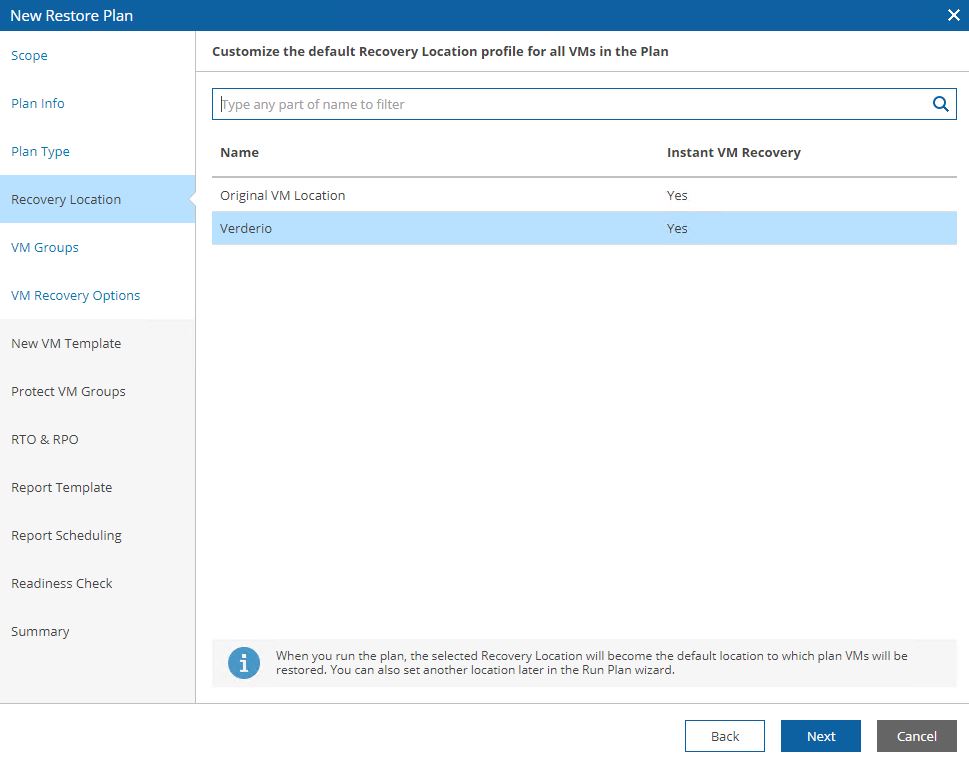
Pictures 1 to 3 show how easier it is to set Names, computers, and storage resources.

Picture 1

Picture 2

Picture 3

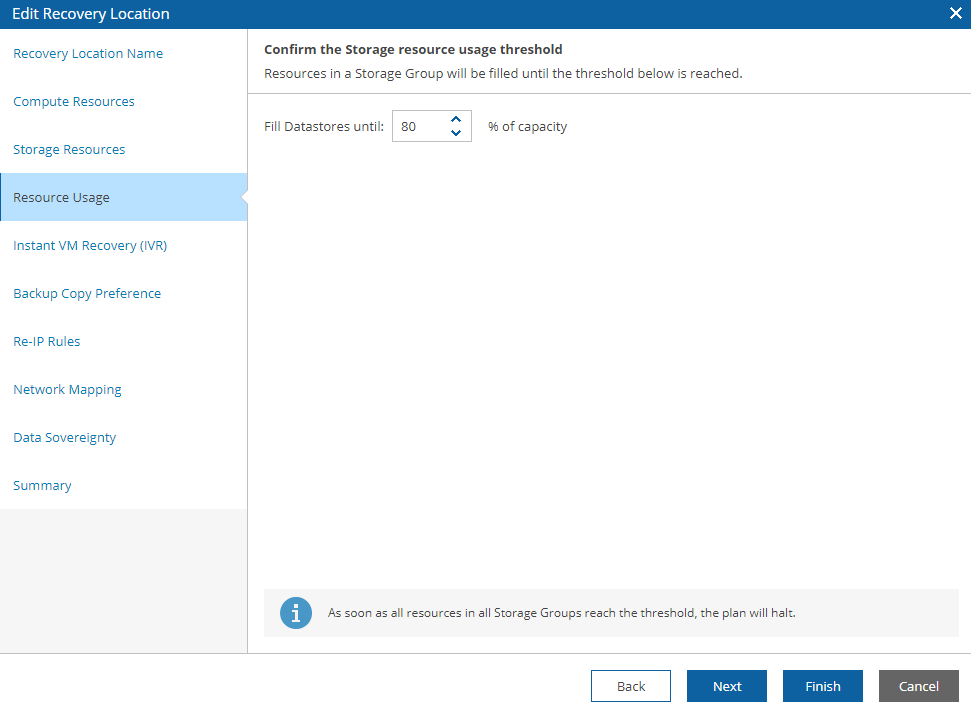
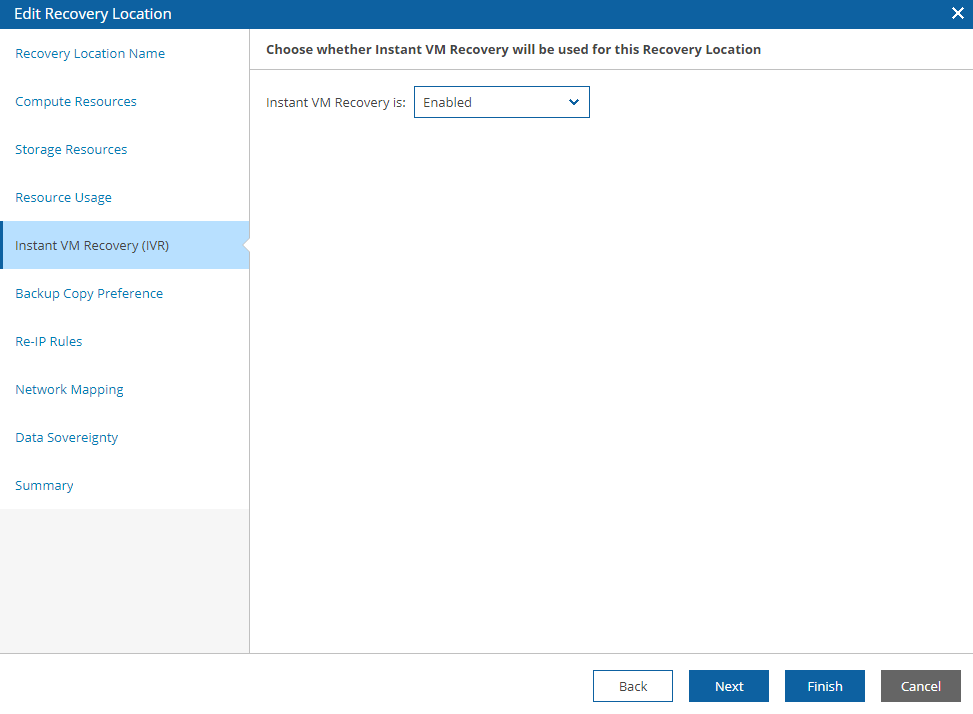
Picture 4 shows the maximum storage % that can be used by the Restore task and picture 5 shows if the Instant VM recovery has to be enabled.

Picture 4

Picture 5

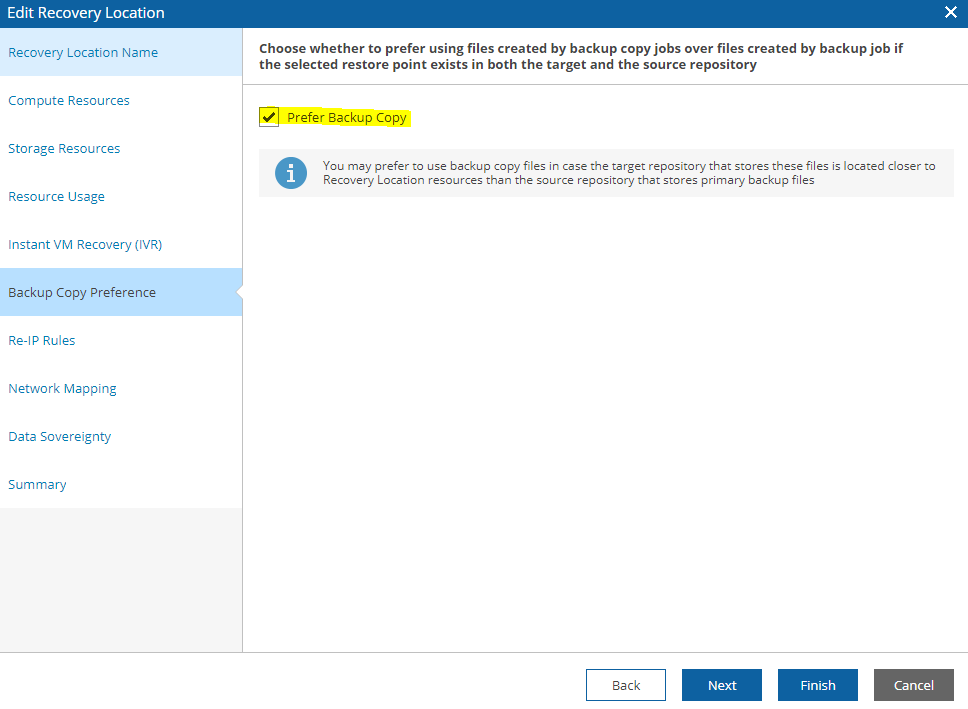
Picture 6 shows one of my favorites VDrO options.

Why? Because it allows VDrO to be implemented where the primary backup job has been copied to a second location.

To be clearer: the VBR backup copy job allows to copy backup data to the secondary site. If there are VMware hosts, it’s possible to create a DR site just restoring data from the backup copy job.

Picture 6

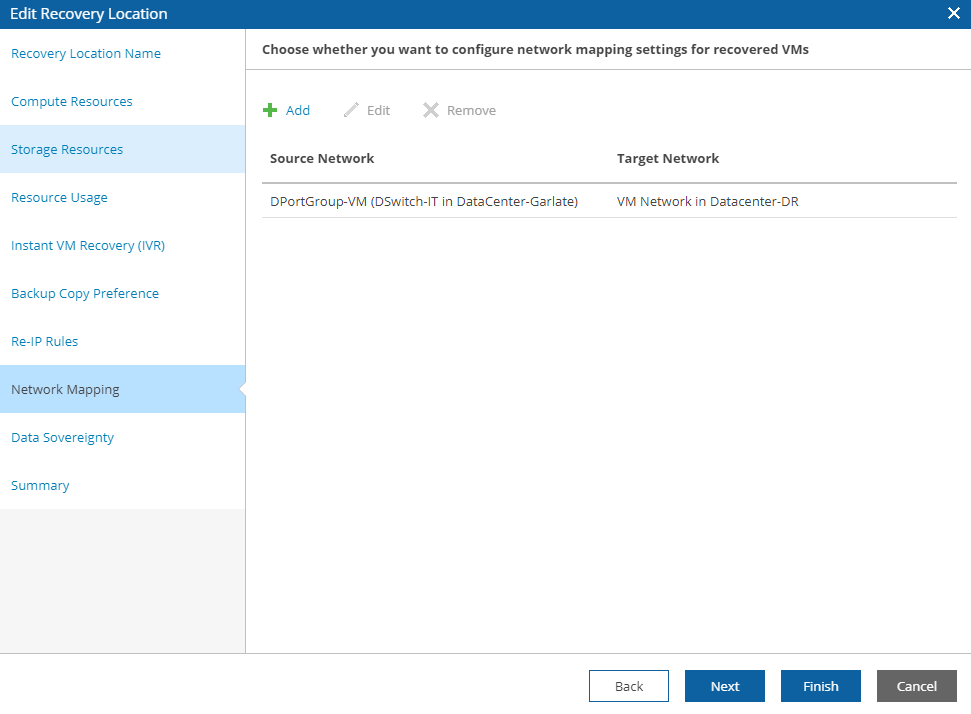
Picture 7 shows how to twin the production with DR networks (the previous step sets up the re-IP addressing just for windows VMs).

Picture 7

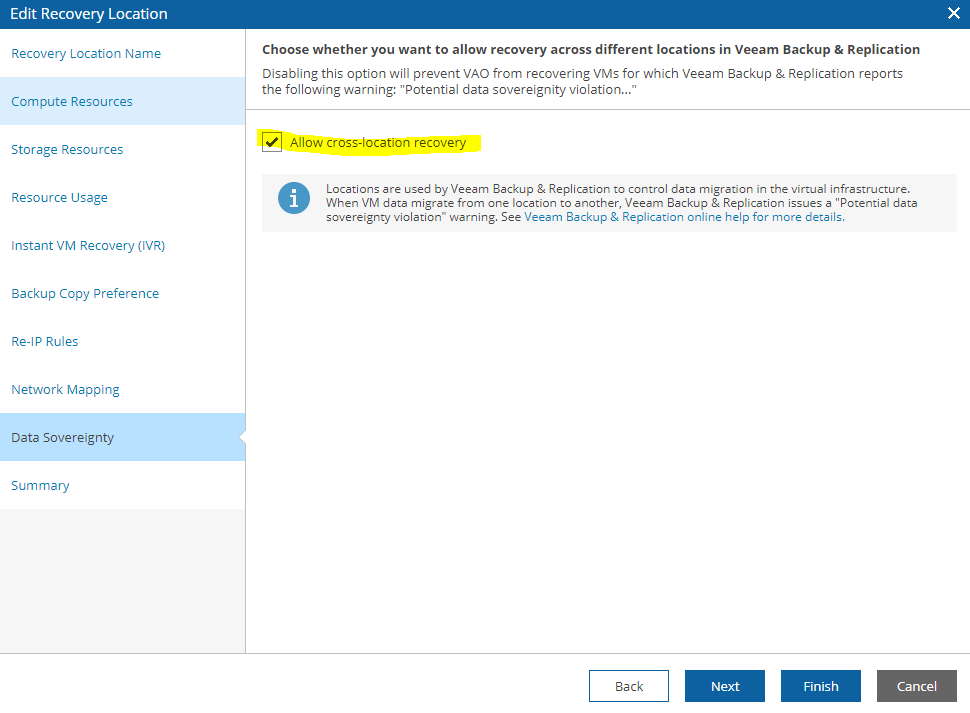
Picture 8 shows the GDPR option.

Picture 8

2. Setting up the scope

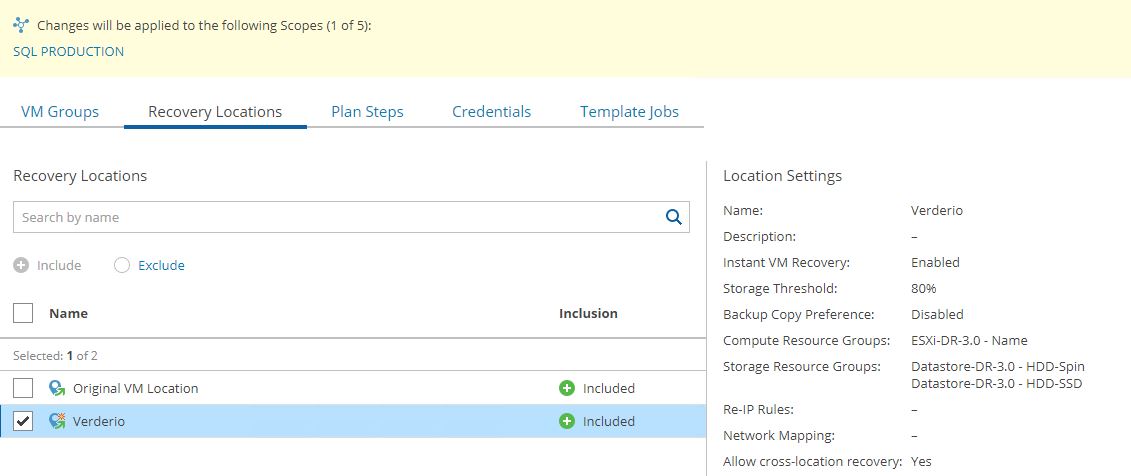
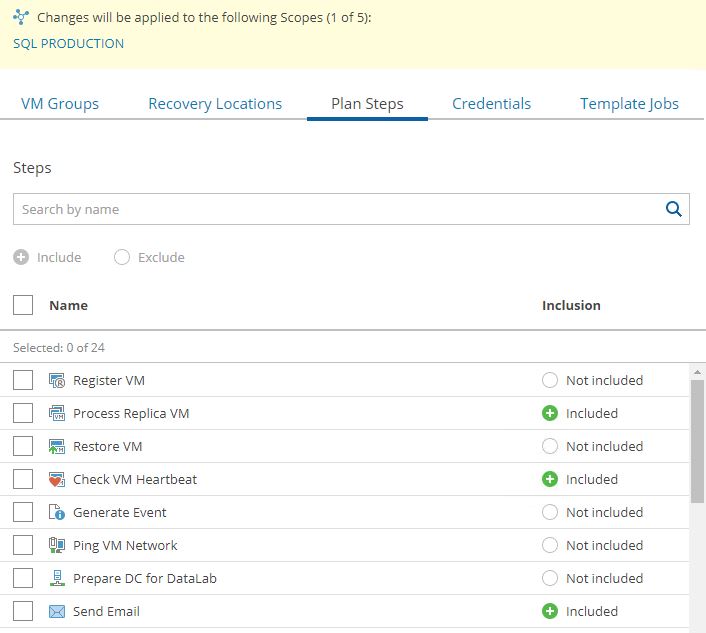
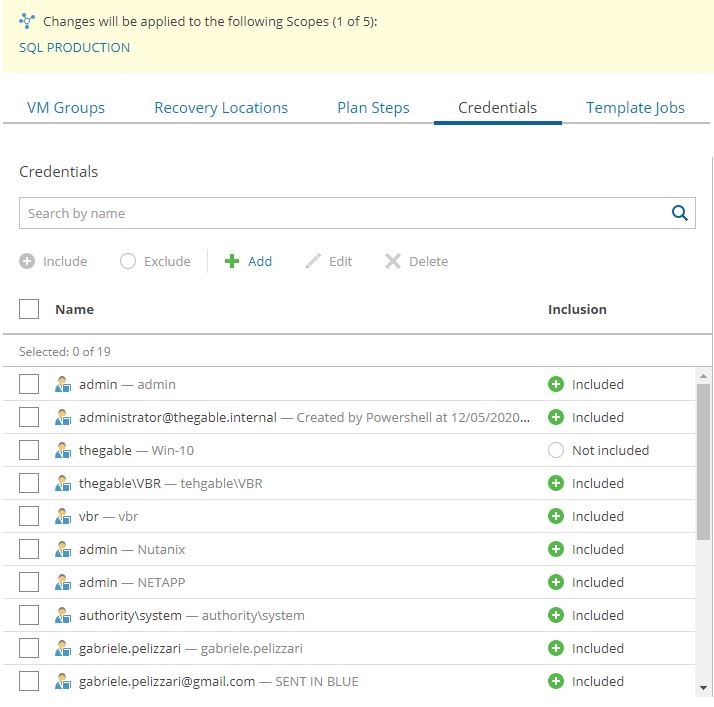
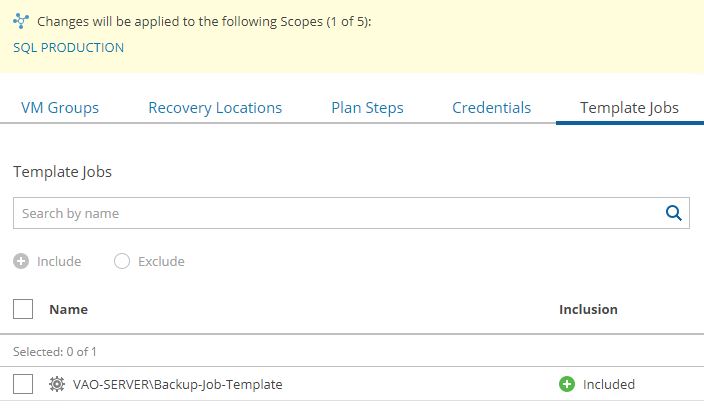
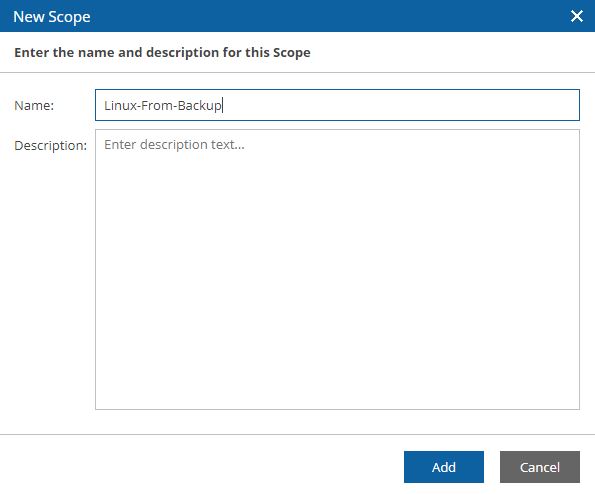
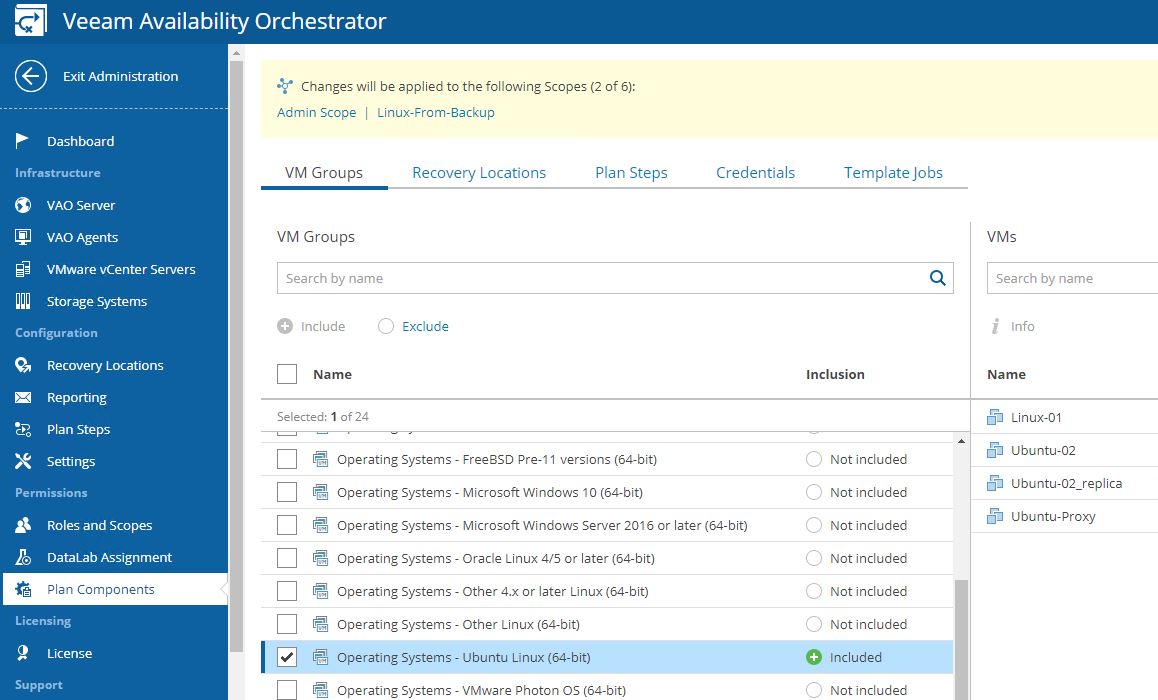
Pictures 9 to 12 show the main points:

To set up a scope, check up the VM Groups,  select the Recovery Location, and which plan steps have to be added.  (all details are available at Baseline articles).

Picture 9

Picture 10

Picture 11

Picture 12

3. Creating the Orchestration Plan

From Picture 13 to 16 the main points to set up the Restore Plan:

Picture 13

Picture 14

Picture 15

Picture 16

Please find here an example of Readiness check Reports:

Readiness check report example download

That’s all for now. See you soon

Replicas from Backup

27th July 2020 Update:

From now on it’s possible to create a replica Job from a backup copy job set-up as immediate copy mode.

https://www.veeam.com/kb3228

In my last article, I talked about how to throttle the network when you need to perform replicas Job (click here for more details).

In this second article, I will show you how to replicate a VM using a Backup as a source.

The main three points are:

  1. Setting up a Backup Job
  2. Setting up a Backup Copy Job
  3. Setting up a Replication Job

Let’s go!

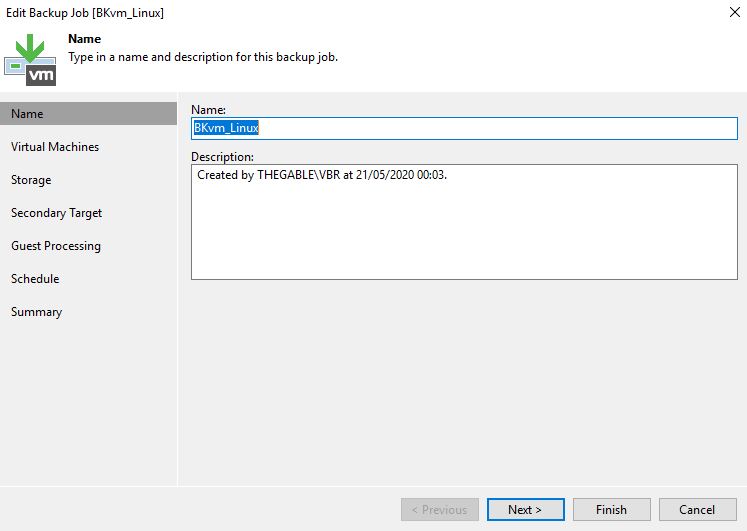
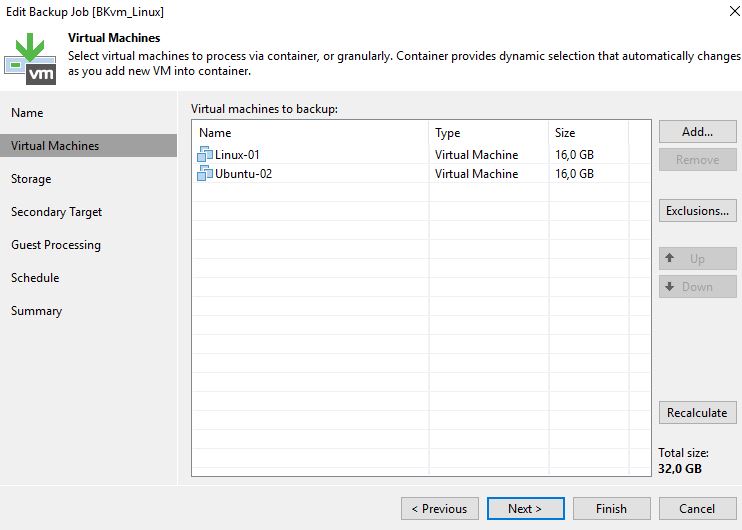
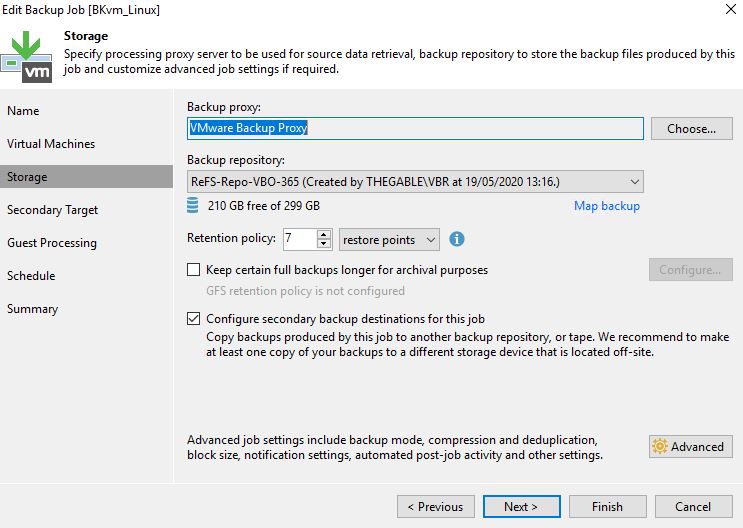
1. It’s quite easy to create a new backup job. If you didnìt read the guide, the next pictures will show the more important points:

Picture 1

Picture 2

Picture3

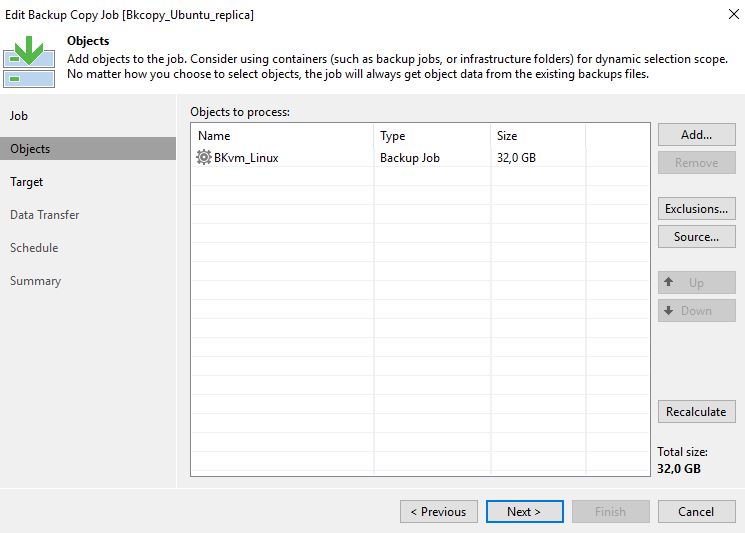
2. Now it’s time to configure the backup copy Job selecting the just created primary backup as a source.

Picture 4

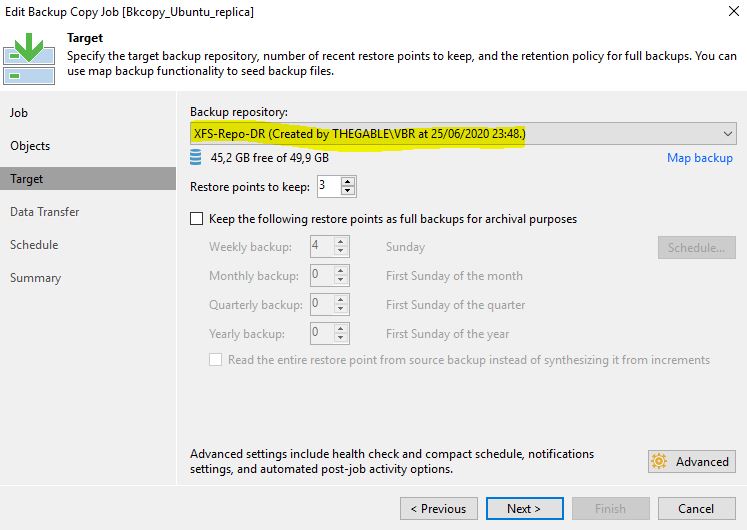
Picture 5

To simplify reading the article, please pay attention to the name of the second Repository (XFS-Repo-DR)

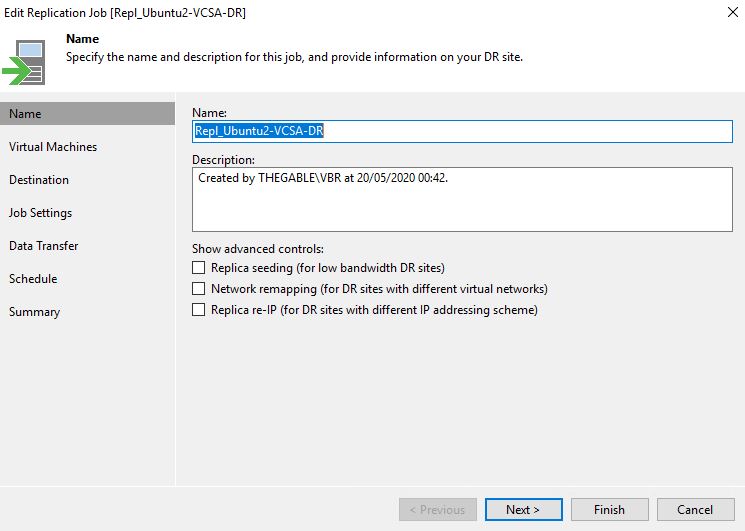
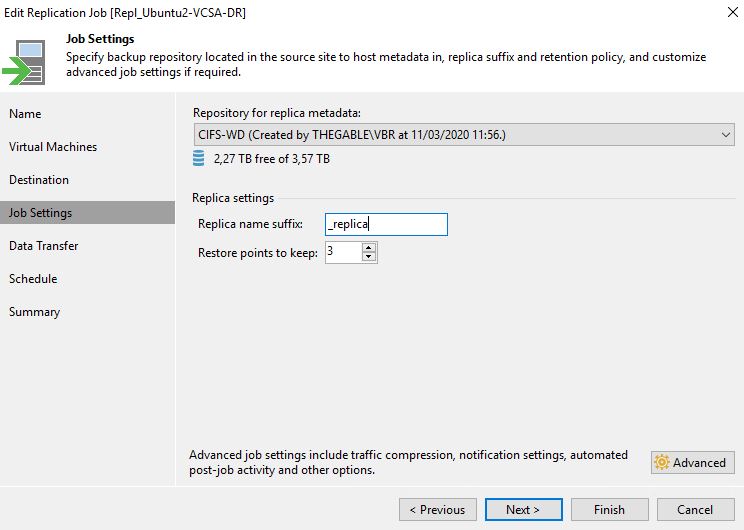
3. Now it’s time to set up the Replica Job

Picture 6

Picture 7

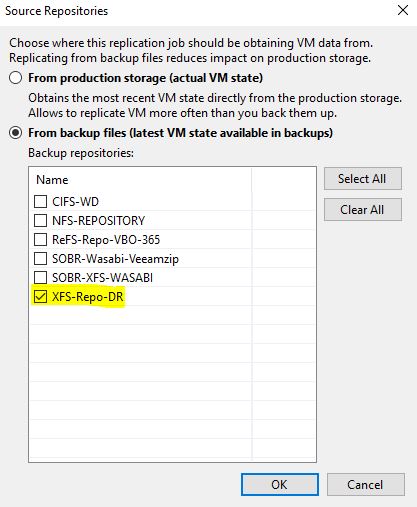
This is the main point of the article:

Click on the “Source” Button (yellow row) and select the Repository XFS-Repository-DR as a source of the Replica, as shown in Picture 8.

Picture 8

The last steps are:

  • Completing the Replica Wizard creation
  • Running the job

Picture 9

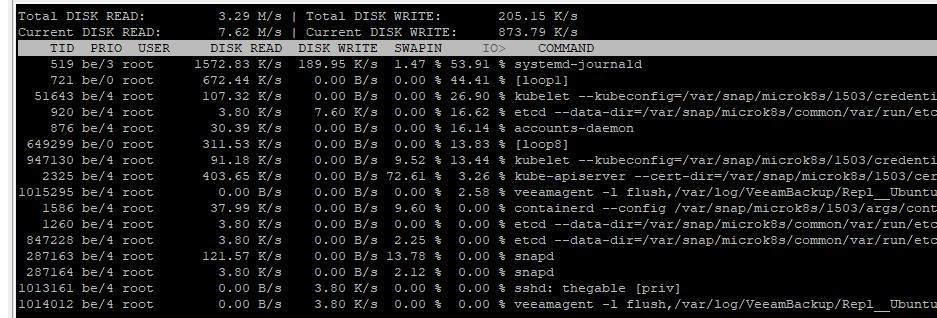
To be sure that everything is working fine you can use any tools that check up the I/O on Repository.

In this article, I choose IOSTAT because it’s light, powerful, and easy to use on Linux Repositories

Picture 10 shows the disk status before the replica job is launched while Picture 11 shows the disk status when it runs.

Picture 10

Picture 11

Take care and see you soon!

VEEAM AGENT FOR WINDOWS – REMOTE COPYING DATA – 2

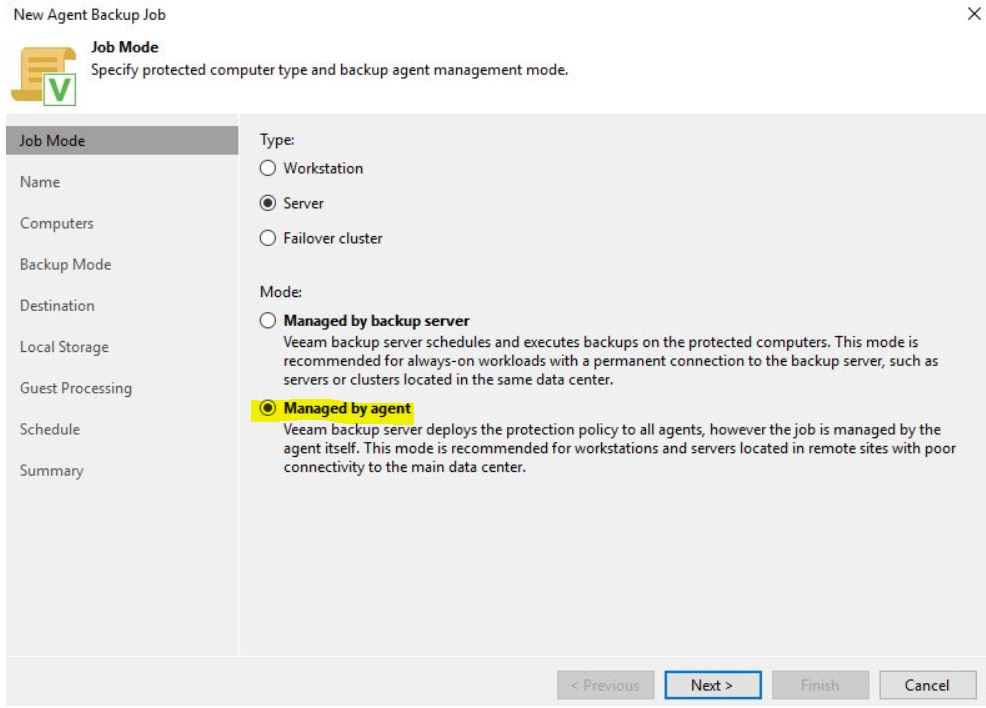
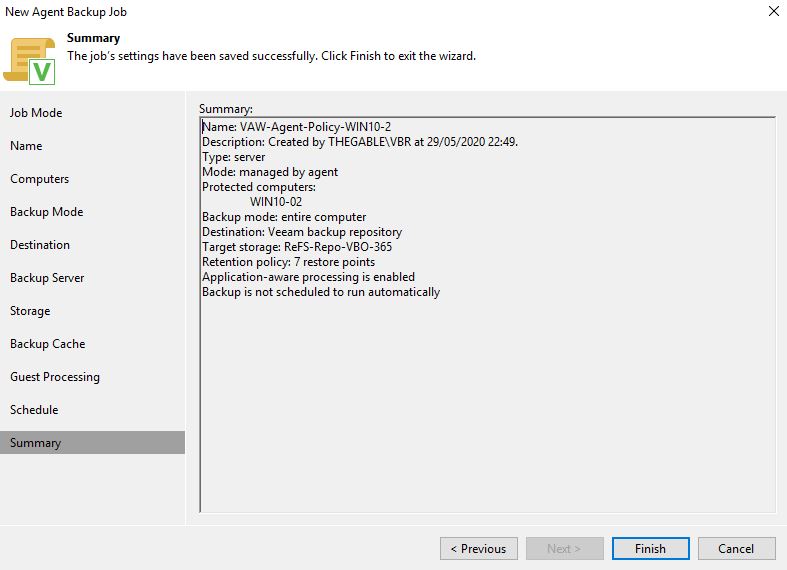
In this second article, we are going to cover what happens if we set up a VAW backup job working “managed by agent”.

Let’s see the main differences from the wizard (to know all the procedure please refer to the official guide or to my previous article)

Picture 1

Before going on, have a look at the manual to understand what happens in this scenario:

helpcenter.veeam.com (click here)

“Veeam Backup & Replication uses the backup policy as a saved template and applies settings from the backup policy to Veeam Agents that run on computers specified in the backup policy”.

In other words,  the policies are pushed to the VAW; So the laptop is able to protect its data even without a VBR start command.

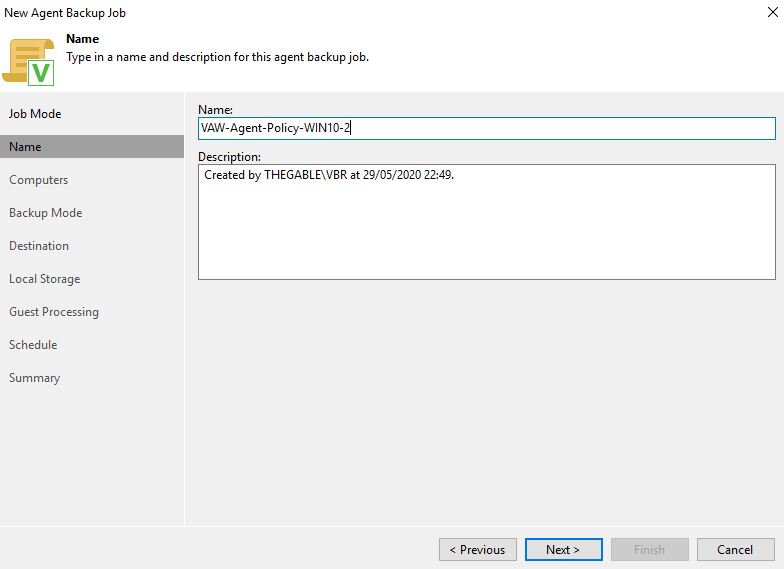
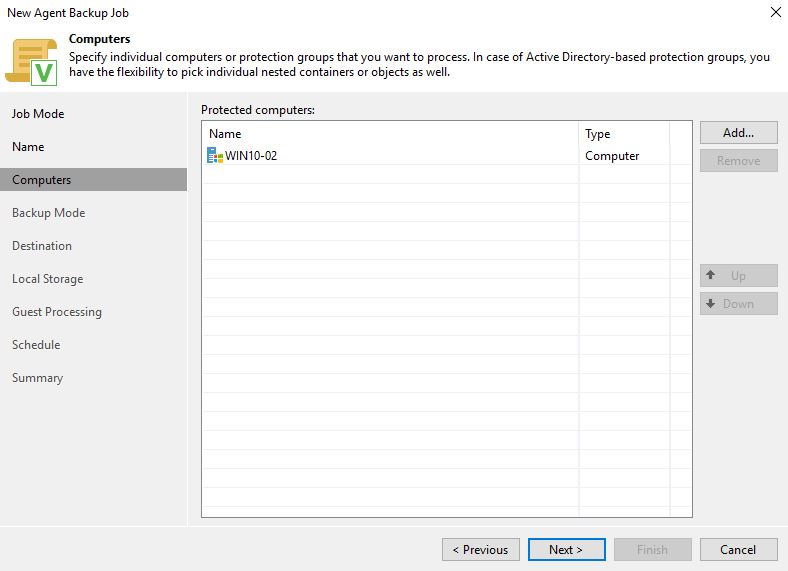
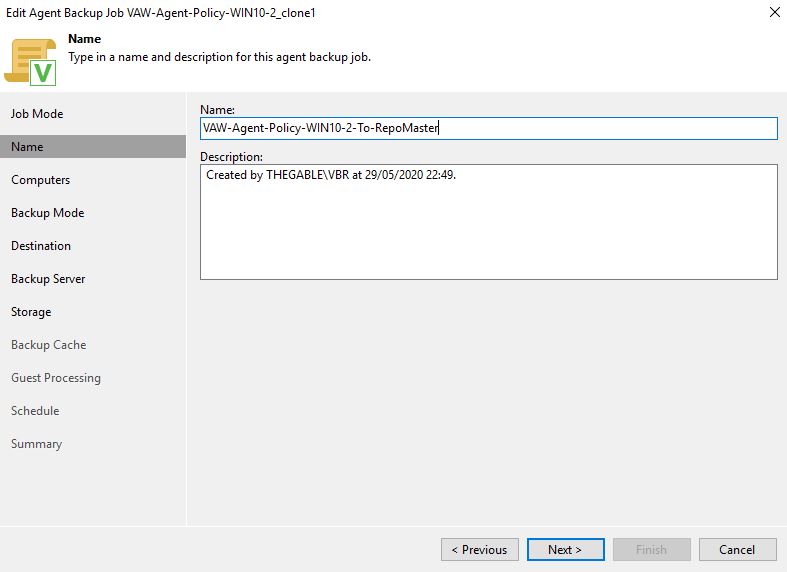
Ok, following the wizard, input a backup name and select the Laptop to protect (Pictures 2 and 3)

Picture 2

Picture 3

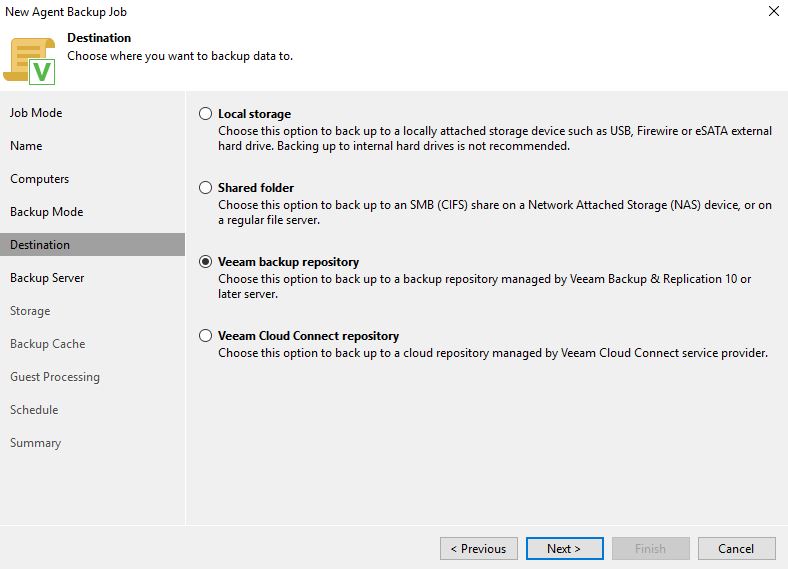
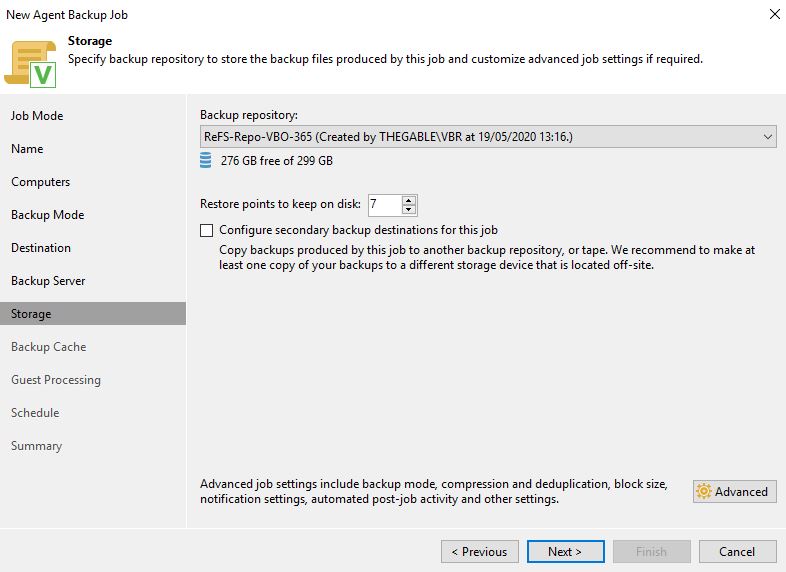
After selecting Target and Repository it’s possible to complete the job creation (Pictures 4,5 and 6).

Picture 4

Picture 5

Picture 6

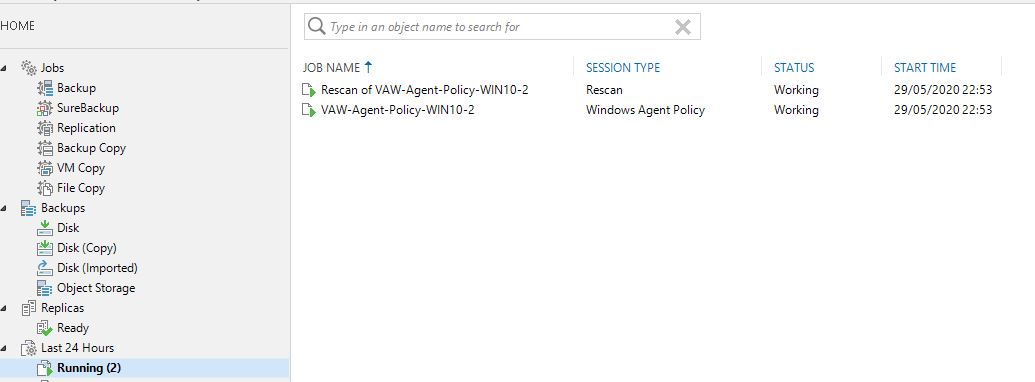
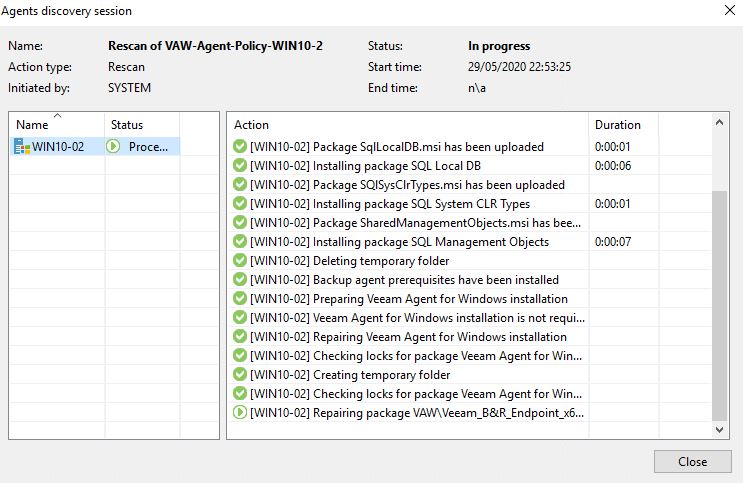
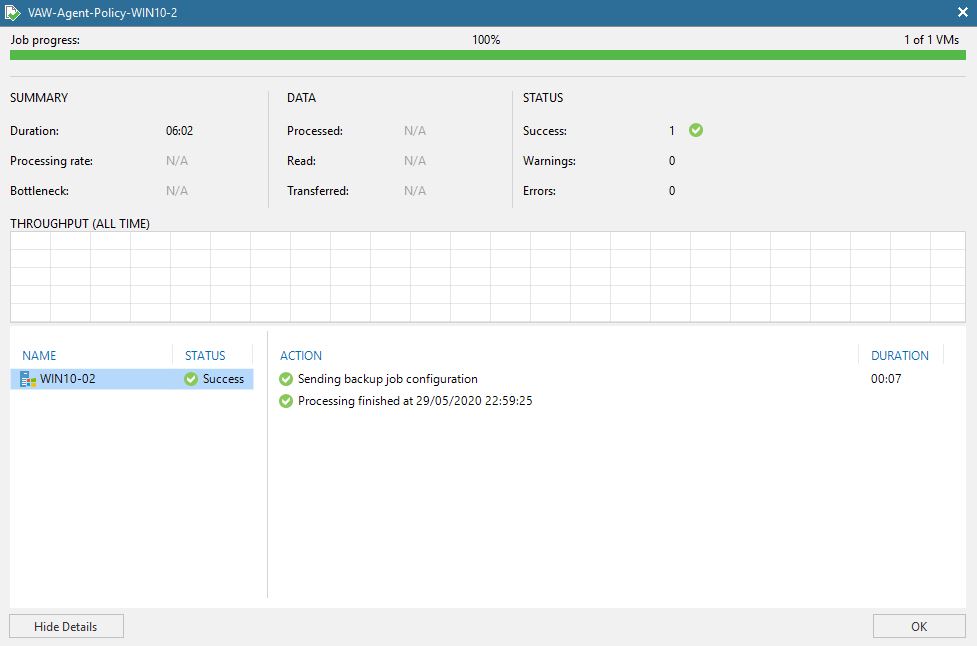
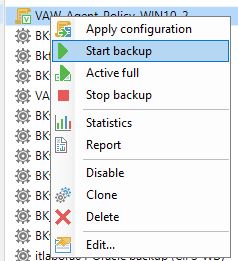
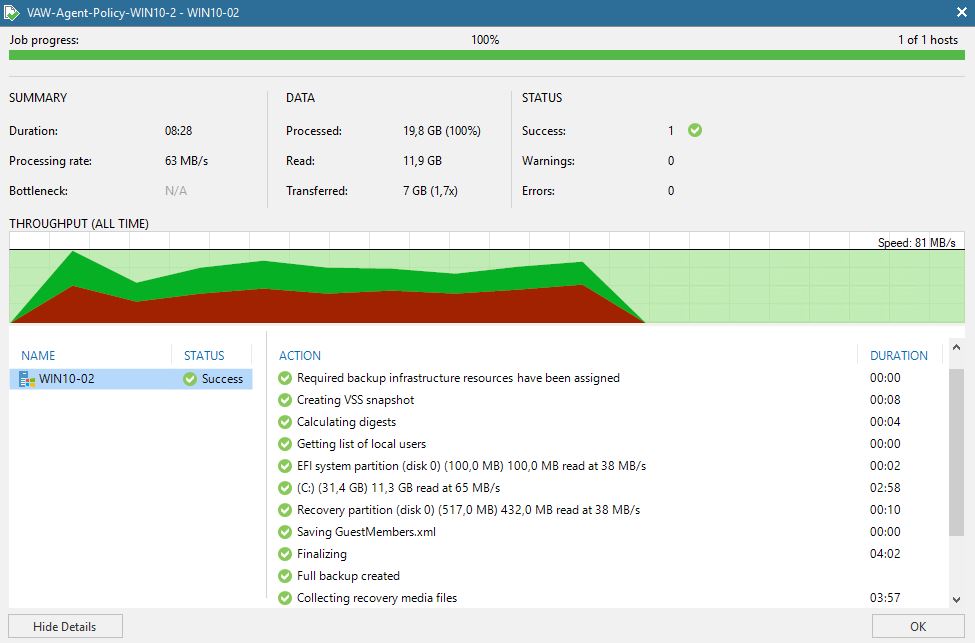
Now check if the backup policies are correctly applied and then launch the backup job (Pictures 7,8,9,10)

Picture 6

Picture 7

Picture 8

Picture 9

Picture 10

Checkpoint:

If you now try to create a backup copy job from the VBR console, you will find a problem because it is not available if you are going to select Periodic Copy (Immediate copy is available from version 11 of VBR)

Why?

Because in this scenario the policy commands the backup process. It’s like saying the Agent is the master of the backup.

How to go over?

  • Just select Immediate copy or
  • Add a new backup policy !” (Pictures 11 to 14)

Picture 11

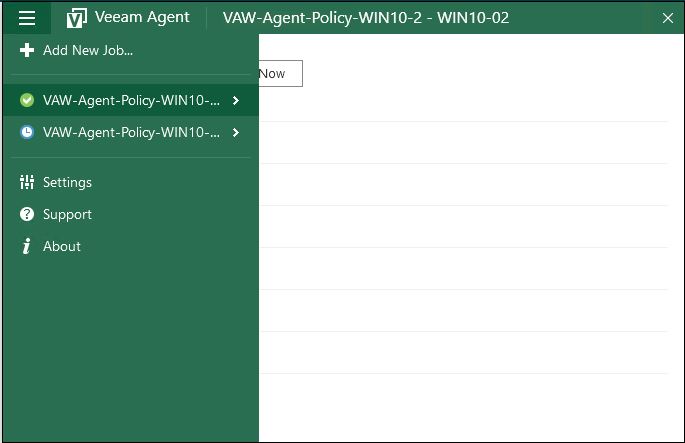
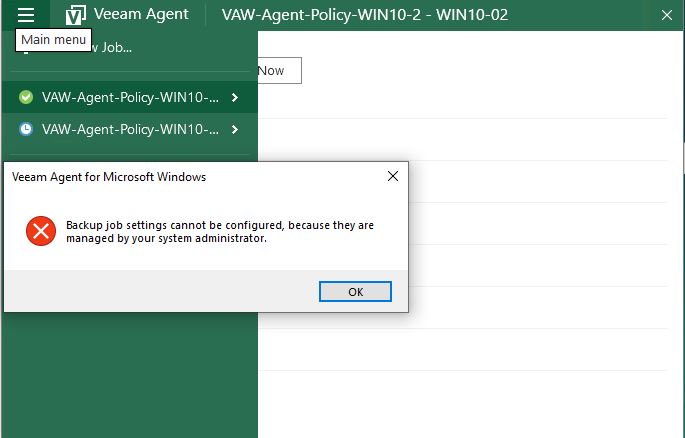
To know: if you use a remote desktop and connect to your saved laptop, you can find the Veeam icons. When you click on them you get the classic interface (as standalone installation)

Picture 12

To Remember: from here you can not add a new job. You always have to set it up from the VBR console:

Picture 13

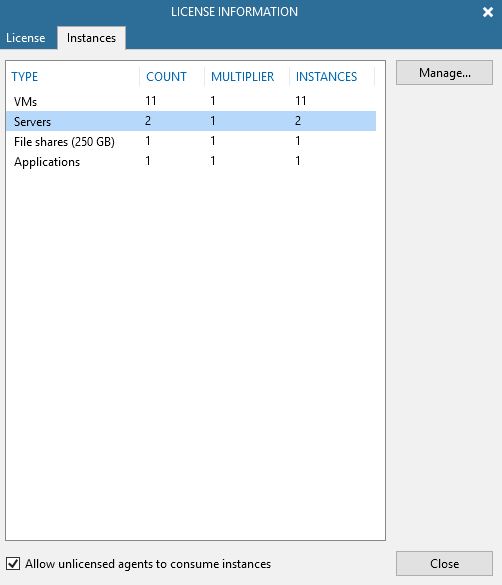
And the last thing? What about licensing? It consumes a single VUL

Picture 14

Wrap-up:

  1. If you need to have more than a copy, just create a new policy backup. My two cents are:
    a) Use a forever forward incremental chain.
    b) The repository should have a block cloning technology as ReFS/ XFS.
  2. If you plan to use a Backup copy job you have to configure the Agent as managed by the backup server or on the backup copy job select the immediate copy job.
  3. Licensing does not have any impact, it always uses a VUL license.

The next and last article will cover the workstation backup approach. See you soon

XFS – Performace

In the previous two articles, I explained how to configure and set up an XFS Repository with Veeam Backup & Replication v.10 (VBR)

In this new article, I’m going to cover why this is a very useful technology and should be adopted as soon as possible.

The main reason is:

“XFS linked-clone technology helps VBR to transform the backup chain” 

Let’s see what happens with Synthetic Full.

What is Synthetic full?

It’s a smart way to help VBR to create a Full Restore point downloading just an incremental backup from production.

The process is composed of two phases.

Firstly it creates a normal incremental backup.

Then it creates a full backup file stacking all previous backups (full and incremental).

This process normally needs a lot of work because VBR commands the repository to copy, paste and delete the data blocks.

The XFS integration, allows the system to do not move any block. In fact, the filesystem is able to re-point his metadata creating a Full Backup in One-Shot.

The result is super fast Full Backup creation.

Let’s see with an example:

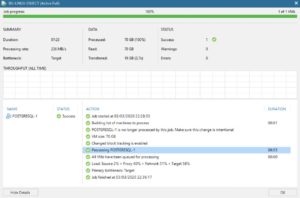
A classic Full Backup has lasted 7 mins (Picture 1).

Picture 1

An Incremental Backup has lasted 2 mins and 30 sec (Picture 2).

Picture 2

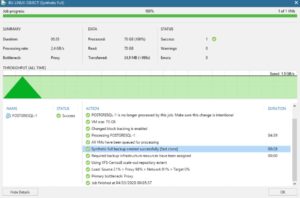
What about a Synthetic Full

Picture 3 shows that it needs less than 30 seconds (plus the time needs to download the incremental data).

So Amazing technology and Veeamzing integration!!!

Picture 3

That’s all, for now, guys, see you soon and take care.