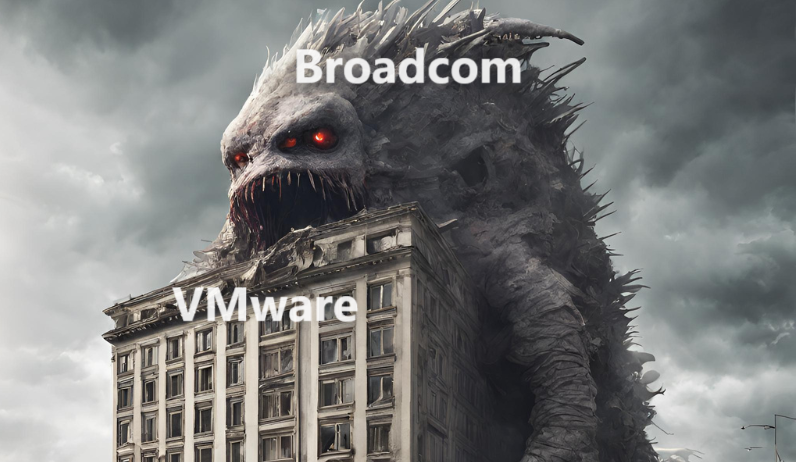
Broadcom ha dato una grande scossa al 2024.
Dagli ultimi rumors, sembra che il licensing della appena acquisita VMware verrà pesantemente rivisto.
Uno dei primi risultati è che molti clienti si chiedono cosa sia giusto fare.
Non ho la pretesa di conoscere la risposta corretta.
Ho effettuato alcune riflessioni che mi hanno portato a pensare a quattro futuri scenari dei quali vi parlerò nel presente articolo.
- Il cliente continua la collaborazione con VMware/Broadcom.
- Il cliente sostituisce la tecnologia Hypervisor.
- Il cliente migra il proprio datacenter verso un Hyperscaler o un Service Cloud Provider Locale.
- Il cliente trasforma il proprio Datacenter in un “Datacenter as a Software”.
Per ogni scenario andrò ora a descrivere i macroscopici pro e contro.
1. Credo che il desiderato di Broadcom sia quello di semplificare il più possibile il licensing al fine di avere a portfolio soluzioni snelle e semplici da proporre.
Ciò implica eliminare alcune delle soluzioni ora presenti per concentrare le energie unicamente su quelle a maggior rilevanza d’uso e guadagno.
Ora vi domando: Le soluzioni VMware ora presenti nel vostro datacenter sono quelle strategiche anche per Broadcom?
E ancora, siamo certi che l’ottimizzazione Broadcom non toccherà il dipartimento R&D di VMware che sviluppa le soluzioni divenute ora strategiche?
E non per ultimo, quale sarà il prezzo per poter rimanere nell’ecosistema Broadcom-VMware?
2. La prima sfida è quella di fornirsi di strumenti in grado di migrare le VM da una tecnologia HyperVisor all’altra.
La seconda è quella di proteggerle.
(NDR. Meno male che Veeam Backup & Replication permette di realizzare con un solo strumento entrambe le cose 🙂 )
Aggiungo, che bisognerà essere anche fortunati nello scegliere un vendor che non sia nel mirino di una nuova Broadcom, perché finire nello stesso giro dantesco sarebbe diabolico.
Pensare ad una tecnologia open-source based?
3. Il modello degli Hyper-Scaler è quello di fornire una serie di servizi personalizzabili.
Spesso sento qualcuno affermare che esistano dei “costi nascosti”. Non è vero, sono tutti ben illustrati, solo che capirli preventivamente è spesso molto difficile.
Avrà quindi particolare importanza la fase di creazione del progetto di migrazione che dovrà essere particolarmente accurata al fine di non ritrovarsi brutte sorprese a fine mese .
4. Data Center as a Software è sinonimo di un’architettura Cloud Native.
Ciò implica riscrivere applicazioni e servizi in modo tale che siano indipendenti dal HyperVisor.
E’ il nuovo approccio che negli anni diventerà un comune standard per scrivere codice.
Nel sito troverete una serie di articoli sul mondo Container e kubernetes ai quali vi rimando.
Tante domande, una sola risposta giusta?
No, credo che la migliore strategia sia quella di ricercare il miglior bilanciamento nell’utilizzo delle diverse opzioni disponibili, per arrivare a regime con la soluzione che si adatta al meglio alle necessità della vostra azienda in un corretto bilanciamento tra costi e benefici.
Ultima nota: Non dimenticate mai di aggiungere dei piani di formazione del personale perchè il training on the job in scenari particolarmente complessi NON è mai la via migliore per rendere sicuri i vostri sistemi ovunque questi siano
 Immagine 1
 Immagine 2
 Immagine 1
 Immagine 2
 Immagine 3
 Immagine 4
 Immagine 1
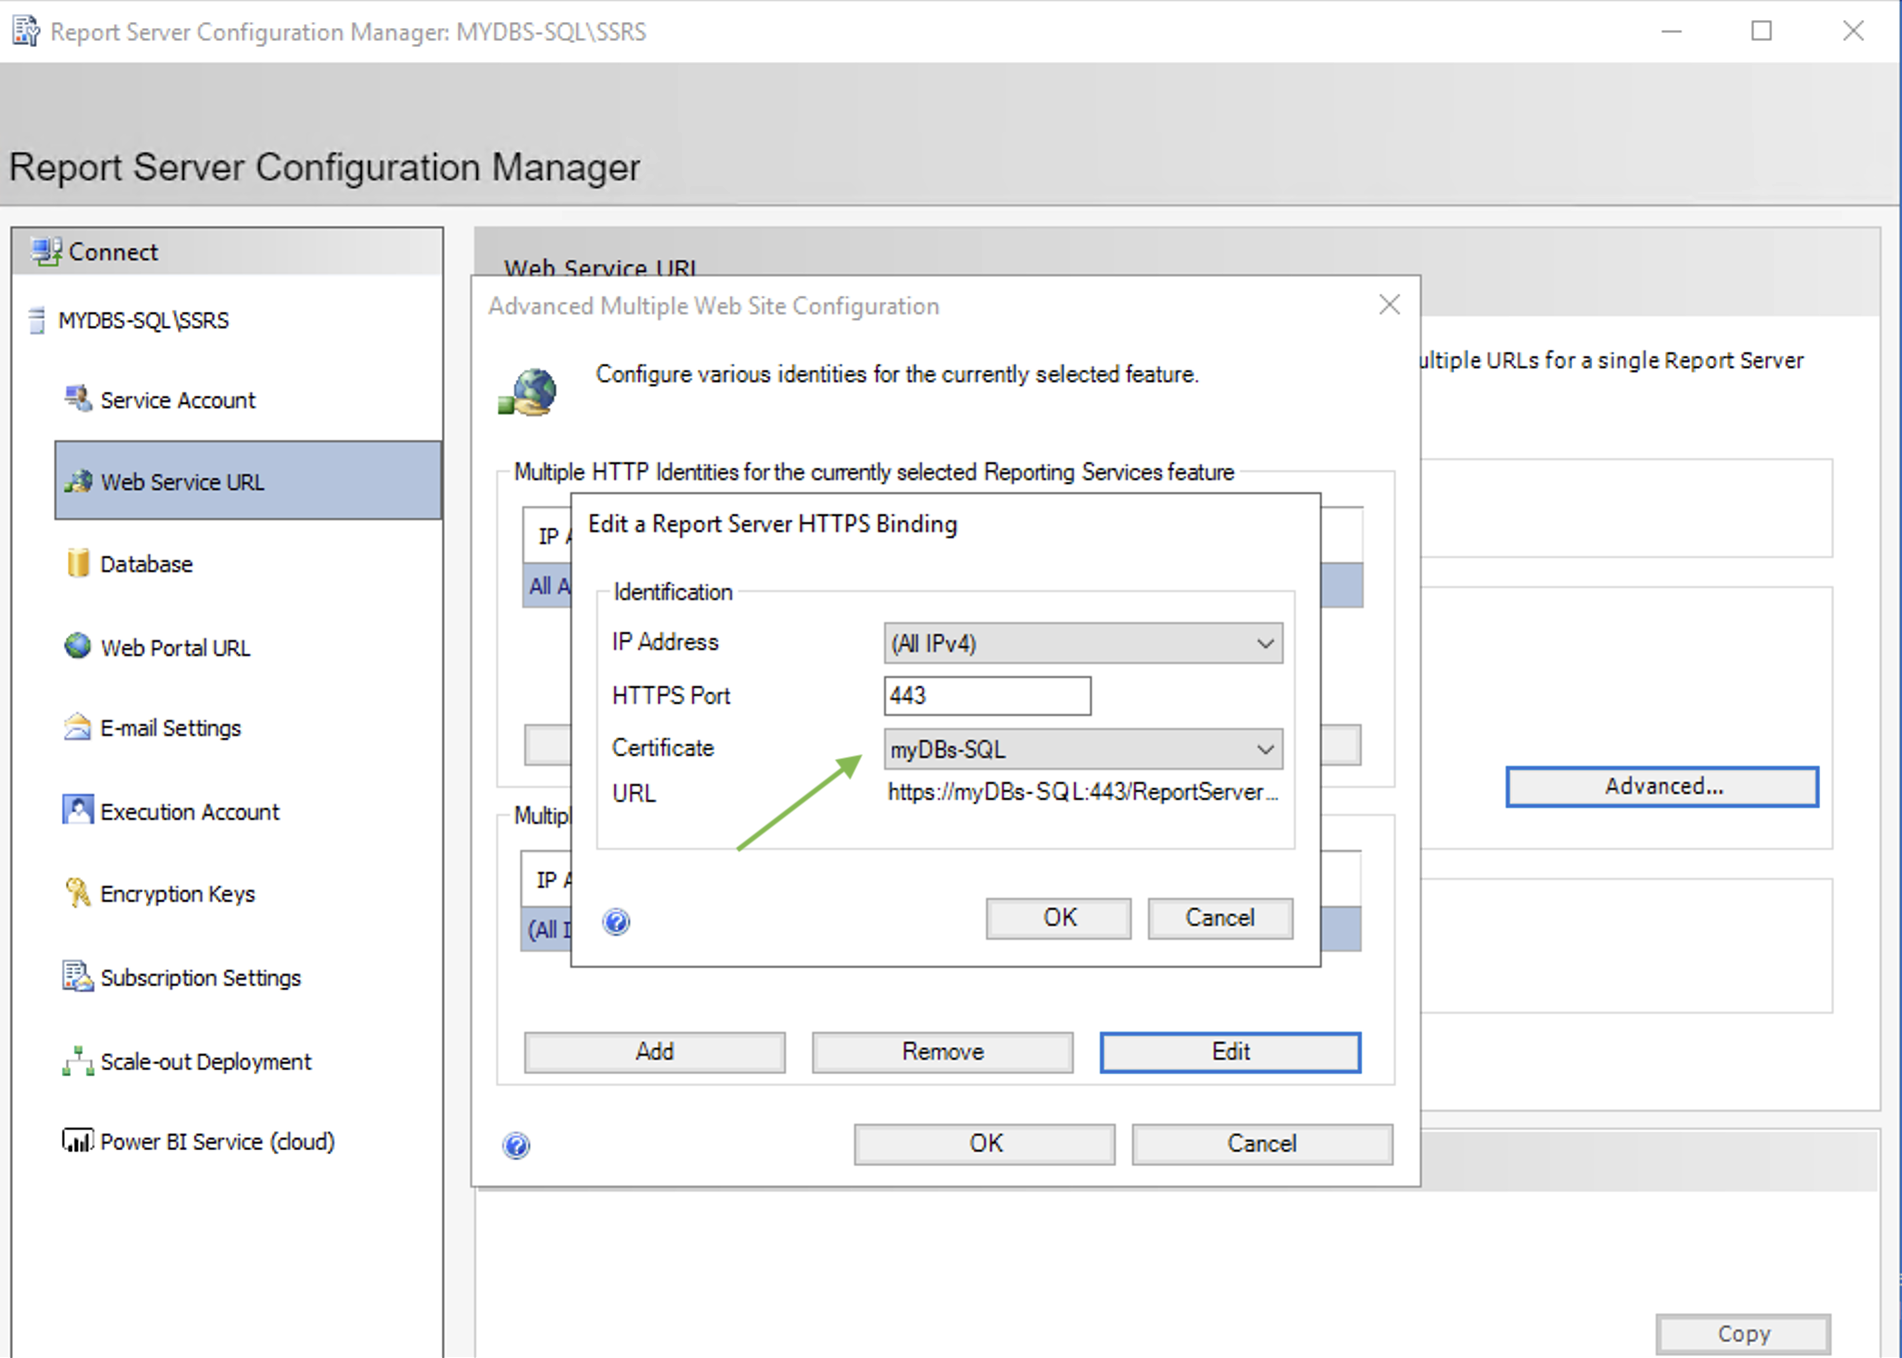 Immagine 2
 Immagine 3
 Immagine 4
 Immagine 5