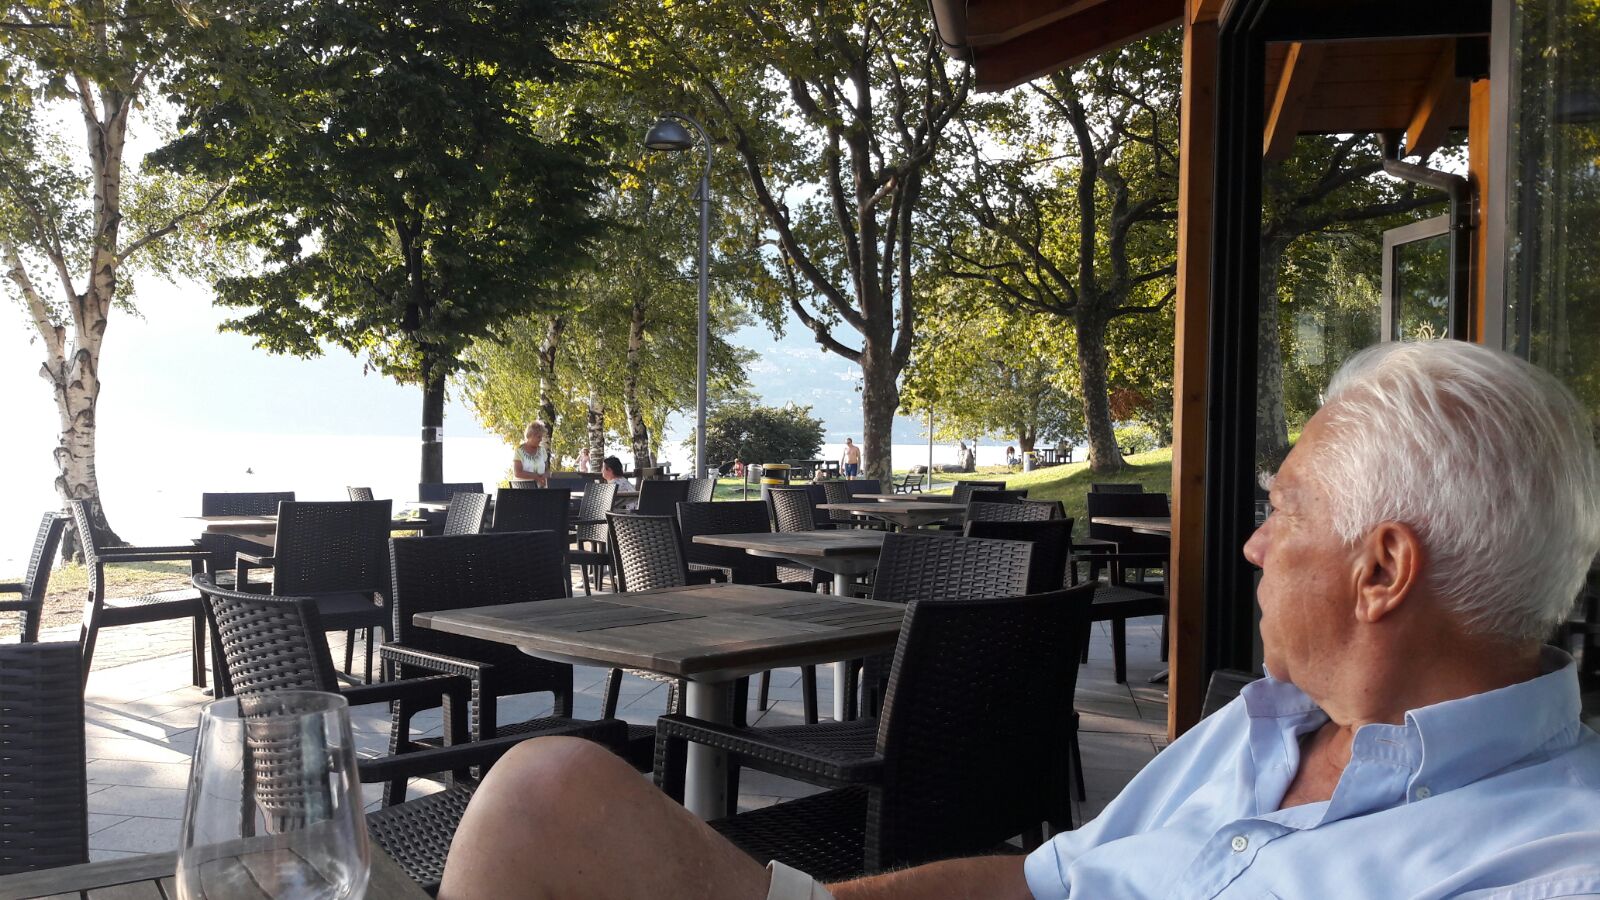
Antonio era una persona eclettica, con molti interessi, tra i quali privilegiava il bridge, la montagna e la buona cucina.
Era sempre un piacere incontrarlo, sapevi che avrebbe raccontato storie di vita divertenti che, grazie alla sua grande oratoria, riuscivano a catturare l’attenzione di tutti gli astanti.
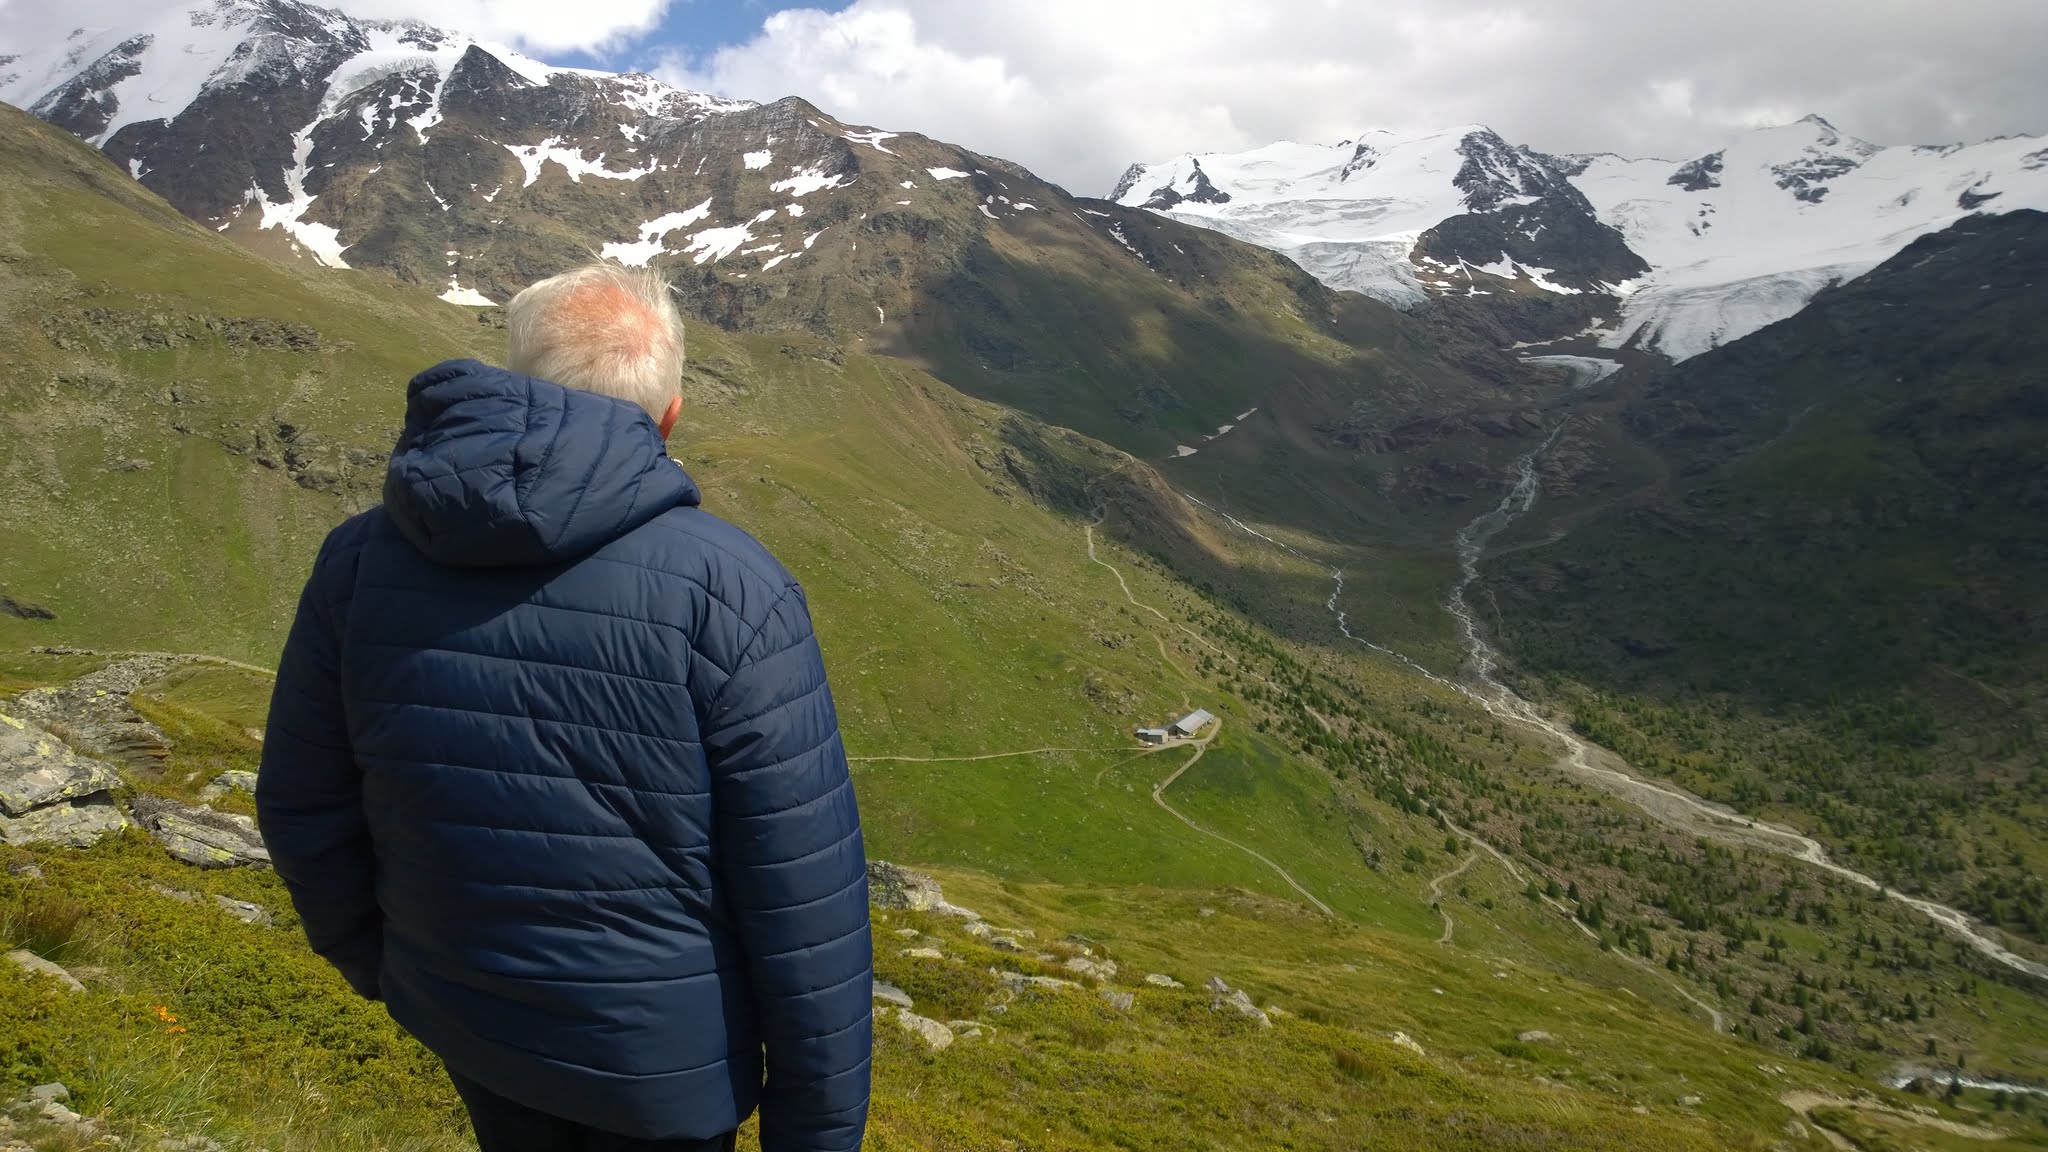
Se il Bisbino da giovane l’aveva sedotto, insegnandogli l’amore per la montagna, Bormio e le sue vallate sono stati i luoghi di vacanza a lui più cari e di cui conosceva ogni angolo e anfratto.
Lo si capiva da quella luce che si accendeva quando parlava della Val Viola, della Val Zebrù e dei Laghi di Cancano.
Lo ricordo qualche anno fa quando, raggiunto a piedi il rifugio del ghiacciaio dei Forni, disse a pieni polmoni “Son tornato” con un tono di voce che chiaramente indicava un rappacificamento con quell’angolo incantato della Valtellina.
Durante il pranzo, rigorosamente con polenta e uova, raccontò che qualche anno prima quella salita lo aveva ferito (al cuore) e raggiungere nuovamente il rifugio aveva rinsaldato quella lunga e vecchia amicizia che sembrava persa.
Il suo motto era “E’ tutto in piano!” e spesso lo utilizzava per convincere persone meno avvezze ai sentieri alpini a raggiungere mete impegnative. Premiava i vincitori raccontando aneddoti storici su luogo mentre si gustavano piatti tipici dell’alta Valtellina.
Era certamente una buona forchetta, il suo stomaco gli permetteva di digerire ogni pietanza. Diceva che se avesse avuto il cuore forte come lo stomaco avrebbe potuto vivere per altri 100 anni.
Vederlo poi scegliere dal menù i piatti era una vera goduria. Apriva il menù, lo leggeva attentamente (anche se preferiva i posti dove il menù veniva raccontato) e come se stesse già assaporando le portate, prima di comunicare la sua comanda, si sfregava le mani chiedendo qualche conferma sulla preparazione dei piatti.
Sulla scelta dei vini poi era una autorità, sapeva sempre cosa abbinare a quello che si ordinava, privilegiando sempre la cantina al nome del vino.
Forse non tutti sanno che Antonio era anche uno specialista della frutta. Conosceva tutte le tipologie di pere, mele, amarene … e la sua vera passione erano le ciliegie. In anni di lavoro aveva scoperto e mappato tutte le piante “free” dell’alto Milanese e spesso durante i viaggi di ritorno si fermava a cogliere il prelibato frutto.
Il suo umorismo si esaltava nelle situazioni che sembravano complicate.
Con il gruppo aveva scelto di passare qualche giorno in Tuscia. La prima cena la facemmo nell’agriturismo dove alloggiavamo che aveva come specialità la carne.
Anche se non eccelsa, quasi tutti mangiammo la nostra porzione.
Quando la padrona di casa chiese un parere, una di noi criticò il piatto indicandone correttamente i limiti.
Antonio prese la palla al balzo, si alzò e con la scusa di voler conoscere meglio la tipologia dei vini, iniziò a parlare con la proprietaria dell’agriturismo.
Giunto a debita distanza iniziò una conversazione fitta della quale non capivamo il senso.
Dopo qualche minuto, tornò al tavolo mentre la signora nuovamente serena si diresse in cucina.
Alla maliziosa domanda su cosa avesse promesso per rendere la signora giuliva, Antonio rispose: “Ho semplicemente affermato che la nostra commensale è una ricchissima duchessa abituata a tagli pregiati di carne e che ci onora qualche volta con la sua presenza”.
Fintanto che rimanemmo nell’agriturismo, la proprietaria chiedeva sempre conferma ad Antonio se alla duchessa fossero piaciuti la colazione o il pranzo e noi, come studenti inquieti in classe, nascondevamo a stento le risate.
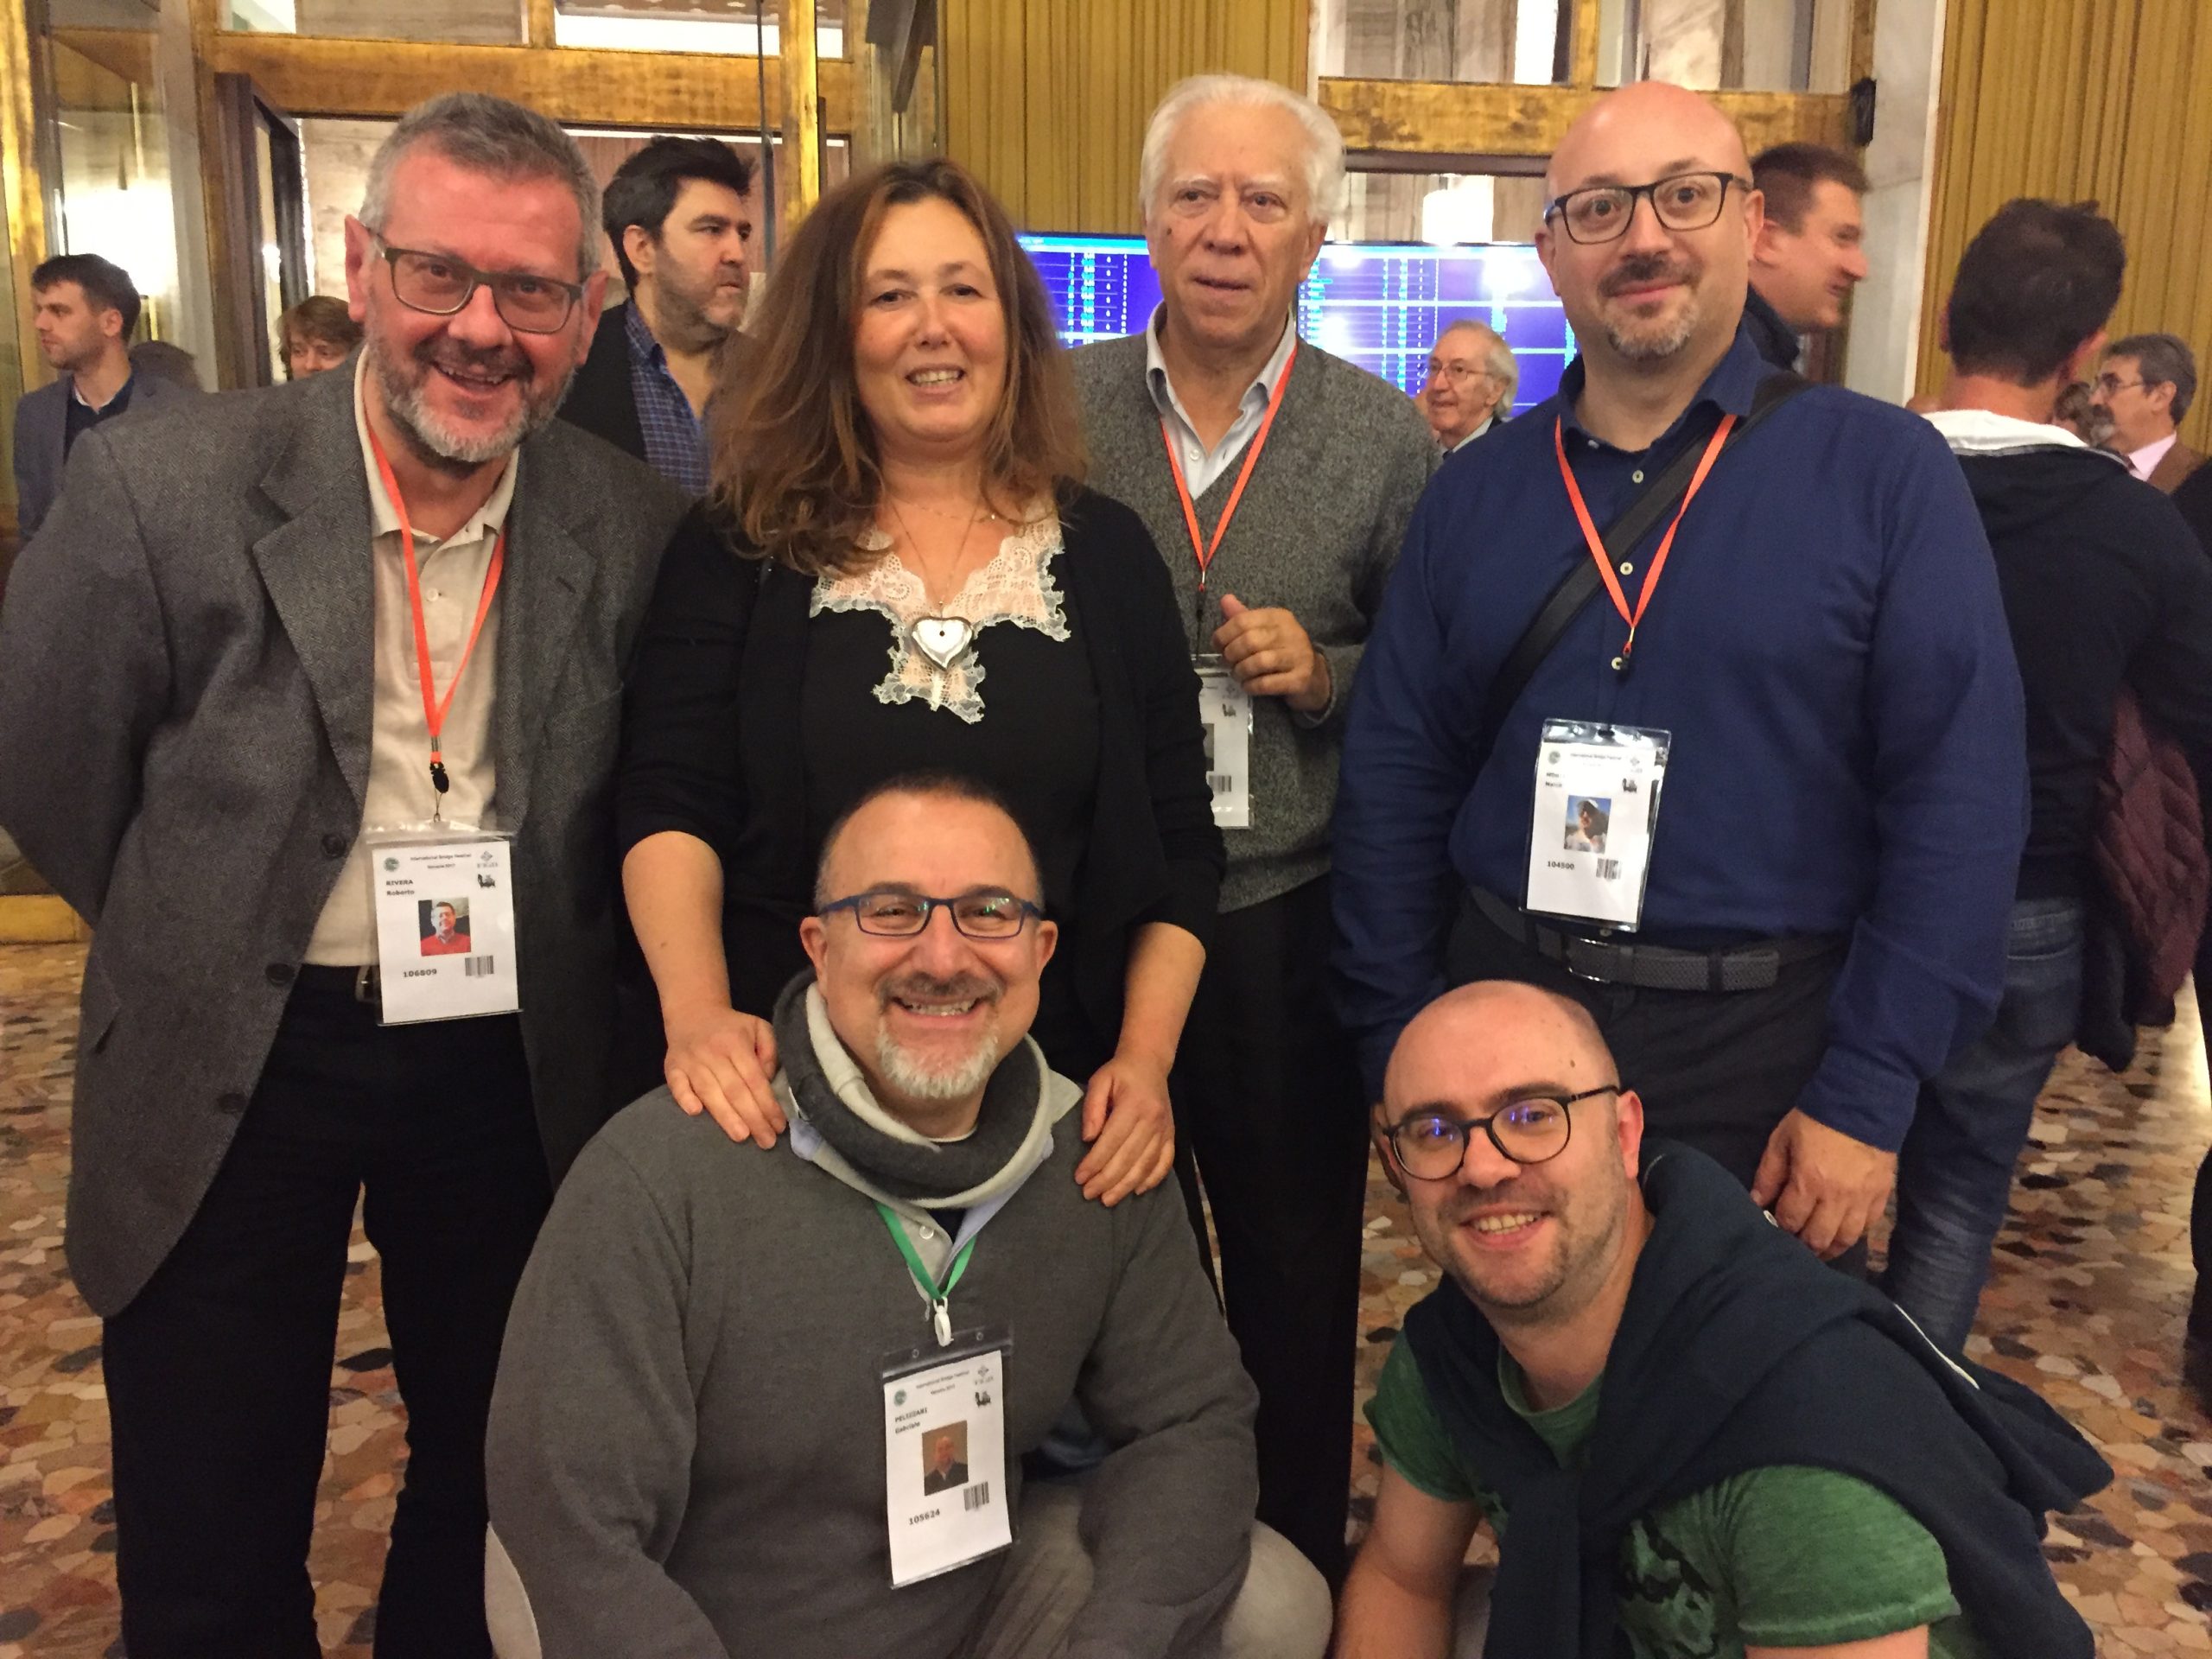
Il mercoledì pomeriggio aveva un appuntamento fisso: il torneo di Bridge a Mendrisio.
Era particolarmente affezionato a quell’evento e alle persone che frequentavano quel circolo. Si sentiva onorato di far parte di quel gruppo e grato dell’amicizia verso il presidente Luciano. Vinceva spesso anche lì e utilizzava i franchi vinti per organizzare e pagare cene nei crotti elvetici ai suoi compagni di gioco
Nel bridge era molto conosciuto non solo per essere un giocatore vincente, ma soprattutto per i suoi modi cordiali.
A chi chiedeva consiglio su come avrebbe dovuto licitare oppure giocare una mano, dava sempre una risposta dettagliata proprio perché sapeva che per non far sparire il bridge era necessario condividere le proprie conoscenze.
Si buttava in ogni manifestazione con l’ardore di un ventenne. Seduto sempre rigorosamente in Nord oppure in Est.
Con il gruppo abbiamo fatto vacanze corte e lunghe in giro per il nostro bellissimo paese, che Antonio definiva straordinario, bellissimo e ferito da una incapacità atavica di renderlo ancora più ricettivo al turismo.
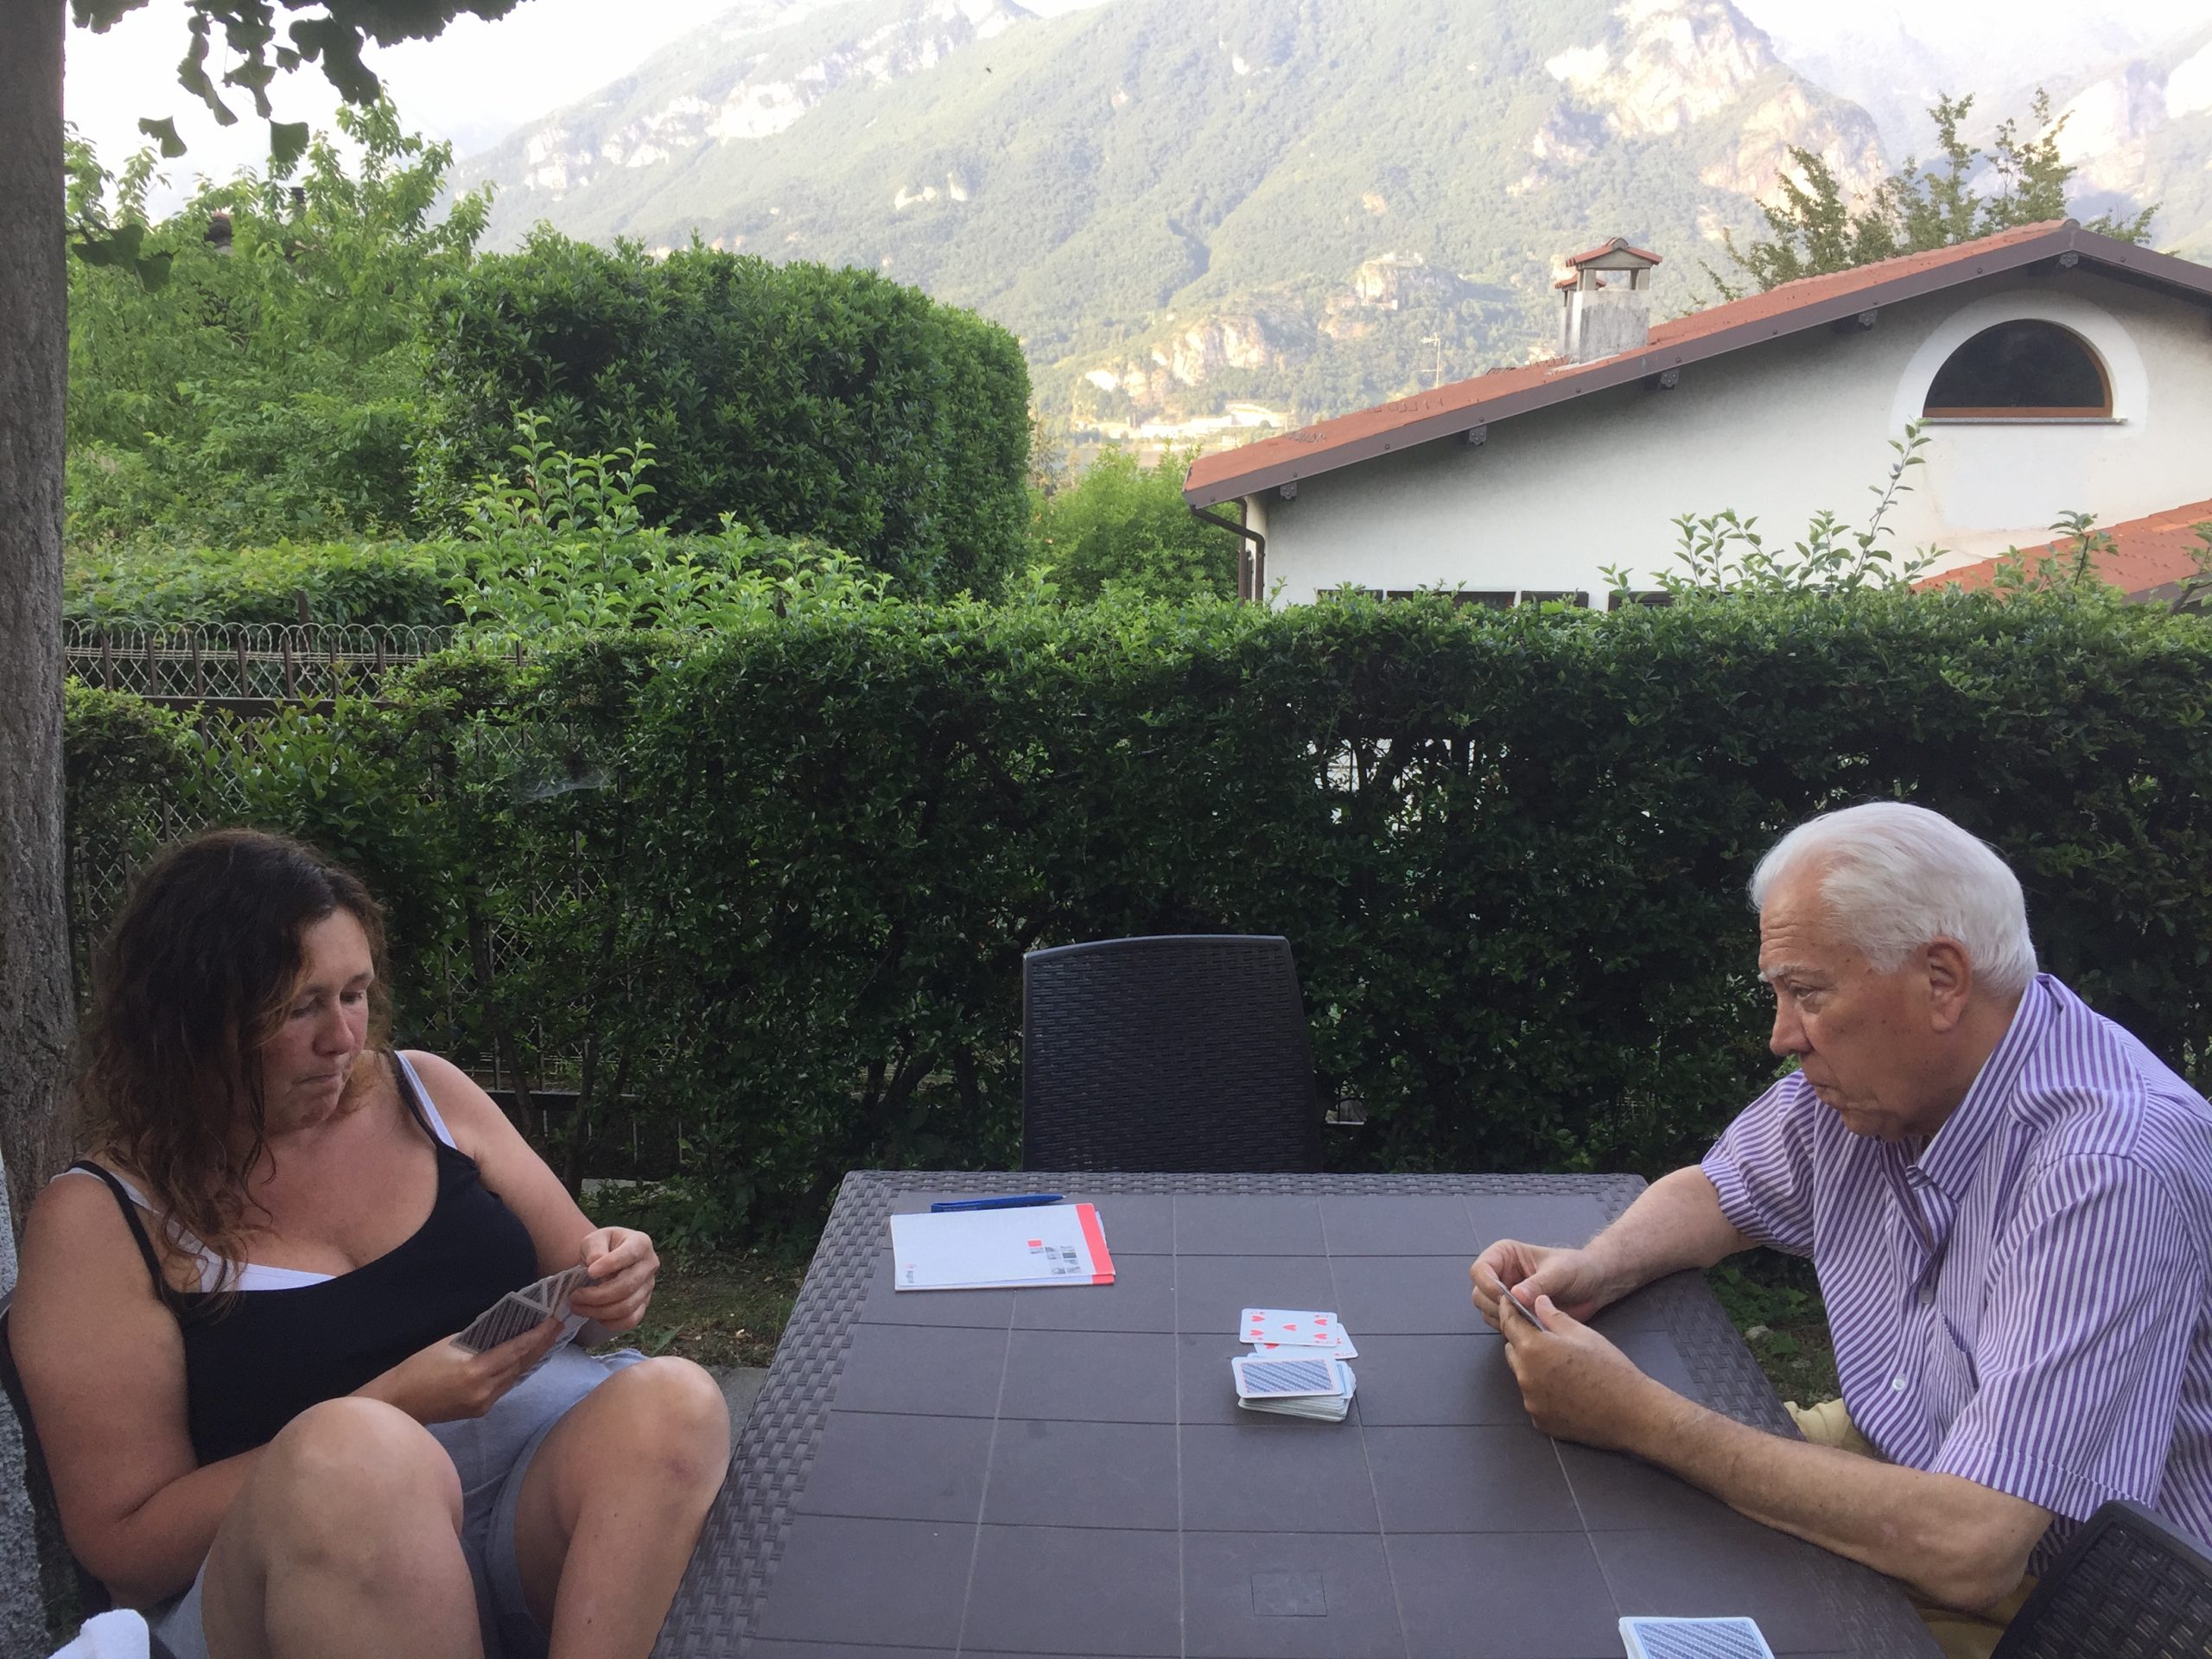
Le serate terminavano con una partita di Burraco dove giocava anche con la figlia Bibi e vinceva inesorabilmente chi in quel momento aveva la dea bendata a favore. Lo sfottò del giorno dopo era raccontare quella pescata miracolosa che aveva permesso a quel gioco illogico di essere vincente (classico nel burraco).
Raffaella è stata la sua compagna di gioco negli ultimi 11 anni e se abbiamo conosciuto questo meraviglioso personaggio dobbiamo dire grazie a lei che lo ha fatto subito entrare in un gruppo eterogeneo di persone unite dalla passione per il bridge (tra l’altro prima di iniziare la partnership mi chiese, come un uomo di altri tempi, se fossi d’accordo).
Dopo qualche anno porsi una semplice domanda ad Antonio: lui, grande giocatore, come faceva a gestire certe giocate “illogiche” di Raffaella?
Lui rispose con una massima che mi rimarrà per sempre: “Gabriele, risparmia il fiato, ti servirà”.
Ciao Antonio, so che troverai al tavolo i tuoi vecchi amici del bridge e che continuerai a dilettarli con il tuo vero io.
Ci mancherai.


 Immagine 1